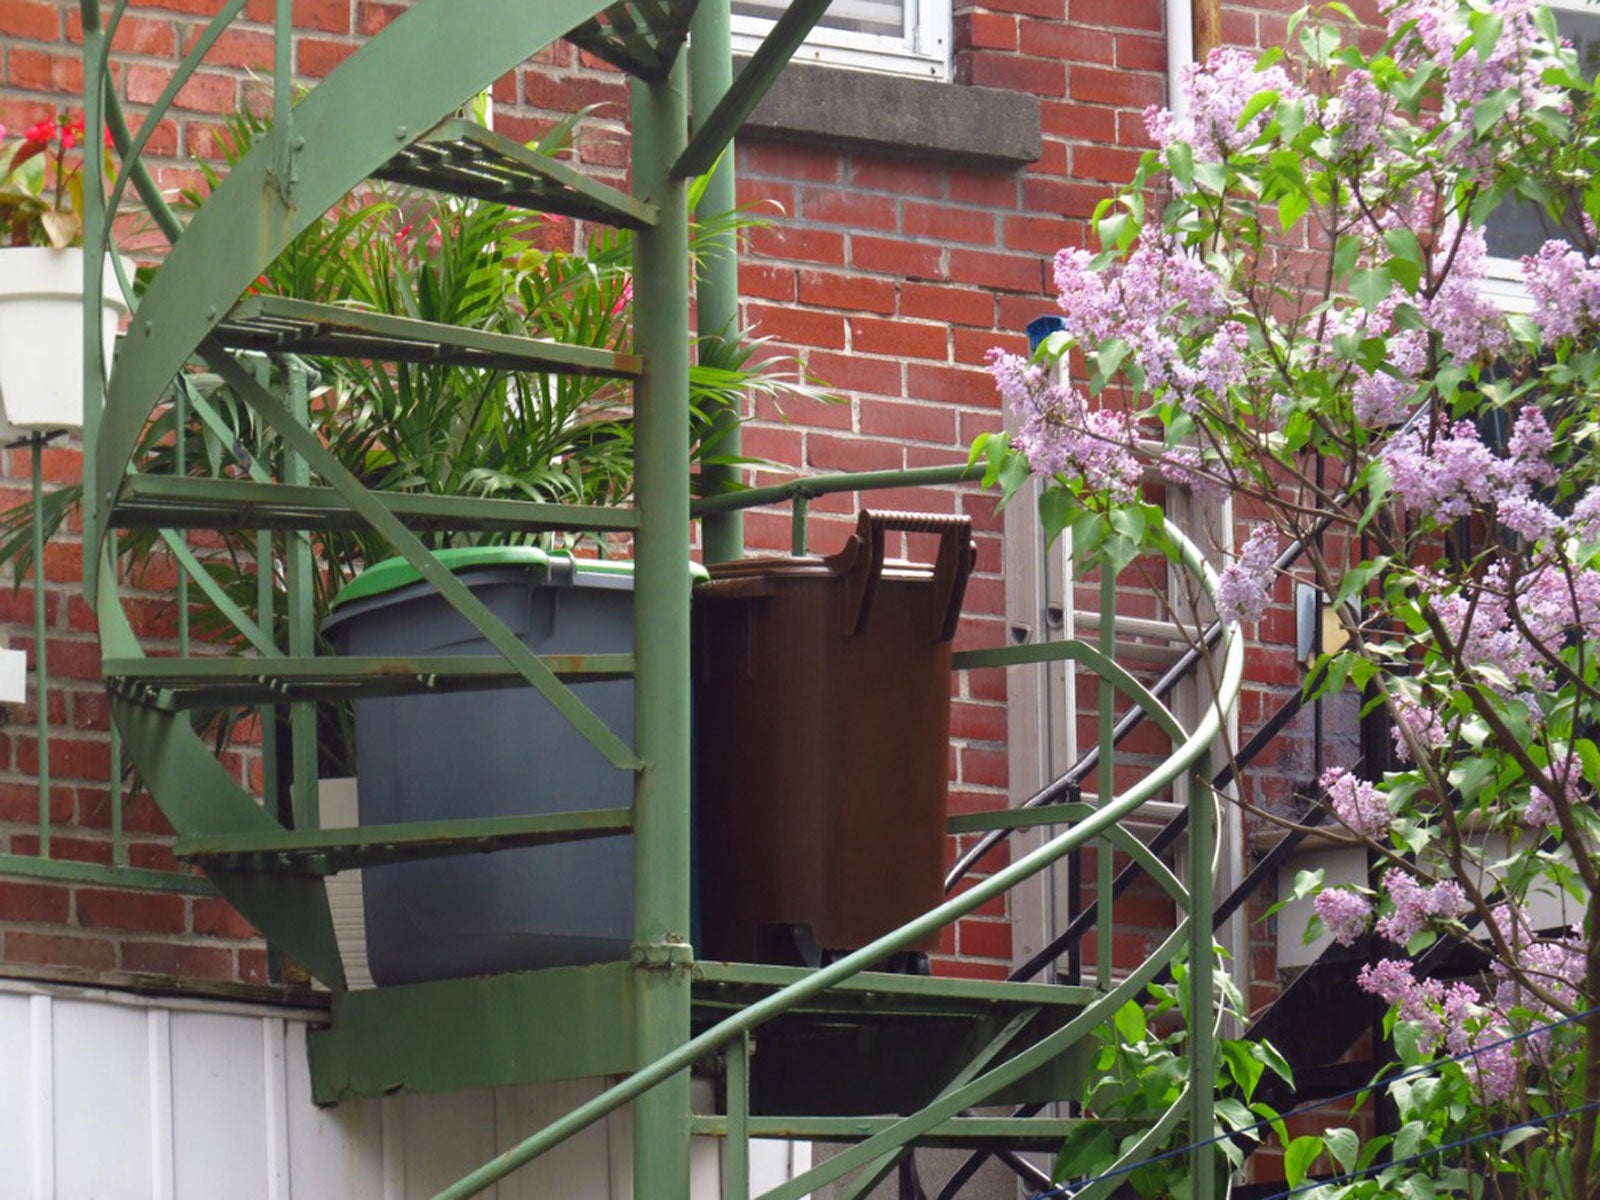
Balcony Composting Info – Can You Compost On A Balcony


More than a quarter of municipal solid waste is composed of kitchen scraps. Composting this material not only lessens the amount of waste dumped into our landfills each year, but kitchen scraps are also a potential source of greenhouse gases. What if you live in an apartment or high-rise building though? Can you compost on a balcony? The answer is yes and here's how.
Composting on Balconies
The same principles of composting apply whether you have acres of land or a concrete balcony. Kitchen scraps are considered the green component of compost and are layered with browns. Suitable greens for a balcony compost bin include vegetable peels, discarded produce, eggshells, and coffee grounds.
Landowners usually have access to leaves, pine needles, and shredded wood which typically make up the brown layers. These materials may be in short supply for balcony composting projects. More readily available materials, like shredded paper and dryer lint, can be used for the brown component.
Balcony composting also requires a bit more attention during freezing temperatures. Normally, a backyard compost pile, measuring a minimum of 3 feet by 3 feet (1 m. x 1 m.), will generate sufficient heat during the winter to prevent the contents from freezing. This keeps the compost pile actively working throughout the cold season.
The average balcony compost bin isn't large enough to generate its own heat, so steps need to be taken if year-round composting is desired. Moving the bin into a garage or exterior utility room may provide sufficient protection from winter temperatures. If that's not an option, try wrapping the bin in bubble wrap. Relocating it near a southern-facing brick wall or a heat source such as a dryer vent or furnace exhaust pipe may also help.
How to Make a Balcony Compost Bin
Begin your balcony composting project by either purchasing a ready-made bin or making your own balcony compost bin from an old plastic trash can or tote with a lid:
- To make your own bin, drill or cut multiple small holes in the bottom and sides of the container. The holes in the bottom allow excess moisture to drain. The side holes provide the necessary oxygen for the composting process.
- Next, elevate the bin using several bricks or wood blocks. A slimy consistency or a rotten egg smell indicates the compost is too moist and more drainage holes are needed.
- To protect the balcony from stains, use a drip tray to collect the moisture which drips out of the bin. A boot tray, old saucer-style sled, or water heater drip pan are a few items which can be repurposed.
When your compost bin is set up and ready to use, begin by layering your greens and browns. Each time you add more material, tightly secure the container lid to keep out rain, birds, and other critters. Periodically stirring or turning the compost will increase oxygenation and ensure the material composts evenly.
Sign up for the Gardening Know How newsletter today and receive a free copy of our e-book "How to Grow Delicious Tomatoes".
Once the material in the bin has transitioned to a dark, crumbly texture with no trace of the original organic materials, it's completed the composting process. Successfully composted material will have an earthy, pleasant smell. Simply remove your balcony compost and store it for the next time you want to re-pot a flower or grow hanging lettuce.

Laura Miller has been gardening all her life. Holding a degree in Biology, Nutrition, and Agriculture, Laura's area of expertise is vegetables, herbs, and all things edible. She lives in Ohio.