How To Compost At Home: The Ultimate Step-By-Step Guide
Composting is an affordable, sustainable solution for creating the best possible soil improver. Discover your ideal method, steps for success, and how to get the most out of your homemade black gold.

Sign up for the Gardening Know How newsletter today and receive a free copy of our e-book "How to Grow Delicious Tomatoes".
You are now subscribed
Your newsletter sign-up was successful
Compost is often called black gold because it is rich in nutrients and beneficial microbes. When added to garden soil it has transformative powers, improving structure and texture, increasing airflow and water retention, and supporting earthworms – all contributing to healthy, abundant plant growth. Learning how to compost at home is an affordable way to get all these benefits.
Composting is also a vital component of sustainable gardening, as a natural, organic solution that enables you to reduce waste, minimize chemicals, and grow plants and vegetables in the healthiest possible way.
It's easy to start composting, but you do need to understand how the process works and the required equipment and steps. Use this information, which includes advice for beginners and advanced techniques, to create organic homemade compost that will enrich any soil type.
What is Compost?
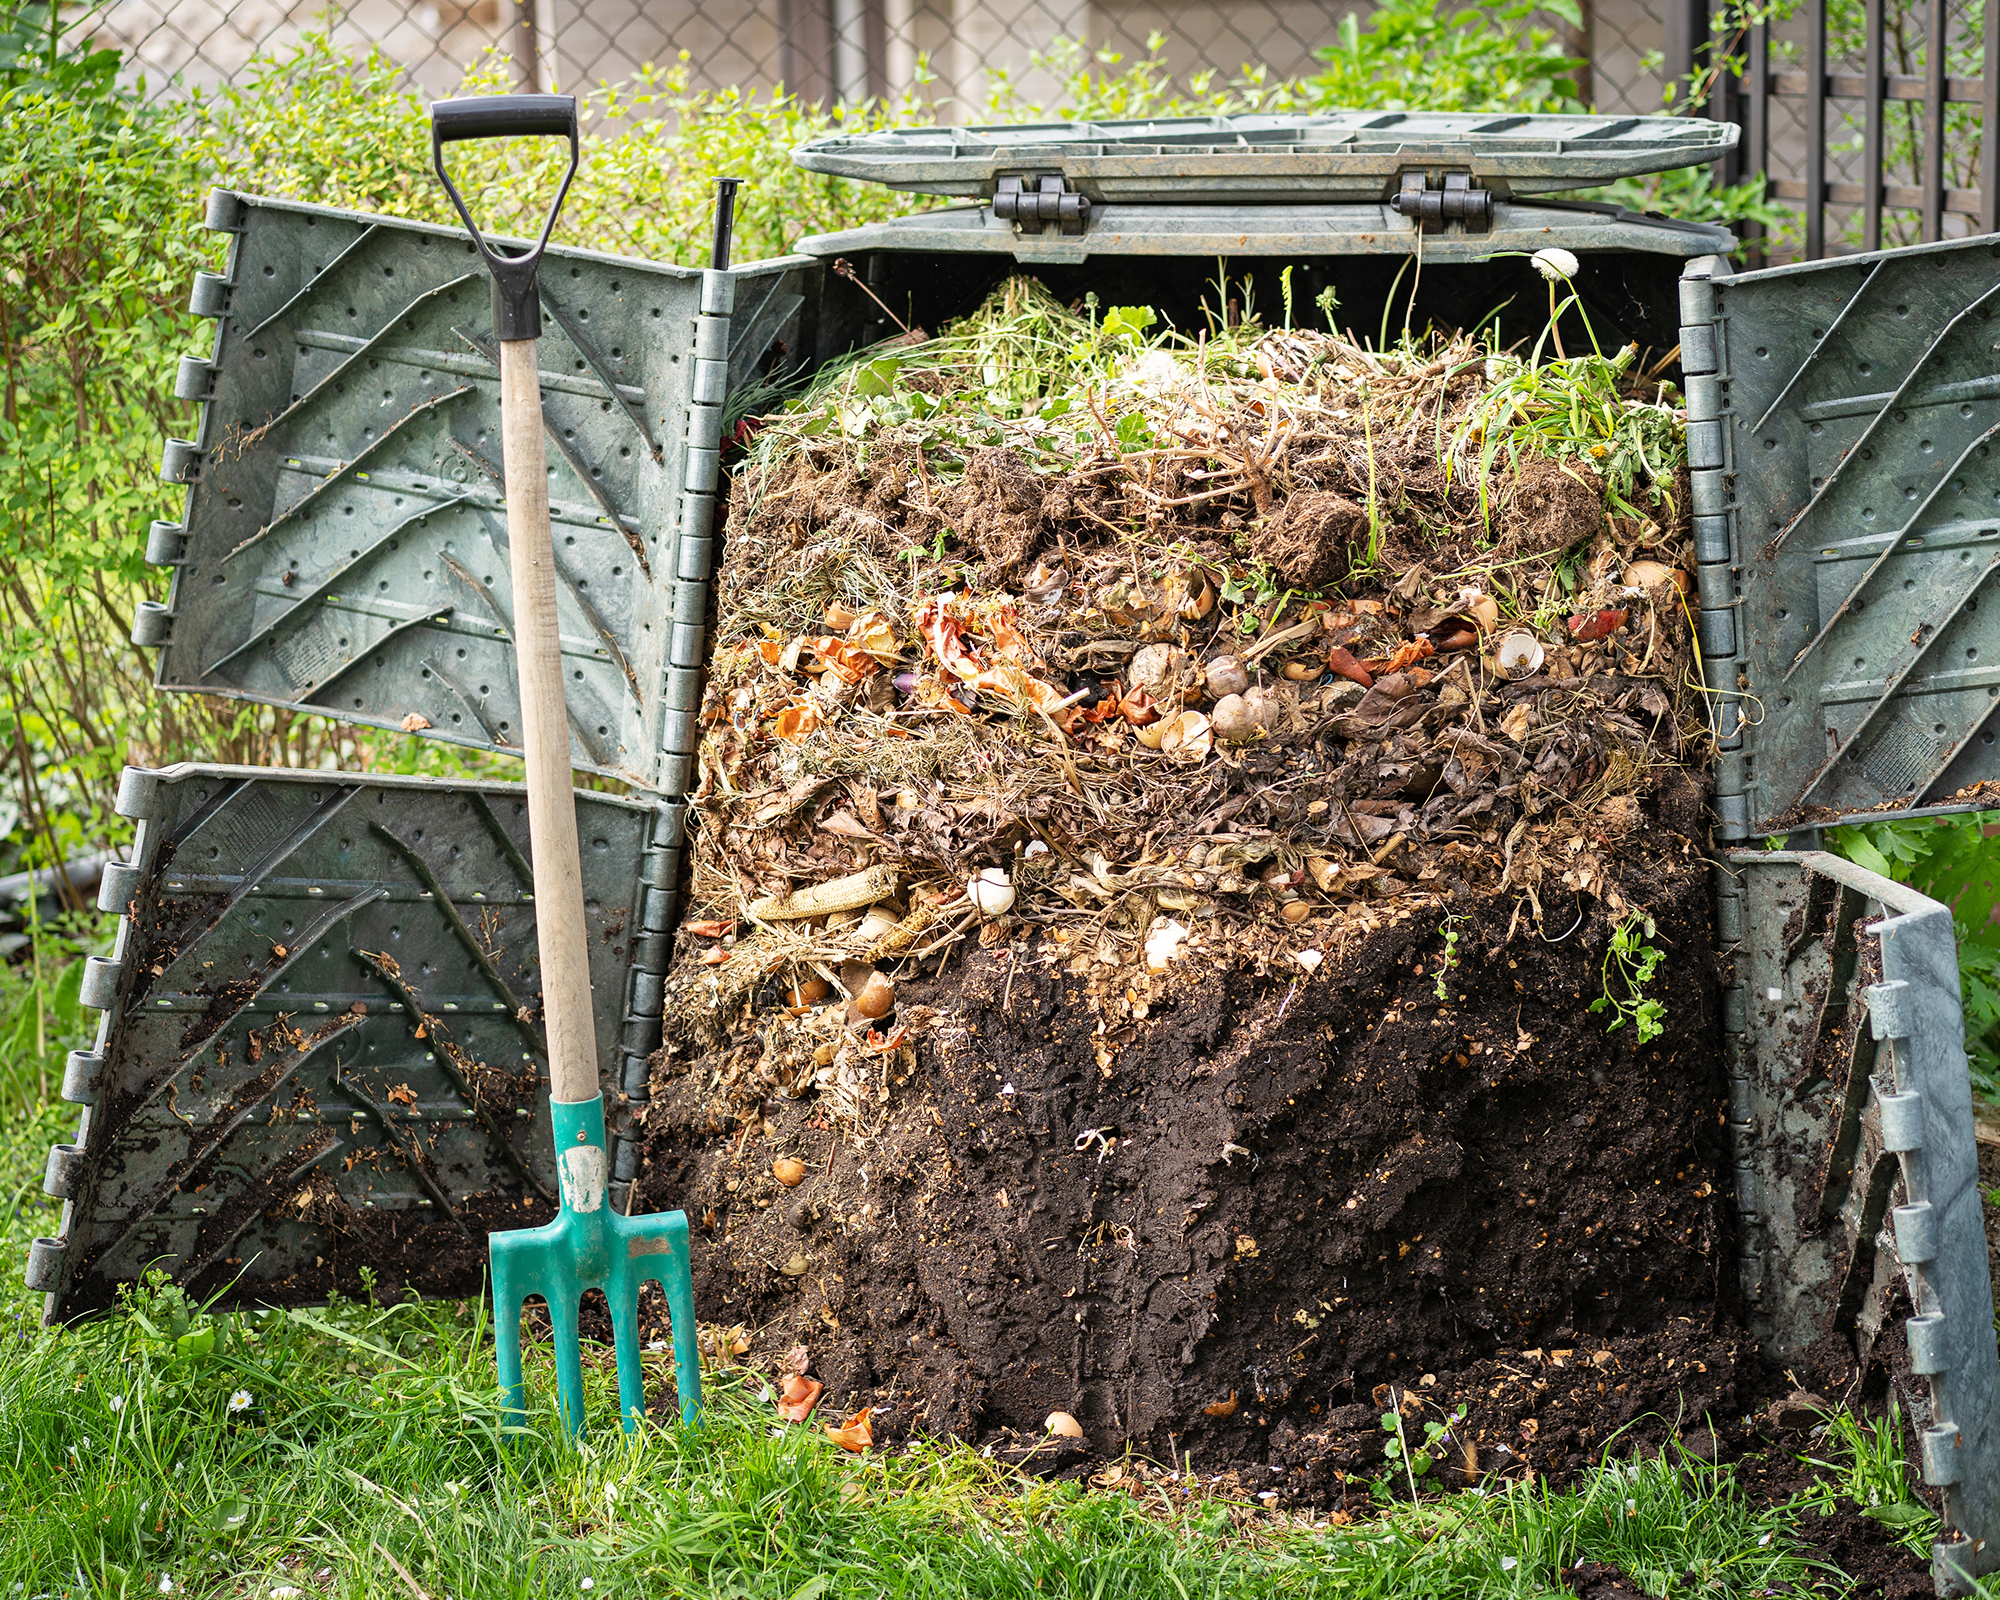
Compost is a soil-like substance made up of decomposed organic materials. It is usually worked into the soil by hand or tilling to improve its structure and serve as a natural fertilizer for plants, but it can also be layered over the soil as mulch or top dressing for lawns.
To understand the composting process, it helps to look at the recycling process found in nature. A leaf that drops in the forest will eventually break down into humus, a rich organic material, thanks to the activity of microbes and earthworms. This humus contributes to fertile soil that will promote the growth of healthy new plants.
Composting is the management of this natural decomposition process. To make compost, you gather material, like yard waste and kitchen scraps, in a container or pile. Microbes within the pile break down the materials, creating a product that is similar to humus, with a dark color, crumbly texture, and earthy smell.
Several factors affect the quality of compost and how long it takes to make (anywhere from 1 to 12 months), including the materials used, the ratio of carbon to nitrogen in the materials, the size of the pieces of waste, moisture content, the size of the pile, and aeration in the pile.
Sign up for the Gardening Know How newsletter today and receive a free copy of our e-book "How to Grow Delicious Tomatoes".
Types of Composting
There are numerous types of composting to consider – choose a method compatible with your space and lifestyle.
In its simplest form, composting can involve making a pile of material to decompose in the garden, but starting a compost bin or enclosure keeps it neater and easier to manage.
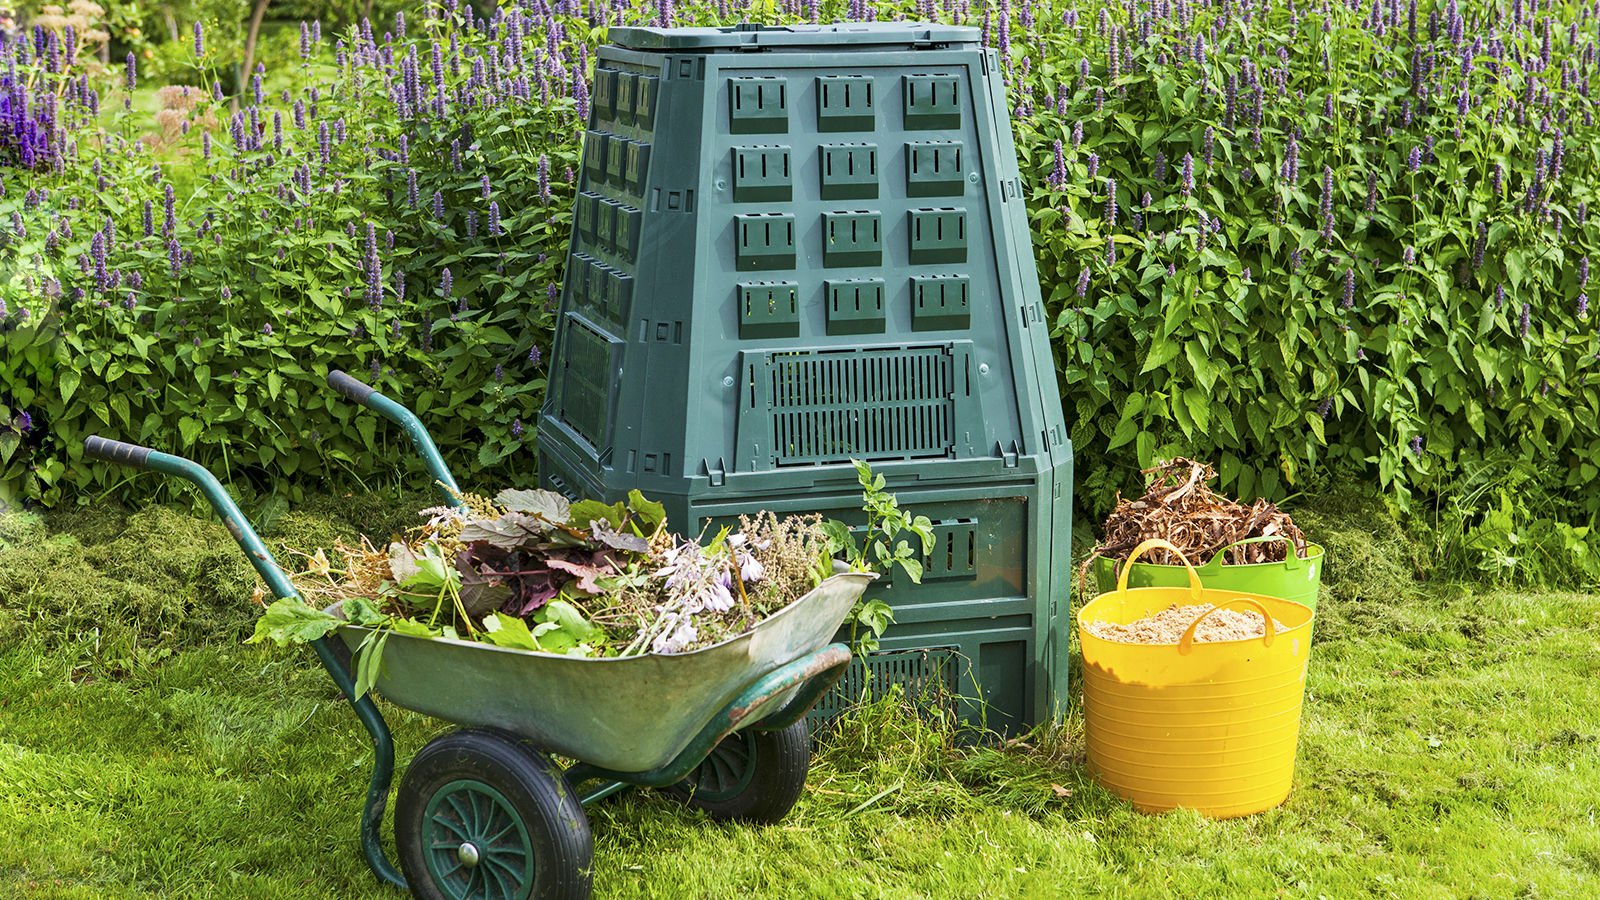
The best compost bin should have a secure lid, a good-sized access hatch, and be made of a durable material to ensure longevity and maintain a suitable compost temperature. Choose the largest size you can accommodate. Even a basic compost trash can will start you off on your composting journey. It's also easy to learn how to make a compost bin.
Compost bins vary in size, ranging between 5 to 7 feet (1.5 to 2m) wide and 3 to 4 feet high (0.9-1.2m). However, a more manageable size, especially for smaller gardens, is around 3 by 3 feet (0.9 by 0.9m).
When maintaining a compost bin or pile, you have some control over how quickly the compost is ready – and it's all related to how hot the pile gets.
- Cold composting is an add-as-you-go method that's perfect for low-maintenance gardeners who aren't in a rush. It's ideal for composting over winter – simply add items as and when they are disposed of.
- Hot composting involves maintaining a bin at a higher temperature through a carefully balanced materials mix. This produces compost in a much shorter time and kills off disease pathogens and weed seeds.
If you have limited outdoor space, consider a sophisticated indoor composting solution, such as an electric composter, which will quickly break down kitchen scraps. Be careful about which model you choose, however, as many electric models simply dehydrate food scraps, rather than producing microbe-loaded compost that has benefits in the garden. The best electric composters add beneficial bacteria to the process to produce more nutrient-rich pre-compost.
More basic small-space composting solutions include making 5-gallon bucket compost or compost in a bag.
To take your pile to the next level, consider one of these alternative composting methods designed to make even richer compost, or to speed up the process:
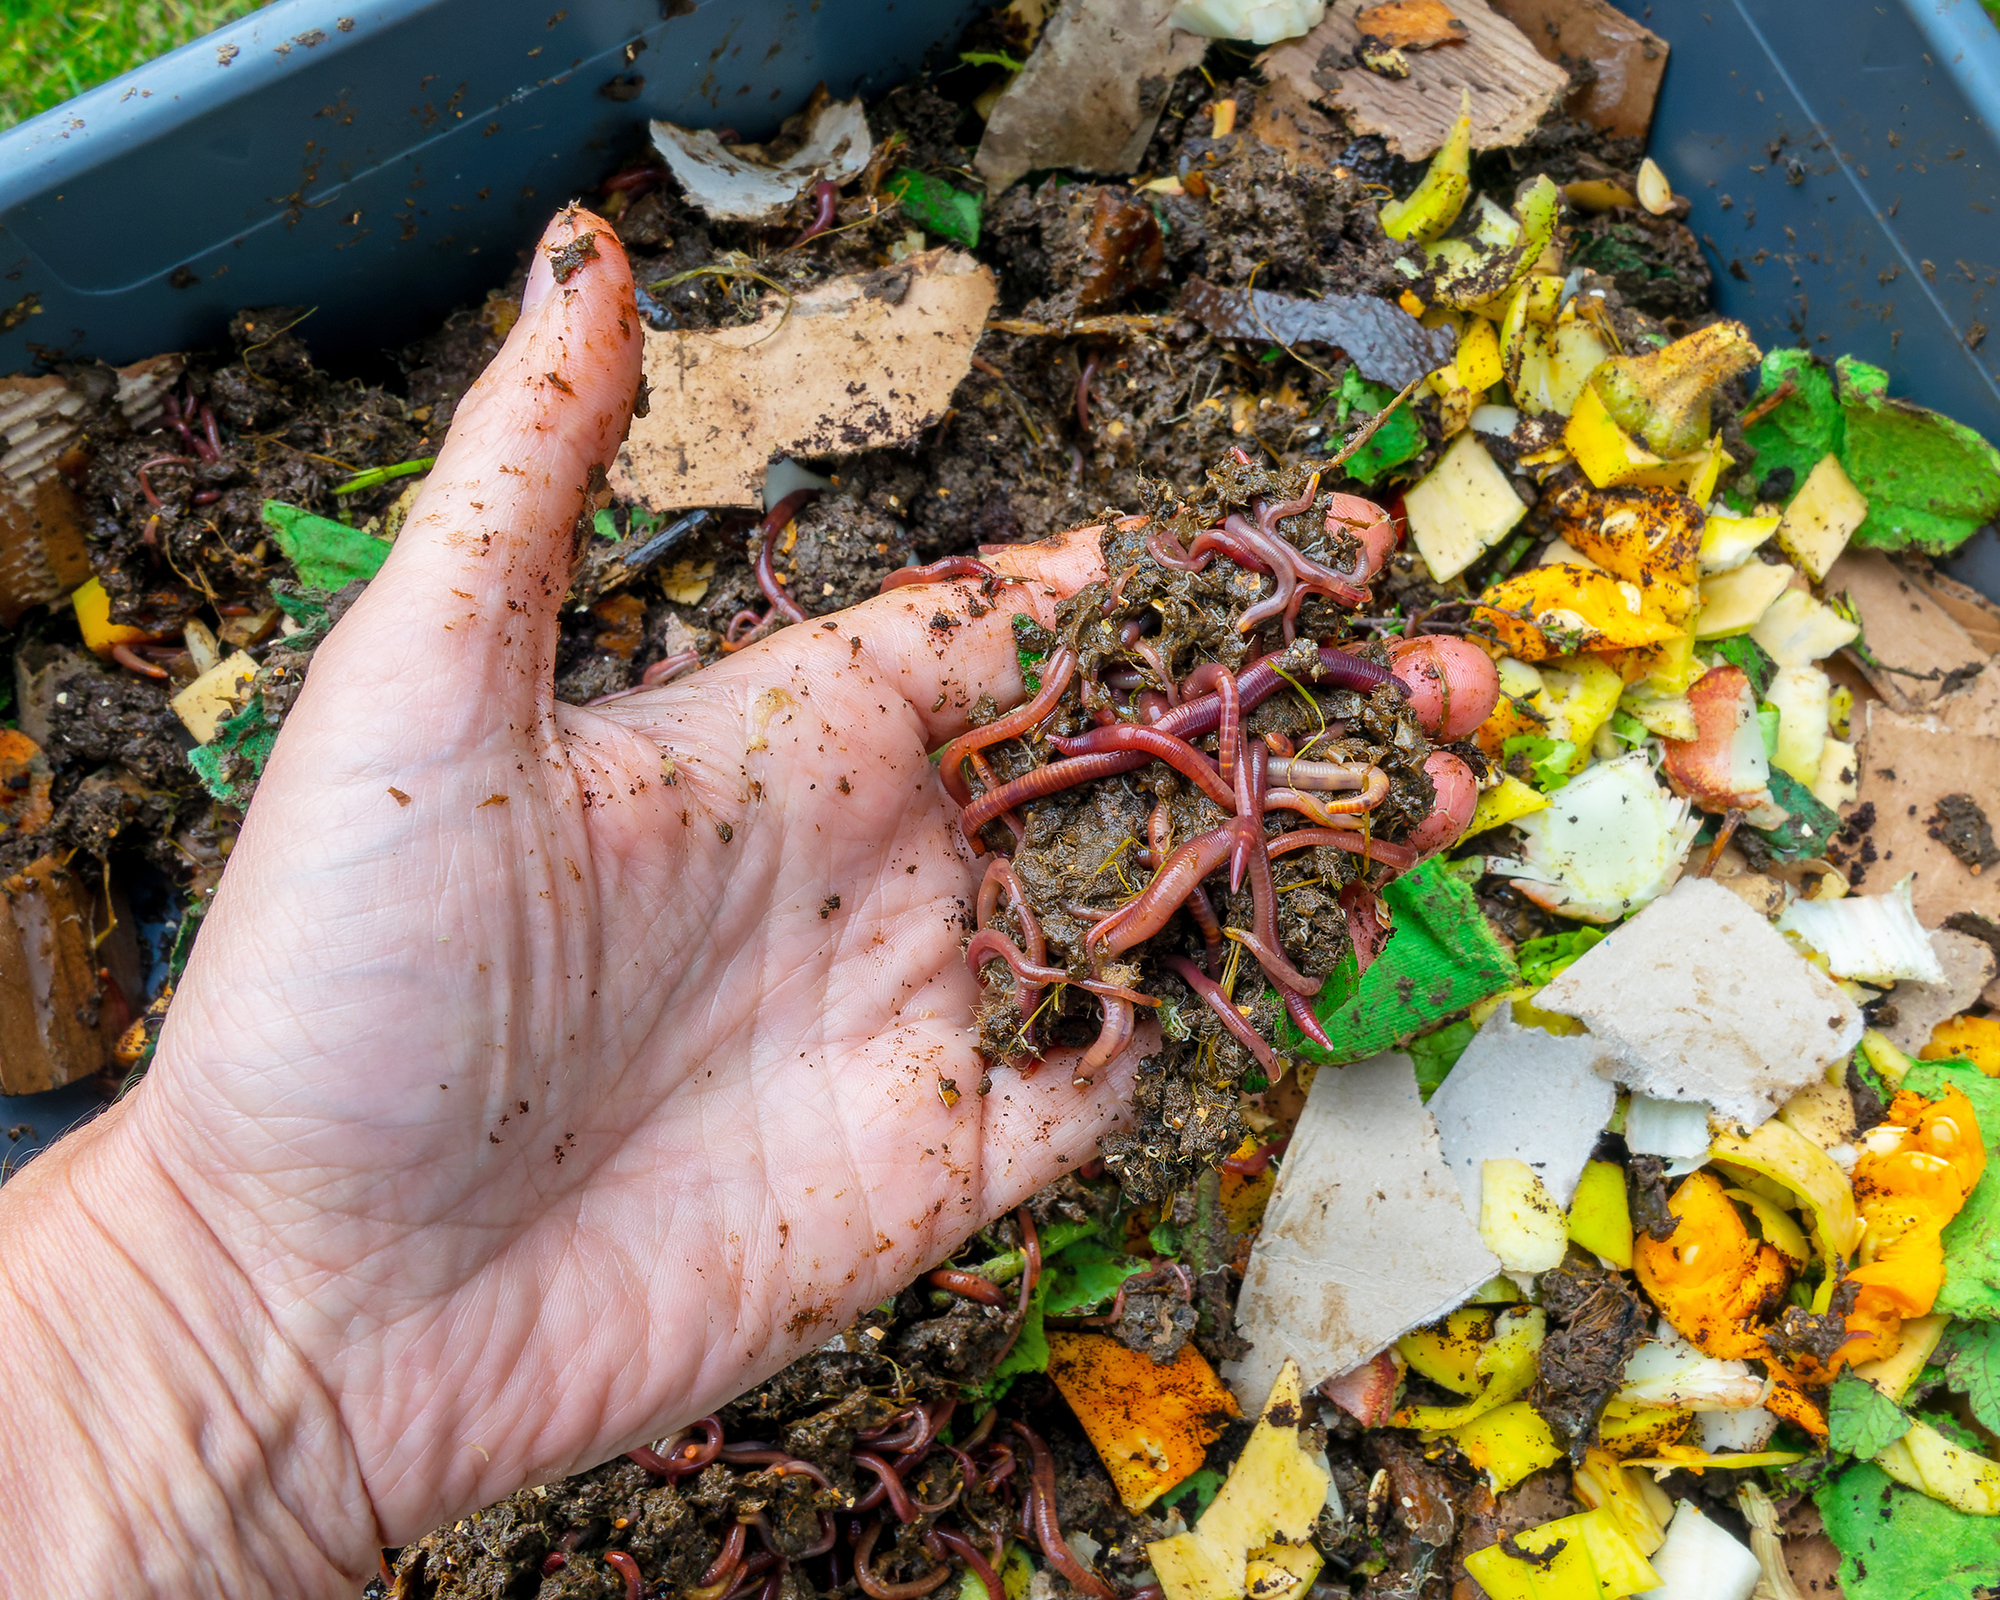
- Vermicomposting uses compost worms to support the microbes in breaking down materials. The method includes harvesting worm castings, a nutrient-rich waste material that is highly beneficial to plants and can be used to make worm tea.
- Bokashi composting is a process of fermenting food scraps which are sealed in an airtight bucket and fed a special bran mix. In just two weeks the method produces fermented compost which is then added to soil to finish decomposing.
- In-ground composting cuts out the need for a separate bin. Kitchen scraps and yard waste are added to a compost pit or smaller compost holes in the ground, and allowed to decompose in situ. Use the lasagna composting method to layer up different types of material and to help speed up decomposition.
- Compost tea is a process of soaking compost and other ingredients in water for several weeks, before straining the liquid. It creates a nutritious tonic that can be used to fertilize plants.
- Drunken compost uses beer, soda or sugar, and ammonia to speed things up. This simple but fast method yields compost in just a few weeks.
What Can Be Composted?
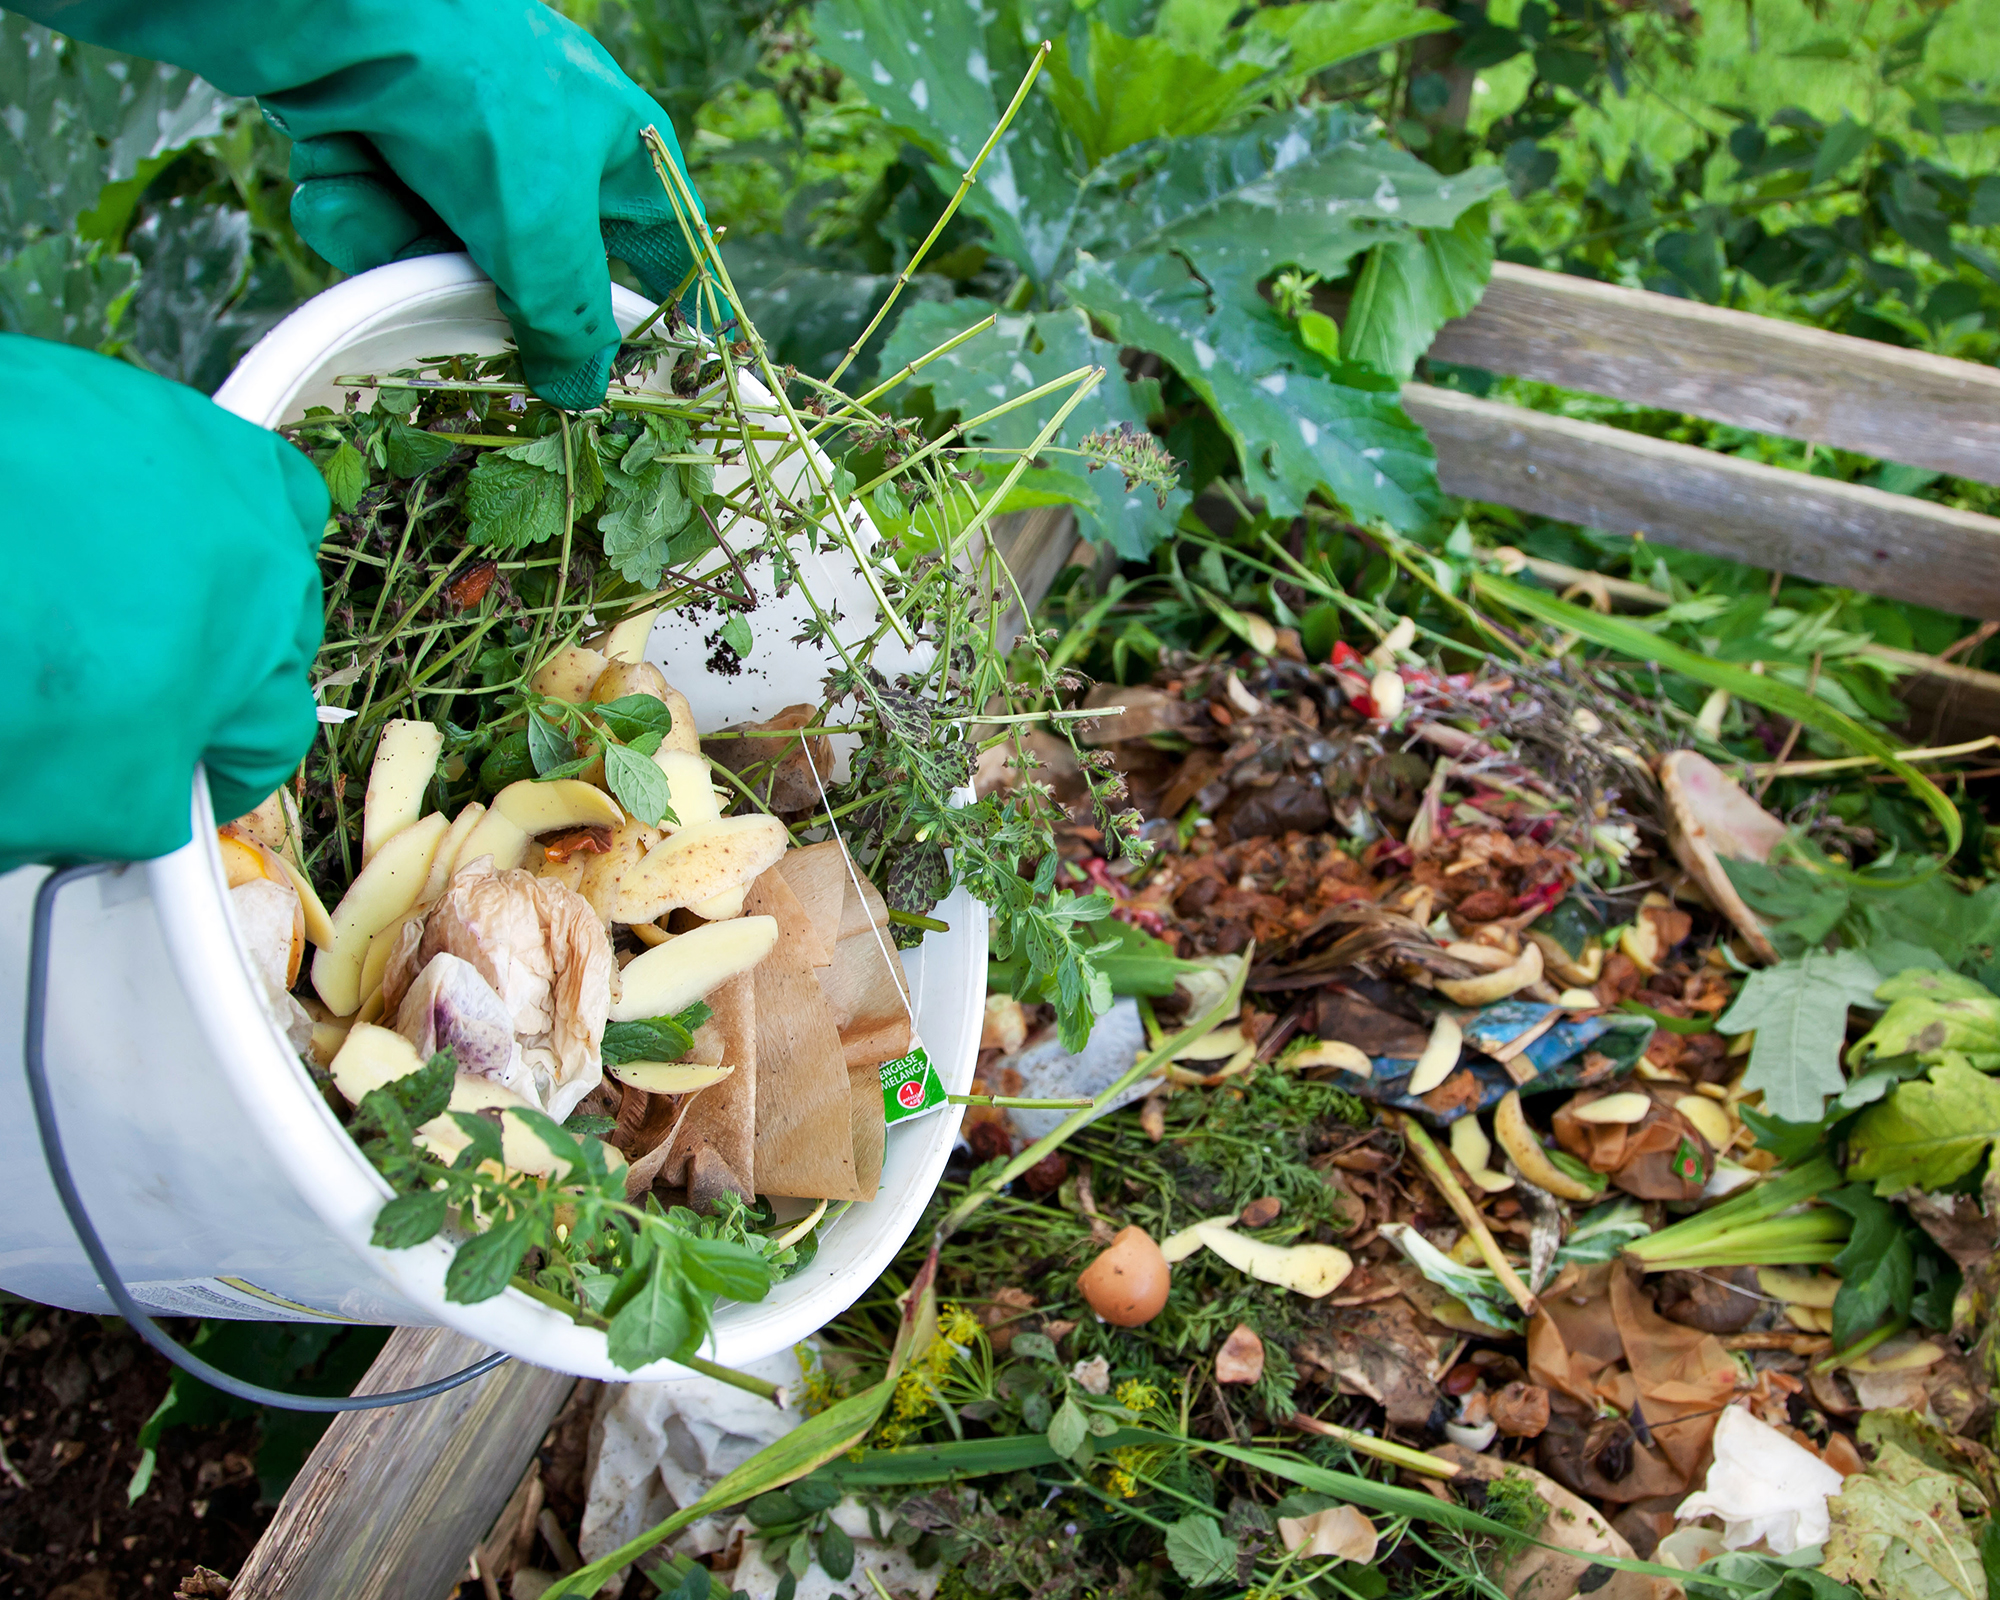
Learning what can be composted is one of the most important steps. The materials mix has a major impact on the quality of the final product and will encourage the right balance of compost bacteria. Getting the balance wrong is one of the worst composting mistakes you can make, potentially leading to an unusable pile.
Good compost comes from a mix of compost browns and greens – which are carbon-rich and nitrogen-rich materials. If the mix is off, the pile will not heat up enough and microbes will not activate and begin breaking down the material. Aim for a ratio of 3 or 4 brown to 1 green, but don’t worry about being too precise.
- Brown materials include dry leaves, wood chips and twigs, newspaper, cardboard, and other compostable paper, such as plates and napkins.
- Green materials can be provided by composting food waste and yard waste. Add grass clippings, fresh plant trimmings, fruit and vegetable scraps, eggshells, and coffee grounds. Remove any non-organic material from kitchen waste, such as fruit stickers or staples in tea bags.
- Do not compost meat, dairy, or oily foods – small amounts of vegetable oil are ok. Also avoid diseased plants, weeds (make weed compost tea instead), and any plants treated with pesticides or herbicides.
- Composting liquids is fine in moderation – adding beer or wine can even be beneficial. However, you may need to include more brown materials to absorb the moisture.
- As well as being added to the compost pile, leaves can also be used to make leaf mold, which is an invaluable soil conditioner.
- Manure can enrich compost, as it is a good source of nitrogen and other nutrients. However, it can contain harmful pathogens and produce unpleasant odors, so add it in moderation and only use the manure of certain farm animals including cows, chickens, and horses. Never use dog poop or cat poop
- Composting human waste is a controversial topic, as it contains harmful pathogens that must be treated at a high temperature over a long time, which is not possible to achieve in a home composting pile. In some states, a composting toilet may be used to produce compost that can be added to ornamental gardens.
When building a compost pile, a layering structure is best. This means adding green and brown materials in alternating layers, like a lasagna. Start with a bottom layer of sticks to allow for airflow, then layer the other materials on top.
Compost Temperature
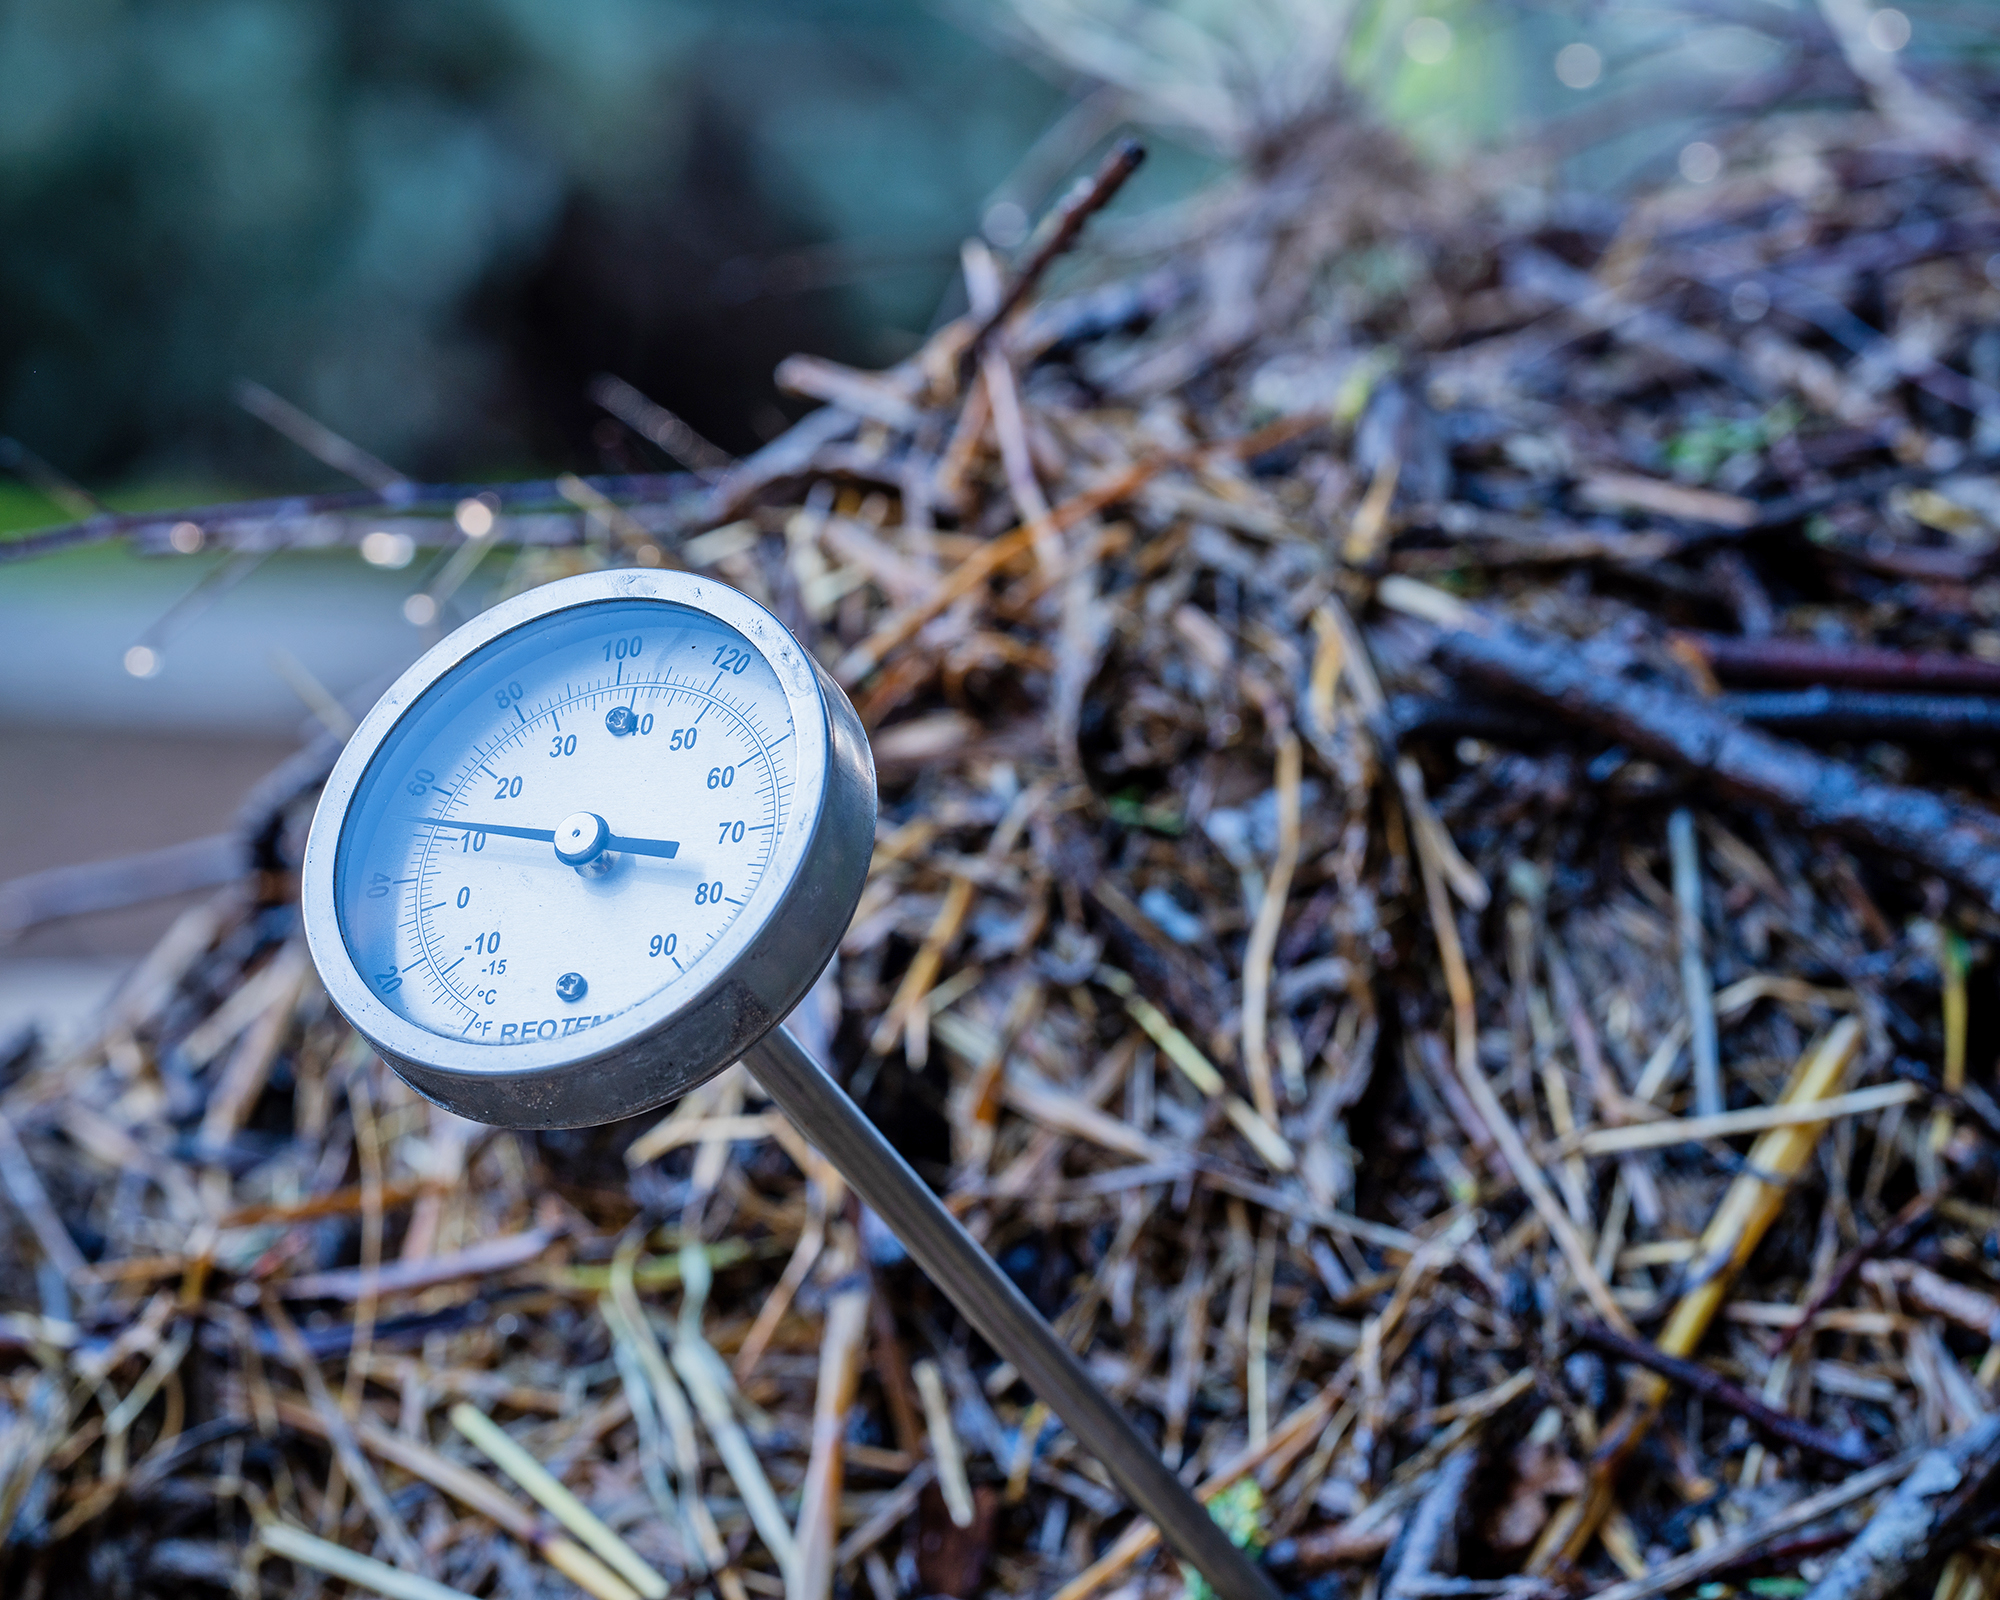
Compost must get hot to decompose properly, otherwise you'll be left with a smelly rotting pile that takes a long time to break down. You don't have to manually heat it to achieve the correct compost temperature, rather it is a natural reaction created with the right mix of decomposing greens and browns.
When you have layered up your compost bin, leave it in place for a few days to allow the compost to heat up. The center of the pile should reach temperatures between 140 and 150°F (60-65°C). It’s a good idea to use a thermometer to check the temperature because you should not turn the pile until it’s hot enough.
If your compost is not heating up, then the most likely reason is a lack of green nitrogen-rich material. However, a lack of moisture is also a common problem. Squeeze it to check – it should feel like a damp sponge rather than being dripping wet.
Another way to help the pile heat up is to mix in a shovelful of soil from the garden. This will add the necessary bacteria, which can multiply throughout the compost.
Turning Compost
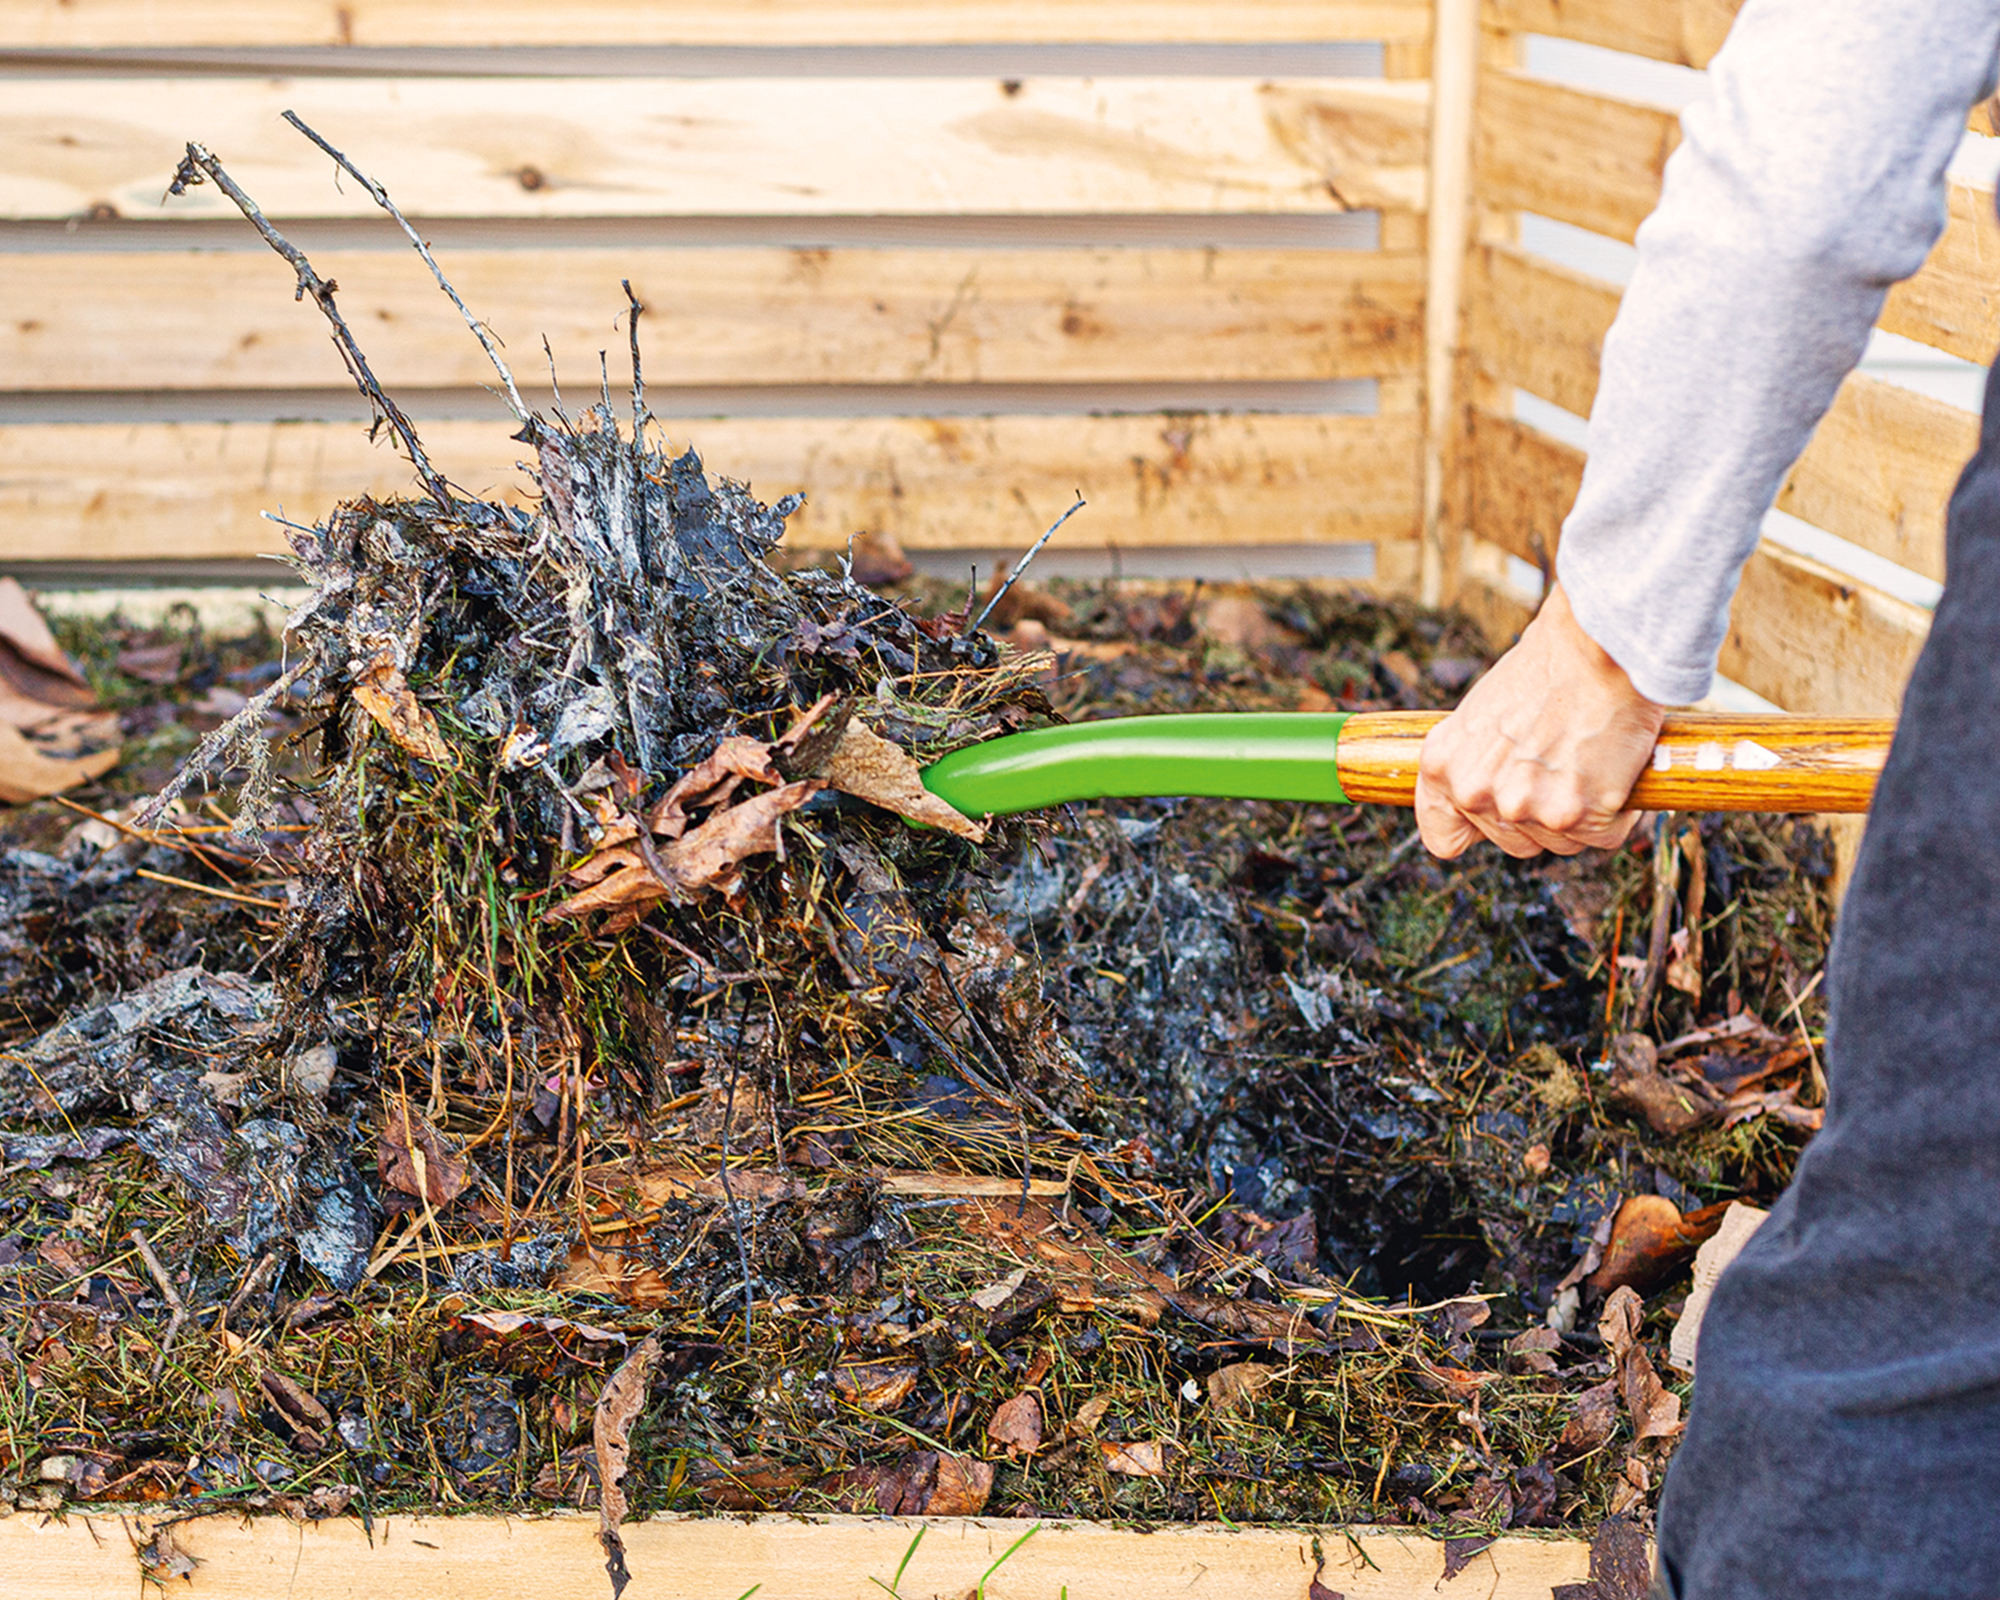
Turning compost will help aerate the pile and prevent it from becoming compacted. It is also one of the best ways to speed up composting.
Once the pile is hot enough, simply use a shovel or garden fork to turn and mix the pile. If that sounds like a lot of effort, then use a compost turner to get the job done more easily. Simply fill it up, and turn it once or twice a week.
The best compost tumblers will take just a minute or two to turn your pile and can produce compost that is ready to use in just three months. The downside to these units is that you can't add as you go.
Ideally, turn your compost pile every few weeks until it is ready to use. If the compost is smelly or slow to decompose, then turn it more frequently.
How to Know When Compost is Ready
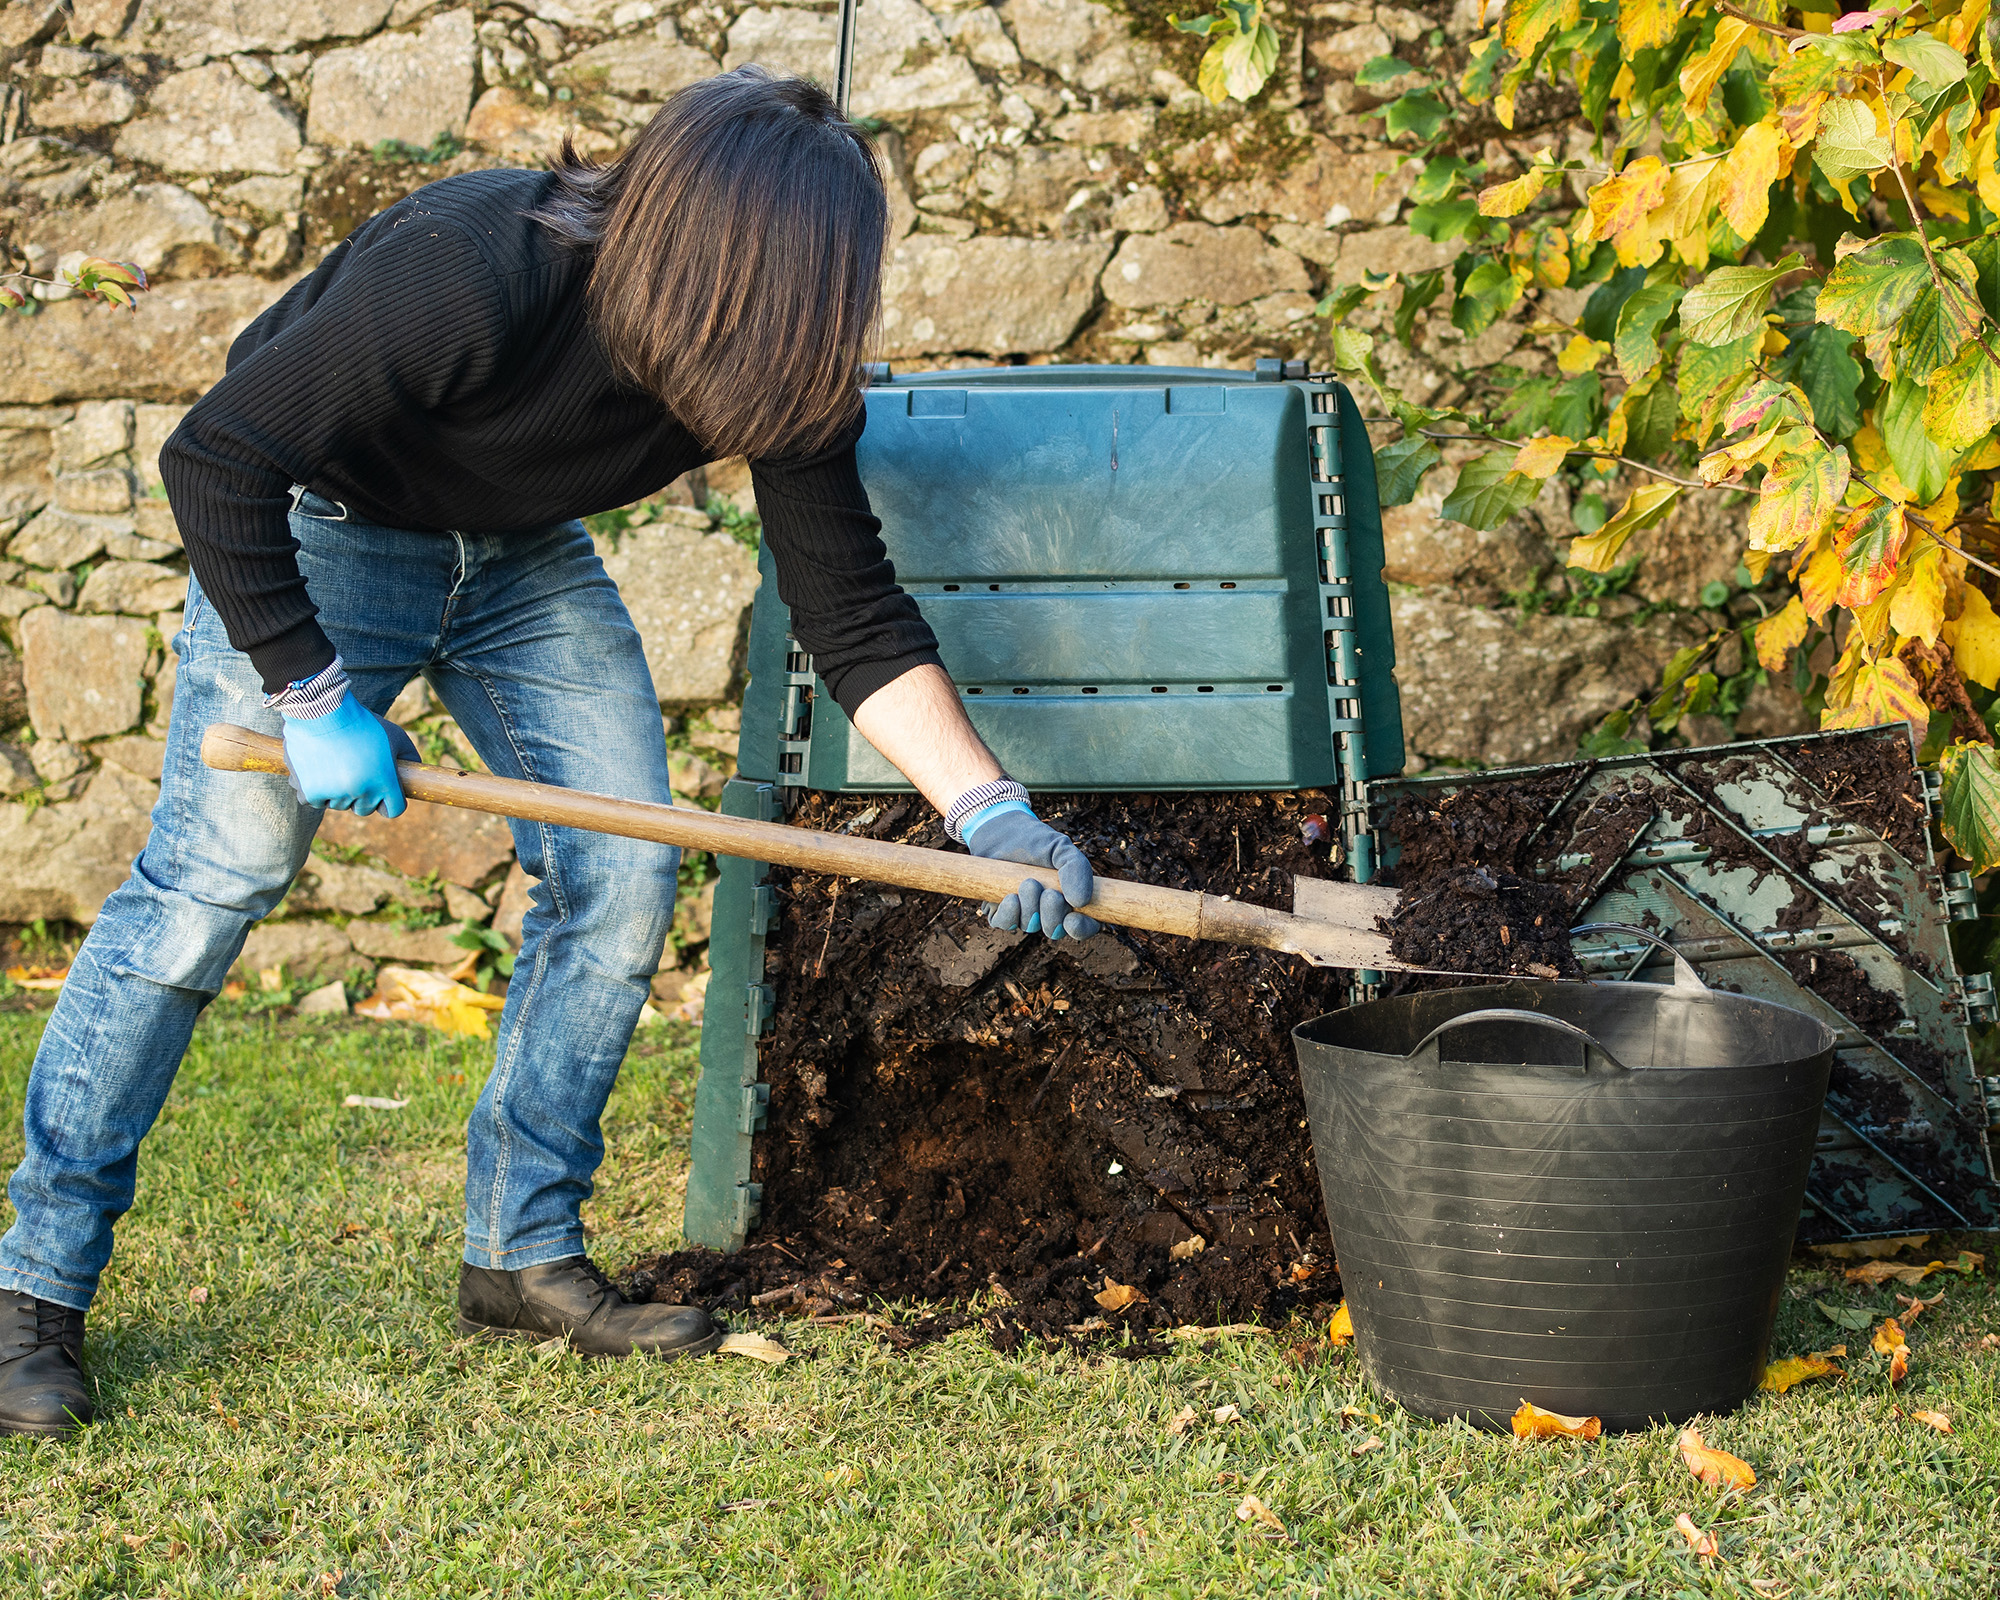
Using compost before it is ready can have a damaging effect on plants, so make sure it is ready before using.
A well-tended compost bin or pile takes around 3-4 months before it is ready, but it can take anything up to a year.
Finished compost looks and smells like soil, and has a crumbly texture. It will have reduced in volume by about a half, and the original items added to the pile will no longer be evident. The temperature will also be reduced as the bacteria has done its work.
When harvesting compost, you need to take it from the bottom – unless using a tumbler, when it will all be ready at once. Most purpose-built composting bins have a hatch at the bottom to remove the finished compost. But if you have a standard bin or pile, then you'll need to remove the top layer, shovel out the bottom layer of compost, and then put the newer compost back.
Ideal Compost pH
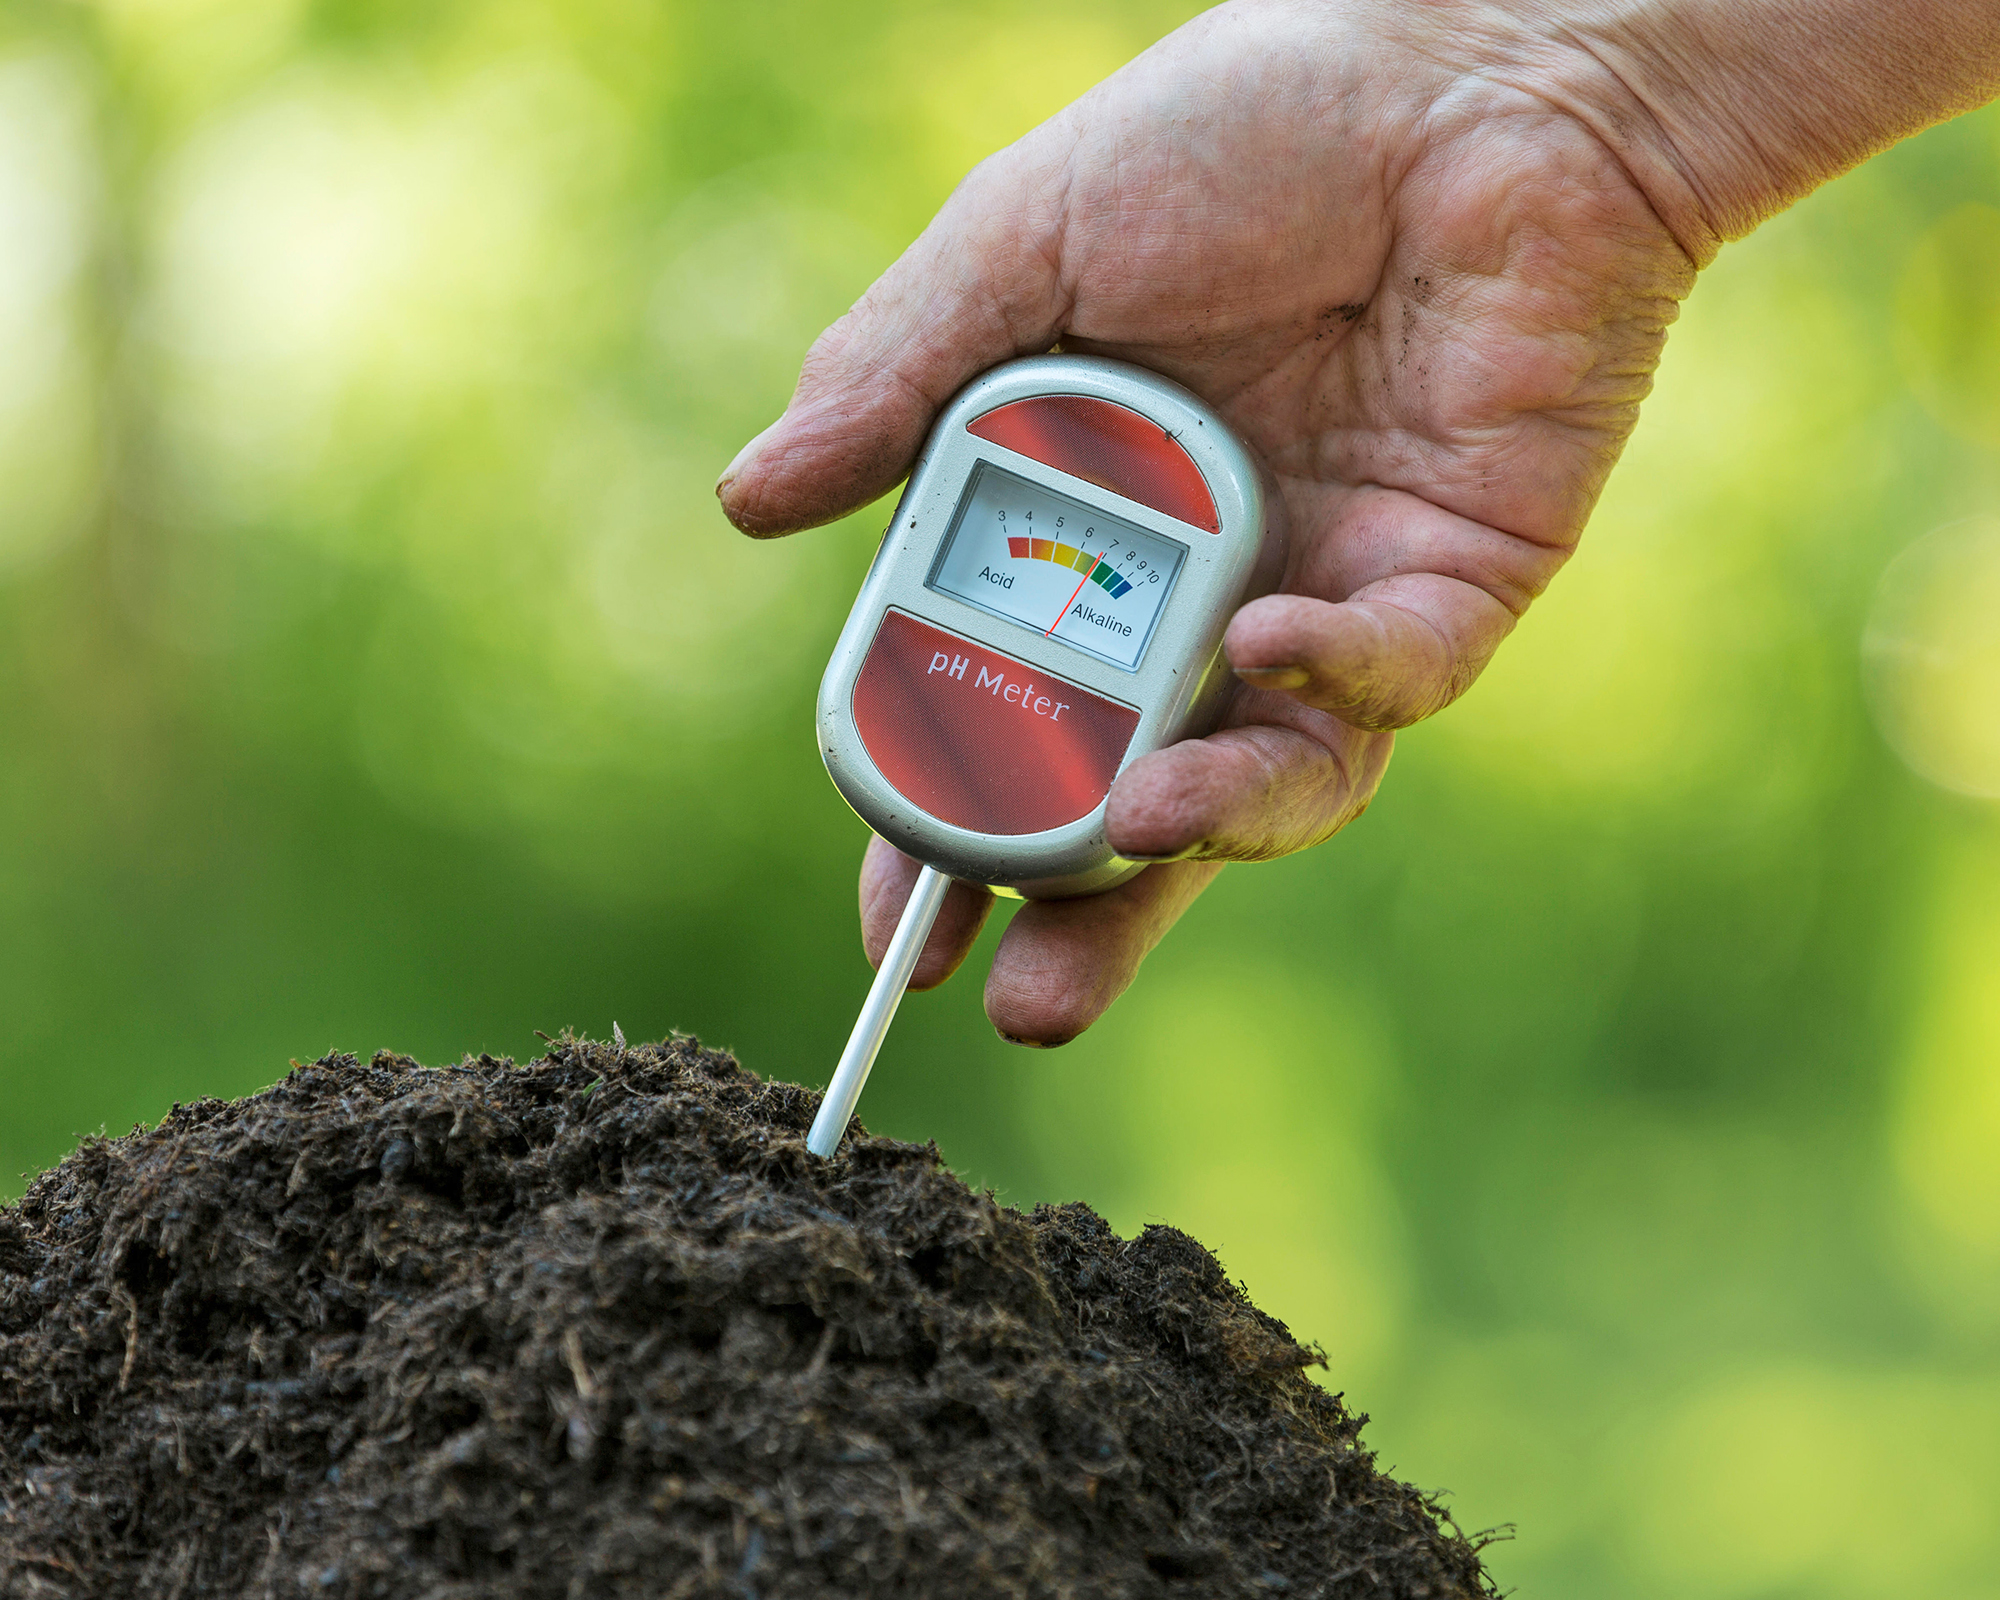
A typical compost pH level is between 6 and 8, which is suitable for most plants. When the compost is mixed into acidic soil or alkaline soil, it will alter the acidity of the soil, and make it more neutral. However, its pH can be adjusted if necessary.
If you are growing acid-loving plants, you will need to use ericaceous compost. This can be created by adding acidic materials to the compost as it breaks down, such as pine needles or oak leaves. Alternatively, you can lower the pH at the time of planting by mixing in aluminum sulfate.
To increase the alkalinity of compost, it's important to include plenty of brown material. Layering in wood ash can help to reduce acidity. If the compost pH is still too low, you can mix in some lime at the time of planting.
How to Store Compost
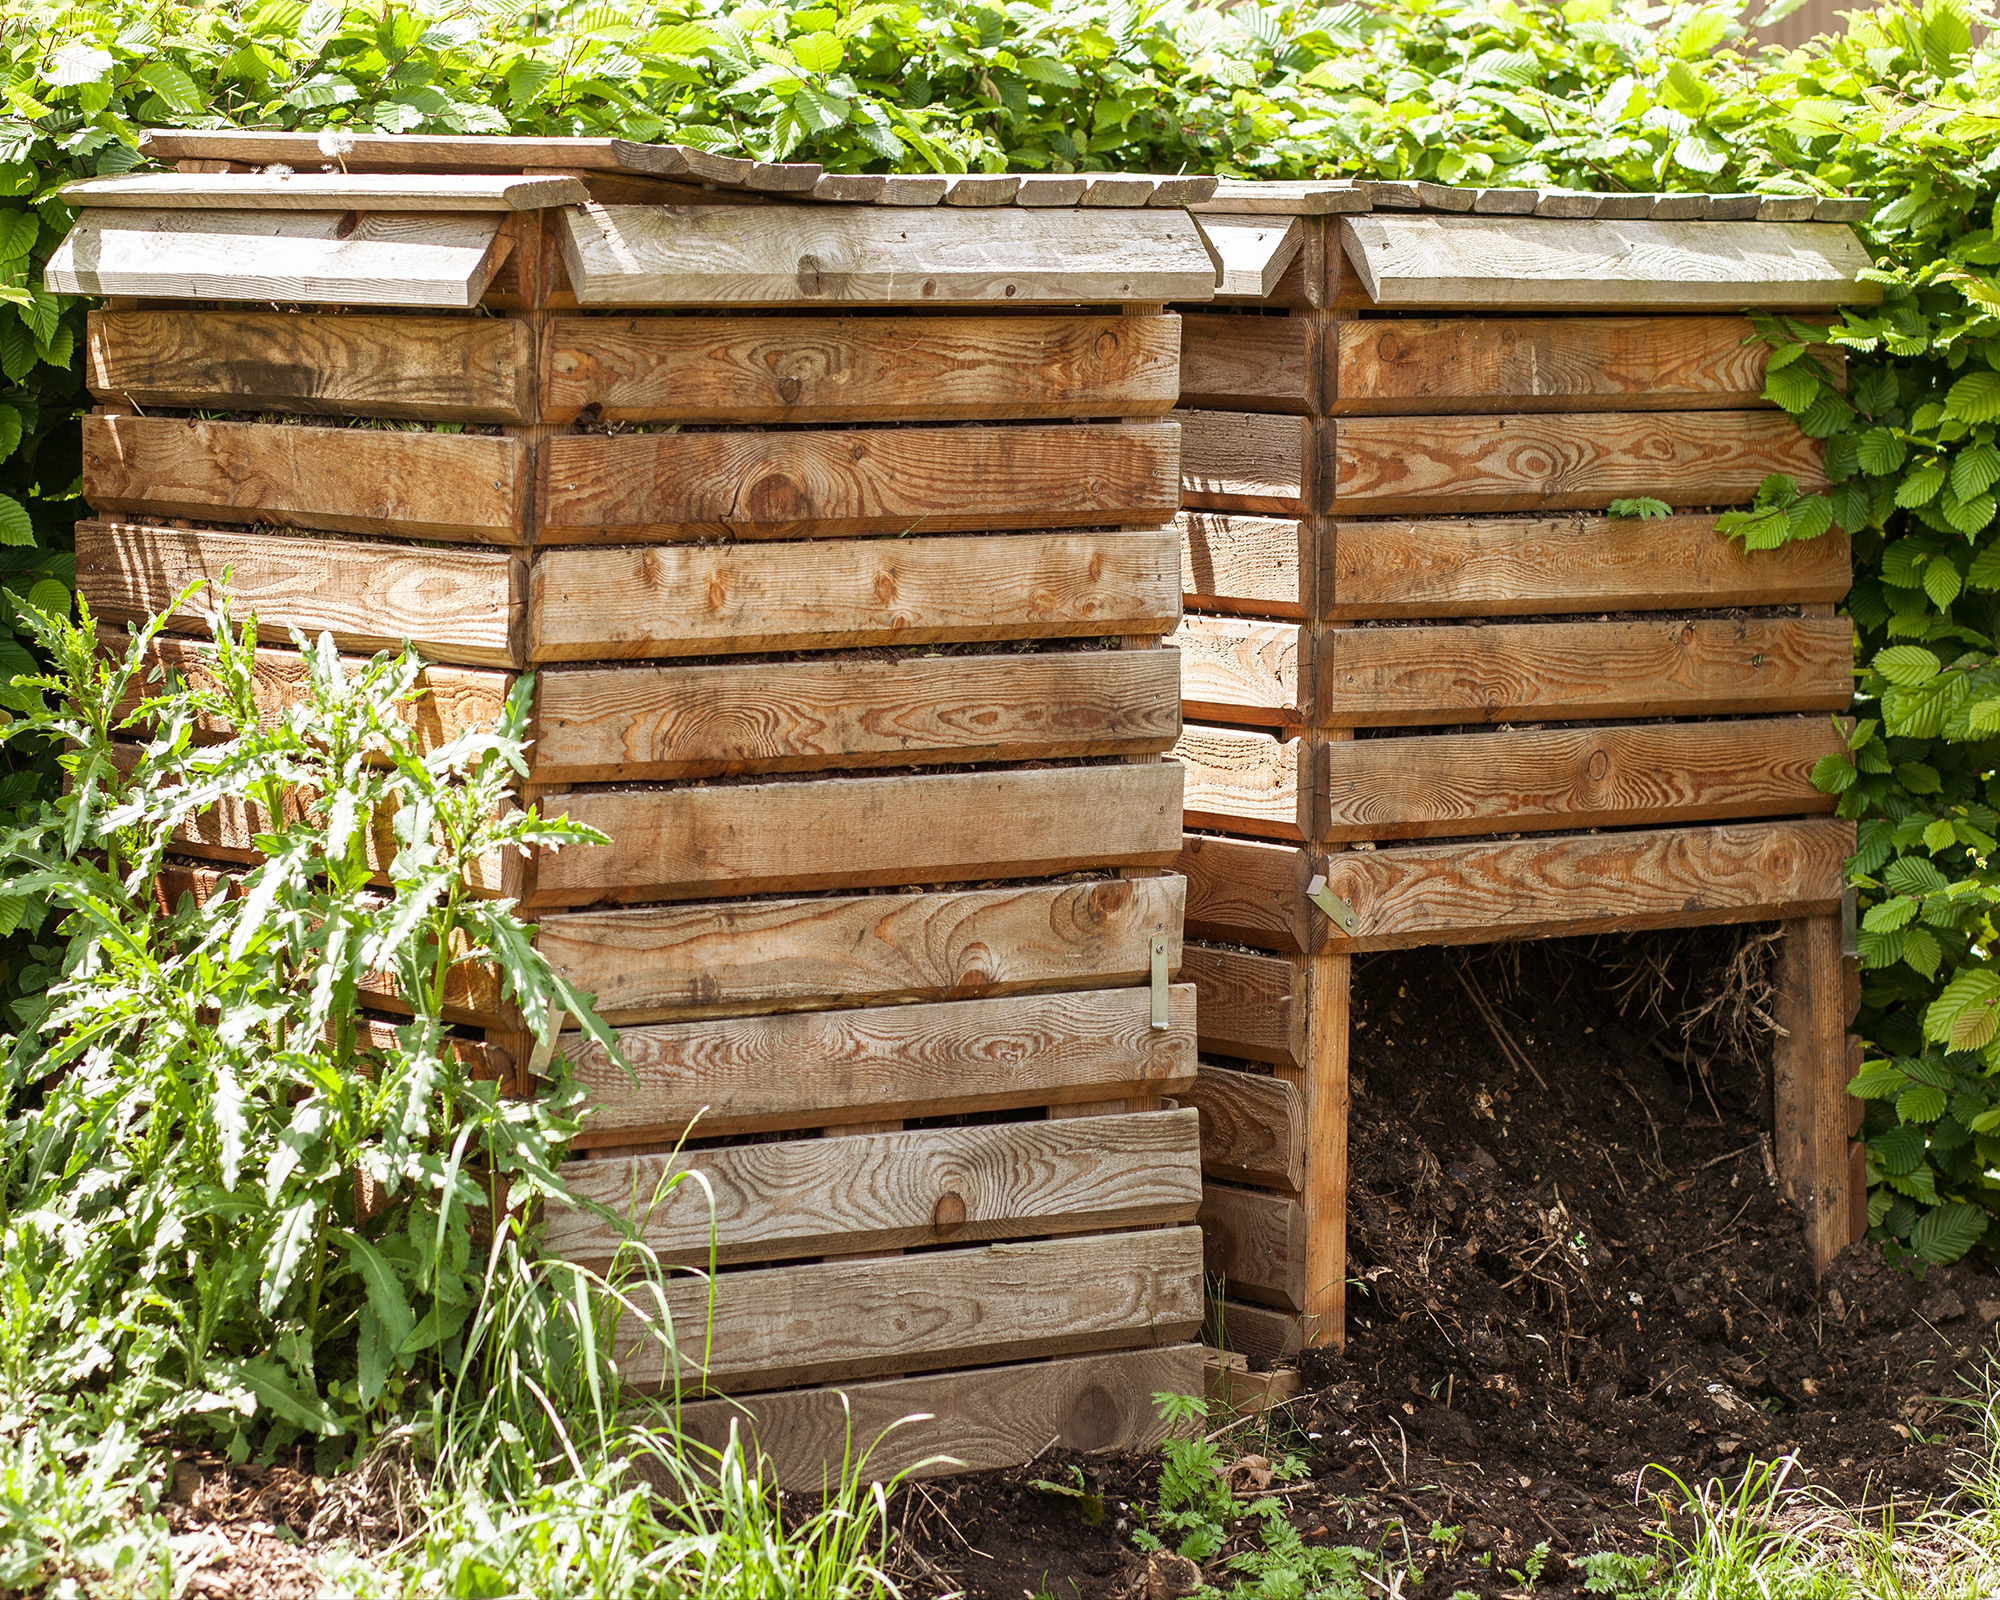
If you're making lots of compost in advance of the growing season, then you will need somewhere to keep it. Knowing how to store compost correctly will ensure it doesn't dry out and will keep the microbes alive and active.
If you have the space, then an additional compost bin is ideal. Alternatively, an easy and effective option is to store compost in a pile on the ground, covered with plastic sheeting or a tarp. This will keep it protected while allowing access to worms. However, a covered pile is not very attractive and will take up a lot of room.
You can also store compost in garbage cans or plastic bags. Check it regularly to ensure it isn't drying out – stirring in a little water if it does.
How to Use Compost
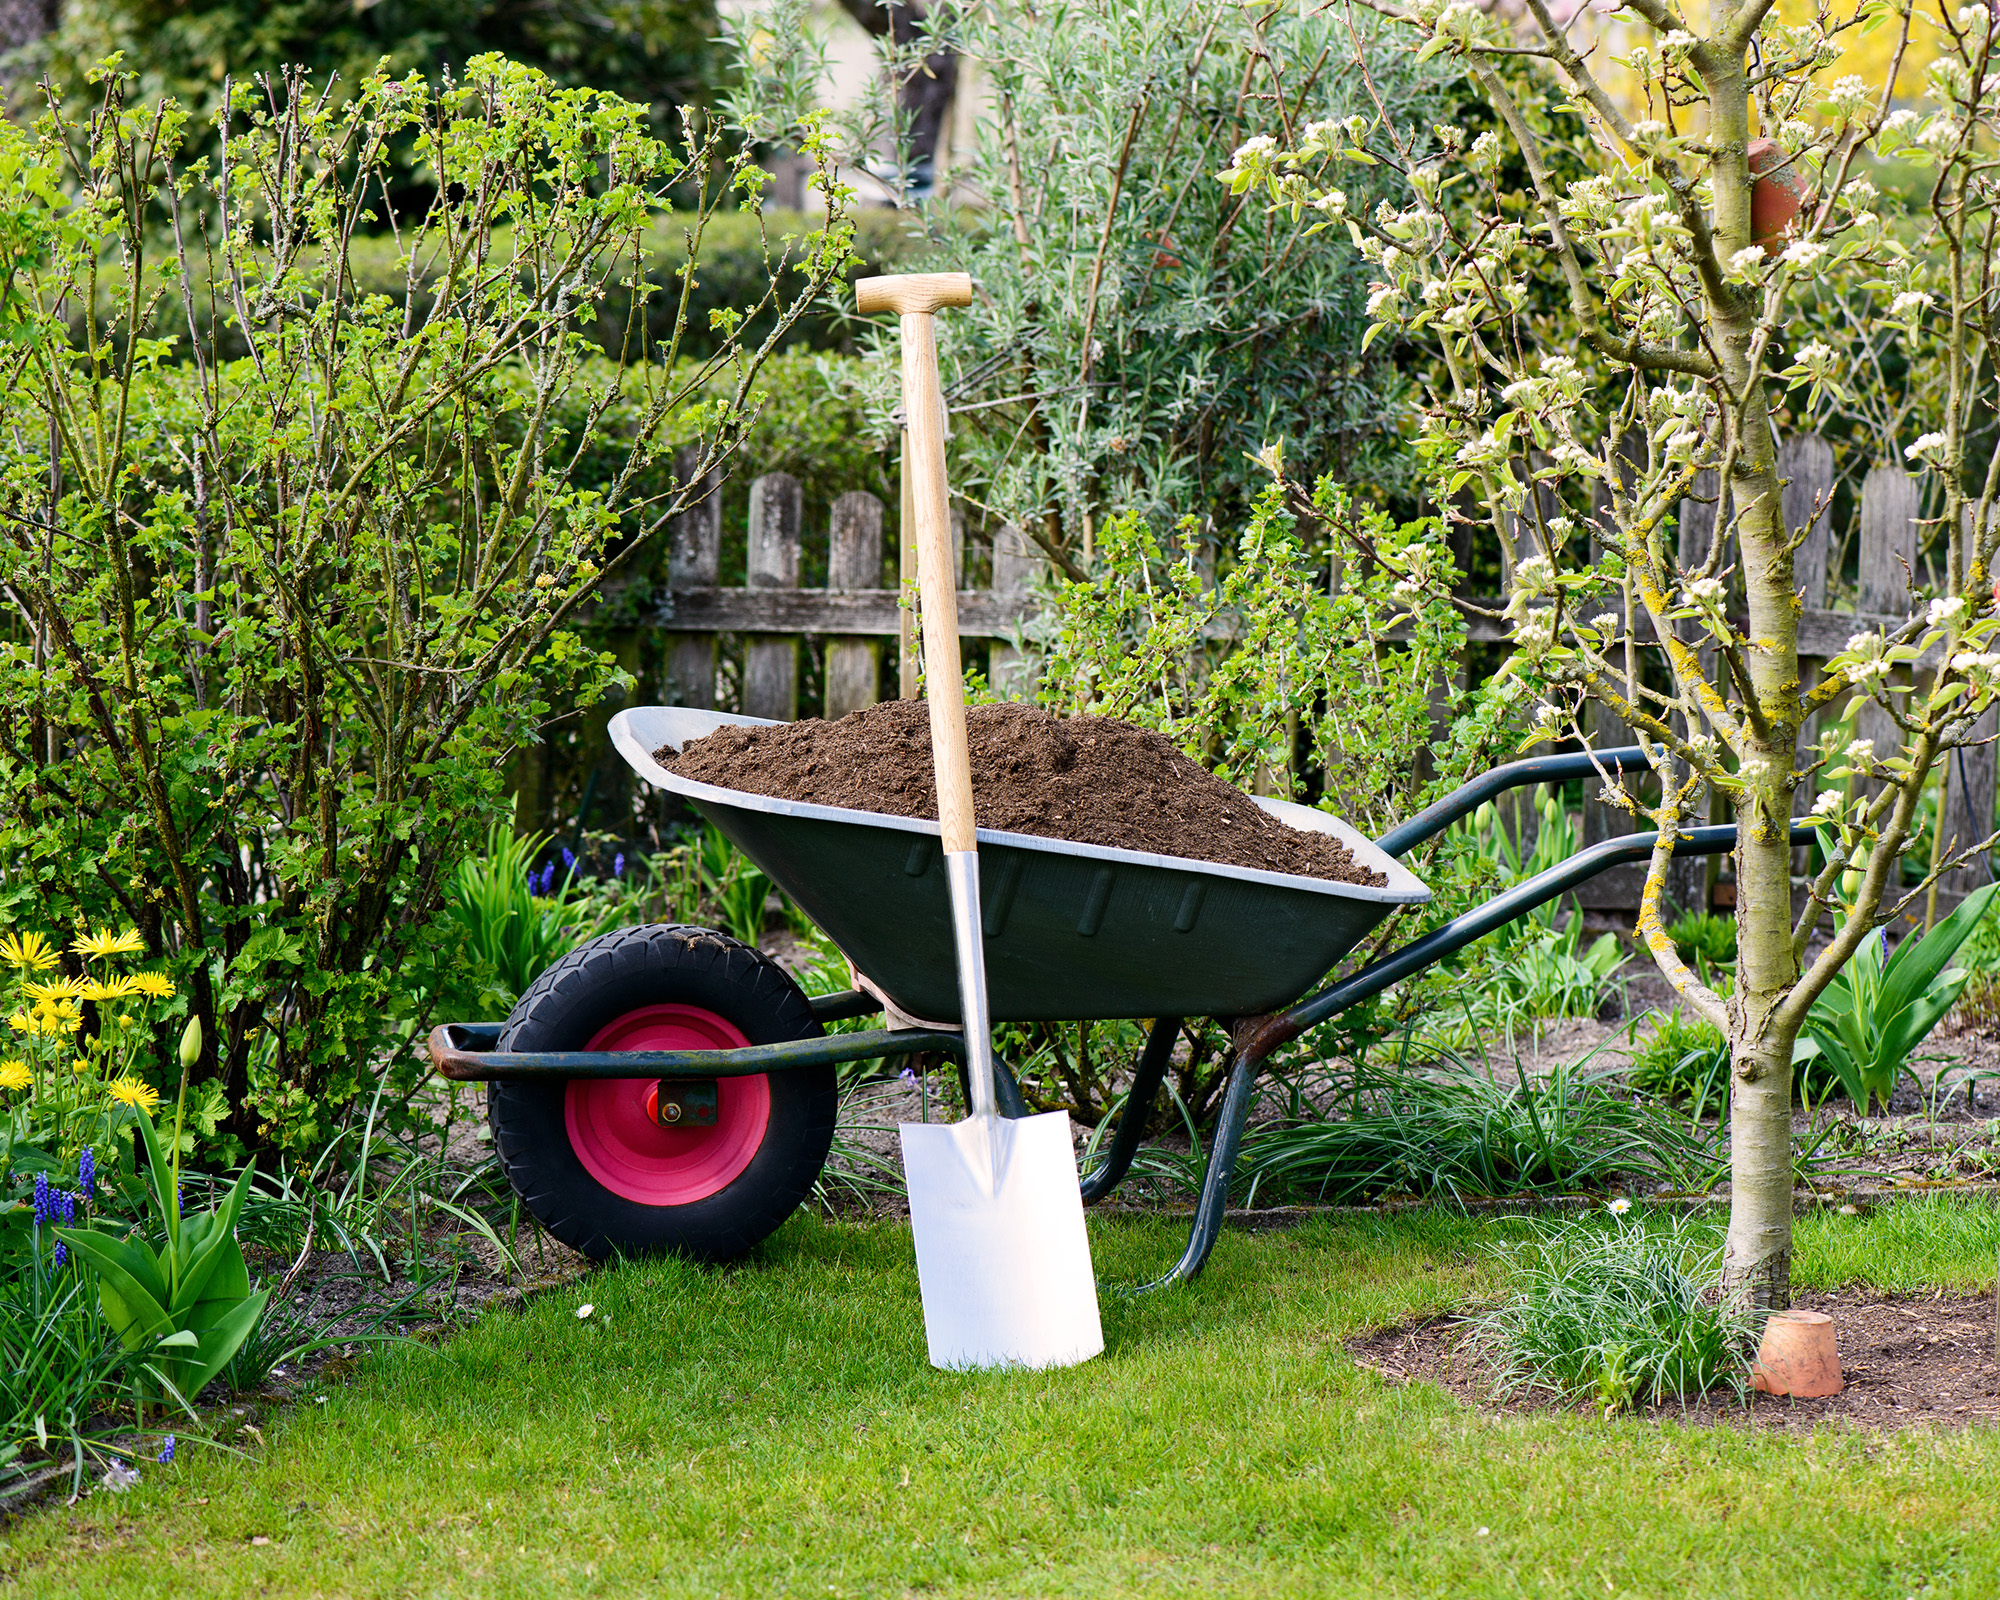
There are numerous ways to use compost in the garden and it can be added to improve the health of almost any soil type. Here are the best ideas for using your homemade stash:
- To mulch with compost, add a 2 to 4 inch (5-10cm) layer over the soil around your perennial plants and trees. This will gradually be absorbed into the soil, imparting nutrients, but in the meantime will help to keep down weeds, retain moisture, and insulate plant roots from the cold.
- To amend soil with compost mix it in using your hands or a spade. This will fertilize and aerate the soil before planting, creating the ideal growing medium.
- You can fertilize the lawn by adding an inch or two (2.5-5cm) of compost over the grass and raking it in. It's best to use a compost-spreading tool for this. When it rains and the grass grows, the compost will dissipate into the soil and nourish the roots of the grass.
- Use a small amount of compost for seeds to provide a healthy growing medium. When starting seeds, it's best to first sieve your compost to produce a finer texture.
- Fill a raised garden bed with homemade compost to create the perfect environment for growing your own organic vegetables.
- Donate leftover compost to neighbors, community or school gardens, or farmers markets.
If you're wondering how much compost to add to soil, aim for a layer of 1-3 inches (2.5-7.5cm), which you can then work into the soil if required.
Common Compost Problems
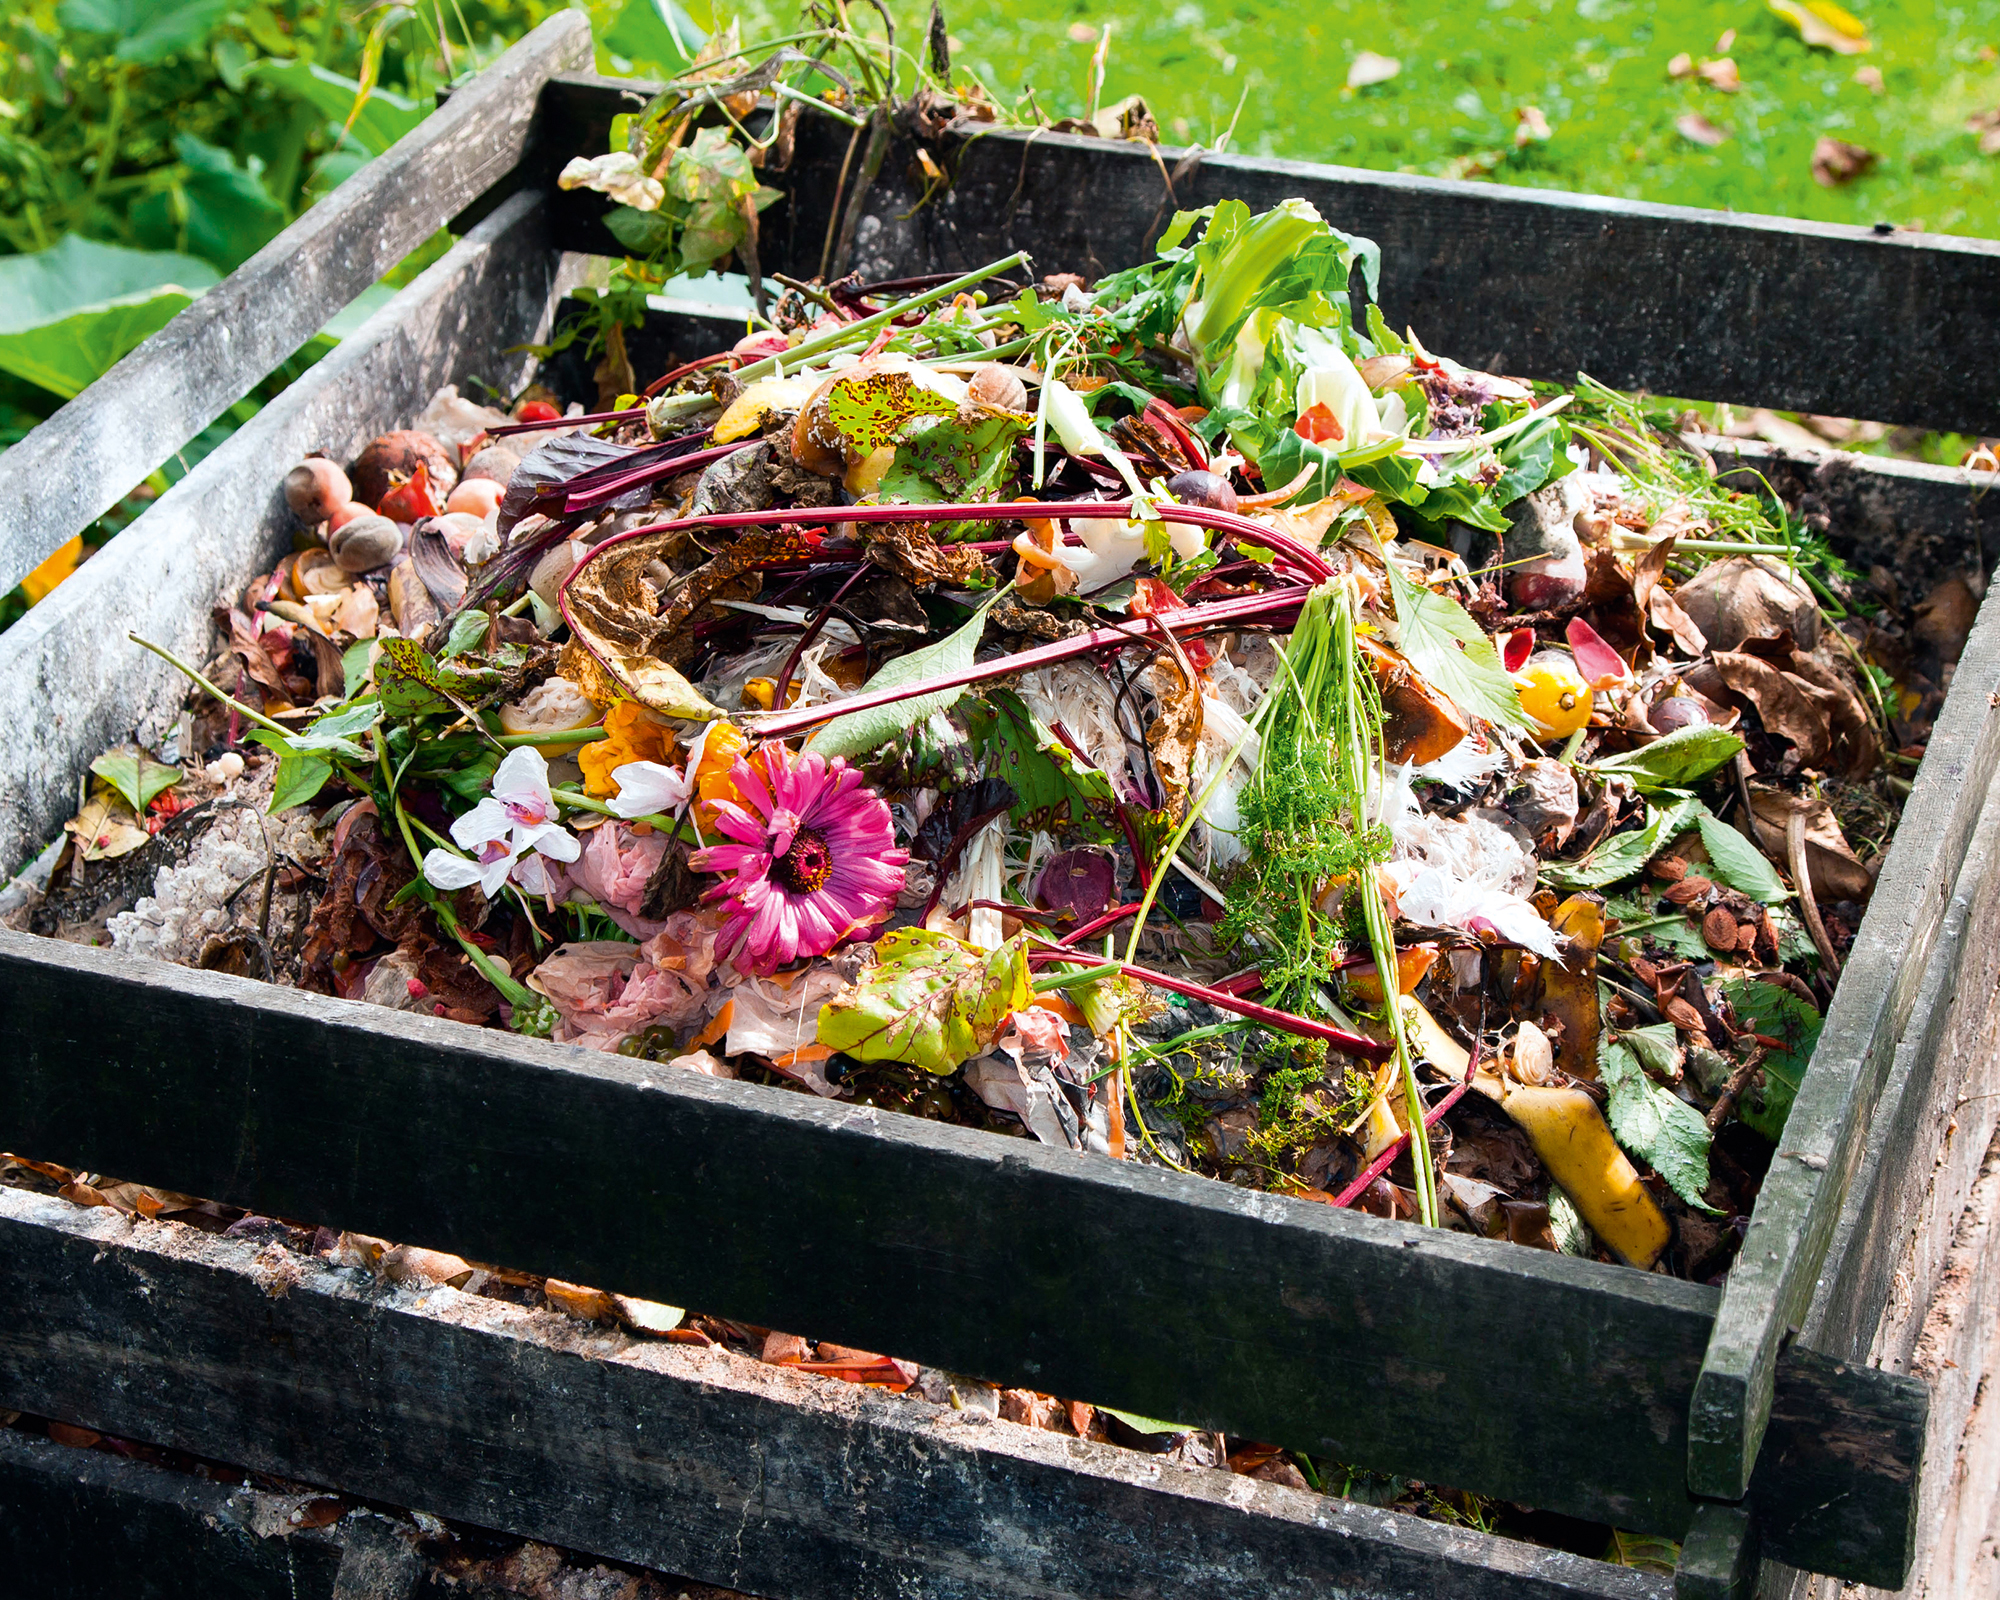
Compost problems often arise when there is an inadequate mix of browns and greens, or poor aeration in the pile. Pests may also be attracted to decaying material and become an unwelcome presence. Meanwhile, there are some beneficial visitors to the compost bin that may at first seem problematic, so it pays to know the difference.
Look out for these common composting problems:
- A bad compost smell is usually caused by the pile not breaking down. This may be due to an imbalance of browns and greens. Odors may also be due to a lack of turning, too much moisture, or simply because manure has been added. Knowing how to clean a compost bin properly will also minimize smells.
- Bugs in compost are attracted to decaying matter. Turn your compost more frequently and introduce more brown material.
- Flies in compost are particularly unwelcome residents – especially when the pile is teeming with maggots. Minimize their presence by burying kitchen scraps or other wet ingredients underneath browns and topping them off with a layer of soil. Turn the pile regularly to ensure it heats up.
- Compost slugs may seem an unwelcome presence, but contribute to breaking down organic material in the compost pile. Where slug numbers are too high, however, it may be a sign of too little brown material in the compost.
- Black soldier fly larvae in compost is also a benefit rather than a problem. The little wigglers help break down the material in a short period, making it easier for worms to do their job.
- Pot worms are small white thread-like worms. They won't harm your compost but when present in large numbers suggest a pH imbalance.
- Compost fungus can be a problem, or it can be completely normal – it depends on the type. If you spot the spidery filaments of actinomycetes, be reassured that this is a necessary part of the decomposition process. Meanwhile, clumps of gray to white fuzz can suggest a bacterial imbalance in the compost.
- Vegetables growing in compost piles result from seeds being added to the compost pile. Heating up the compost should kill the seeds: turn the pile regularly, add moisture as necessary, and chop up any large chunks.

Melanie is an experienced gardener and has worked in homes and gardens media for over 20 years. She previously served as Editor on Period Living magazine, and worked for Homes & Gardens, Gardening Etc, Real Homes, and Homebuilding & Renovating. Melanie has spent the last few years transforming her own garden, which is constantly evolving as a work in progress. She is also a passionate organic home grower, having experimented with almost every type of vegetable at some point. In her home, Melanie tends to an extensive houseplant collection and is particularly fond of orchids.
- Mary Ellen EllisWriter
- Nikki TilleySenior Editor