

Traditional composting is a long process. It can take six months to more than a year to make usable compost for your garden. This is fine if you have the time and keep the process going continuously, but if you are short on compost and want to start planting as soon as possible, then the fastest composting methods will accelerate the process.
There are numerous ways to speed up composting in a regular bin by ensuring the best materials balance and maintaining the pile to keep it moist and aerated. However, to make garden gold in just four weeks, you'll need to explore different types of composting that are designed with speed in mind.
Whether you're learning how to compost at home or are a seasoned composter looking to supercharge an existing pile, these are the fastest composting methods to try.

Browse the best composters to make the richest soil improver imaginable – from an in-ground worm composter to a state-of-the-art electric model.
1. The Berkeley Method

One of the fastest ways to make compost is also the most labor-intensive. If you have the time to devote to tending it, you can get compost in about three weeks using the Berkeley method, which is a type of hot composting. Developed by a professor at the University of California, Berkeley, this method relies on creating the ideal conditions for composting. Here’s how to do it:
- Start with the optimal ratio of compost greens and browns. Compost greens are nitrogen-rich materials, such as food waste and grass clippings, and browns are carbon-rich materials, such as paper, dry leaves, wood chips, and twigs. For regular composting, the usual ratio is around 3 or 4 browns to 1 green, but for the Berkeley method, the browns make up the majority of the pile, with a brown-to-green ratio of roughly 30:1.
- Chop or shred the materials into very small pieces, a half inch (1.3cm) to 1.5 inches (3.8cm) maximum.
- Wet all the materials to achieve about 50% moisture. It should feel like a wrung-out sponge or like you can get just a few drops of water when you squeeze the material tightly.
- Create a pile that is at least H3xW3xD3 feet or as big as H5xW5xD5 feet (0.9m or 1.5m).
- Check the temperature inside the compost pile every day and turn when it reaches 160°F (71°C). This should take four or five days. Turn the pile by trying to get the material from the inside to the outside and vice versa.
- Continue turning every other day. Within 18 or 19 days, you should have usable compost.
If your pile isn’t reaching the ideal temperature, it is probably either too dry or too wet. Add more water or spread the materials out to dry. An ammonia smell from the pile indicates you have too much nitrogen. Add more brown, carbon material to the pile.
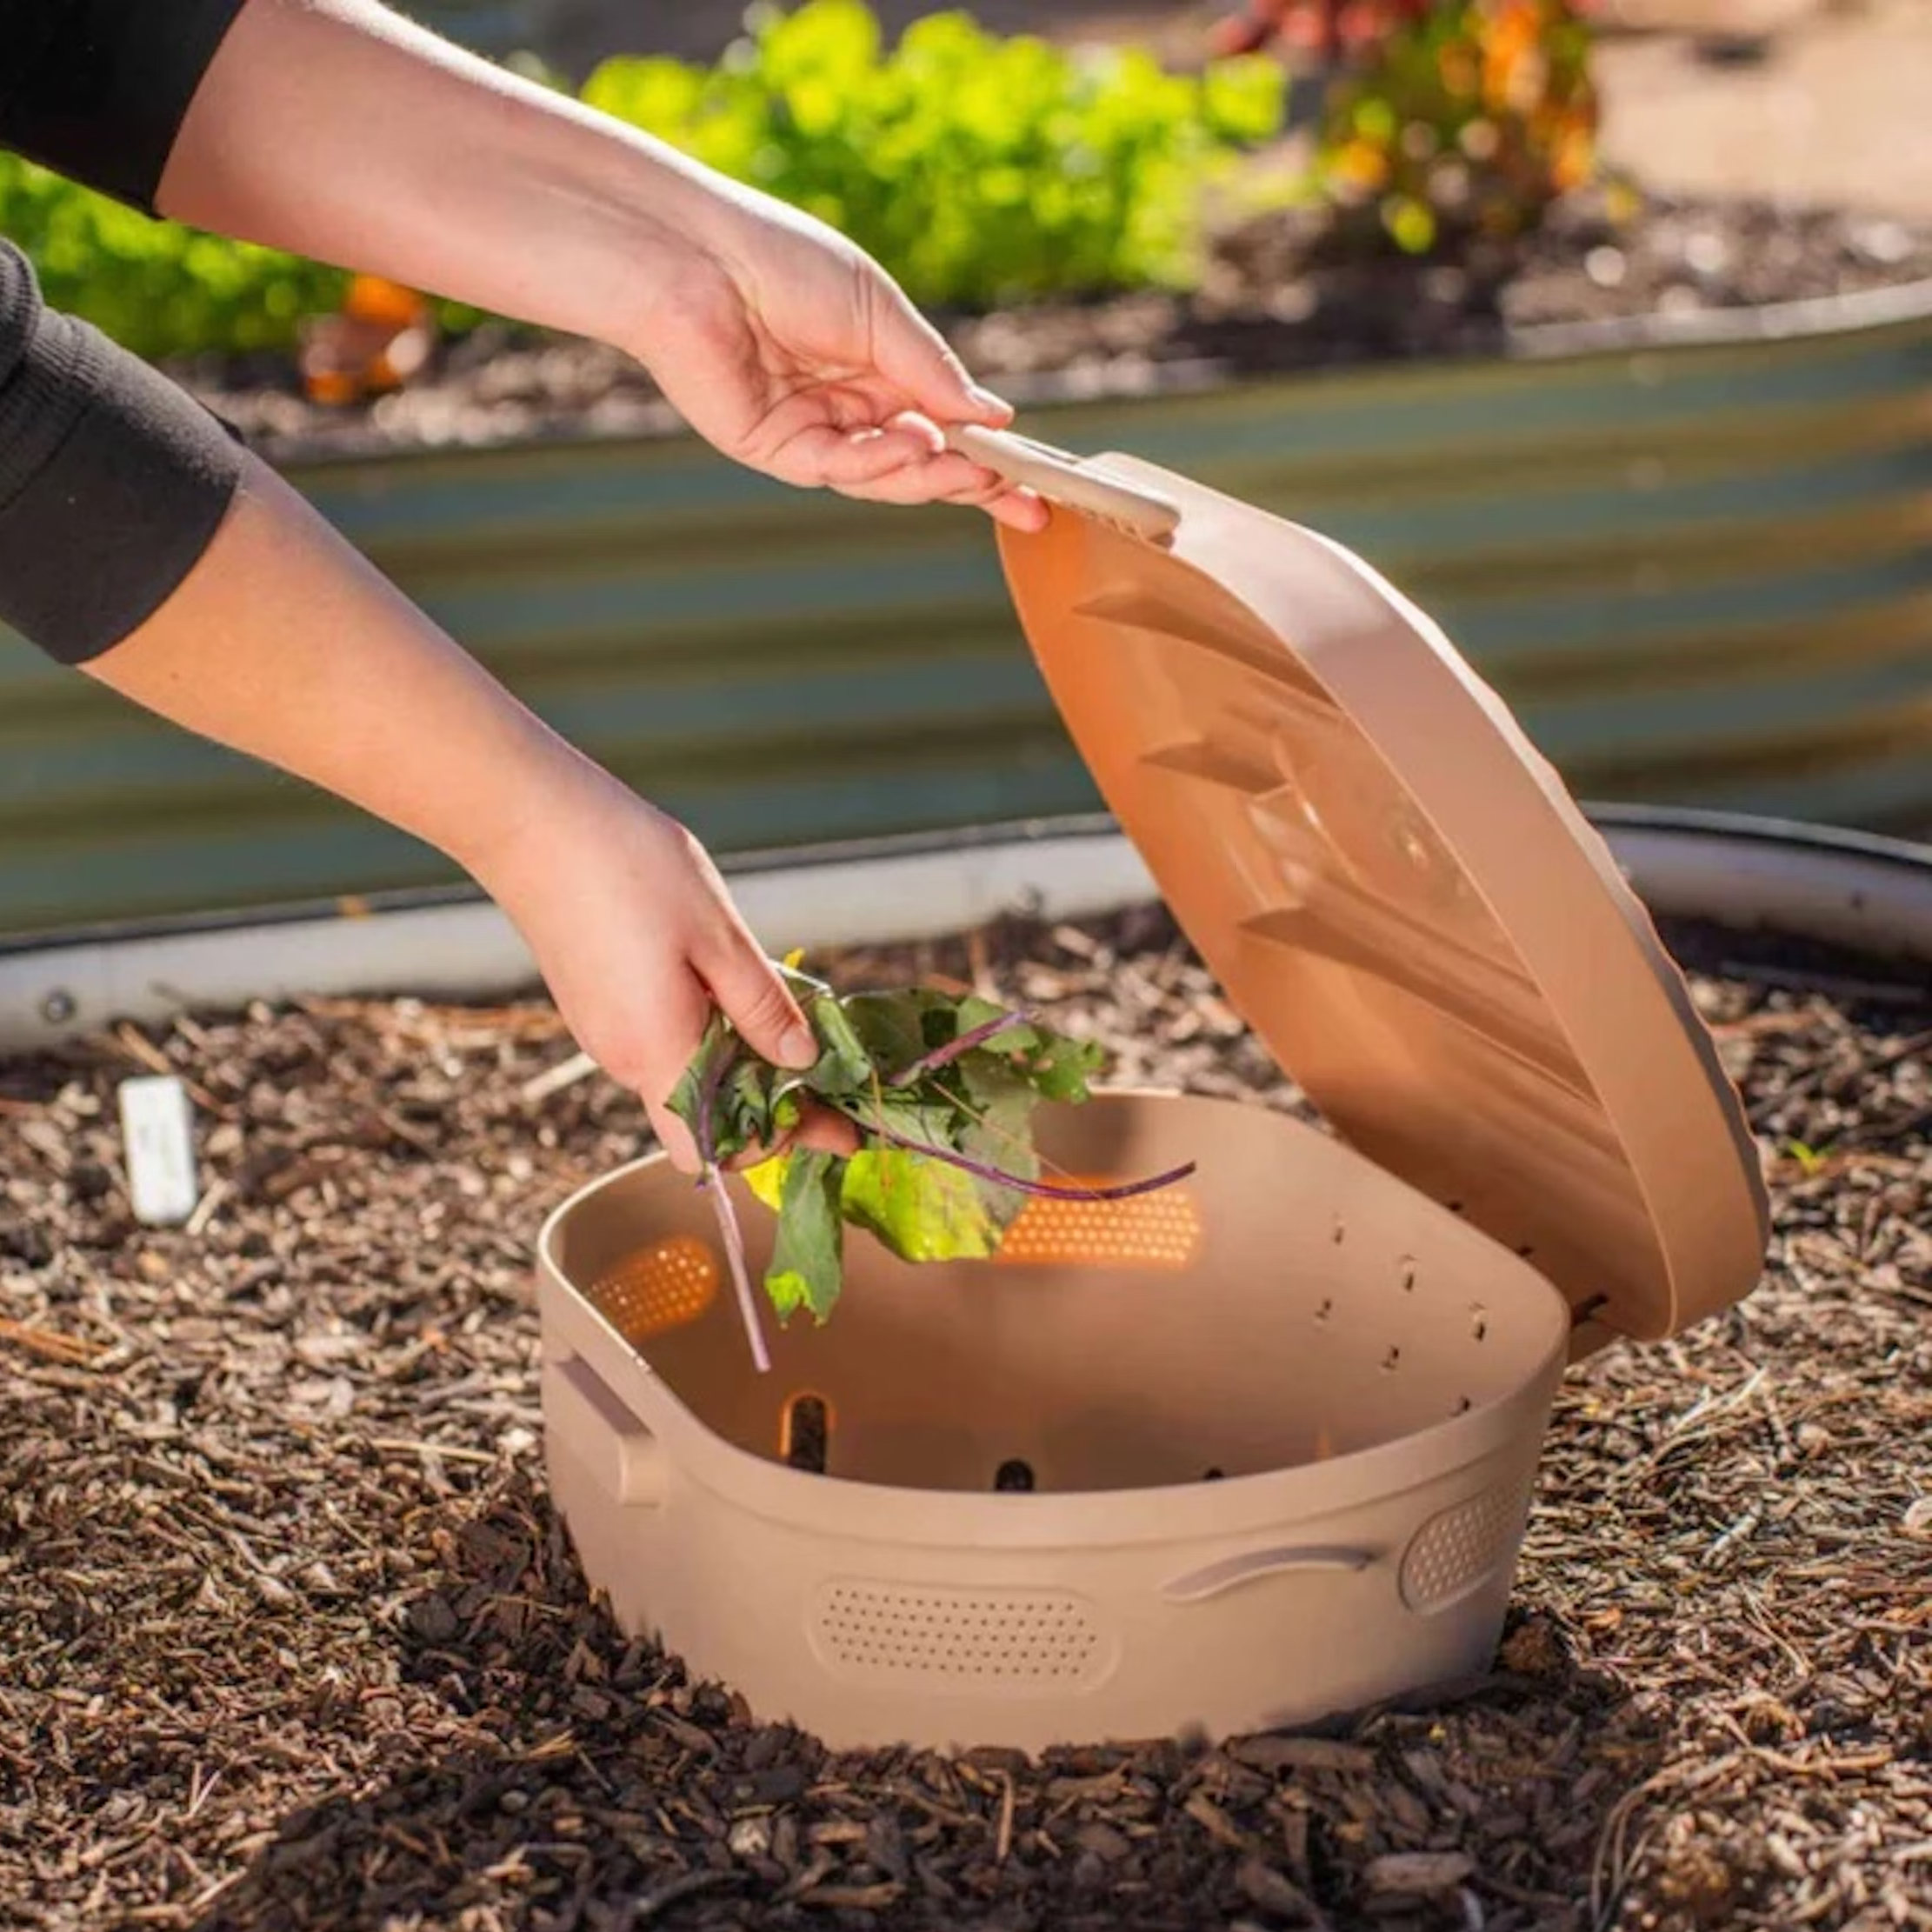
2. Electric Composting

Electric composting is an exciting new development for anyone who doesn’t have the space for a proper compost pile (or the desire to create one) in the garden. An electric composter is a machine that you can set right on your kitchen counter or floor. Put kitchen waste into the machine, let it run, and out comes a compost-like material that just requires a short period of curing in the garden before it can be used for planting.
It’s important to understand that many products that claim to be electric composters don’t really produce compost. They produce dried, crumbled food waste, heated to a high temperature that kills beneficial bacteria. The best electric composters support microbes in the composting process and operate at a slightly lower temperature that destroys many harmful pathogens but crucially does not kill the composting bacteria.
One such appliance is the Reencle Home Composter, available in the Gardening Know How Shop. It nurtures microbial activity and breaks down kitchen scraps within 24 hours into pre-compost. This requires just a 3-week curing period before being plantable, though it can be used immediately for mulch and top dressing.
In addition to the speed and convenience, another benefit of composting this way is that you can include meat and dairy, which should not go in a traditional compost pile.
3. Drunken Composting
Another way to speed up compost production is to use additional materials to accelerate the process of decaying organic matter. Drunken composting uses beer, ammonia, and either soda or sugar as an accelerating mix.
To get the ratio right, mix together one can of beer, eight ounces of ammonia, and either a 12-ounce can of soda (not a diet type) or three tablespoons of sugar dissolved in 12 ounces of water.
Use a sprayer to add the accelerator mix evenly to your compost pile. Use a fork or shovel to turn the pile. If you started with a good mix of greens to browns and shredded the materials in the compost pile, the accelerator should give you usable compost within a couple of weeks.
4. Bokashi Composting

Bokashi composting is a method popularized by a Japanese professor in the 1980s. Bokashi means fermented organic matter, and the method relies on an anaerobic process to break down food waste. This means it does not use oxygen. Traditional composting is aerobic and requires oxygen. To create the anaerobic reaction, the food waste is sealed in a bucket with a special Bokashi bran.
There are several benefits to composting this way. It allows you to use all kitchen waste, including meat and dairy, which normally does not go into a compost pile. Additionally, it doesn’t take up a lot of space and can be done in your kitchen. The initial fermentation process takes just two weeks
A downside to Bokashi composting is that the fermented food waste is not true compost – yet. The material you get from your Bokashi system should either be added to a compost pile or buried in garden trenches to break down further. It takes two to four weeks before the soil is plantable.
The best way to use the Bokashi method is to buy a kit and follow the instructions. This involves breaking up kitchen waste into small pieces and layering it in the compost container with the Bokashi bran that comes with the kit. Once the container is full, it sits for about two weeks.
During this time, you need to drain off the Bokashi tea that forms in the container. You can use the tea like a fertilizer, but first dilute it with water using a ratio of one to 100. The tea is highly acidic and will harm your plants if you use it undiluted.
More Composting Inspiration
- Not sure if your compost is ready yet? Don't use it for planting until it passes this simple radish test.
- Find everything you need for an organic garden in our Sustainability Shop – from composters to pollinator essentials.
- Learn how to make a compost bin on a budget with these 7 easy DIY projects for beginners.
- Harness the power of worms to make amazing organic compost! Our vermicomposting guide explains how to do it.
- For more sustainable gardening advice and inspiration, sign up for the Gardening Know How Newsletter.
This article features products available from third party vendors on the Gardening Know How Shop.

-
 Try The Trend – Turn Any Bed Into A Keyhole Garden With This Clever In-Ground Composter
Keyhole gardening is an efficient and sustainable practice that saves space. Get started on this DIY project quickly and easily with an in-ground composter.
-
 Best Spider Plant Soil – Complete Soil Guide And Expert Tips For Keeping Plants Happy
Spider plants are fun and easy plants to grow, but what is the best soil for a spider plant? Selecting the right soil is important so they can thrive.

