Worm Farming Guide For Indoor Gardeners


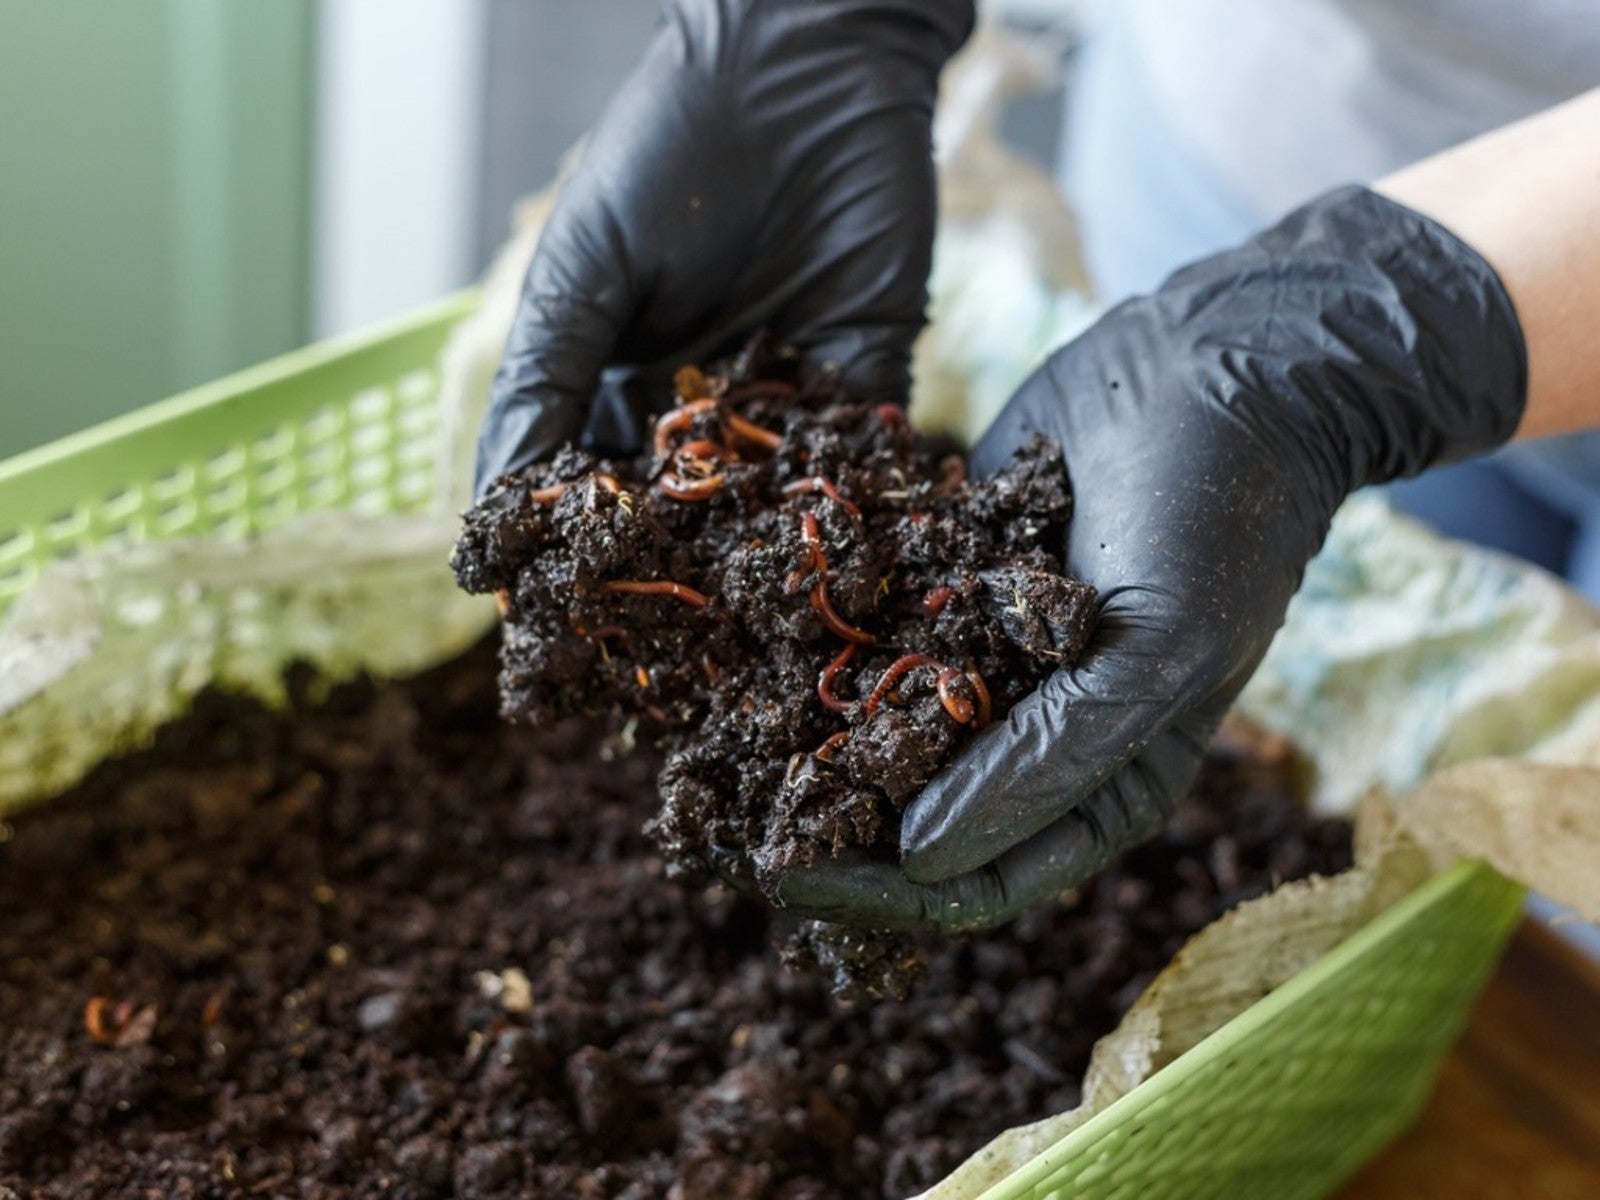
Composting is a fad that has staying power. There are many ways to reduce waste, and turning kitchen scraps into nutrient rich soil is a fairly easy one. But not everyone has room for a compost pile. Using an indoor worm bin is a small way to make sure those leftover veggies don't go to waste and our landfills aren't overfilled. Indoor worm composting may be done with a purchased kit, but it's just as easy to make a DIY worm farm.
Red wigglers are the key to starting a worm farm, and their habitat can be made with many household items. Curious how to make a worm farm? First, find a good container that will breathe, hold in the worms, and is large enough for the worms and your level of kitchen scraps. The worms will need bedding, a bit of moisture, and the system will also need regular carbon sources to help the nitrogen balance.
Tips on Starting a Worm Farm
Vermicomposting is similar to regular composting. The degrading items will need to be consistently damp but not soggy, have the correct balance of nitrogen and carbon, and be cut fairly small for quicker break down and to avoid mold. The enclosed system uses the worms to eat the kitchen scraps and excrete nutrient rich castings. The resulting finished product may be used in house plants, as a fertilizing tea, or in the garden.
The type of worm is important. The earthworms outside your home do effectively break down organic matter but they are not suited to the high temperatures the worm bin will achieve. Red wigglers are a type of worm adapted to warm temperatures and their activities won't be interrupted by high heat. Red wigglers are available to purchase at many garden centers or online. But before they arrive, make them a nice home.
Starting a Worm Farm
The first step is selecting a container. It may be steel, clay, cement, plastic, wood, or other materials. Avoid using a cardboard box due to the moisture levels which will break it down too quickly. A very easy, inexpensive, and quick home for the worms comes in the form of a plastic tub that has had holes made in the bottom, top, and sides. Whatever container you choose should have a tight-fitting lid like those that come with storage tubs. The holes provide air, but also release excess moisture to prevent mold. That excess moisture will drip, so situate the bin on something absorbent or easily cleaned.
The size of the bin depends on the amount of kitchen waste you generate. It is recommended to purchase 2,000 red wigglers for every pound per day of kitchen waste. They will need a bit of room, but crowding a bit is not a problem.
Steps to a DIY Worm Farm
Once you have your container and location, it is time to put in bedding. Use organic materials without chemical dyes such as paper bags, newspaper, paper towels or coconut coir. Dried leaves, sawdust, and other organic carbon sources are also suitable.
Sign up for the Gardening Know How newsletter today and receive a free copy of our e-book "How to Grow Delicious Tomatoes".
Strip the paper material and soak it in water. Squeeze out excess moisture, line the bin, and top it with garden soil or compost. The resulting mix should fill the container by 1/3. Add the red wigglers and let them get used to the new home for a couple days. Then place a 1 inch (2.5 cm.) layer of finely chopped kitchen scraps in the bin. Don't add too much at once or it will mold before the worms have a chance to eat it all.
As you add scraps, top them with an equal amount of carbon, such as paper or wood-based materials, dry leaves or grass, to keep the proper balance. If the habitat gets dry, mist it with water until just damp. The castings will be dark brown, and ready to use for your plants within 1 to 2 weeks depending upon size of food scraps, temperature, and other factors.

Bonnie Grant is a professional landscaper with a Certification in Urban Gardening. She has been gardening and writing for 15 years. A former professional chef, she has a passion for edible landscaping.