Vermicomposting Guide: How To Make Amazing Organic Compost With Worms
Harnessing the power of worms is the secret to creating the most nutritious compost imaginable. Try vermicomposting to turn food waste into garden gold.


Home composting is essential for serious gardeners. Affectionately known as "black gold", compost is the nutritious, loamy material you get from letting organic matter decompose. It enriches the soil and provides vital nourishment for the plants you grow.
Vermicomposting is steadily becoming one of the most popular types of composting – and for good reason. There are several routes to learning how to compost at home, but harnessing the power of worms is both fast and effective. Worm composting is also known as vermicomposting, while vermiculture refers to the process of raising worms.
What Is Vermicomposting?
All composting involves allowing organic waste materials, like yard and kitchen waste, to decompose into a rich, soil-like product. You can use compost in garden beds and in containers.
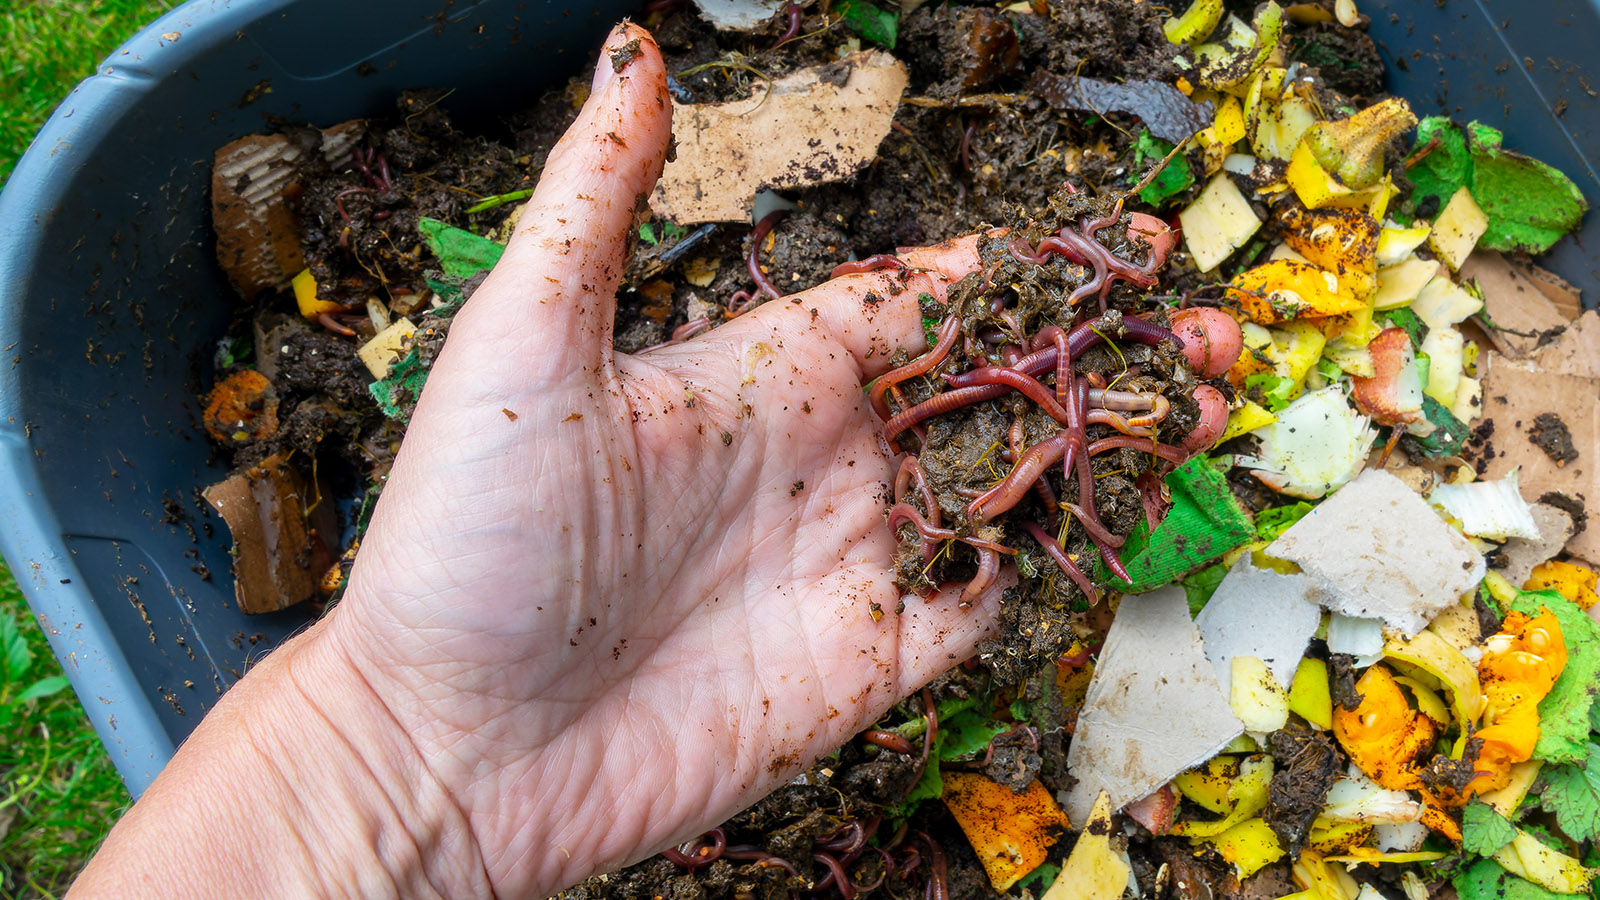
Vermicomposting uses worms to break down organic material. The worms consume most organic materials, transforming them into superior compost.
Standard composting relies solely on microorganisms to break down organic waste. In vermicomposting, both worms and microbes do the job.

What Are the Pros and Cons of Vermicomposting?
The pros of any kind of composting include reusing organic waste and the finished product, which helps you grow better, healthier plants. There are also specific advantages of vermicomposting. If done correctly, it’s a clean setup with no bad odors. Vermicomposting is cost-effective, and you can do it indoors.
One of the main upsides is that the process produces worm castings, an incredibly rich organic fertilizer, which can be harvested and fed to plants. It can also be turned into worm tea that gives a powerful nutrient boost when used while watering plants.
Sign up for the Gardening Know How newsletter today and receive a free copy of our e-book "How to Grow Delicious Tomatoes".
There are not many downsides to composting with worms. There are some startup costs. Additionally, you’ll need to spend some time maintaining the setup, for example, draining and rinsing the liquid tray at the bottom of the worm bin composter every few days.
About Worm Composting Bins
You need four things for successful vermicomposting: worms, worm bedding, organic waste, and a bin or area for composting. You can buy a red worm composting bin, learn how to make a worm bed, or make your own bin.
It's simple and inexpensive to make DIY worm bins:
- Start with a ten-gallon plastic storage bin with a lid. This size will be good for about one pound of waste per week. Use the opaque type, not the clear bins.
- Drill 20 to 30 holes in the bottom of the bin.
- Set the bin on top of wood scraps or bricks. This will allow air to flow through the holes.
- Place the whole setup on a tray. Liquid waste, called leachate, will drip through the holes.
In-Ground Worm Composting

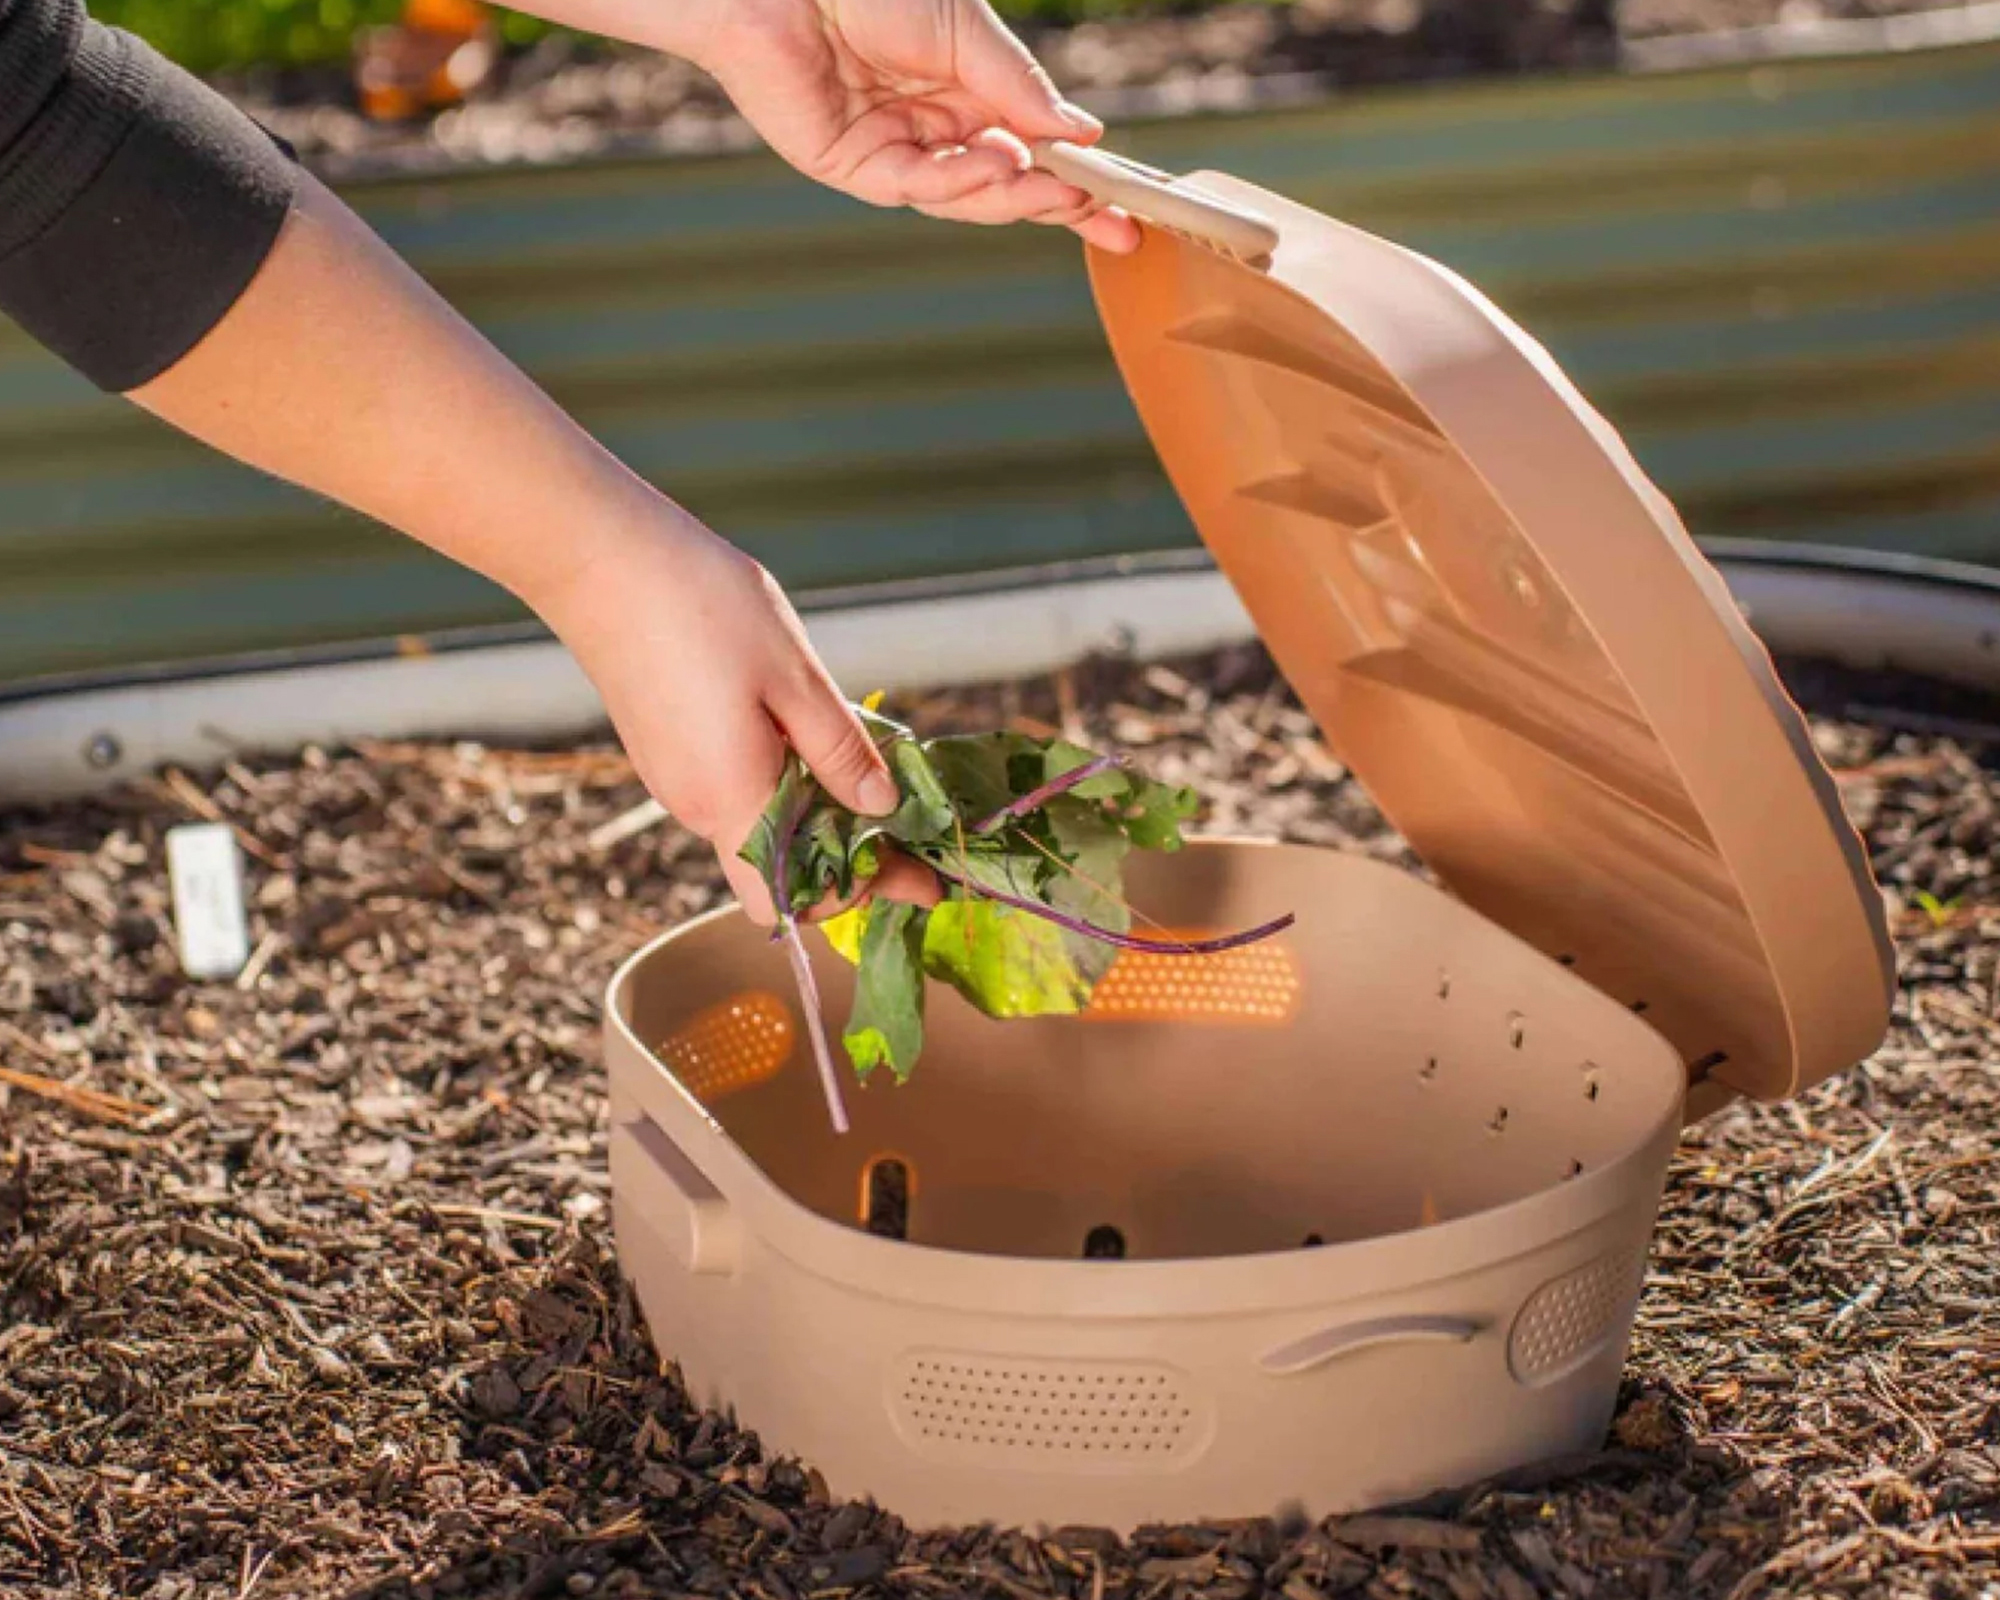
As an alternative to a worm bed, you can add a worm tower or tube to the soil or use an in-ground worm composter to vermicompost in situ.
This 2-pack in-ground worm composter from Amazon is such a simple way to get started. Simply dig a hole in the ground, add the composter, fill it with worms and scraps, and let them get to work.
Where Do I Get Compost Worms?
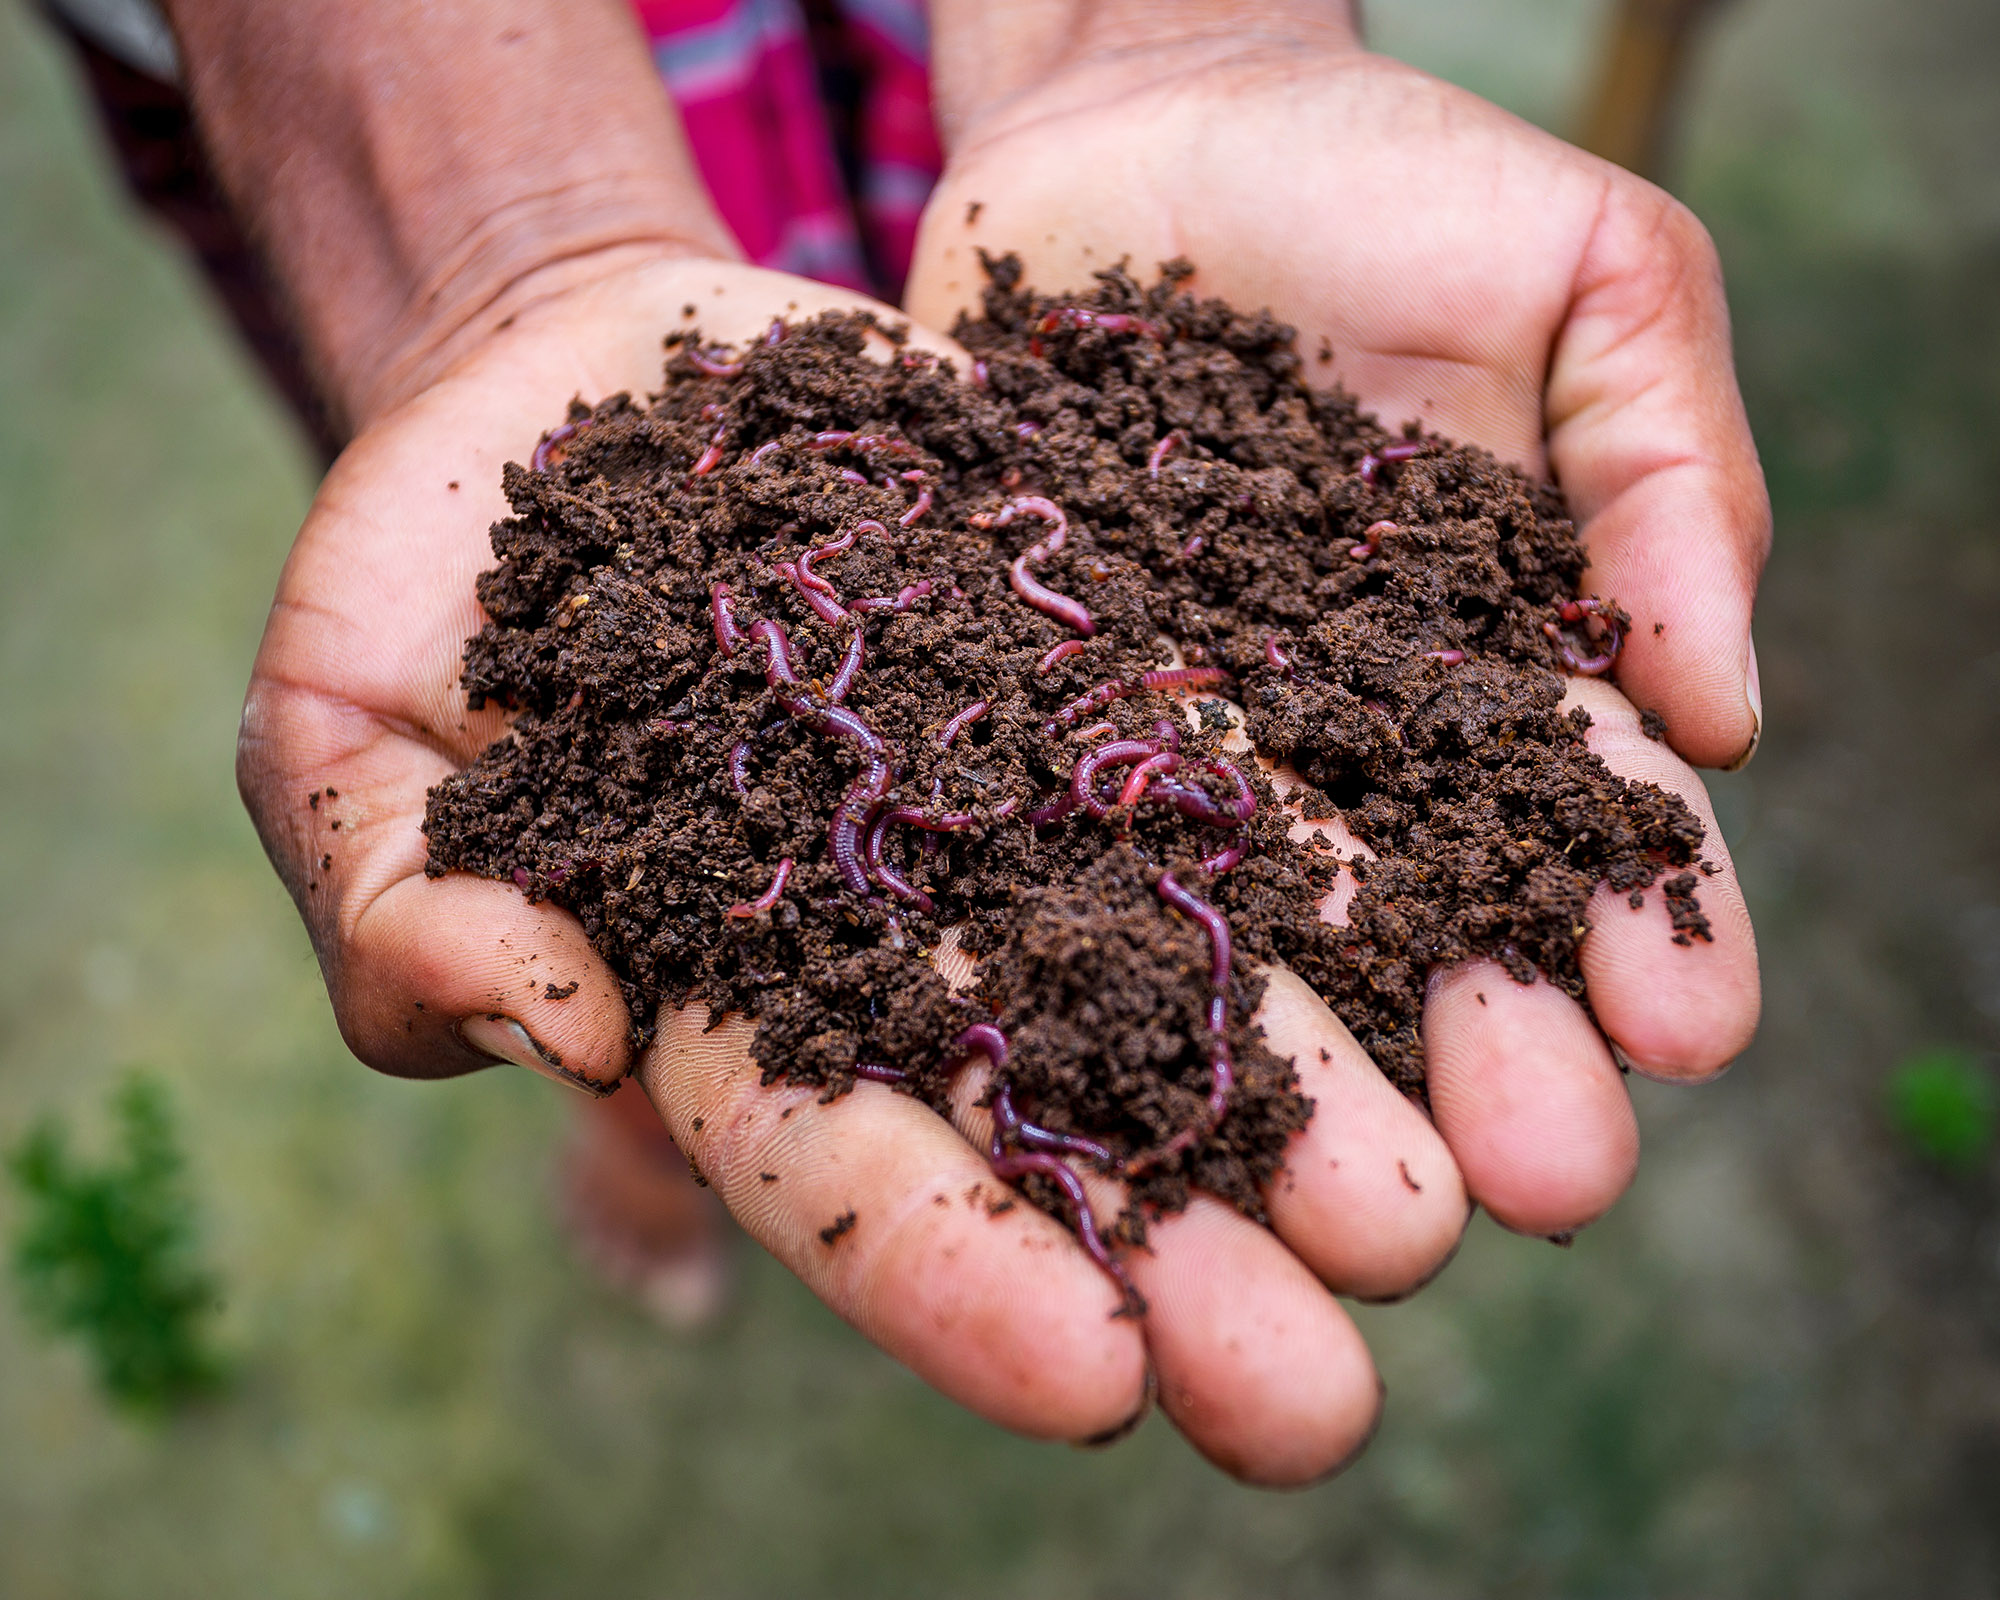
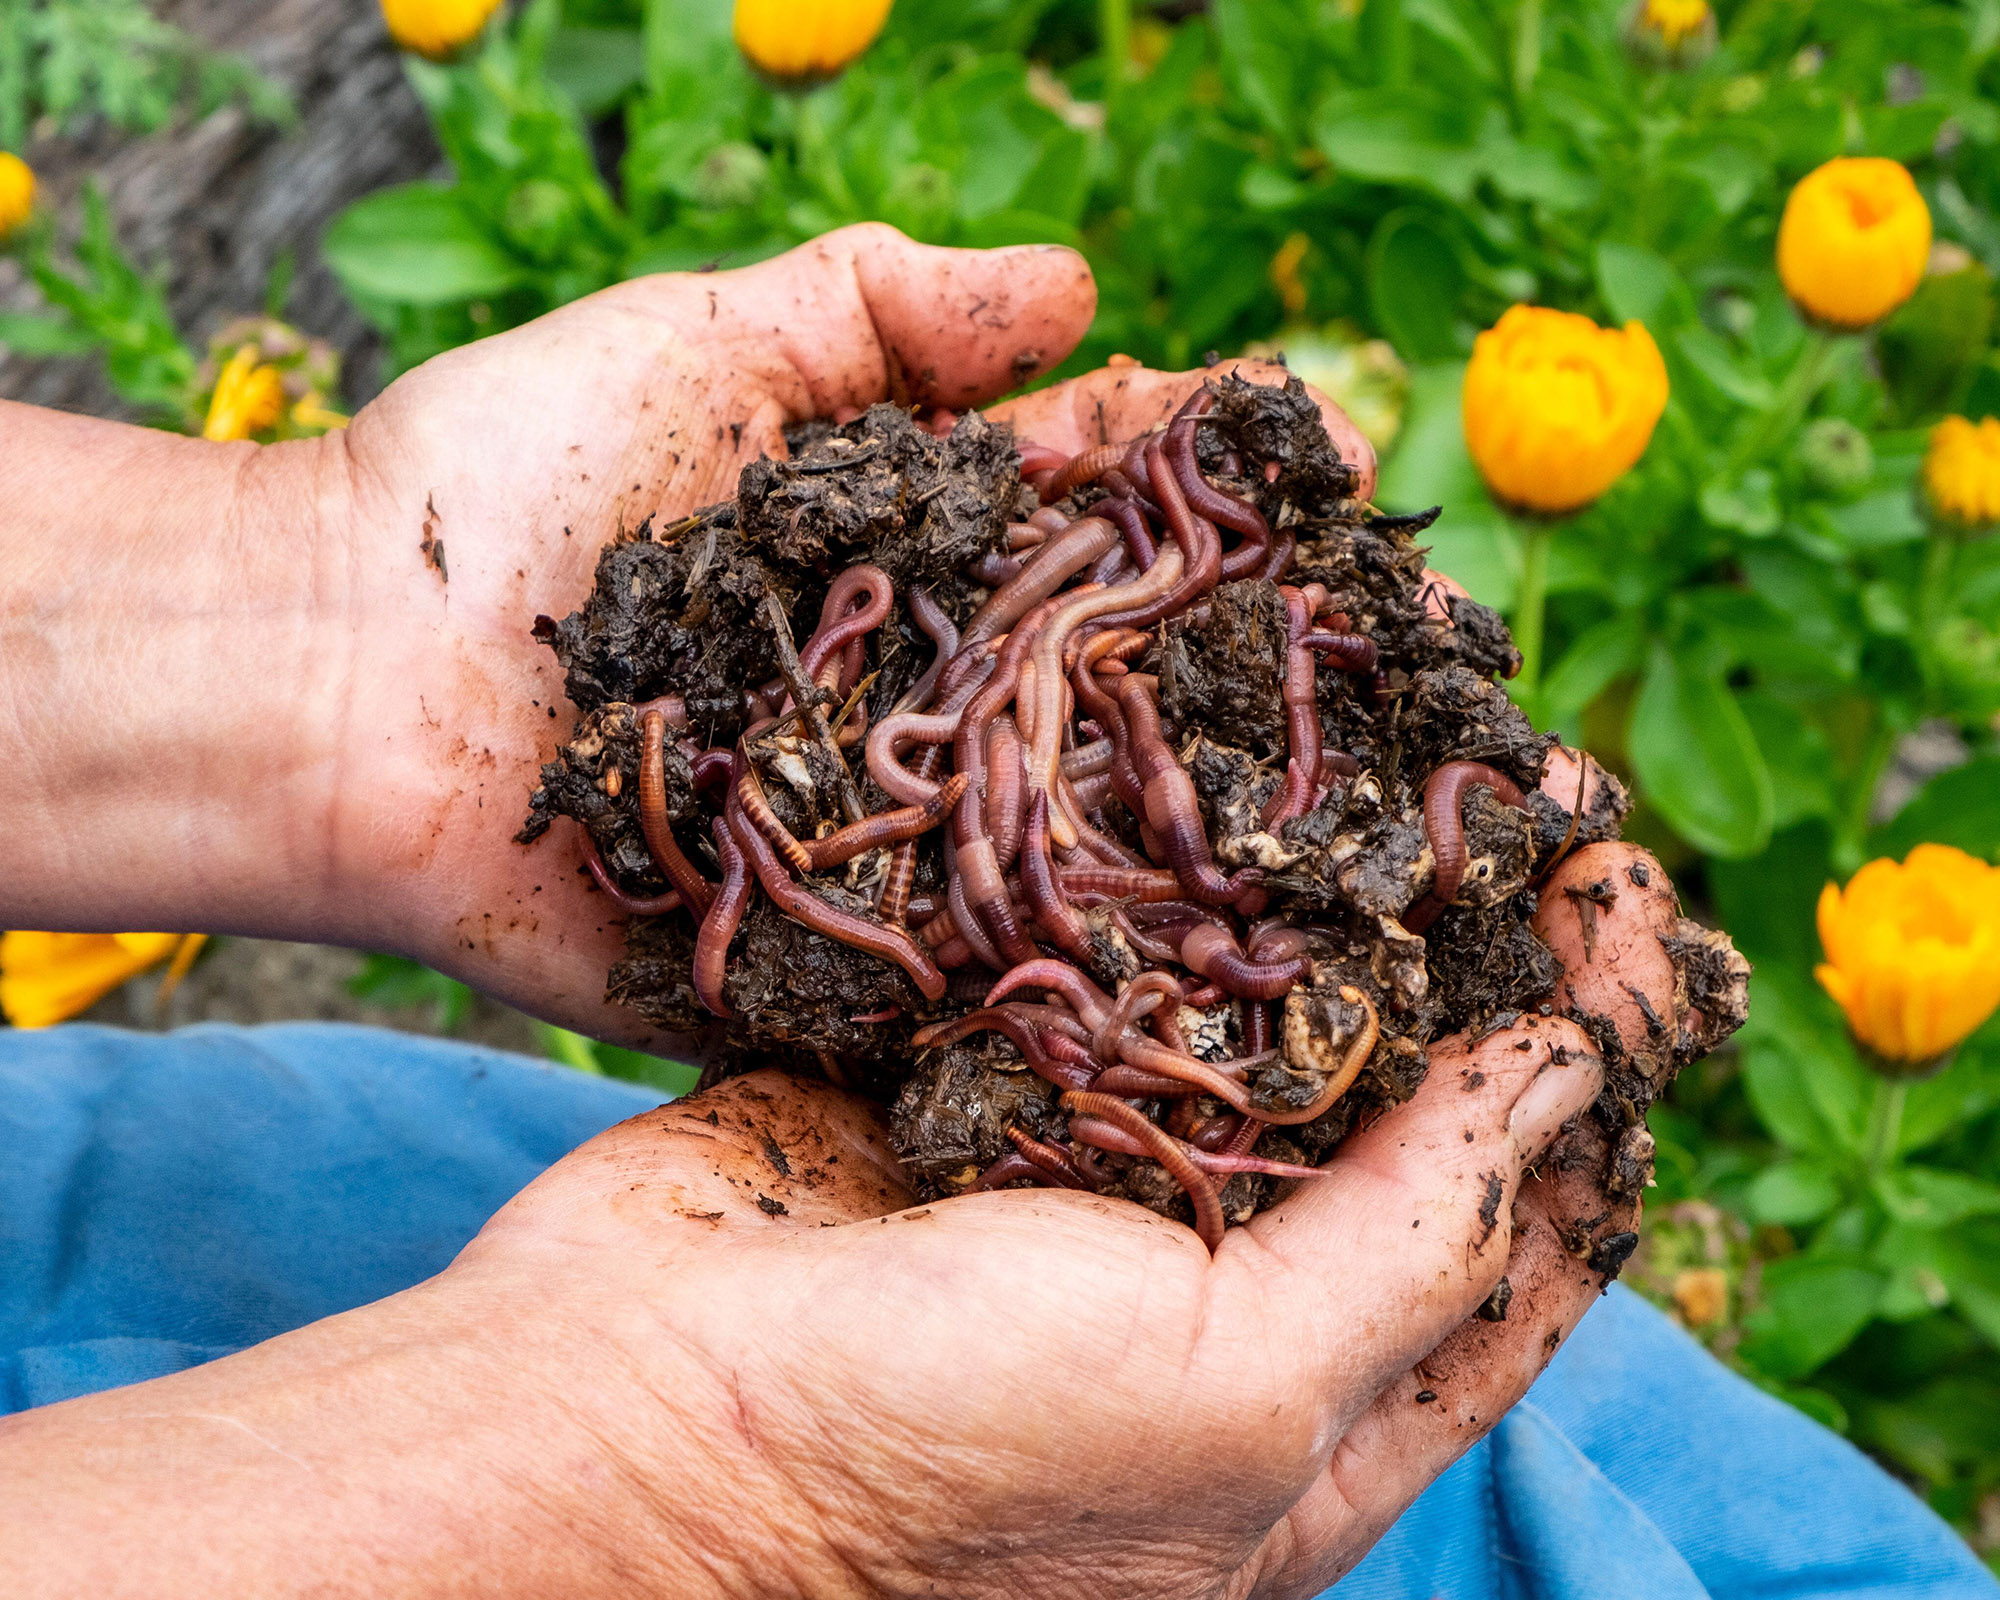
Before you begin vermicomposting, you need to get some compost worms. The best worms for composting are of the Eisenia fetida species. Common names for this worm include red worms, red wigglers, and tiger worms.
Other species of worms are also sometimes called red wigglers, so take care when choosing them. Only use E. fetida. Some other types are invasive pests. A quick search online should show you where you can buy red wigglers locally. You can also order them online and have them shipped to you.
How many worms for compost varies, but for a standard bin you’ll need about a pound of worms.
How to Fill and Maintain a Compost Bin and Worms
Once you have your bin set up and worms ready to go, you can fill the bin. Start with a layer of bedding for the worms in the bottom of the bin. This can be shredded newspaper or cardboard, straw, sawdust, dry grass clippings, peat moss, coconut coir, or a mix of materials. Moisten the bedding until it is like a wrung-out sponge.
Add worms and kitchen food waste and cover the bin. The worms will get to work right away. Start with just about an inch (2.5cm) of waste to get the worms started. Too much waste will create heat, which can kill them.
You need to learn what to feed compost worms to fuel them in breaking down waste. Worms will eat almost anything that you would put in a traditional compost bin, with a few exceptions. Use these types of kitchen waste:
- Fruits and vegetables
- Coffee grounds and tea leaves
- Crushed eggshells
- Bread and cereals
Do not use meat, bones, fat, dairy products, and potatoes. You can chop up food scraps into small pieces to speed the process of decomposition.
Once the worms get going, feed them two to three times per week. Keep the bedding moist. If it gets too dry or too wet, the worms may try to get out of the bin. You will also need to move the bin to drain off the water and clean the tray every few days. You can use this liquid to water plants.

How to Use Worm Compost
You should have usable compost within six to eight weeks of setting up your worm bin. It will look like small, black or dark brown clumps that break apart easily when you handle them.
To harvest compost, stop feeding for a week or two and push the compost to one side of the bin. Put fresh bedding on the other side. The worms will move to the new bedding and you can remove the compost.
Use vermicomposting product as you would any compost. Mix it into soil in garden beds to improve its texture and to add nutrients. Add it to container plants to feed them and enrich the soil with nutrients.
Can I Compost With Worms Indoors?
Vermicomposting is ideal for indoor composting. Doing it indoors allows you to control the environment to keep the worms healthy and productive. If you do it right, the worms will remain in the bin and the only odor produced should be earthy and pleasant.
When adding an indoor worm compost bin, it’s important to choose the right spot for it. The worms need a location that is well-ventilated and with temperatures between 55 and 75°F (13 to 24°C). They should be protected from direct light. Basements or garages are usually good options.
Issues with Vermicomposting
Vermicomposting takes some effort to maintain healthy, productive worms and to get a good product. You may run across a few vermiculture problems with easy fixes:
- If you see fruit flies in worm bins, bury fresh food scraps in the worms’ bedding. You can also use fly tape on the underside of the lid.
- Other pests in worm bins can be harmful to the worms, so need to be managed by making the environment less friendly to them or setting traps.
- If vermicompost smells, you may be adding too much waste at one time. Pick out excess waste and give the worms time to work on the rest before adding more. An odor may also result from too much moisture. Keep the bedding as moist as a wrung-out sponge, no more. If necessary, add dry bedding.
- Compost worms dying may be due to a few issues such as incorrect moisture or temperature levels, lack of air circulation, and too little food. Check and reset your bin and keep going.
- Vermicompost worms escaping is common for new worms that are acclimatizing, but could also be due to poor conditions or lack of food. If those issues are addressed, then you can escape-proof the bin by covering air holes with nylon stockings.
- Worm beds may overheat in hot weather, so it's important to know how to keep worms cool in summer. Locating the bed in a shady spot is a good starting point.
- When the weather gets too cold, the worms will become sluggish and may stop feeding. Worm composting in winter is focused on helping the worms to survive, rather than expecting them to produce compost at the same rate.
Vermicomposting takes some effort, but it is a clean, simple way to reuse kitchen waste and produce useful, nutrient-rich compost.
More Composting Inspiration
- Discover 5 easy composting shortcuts to fill garden beds and pots in time for spring planting.
- Learn about electric composters and decide whether countertop food recyclers are the right solution for you.
- Find out how to compost all the different paper types – and which ones you can't – with our expert guide.

Mary Ellen Ellis has been gardening for over 20 years. With degrees in Chemistry and Biology, Mary Ellen's specialties are flowers, native plants, and herbs.