Winter Composting Shortcuts: 5 Easy Ways To Fill Garden Beds And Pots In Time For Spring
Don't stop composting over winter. Supercharge your pile with these quick, clever techniques that will get beds and pots ready to plant come springtime.

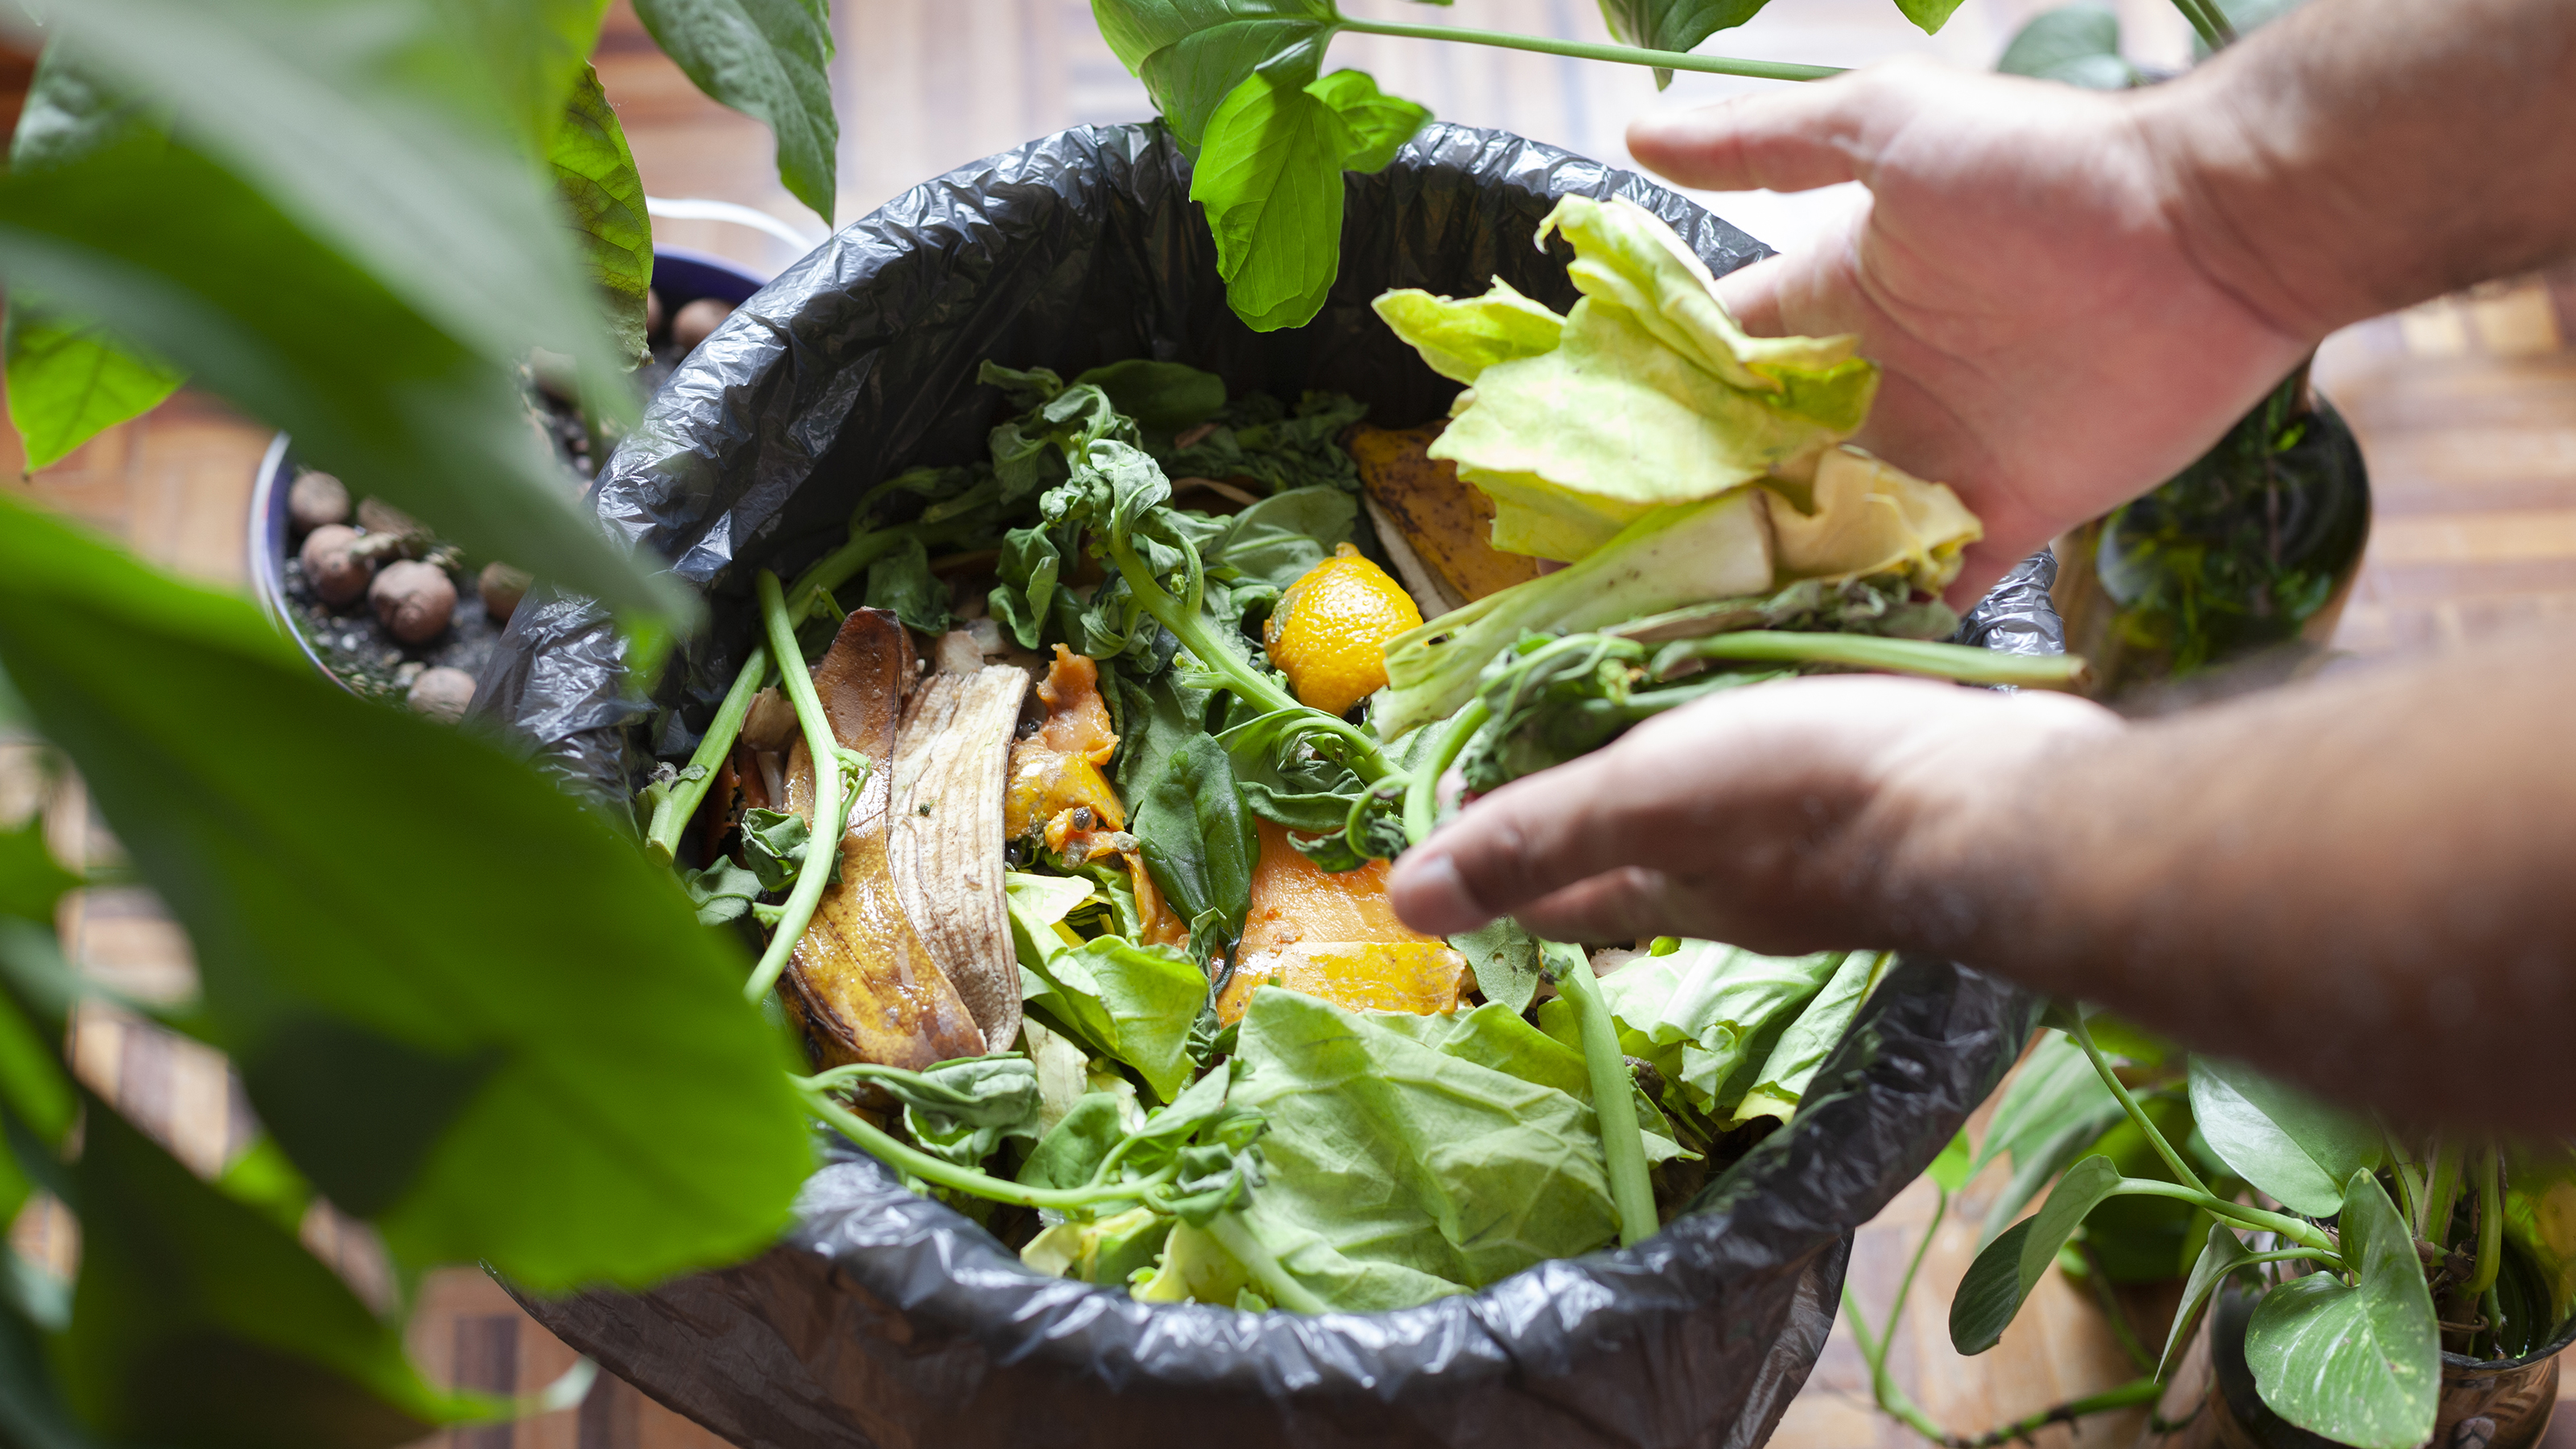
Organic homemade compost is an invaluable addition to garden soil, creating a rich, well-textured growing medium teeming with nutrients and beneficial bacteria. Unfortunately, winter can pose a challenge for gardeners eager to get beds and pots ready for the growing season ahead. Traditional composting methods can be slow at the best of times, but in the colder months, microbial activity in outdoor bins and piles slows significantly.
Many gardeners simply let their compost go dormant at this time of year, losing out on an abundance of "black gold" come spring – which is just when you need it the most. Winter composting advice is usually focused on protecting the pile and retaining some warmth so that it can reactivate in the spring.
However, when learning how to compost at home, you don't have to do everything the long and hard way. Some clever composting shortcuts allow you to continue recycling food and organic waste efficiently, even in the dead of winter.
From space-efficient indoor composting options to additives that will speed up composting in the garden, there are numerous ways to build better soil without waiting for the spring thaw. These shortcuts will help you fill garden beds and containers with top-quality compost, so you can get planting as soon as warmer weather arrives.
1. Break Down Waste with an Electric Composter
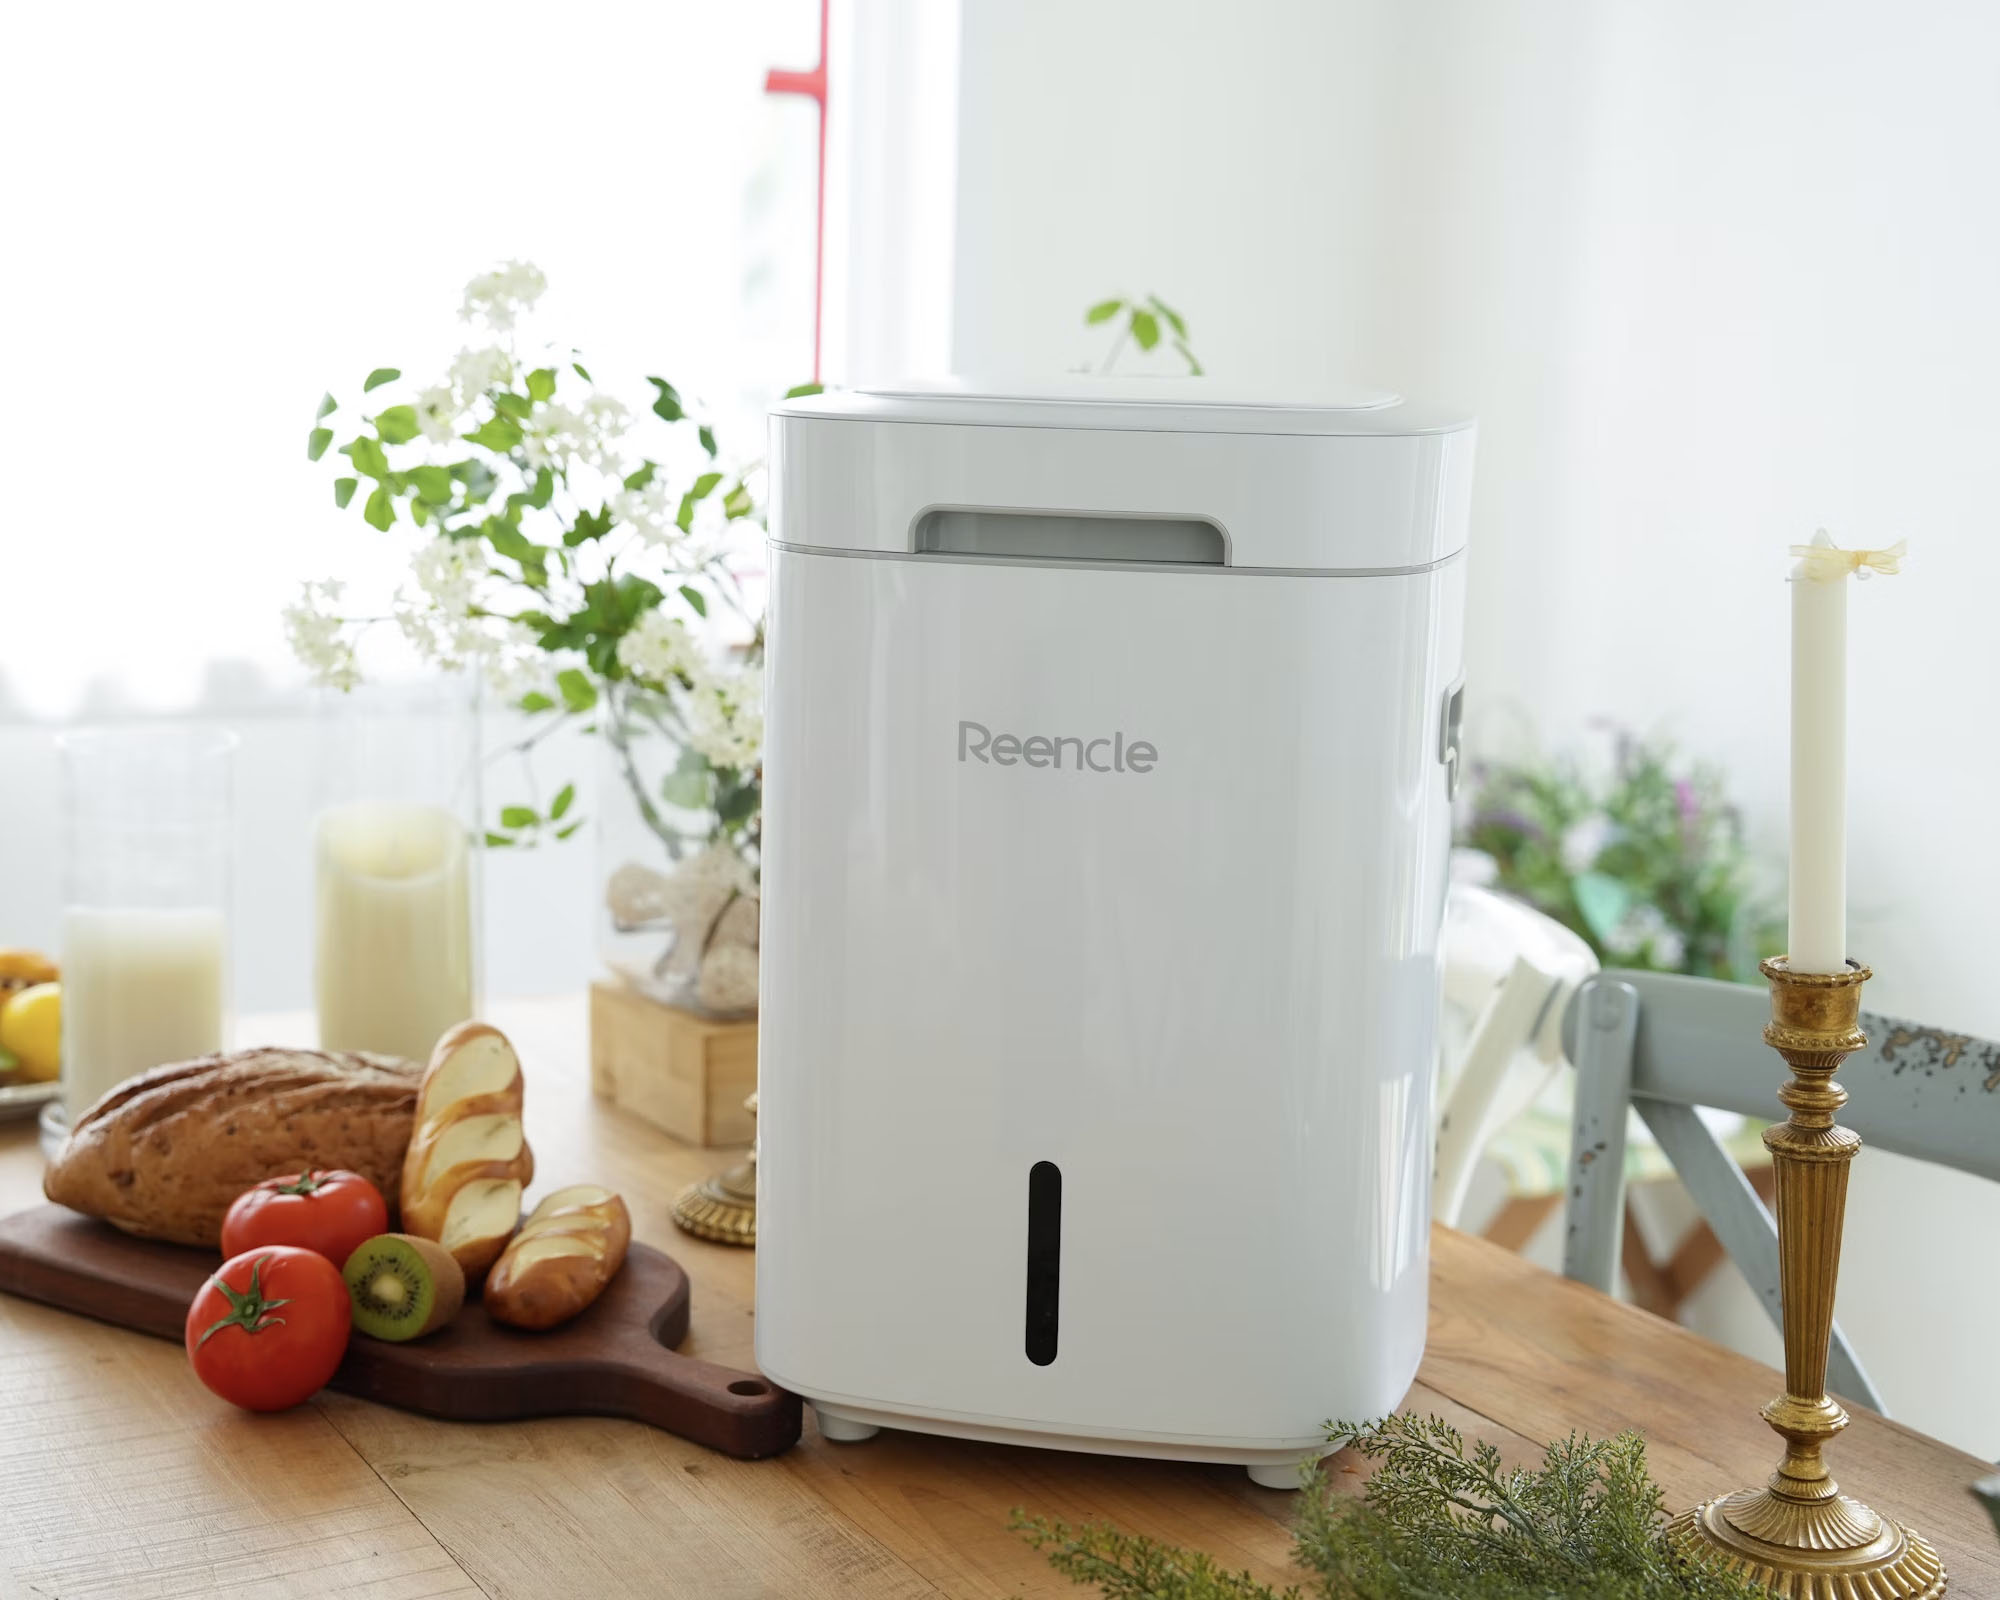
Electric composters are countertop appliances that use a combination of heat, grinding, and mixing, to break down food scraps into a dry, soil-like material in as little as a few hours.
This output, often termed "pre-compost", is not yet ready to plant with and requires further curing, either through mixing in with unplanted soil or adding to a compost pile, to finish decomposing. However, it significantly reduces the waiting time.
Another advantage of electric composters is that the machines can handle some foods unsuitable for traditional compost bins, like meat, dairy, and small bones.
Sign up for the Gardening Know How newsletter today and receive a free copy of our e-book "How to Grow Delicious Tomatoes".
There is a lot of industry debate about the value of electric composters, and whether they can even be termed as such – some models have been rebranded as food waste recyclers. The reason is that most machines have the unfortunate side effect of destroying compost bacteria in the heating process. Without the "microbial magic", the pre-compost has little benefits to plants and may also have an unbalanced nutrient profile. It takes time for the material to rebuild bacteria and decompose in the ground.
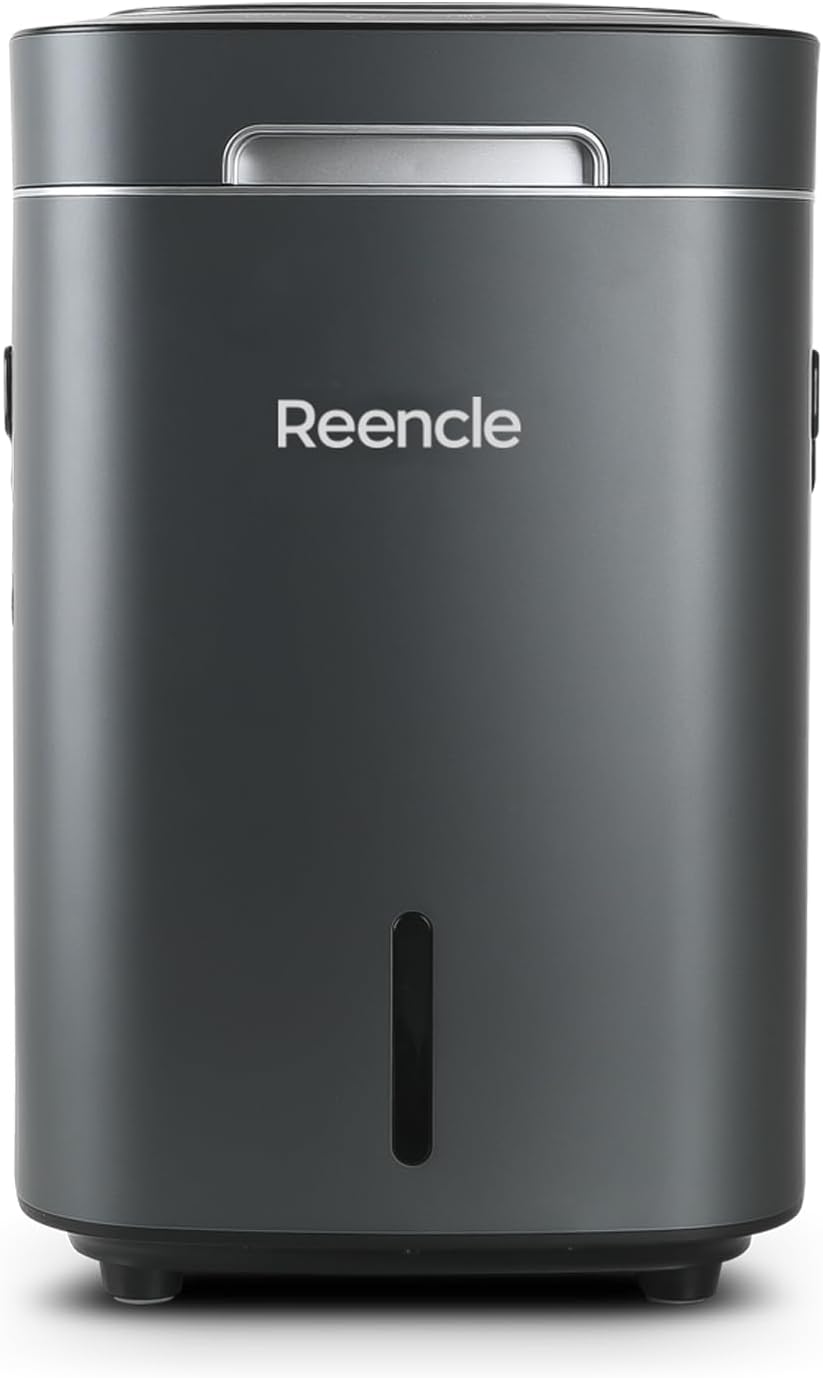
However, industry innovations like the Reencle Home Composter, available on Amazon, have introduced microorganisms to the process, creating a close-to-ready compost product that is rich in nutrients. One of the best electric composters, Reencle uses lower temperatures over a longer period (usually within 24 hours) to give the pre-compost the best possible start.
While most machines produce compost ready for planting in about three months, Reencle reduces this timeline to just two or three weeks – making it ideal for building up compost over winter.
2. Master the Art of Bokashi
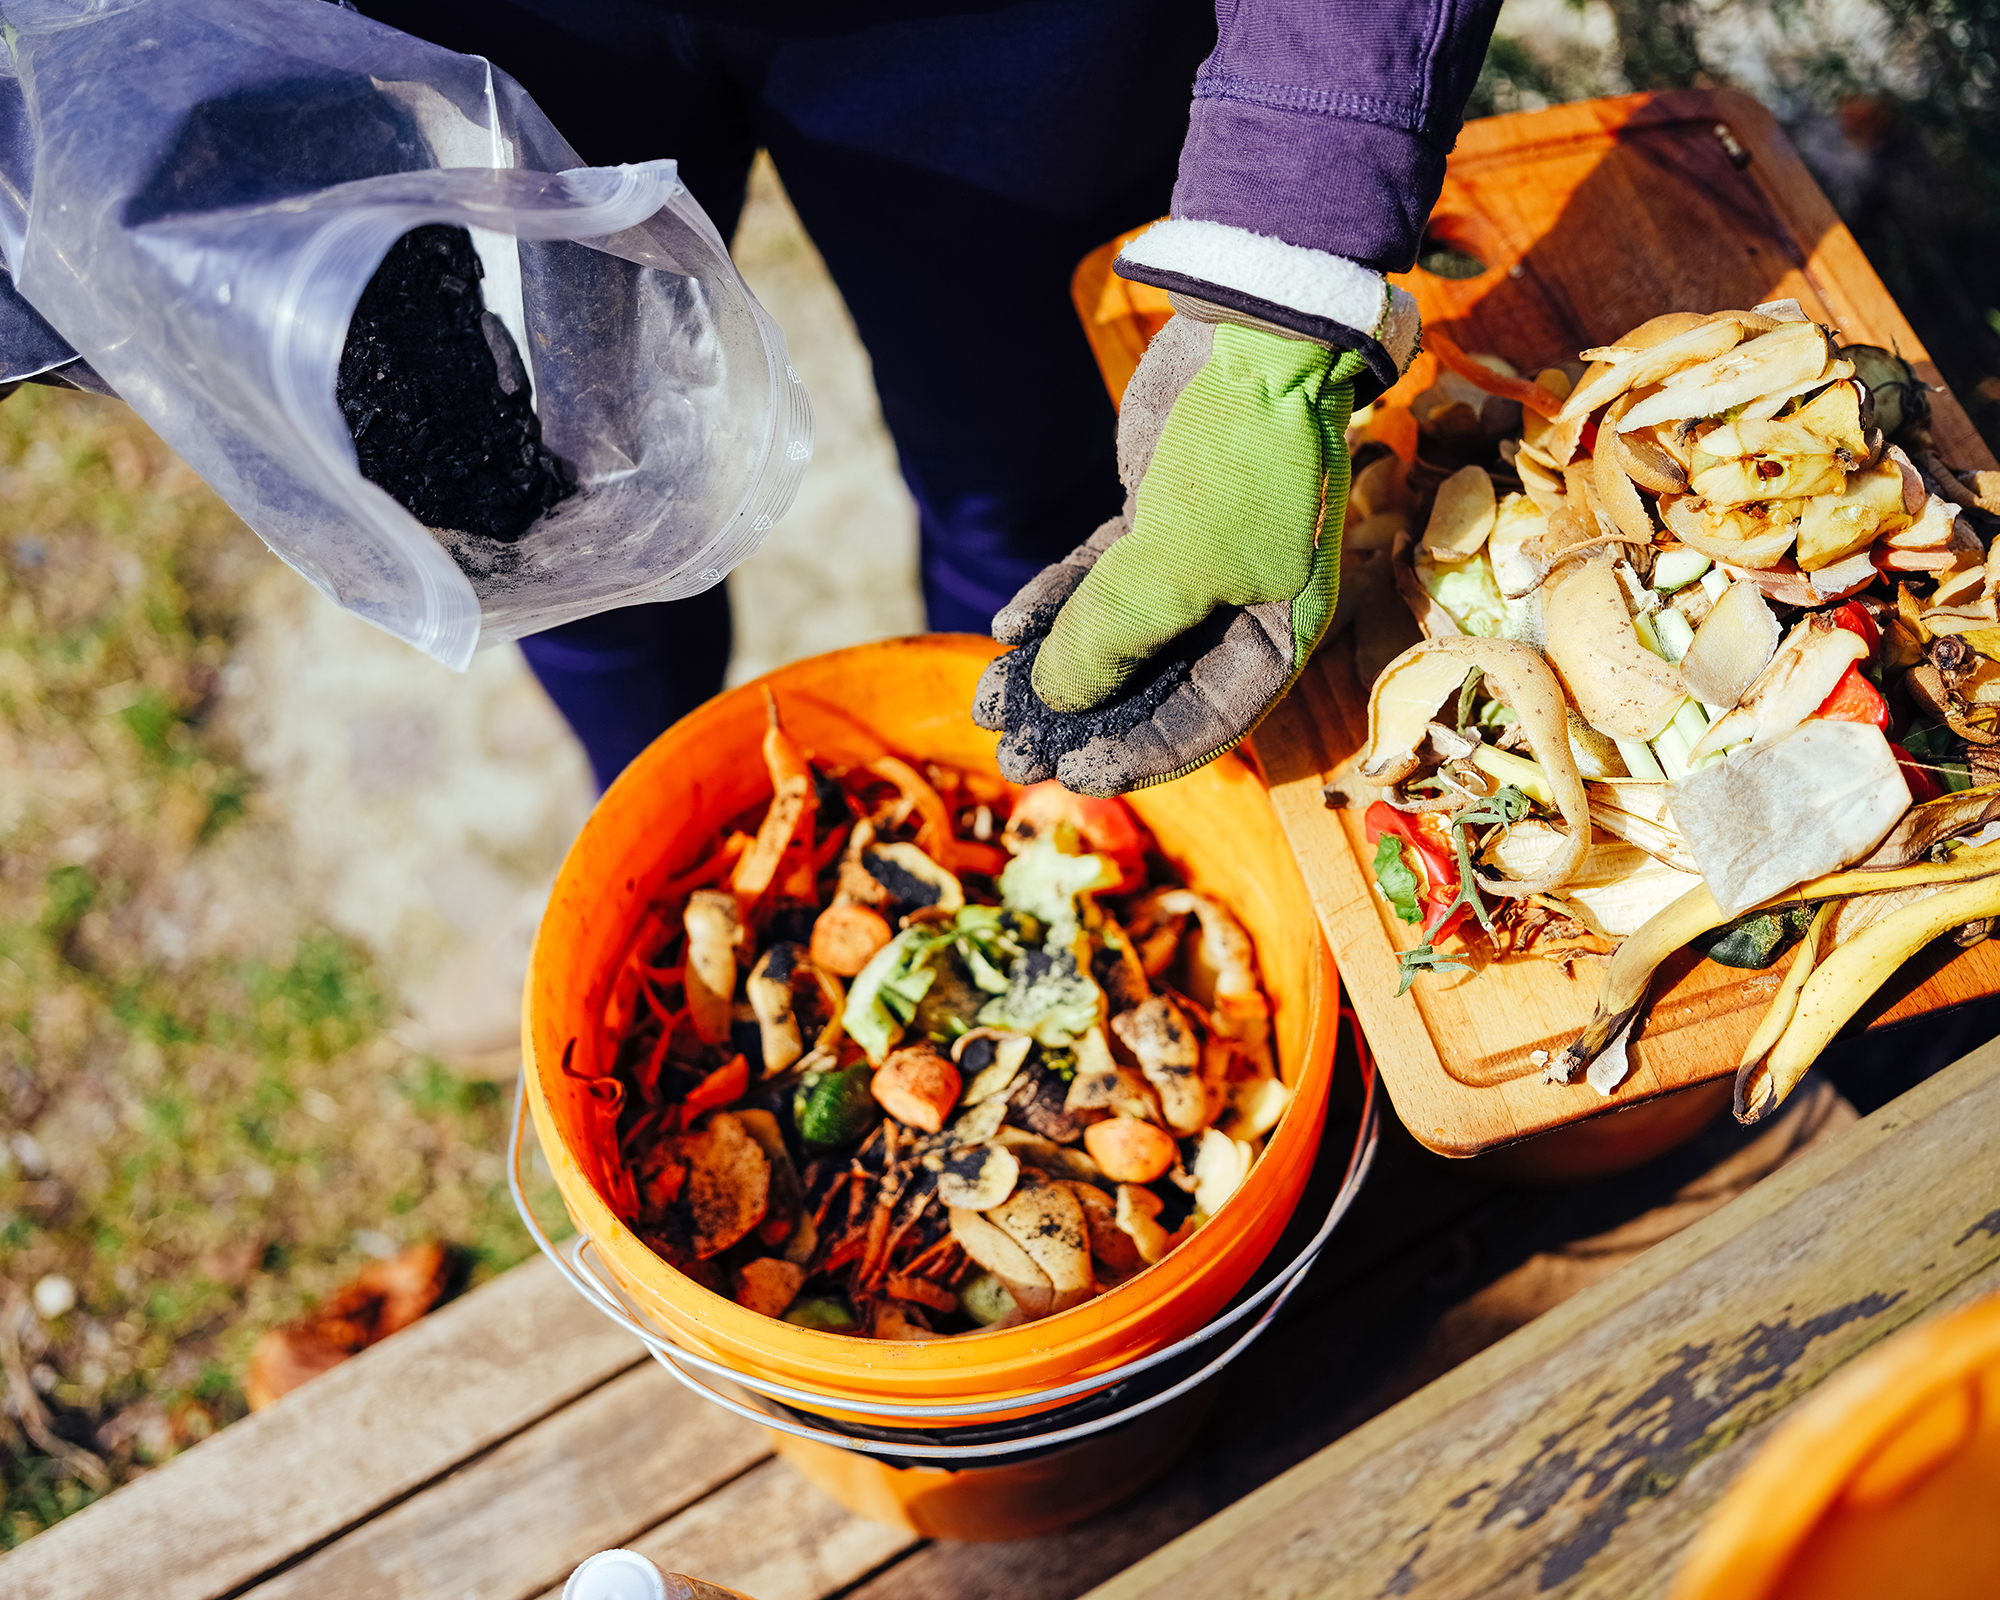
If the cost of an electric composter is offputting, then consider bokashi composting, an affordable, low-tech method, suitable for indoors, that allows gardeners to break down kitchen waste in buckets in just a few weeks – even during winter.
Originating in Asia, bokashi uses a special bran, which contains microorganisms, to kickstart an anaerobic fermentation process. The food waste is sealed in a bucket with the bran and allowed to pickle rather than rot, producing an end product that quickly decomposes when added to soil or a compost pile.
To start, you need a bucket with a tight lid – ideally, this needs a tap, so you might want to consider buying one designed for bokashi. Food scraps, including meat, dairy, and bones, are layered in the bucket with the bran sprinkled over the top. Each time a layer of food waste is added, another spoon of bran is sprinkled over the top until the bin is full. Then, the waste is compressed to remove air, and the lid is tightly closed.
Over two weeks – possibly three in the depths of winter – the contents ferment. During this time, any liquid should be drained off from the bucket tap and may be used as "bokashi tea", which is a powerful fertilizer. The pickled material should be buried in unplanted garden soil or added to a compost bin to finish decomposing, which usually takes two to four weeks.
All in all, it takes just one or two months to create finished compost using the bokashi method.
3. Add Some Wriggly Helpers
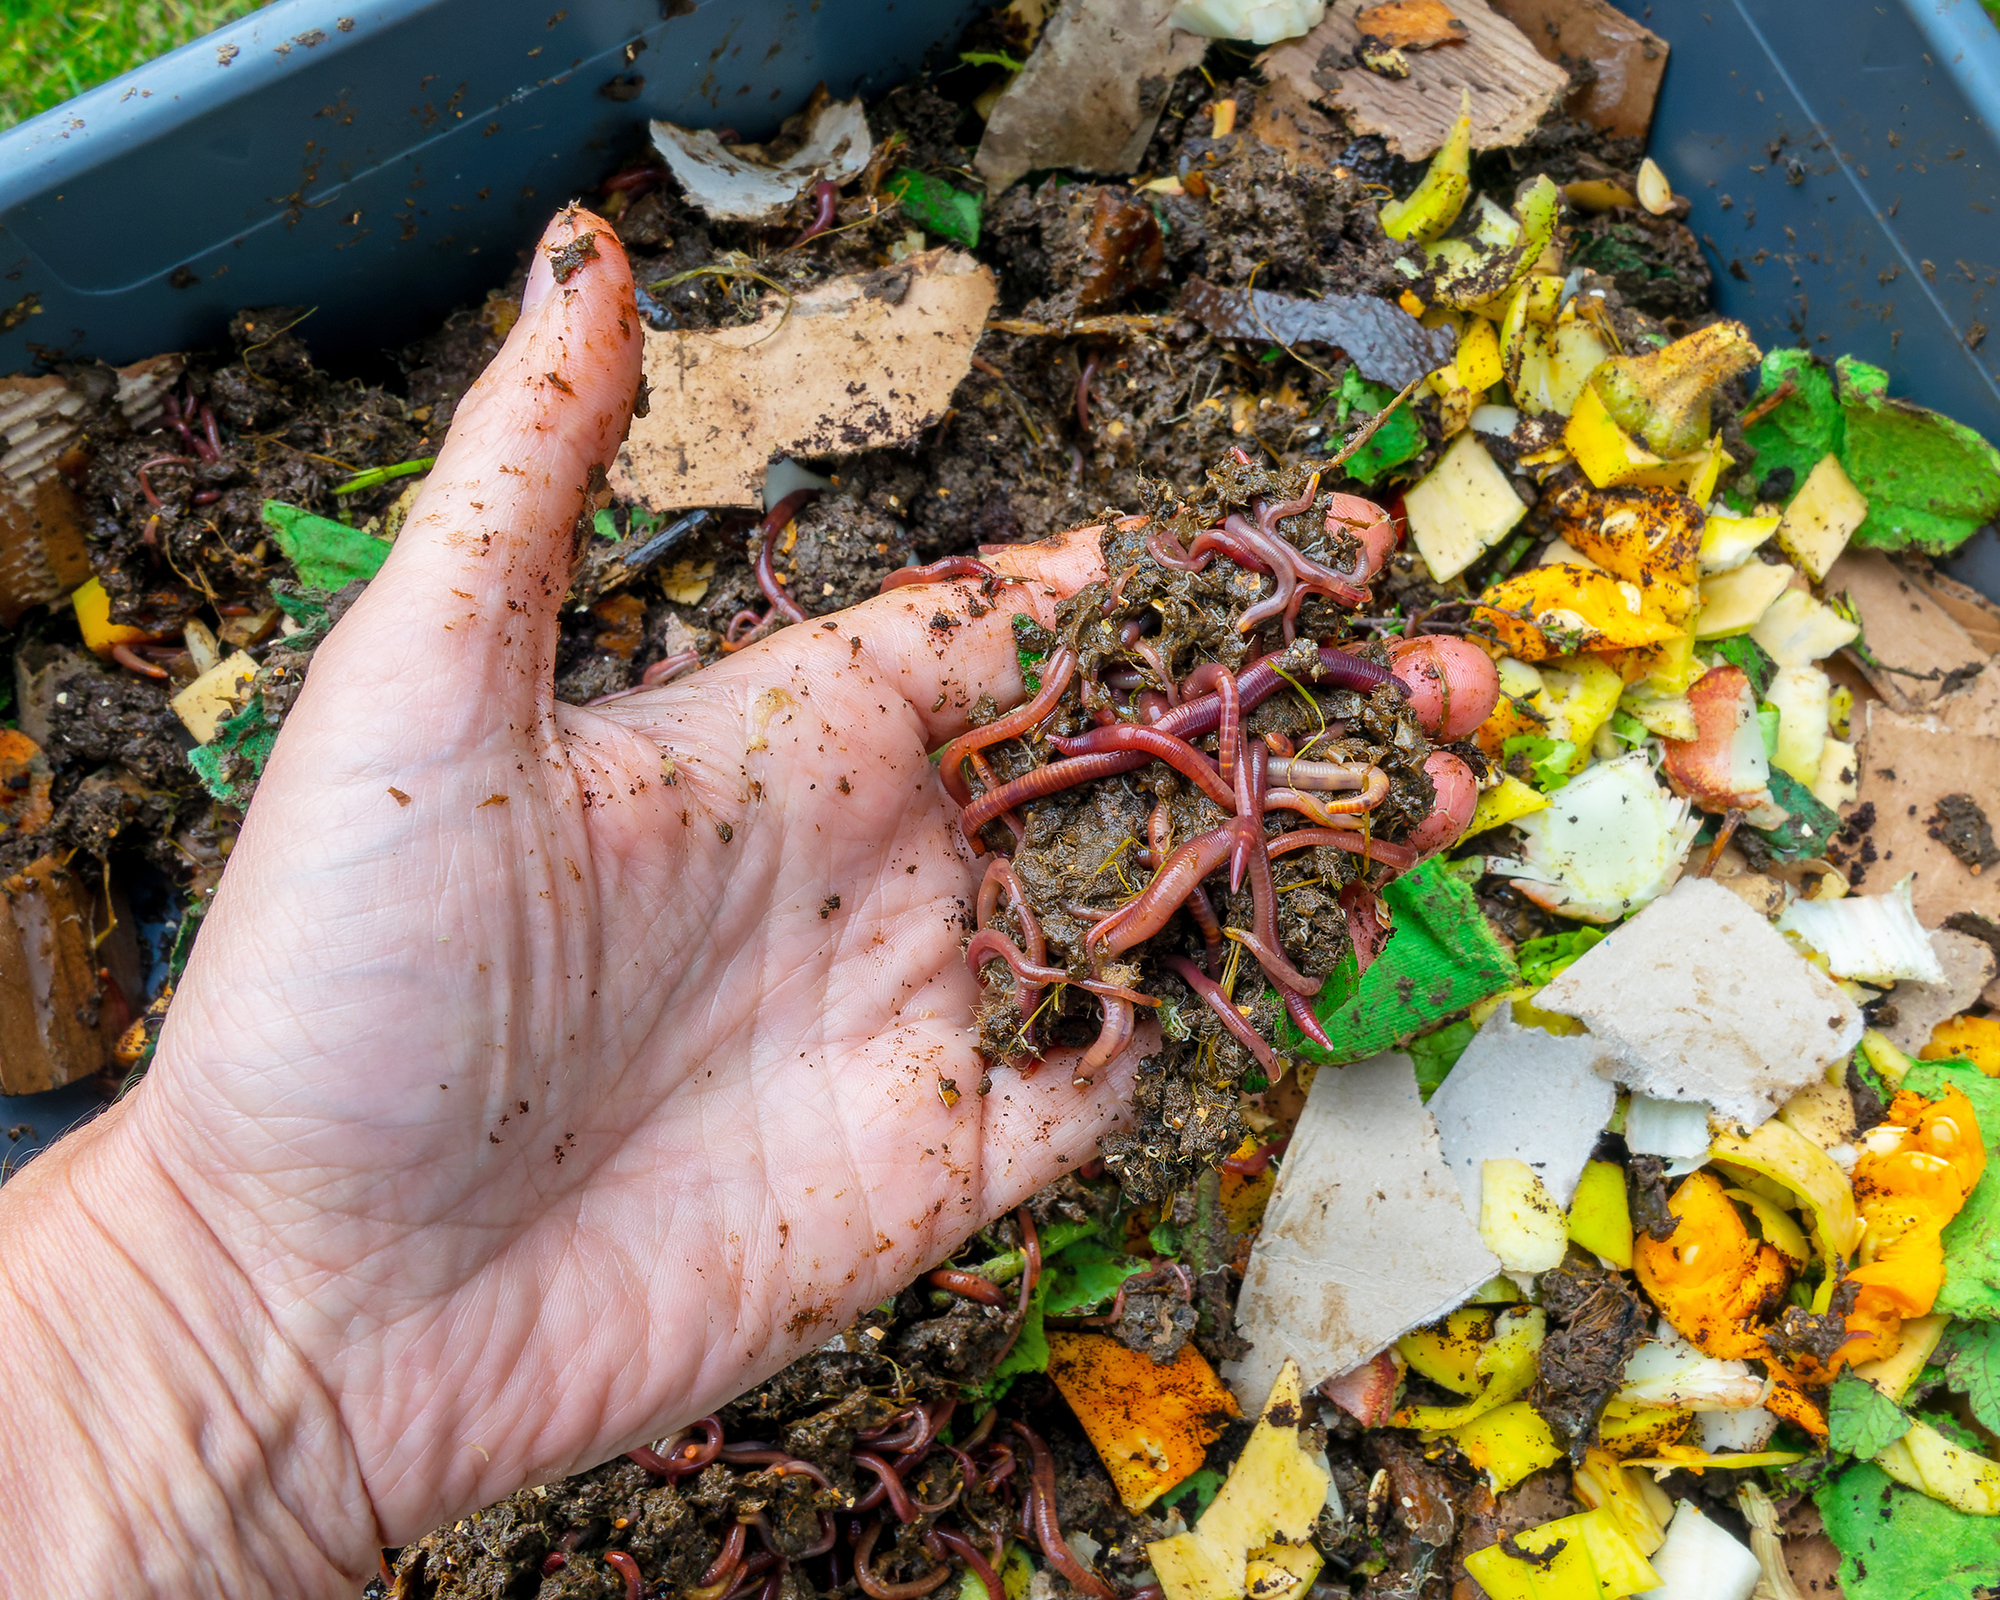
Vermicomposting utilizes worms to break down food scraps and produce nutrient-packed worm castings. It’s quicker than classic composting methods and can even be done inside, making it a viable winter composting solution. An indoor worm composting bin can be stored in a kitchen or basement, and the process is virtually odor-free.
You can buy or make a vermicompost bin using a large plastic container, To this you need to add moist bedding such as shredded newspaper, worms – red wigglers (Eisenia fetida) are the preferred compost worms – and then add food scraps in small amounts daily. Waste like fruit, vegetables, bread, tea bags, and coffee grounds can be added, but you should avoid greasy foods, meat, bones, or dairy. Worms can break down food faster if it's soft or chopped into smaller pieces.
It takes a few months to establish a vermicomposting bin, allowing the worm population to grow to hundreds. At this stage, the process is quick and compost is ready in two to three months.
4. Bury Waste in a Trench
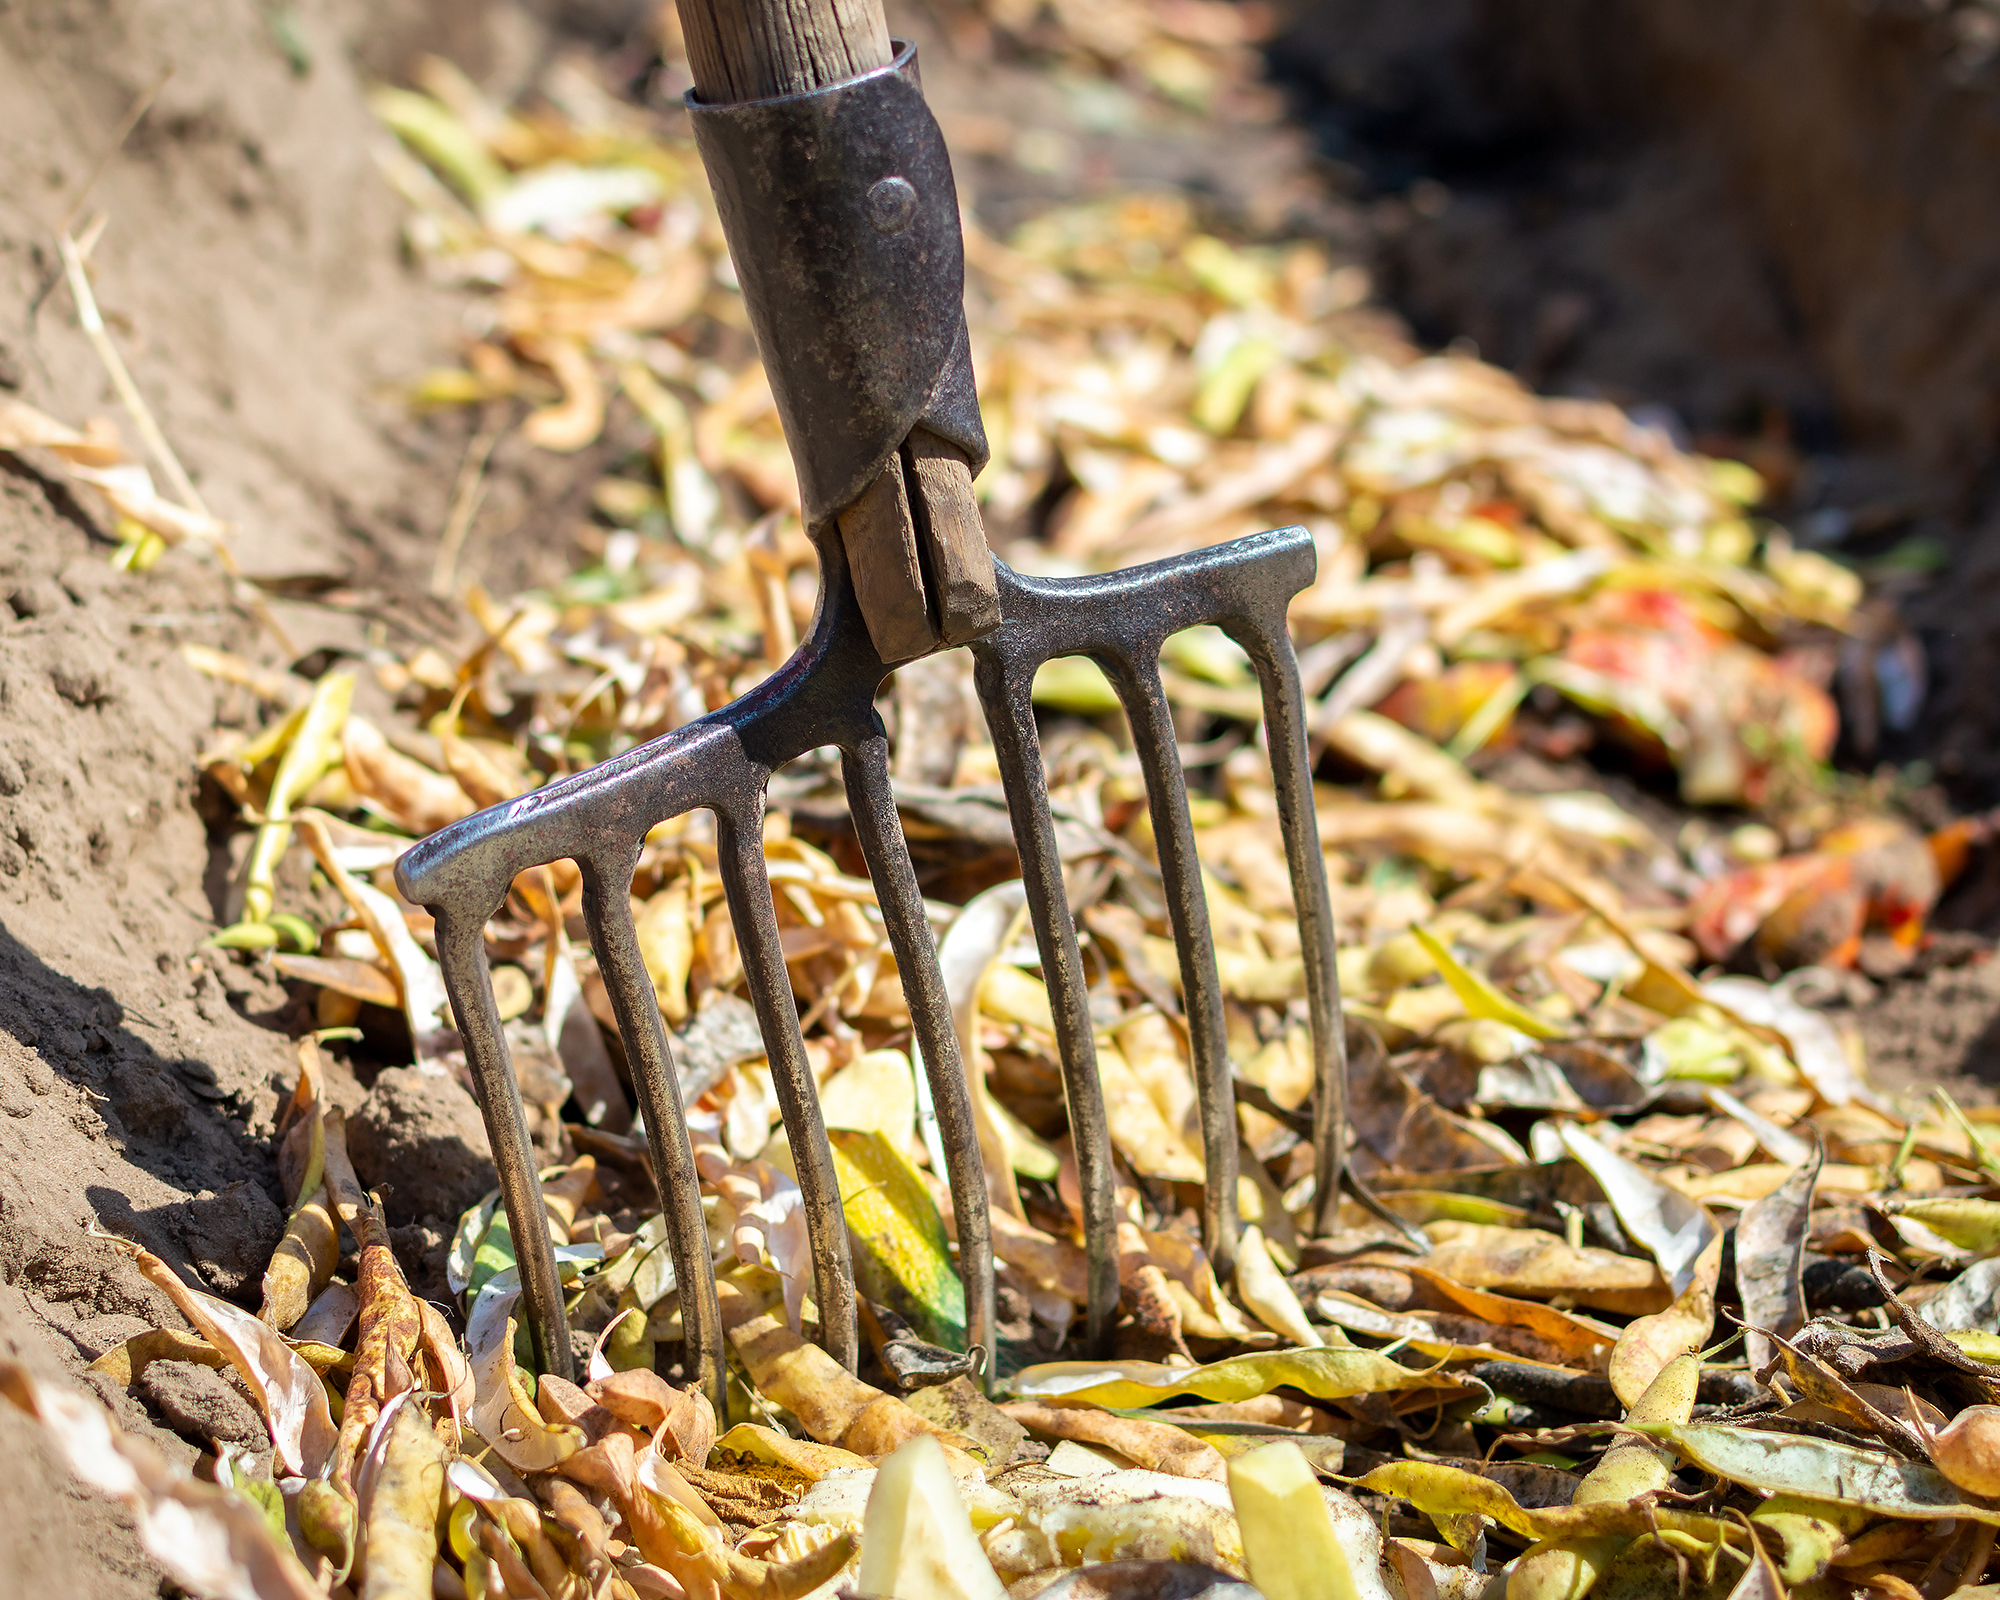
Trench composting is quite possibly the simplest compost method going, and works well in winter, as the earth insulates the pile, retaining warmth. The practice involves digging a trench, filling it with kitchen scraps and other organic waste, and covering it over with soil.
If you make your trench in the winter before the ground freezes, then over a few short months, microbes in the soil will break down the waste, enriching it with nutrients in time for spring planting season.
To begin, select a spot in your garden where you won’t plant immediately and dig a trench or hole. This needs to be roughly 12-18 inches deep to keep pests away and ensure the waste decomposes properly. Add scraps like vegetable peels, coffee grounds, eggshells, as well as garden clippings. Avoid adding meat, dairy, or oily foods, as these can attract pests. Once the trench is full, cover it with soil.
Trench composting is low-maintenance, requires no turning or monitoring, and is ideal for both vegetable gardens and flower beds.
5. Use a Drunken Compost Accelerator
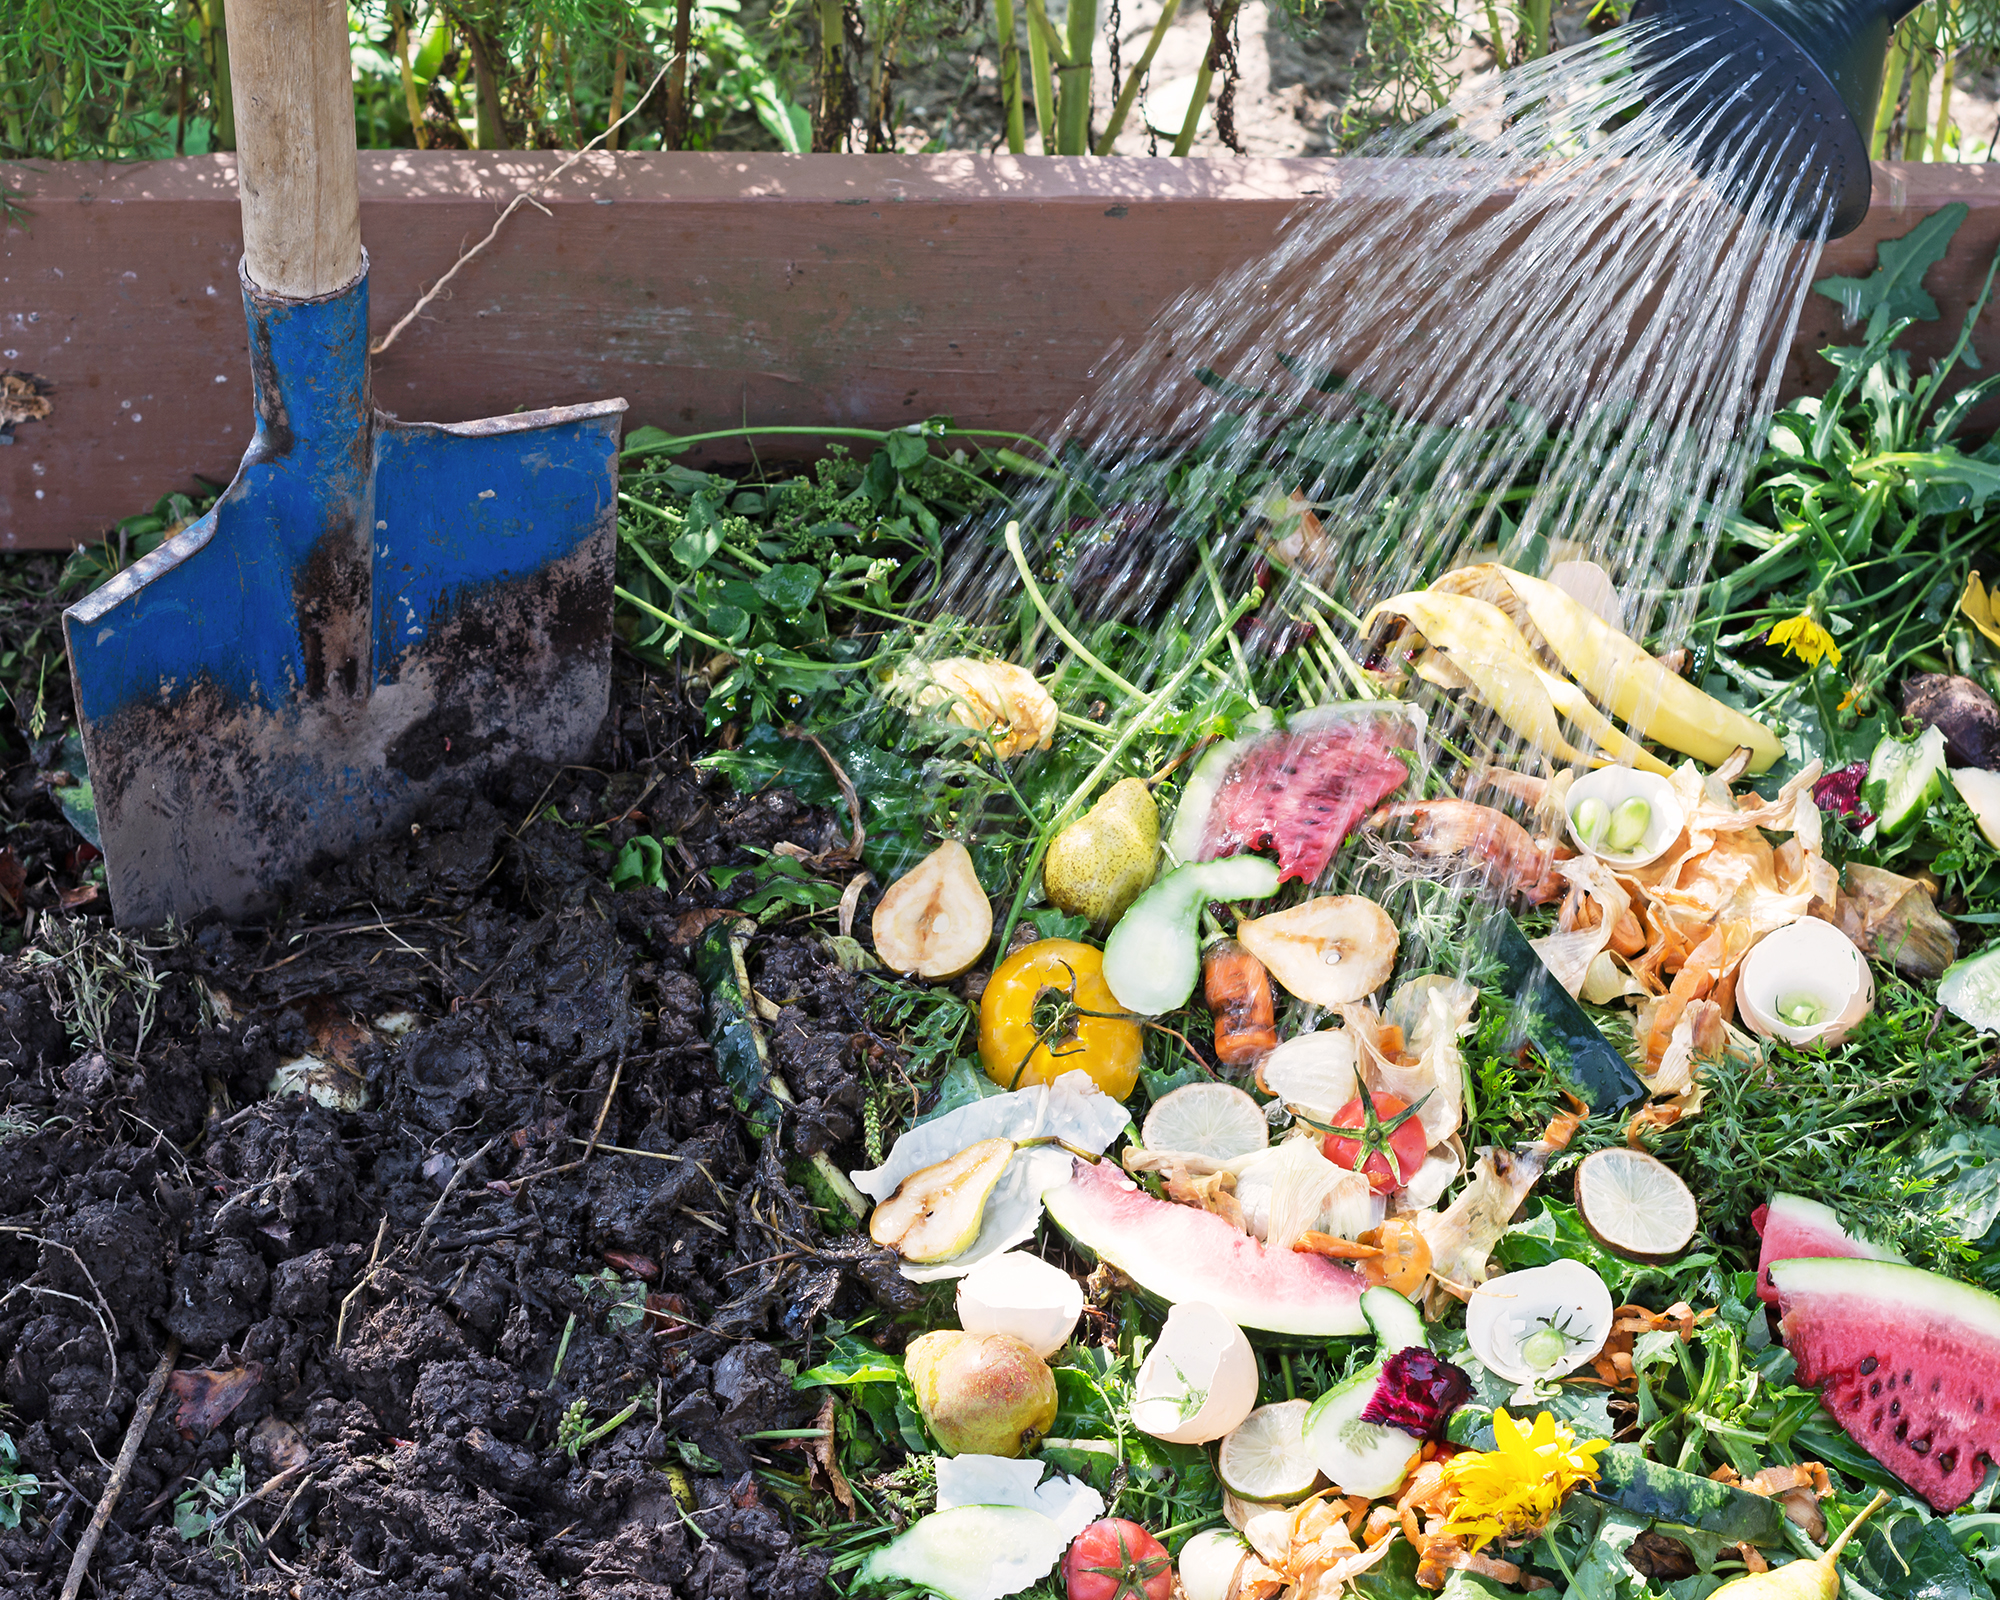
As its name suggests, drunken composting uses the addition of alcohol – as well as sugar and ammonia – to supercharge the decomposition process. Rather than being a style of composting, it is an additive that is added to a traditional compost pile to help get things going and increase the compost temperature.
In the bucket, mix one can of beer with 8 ounces (250ml) of ammonia and 12 ounces (355ml) of non-diet soda. Instead of soda, you can use 3 tablespoons of sugar dissolved in 12 ounces (355ml) of water.
Dilute the mix with 2 gallons (8 liters) of warm water and pour over the compost pile, mixing it with a garden fork or shovel.
While a homemade compost accelerator is less effective in winter than in warmer months, it will still reduce the timescale and have you ready to plant come spring.

Melanie is an experienced gardener and has worked in homes and gardens media for over 20 years. She previously served as Editor on Period Living magazine, and worked for Homes & Gardens, Gardening Etc, Real Homes, and Homebuilding & Renovating. Melanie has spent the last few years transforming her own garden, which is constantly evolving as a work in progress. She is also a passionate organic home grower, having experimented with almost every type of vegetable at some point. In her home, Melanie tends to an extensive houseplant collection and is particularly fond of orchids.
