Cherry Tree Propagation: How To Grow Cherries From A Cutting

Most people probably purchase a cherry tree from a nursery, but there are two ways you can propagate a cherry tree-- by seed or you can propagate cherry trees from cuttings. While seed propagation is possible, cherry tree propagation is easiest from cuttings. Read on to find out how to grow cherries from a cutting and planting cherry tree cuttings.
About Cherry Tree Propagation via Cuttings
There are two types of cherry tree: tart (Prunus cerasus) and sweet (Prunus avium) cherries, both of which are members of the stone fruit family. While you can propagate a cherry tree using its seeds, the tree is likely a hybrid, meaning the resultant offspring will end up with the characteristics of one of the parent plants.
If you want to get a true “copy” of your tree, you need to propagate the cherry tree from cuttings.
How to Grow Cherries from a Cutting
Both tart and sweet cherries can be propagated by semi-hardwood and hardwood cuttings. Semi-hardwood cuttings are taken from the tree in the summer when the wood is still slightly soft and partially mature. Hardwood cuttings are taken during the dormant season when the wood is hard and mature.
First, fill a 6 inch (15 cm.) clay or plastic pot with a mix of half perlite and half sphagnum peat moss. Water the potting mix until it is uniformly moist.
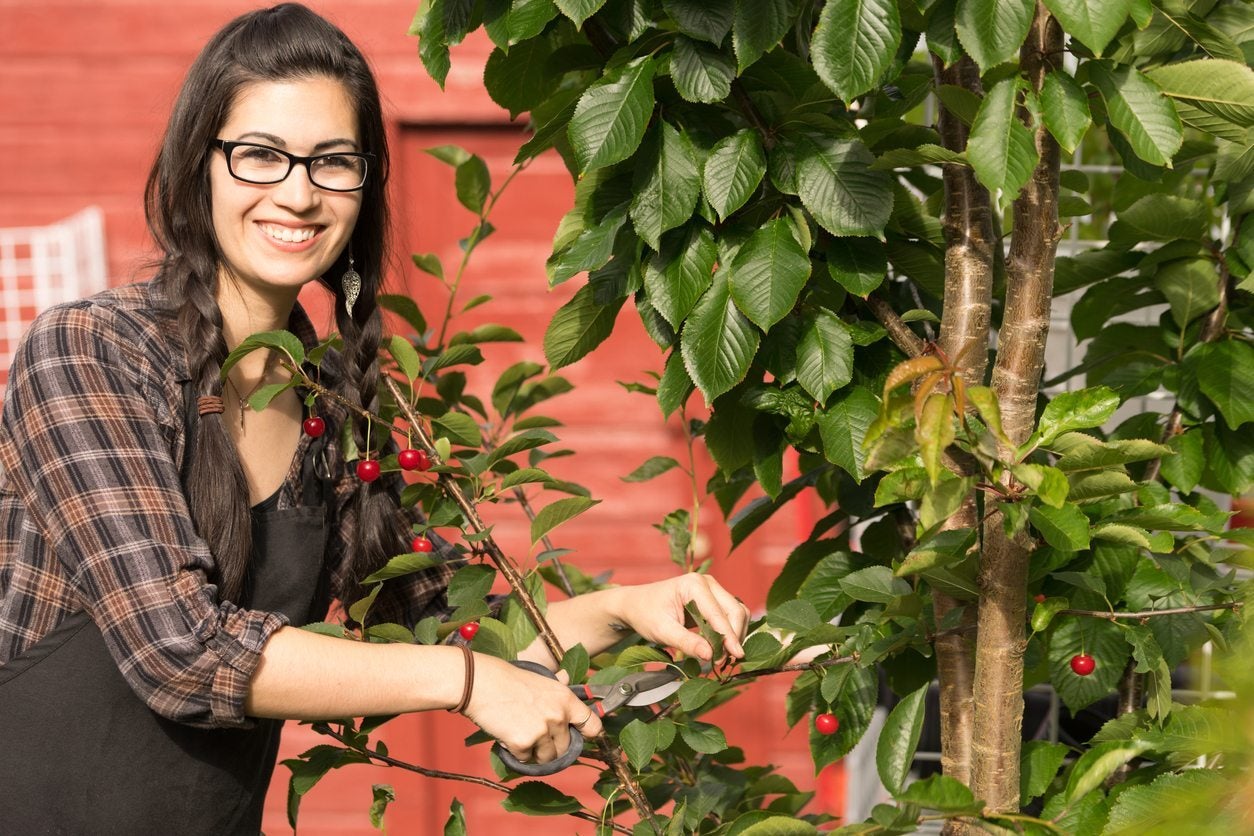
Select a branch on the cherry that has leaves and two to four leaf nodes, and preferably one that is under five years of age. Cuttings taken from older trees should be taken from the youngest branches. Using sharp, sterile pruning shears cut off a 4 to 8 inch (10 to 20 cm.) section of the tree at a horizontal angle.
Strip any leaves from the bottom 2/3 of the cutting. Dip the end of the cutting into rooting hormone. Make a hole in the rooting medium with your finger. Insert the cut end of the cutting into the hole and tamp down the rooting medium around it.
Gardening tips, videos, info and more delivered right to your inbox!
Sign up for the Gardening Know How newsletter today and receive a free copy of our e-book "How to Grow Delicious Tomatoes".
Either place a plastic bag over the container or cut the bottom out of a milk jug and place it over the top of the pot. Keep the cutting in a sunny area with a temperature of at least 65 degrees F. (18 C.). Keep the medium moist, misting it twice a day with a spray bottle.
Remove the bag or milk jug from the cutting after two to three months and check the cutting to see if it has rooted. Tug the cutting lightly. If you feel resistance, continue to grow until the roots fill the container. When the roots have encompassed the pot, transfer the cutting to a gallon (3-4 L.) container filled with potting soil.
Gradually acclimate the new cherry tree to outdoor temperatures and sunlight by placing it in the shade during the day for a week or so before transplanting it. Select a site to transplant the cherry in full sun with well-draining soil. Dig the hole twice as wide as the tree but no deeper.
Remove the cherry tree from the container; support the trunk with one hand. Lift the tree by the root ball and place it into the prepared hole. Fill in the sides with dirt and lightly over the top of the root ball. Water to remove any air pockets and then continue to fill in around the tree until the root ball is covered and the soil level meets ground level.

Amy Grant has been gardening for 30 years and writing for 15. A professional chef and caterer, Amy's area of expertise is culinary gardening.
-
 Looking For Plants To Give You The Soft And Fuzzies? Try These 5 Fuzzy Leaf Plant Options
Lovers of texture, drama, silver foliage and tactile plants will adore these special sensory garden additions. These fuzzy leaf plant options will leave you all aglow
By Susan Albert
-
 Get Ready For A Summer Of Hummers! Grow These Full Sun Hummingbird Plants and Flowers
If you’re lucky enough to enjoy a sunny backyard, make sure you are maxing out on your pollinator opportunities and grow these full sun hummingbird plants and flowers
By Tonya Barnett