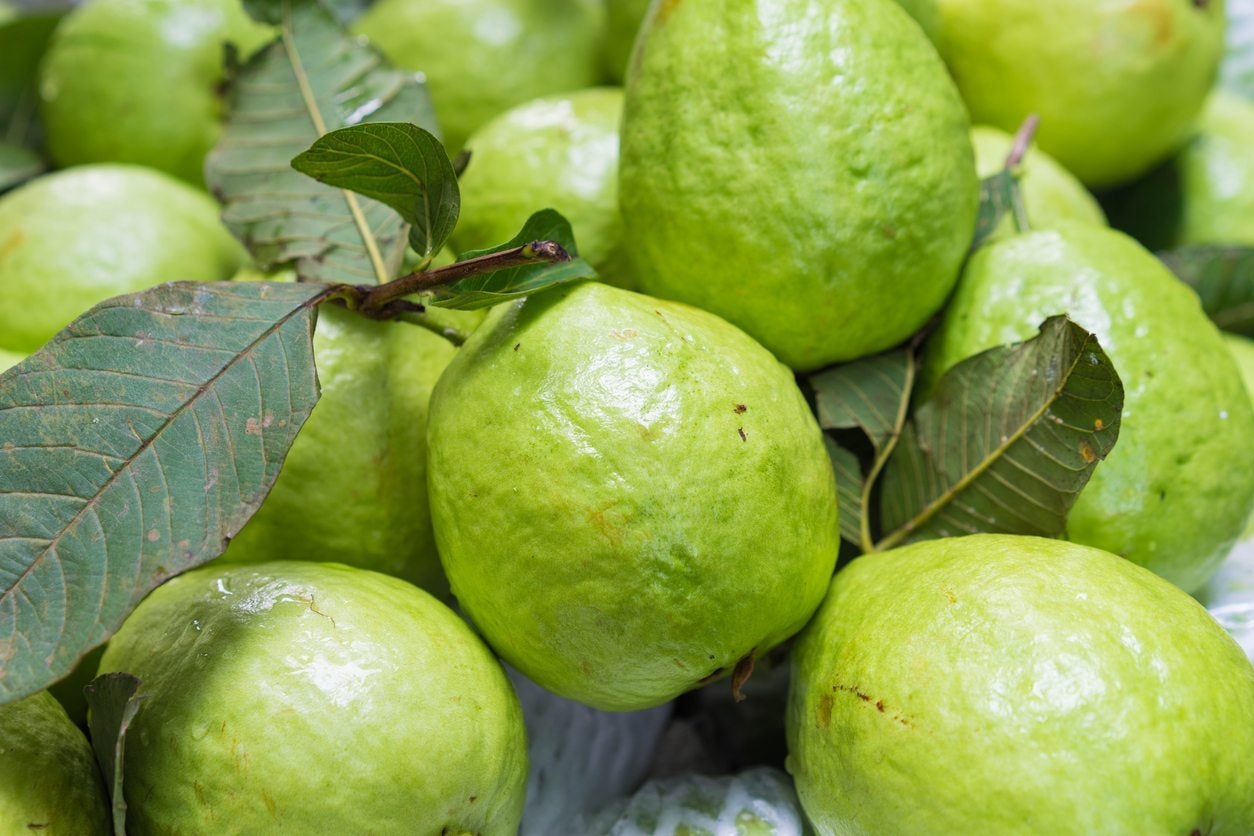
So, you love the flavor of tropical guava and have planted a tree of your own and are anxiously waiting for it to fruit. Unfortunately, your patience seems to be unrewarded, as there is no fruit on your guava tree. There are several reasons for a guava tree not fruiting. If you are beside yourself because you have a guava tree with no fruit, take a deep breath and read on to find out how to get guava trees to fruit.
Help, My Guava Tree Won’t Fruit!
First, it’s helpful to know a little bit about guavas in order to determine why a tree won’t fruit. First of all, guava plants need full sun to part shade to grow, but they cannot tolerate too much heat. That said, they also dislike the cold and are very frost tender. Guava trees can grow in U.S. hardiness zones 9 to 11, which translates to Hawaii, Florida, protected areas of California and Texas, and the Virgin Islands. Also, whether grown from seed or grafting, guavas will not bear fruit until their third year. That is, of course, provided you have been giving the tree the correct amount of irrigation and nutrition, as well as well-draining soil with a pH of 4.5 to 7.0. So, if your tree is in an area protected from frost, in a sunny to partially sunny locale in zones 9 through 11, and you have been consistent with fertilization and irrigation, there must be a different reason for no fruit on your guava tree. A guava tree with no fruit may also be the result of a pollination problem. Apple guava, Pisidium guajava, will either need a partner to cross pollinate with or will need some help from you in the form of hand pollination. Pineapple guava, Feijoa sellowiana, will be more likely to bear fruit when hand pollinated.
How to Get Guava Trees to Fruit
Guavas can be grown in the ground or in a pot, but if you choose to grow them in a pot, be sure to choose one that is at least a foot (31 cm.) across or larger. Also, make sure the pot has good drainage holes. In either case, make sure you’re planting in well-draining soil that has been amended with plenty of compost. Choose a site sheltered from cold winds or frosts in full to partial sun. Spread a 3 to 4 inch (8-10 cm.) layer of organic mulch around the base of the tree to help retain moisture, suppress weeds, and to nourish roots. Retarding weeds is important since it also suppresses pests. If removing weeds with garden equipment, be careful of the tree's shallow root system. Be sure to provide the tree with adequate water. At planting and for the first month, water daily. Once the tree is established, you may reduce the water to once per week, water at the base of the tree deeply. Fertilize the tree with a 10-10-10 fertilizer. Use 8 ounces (237 ml.) each month for the first year and then 24 ounces (710 ml.) every other month from the trees second and successive years. Water the tree after fertilizing to help carry the nutrients through the plants roots and to avoid nitrogen burn.
Sign up for the Gardening Know How newsletter today and receive a free copy of our e-book "How to Grow Delicious Tomatoes".

Amy Grant has been gardening for 30 years and writing for 15. A professional chef and caterer, Amy's area of expertise is culinary gardening.
