Saving Peach Seeds – How To Store Peach Pits For Planting


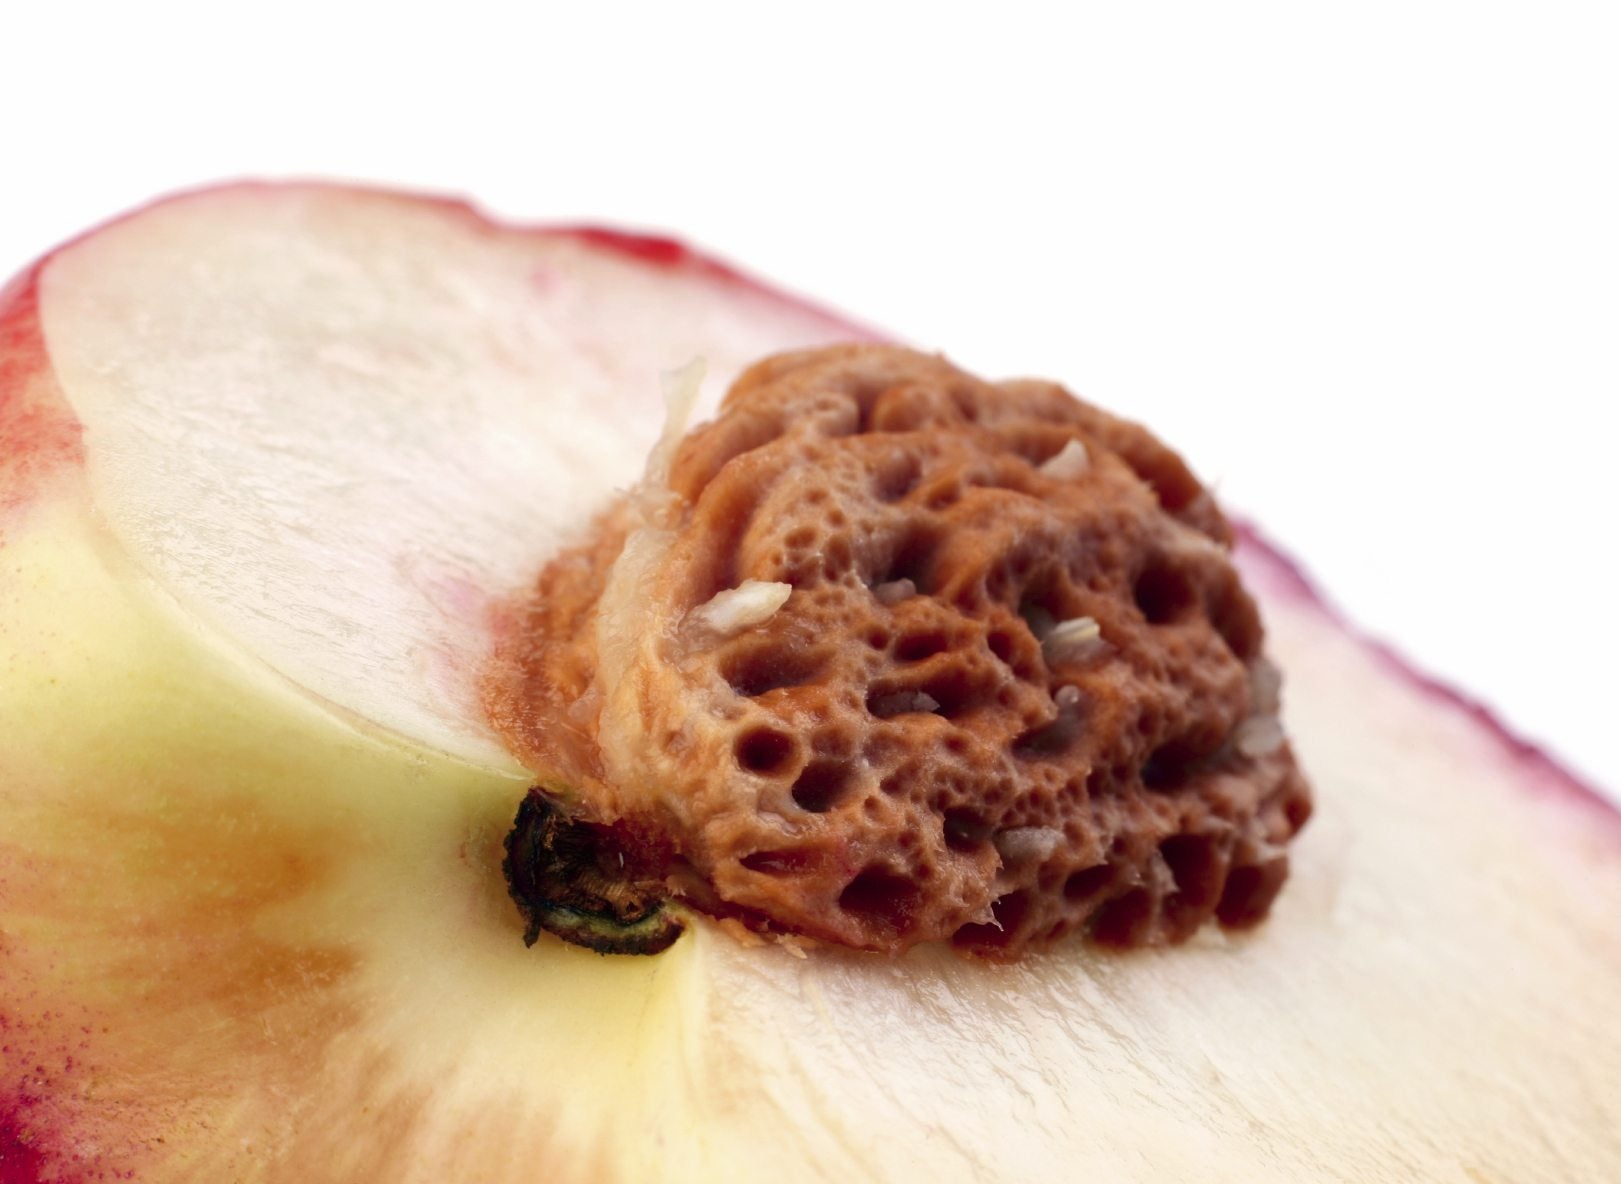
Can you save peach pits for planting next season? This is a question asked by perhaps every gardener who has just finished a peach and is looking down at the pit in their hand. The easy answer is: yes! The slightly more complicated answer is: yes, but it won’t necessarily reproduce the peach you just ate. If you’re looking to eat more of your beloved peaches, go buy some more. If you’re looking for an adventure in gardening and a new variety of peach that may be even more delicious, then keep reading to learn how to store peach pits.
Saving Peach Seeds
Storing peach seeds may not be necessary, depending upon where you live. In order to germinate, peach pits have to be exposed to prolonged cold temperatures. If your climate experiences long, reliably cold winters, you can just plant your peach pit directly in the ground. If you don’t get hard winters, or just want the more hands-on approach, saving peach seeds makes sense. The first step to storing peach seeds is washing and drying them. Run your pit under water and scrub away any flesh. If your peach was especially ripe, the hard outer husk of the pit may have split open, revealing the seed within. Extracting this seed will greatly increase your chance of germination, but you have to be careful not to nick or cut the seed in any way. Store it out in the open overnight to dry it out. Then put it in a slightly opened plastic bag in the refrigerator. The inside of the bag should be slightly damp, with condensation on the inside. If the bag seems to be drying out, add a tiny bit of water, shake it around, and drain it. You want to keep the pit slightly moist, but not moldy. Make sure you don’t store apples or bananas in the refrigerator at the same time – these fruits exude gas, called ethylene, which could cause the pit to ripen prematurely.
How to Store Peach Pits
When should peach pits be planted? Not yet! Saving peach seeds like this should be done until December or January, when you can begin germination. Soak your pit in water for a few hours, then put it in a new bag with some moistened soil. Put it back in the refrigerator. After a month or two, it should start to sprout. Once a healthy root begins to show, then it’s time to plant your pit in a pot.
Gardening tips, videos, info and more delivered right to your inbox!
Sign up for the Gardening Know How newsletter today and receive a free copy of our e-book "How to Grow Delicious Tomatoes".

The only child of a horticulturist and an English teacher, Liz Baessler was destined to become a gardening editor. She has been with Gardening Know how since 2015, and a Senior Editor since 2020. She holds a BA in English from Brandeis University and an MA in English from the University of Geneva, Switzerland. After years of gardening in containers and community garden plots, she finally has a backyard of her own, which she is systematically filling with vegetables and flowers.
-
 Try The Trend – Turn Any Bed Into A Keyhole Garden With This Clever In-Ground Composter
Keyhole gardening is an efficient and sustainable practice that saves space. Get started on this DIY project quickly and easily with an in-ground composter.
By Bonnie L. Grant
-
 4 Superfast Composting Methods: Turn Waste Into Garden Gold In 30 Days Or Less
Try the fastest composting methods to turbocharge your pile and transform kitchen scraps and garden waste into finished compost in just a few weeks.
By Mary Ellen Ellis