Can I Plant A Plum Pit: Tips For Planting Fresh Plum Seeds

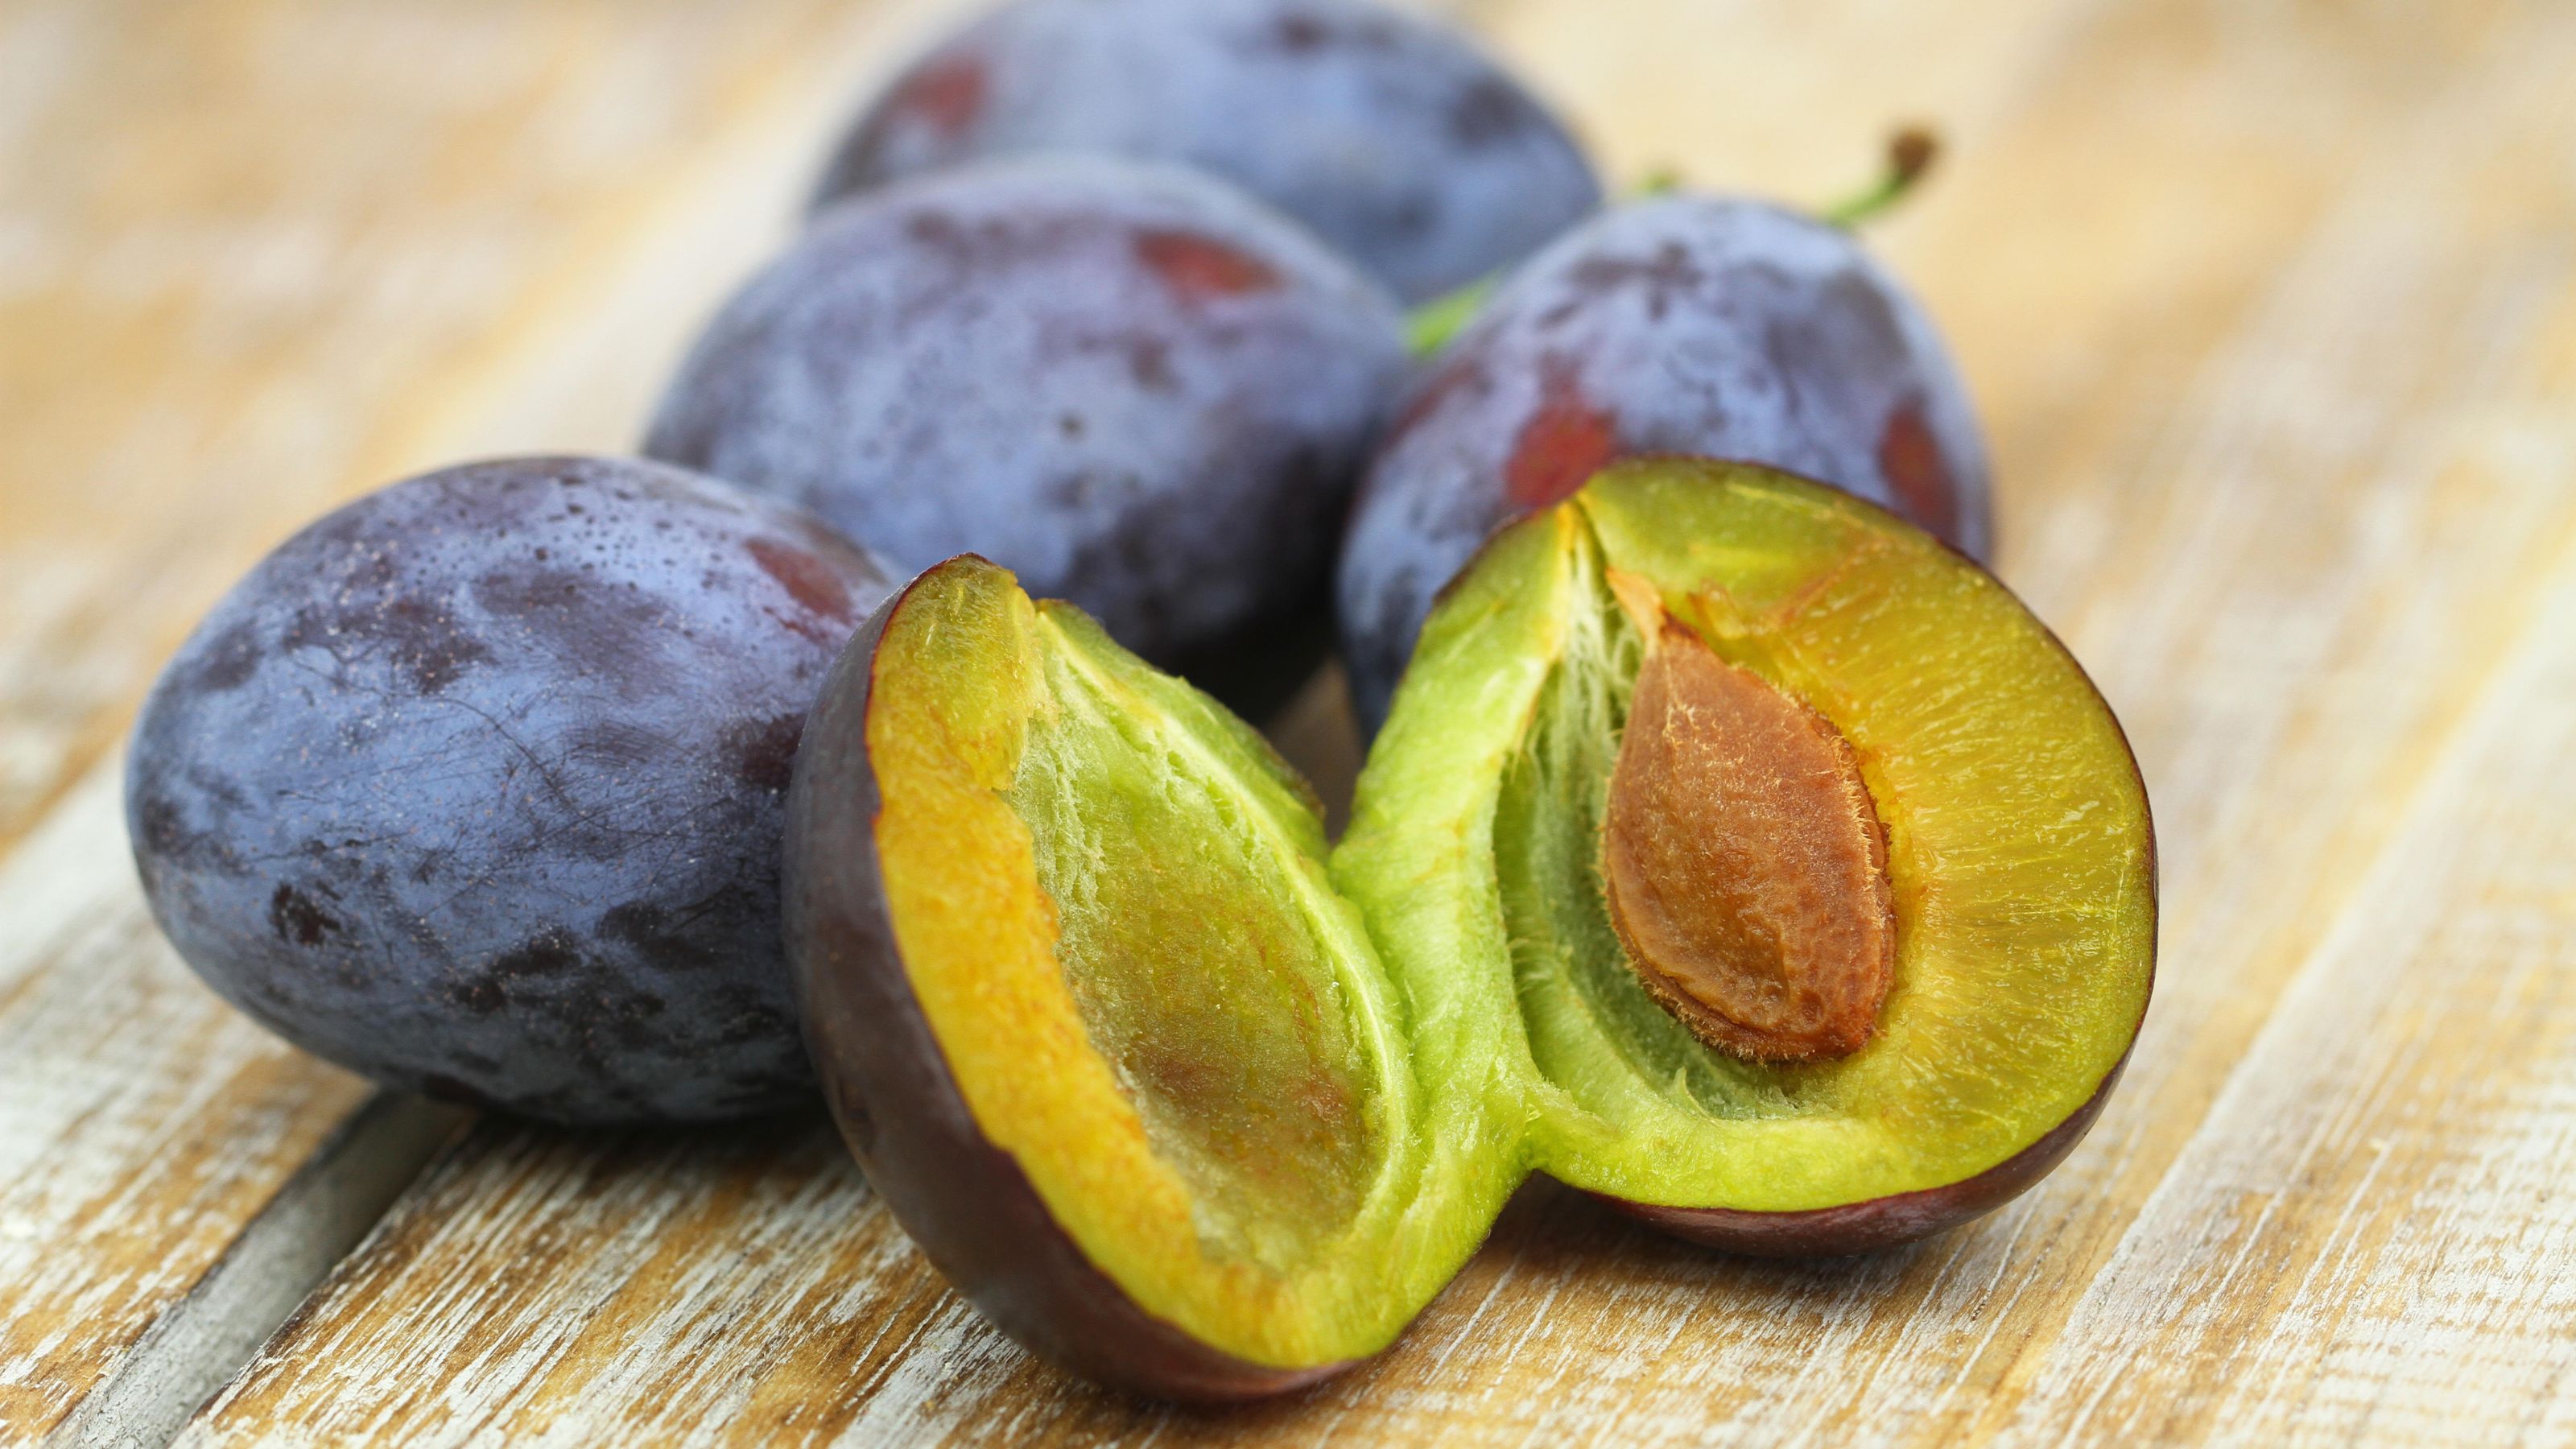
Have you ever eaten the last of the most deliciously juicy plum and, with the pit as the only memento, wondered, “Can I plant a plum pit?” The answer to planting plums from a pit is a resounding yes! Keep in mind, however, that the resulting tree may or may not fruit and, if it does fruit, the plum from the new tree may be nothing like the original glorious, succulent fruit.
Most fruit trees are propagated from compatible rootstock or the mother plant onto which the desired variety is grafted to obtain a “true” copy of the fruit. Planting plums from a pit may result in a very different variety of the original; the fruit may be inedible, or you may produce an even better variety. Either way, it is fairly easy and super fun growing plums from pits.
How to Plant Plum Pits
First when considering planting plums from a pit, look at your geographic region. Most varieties of plum grow well in USDA zones 5-9. If this is you, you're good to go.
Firstly remove the pit
When you are planting fresh plum seeds or pits, first remove the pit and wash in lukewarm water with a soft scrub brush to remove any pulp.
Then it's time for the stratification process
The seed needs a chilling off period at temperatures of between 33-41 F (1-5 C) before it will germinate, about 10-12 weeks. This is called the stratification process and there are two methods to accomplish it.
The first method is to wrap the pit in a moist paper towel inside a plastic bag and then place it in the refrigerator. Leave it there for six to eight weeks, keeping an eye on it in case it sprouts earlier. Conversely, natural germination is also a method of stratification wherein the plum pit goes directly in the ground during the fall or winter. It's a good idea to add some organic matter, but no fertilizer, into the hole, about a month before planting the pit.
Plant the seeds carefully
When planting the fresh plum seeds, they should be 3 inches (8 cm.) deep in the soil. Mark where you have planted the pit so you can find it in the spring. Leave the plum pit outside through the winter months and watch for any sprouting; thereafter, keep the new plant moist and watch it grow.
Gardening tips, videos, info and more delivered right to your inbox!
Sign up for the Gardening Know How newsletter today and receive a free copy of our e-book "How to Grow Delicious Tomatoes".
Place in a container
If you have cold stratified the seed in the refrigerator, once it has sprouted, remove it and plant the plum pit in a container with well draining soil composed of one part vermiculite and one part potting soil, about 2 inches (5 cm.) deep. Situate the pot in a cool, bright area and keep moist but not too wet.
Plant in the ground
After all danger of frost has passed, select a new location in the garden for your new plum tree with at least six hours of direct sunlight. Prepare the soil by digging a hole 12 inches (31 cm.) deep, removing any rock or debris. Mix compost into the soil.
Plant the new plum from a pit to its original depth and tamp the soil around the plant. Water and keep evenly moist. Otherwise, you should mulch or compost around the base of the seedling to retain moisture and fertilize with tree spikes or a 10-10-10 fertilizer in the early spring and then again in August.
Be patient
When planting plums from a pit, have some patience. It will take a few years before the tree bears fruit, which may or may not be edible. Regardless, it is a fun project and will result in a lovely tree for future generations.

Amy Grant has been gardening for 30 years and writing for 15. A professional chef and caterer, Amy's area of expertise is culinary gardening.
-
 Looking For Plants To Give You The Soft And Fuzzies? Try These 5 Fuzzy Leaf Plant Options
Lovers of texture, drama, silver foliage and tactile plants will adore these special sensory garden additions. These fuzzy leaf plant options will leave you all aglow
By Susan Albert
-
 Get Ready For A Summer Of Hummers! Grow These Full Sun Hummingbird Plants and Flowers
If you’re lucky enough to enjoy a sunny backyard, make sure you are maxing out on your pollinator opportunities and grow these full sun hummingbird plants and flowers
By Tonya Barnett