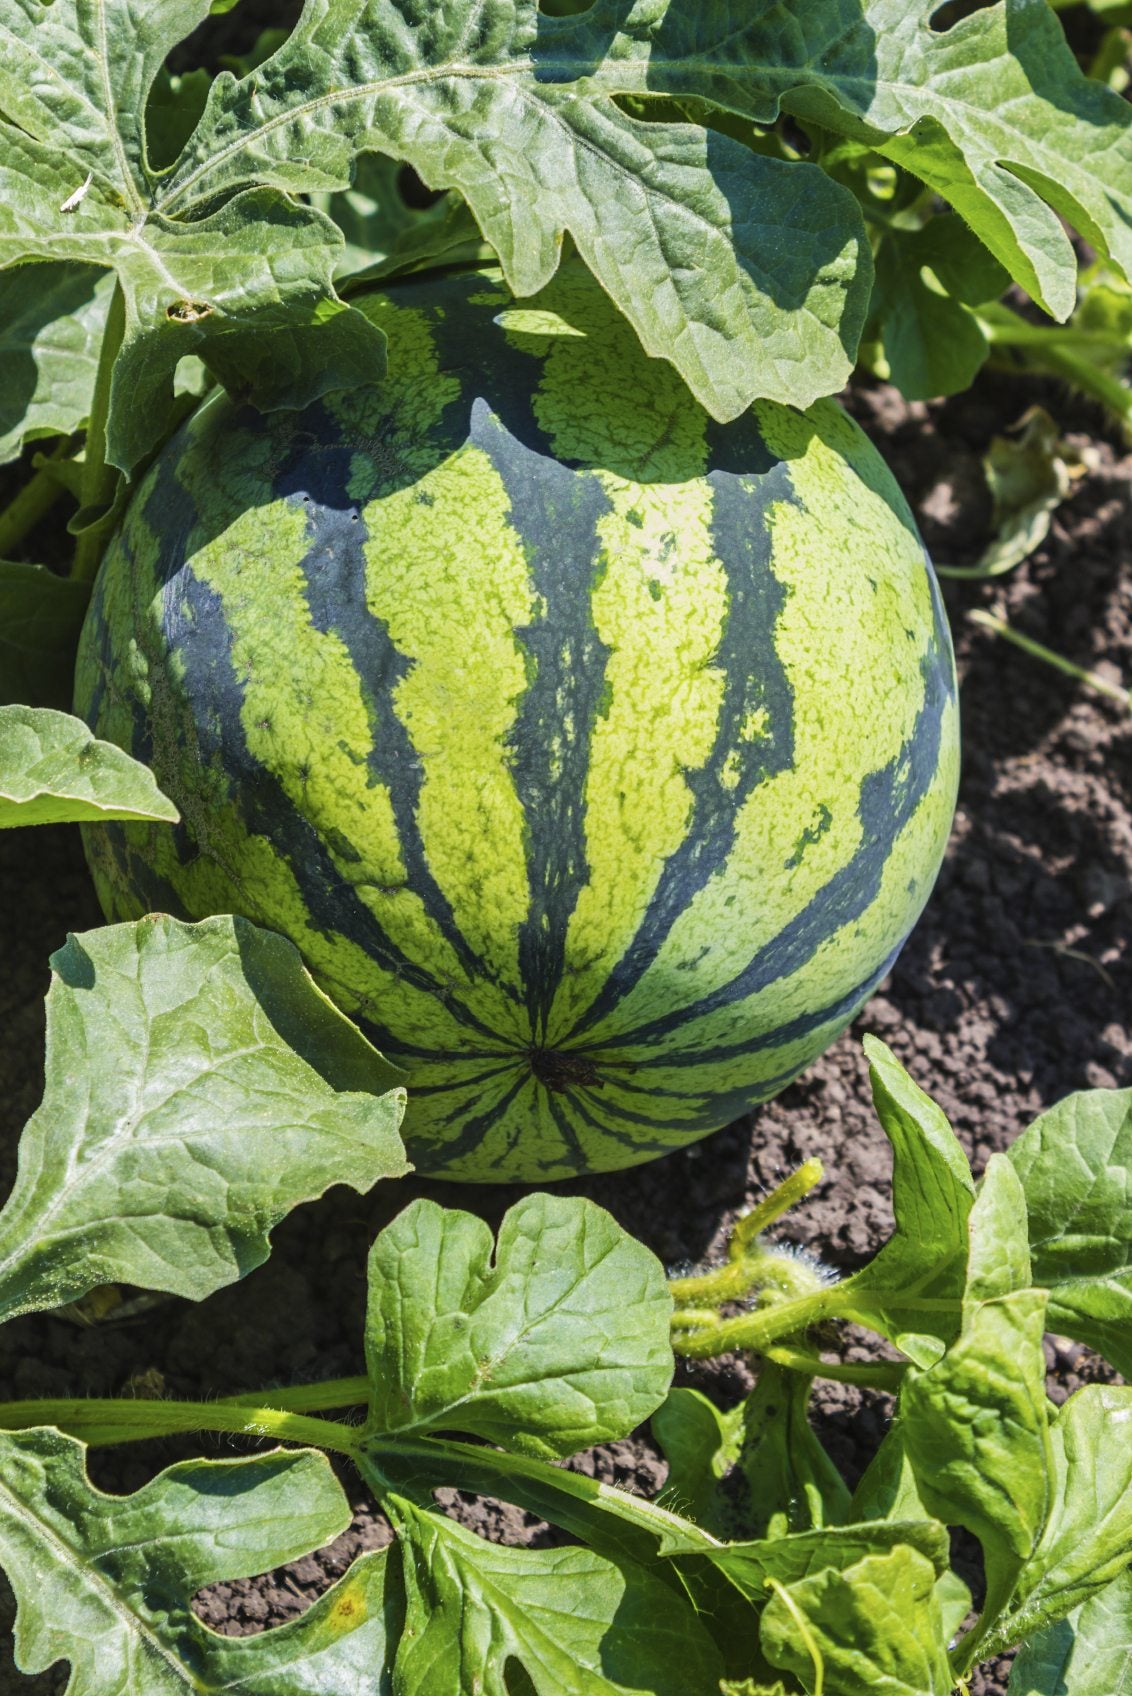
I could be eating a juicy wedge of watermelon when it’s 20 degrees below F. (29 C.), the wind is howling, and there’s 3 feet (91 cm.) of snow on the ground, and I would still be daydreaming about warm, lazy summer days and nights.
There is no other food that is so synonymous with summer. Growing your own watermelon may take a bit of work but is definitely rewarding. In order to get the sweetest, juiciest melon, what kind of fertilizer do you need to use on watermelon plants?
Watermelon Fertilizer Schedule
There is no set watermelon fertilizer schedule. Fertilizing is determined by the current soil condition and, thereafter, by the stage at which the watermelon plant is growing. For example, is it an emergent seedling or is it in bloom? Both stages have different nutritional needs.
When fertilizing watermelon plants, use nitrogen based fertilizer at the onset. Once the plant begins flowering, however, switch to feeding the watermelon a phosphorus and potassium based fertilizer. Watermelons require ample potassium and phosphorus for optimal melon production.
What Fertilizers to Use on Watermelon
How you are going to fertilize watermelon plants and with what type of fertilizer are best determined by a soil test prior to sowing or transplanting. In the absence of a soil test, it's a good idea to apply 5-10-10 at the rate of 15 pounds (7 kg.) per 500 feet (152 m.).
To minimize possible nitrogen burn, mix the fertilizer thoroughly through the top 6 inches (15 cm.) of soil. Providing compost rich soil at the onset of planting will also ensure healthy vines and fruit. Compost aids in improving the soil structure, adds micronutrients, and aids in water retention. Amend the soil with 4 inches (10 cm.) of well-aged compost mixed into the top 6 inches (15 cm.) of soil prior to setting watermelon seeds or transplanting.
Mulching around the watermelon plants will improve moisture retention, retard weed growth, and slowly add nitrogen rich organic matter to the soil as it breaks down. Use straw, shredded newspaper, or grass clippings in a 3 to 4 inch (8-10 cm.) layer around the melon plants.
Sign up for the Gardening Know How newsletter today and receive a free copy of our e-book "How to Grow Delicious Tomatoes".
Once the seedlings have emerged or you are ready to transplant, top dress with either 5-5-5 or 10-10-10 general all-purpose fertilizer. Fertilize the watermelon plants in the amount of 1 1/2 pounds (680 g.) per 100 square feet (9 sq. m.) of garden space.
When fertilizing watermelons with granular food, do not let the fertilizer come into contact with the leaves. The leaves are sensitive and you could damage them. Water the fertilizer in well so the roots can easily absorb the nutrients. You can also apply liquid seaweed fertilizer when the foliage first emerges and once the plants have flowered.
Just before or as soon as the vines begin to run, a second application of nitrogen is advisable. This is usually 30 to 60 days from planting. Use a 33-0-0 fertilizer at the rate of ½ pound (227 g.) per every 50 feet (15 m.) of the watermelon row. Water the fertilizer in well.
Fertilize again once the fruit has just emerged. You may also side dress the vines prior to running with a 34-0-0 food at the rate of 1 pound (454 g.) per 100 feet (30 m.) of row or calcium nitrate at 2 pounds (907 g.) per 100 feet (30 m.) of row. Side dress again once the fruit has just appeared on the vine.
Avoid using any nitrogen rich fertilizer once the fruit has set. Excess nitrogen will just result in superfluous foliage and the growth of the vine, and will not nourish the fruit. An application of fertilizer that is higher in phosphorous and potassium can be applied while the fruit is maturing.
Most importantly, give the watermelon plants water. There’s a reason the word “water” is in their name. Plentiful water will allow for the largest, sweetest, and juiciest fruit. Don’t overwater, however. Allow the top 1 to 2 inches (2.5-5 cm.) to dry out between watering.

Amy Grant has been gardening for 30 years and writing for 15. A professional chef and caterer, Amy's area of expertise is culinary gardening.
