Homegrown Oat Grains – Learn How To Grow Oats At Home For Food
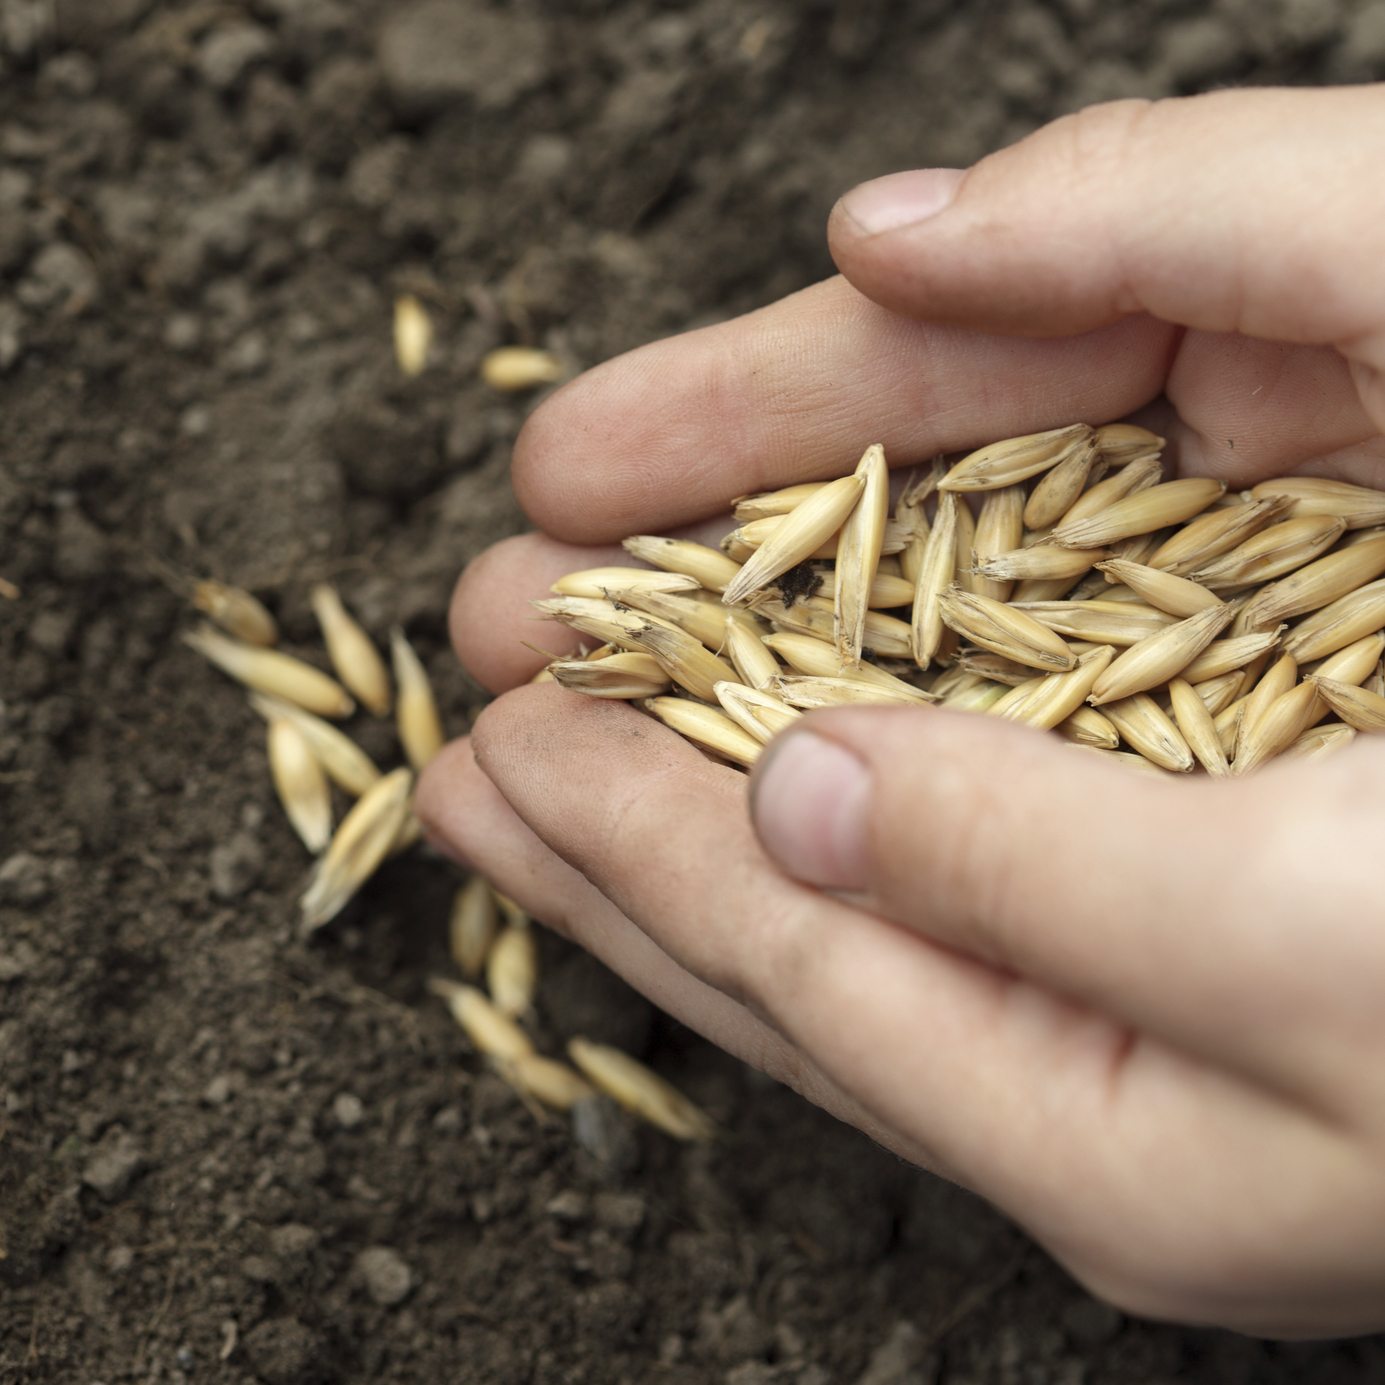
I start the morning off with a warm bowl of oatmeal and I know I’m in good company. Many of us realize the health benefits of oatmeal and regularly purchase the grain, but have you ever wondered, “Can you grow oats for food at home?”
Growing oats in home gardens is really no different than growing grass for a lawn except you don’t mow down the seed heads; you eat them! Interested in homegrown oat grains? Keep reading to find out how to grow oats at home.
Can You Grow Oats at Home?
Oats are used in a multitude of ways, whether crushed or rolled or ground into flour. Oats are even used for brewing beer in England and in Latin America a cold beverage made from ground oats and milk is popular.
But I digress, we were wondering about growing oats in home gardens. It is very possible to grow your own oats even if you only have a small garden plot. The introduction of hull-less oats has made it even easier to grow your own oats since they need less processing once harvested.
How to Grow Oats at Home
Sow seeds outdoors in a sunny area with well-draining soil. Just broadcast them over a well cultivated area. Try to get them fairly evenly distributed. Once the seeds have been broadcasted, lightly rake over the area. The goal here is to cover the seeds with an inch (2.5 cm.) or so of soil, so the birds don’t get to them before they can germinate.
Once you have sown the oat seed, keep the area moist while your homegrown oat grains germinate. Continue to provide irrigation as they grow since oats like more moisture than most other grains. Further caring for backyard oat crops is minimal.
There is no need to weed and the denseness of the crop would make it futile to attempt anyway. Within 45 days or so, the green kernels atop the grain stalks should be turning from green to cream colored and the oats will be between 2 to 5 feet (0.6 to 1.5 m.) tall.
Gardening tips, videos, info and more delivered right to your inbox!
Sign up for the Gardening Know How newsletter today and receive a free copy of our e-book "How to Grow Delicious Tomatoes".
Harvesting Homegrown Oats
Don’t wait to harvest until the kernels are hard or you will likely lose a lot of grain. The kernel should still be soft and easily dented with a fingernail. To harvest the oats, cut the seed heads from the stalks as high up as possible. Higher up is better, as you will have less straw to mess with when threshing the grains.
Now that the oats are harvested, you need to let them cure. The length of time for curing will vary depending upon the weather and may be several days to several weeks. Store the oats in a warm, dry area while curing them.
Once the kernels are ripe, you can thresh out the oats. Spread out a tarp or sheet and then either stomp the oats loose from the stalks (cover the oats first before tromping all over them) or use some other implement, like a plastic baseball bat, to thresh the oats from the stalks (chaff). Then separate the oats from the left over pieces of stalk. Place the oats and chaff in a bowl or bucket and toss it up into the wind.
The wind will blow out the loose chaff while the heavier oats drop back into the bowl or bucket. The threshed oats can be stored in an air-tight container in a cool, dark area for up to 3 months.

Amy Grant has been gardening for 30 years and writing for 15. A professional chef and caterer, Amy's area of expertise is culinary gardening.
-
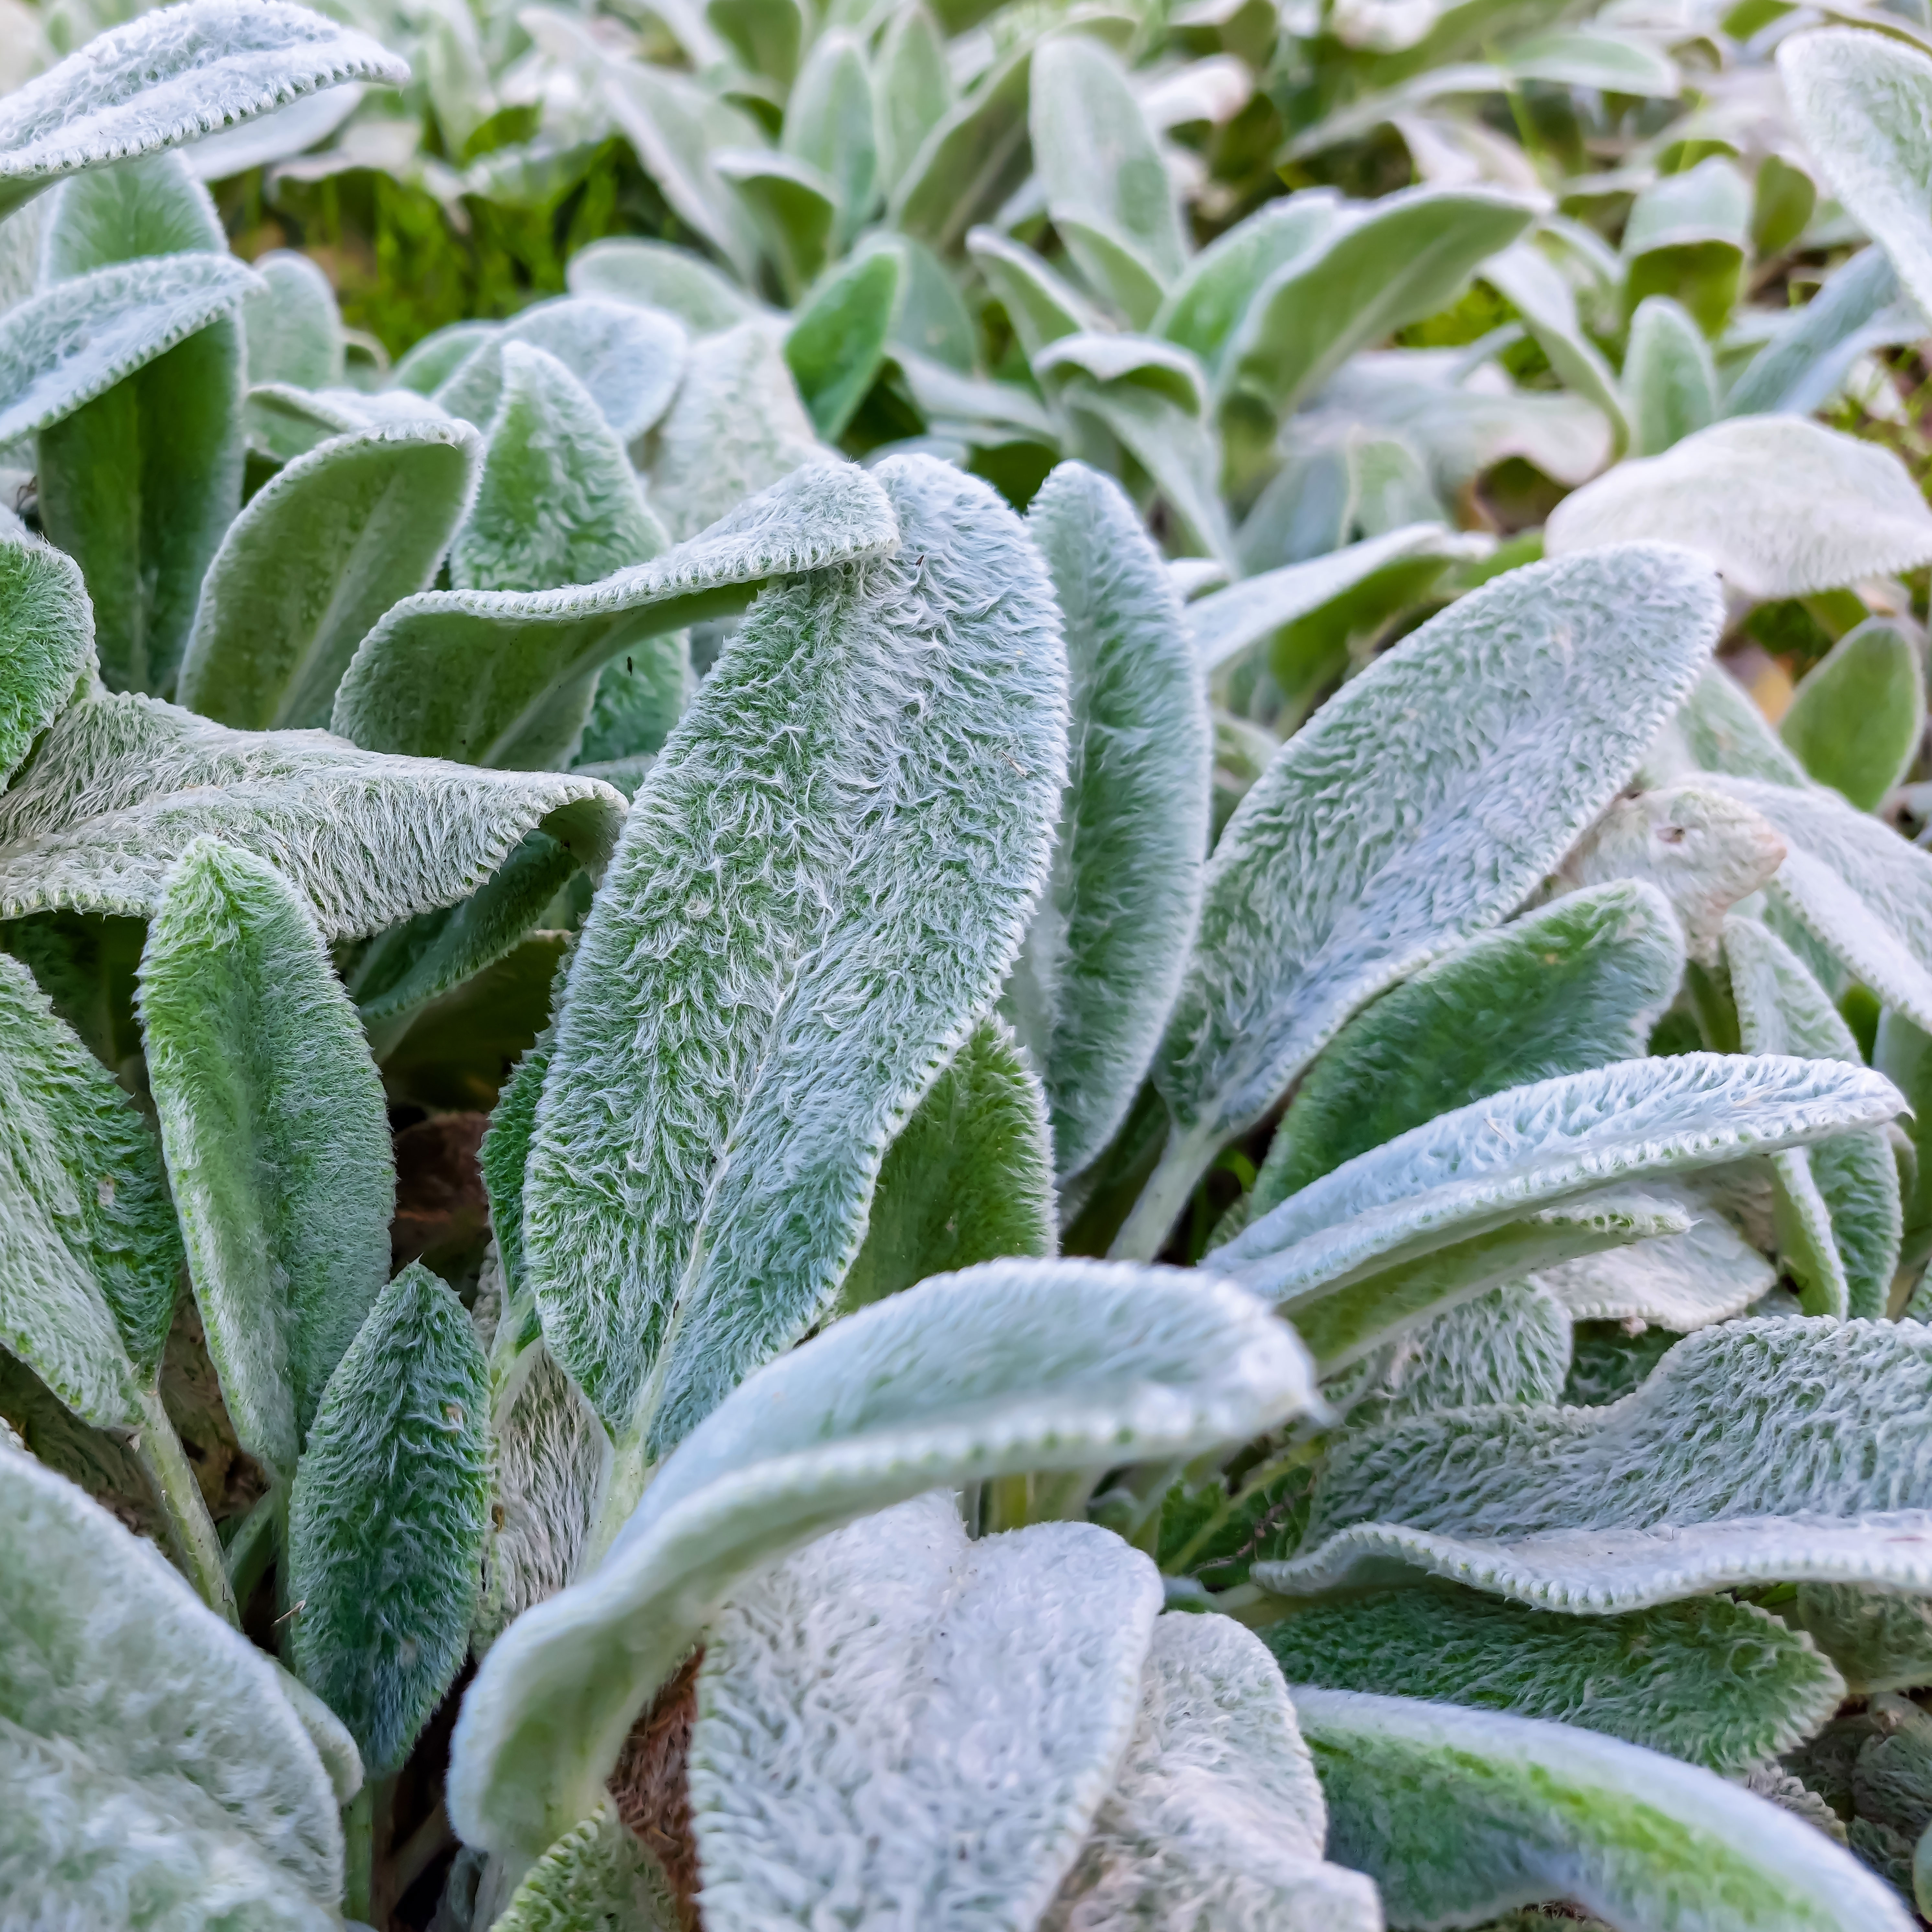 Looking For Plants To Give You The Soft And Fuzzies? Try These 5 Fuzzy Leaf Plant Options
Lovers of texture, drama, silver foliage and tactile plants will adore these special sensory garden additions. These fuzzy leaf plant options will leave you all aglow
By Susan Albert
-
 Get Ready For A Summer Of Hummers! Grow These Full Sun Hummingbird Plants and Flowers
If you’re lucky enough to enjoy a sunny backyard, make sure you are maxing out on your pollinator opportunities and grow these full sun hummingbird plants and flowers
By Tonya Barnett
-
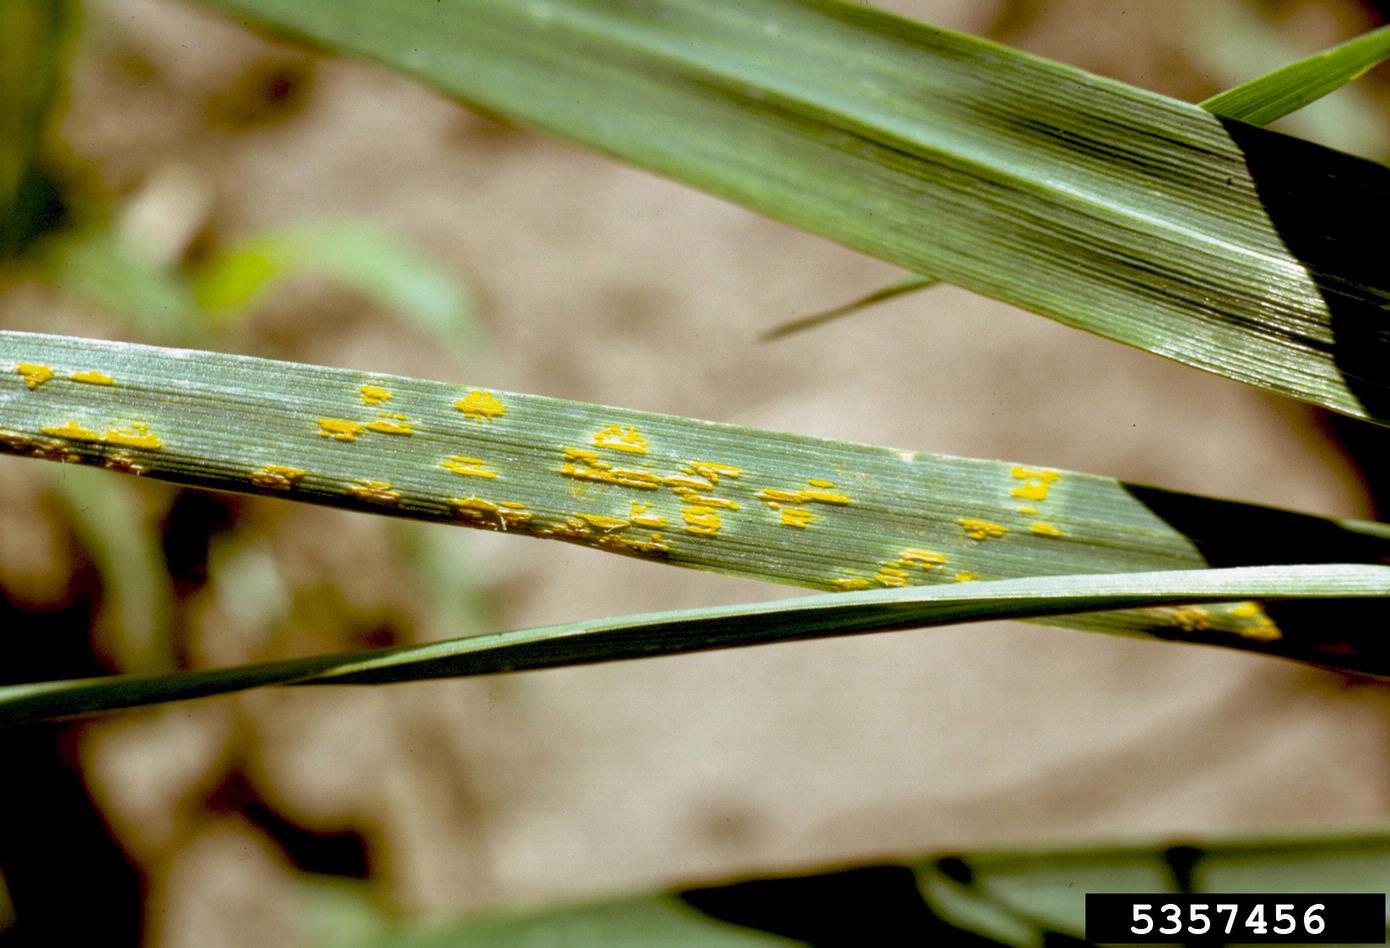 Oat Rust Control: Treating Oats With Crown Rust
Crown rust is the most widespread and damaging disease found in oats. For individual growers, oats with crown rust can result in a total crop loss. Click here to learn more about control and treatment of oat rust.
By Amy Grant
-
Barley Yellow Dwarf Virus In Oats – Treating Oats With Barley Yellow Dwarf
If you grow oats, barley, or wheat on your small farm or backyard garden, you need to know about barley yellow dwarf virus. This is a damaging disease that can cause losses of up to 25 percent. Know the signs and what you can do to in this article.
By Mary Ellen Ellis
-
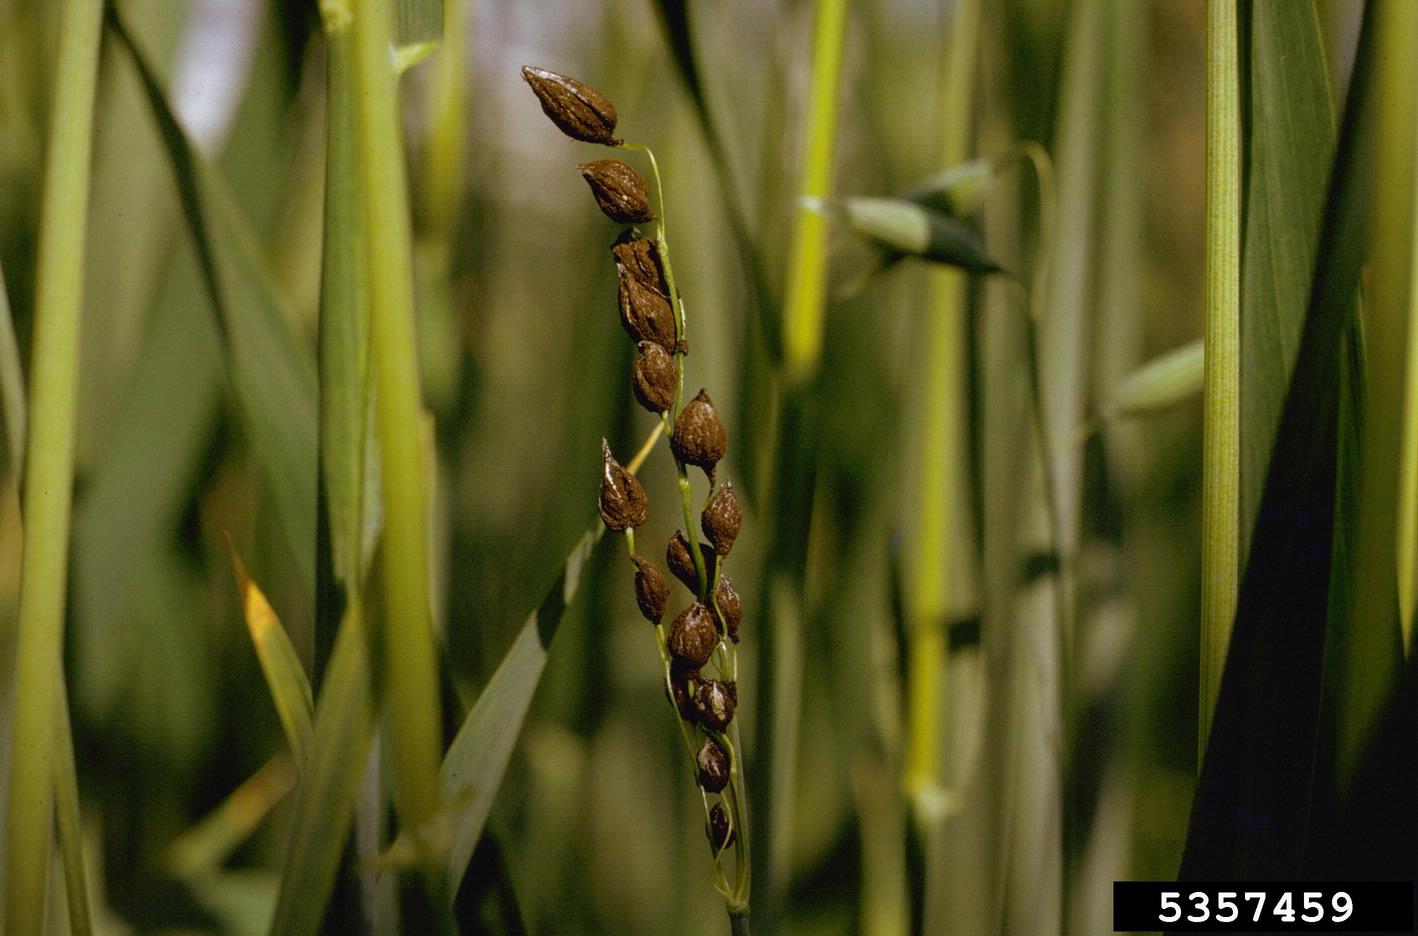 Oats Loose Smut Control – What Causes Oat Loose Smut Disease
If you grow cereal crops, it’s good to understand the basics about loose smut of oats in order to prevent it. Click this article for information about what causes oat loose smut, as well as tips on oats loose smut control.
By Teo Spengler
-
Victoria Blight In Oats – Learn To Treat Oats With Victoria Blight
Victoria blight in oats once reached epidemic proportions. As a result, many oat cultivars that have proven to be resistant to crown rust are susceptible to Victoria blight of oats. Learn about the signs and symptoms of oats with Victoria blight in this article.
By Mary H. Dyer
-
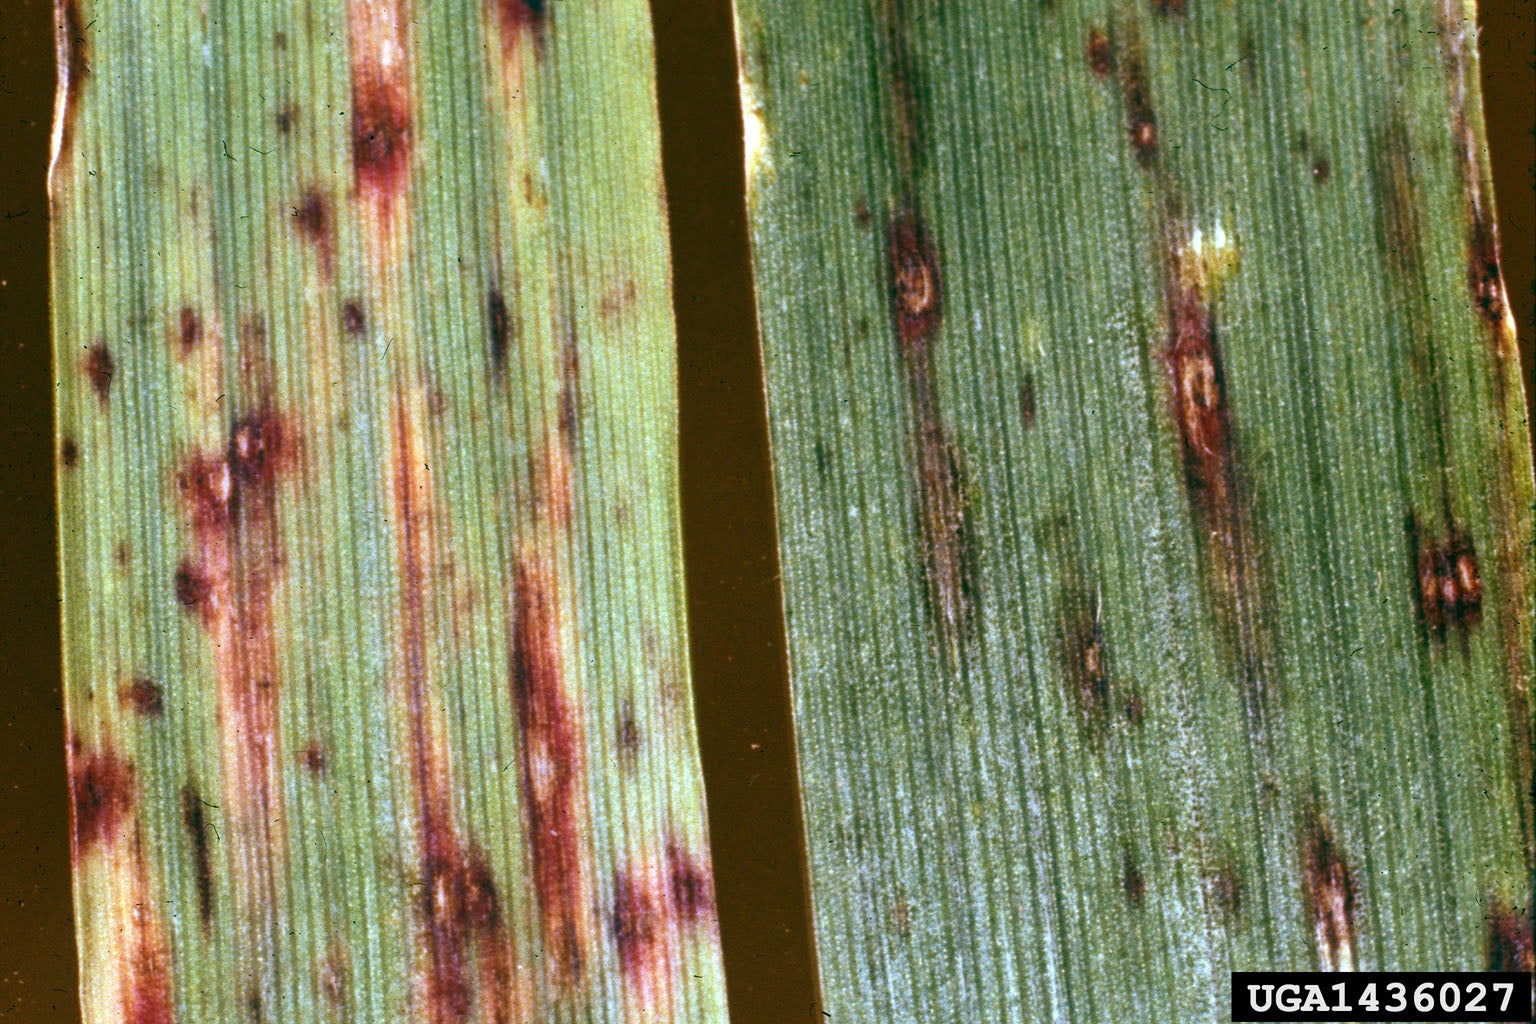 Oat Leaf Blotch Info: Recognizing Symptoms Of Oat Leaf Blotch
Crop losses of as much as 15 percent have been reported from leaf blotch of oats. While this isn't a huge number, in commercial settings and in smaller fields, the impact is significant. However, oat leaf blotch control is possible. Click this article to learn more.
By Bonnie L. Grant
-
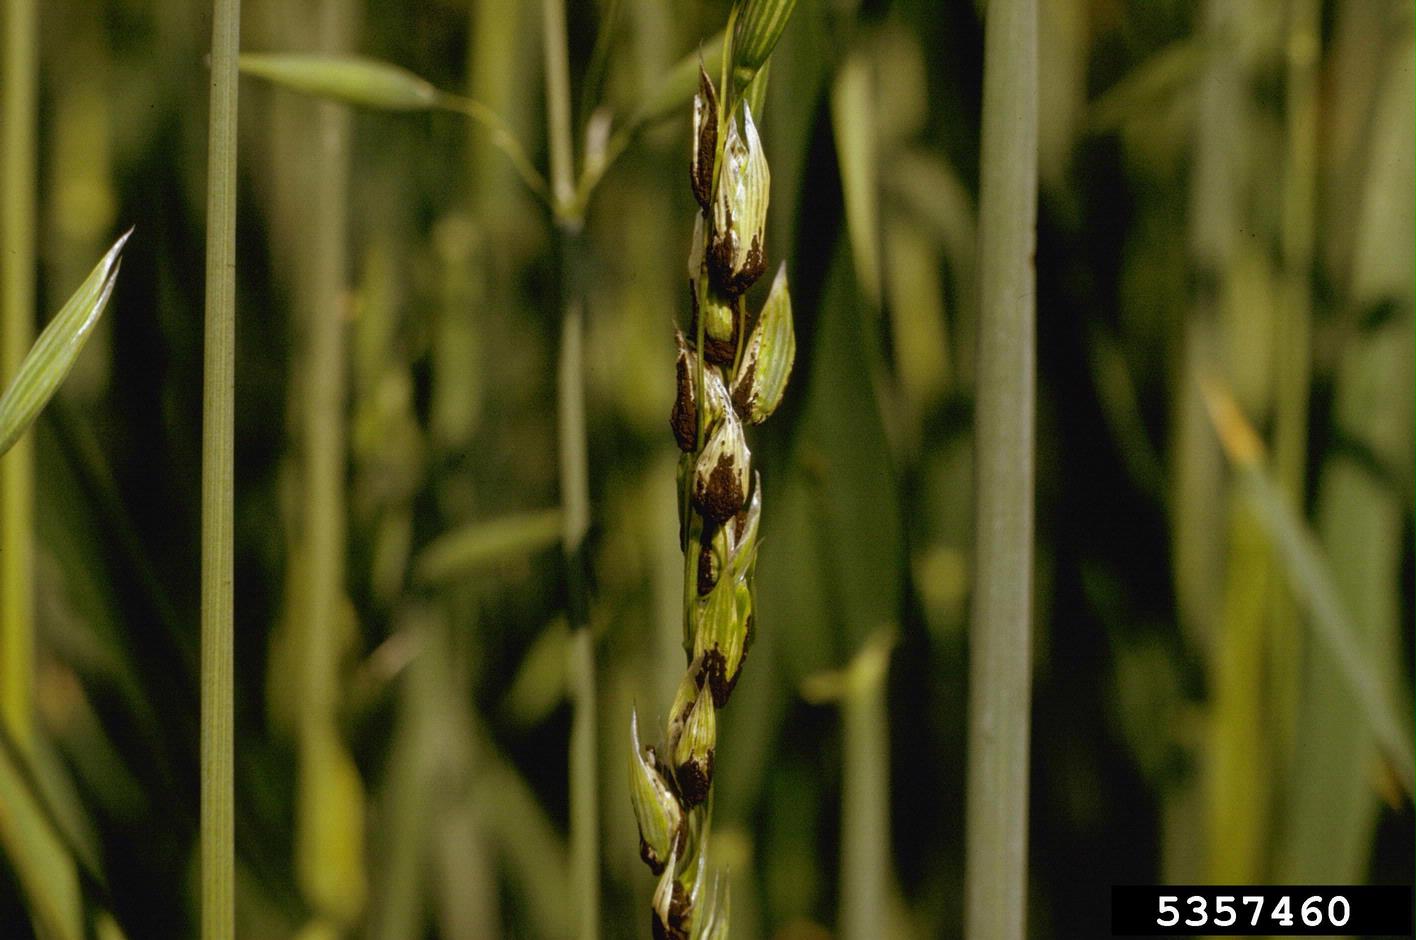 Oat Covered Smut Control – Treating Oats With Covered Smut Disease
Smut is a fungal disease that attacks oat plants. There are two kinds of smut: loose smut and covered smut. If you are growing oats, you probably need oats covered smut information. Learn about oats with covered smut and tips on oat covered smut control here.
By Teo Spengler
-
Oats With Powdery Mildew – How To Treat Powdery Mildew On Oats
While powdery mildew on oats isn’t the worst thing that can happen, it can markedly diminish crop quality and yield. Unfortunately, there isn’t a lot that growers can do about the pesky fungal disease. Click this article to learn more.
By Mary H. Dyer
-
Halo Bacterial Blight Control – Treating Halo Blight In Oats
Halo blight in oats is a common, but nonlethal, bacterial disease that afflicts oats. The following oats halo blight info discusses the symptoms of oats with halo blight and management of the disease. Click here for more information.
By Amy Grant