

Quinoa has been on the radar for a while, notable for being a whole grain, complete protein that is gluten free. Delicious used in various dishes, quinoa comes with a price tag to match its popularity, which is why learning about growing and harvesting your own quinoa is a terrific idea. What exactly is the quinoa harvesting process? Is harvesting of quinoa done by hand? The following answers these questions regarding how to harvest and process quinoa.
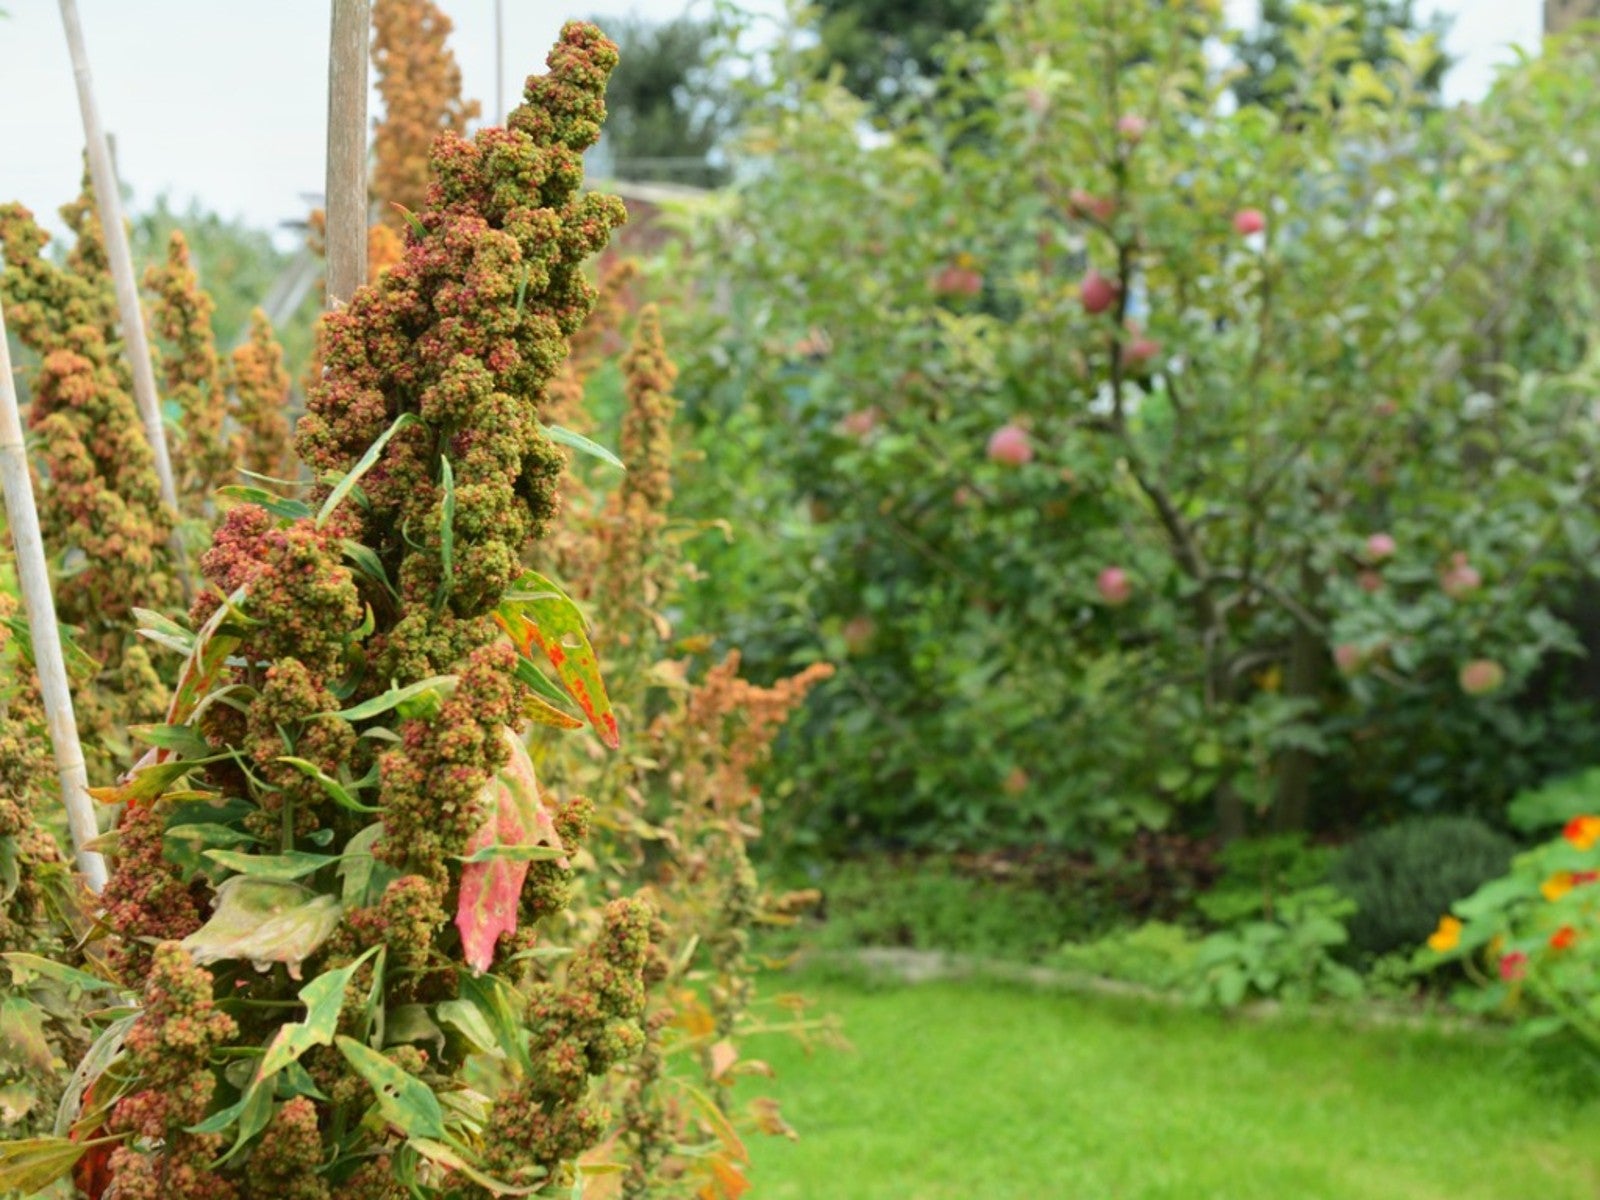
Growing and Harvesting Quinoa
Bolivia and Peru supply the majority of quinoa used around the globe, but that doesn’t mean you can’t try your hand at growing and harvesting it yourself. Quinoa thrives when temps do not exceed 90 F (32 C), which means knowing when to sow can be crucial. For most southern Canadian and U.S. regions, plant quinoa in late April to early May when soil temps are above 60 F (15 C).
A warm season crop, quinoa should be sown in full sun in a finely prepared bed. Sow seeds just under the soil’s surface and spaced ½ to 2 feet (45-60 cm.) apart. Thin seeds when plants have their first sets of true leaves to 6-18 inches (15-45 cm.) apart.
Keep the soil moist until early June at which point drought-tolerant quinoa needs very little irrigation.
The Quinoa Harvesting Process
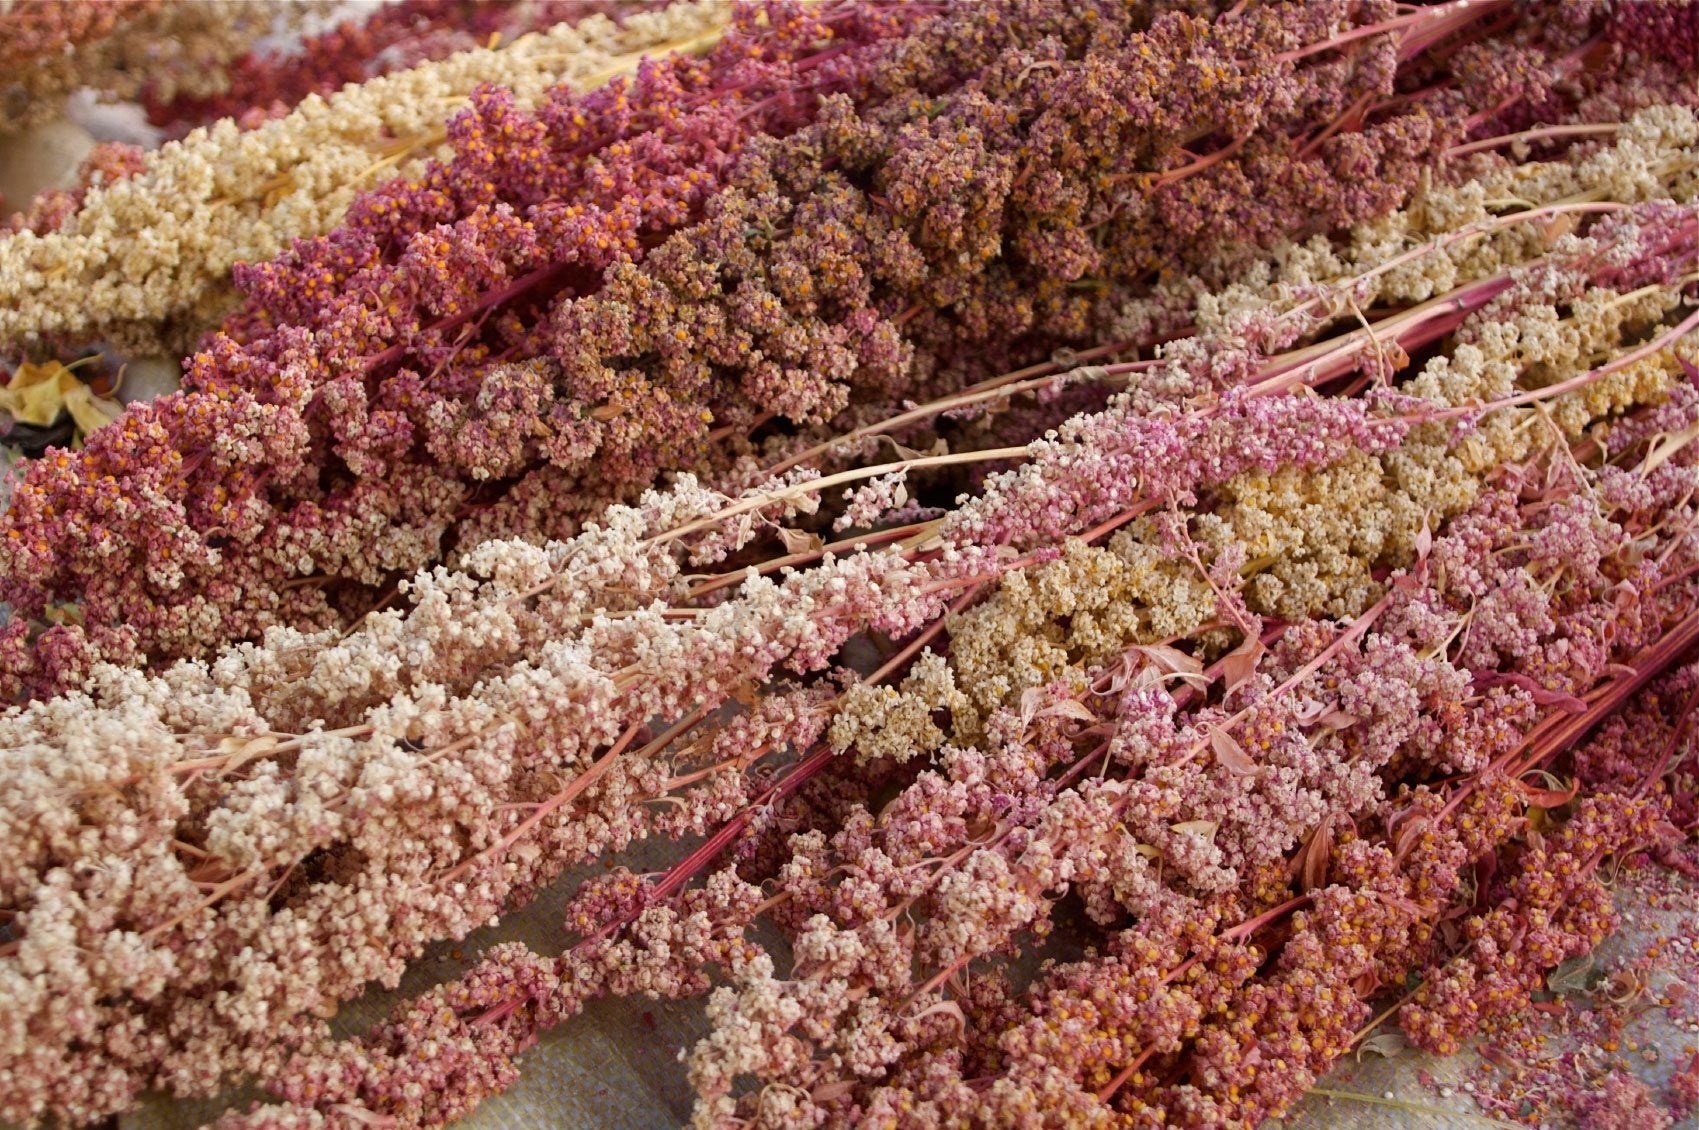
Harvesting quinoa by hand is indeed the method used on commercial farms and for the home grower. On commercial farms the quinoa stalks are cut down by hand and then laid on a tarp to dry in the sun. Then the plants are driven over with a tarp to break them up prior to threshing and sifting.
How to Harvest Quinoa
Harvest quinoa when the leaves begin to turn brown (late August to mid September) and the seeds give under the pressure of a fingernail. If plants develop multiple panicles, harvest the upper one a week or two before the side shoots. Keep an eye on your plants daily to check for readiness.
After harvesting the panicles, it’s time to process quinoa.
How to Process Quinoa
Before you can eat the quinoa it needs to be processed. The seeds need to be removed from the heads. A simple method is to toss the heads about inside a paper yard waste bag, which will catch the seeds and the chaff as it’s separated.
Pour the seeds and chaff onto a tarp or into a bowl (stir frequently) to dry. Now it’s time to separate the chaff from the seeds. The chaff is much lighter than the seeds so the best method (and least messy) is to pour the contents back and forth into two bowls on a windy day. The chaff will blow away and the seeds will collect in the bowl. This process can also be done inside using a bed sheet and table fan.
Quinoa seeds have a bitter flavored saponin coating that must be removed prior to use. Wash them in water and rub vigorously multiple times until no suds form in the water. Optionally you can stitch them into a pillow case and run the load through the washer without detergent.
Use immediately or lay out in a warm, sunless area to dry completely, then store in an air tight container.

-
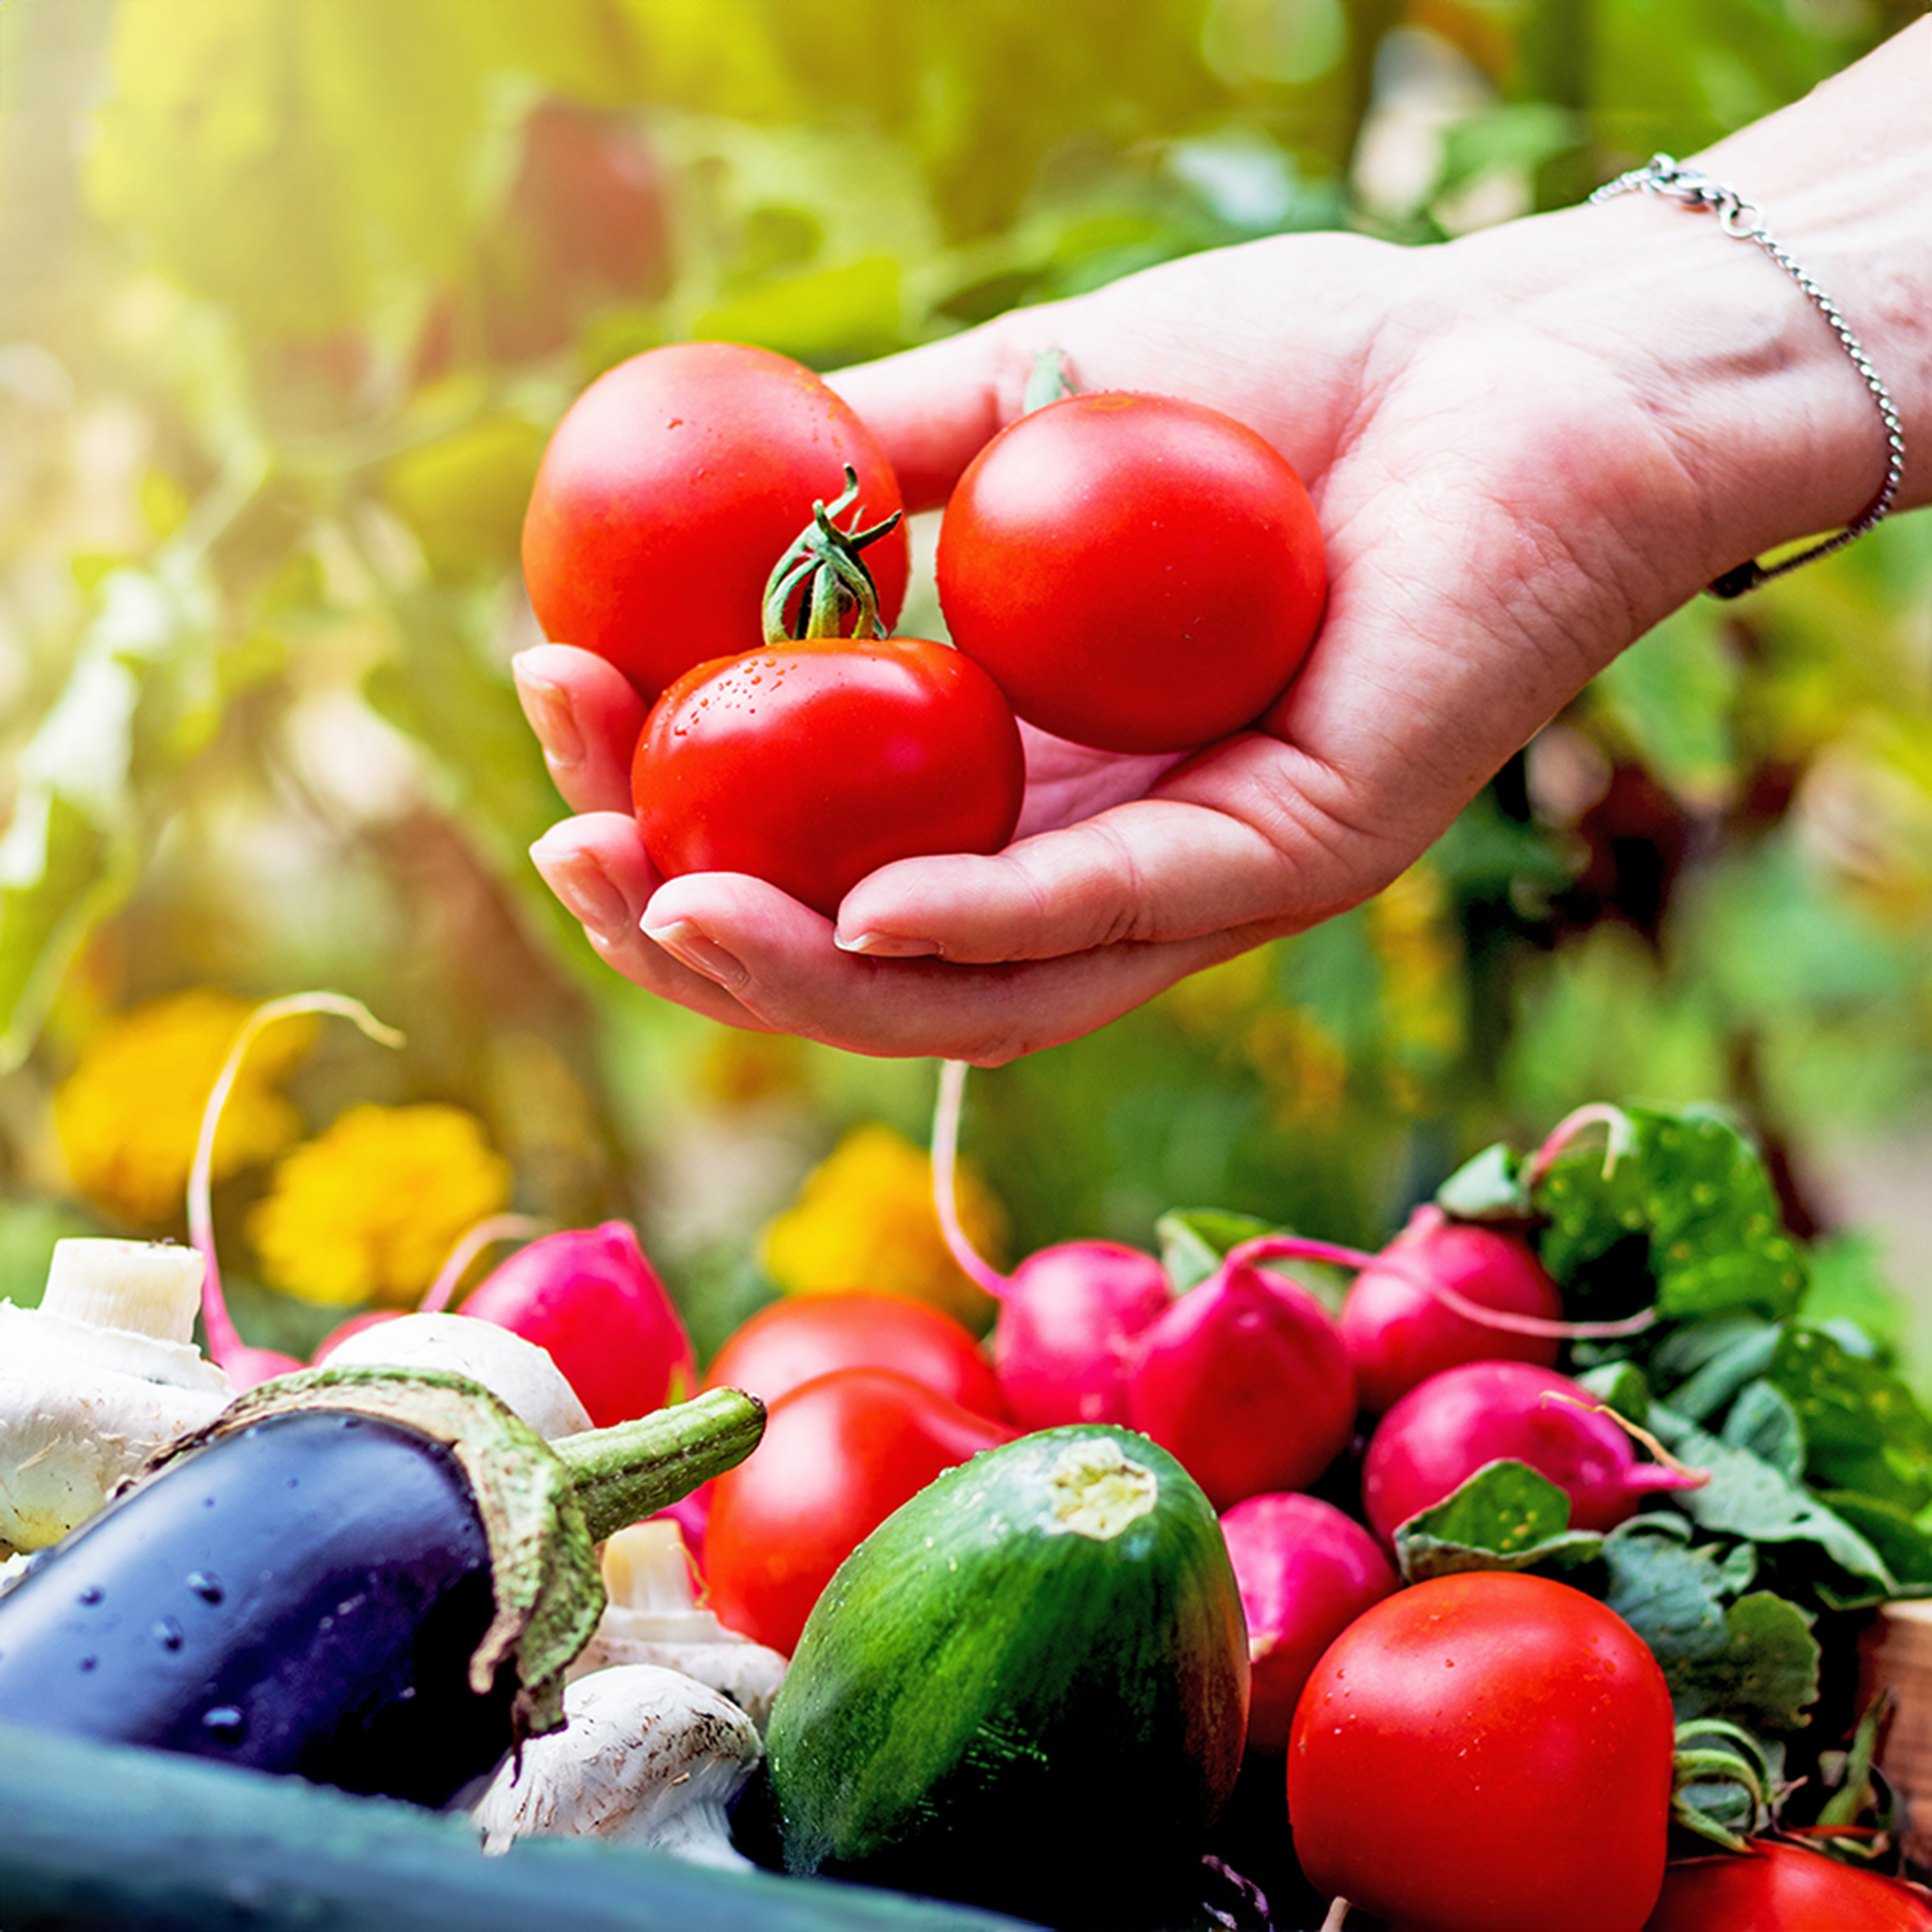 What Not To Plant With Tomatoes: 8 Bad Neighbors That Could Ruin Your Harvest
Not all companion plants are beneficial – some can sabotage your tomatoes. Find out which ones to keep at a safe distance in the garden.
-
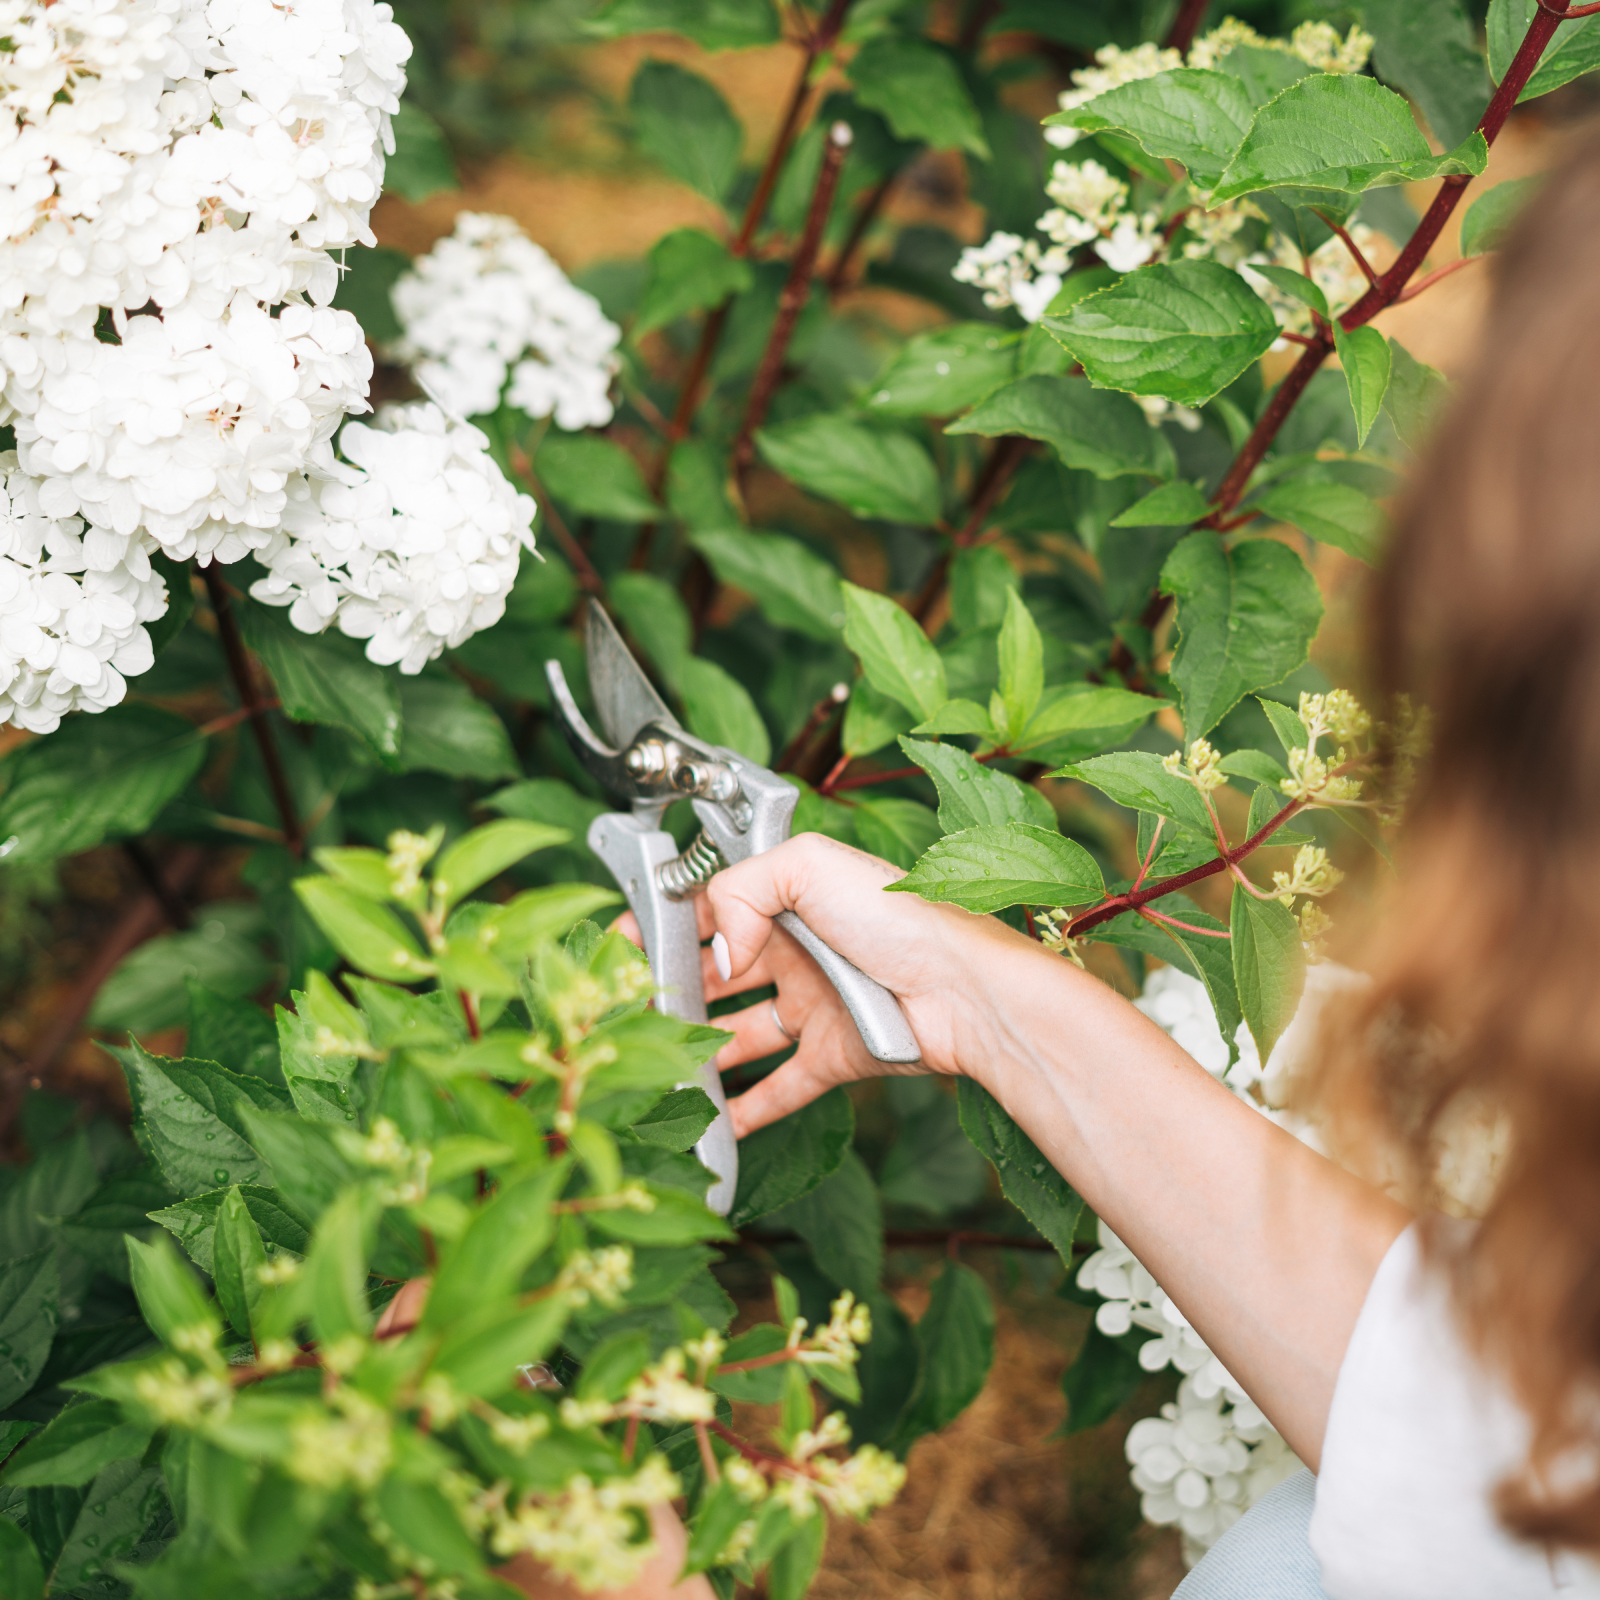 Pruning Limelight Hydrangea Bushes For Bigger Blooms & Stronger Plants
Pruning 'Limelight' hydrangea will benefit the shrub. Flowers will be more bountiful the next year and branches will be stronger. Learn how and when to prune.


-
 Common Problems With Quinoa Plants
Quinoa is an ancient grain that is having a modern renaissance. But it's not always easy to grow. Click to learn about quinoa problems.
-
 What Is Quinoa: Learn About Quinoa Plant Benefits And Care
Quinoa is gaining popularity in the U.S. because of its great taste and nutritional value. So can you grow quinoa in the garden? Read this article for quinoa planting instructions and information.

