What Is Italian Purple Garlic – How To Grow Italian Purple Garlic


Garlic is one of those crops for which it's hard to wait. That is why Early Italian Purple garlic is a good selection. What is Italian Purple garlic? It is a variety that is ready weeks before most other softneck cultivars. Additionally, the bulbs have a long storage life and provide their unique flavor well into winter. Learn how to grow Italian Purple garlic and enjoy the beautiful color and sublime flavor.
What is Italian Purple Garlic?
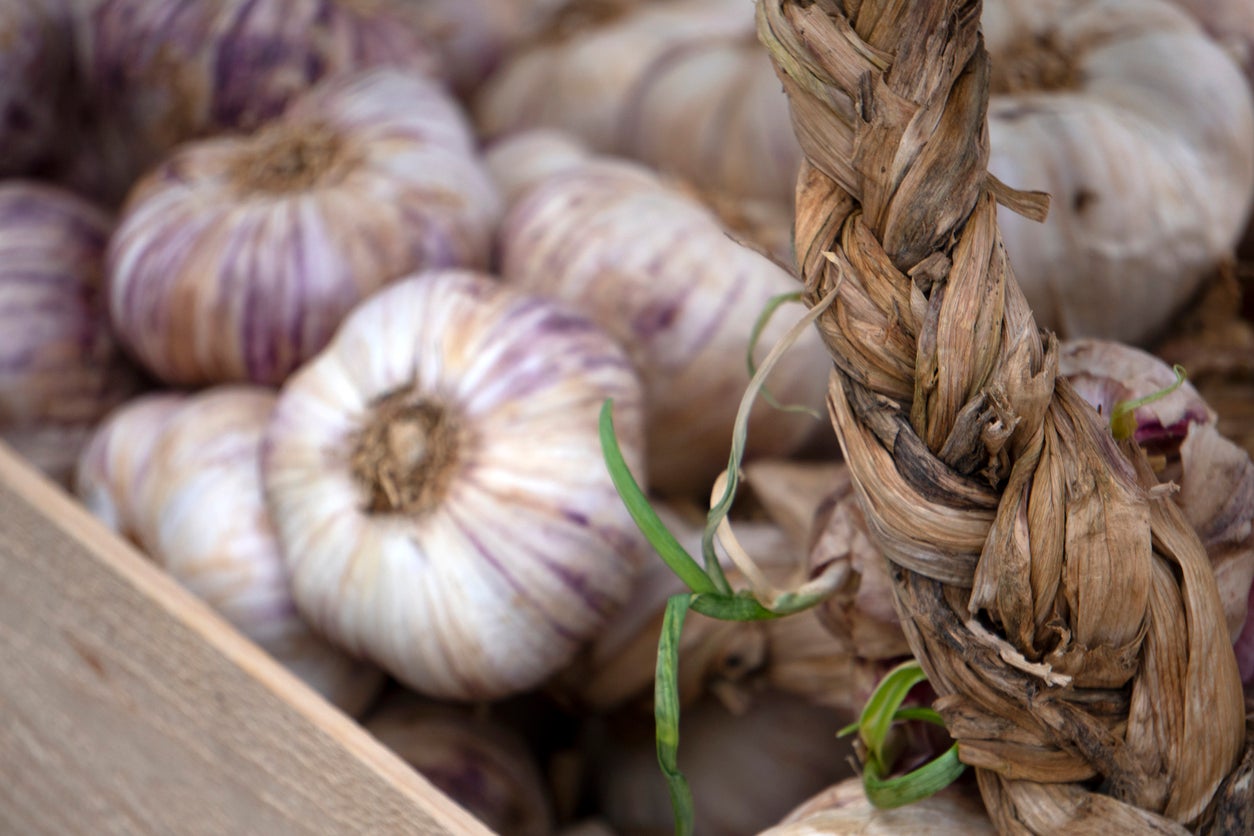
A quick glance at Italian Purple garlic info and we find it is a vigorous variety with a skin decorated with pastel purple vertical blotches. It is famously associated with the Gilroy, CA annual garlic festival. The bulbs are quick maturing and have that attractive purple hue.
Early Italian Purple garlic will mature 5 to 10 days earlier than most other garlic varieties. This softneck is excellent for mild climates. The bulbs are large with 7 to 9 creamy cloves that are wrapped in the striped purple skins.
It is said to be a fairly mild garlic, with flavor and pungency middle of the scale but with rich tones. This flavor, combined with the color and long storage life, has made Italian Purple a favorite garlic for gardeners. It translates well when used either fresh or in cooking.
How to Grow Italian Purple Garlic
Softneck garlic is easy to grow with a few tips. This variety performs well in United States Department of Agriculture zones 3 to 8. Garlic needs well-draining soil in full sun for best production. Plant cloves in fall or in early spring as soon as soil can be worked. Incorporate plenty of organic matter and loosen soil deeply.
Plant bulbs 2 inches (5 cm.) deep and 6 inches (15 cm.) apart. Place bulbs with the pointy side up and back fill, gently pressing soil around each. Water in well. As the shoots form, mound up soil around them. Keep garlic moderately moist. Use organic mulch around them to conserve moisture and prevent weeds.
Harvesting and Storing Early Italian Purple Garlic
When lower leaves bend or dry out, the garlic is ready to harvest. Let soil dry out once this is observed. When more than half the leaves are dried, dig around plants and pull out the bulbs.
Gardening tips, videos, info and more delivered right to your inbox!
Sign up for the Gardening Know How newsletter today and receive a free copy of our e-book "How to Grow Delicious Tomatoes".
Trim roots and braid leaves together or remove them. Brush off the soil and dry bulbs for 2 to 3 weeks. Once the outer skin turns papery, bulbs can be stored in a cool are with good air flow. The bulbs keep well for up to 10 months when stored in the refrigerator or hanging in a cool, dark location.
Check them frequently and note any presence of mold. If you see any, remove the outer layers of the garlic and use it immediately.

Bonnie Grant is a professional landscaper with a Certification in Urban Gardening. She has been gardening and writing for 15 years. A former professional chef, she has a passion for edible landscaping.
-
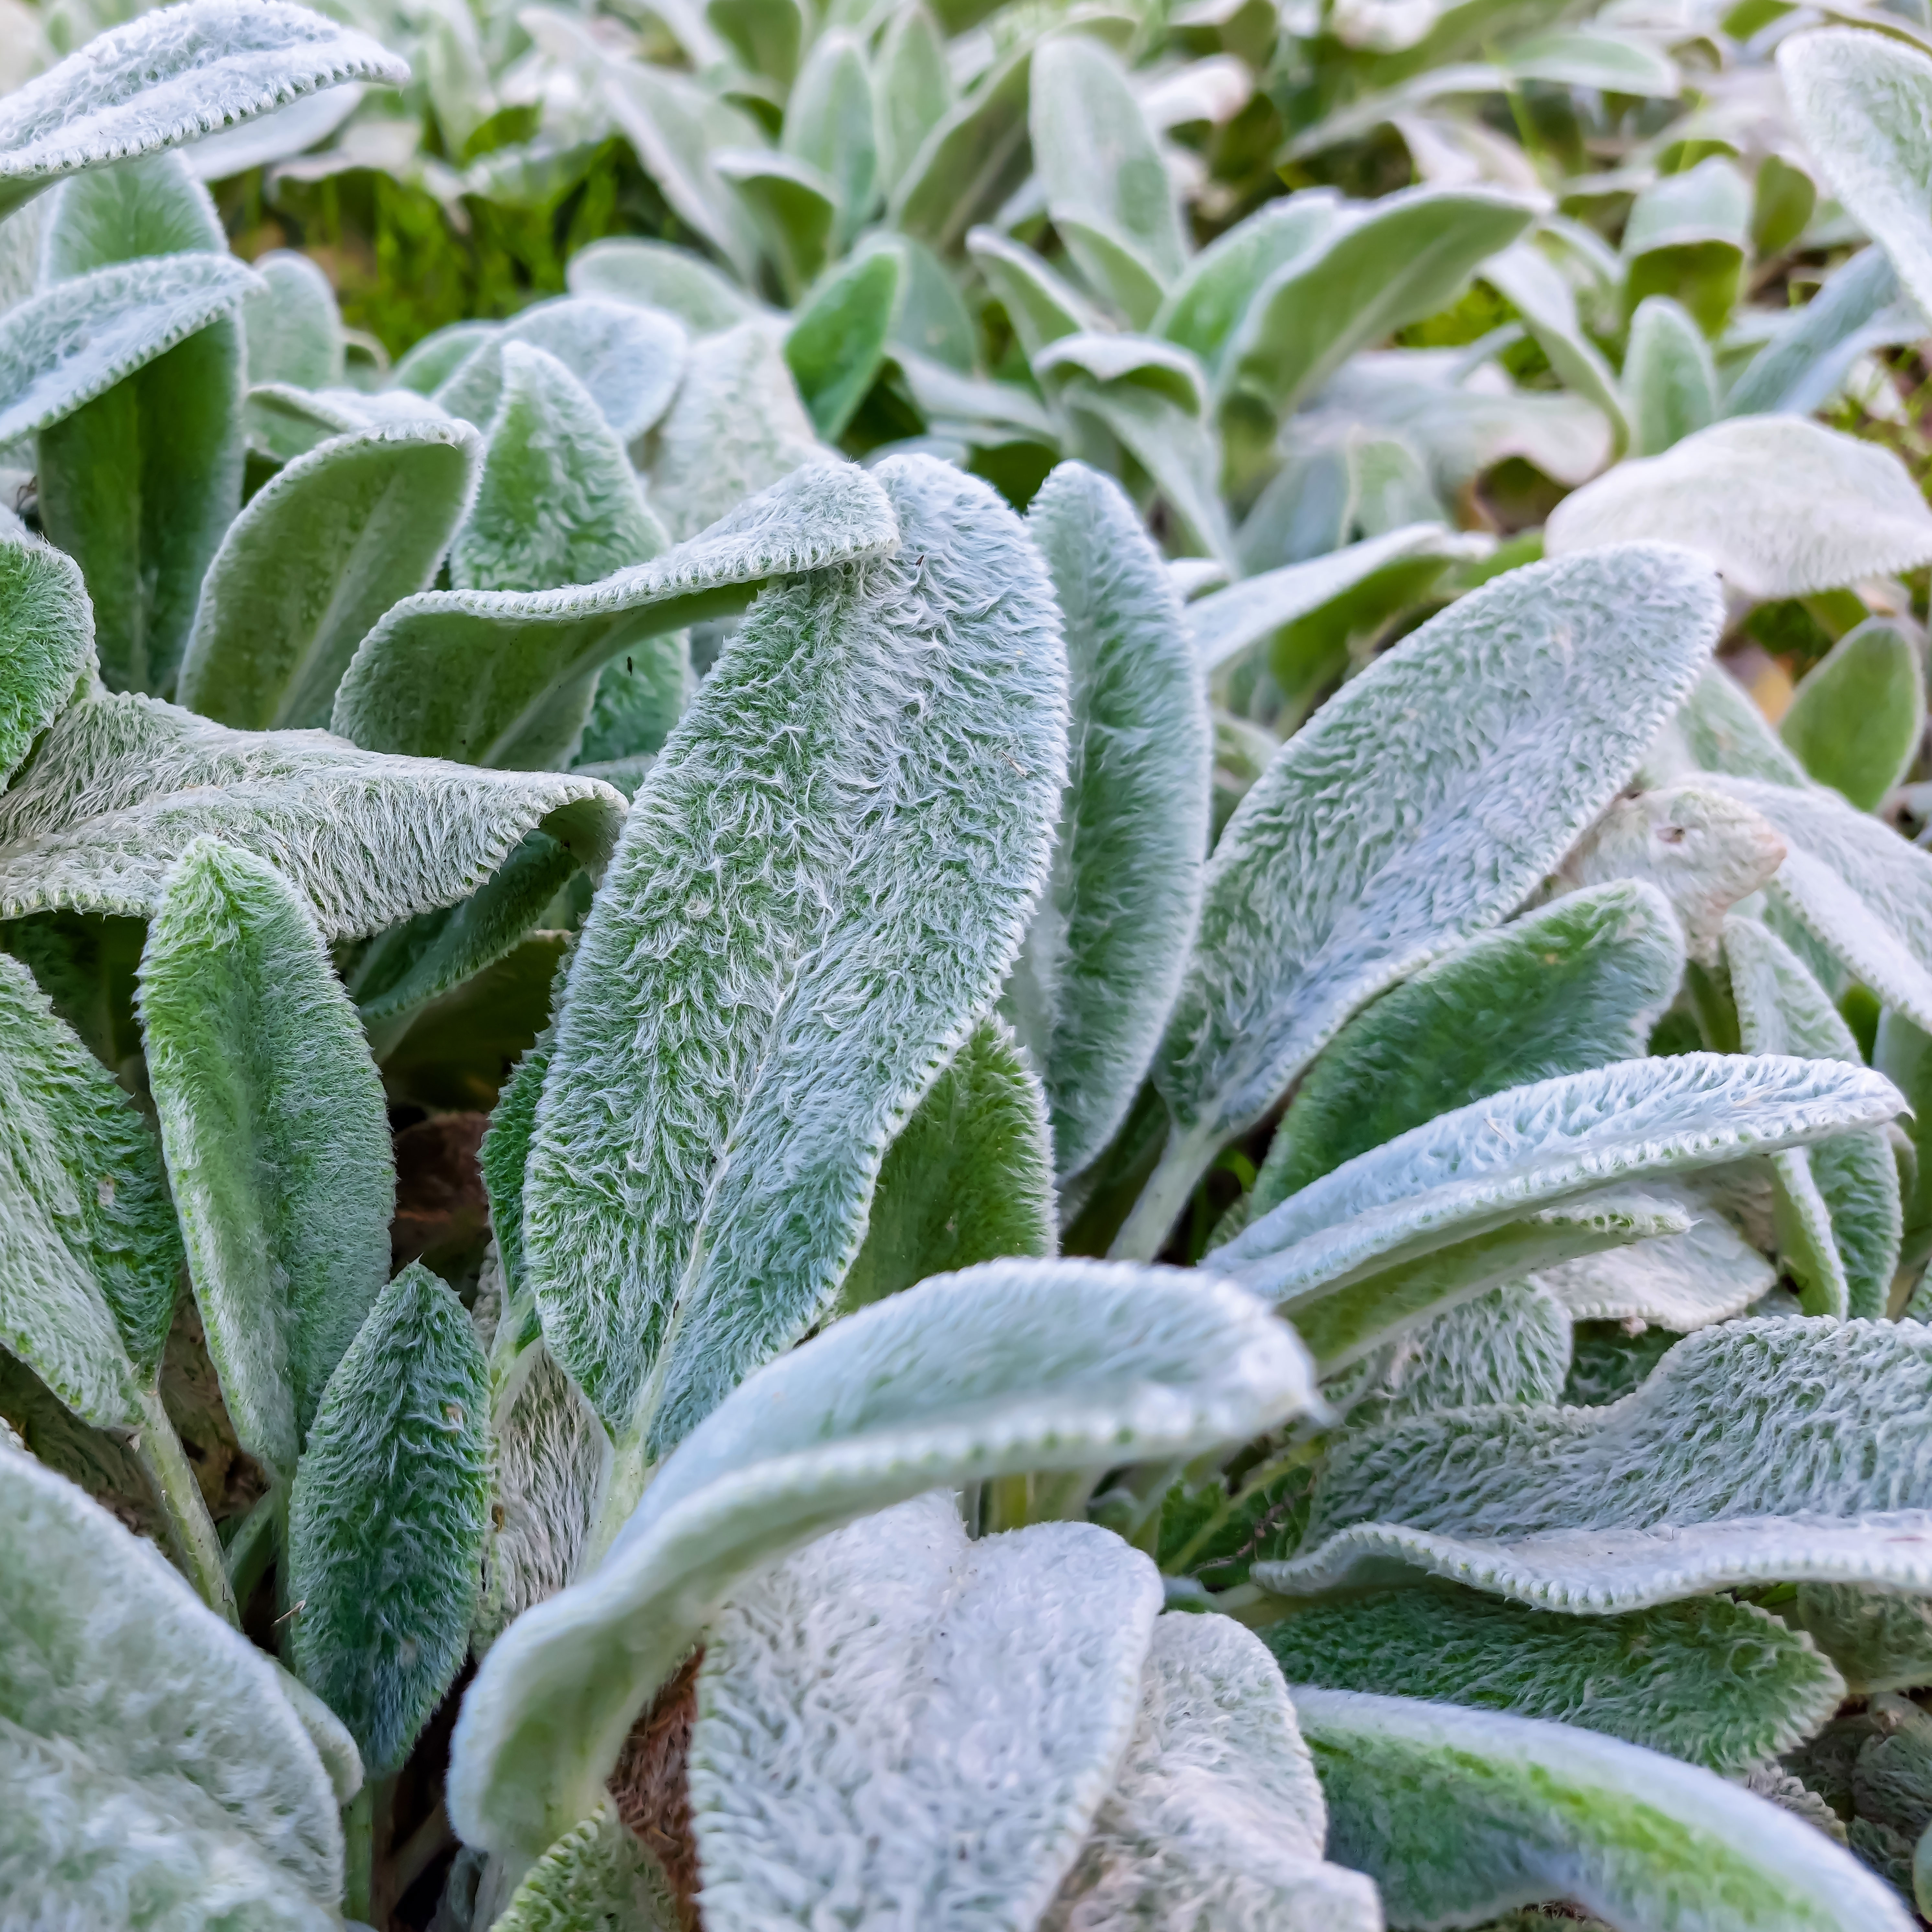
 Looking For Plants To Give You The Soft And Fuzzies? Try These 5 Fuzzy Leaf Plant Options
Lovers of texture, drama, silver foliage and tactile plants will adore these special sensory garden additions. These fuzzy leaf plant options will leave you all aglow
By Susan Albert
-
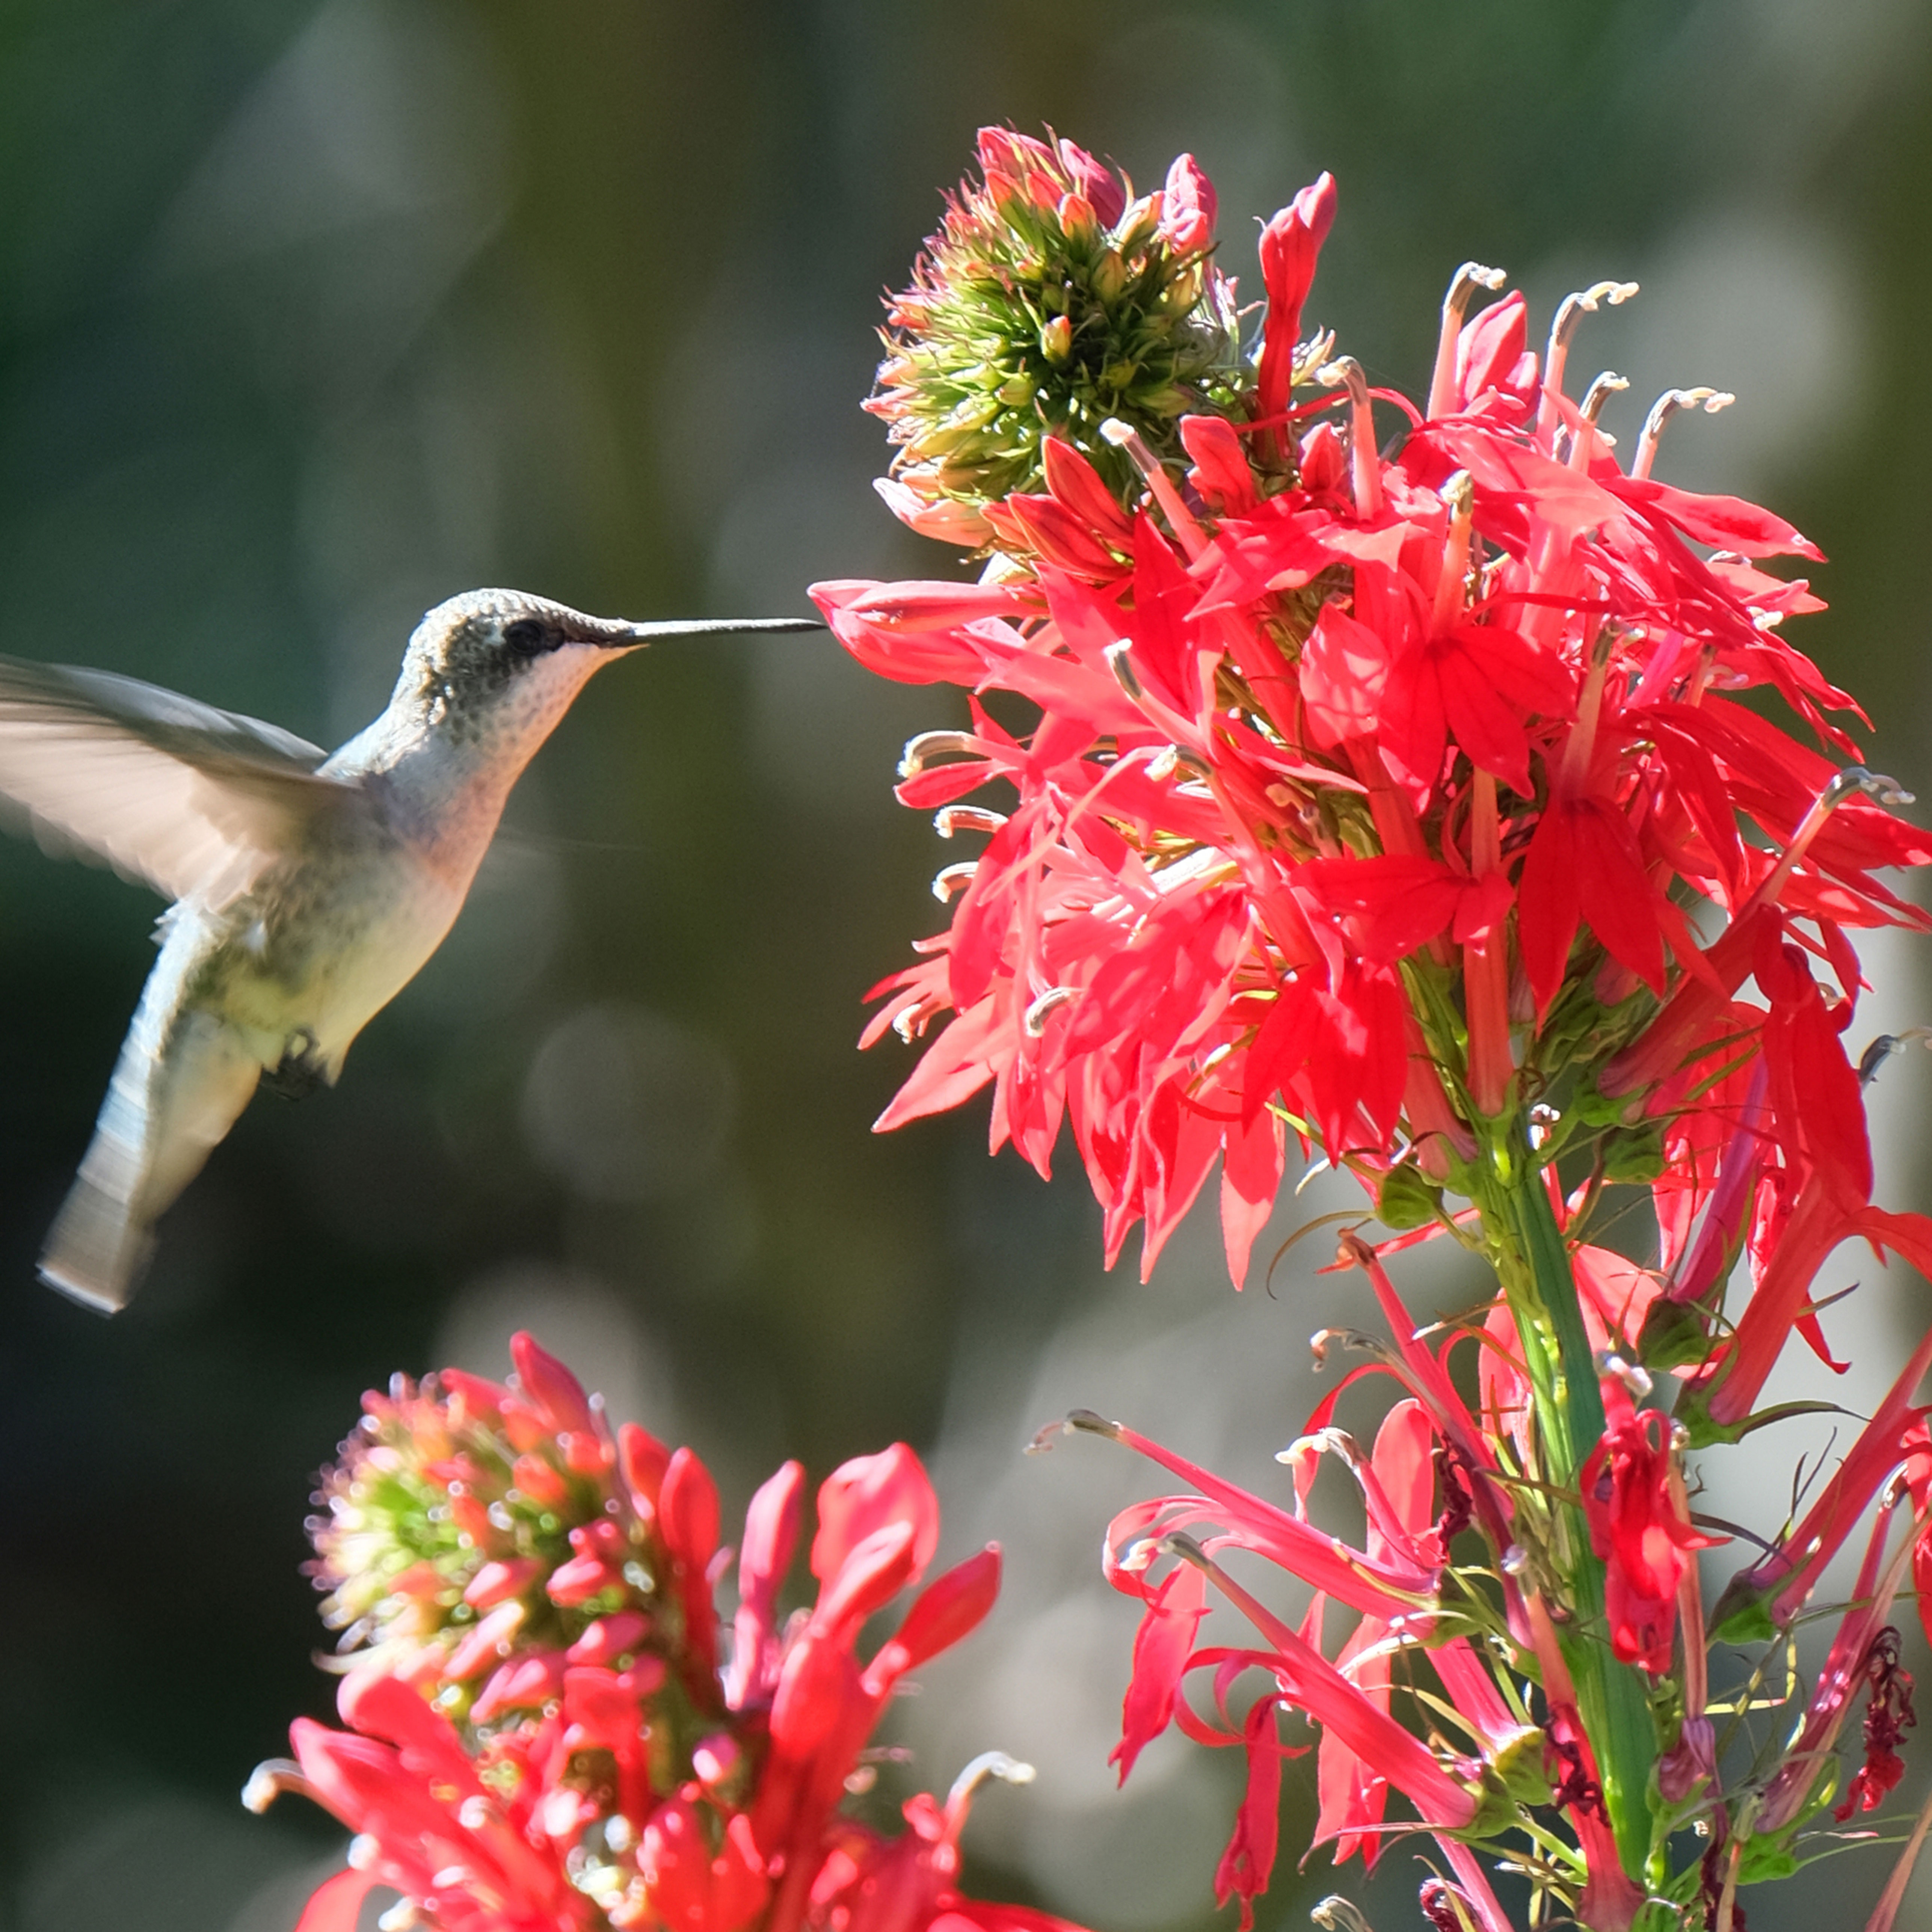
 Get Ready For A Summer Of Hummers! Grow These Full Sun Hummingbird Plants and Flowers
If you’re lucky enough to enjoy a sunny backyard, make sure you are maxing out on your pollinator opportunities and grow these full sun hummingbird plants and flowers
By Tonya Barnett