How To Harvest Turmeric Roots

You may have noticed a lot of buzz surrounding turmeric in the last few years and for good reason. Turmeric has been shown to improve heart health, prevent cancer and is an anti-inflammatory and antioxidant, plus it’s been used for centuries in a variety of cultures. Turmeric roots’ many benefits may have you thinking about growing and harvesting turmeric root. Read on to learn how to grow and harvest turmeric at home.
About Turmeric Root
Native to Southeast India, turmeric (Curcuma longa) is a member of the ginger family harvested for its root. Harvested for over 5000 years, turmeric root is a major component in Indian curries as well as other Asian, East African and Caribbean dishes.
The active in ingredient in turmeric is curcumin. It is used to give curry its yellow color once the rhizomes have been harvested, boiled and then sun dried for about a week. The golden hue is also used as a yellow food dye in other products.
There are as many as 80 varieties of turmeric, with only a fraction of these available to growers in North America. Like its relative ginger, the portion of the plant that’s used is actually a rhizome, often erroneously referred to as a root.
How to Grow Turmeric
Turmeric is hardy in USDA zones 8-11, thriving in these regions of hot summers and high humidity. A perennial, turmeric will go dormant in the winter months of tropical climes and die in those where temperatures dip below freezing.
Rhizomes of the plant can be bought at a garden supply store. Before planting the rhizome cut it into sections that are 1-3 inches (2.5-8 cm.) in length with each piece containing multiple healthy buds. To prevent rotting, allow the pieces to cure or dry for a day or two.
Plant the cured rhizome sections in the early spring (or in the tropics anytime during the year) in a well draining medium in an area of full sun to partial shade. Plant to a depth of 2-4 inches (5-10 cm.) with a bud pointing upward. Turmeric only needs 2-5 hours of sun per day, but the rhizomes actually grow larger in more sun per day.
Gardening tips, videos, info and more delivered right to your inbox!
Sign up for the Gardening Know How newsletter today and receive a free copy of our e-book "How to Grow Delicious Tomatoes".
Rot is an issue so take care to keep the soil moist, never wet.
How to Harvest Turmeric
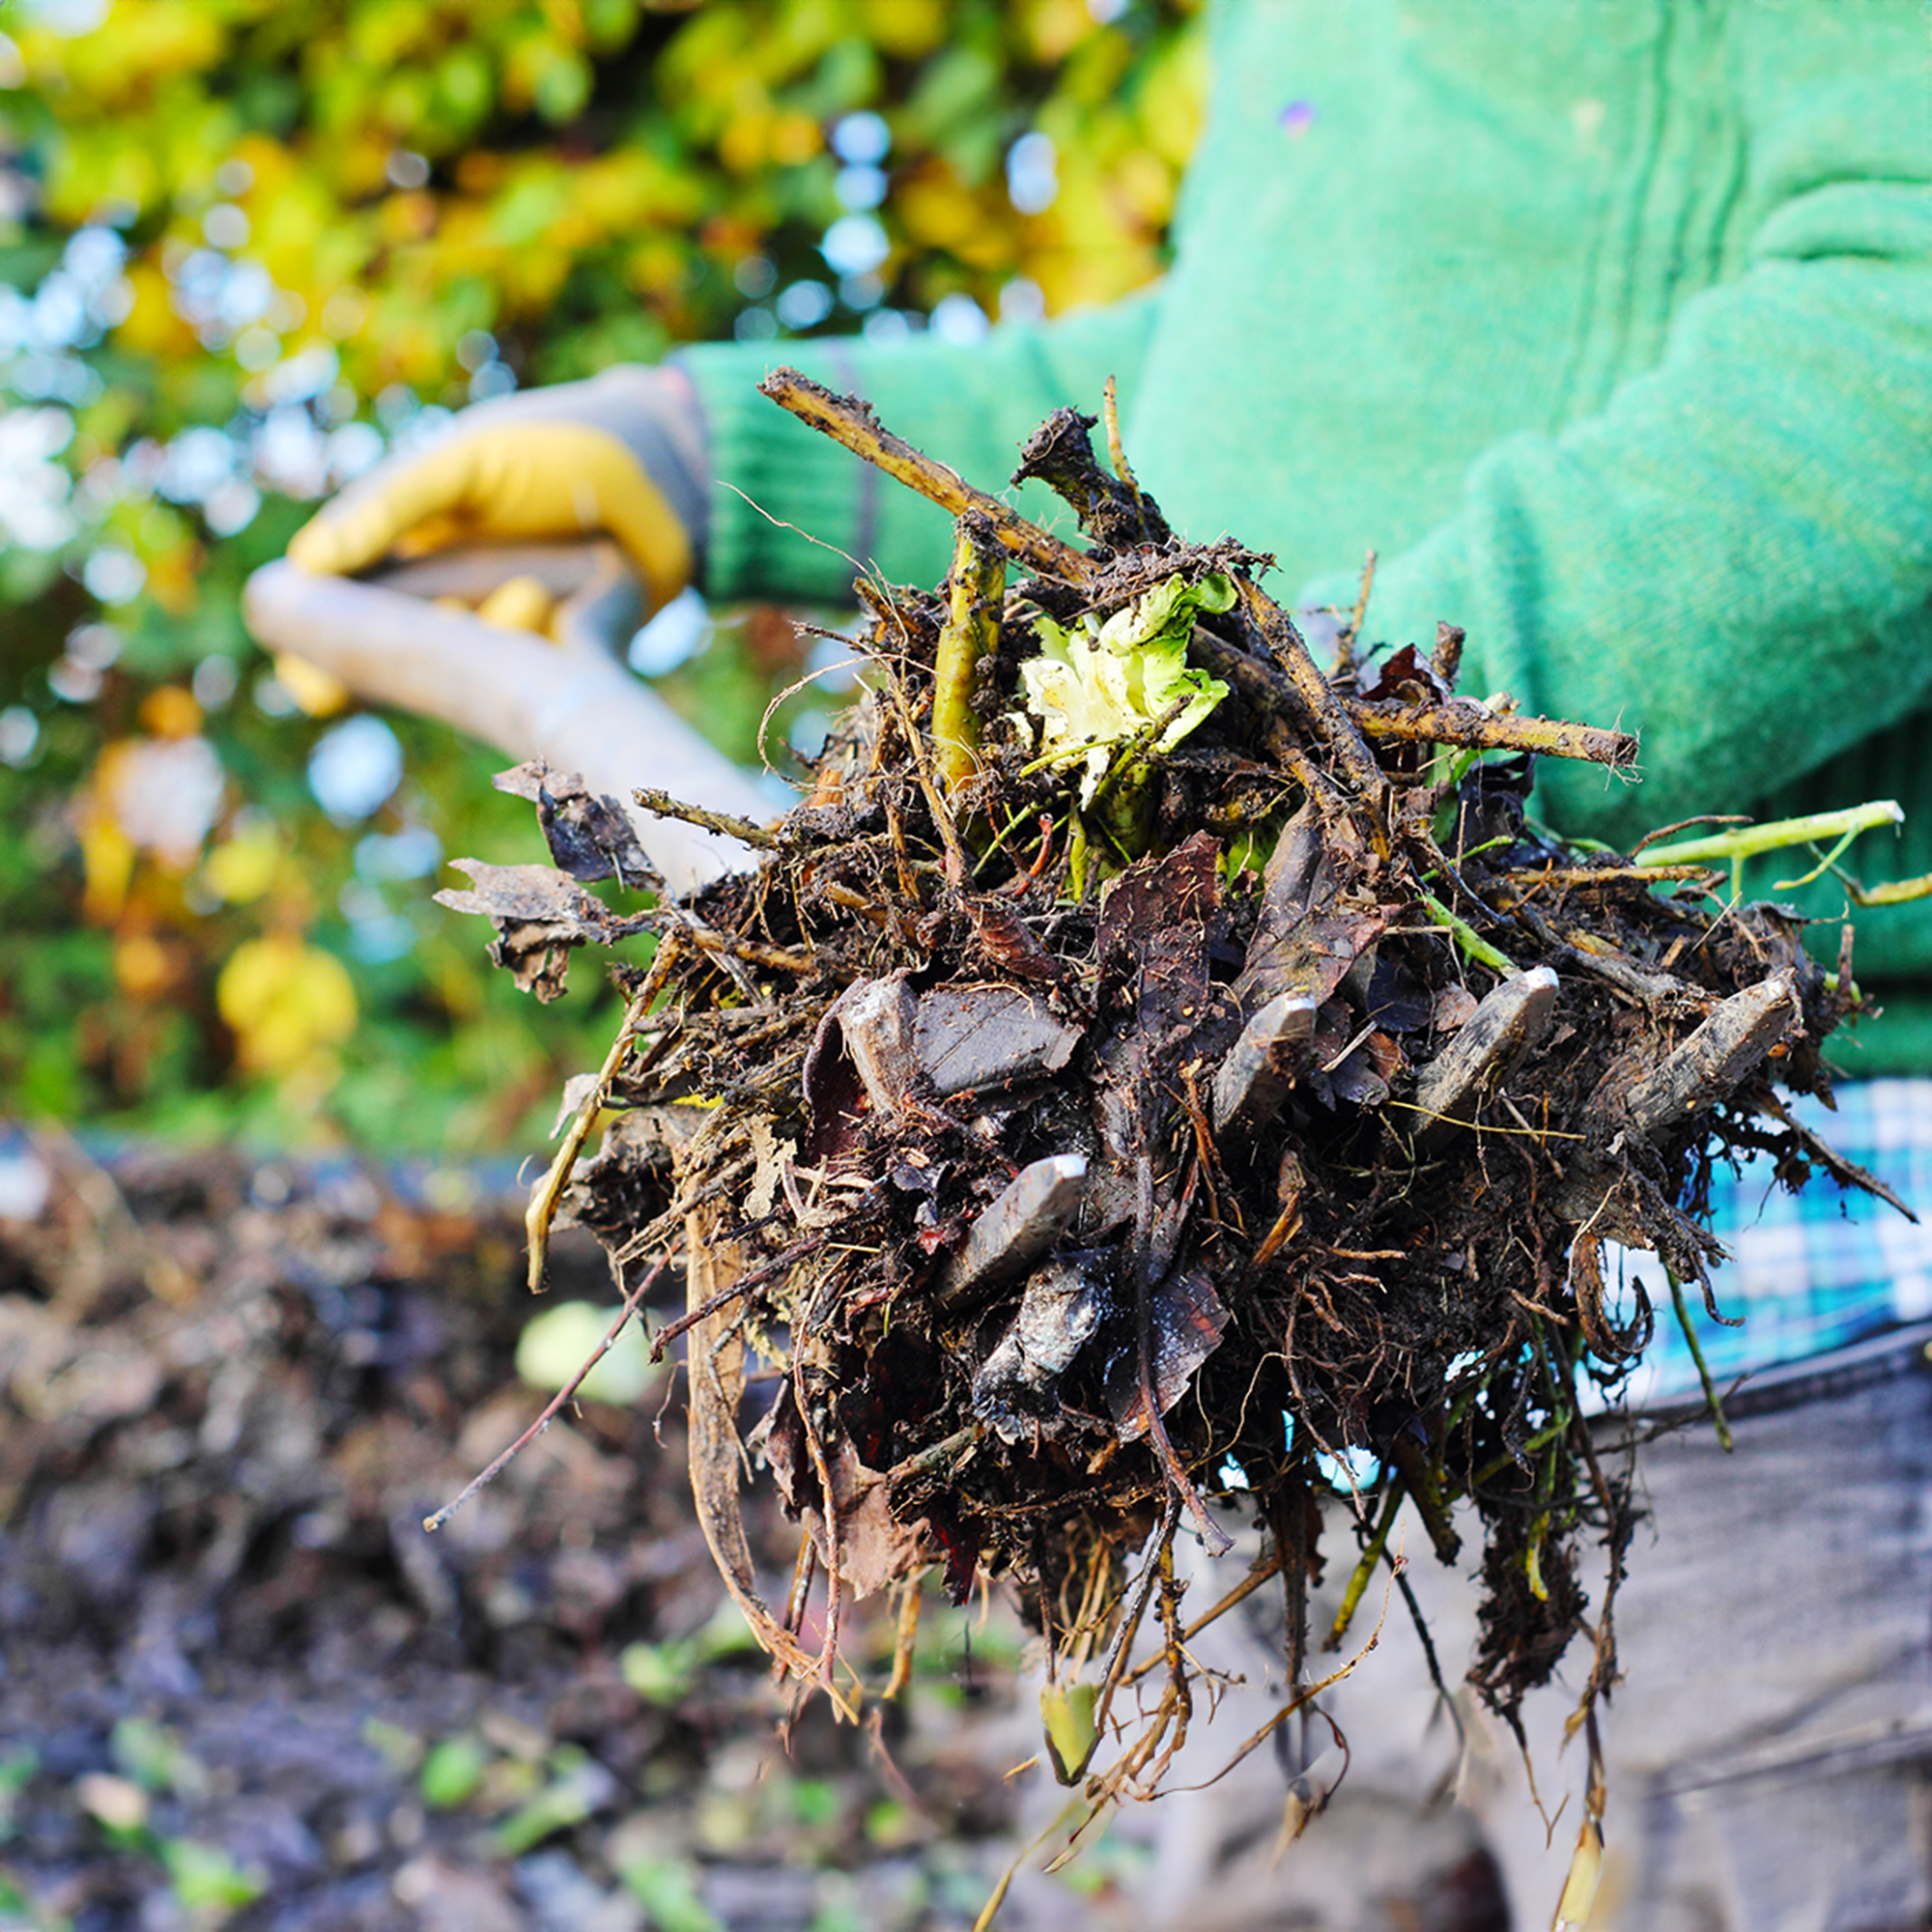
Turmeric is harvested in late fall to early winter, 9-10 months after planting. At this time the stems are drying out and falling over.
In tropical climates the rhizomes are gently dug up, divided and then part is kept for use while the other half is re-planted for the successive season. In cooler regions turmeric will only grow from about late April through October, at which time the entirety of the plant should be dug up for use.
Turmeric grown in cooler climates will not have sufficient time to produce a thick skin that is shelf stable. If you wish to grow more mature rhizomes plan to grow the plants in pots that can be moved inside during the winter, allowing them another 4 months of growing time until full maturity.
How to Store Turmeric
Mature turmeric stores well. Unpeeled rhizomes may be stored in a plastic bag in the refrigerator for several weeks or, for longer storage, freeze or dry turmeric.
To freeze turmeric, wash the rhizome and then cut into 1-1 ½ inch (2.5-3.8 cm.) pieces. Place the pieces in a sealed plastic freezer or vacuum sealed bag.
To dry turmeric, cut the rhizome into uniform thin slices. This can be done with a sharp knife or potato peeler. Remember whatever you slice turmeric on may become stained yellow. Dry in a dehydrator set at 140 F (60 C).
It is not a good idea to dry turmeric in the oven as the lowest setting is still too hot for the rhizome. It can however be dried in a well-ventilated areas out of direct sunlight. With either method of drying, lay the slices in a single layer leaving a bit of space between slices and with no overlapping.

Amy Grant has been gardening for 30 years and writing for 15. A professional chef and caterer, Amy's area of expertise is culinary gardening.
-
 10 Common Composting Problems That Can Spoil Your Garden Gold – Plus Easy Fixes
Learn how to troubleshoot common composting issues before they ruin your stash – from bad smells and bugs to materials not breaking down as they should.
By Susan Albert
-
 Terrifically Tubular Flowers For Hummingbirds: 9 Tube-Flowered Plants To Attract Hummers
Growing tubular flowers for hummingbirds helps you create the optimum feeding conditions for your winged friends. Here are nine tubed delights for hummers
By Tonya Barnett
