Tips And Tricks For Overwintering Tomato Plants

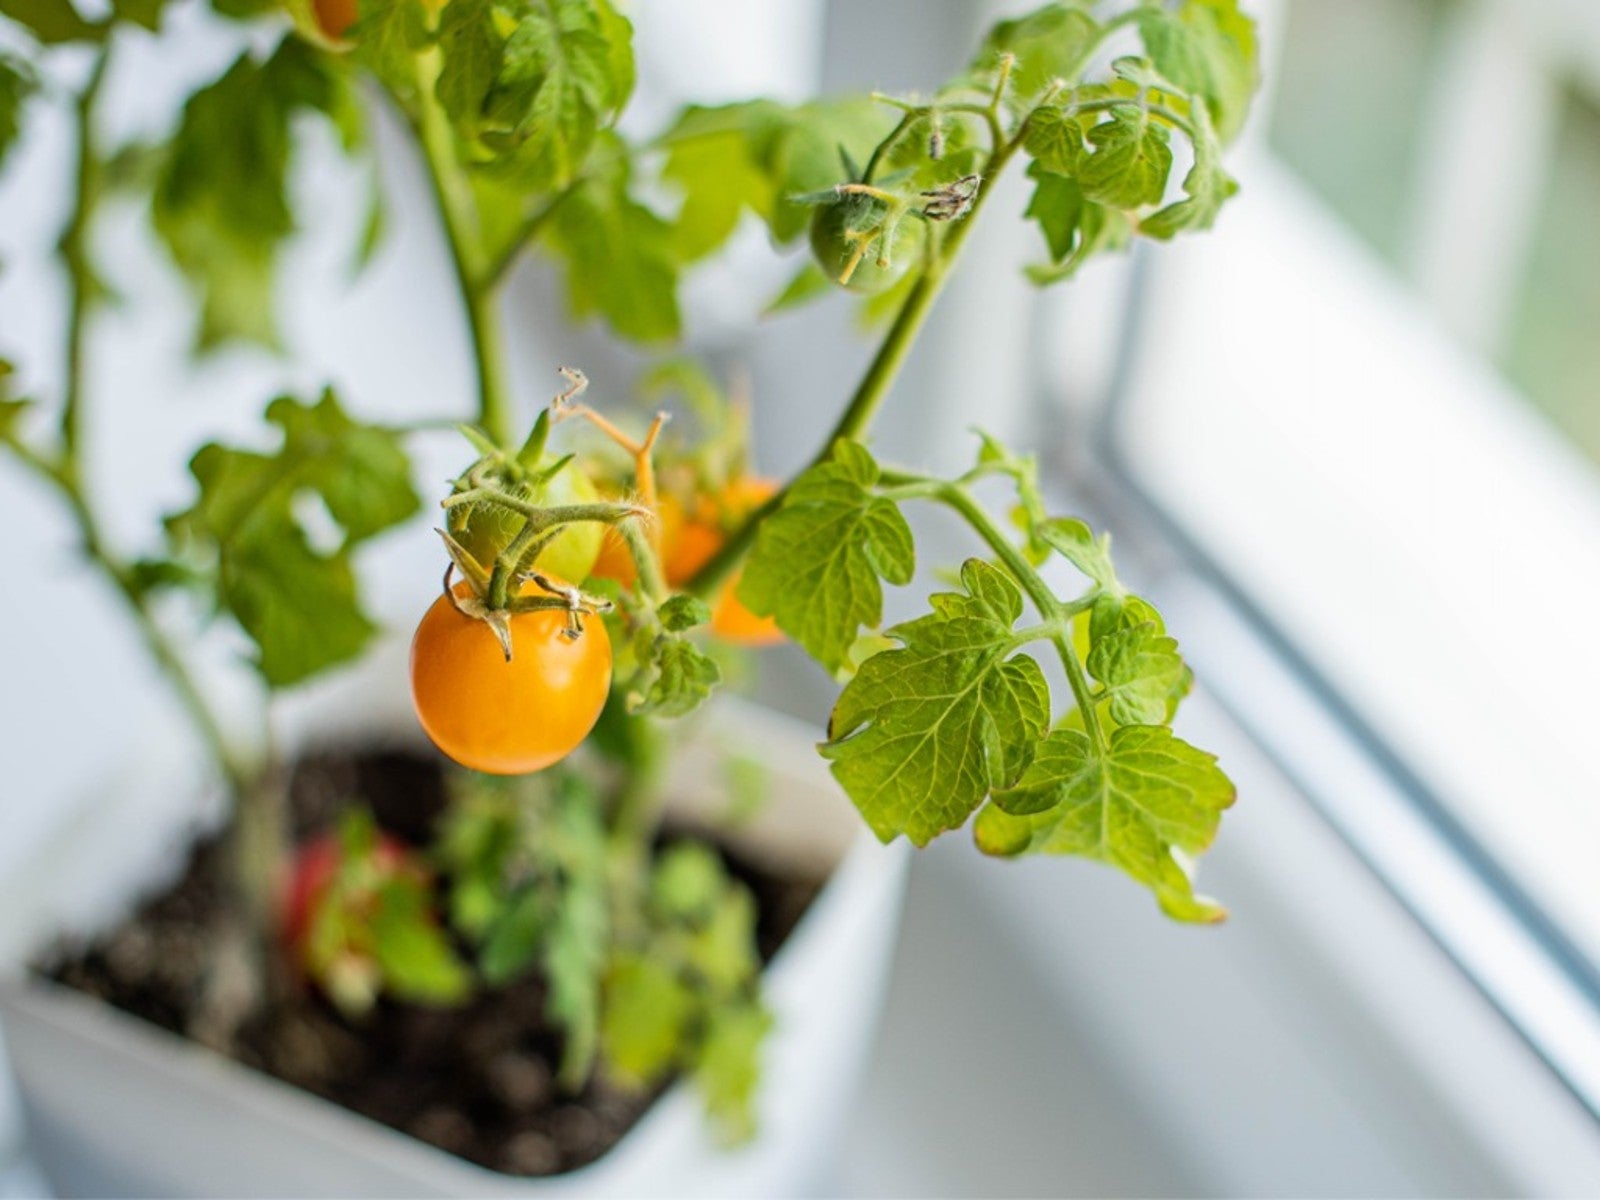
Most gardeners treat tomato plants like annuals. They are nurtured during the garden season and then tossed on the compost heap sometime in the fall, but what if you could overwinter tomato cuttings? Can you overwinter tomatoes? Overwintering tomatoes is possible but it does require some knowledge. Read on to learn how to overwinter tomato plants.
Can You Overwinter Tomato Plants?
Tomatoes are a warm season crop that thrives in full sun and warm temperatures. Temperatures that fall below 60 F (16 C) prevent pollination and fruit development, which is why so many of us discard our plants as seasonal temperatures cool.
Tomatoes are native to South America where they grow as perennials. Domesticated by around 500 BC, tomatoes are more commonly grown as annuals, but what if there was a way to winterize tomato plants?
There is a way to overwinter tomatoes, but don’t get too excited. You won’t be plucking vine ripened tomatoes during the winter months. Instead, the goal is simply for the plants to survive during the winter months until they can go back outside to produce fruit when temperatures warm.
Growing Tomatoes in a Greenhouse in Winter
This is, of course, the most ideal way to overwinter your beloved tomato plants. Access to a greenhouse during the winter is wonderful. The greenhouse should be equipped with a heater.
To overwinter your tomato plants in a greenhouse, pot the tomatoes up and move them into the greenhouse. Do this before the first frost. Do not have the temperature in the greenhouse set for tropical warmth. Allow the potted tomatoes to acclimate, gradually increasing the greenhouse temperature if you want to grow actual fruit. If you just want the plants to survive over the winter and not necessarily fruit, the temperature does not have to be increased nearly as much.
To get your tomato to fruit in the greenhouse, you will need to play the pollinator and will need to fertilize the plants every 4-6 weeks. Do not fertilize if you are just trying to keep the plants alive through the winter and don’t expect fruiting.
Gardening tips, videos, info and more delivered right to your inbox!
Sign up for the Gardening Know How newsletter today and receive a free copy of our e-book "How to Grow Delicious Tomatoes".
Best Ways to Overwinter Tomatoes
Things are a bit different if you are lucky enough to have a greenhouse. In this case, you can grow greenhouse tomatoes year round. If you don't, there are three other methods for overwintering tomatoes -- you can overwinter the plants inside your homes, overwinter as stem cuttings, or keep the tomato plants in bare-root dormancy for the winter.
1. Overwintering Tomato Cuttings
Tomato cuttings will give you a good head start for spring and it’s simple to do.
- Prior to the first frost, cut a 3-5 inch (7.5-13 cm) stem from your tomato plant. Look for an actively growing branch or terminal end or simply snip a sucker from the plant. Suckers are shoots that grow between the branch and stem, those at the leaf nodes. Take more than one cutting in case some die.
- Strip the cutting of all but the upper couple leaves and stick the cut end into a container of water. Place the cutting in a sunny window. Keep an eye on the water level of the container and change it weekly.
- Within a few weeks, you should see white roots protruding from the cuttings. At this time, transplant the cuttings into a pot with a potting medium. Place the transplanted cuttings in a bright window or better yet, under grow lights.
- Turn the cuttings every couple of days to ensure equal growth. There is no need to fertilize if you have used a potting medium that already contains fertilizer.
- As temperatures warm outside, begin to harden the cuttings off. Transplant once all danger of frost has passed and the soil has warmed.
2. Moving Entire Tomato Plants Indoors
While this might seem the simplest method to overwinter tomato plants, the downside is the amount of lights the plant needs. Winter days are not long enough, nor is the sun intense enough for tomatoes. If you put the pots in a bright window you will end up with spindly plants that are straining to access the sunlight. Grow lights are a better, more consistent option.
Grow lights come in all shapes and sizes and you will need to decide what works within your environment. Keep in mind that the lights should stay on for 18-20 hours per day. Also, the best options for overwintering under grow lights are compact or dwarf varieties that don’t get very tall.
The other issue with overwintering entire tomato plants is pests. Be sure to spray off the plants well before bringing them indoors, or the warmth from the house may have you battling bugs.
In the spring after all danger of frost has passed, begin to harden off your overwintered plants over the course of about 2 weeks by gradually introducing them to conditions outside. Then plant them outside either in the garden or into a container. Cut the plants by half and begin to water and fertilize them regularly.
3. Keeping Tomato Plants in Bare-Root Dormancy
This is an old school method for overwintering tomatoes, and just means allowing the plants to overwinter with no soil around their roots.
A cool garage, cellar or unheated basement are excellent places to try overwintering bare-root tomatoes.
- Before the first frost, dig up the entire tomato plant. Cut the plant back to about a foot (30 cm) high. Remove as much soil from the roots as possible with a dry brush or your hands. Form a loose circle of the roots by wrapping them around your hand.
- Place the circle of roots on a square of cotton fabric along with some damp sheet moss or shredded newspaper. Make sure the dampened material covers the roots entirely, then wrap the cotton fabric around the entirety and secure with string.
- Place the wrapped bare-root tomato in a repurposed plastic grocery bag or wrapped in a tight layer of plastic or waxed fabric. Put the wrapped tomato in a paper bag and close tightly. Place the bag in a cool area like a cellar, garage, or even a refrigerator in the crisper.
- Check on the plants every six weeks to make sure the roots are still surrounded by moist material. If not, dampen them with a spray bottle of water or surround the roots with damp sphagnum moss.
- In the spring, bring the plants out and pot them up about 6 weeks before the last frost date or leave them in dormancy until all danger of frost has passed and then plant them in the garden.

Amy Grant has been gardening for 30 years and writing for 15. A professional chef and caterer, Amy's area of expertise is culinary gardening.
-
 8 Perfect Flowers To Plant With Tomatoes To Boost Yields & Banish Pests
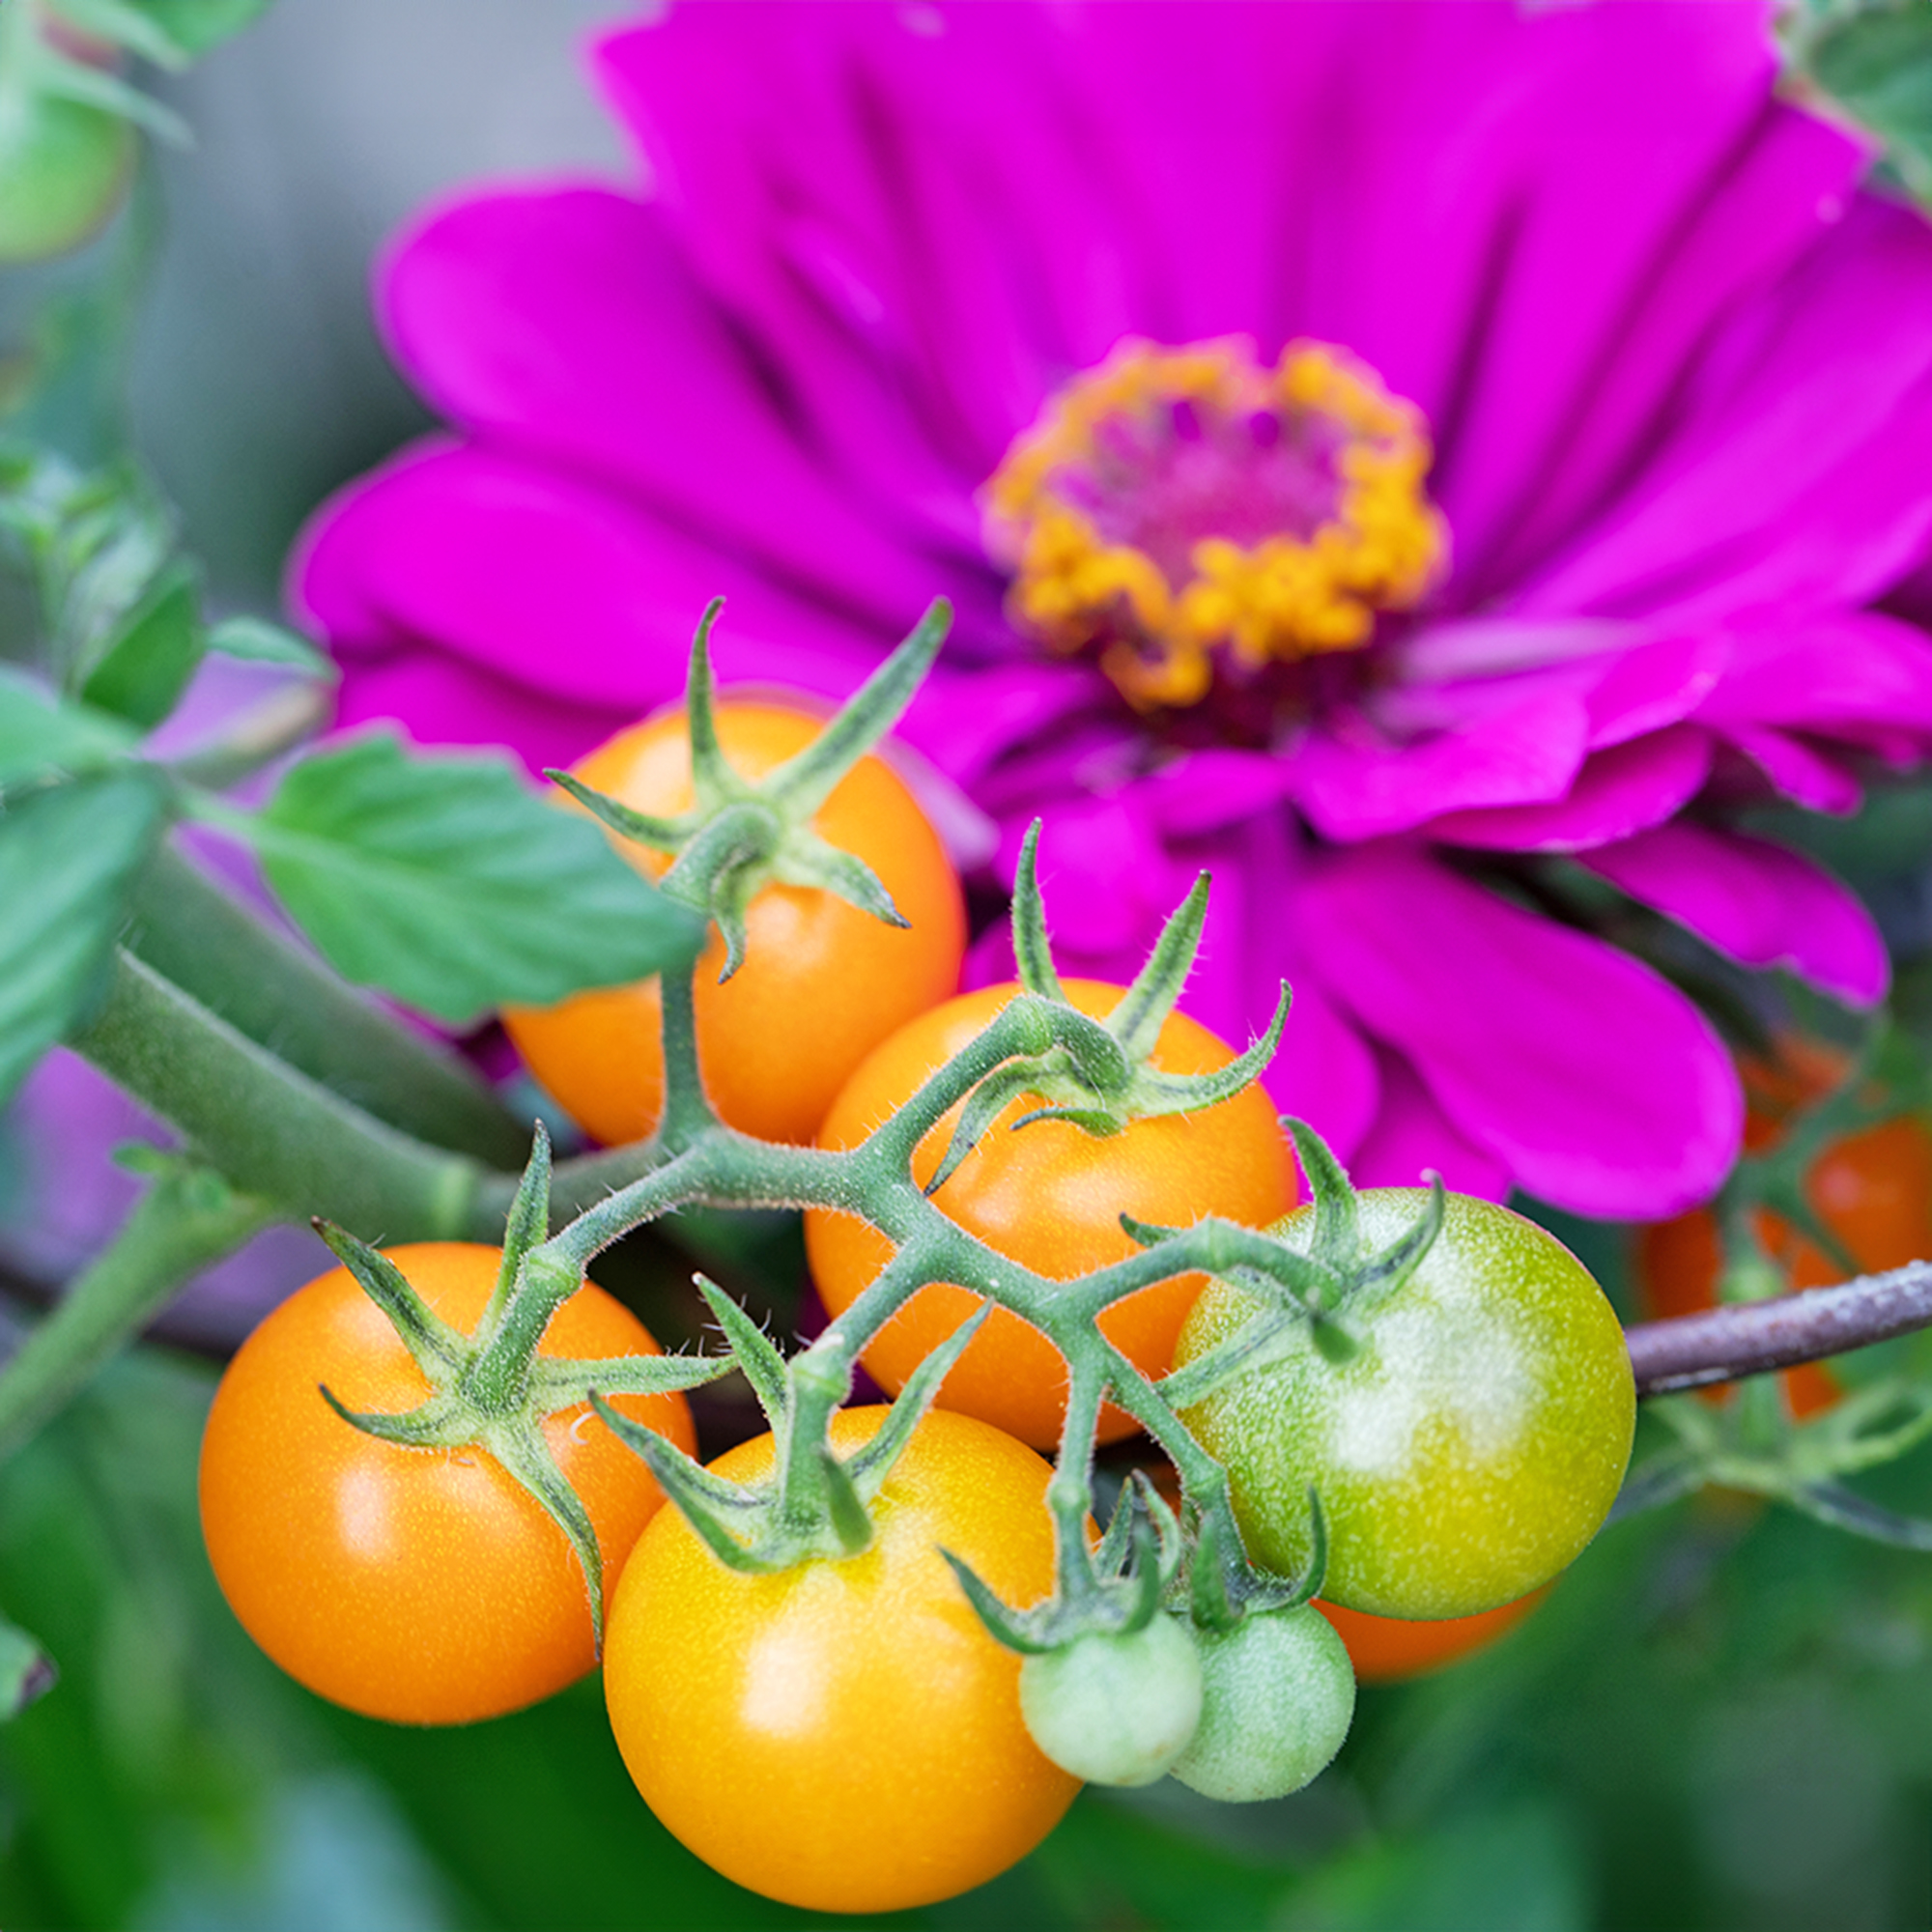
Don’t forget flowers when choosing companion plants for your tomato beds or pots. These pretty, fragrant flowers add beauty but are also highly beneficial.
By Mary Ellen Ellis
-
 Want The Longest Lasting Hydrangea Flowers? Grow These 8 Panicle Hydrangea Varieties
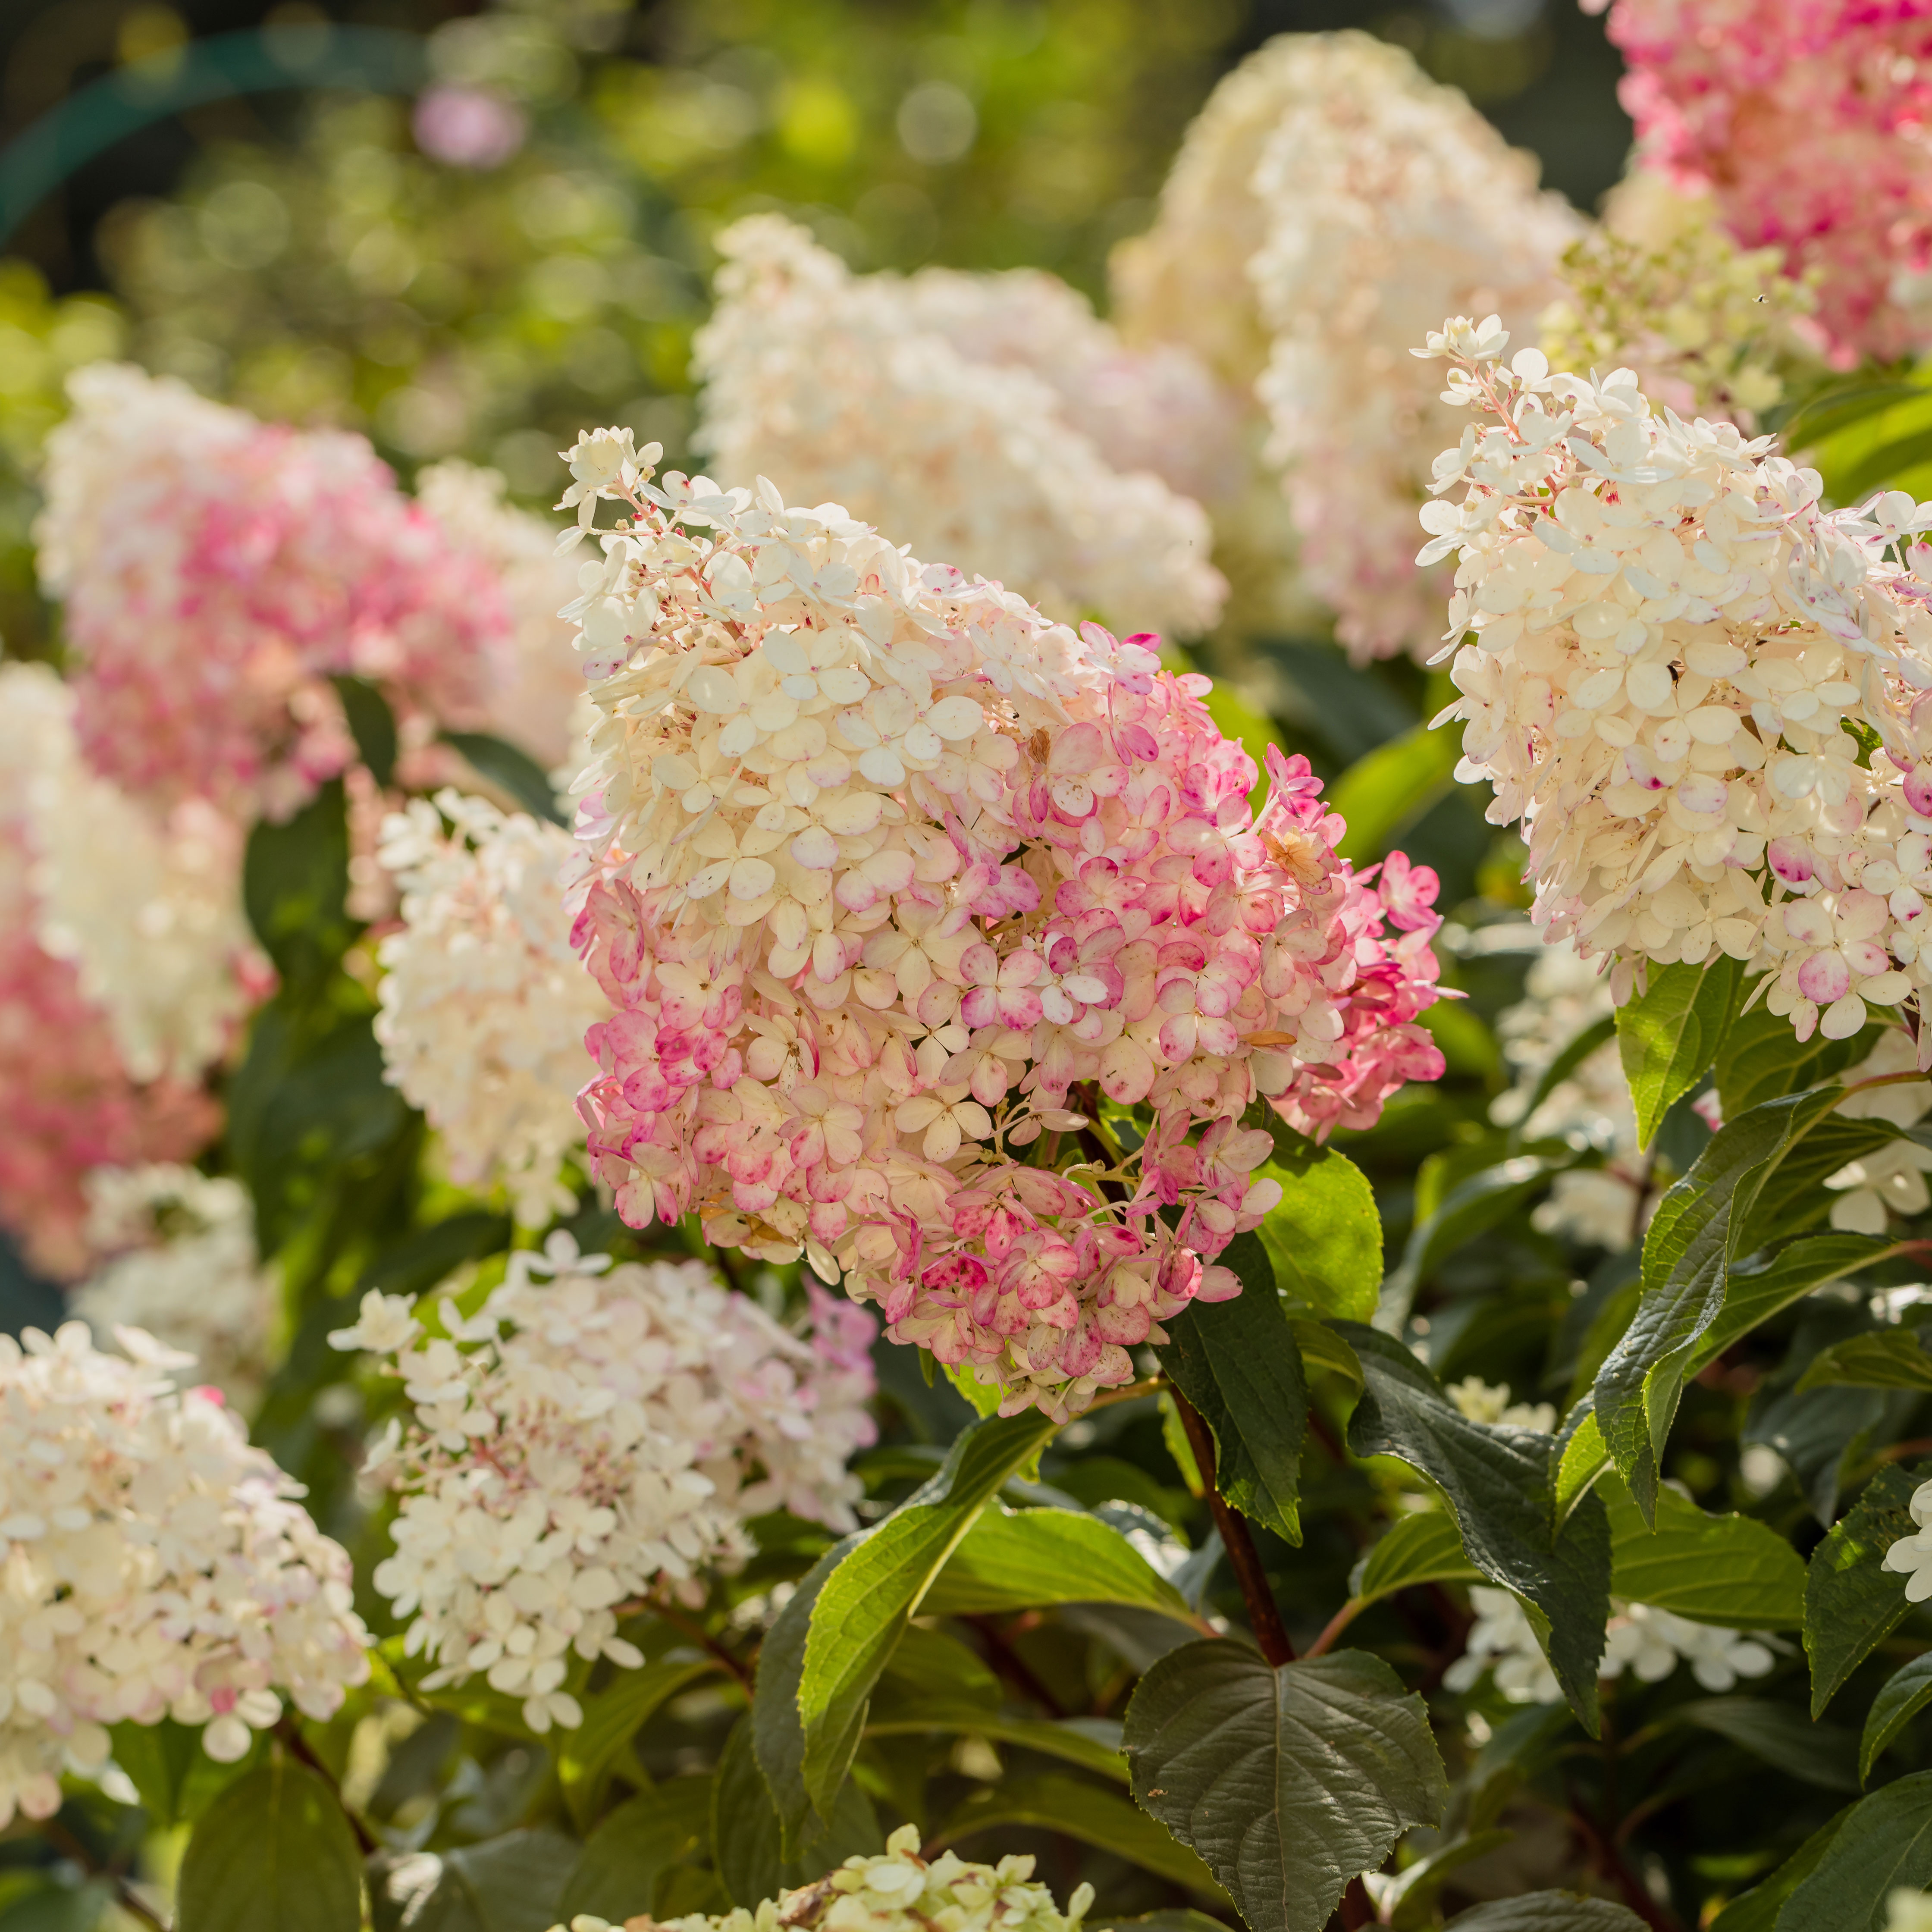
For ornamental shrubs that deliver the longest flowering seasons with plush blooms and delicate hues, these panicle hydrangea varieties are essential in your yard
By Tonya Barnett