

Want to save money and raise your gardening game at the same time? Then try growing your favorite flowers and vegetables from seed. The act of planting seeds and nurturing seedlings into mature plants is an essential life skill that seems to have been lost through the generations. But there's no more satisfying way to feel closer to nature than raising plants from seed.
Seed starting is the best type of plant propagation for many varieties of flowers and vegetables. However, other plants will take years to produce fruit or reach the size and shape you’re interested in. For some gardeners, of course, that’s half the fun. But it's worth checking the best method for the plants you want to grow. Other options are rooting plants from cuttings, dividing plants, and the layering propagation method.
This guide covers everything you need to know about starting seeds – from choosing the best germination method to caring for seedlings, and troubleshooting. Once you've mastered the basics, you'll be able to grow a near-limitless range of plants from seed.

Browse premium-quality seedling trays and lids, seed collections, growing kits, and tools to help you plant the garden of your dreams from scratch.
Why Plant Seeds?
Planting seeds is cheaper than purchasing seedlings or young plants and offers a much wider variety selection than you'll find at the garden center. Seeds last a long time, so they can be planted on your schedule, unlike plants, which need to be quickly accommodated in the garden.
Growing from seed is also a fantastic way to get your hat in the gardening ring earlier in the season. Even if you live in a climate with shorter summers, indoor seed starting enables you to control growing conditions and can get you planting your garden while there’s still snow on the ground. And as any gardener in winter will tell you, the sooner you can get your hands back in the dirt, the better.
In addition, planting seeds contributes towards a more sustainable and self-sufficient lifestyle, reducing single-use plastic and the use of pesticides and herbicides.

Understanding Seeds
What is a seed? It is essentially a plant in its very earliest stage. Each seed contains an embryo housed in a hard outer shell, which also holds a small supply of food to sustain the embryo until it has developed roots and leaves. For the seed to germinate, it needs moisture and warmth, which ensure it sprouts at just the right time of year for the plant to thrive in nature.
Seeds have varying lifespans, with some varieties lasting for years. While newly purchased seeds should germinate with no issue, when planting old seeds, it's helpful to perform a seed viability test first. Properly storing seeds will lengthen their lifespan.
Choosing the Right Seeds
While vegetables, herbs, and fruits are the most common choices for gardeners looking to grow plants from seed, there’s no reason to stop there. An endless range of flowers can be grown from seed, including both annual and perennial varieties. Many trees, shrubs, and houseplants can be started from seed, too, but most are more reliably propagated by division or cuttings.
When buying seeds, you have a choice of hybrid or heirloom seeds. Heirloom seeds are generally preferred in organic gardening as they are not genetically modified and are open-pollinated, so they grow "true to type". If you save seeds from the plant, you can use them to grow new ones with the same characteristics as the parent plant, as long as they are not cross-pollinated with other varieties. Heirloom seeds support self-sufficiency and biodiversity.
Hybrid seeds are commercially cultivated by pollinating two specific varieties. They are designed to bring together specific traits in each of the chosen varieties so that the resulting seed shares the strengths of both parents. Plants grown from hybrid seeds do not tend to produce seeds that grow clones of the parent, and they may not even grow at all. However, hybrid seeds have advantages in the vegetable garden as they are often bred for disease resistance and high crop yields.
A key consideration for gardeners choosing seeds is whether they are compatible with your climate. This is particularly important for perennial plants, which may not be able to survive the cold of winter or the heat of summer in your region. Check your USDA hardiness zone for suitability.
However, there is usually flexibility for growing vegetables and flowers as annuals. In cooler zones, start seeds indoors over winter to avoid the frost, only planting them out once the last frost date has passed. In warmer zones, heat-intolerant plants can be grown in cooler seasons.

Indoors or Outdoors?
There are three main options for planting seeds:
- Starting seeds indoors most commonly involves planting seeds into seedling trays or pots, giving them warmth and moisture until they sprout, and then caring for the seedlings indoors until it's time to plant them into their final positions. It's the best option if you want to extend the growing season so that tender vegetables and annual flowers can be planted out as soon as your local last frost date has passed.
- Direct sowing seeds means planting the seeds in the garden directly where you want them to grow. Seeds must be planted at just the right time so that they will be able to germinate and flourish in the climate conditions. Direct sowing is the best option for growing plants that do not like to be transplanted, such as root vegetables and flowers with taproots. It's also a good option for growing hardy flowers and cold-weather vegetables that won't die off in a frost.
- Starting seeds in a greenhouse allows for planting in every season, as long as the greenhouse is heated. However, even an unheated greenhouse can allow for winter sowing seeds of hardier varieties. Other options for protecting seedlings include mini DIY greenhouses as well as cold frames, cloches, and hoop houses.

Preparing to Plant
Your first step is knowing when to start planting seeds for the varieties you want to grow. If you plant them too early, a frost might kill them. When to start seeds indoors is a little different from planting in the garden, as you can start 6-8 weeks before the last frost date.
It's vital to plant seeds into prepared soil – you can't just drop them into a bed filled with weeds and stones and expect success. Remove any weeds and debris and loosen the soil to a depth of at least 6 inches (15cm). Mix in organic matter such as compost or well-rotted manure to improve soil texture and add nutrients, and smooth out the soil surface with a rake.
If starting seeds indoors, use the best possible seed-starting mix. This should be airy and free-draining while able to retain just enough moisture. Common ingredients include peat moss, coconut coir, perlite, and vermiculite. Alternatively, try a soil-free solution such as germinating seeds in paper towel.
You can make DIY seed-starter pots by repurposing grocery packaging and waste items. However, if you want to plant seeds regularly, then it's worth investing in quality seed-starting trays. Adding lids – such as humidity domes – helps keep in warmth and moisture, though this can also be achieved using plastic bags.
Whether starting indoors or outside, you'll need some plant labels so you don't forget which seeds are which. You don't need to buy them as there are some great DIY plant marker ideas.

How to Germinate Seeds
For many varieties, germinating seeds couldn't be easier – simply plant them into soil or potting mix and wait for them to grow. Plant more seeds than you need, as not all will germinate or grow well. For larger seeds, plant just a few extra, while for small seeds, plant 2-3 times as many plants as you want to grow. The soil will need to be kept consistently warm and moist, but germination is mostly a waiting game. However, some seeds will need a little more help.
For all seeds, planting depth is key, as some seeds need light to germinate, while others need to be anchored more in the soil. How deep to plant seeds depends largely on their size. Check the seed packet for guidance, or if you can't find any information, then go for a depth of around three times the seed height.
Soaking seeds before planting helps kickstart germination for many seeds, while others need extra help to break down the seed coating. Scarifying seeds penetrates the coat, allowing moisture to enter, and is most often done by nicking seeds or scratching them with sandpaper.
Some seeds need a period of cold treatment before they will sprout, mirroring the natural freeze they experience in winter. This process is known as stratifying seeds, and involves freezing or refrigerating them before planting.
All seeds are different, so it's vital to read the seed packet information to find out their unique requirements before planting. Depending on seed type, germination takes anything from a few days to a few weeks.

Learn the basics of seed-starting from master gardener Geoffrey Johnson. Our fun, easy-to-follow workshop can be completed in less than 30 minutes.
Seedling Care
Once your seeds have sprouted and grown into seedlings, their needs change. Your baby plants now require lots of air and light to photosynthesize. Proper seedling care makes all the difference to their health, performance, and longevity.
If starting seeds indoors, remove the plastic cover from the tray and place it in front of the brightest window. Seedling light requirements are high, so if you don't have a sunny south-facing window, then it's best to use grow lights.
Whether indoors or in the garden, seedlings need consistent moisture levels. Young plants are delicate and will quickly die if left to dry out. However, do not overwater, as this can drown seedlings and lead them to rot. How often to water seedlings depends largely on the climate, but you should feel the soil for moisture every day. When watering seedlings, avoid splashing water on them from overhead, as this can damage them and spread disease.
Fertilizing seedlings is not necessary if you amend the soil with organic matter before planting. Otherwise, use a water-soluble fertilizer at ¼ regular strength every week or so, gradually increasing the concentration of the fertilizer as the seedlings develop.
If you planted seeds close together, then you need to learn how to thin seedlings, as congestion reduces space, nutrients, moisture, and light for each plant. Focus on preserving the best seedlings and remove the weaker ones, and keep thinning over time until correct plant spacings are observed.

Transplanting Seedlings
If you started seeds indoors, then you will need to choose the best time to transplant seedlings into the garden. The weather needs to be right, and the seedlings need to be developed enough – but don't wait too long, or they'll get leggy.
Once your last frost date has passed and the seedling has three to four "true leaves" (these are the leaves that resemble the parent plant, rather than the initial cotyledons, you can move it to its final position.
However, before planting, you need to harden off seedlings to help them acclimatize to the garden. Take them outside and place them in a sheltered, shady spot for a few hours, and over a week, gradually move them to a sunny spot and increase their time spent outdoors. Taking this step will make your new plants much more resilient in the long run.

Common Problems
It's disheartening when seedlings die, and is usually the result of improper care. However, there may be other factors at play. Early diagnosis is key to saving your tender plants, so keep an eye out for these common seed-starting problems:
- Damping off is a common disease caused by various soil-borne fungi that attack seeds and seedlings. The seedlings may never emerge from the soil, and if they do, the leaves will appear water-soaked, with thin, mushy stems. They will turn gray or brown and rot before dying. There is no cure for damping off – infected seedlings must be discarded. You can reduce the risk of future infections by sterilizing trays and equipment and using sterile potting mix. Avoid overwatering seedlings and introduce airflow using a small fan on its gentlest setting.
- White fuzz when seed starting appears on top of the potting soil. It's a fungus that can eventually kill seedlings, but it can be treated by reducing humidity and aiding airflow. Slightly prop open the lid of the seedling tray and use a small fan for air movement.
- Leggy seedlings are caused by a lack of light. Seedlings need at least 12 hours of light each day, and it's not always easy to provide this indoors without the use of grow lights. For some plants, such as tomatoes, you can bury the long, thin stems in the soil, and they will develop new roots.
- Seedlings turning yellow may be caused by too much or too little water, incorrect light levels, and overfertilization. Correct the issue, and your seedlings should recover.
- Stunted seedlings have a variety of causes, including lack of light, nutrient deficiencies, over or under-watering, incorrect temperature, and overcrowding.
- Seedlings wilting may be caused by damping off, watering issues, incorrect temperature and light levels, nutrient issues, and poor soil.
- Seed shell stuck on seedling is a common issue potentially caused by not planting seeds to the correct depth. It often resolves itself, but not always. You can help plants along by misting the seed coat with water, then gently removing it.
- Pests can be the death of young seedlings and range from sap-sucking insects such as spider mites to slugs and snails, and even hungry rabbits and squirrels. Many insects can be removed with homemade insecticidal soap, but for larger pests, it's best to add a barrier, such as row covers or fine mesh netting. If you save cardboard tubes, these can also be used to make a collar.
More Seed-Starting Inspiration
- Struggling to grow? Fix these 7 seed-starting mistakes before it's too late.
- Browse our expert-curated seed collections in the Gardening Know How Shop – choose from the most beautiful flowers, delicious vegetables, and aromatic herbs.
- Learn how to DIY seedling trays for free by starting seeds in egg cartons.
- Discover the best seeds for survival – and grow a garden that can outlast almost anything.
- Sign up for the Gardening Know How Newsletter and receive a regular dose of growing advice plus exclusive offers straight to your inbox.

-
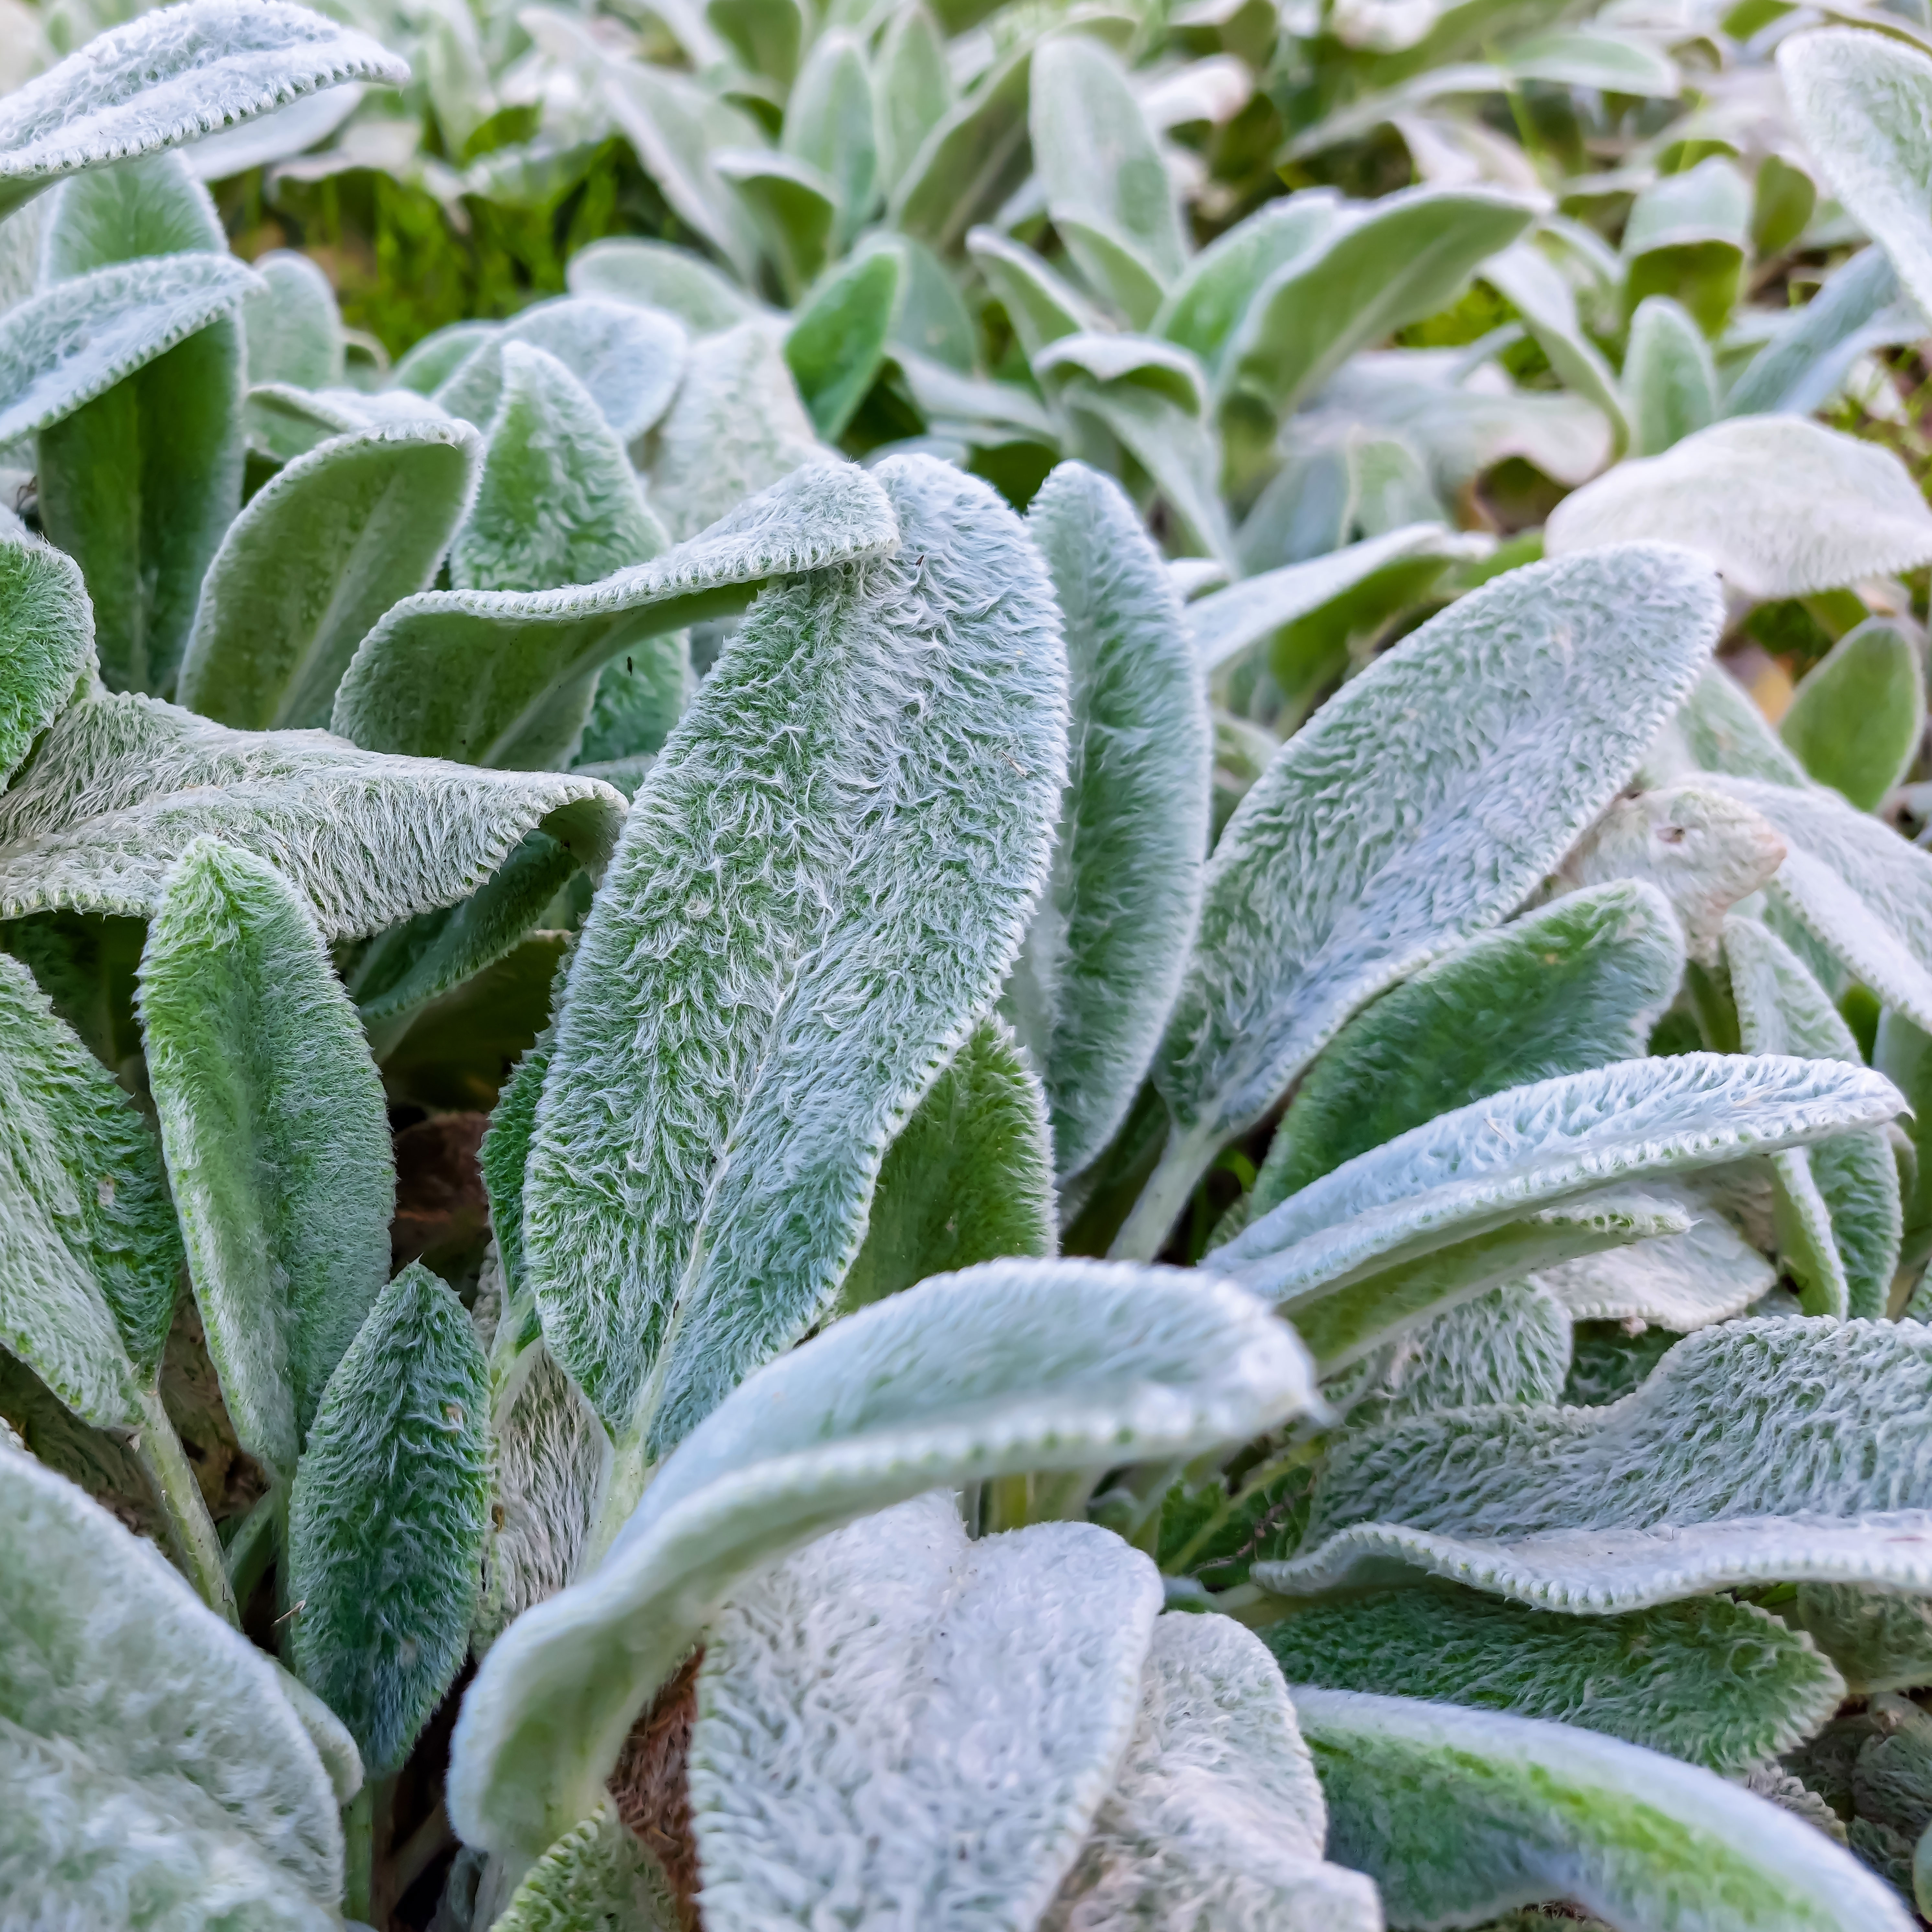 Looking For Plants To Give You The Soft And Fuzzies? Try These 5 Fuzzy Leaf Plant Options
Lovers of texture, drama, silver foliage and tactile plants will adore these special sensory garden additions. These fuzzy leaf plant options will leave you all aglow
-
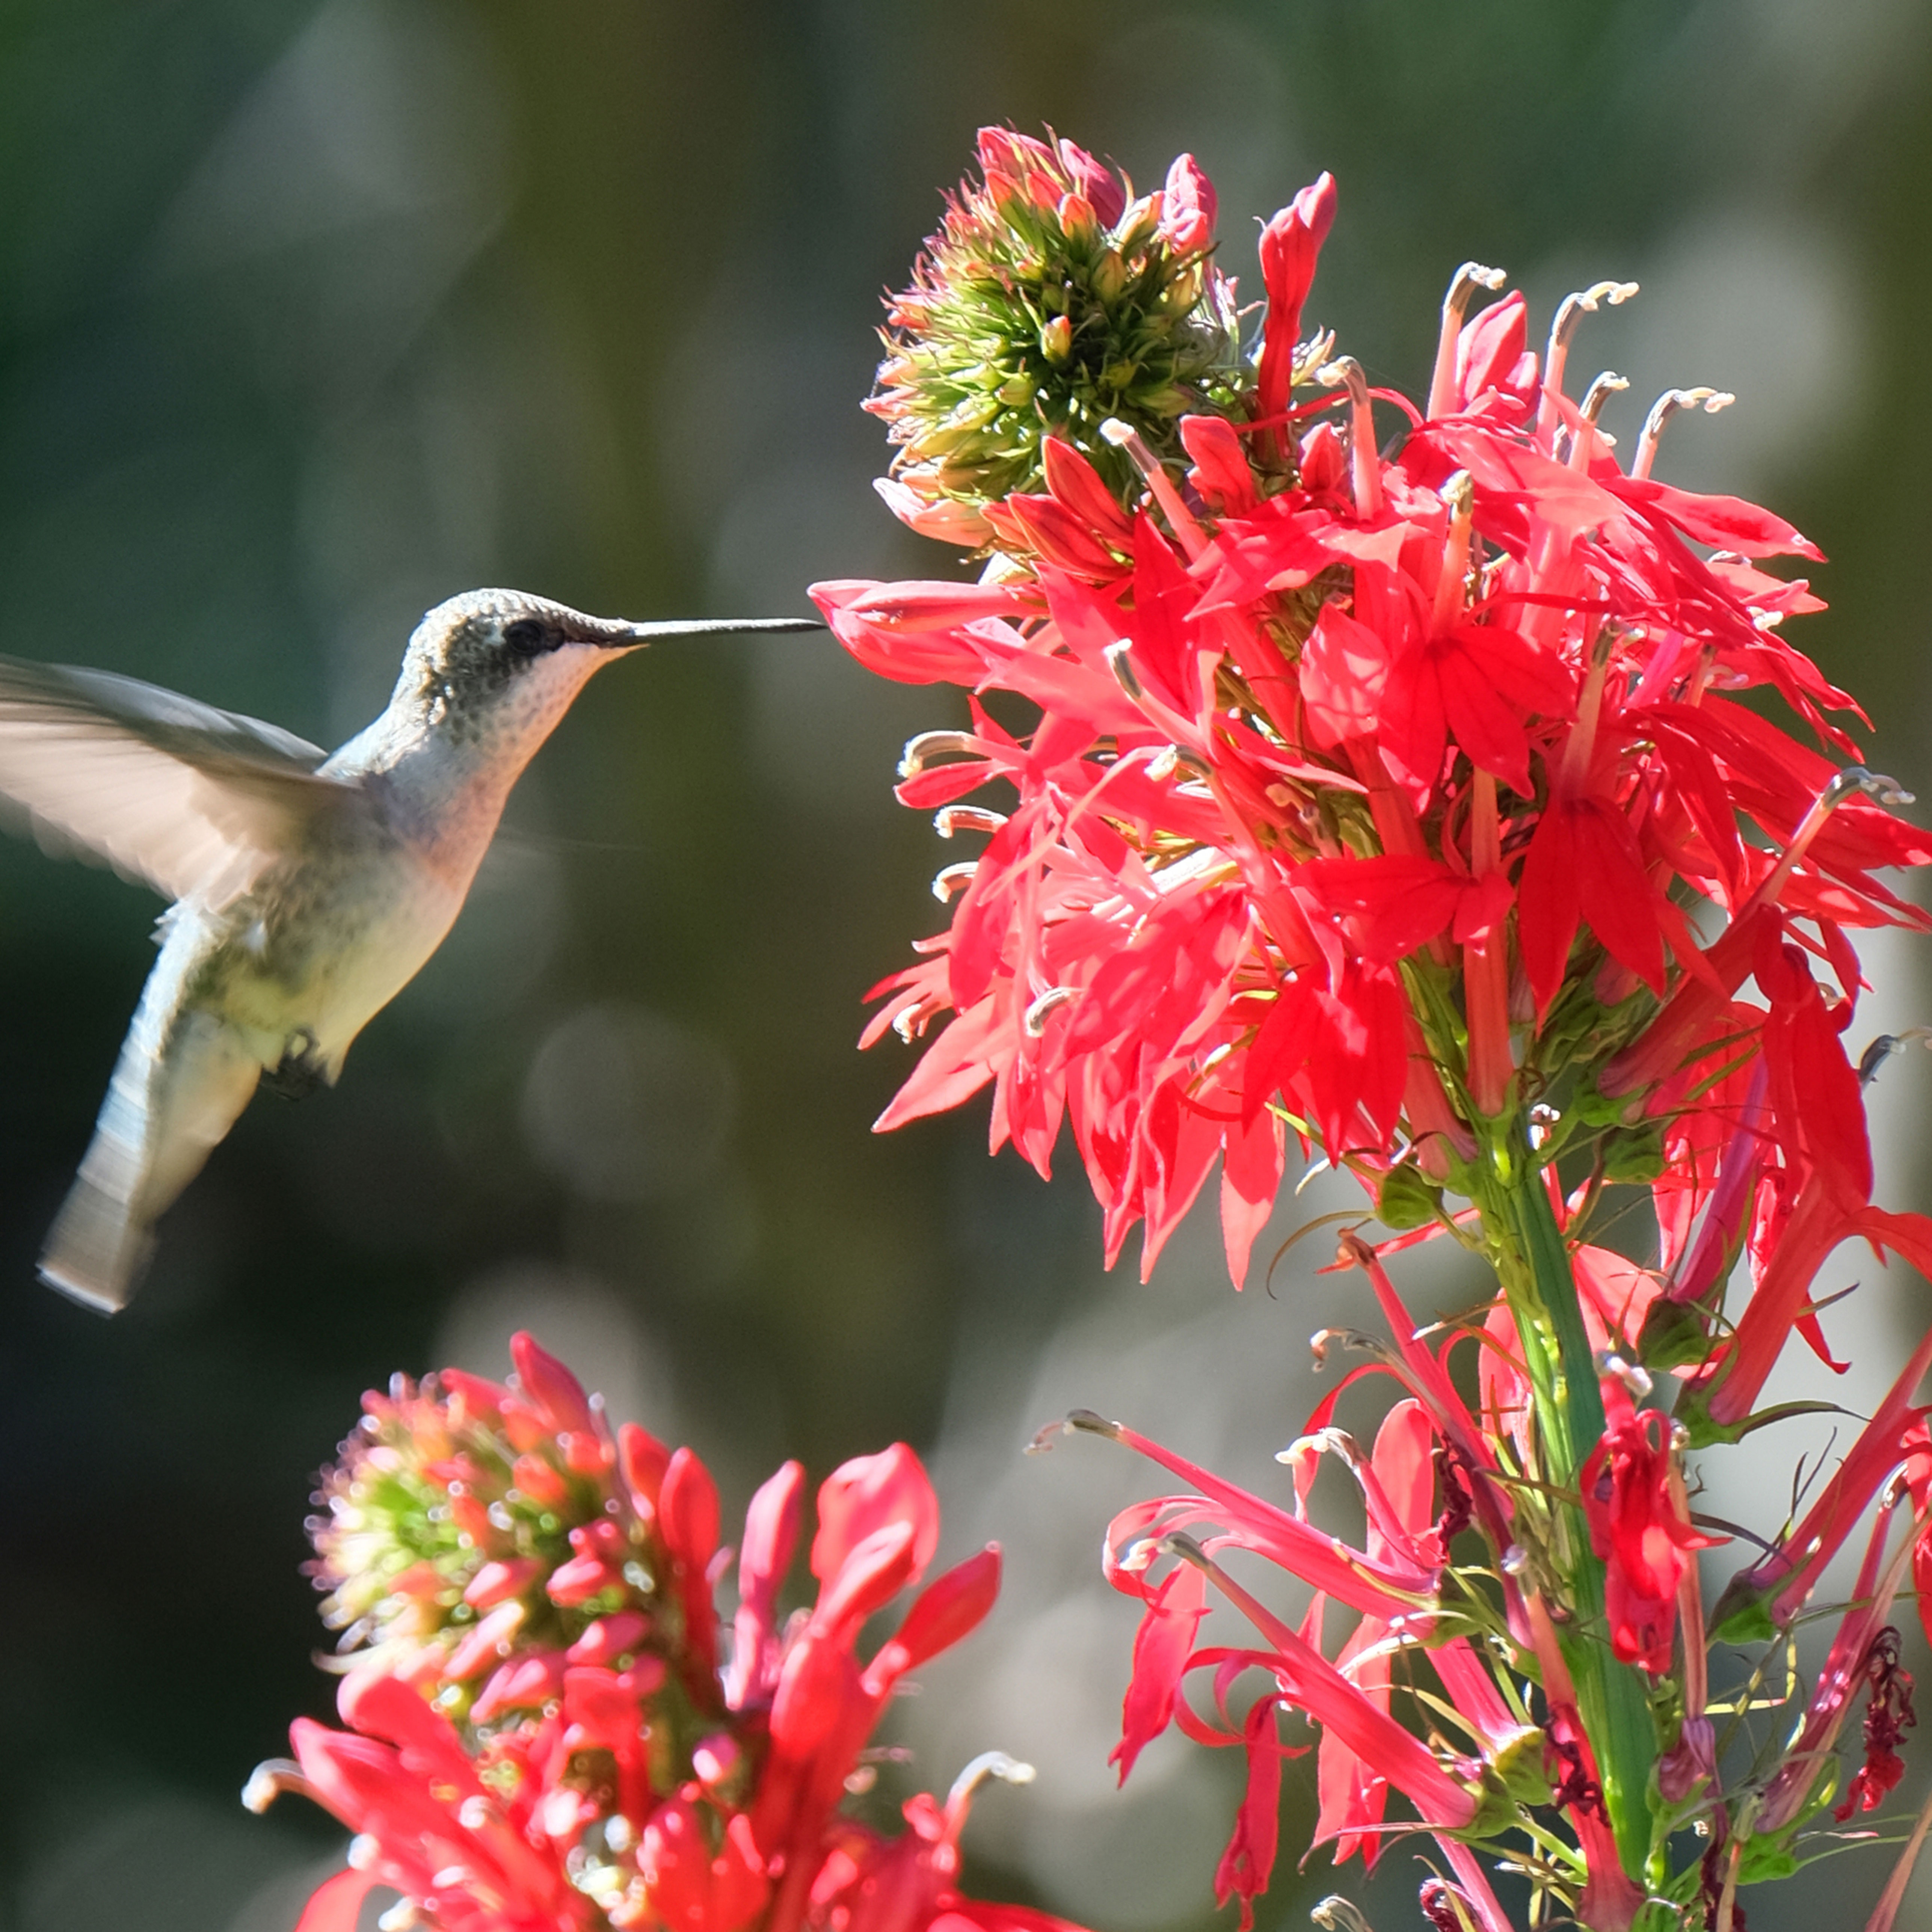 Get Ready For A Summer Of Hummers! Grow These Full Sun Hummingbird Plants and Flowers
If you’re lucky enough to enjoy a sunny backyard, make sure you are maxing out on your pollinator opportunities and grow these full sun hummingbird plants and flowers

