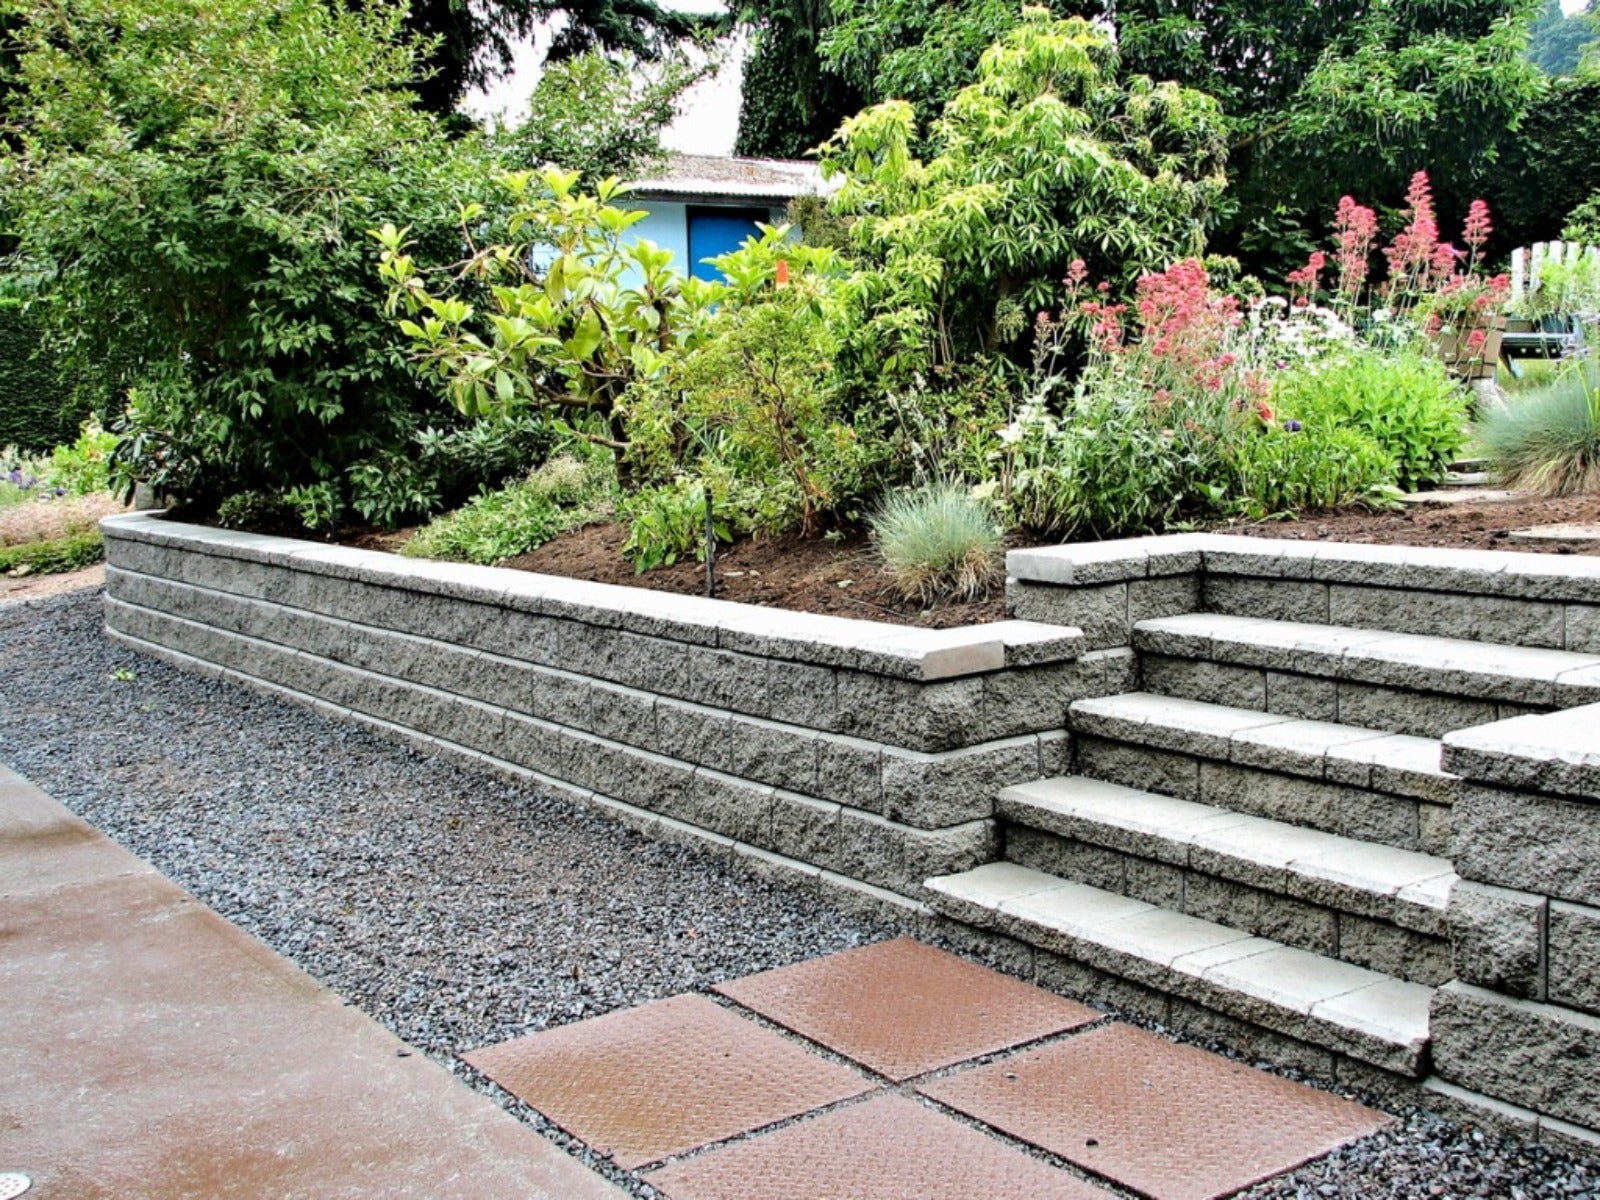
How To Build A DIY Retaining Wall


Retaining walls are important safety and soil conservation features in unstable sites. While some areas may require a professional or even an engineer to ensure sturdiness, less pitched and potentially dangerous areas will benefit from DIY retaining walls. You can build a retaining wall with many objects, often using ones that are found in the landscape such as rocks. Building a retaining wall on a slope should start with an assessment of landslide potential, steepness of the angle, and necessary height of the wall to contain soil. Walls in flat locations require less planning and are easier to construct safely.
Whether you have a problem slope site or just want to border raised beds, retaining walls are key to holding soil in place. Structural integrity of the wall requires an engineering mindset. A simple wall used for visual enjoyment is not as hard to build as one that will be supporting a graded slope. Building a retaining wall on a slope requires consideration of length of slope, soil type, height of the wall needed, anchors, and even drainage. The size of the wall being constructed will also help determine whether excavation can be done with a shovel or if it needs a backhoe or similar piece of equipment.
DIY Retaining Wall Ideas
Sometimes the simplest materials are best. There may be items on the property that can be used to construct the wall. Timber, bricks, railroad ties, rocks, logs, concrete blocks, recycled tires, and even metal sheeting may all be effective barrier materials. By using gabion, a mesh, cage-like structure filled with heavy materials, you can construct a wall with many types of materials. Poured and formed concrete will produce a sleek, modern retaining wall, while old, rusty pipes cut to identical lengths brings in an old fashioned, yet steampunk vibe. When considering materials, think about how much weight they can support, how long the material will persist, and the ease with which they can be manipulated.
Wood materials should be pressure treated for longevity, and items like tires and railroad tires should not be used on food bearing sites due to the release of chemicals.
Simple DIY Retaining Walls
The simplest constructions are sited on a flat area and built vertically. Start by making sure the base will be level, removing any impediments like rocks or roots. A flat base will make the structure more stable. Digging a flat bottomed trench or channel will give even more strength to the wall. To prevent weeds and for extra stability, cover the area with weed barrier fabric followed by crushed gravel.
Compact the gravel using a tamper or other heavy firming tool. Then lay on a thick layer of sand. Sand will have a bit of give, nestling and holding the structural material. Stake and string the area that will be walled in order to keep it true and even. Lay the first row and check for levelness. As you add levels, backfill to reinforce the wall.
How to Build a Retaining Wall on a Slope
Many slopes are challenging and require a professional to install them to comply with local codes. Some areas require engineers to design the structure if it is going to be over 4 feet (1.2 m) high. Check all applicable zone restrictions before you start building a retaining wall on a slope.
Gardening tips, videos, info and more delivered right to your inbox!
Sign up for the Gardening Know How newsletter today and receive a free copy of our e-book "How to Grow Delicious Tomatoes".
Plan for drainage in the form of pipes or drainage blankets. Stronger walls can be achieved by angling the material slightly back, a practice called “canting.” Anchors or “deadmen” need to be installed through the material back into the slope. There should be 1 deadman for every 16 square feet (1.5 square m) for best structural strength. If soil is the base for the wall, tamp it firmly. For walls over 4 feet (1.2 m) in height, a concrete footing provides the best base. As the wall is built, use the largest pieces of material at the bottom, and the lighter, smaller pieces at the upper ranges. The use of mortar between items like slate or rock will further reinforce the wall.

Bonnie Grant is a professional landscaper with a Certification in Urban Gardening. She has been gardening and writing for 15 years. A former professional chef, she has a passion for edible landscaping.