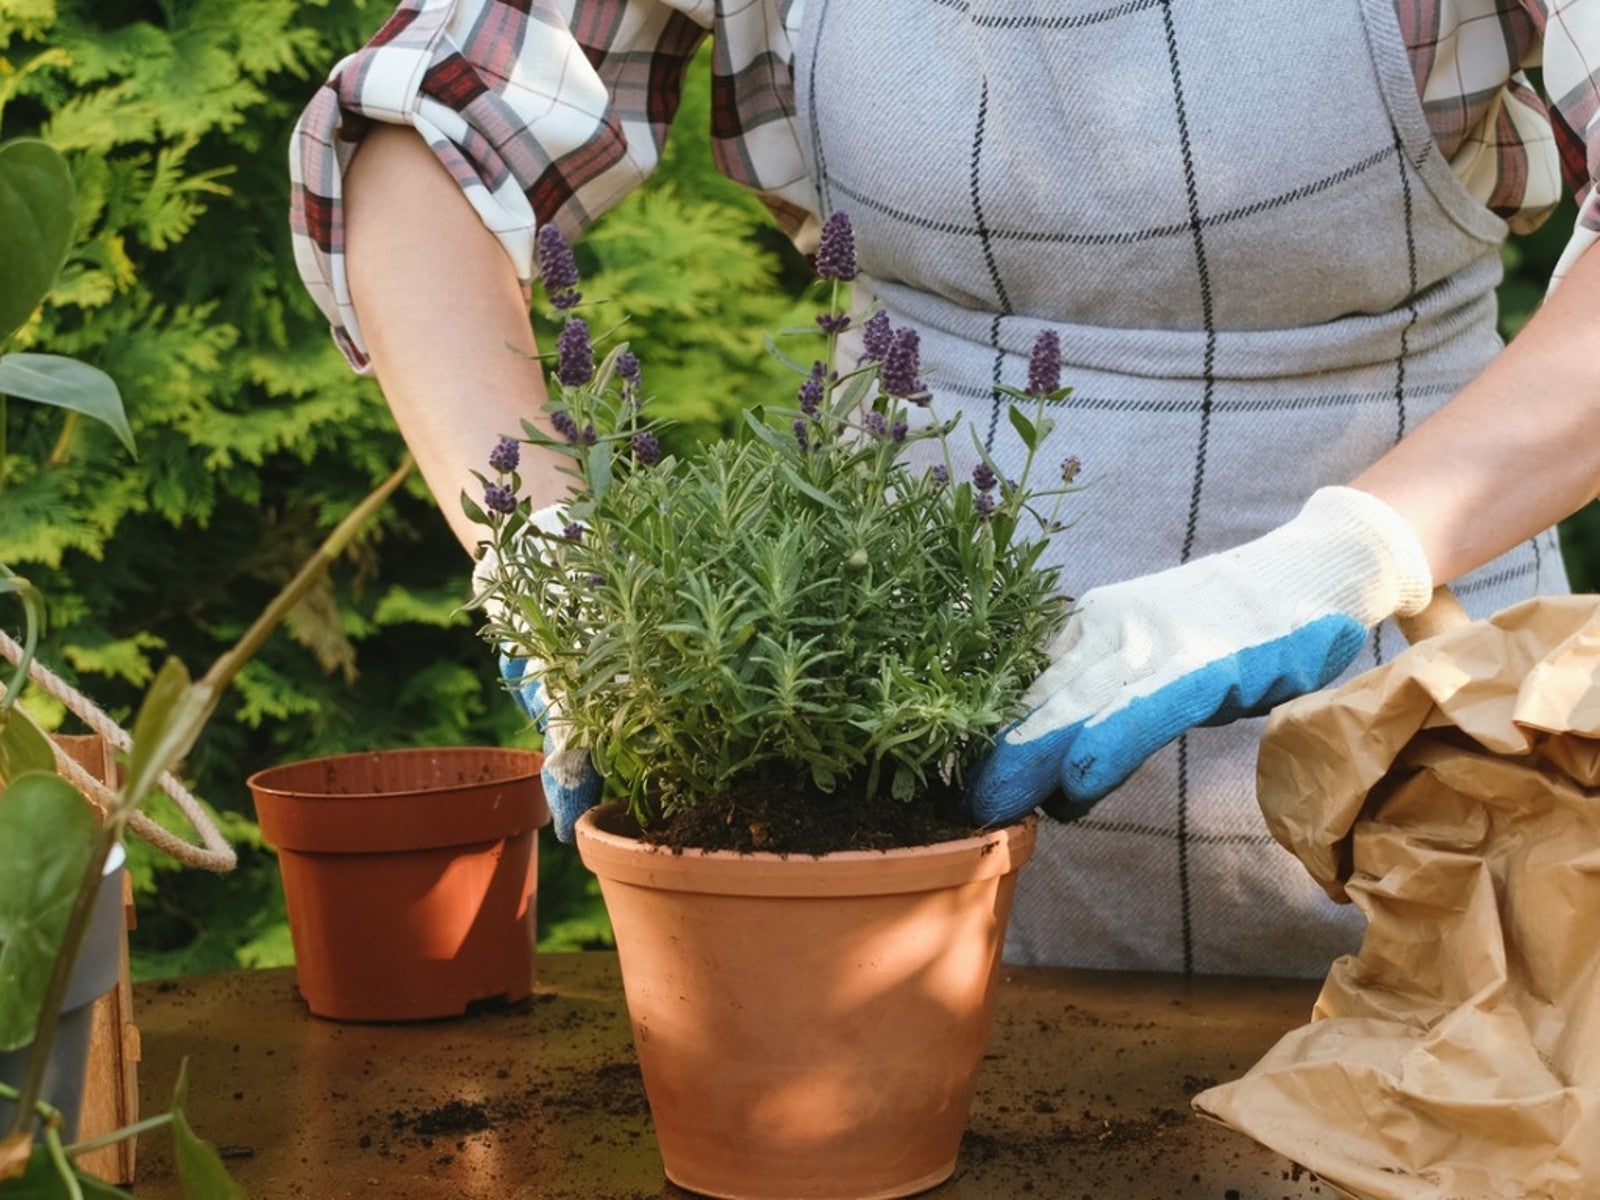
How To Repot Plants In Containers


It’s much more difficult than it seems to move a family from one dwelling to another. But the opposite is true of plants. The idea of repotting container plants can seem difficult, but once you get into it, it turns out to be fairly straightforward. If you’ve never repotted a plant, it’s important to get an overview of the procedure. Read on for a beginner’s guide to repotting.
When to Repot Plants
If your container plant’s alive, it will eventually outgrow its pot. This may take months or years, depending on how fast the houseplant is growing, but the time will come. The first step to repotting is to figure out when it is time.
What to look for? Notice if the soil gets dry quicker than it used to. As the plant’s roots expand beneath the soil surface, they fill up the pot, limiting the amount of dirt the container can hold. Check for roots growing out of the drainage holes.
Most potted houseplants will become root–bound over time, with the roots overlapping and circling the bottom of the container. Plants reaching this condition look like they are ready to burst out of the pot. These telltale signs mean it’s time to repot. How often should you repot plants? Whenever they get into this condition.
The best time to repot plants is during a period of active growth, like spring or summer. But this isn’t a hard and fast rule. If a plant is suffering in a too-tight pot, it will accept the transfer and benefit from it.
Repotting Container Plants
The next step toward repotting is to remove the plant’s root ball from the container. Smooth your progress by watering the plant well before you try getting it out. If the plant isn’t too big, turn the pot upside-down and use one hand to support the soil surface. Use the other hand to move the pot in a “throwing” motion. This generally causes the plant to slip out. If not, knock the edge of the pot against a sturdy surface until the rootball loosens.
If you try this with a newly installed plant, you’ll have a profusion of soil all over the floor. But with a plant that is ready for repotting, the root ball usually slides out in one piece. You are likely to end up holding a solid soil-and-root mass in the shape of the just-removed pot.
Sign up for the Gardening Know How newsletter today and receive a free copy of our e-book "How to Grow Delicious Tomatoes".
Pruning Roots
Once the plant is out of its pot, you’ll want to inspect the roots. Healthy roots are a light color. Dark-colored roots can indicate a serious issue, like root rot or fungal disease. Trim off all darker roots, then reduce the amount of roots to be packed into a pot by trimming them out. Consider taking off the bottom third of the root ball. Much of what you remove will be a thick tangle of roots. Trim off any circling roots too.
Pruning shears or a sharp garden knife work well for root pruning. It also helps to make several vertical cuts on the exterior of the remaining root ball. Then untangle the remaining roots with your fingers, both on the bottom and on the top of the root ball.
Completing the Move
The general wisdom is to select a pot one size bigger than the current pot. But if you know the plant and expect rapid growth, you can go bigger. Get appropriate potting soil, protect the drain hole with a mesh screen or pot shard, and settle the plant at the same depth it was planted in the prior pot. Fill the space around the root ball with soil and water well.
When you are done, add a thin layer of soft soil-surface mulch, taking care not to cover the root crown. The plant should now be ready for another year or more of growth.

Teo Spengler is a master gardener and a docent at the San Francisco Botanical Garden, where she hosts public tours. She has studied horticulture and written about nature, trees, plants, and gardening for more than two decades, following a career as an attorney and legal writer. Her extended family includes some 30 houseplants and hundreds of outdoor plants, including 250 trees, which are her main passion. Spengler currently splits her life between San Francisco and the French Basque Country, though she was raised in Alaska, giving her experience of gardening in a range of climates.