How To Make A Terrarium In A Jar: Grow A Beautiful Miniature Ecosystem
A jar terrarium is a fun, simple, and inexpensive winter project. It’s a great way to spend the colder months when your outdoor garden is dormant.
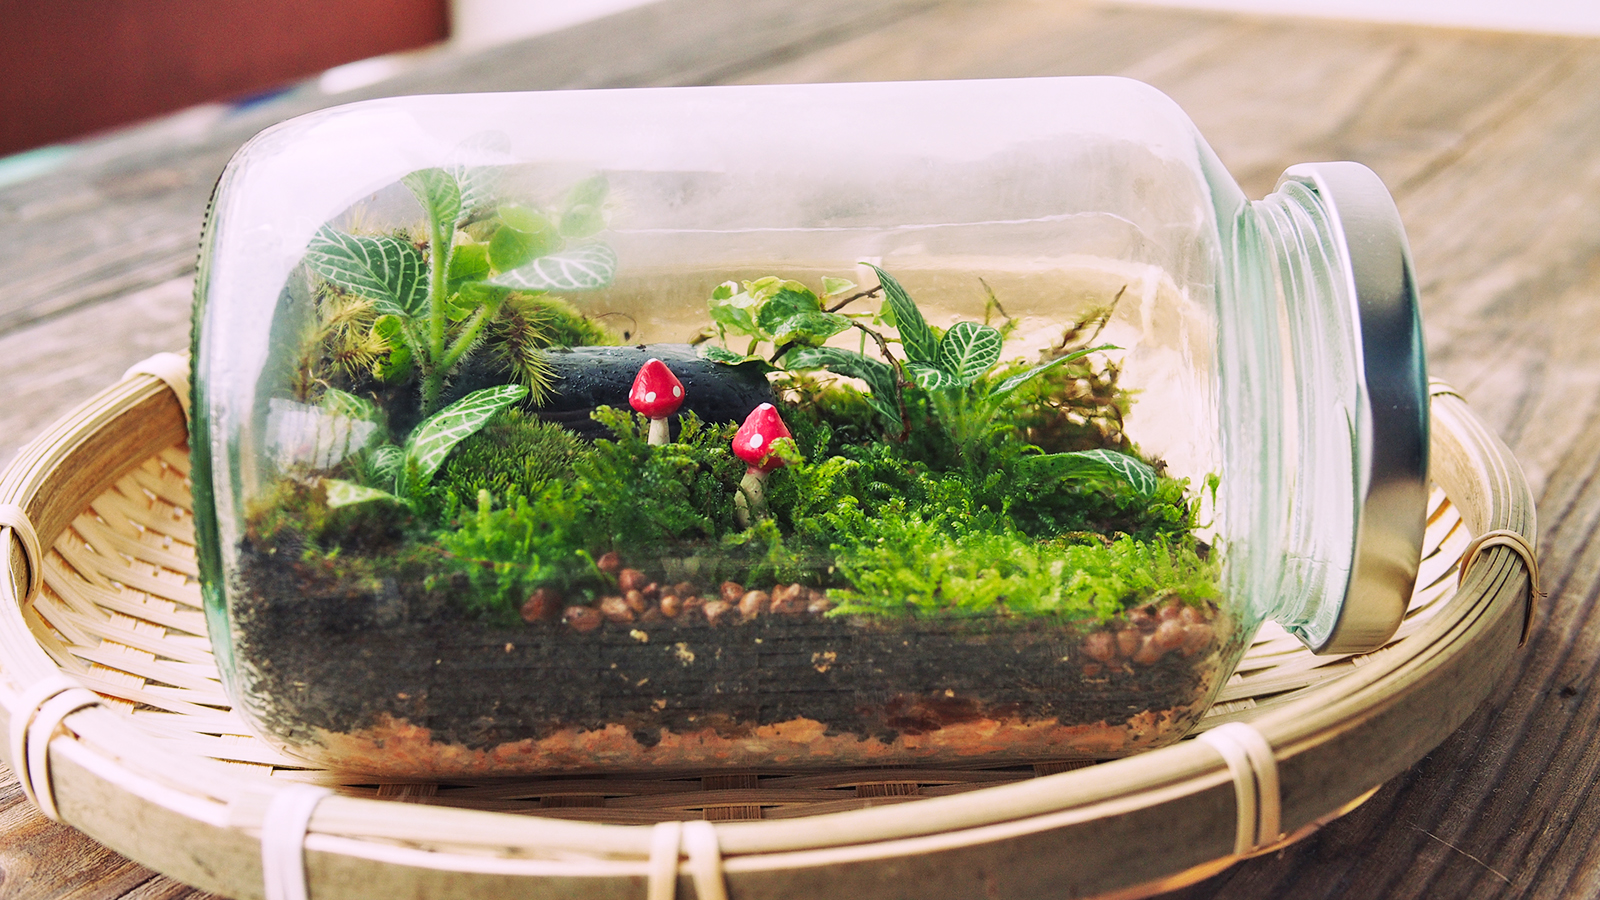

A terrarium is a special type of container garden that forms a decorative display piece in a clear vessel. It is either completely or partially closed and creates and maintains its own unique ecosystem.
Setting up a terrarium is a great DIY project. They’re fun to build, easy to maintain, and make excellent decorative items. While you can get creative with Wardian cases or fish tank terrariums, a simple jar terrarium is an ideal beginner's project if you don’t have a lot of space – or you just like miniatures.
Materials
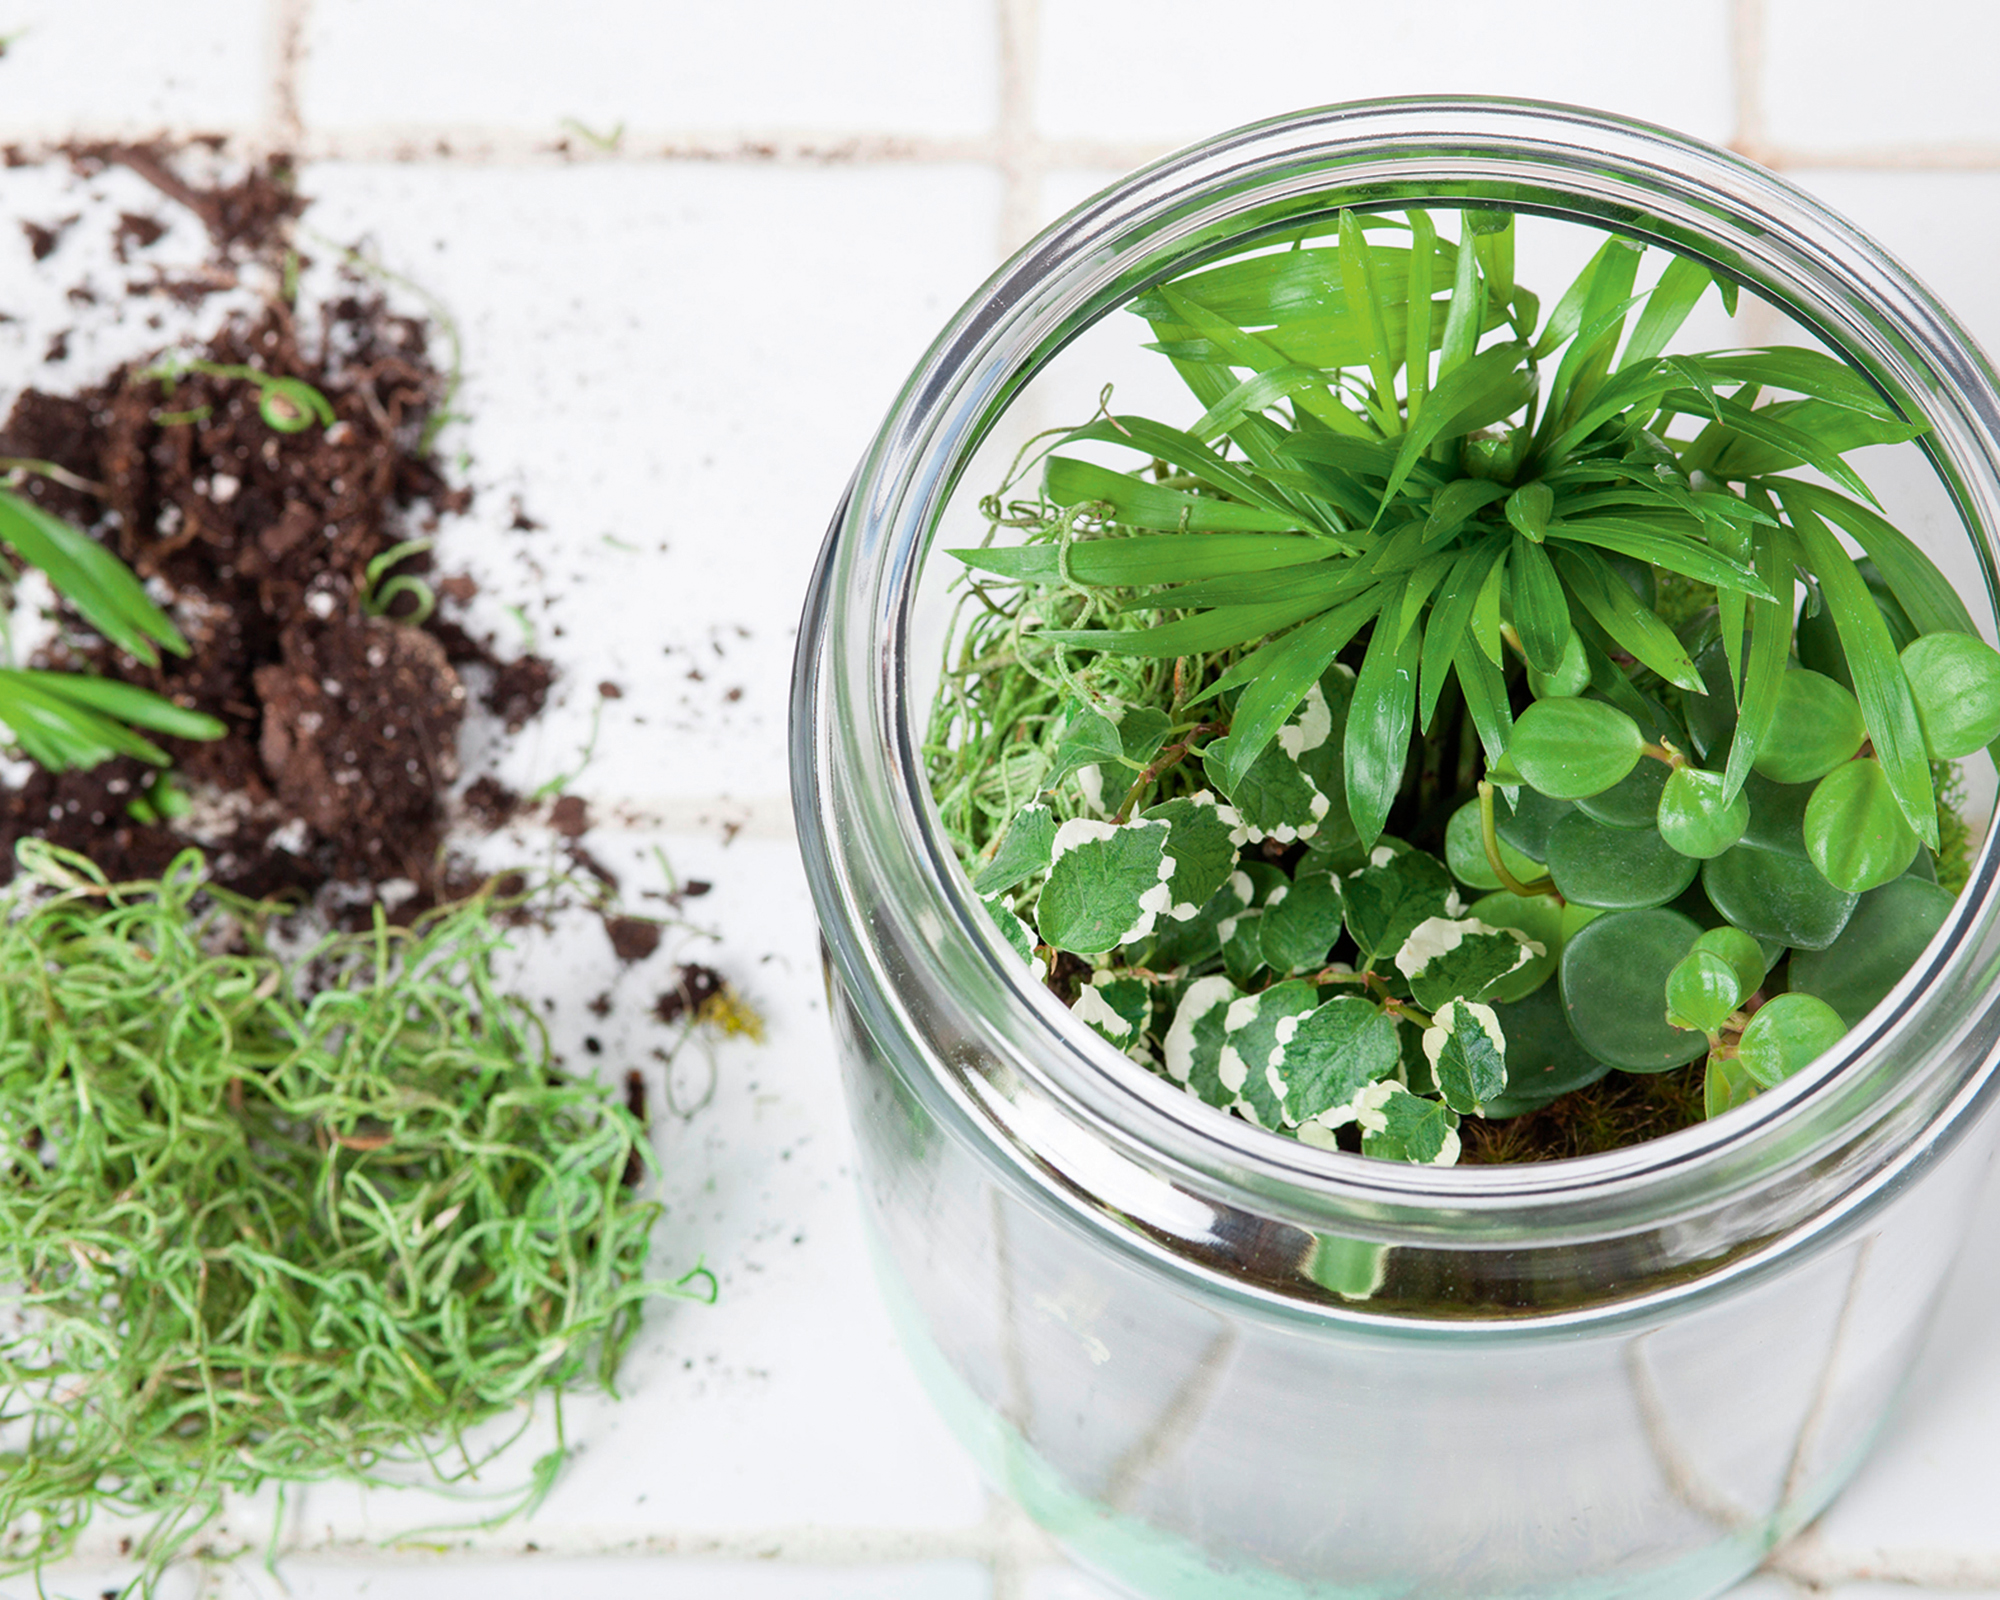
Your project starts with a jar. A mason or Kilner-style jar is a great container for a terrarium for a few reasons. The wide mouth makes it easier to put the plants in and the lid allows you to access your plants for maintenance and care over time. Here’s everything else you’ll need:
- Drainage materials
Because a terrarium doesn’t have holes like a normal plant pot, you’ll need a special drainage layer beneath the soil. You can use pea gravel, but a material that absorbs water and odor is better. Try activated charcoal or LECA balls, a type of clay aggregate. - Soil
Choose a soil or potting mix that is very light. The soil in a terrarium is consistently moist, so it shouldn’t be heavy when wet. - Tools
A few simple tools will make arranging your terrarium easier. You can use tweezers, a small paint brush, a spoon, and similar tools with handles long enough to reach into the jar. - Plants
Most importantly, your terrarium needs plants small enough to fit comfortably inside a mason jar.
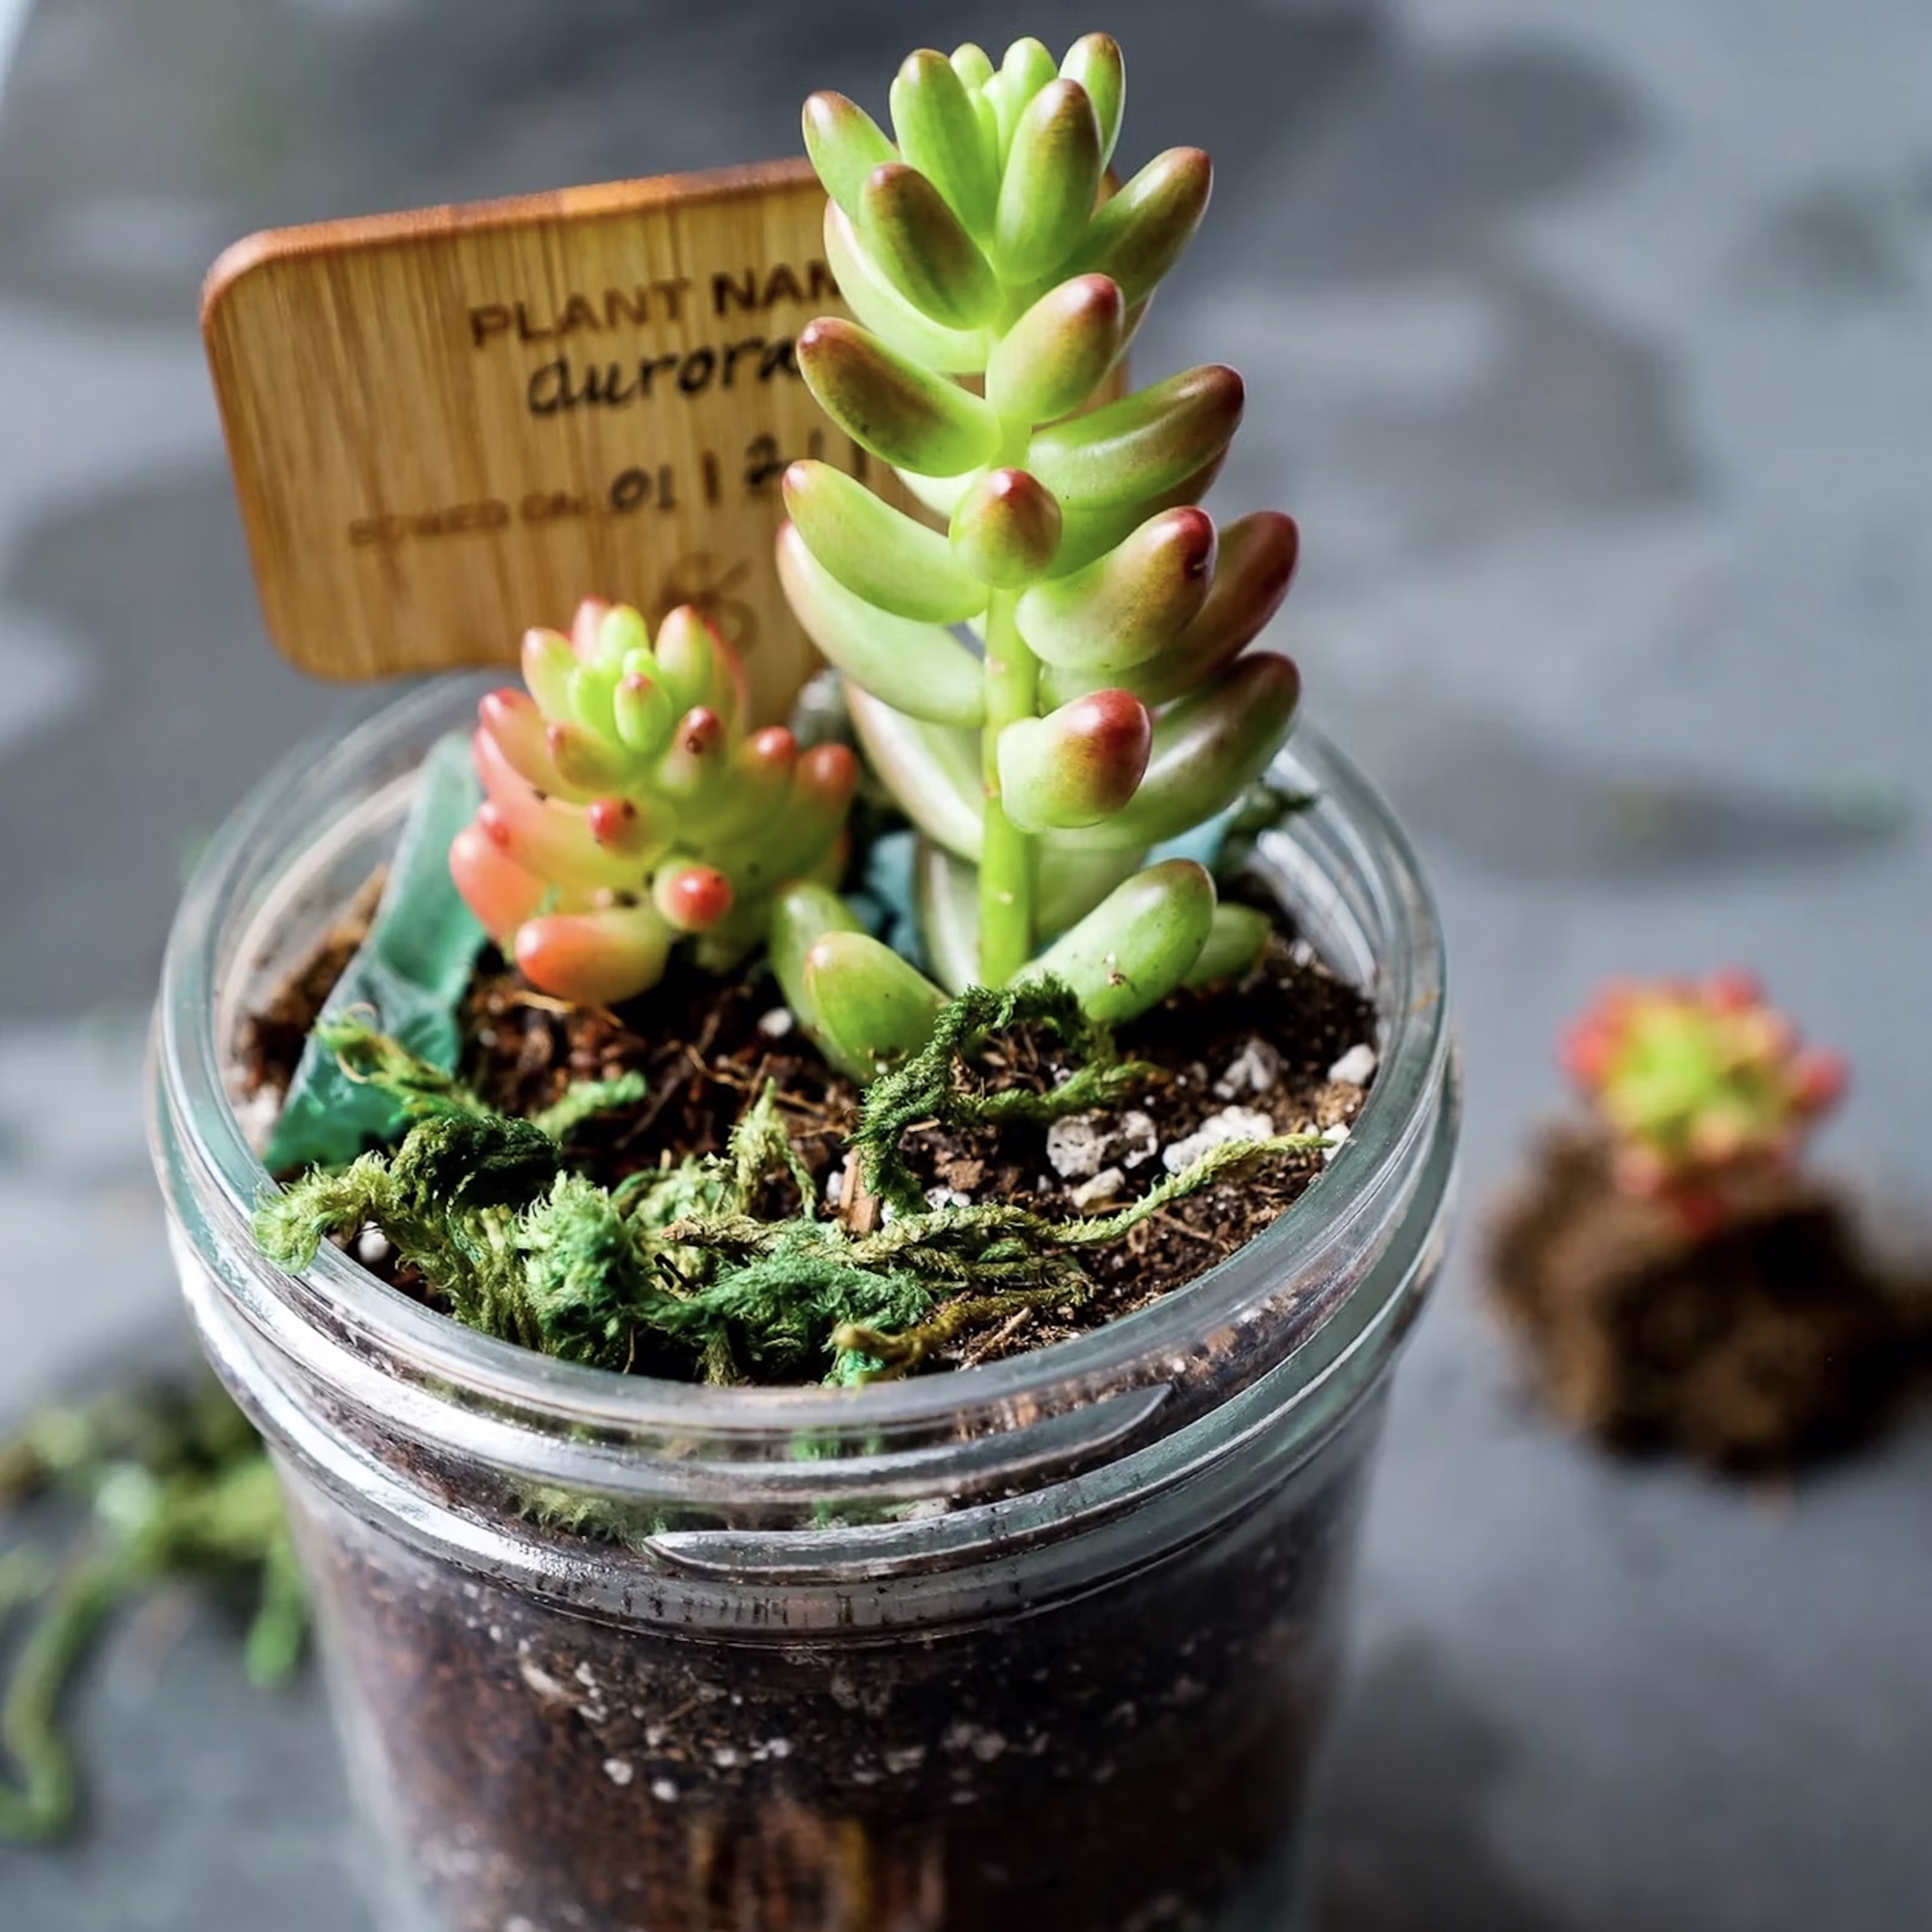
Coco & Seed's succulent terrarium kit contains everything you need to create your own thriving eco system, including a jar, soil, drainage medium, and plant.
Choosing Plants
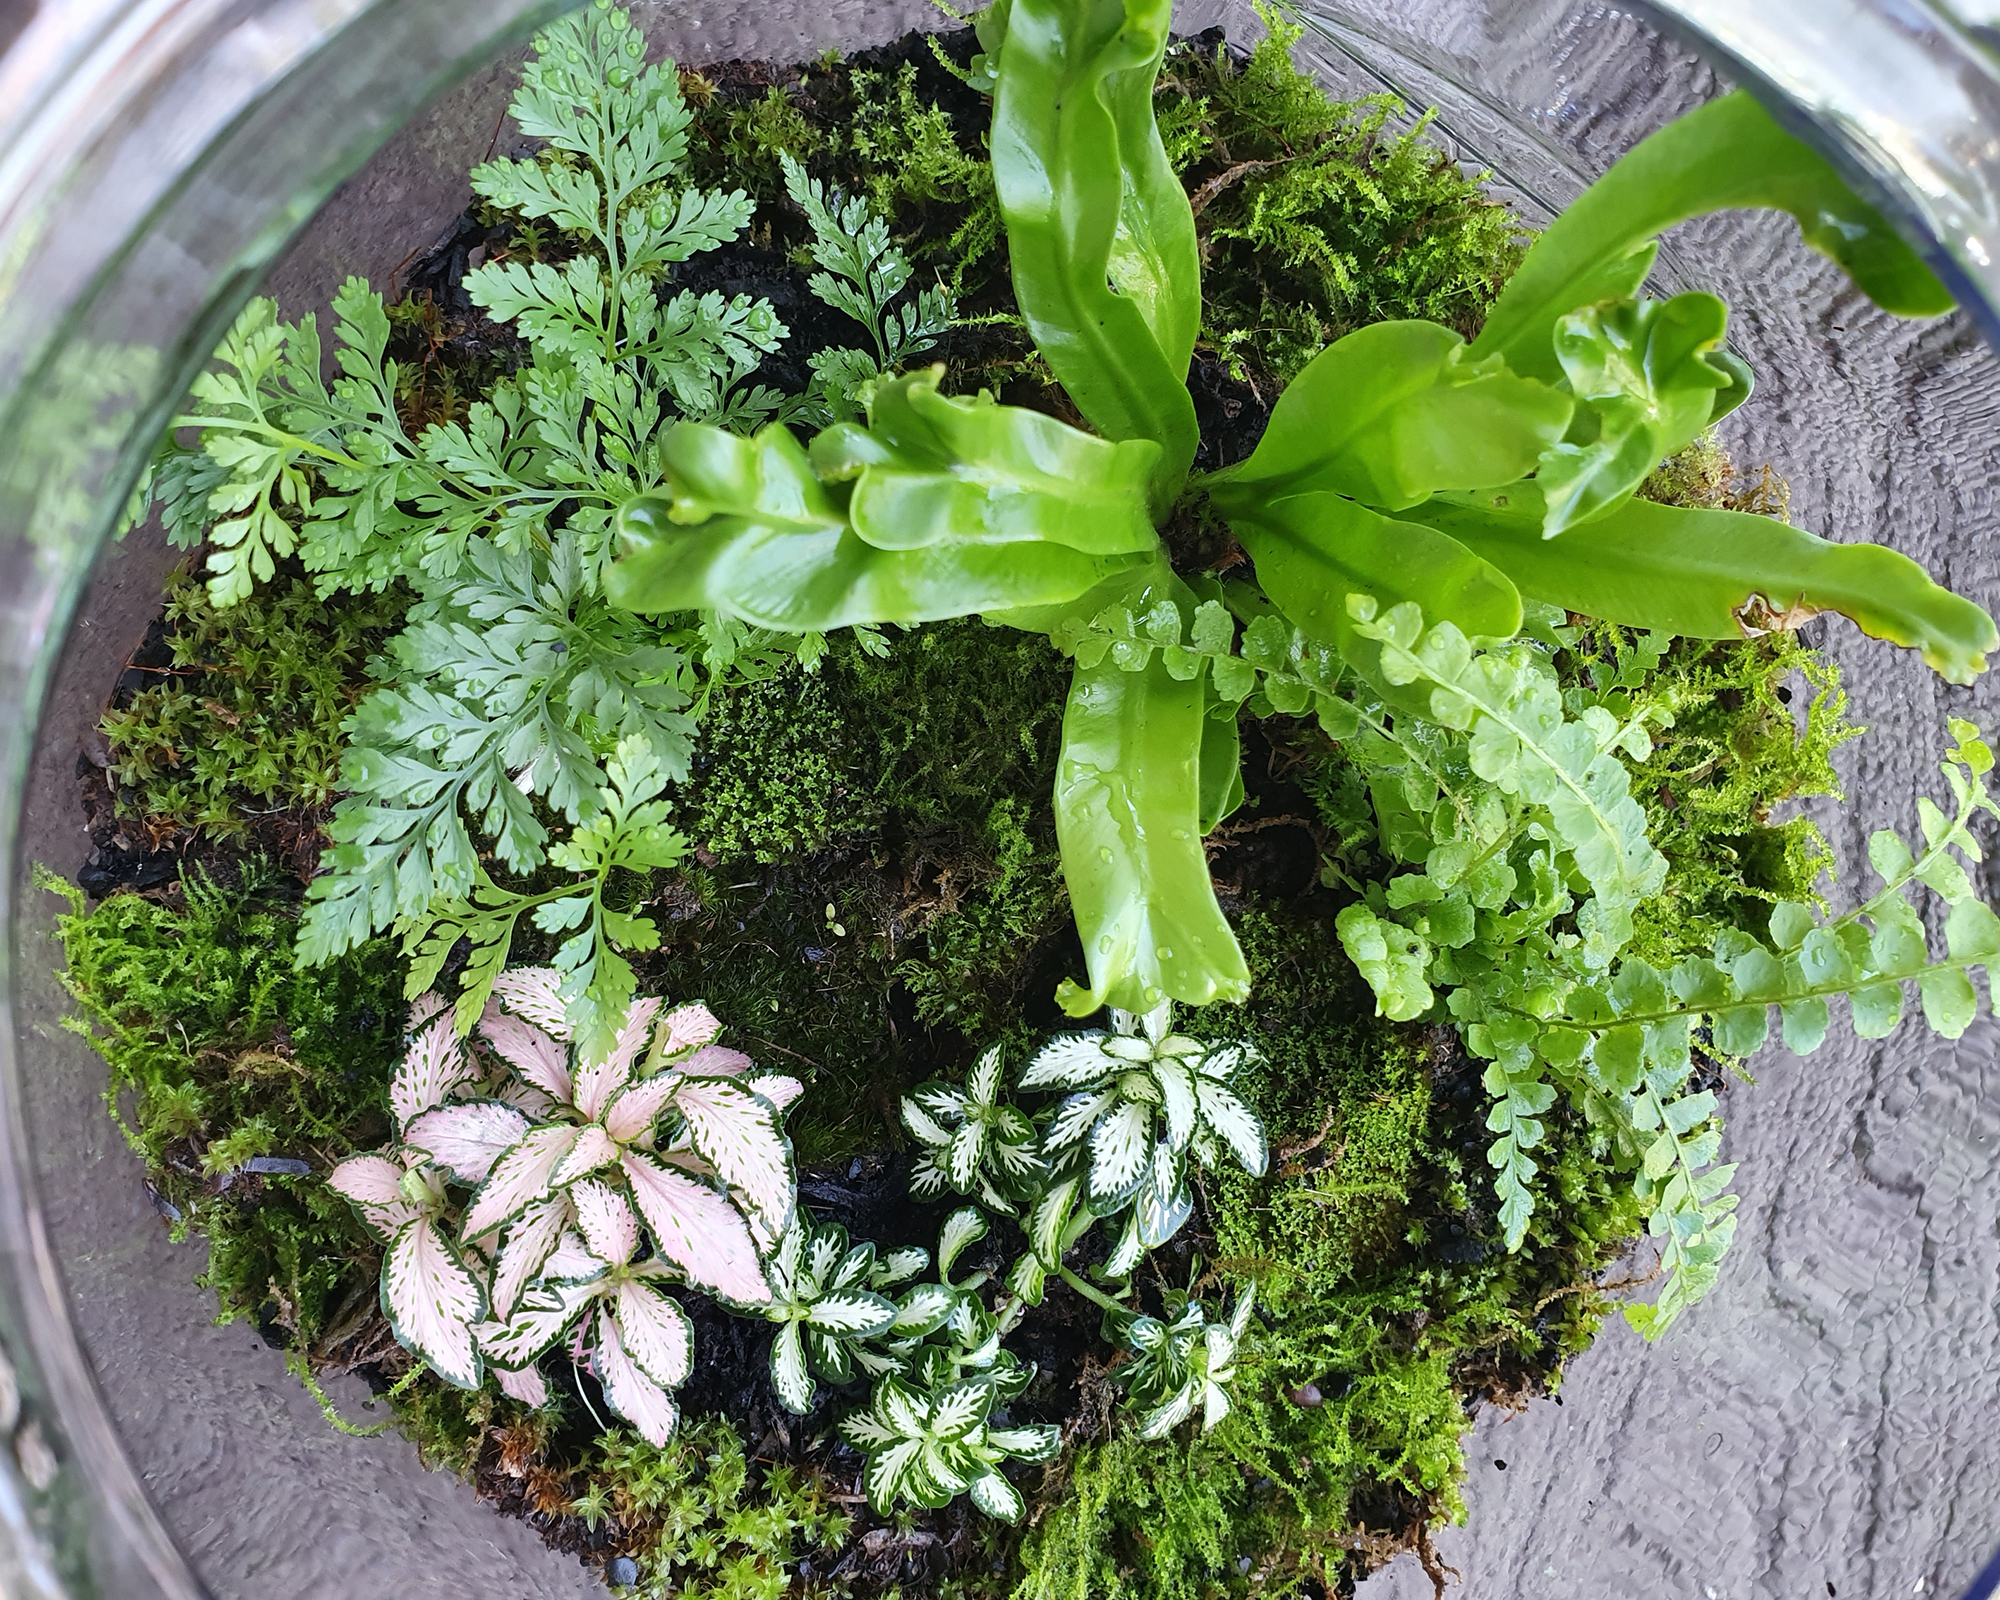
Ideal terrarium plants are tropical. They do best with indirect or low light and plenty of humidity.
When choosing between an open or closed terrarium, bear in mind you have greater flexibility in choosing plants with an open terrarium – such as a succulent or orchid terrarium. However, a closed jar will get very humid, forming its own self-watering ecosystem, requiring plants that thrive in this environment.
Of course, the plants also need to be small enough to fit. Here are some good options:
How to Build the Terrarium
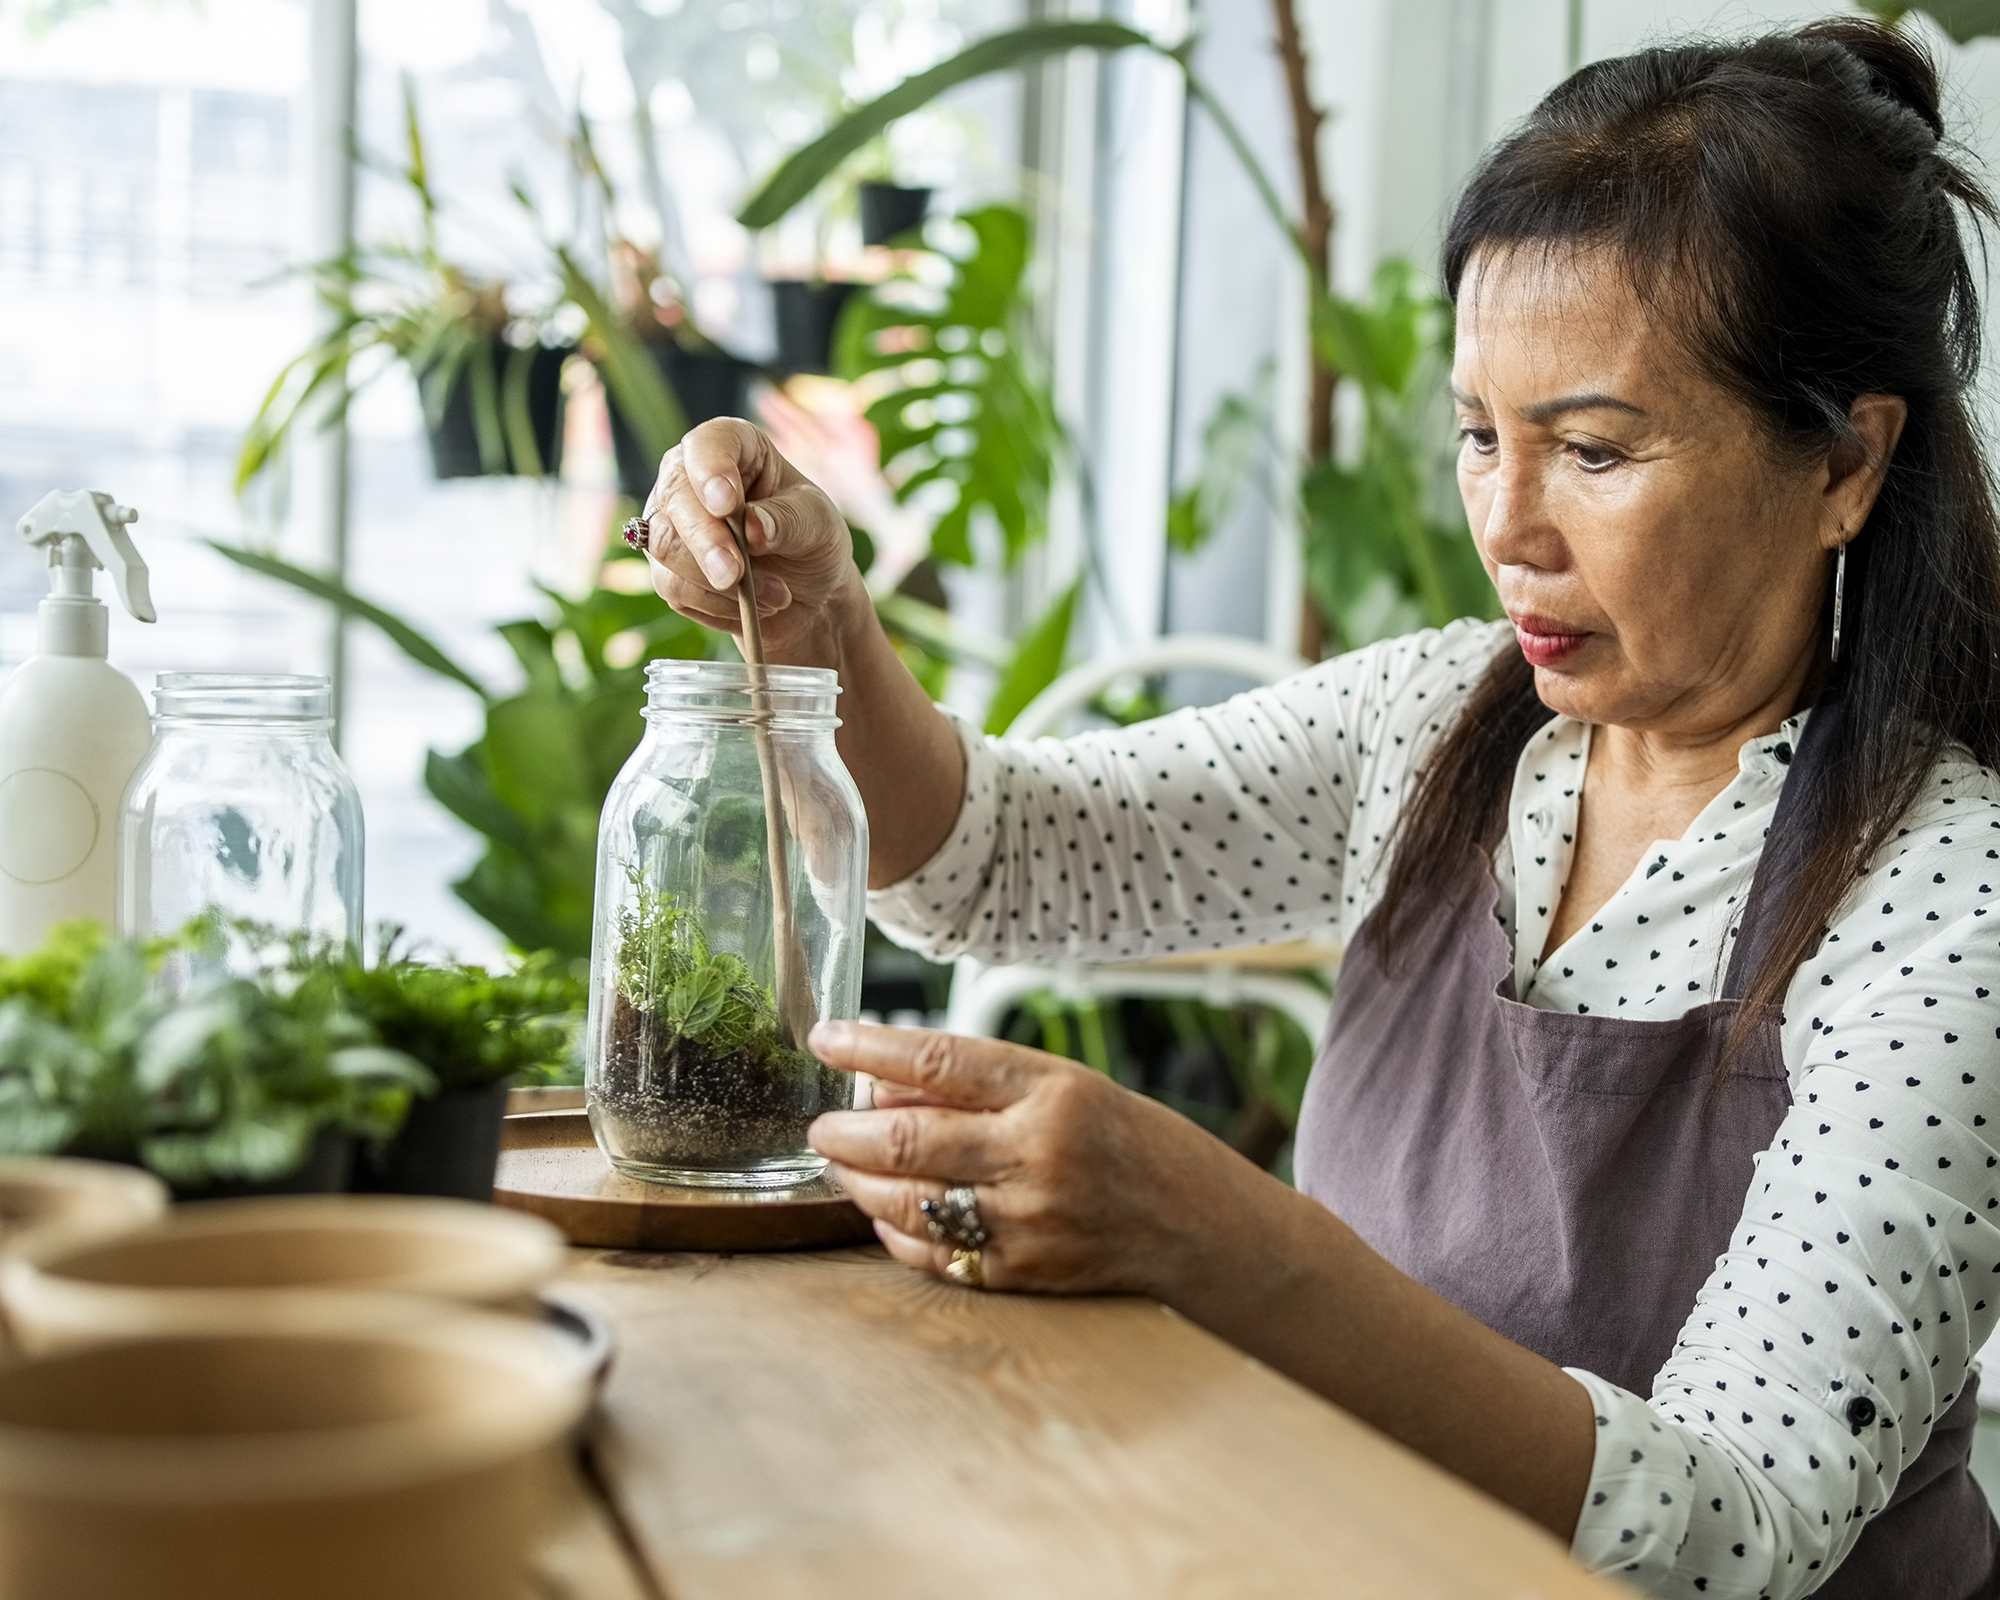
Building a terrarium inside a jar requires patience and a steady hand. Placing the plants can be challenging. Take your time for the best results.
Gardening tips, videos, info and more delivered right to your inbox!
Sign up for the Gardening Know How newsletter today and receive a free copy of our e-book "How to Grow Delicious Tomatoes".
Step 1: Add the Drainage Materials
Start with a layer of your chosen drainage material in the bottom of the jar. The size of the jar will determine how deep this layer is, but it doesn’t have to be very deep. A half-inch to an inch (1.25 to 2.5cm) is adequate.
Step 2: Layer the Soil
Next comes a layer of soil or potting mix. You’ll add more of the mix as you place the plants, so this first layer doesn’t need to be too deep.
Again, the depth will also depend on the size of the jar. Aim for an inch or two (2.5 to 5cm), remembering that you can still add more as you work in the plants.
Moisten the soil before placing it in the jar. It should be moist but not soggy.
Step 3: Place the Primary Plant
If you’re using more than one plant, start with the feature plant, typically the largest one. Decide where in the jar you want it first, probably in the middle. Remove the plant from its container and loosen up the roots. Trim them a little if they are too big for the jar.
Placing plants in a jar can be a difficult maneuver. If they fit, you can use your hands. If not, use tongs or tweezers. Use other tools to move the plant around and to gently press the roots into the soil. A small paintbrush is a good tool for this step. You can also add more soil at this point.
Step 4: Add Additional Plants
Add any other plants around your primary plant. If you are using moss, place this last. Cut the moss into smaller pieces to make it easier to fit in around the other plants. Add any additional soil or water as needed.
Caring for Your Mason Jar Terrarium
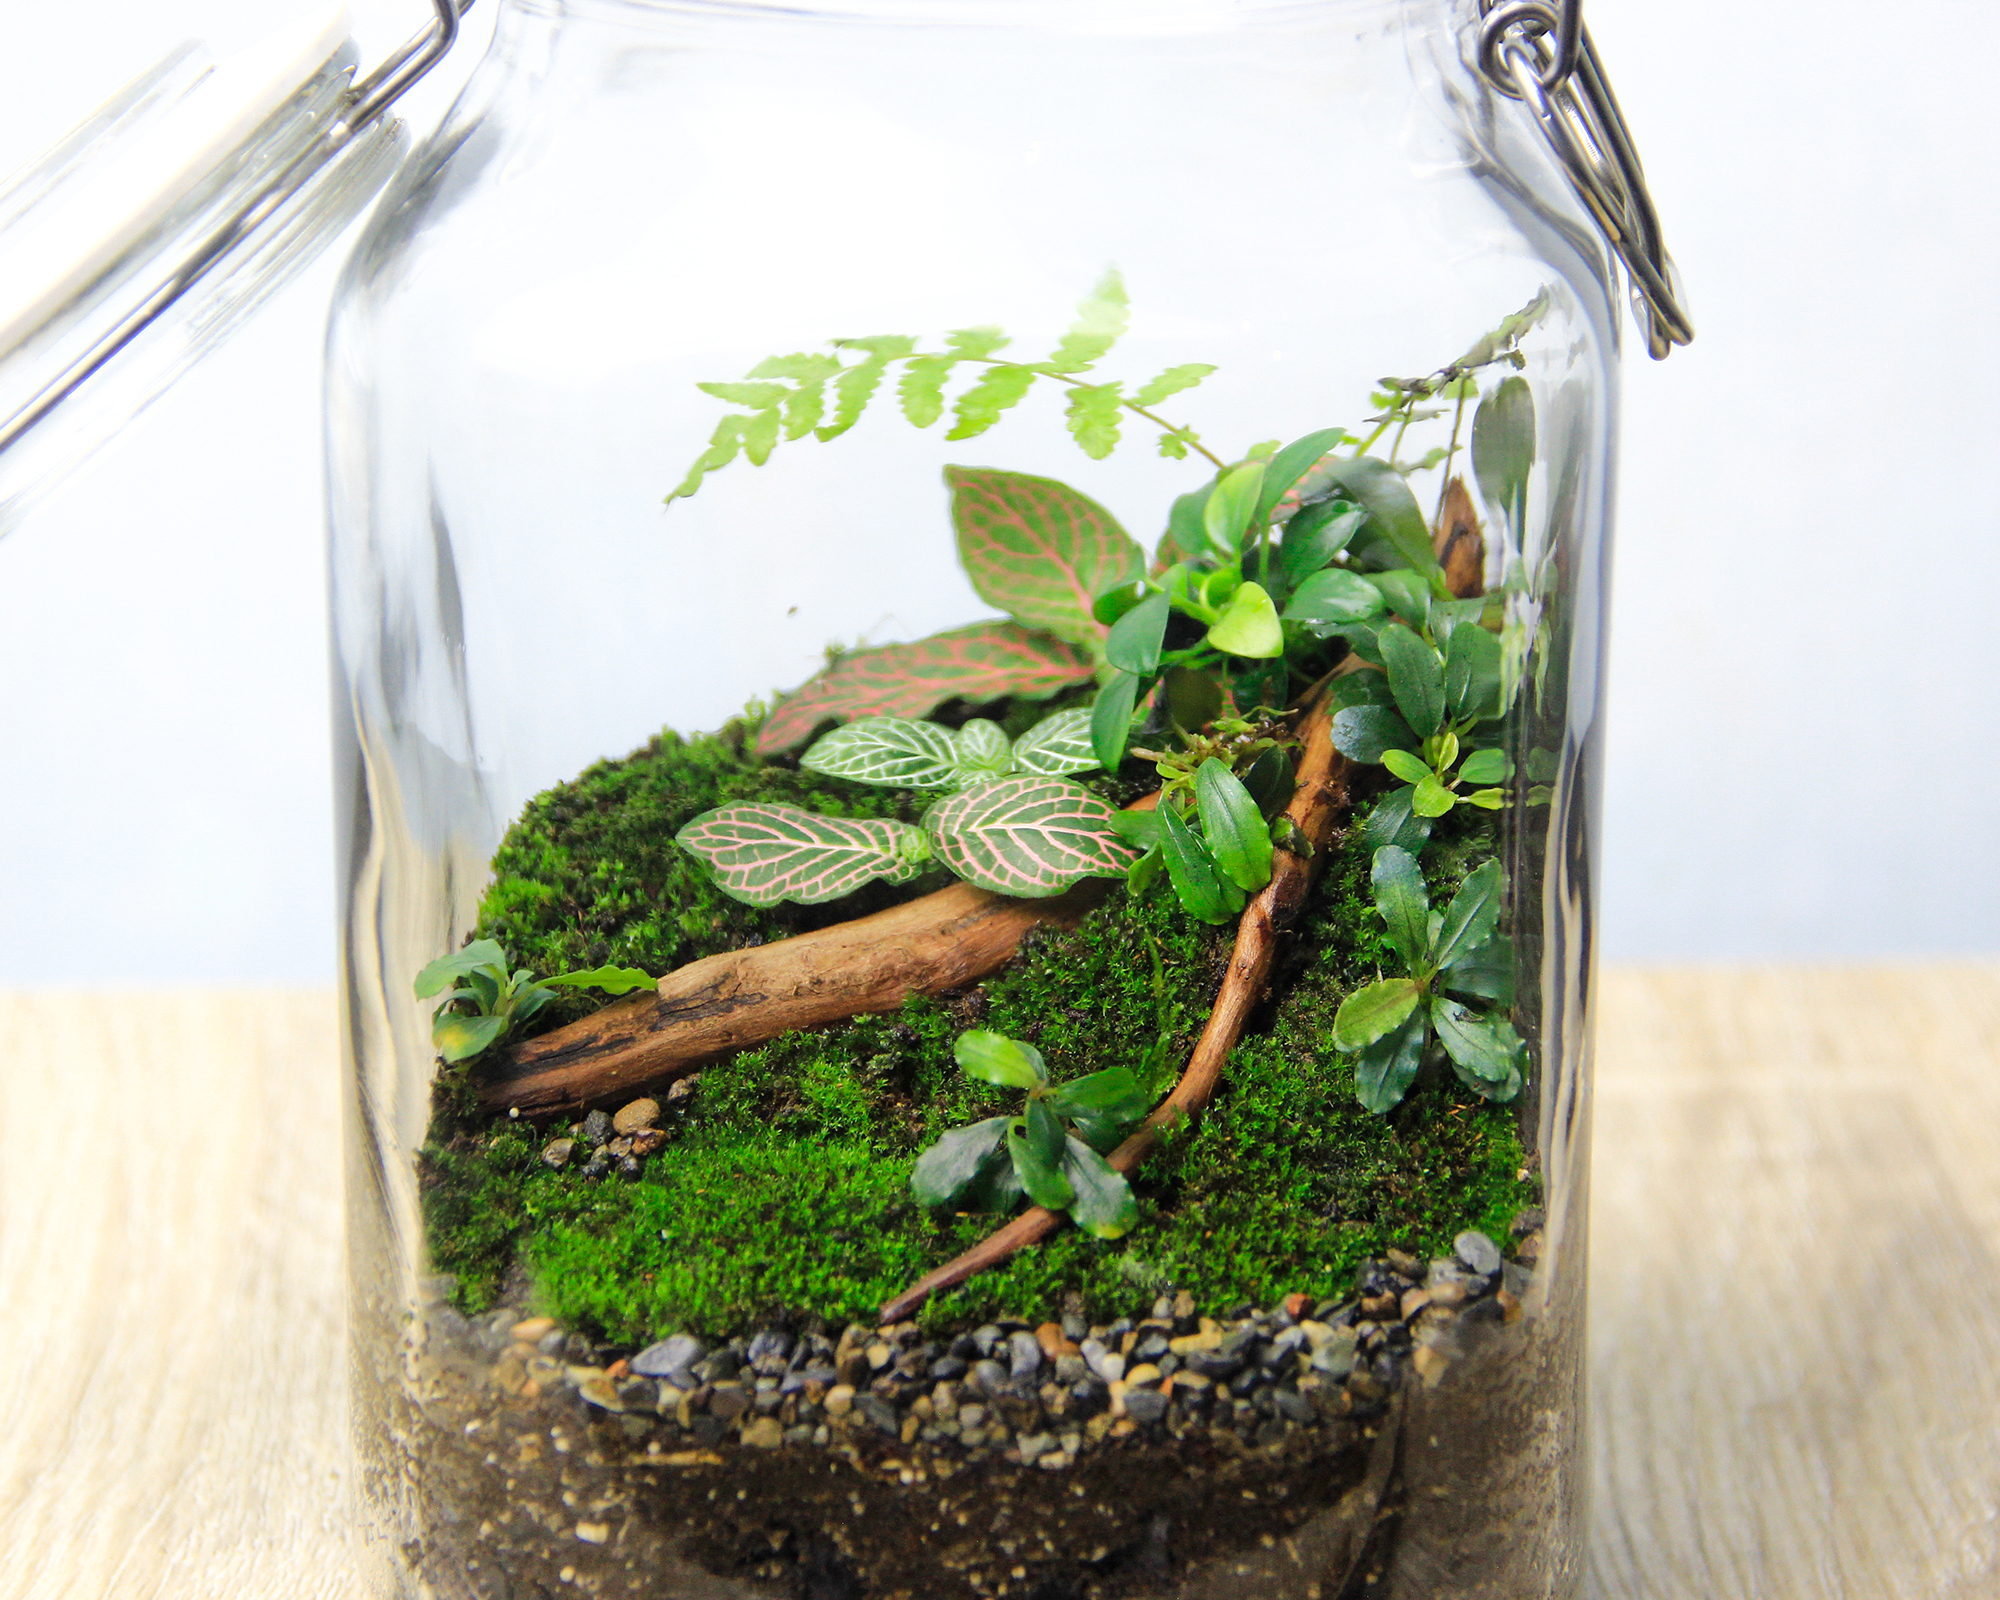
You can keep the lid on your mason jar to make it a true, closed terrarium. You can also keep the lid off to allow for airflow or to let the garden dry out as needed. Generally, your terrarium should be moist and humid but not soggy.
Examine it regularly for any mold, which is a sign that it has gotten too wet. If you do see mold, remove it and leave the jar open to dry.
It’s also important to ensure the terrarium doesn’t get too dry. Learning how to care for a terrarium is all about balance. If the soil looks dry or if there is no condensation on the jar, give the inside a few spritzes with a water bottle. This is an easy way to add a little water at a time.
Place your jar in a location that gets indirect light, like a few feet away from a bright window. Its location should be out of the way of any cold drafts.
Finally, your terrarium plants will only very occasionally need some pruning. if any of the plants grow too large for the jar, simply open it up and give them a trim. Also, remove leaves as they die or if they look like they are beginning to rot. This is also a sign the terrarium needs to dry out a little.
More DIY Inspiration
- Learn how to grow houseplants in bottles for minimum mess, maximum rewards.
- Make a stunning winter wreath that will take you through to spring, using materials from the garden.
- Try these 5 easy winter container recipes to boost curb appeal over the colder months.
- Shop mason jar growing kits in the Gardening Know How Shop – including soil-based and hydroponic kits.

Mary Ellen Ellis has been gardening for over 20 years. With degrees in Chemistry and Biology, Mary Ellen's specialties are flowers, native plants, and herbs.