How To Make Plantable Seed Greeting Cards: Share The Joy Of Growing This Holiday Season
Get creative making holiday cards using plantable seed paper, and give the memorable gift of growing flowers that will delight recipients for months on end.
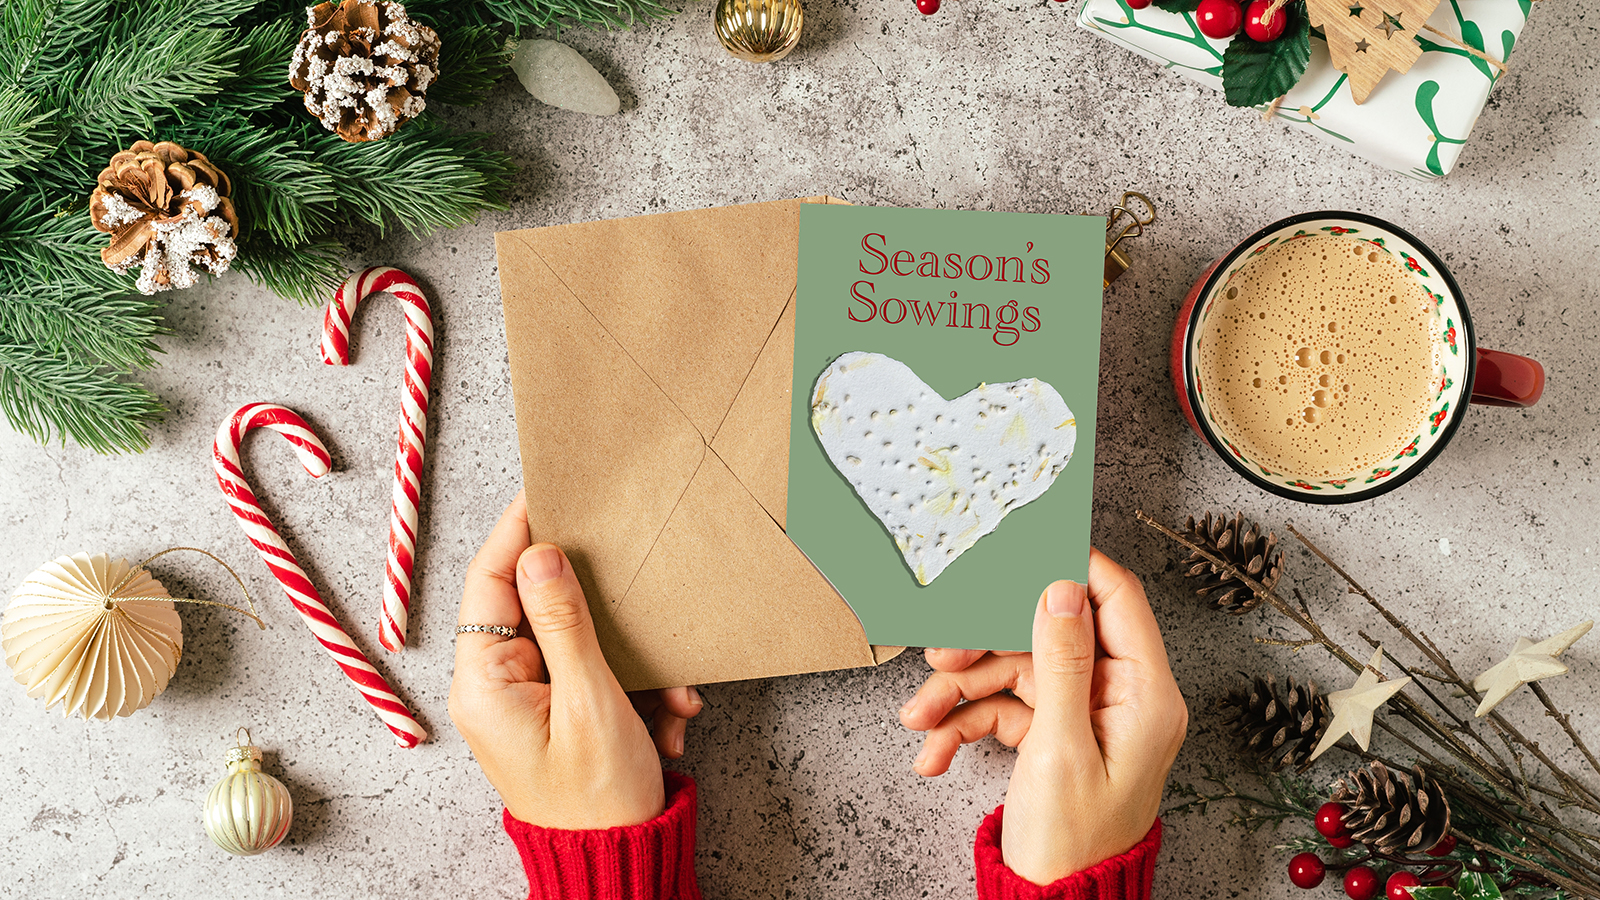

Seed paper, or plantable paper, is recycled paper embedded with seeds. The paper is biodegradable, so you can put it in some soil and the seeds should germinate, sprout, and grow. Most often made with wildflower seeds, plantable paper can be turned into greeting cards and gift tags to offer an extra dimension to holiday messaging.
Making seed paper is a rewarding way to give seeds as presents and share your love of gardening and plants. It's also one of the most creative ways to use leftover seed at the end of the growing season.
Kids will have fun helping out – and if they enjoy this project, they'll also love making seed balls and throwing them onto unplanted areas.
Try your hand at making these unique holiday cards this year to spread the joy of growing plants and reduce paper waste.

What could be more meaningful than sharing the gift of growing with gardeners this holiday season? Find stunning plants, stylish accessories, and essential tools in the Gardening Know How Shop.
What You’ll Need – Materials
Making seed paper for holiday cards requires some effort, but it isn’t difficult. Start by gathering the materials you’ll need:
- Paper: Use any type of non-glossy paper. This is a great opportunity to recycle waste paper. You could even use old greeting cards. Just be sure to remove any metallic or glossy elements.
- Blender: You need a blender to shred the paper. Cutting and mixing by hand will leave you with pieces that are too big and chunky.
- Water and Bowl: Water makes the paper into a pulpy slurry, and the bowl is for mixing.
- Colander: You’ll need something to strain the pulpy mix. You can use a colander or other type of strainer.
- Cloth and Rolling Pin: There are a few different ways to shape and dry pulp into usable paper. Most people have towels or rags that work well. Use thin kitchen towels, cheesecloth, or pieces of flannel.
- Seeds: The most important element is the seeds that go into the paper.
Choosing the Seeds
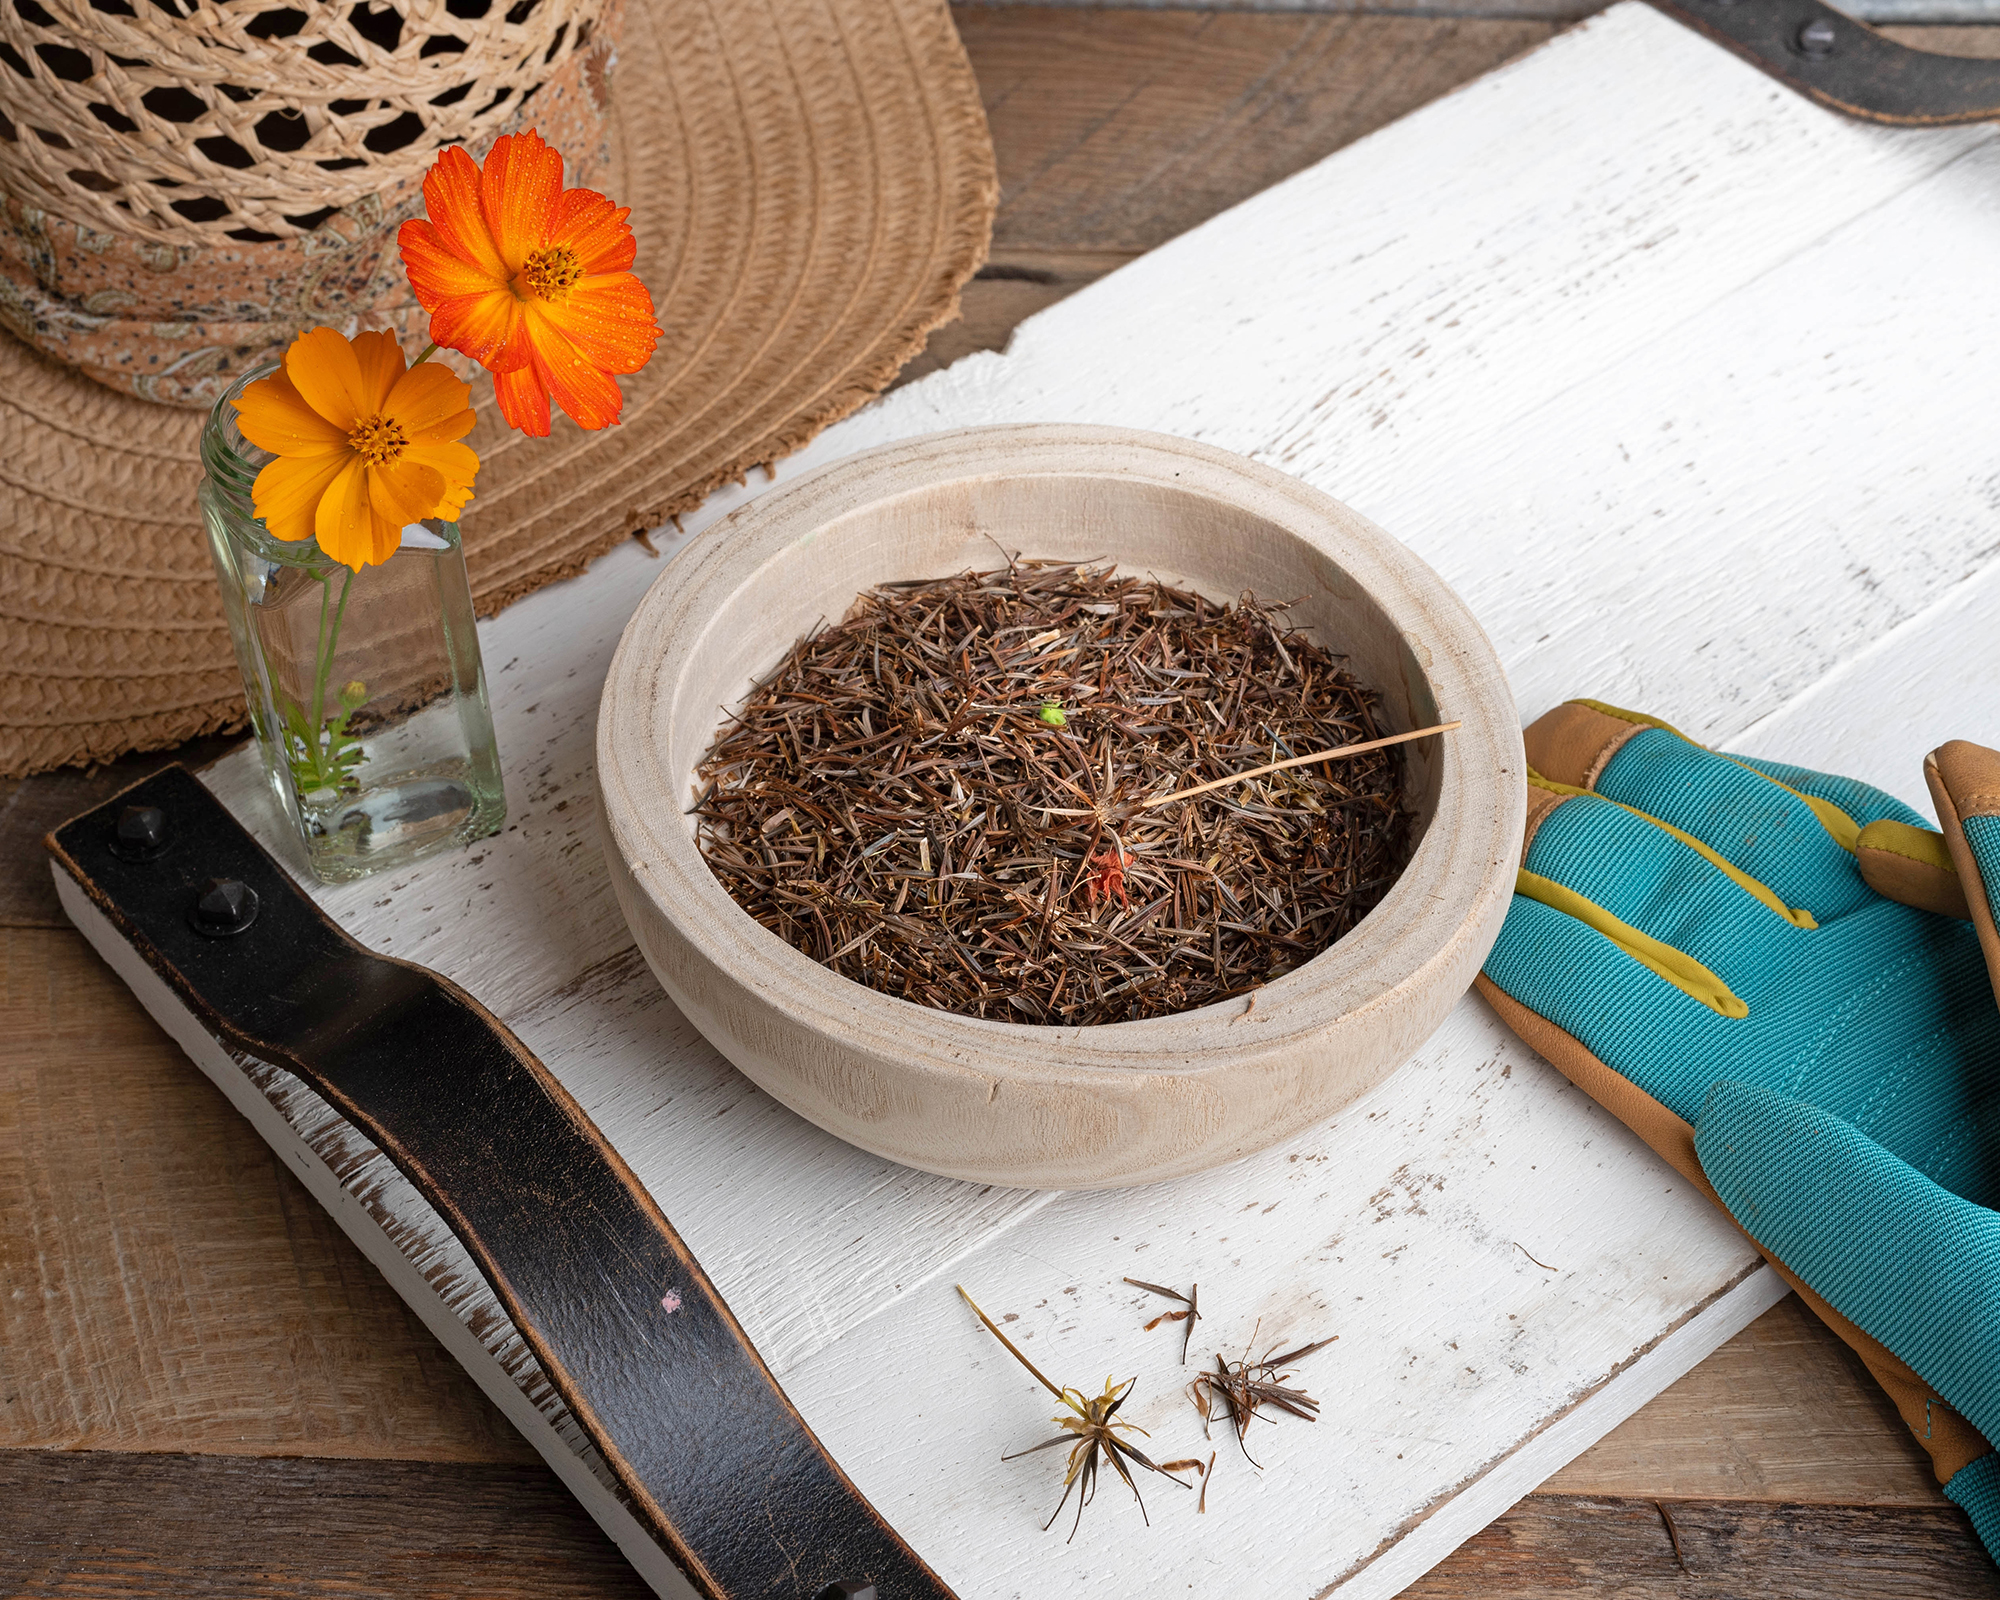
It’s essential to choose the right kinds of seeds for a successful project. You can either buy a suitable seed mix, use a single variety, or create your own custom blend. The Gardening Know How Shop sells a range of beautiful flower seeds suitable for seed paper, including poppies, marigolds, and cosmos.
One of the most important considerations is size. The seeds need to be small enough to be embedded in the paper. Larger seeds simply won’t stay in place or will make a thick, bumpy paper.
Gardening tips, videos, info and more delivered right to your inbox!
Sign up for the Gardening Know How newsletter today and receive a free copy of our e-book "How to Grow Delicious Tomatoes".
You also need seeds for plants that are sown by broadcasting and that can be planted densely together. Most vegetable seeds don’t work because they need to be sown separately and to specific depths. Ideal choices are native wildflowers or herb seeds, available in the Gardening Know How Shop.
How to Make Plantable Seed Paper
Once you have chosen your seeds and gathered all your materials, it’s time to get started on this fun project:
- Shred and Soak the Paper
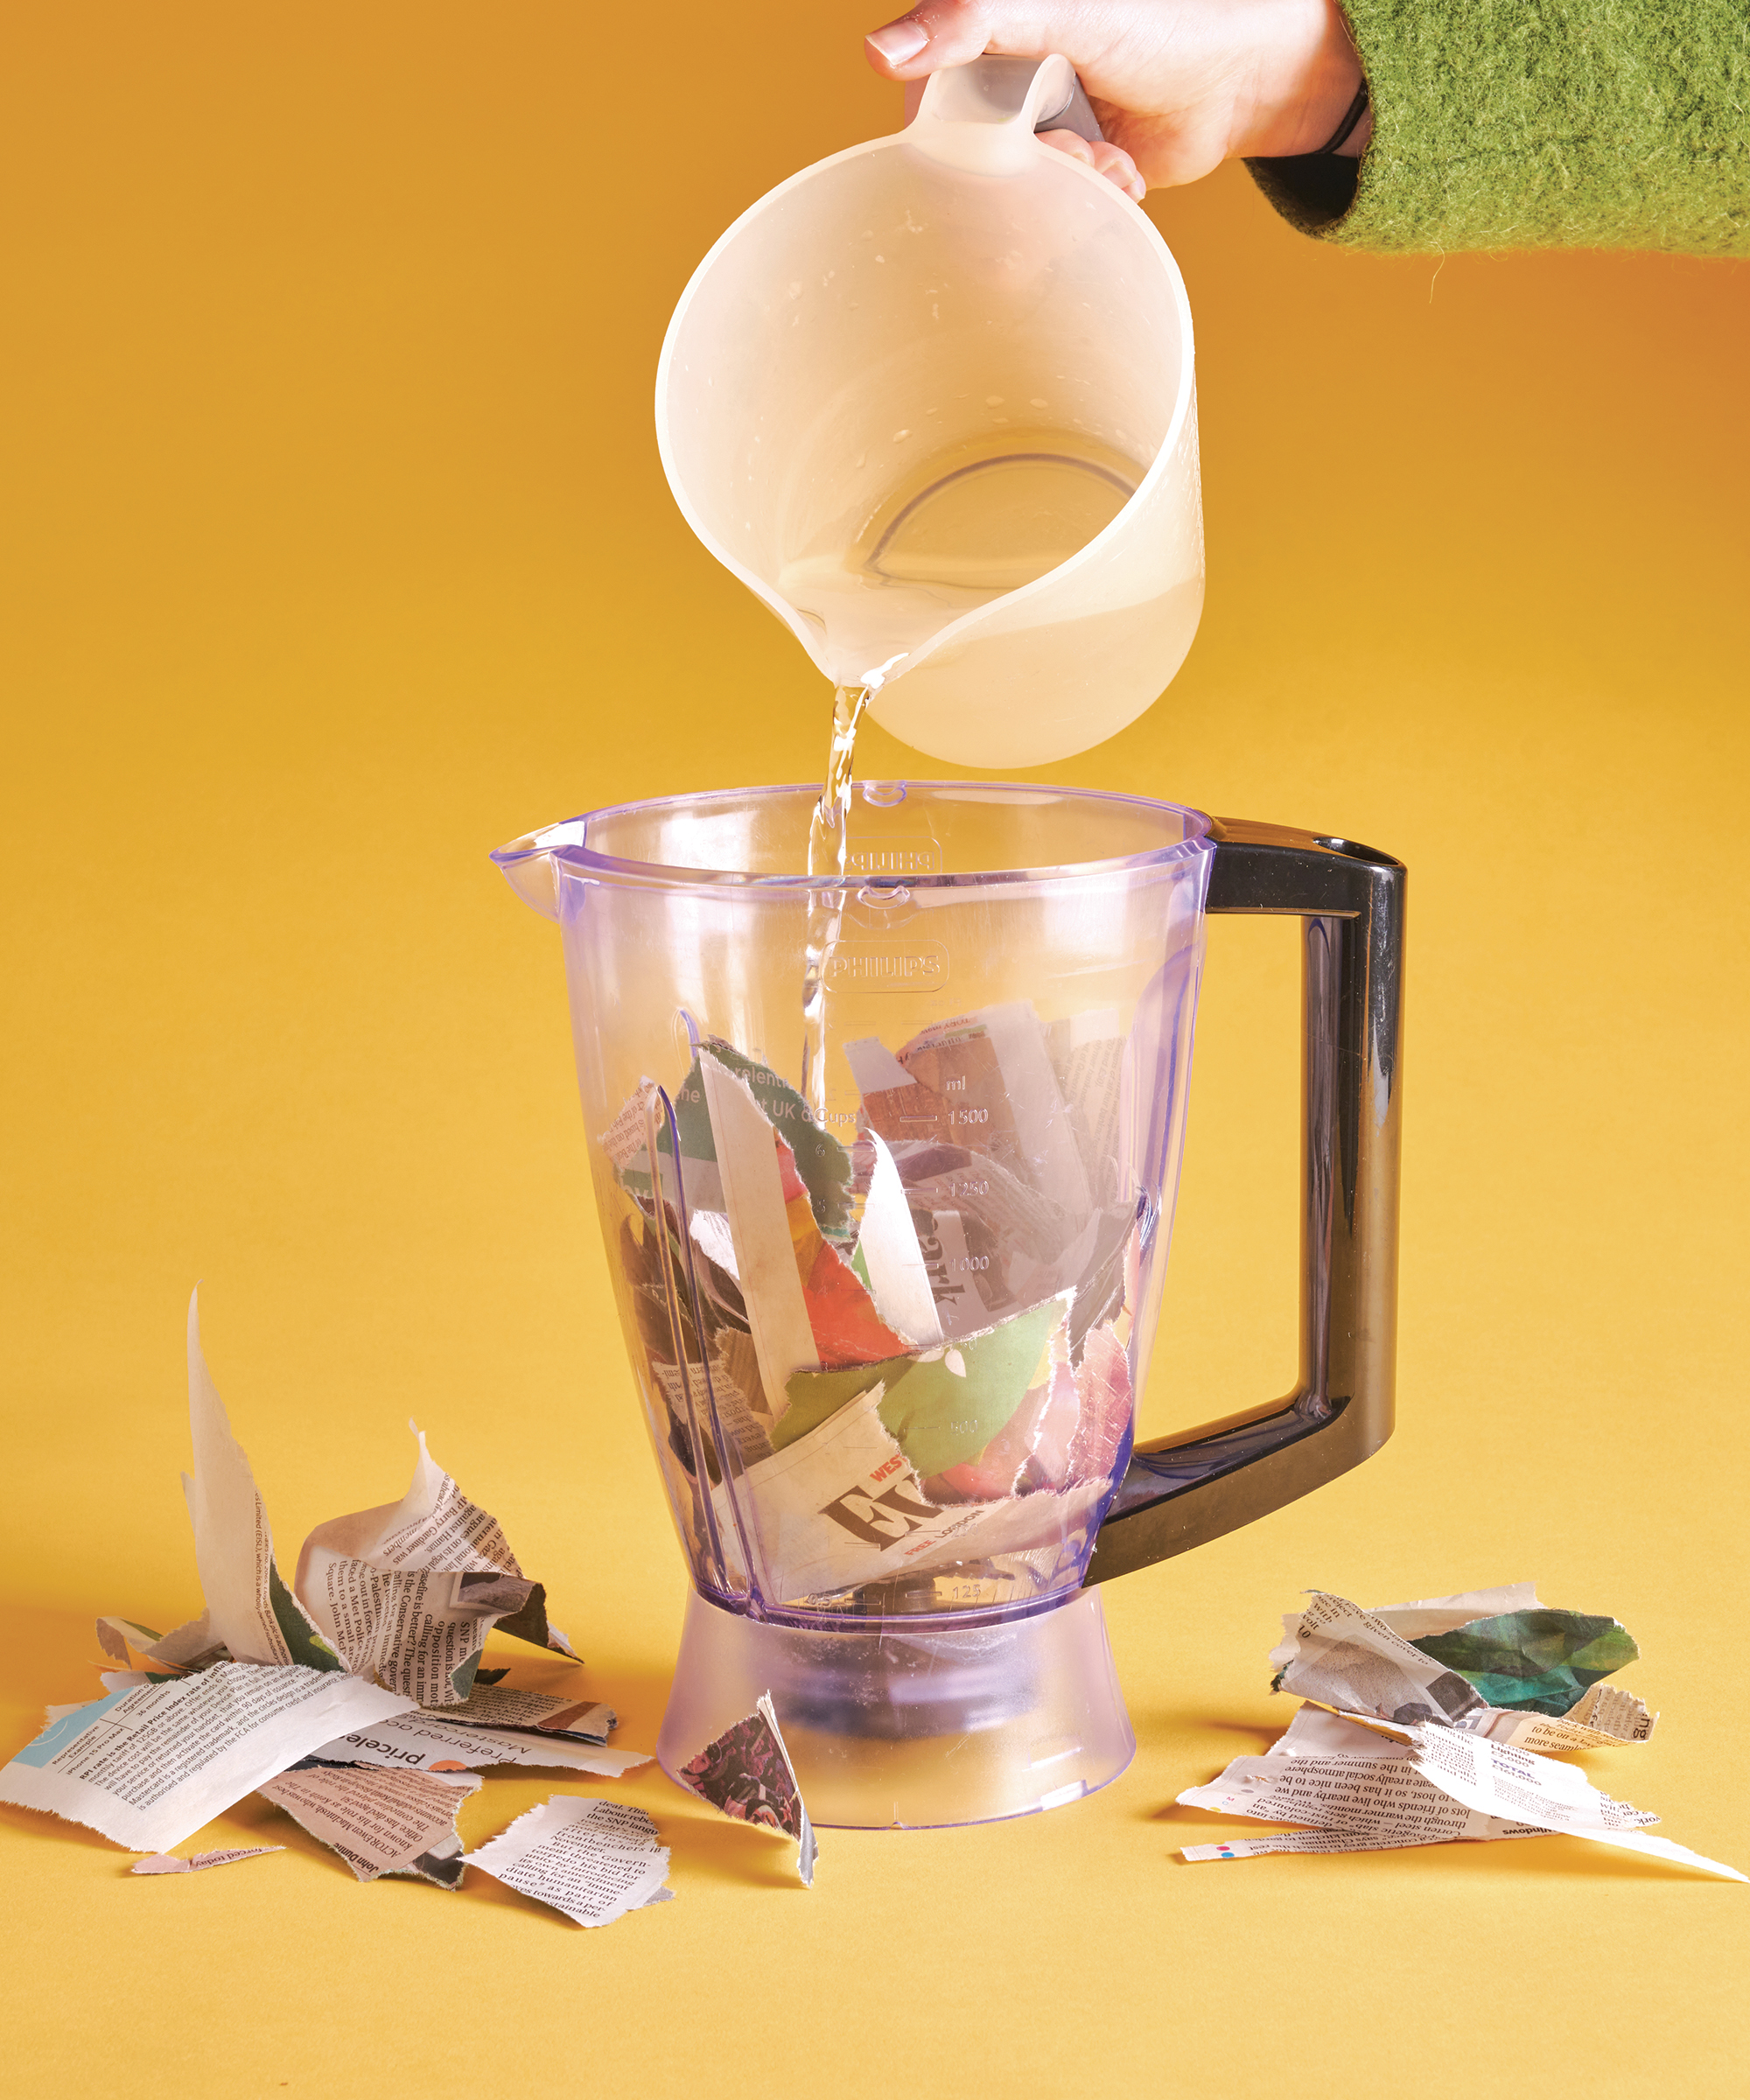
The first step is to shred the paper, which you can do by hand. Place the shreds in a bowl or in the blender with enough warm water to cover and let it soak. Soaking it overnight is ideal, but a few hours will work as well. - Blend
You don’t strictly need to have soaked the paper first, but doing so makes this step easier, especially if you don’t have a very powerful blender. Pour the water and shredded paper into the blender. Blend it until you get pulp with a consistency like thick soup.
- Add the Seeds
Pour the mixture back into a bowl and add seeds. Mix them in with a spoon or with your hands. Do not use the blender to mix in the seeds. - Strain the Pulp
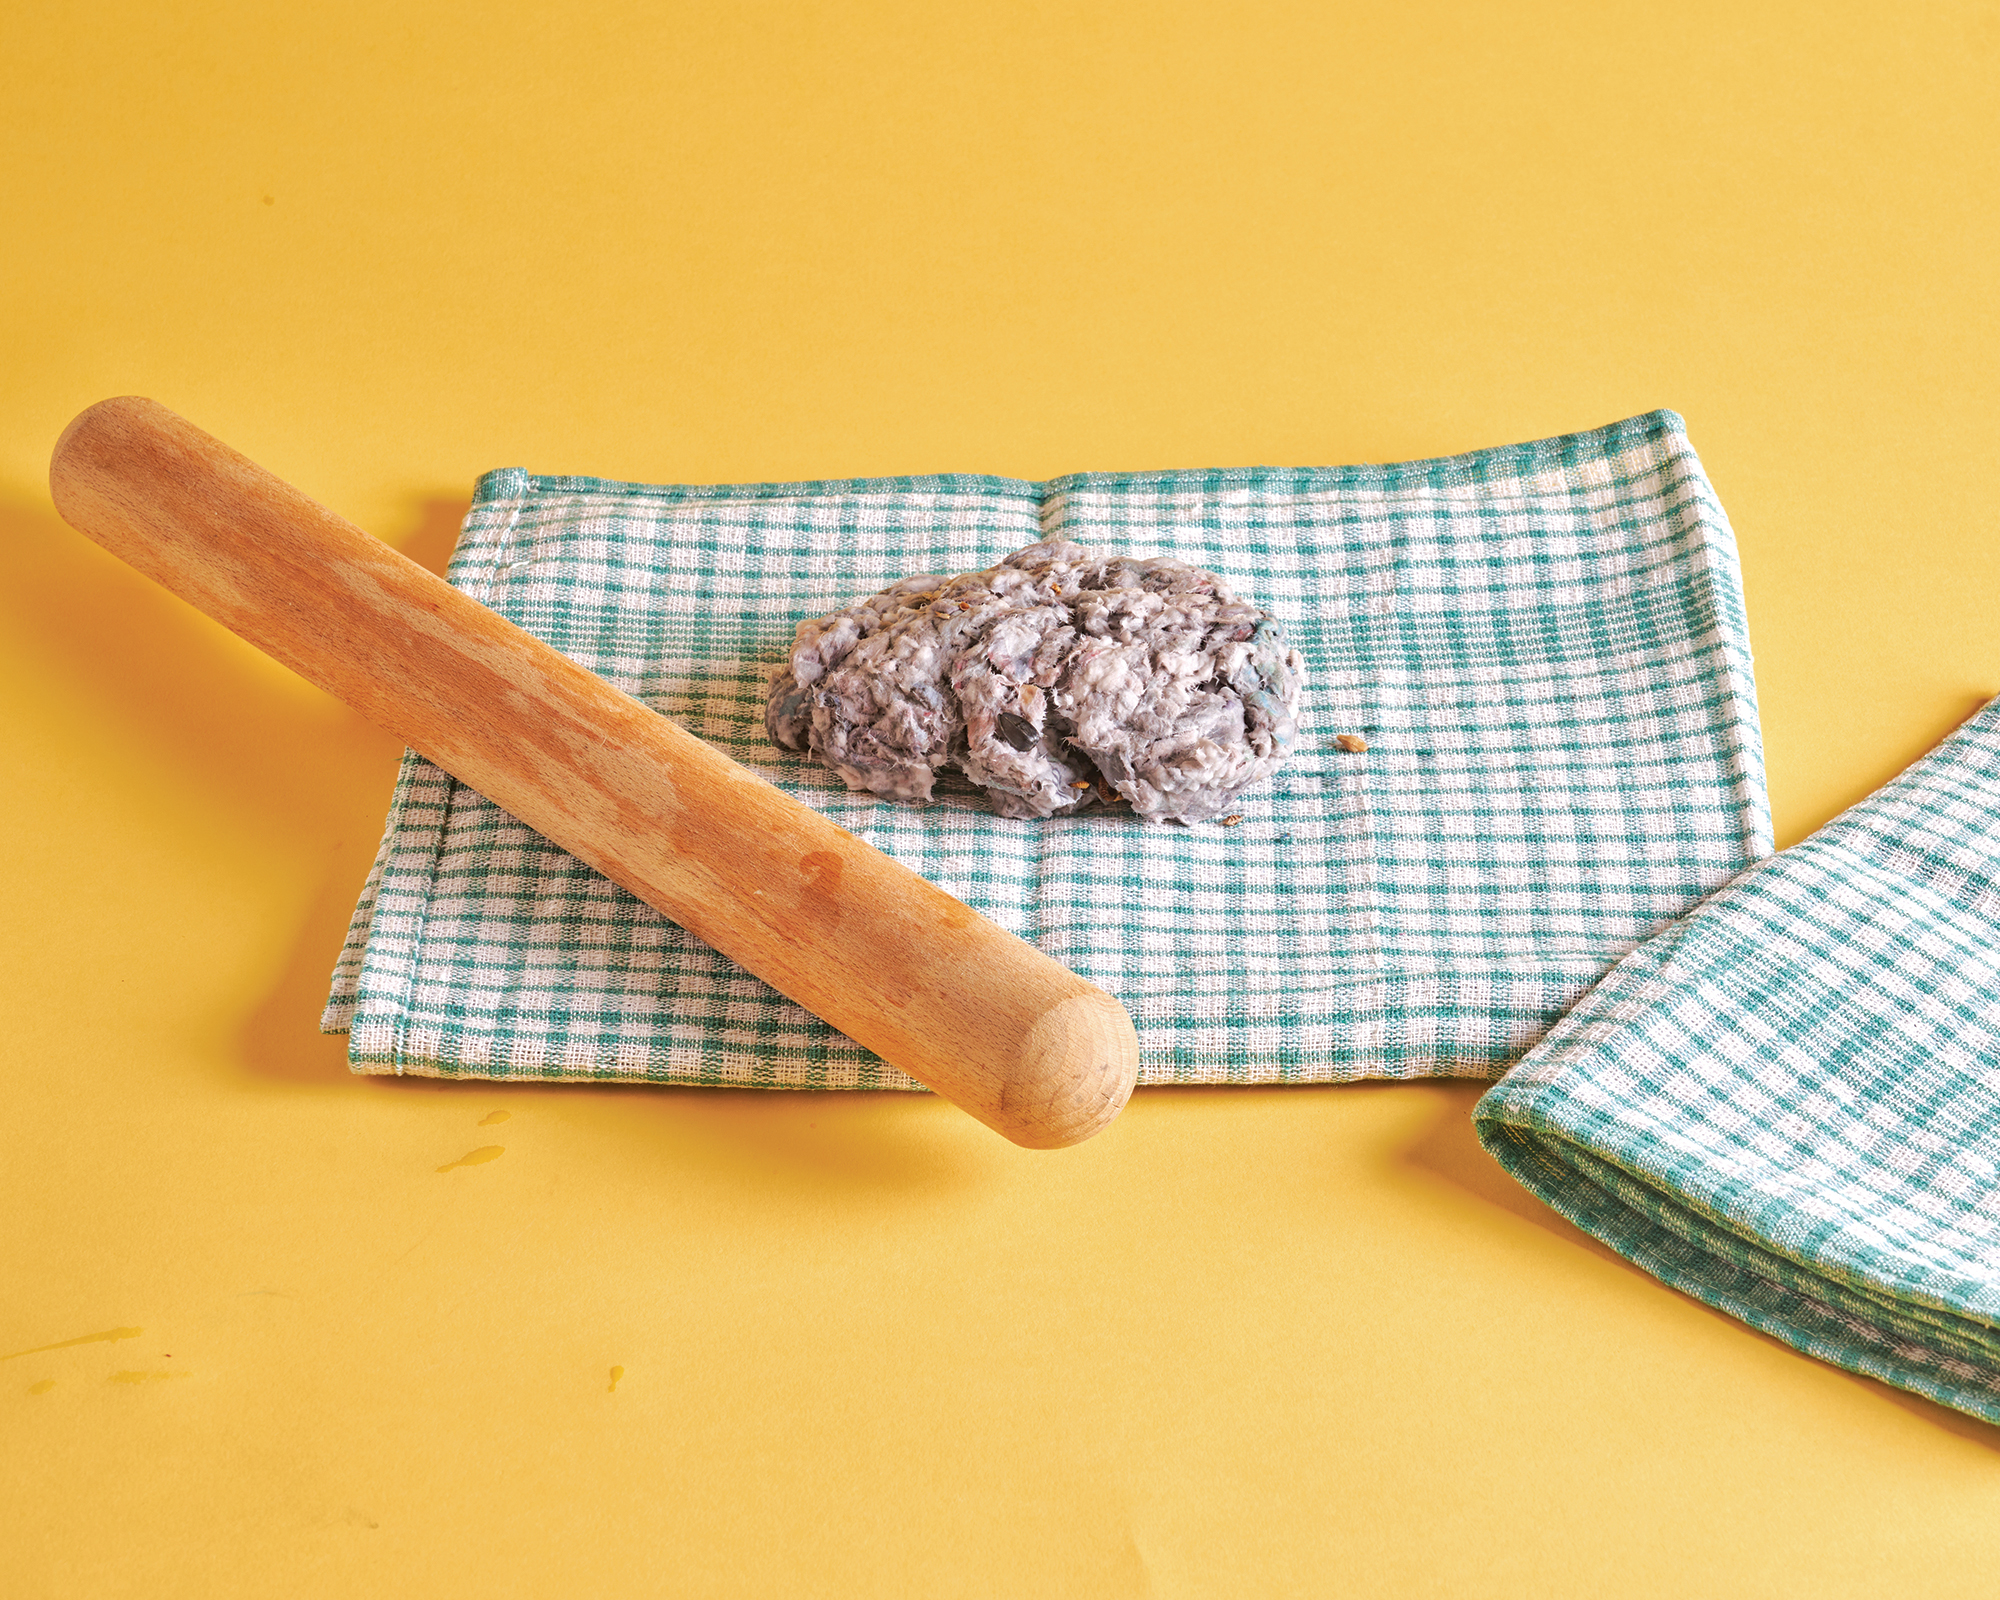
Next, you want to get as much water out of the pulp as possible. Pour the mixture into a colander or strainer and press it to drain.
- Roll into Paper
Now you’re ready to make the actual paper shape. Spread the pulp onto a cloth on a flat surface, like a kitchen counter. Shape the pulp roughly into a rectangular shape. Place another cloth over the top and use a rolling pin to thin the pulp. Try to keep it rectangular as you roll, although you can trim the edges later. - Dry the Paper
The last step is to let the paper dry. This will take several days. Be sure the paper is fully dry before cutting it into usable cards. If it still has some moisture, it will tear.
How to Use Plantable Seed Cards
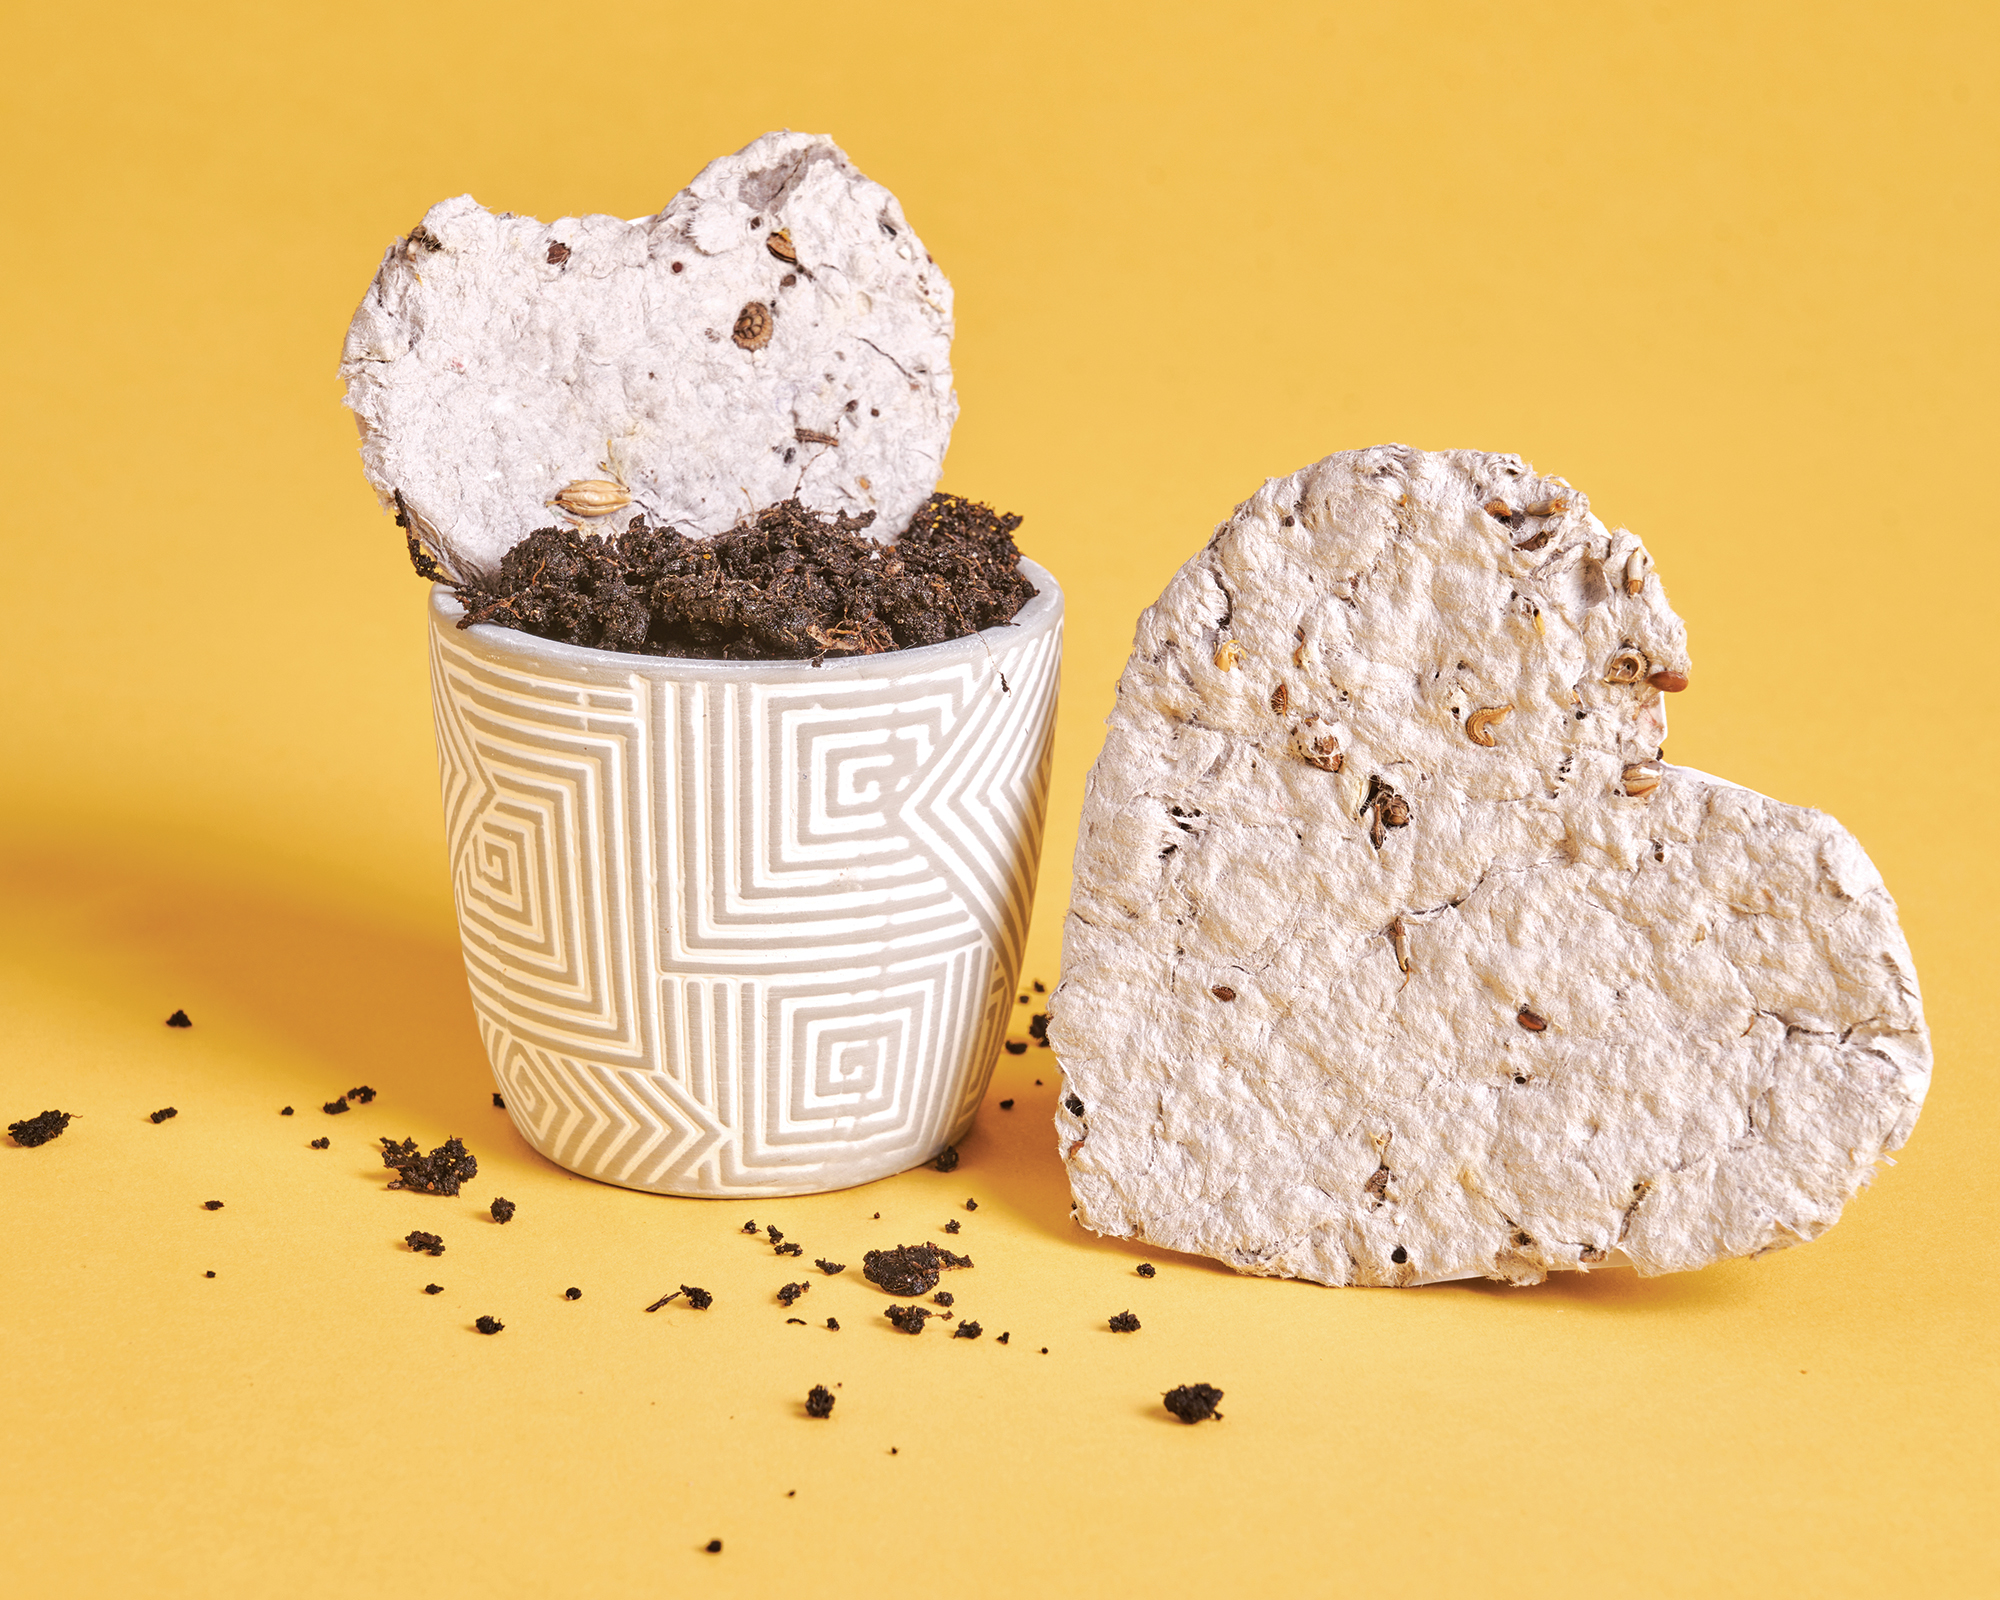
Once you have fully dry seed paper, you can use it to make holiday cards. Cut the paper into the sizes and shapes you want. You can also get creative and cut them into holiday shapes. Add string and they become plantable gift tags or Christmas ornaments.
Writing on homemade seed paper can be a little tricky and might cause it to tear. Use pieces you trimmed off to practice and try different pens or pencils to decide what works best. The writing won’t affect planting, but it’s best to keep it to a minimum.
It’s a good idea to send your cards or gifts with planting instructions. For small cards, simply place them in a garden bed or pot and cover them with about a quarter inch of soil. Water regularly to keep the soil moist. If the card is larger, tear it into smaller pieces before planting.
Plantable seed cards are great for holiday gifts and greetings. They take some time to make, but your friends and family members will appreciate the effort and fun results.
More Holiday Inspiration
- Be inspired to make a natural wreath using materials from your garden with these 15 beautiful DIY winter wreath ideas.
- Make a charming holiday porch pot to take you through the festive season and beyond, with these 12 magical plant choices.
- Discover the 6 flower seeds you should gift this Christmas – to inspire gardeners to get growing.
This article features products available from third party vendors on the Gardening Know How Shop.

Mary Ellen Ellis has been gardening for over 20 years. With degrees in Chemistry and Biology, Mary Ellen's specialties are flowers, native plants, and herbs.