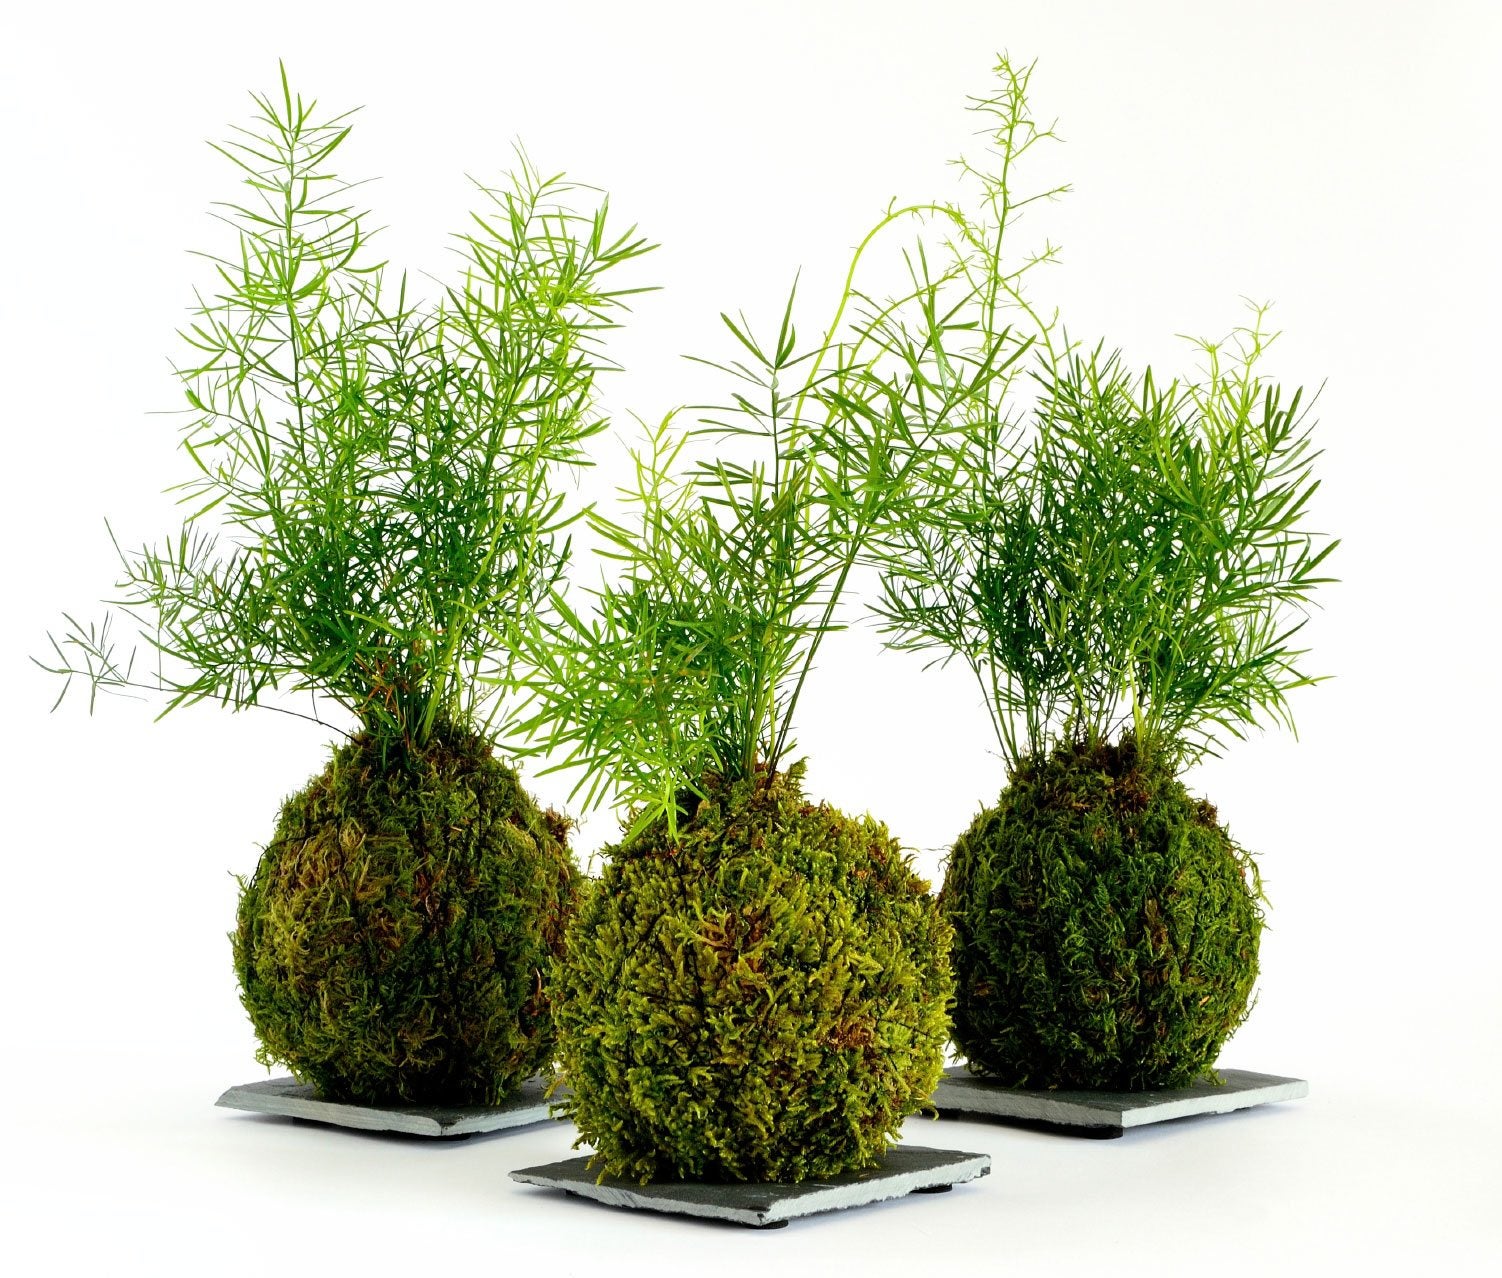
What Is A Kokedama: Tips On Making Kokedama Moss Balls


The art of Kokedama literally translates from “koke” meaning moss and “dama” meaning ball. This moss ball has experienced a resurgence as a modern art form useful for uniquely presented plants and flowers.
Instructions and classes on the how-to for this skill abound on the Internet and plant forums. A Japanese moss ball makes a personalized gift or simply an interesting accent for a favorite plant specimen. You can practice the art of Kokedama yourself with just a few items and minimal skill.
What is Kokedama?
What is a Kokedama? It is a form of Japanese garden art that is centuries old and tied into the practice of bonsai. It is an accent to that mode of plant display where a moss ball is the focal and supporting point for a sculpted tree or plant.
The moss ball is fixed to a platform or suspended from string with the plant growing out from the sphere. Kokedama is the practice of taking the root ball of a plant and suspending it in a mud ball, which is then coated with soft green moss. It is a living planter as well as a distinctive display piece.
They may be fixed to a piece of driftwood or bark, suspended from a string, or nestled in a clear, attractive container. Hanging many of these as a Kokedama moss garden is called a string garden.
Materials for Making Kokedama Moss Balls
The traditional art form relied upon a carefully composed soil with a heavy clay base that would adhere to itself. This soil is called akadama and also contains peat moss as a moisture retainer. You can purchase bonsai soil or make your own mixture of clay and 15 percent peat moss as a base for the Japanese moss ball. Once you have your soil mixture, you will also need:
- Scissors
- String
- Water
- A spray bottle
- Gloves
- A bucket
- Newspaper or a tarp (to protect your work surface)
Select your plant using a guideline of ease of care, light situation, and ability to tolerate sodden soil. Many tropical jungle plants are suitable for the project, as well as ferns, lucky bamboo, or even ivy. Avoid any succulents and cacti, as the soil ball will remain too moist for these types of plants.
Gardening tips, videos, info and more delivered right to your inbox!
Sign up for the Gardening Know How newsletter today and receive a free copy of our e-book "How to Grow Delicious Tomatoes".
For the moss, you can use dry floral moss that you soak or harvest some from your surroundings. If you don't want to mess with the clay ball, you can also create a Kokedama moss garden with a floral foam ball as the base.
Creating Your Japanese Moss Ball
Don your gloves, line your work space, and get started.
- Moisten the moss if it's the dried variety by soaking in a bucket of water for an hour. Squeeze it out and lay aside until the last step.
- Add water gradually to your akadama mixture until the medium can be gathered into a ball. Press it firmly all around to adhere the soil mixture.
- Remove your selected plant from its container, dust off the soil, and gently break apart the root ball. Make a hole in the clay ball big enough to push in the roots of the plant. Spray the soil with water to keep it moist and workable during this process.
- Push the clay around the roots and compact it around the base of the stem. Press the moss around the form until all the surfaces are covered. Use twine or string to wrap the moss onto the ball with at least two passes around the surface. Cut away the excess string and fix the ball to a piece of wood, hang in an appropriately lighted area or place in a container.
You now have your first moss ball and can let yourself be really creative next time with different shapes and kinds of moss. Making Kokedama moss balls is a fun, family-friendly project that lets you express your love for plants, and design a one of a kind display.

Bonnie Grant is a professional landscaper with a Certification in Urban Gardening. She has been gardening and writing for 15 years. A former professional chef, she has a passion for edible landscaping.