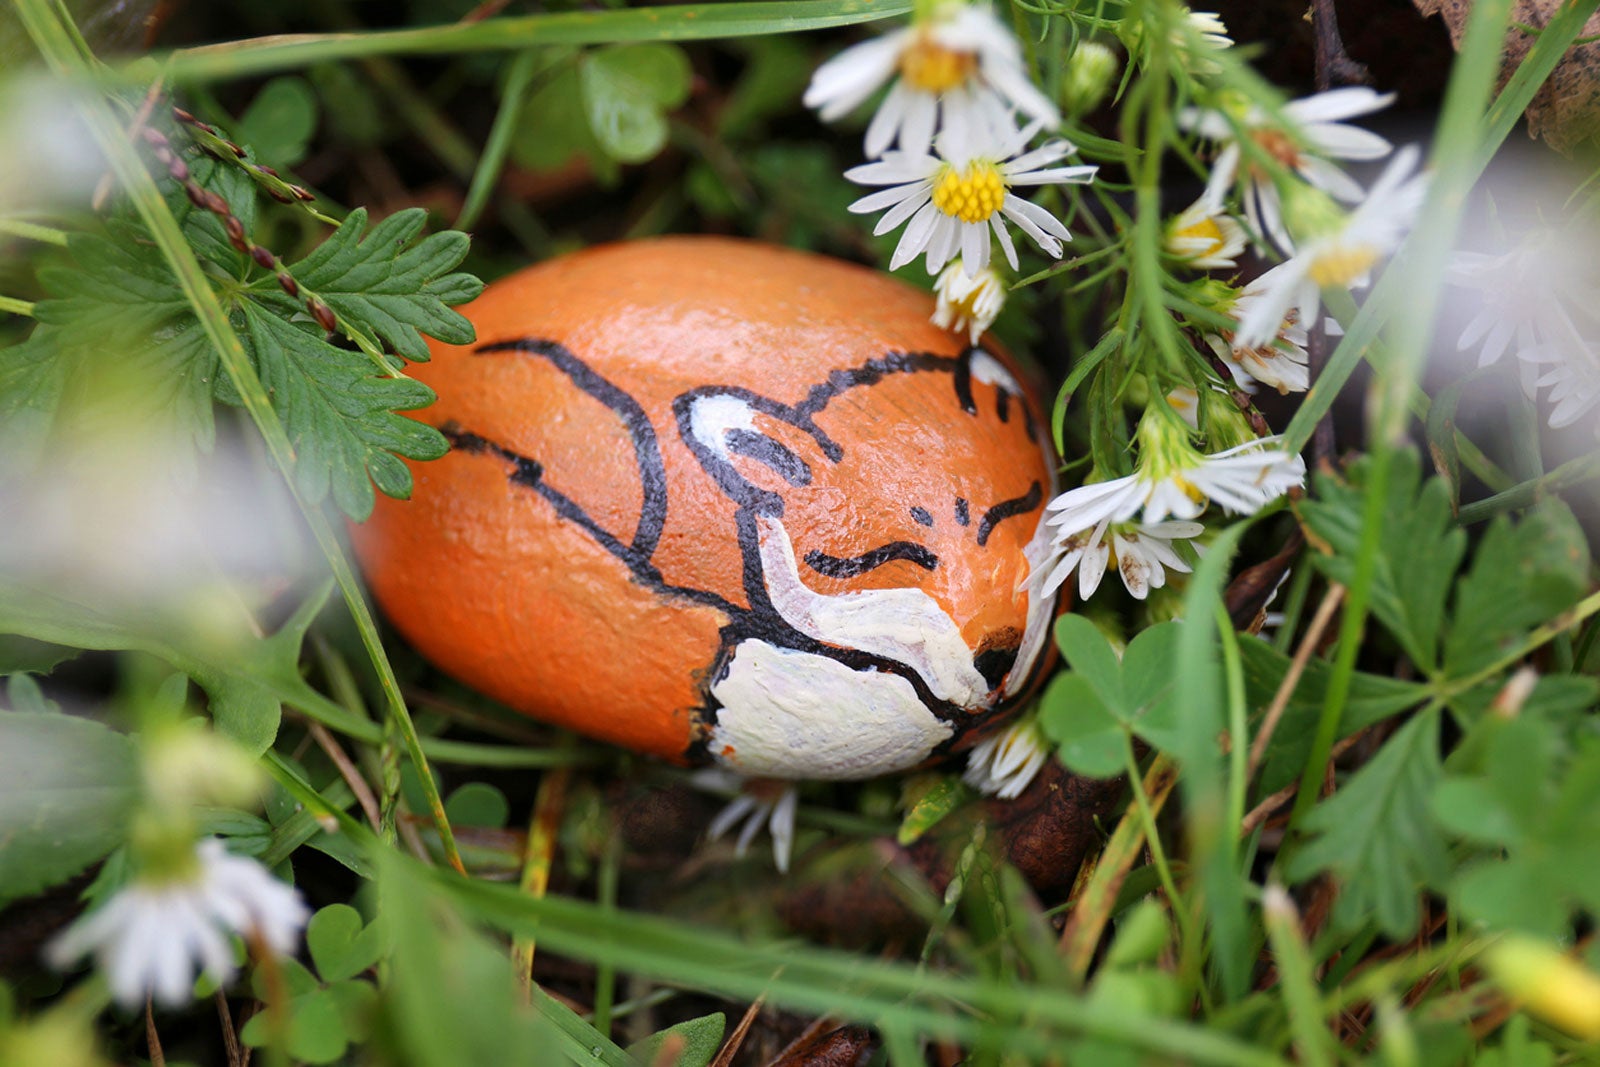
Painted Garden Rocks: Learn How To Hand Paint Garden Rocks


Decorating your outdoor space goes well beyond just choosing and tending to plants and flowers. Additional décor adds another element and dimension to beds, patios, container gardens, and yards. One fun option is using painted garden rocks. This is an increasingly popular craft that is easy and inexpensive.
Using Painted Garden Stones and Rocks
Putting painted rocks in your garden is limited only by your imagination. Rocks big or small, painted anyway you like, can set the tone for your beds, add an unexpected splash of color, and even serve as memorials. Here are some ideas for how to use this trendy new garden decoration:
- Use painted rocks as labels for your herb and vegetable garden. Just lay a rock down by each plant or row with the name or picture painted on the rock.
- Paint stones to look like native animals and tuck them under and around plants. Use the shape of the rock to guide which animal you paint.
- Memorialize a beloved lost pet with a stone painted in their honor and a special place in the garden.
- Use painted rocks to cover soil in containers as protection from digging critters.
- Paint rocks with kids as a fun, easy craft project. Let them decide where to place their stones in the garden.
- Write inspirational quotes on rocks and place in houseplant containers.
- Paint flat stones to use as walkways and steppingstones in beds and vegetable gardens.
- Place painted rocks in public spaces and gardens for other people to find.
How to Hand Paint Garden Rocks
Painting rocks in flower beds and gardens is a pretty easy project. You do need a couple of specialty supplies, though. You’ll need paints in several colors. Choose paints designed for outdoor crafts or acrylics. Get paintbrushes in a few different sizes. Finally, you’ll want a clear acrylic or varnish topcoat to protect your art.
The first step in painting garden rocks is choosing the stones. Use smooth rocks in various shapes and sizes. Next, wash the stones in soapy water and let them dry completely. Now you’re ready to paint. You can paint the entire rock one color for a base coat and background, or just paint your design right onto the rock.
Once the paint is totally dry, add a clear layer to help protect the artwork and make it last longer.
Gardening tips, videos, info and more delivered right to your inbox!
Sign up for the Gardening Know How newsletter today and receive a free copy of our e-book "How to Grow Delicious Tomatoes".

Mary Ellen Ellis has been gardening for over 20 years. With degrees in Chemistry and Biology, Mary Ellen's specialties are flowers, native plants, and herbs.