Garden Renovation: Tips For Removing Existing Plants In The Garden

Garden renovation can be a daunting task when rearranging, removing, and replanting. Such is the nature of gardening -- the constant tinkering that most of us find an endearing endeavor, a labor of love. Sometimes, renovating the garden involves simply removing existing plants due to over-enthusiastic growth and sometimes it requires all out tree and shrub removal due to ill health or weather damage. When renovating the garden, there are some specific things to keep in mind, such as the time of year, location, maturity, usefulness, health, and safety in removal or major amendment of the plant or area.
How to Remove Plants That Have Outgrown Gardens: Perennials
Perennial gardens may need to be revamped by removing existing plants. The goal may be to transplant elsewhere or do away with the specimen entirely. The practice of removing existing plants remains the same, generally undertaken in April or May and again optimally in the fall months of late August to September. That said, some plants prefer a particular season for removal, division, or transplantation and consultation with a garden center, master gardener, or the like is recommended. To remove existing plants in the perennial bed during garden renovation, cut a circle around the crown of the plant with a sharp spade and pry the roots up and out. For larger perennials, it may be advisable to cut the plant into smaller sections while still rooted in the soil. Once the plants have been removed during this garden renovation, place the plants on a garden tarp in a shady area, label and group by like type, and water lightly. Most plants will survive for a few days kept like this. Next, you will want to prepare an area for those plants which will be transplanted during the garden renovation. Remove weeds, rake soil off of major debris, and, if necessary, amend the soil with 2 to 3 inches (5 to 7.5 cm.) of organic matter. Dig in the compost and any needed fertilizer. Now you are ready to divide the plant, if need be, with a sharp knife or spade after cleaning the roots to ascertain division location. Also, if root bound, break up the root ball or make vertical cuts to assist the plants root system in spreading. Place the plant in a hole so the crown is level with the ground soil, covering with soil and 2 to 3 inches (5 to 7.5 cm.) of organic mulch to retain water and deter weeds. Water thoroughly. Continue renovating the garden, composting unwanted plants, and dividing or just plain relocating or removing existing plants.
Garden Renovation: Tree and Shrub Removal
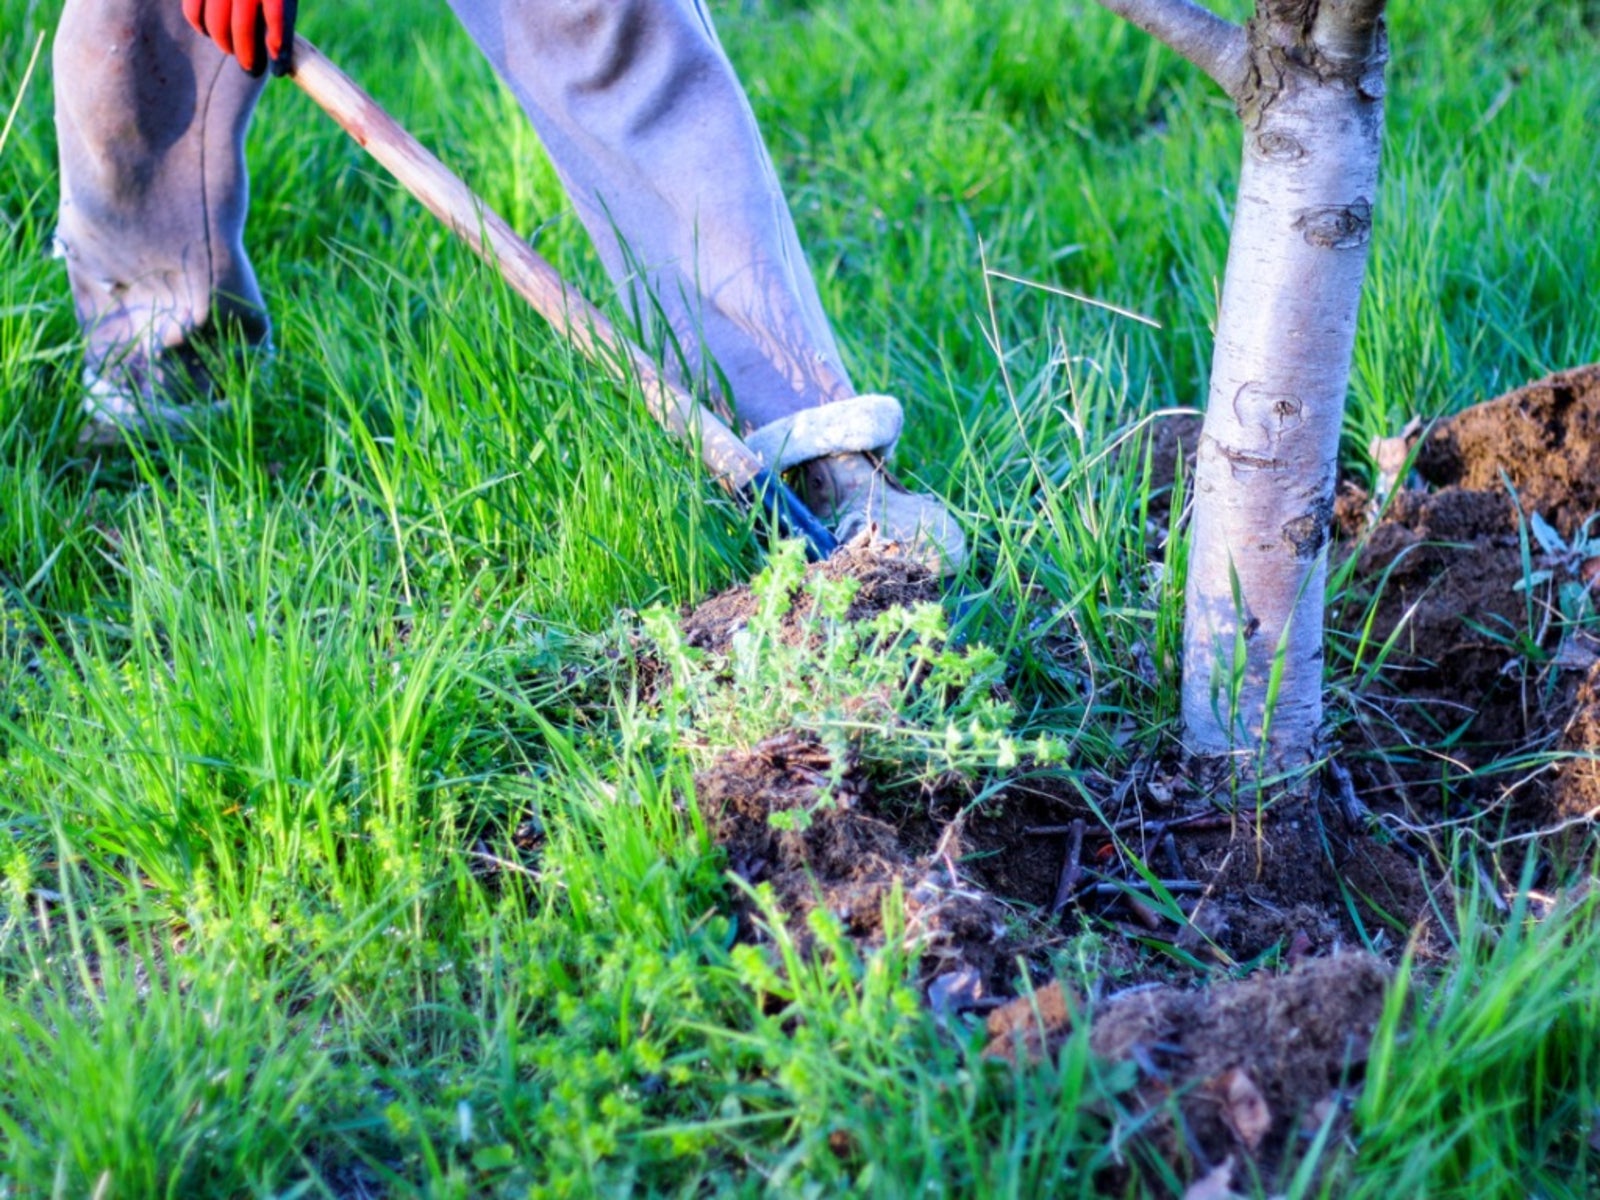
There are several reasons for the need of tree and shrub removal, usually involving either damage from storms, disease, maintenance concerns, or sheer size issues. Renovating the garden through tree and shrub removal due to size requires some consideration as to how big is too big. Larger trees should be removed by a professional tree service that is trained to avoid damaging property and has the proper safety equipment. If, however, the tree and shrub removal seems to be within the realms of possibility of the homeowner, the same basic process should be followed as that for perennial removal listed above. Small shrubs and trees may be dug out with the aid of a spade and hefted out of the soil. A winch may be used to haul larger plants out if you leave enough stems to wrap the chain around. There may be some after effects caused by tree and shrub removal if the plants share a vascular system or enough of it is left to sucker. If the plant was diseased, the disease may spread and in the case of suckering shrubs, the unwanted plant may continue to reappear.
Sign up for the Gardening Know How newsletter today and receive a free copy of our e-book "How to Grow Delicious Tomatoes".

Amy Grant has been gardening for 30 years and writing for 15. A professional chef and caterer, Amy's area of expertise is culinary gardening.
