About Semi-Hardwood Cuttings – Information On Semi-Hardwood Propagation


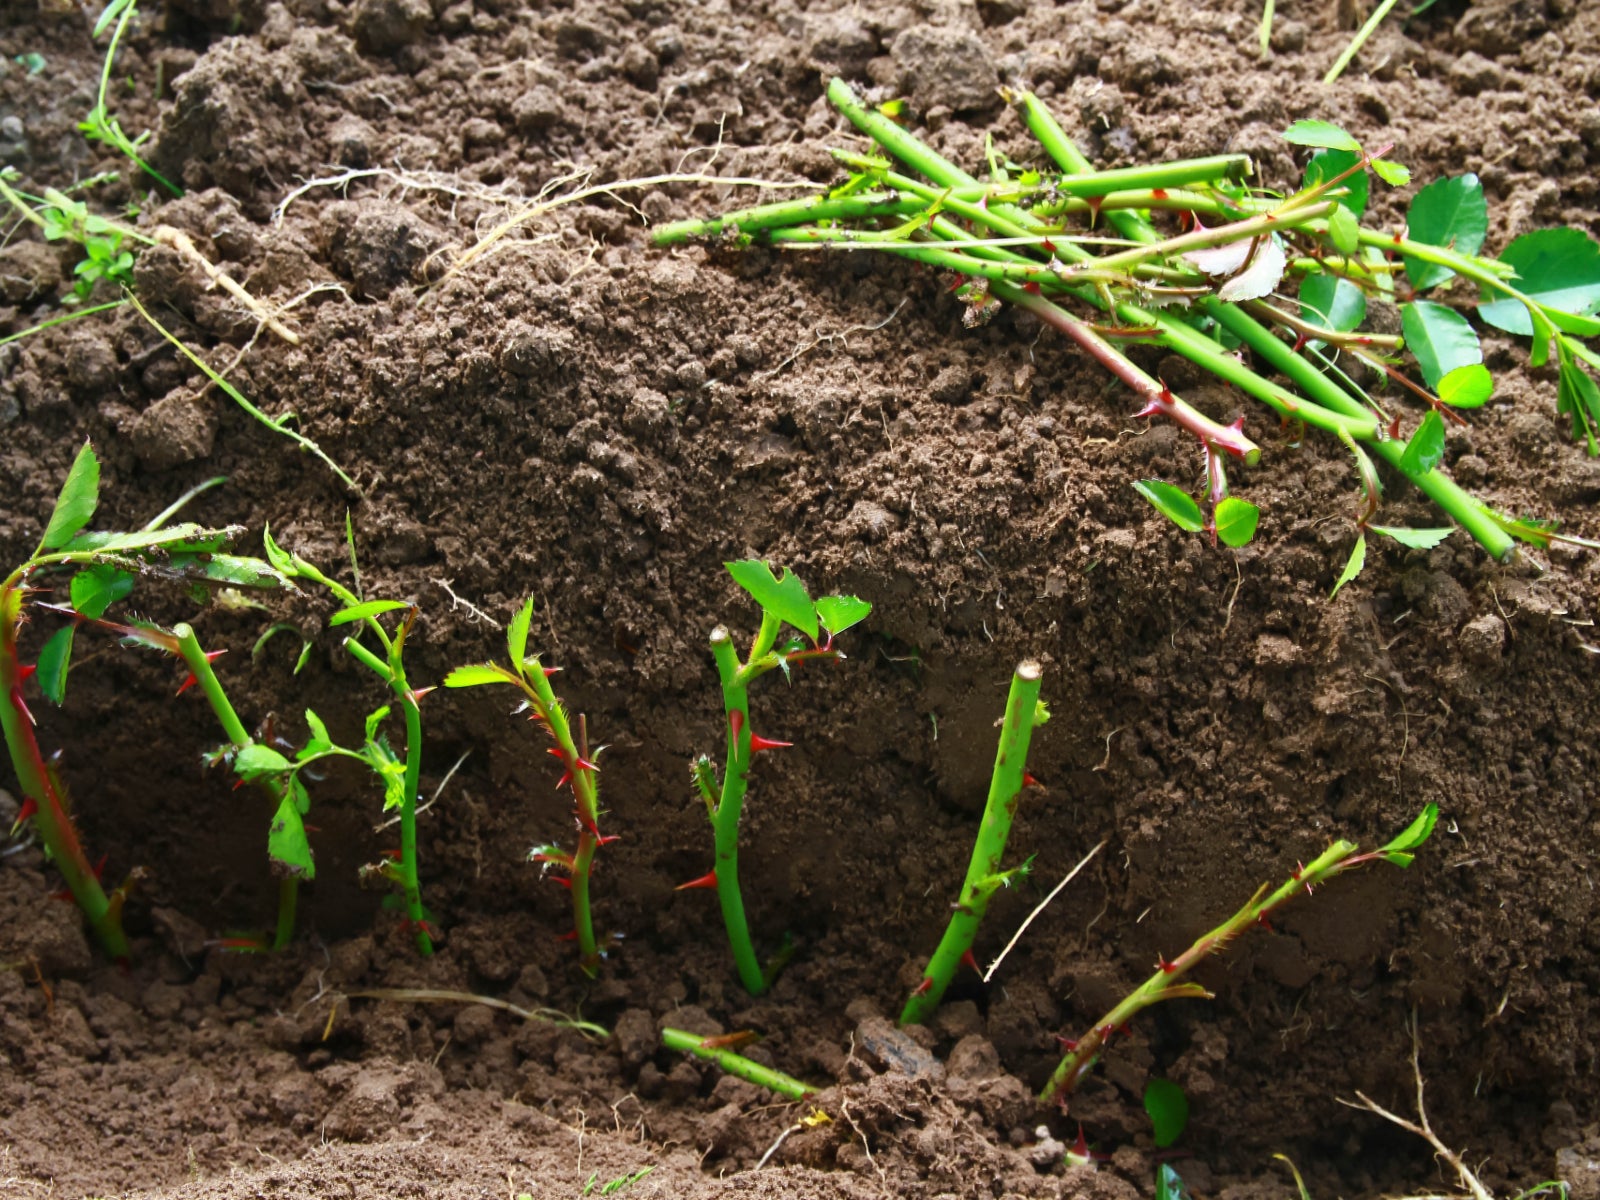
One of the most rewarding things about gardening is propagating new plants from cuttings you take from a healthy parent plant. For home gardeners, there are three primary types of cuttings: softwood, semi-hardwood, and hardwood depending on the growth stage of the plant. Exactly what is a semi-hardwood cutting? Read on to learn the basics of semi-hardwood propagation.
About Semi-Hardwood Cuttings
Semi-hardwood propagation is suitable for an amazing variety of plants, including evergreens and deciduous plants and trees such as: Evergreen
Deciduous
Semi-hardwood cuttings generally root easily and don’t require a lot of special knowledge.
When to Take Semi-Hardwood Cuttings
Semi-hardwood cuttings are propagated when the stems are partly, but not fully mature. At this point, the wood is relatively firm but still flexible enough to bend easily and break with a snap. Semi-hardwood cuttings are usually taken between late summer and early fall.
How to Take a Semi-Hardwood Cutting
Take semi-hardwood cuttings from the growing tips of a plant using clean, sharp pruners or a sharp knife. The plant should be healthy with no signs of pests or disease, and should have no flowers or buds. Cut the stem just below a node, which is the small protrusion where leaves, buds, or branches will grow. Cuttings should be unbranched and as straight as possible. Ideal length is about 4 to 6 inches (10-15 cm.). Strip the leaves from the lower half of the stem, but leave at least two upper leaves intact.
Semi-Hardwood Propagation Tips
Plant semi-hardwood cuttings in a container filled with sterile, unfertilized potting mix or clean, coarse sand. You may want to dip the stem in rooting hormone just prior to inserting the cuttings in the potting mix. Water enough to settle the potting mix around the stem. Cover the pot with a plastic bag to create a greenhouse-like environment. Place the pot in indirect sunlight. Avoid direct light, which is too harsh and may scorch the cutting. Water as needed to keep the potting mix lightly moist but not soggy. This is infrequent as long as the pot is covered with plastic. Poke a hole or open the top of the plastic bag if you notice moisture dripping down the inside. Too much moisture will rot the cutting. Cuttings may root in a few weeks or several months, depending on the plant. Remove the plastic and move the cuttings to individual containers when the roots are ½ inch to 1 inch long (1-2.5 cm.). At this point, you can feed the young plant using a diluted water-soluble fertilizer. Move the plant outdoors when it is mature enough to tolerate outdoor heat and cold– usually after a couple of growing seasons.
Sign up for the Gardening Know How newsletter today and receive a free copy of our e-book "How to Grow Delicious Tomatoes".

A Credentialed Garden Writer, Mary H. Dyer was with Gardening Know How in the very beginning, publishing articles as early as 2007.