What Are Root Cuttings: Information On Taking Cuttings From Root Growth


Propagating plants from root cuttings is unfamiliar to many gardeners, so they hesitate to try it. It isn't hard, but there are a few things you need to know. Root cutting propagation isn't right for all plants, but for a select few it is ideal. Among others these include:
- Brambles, such as raspberries and blackberries
- Fig
- Lilacs
- Roses
- Phlox
- Oriental poppies
What are Root Cuttings?
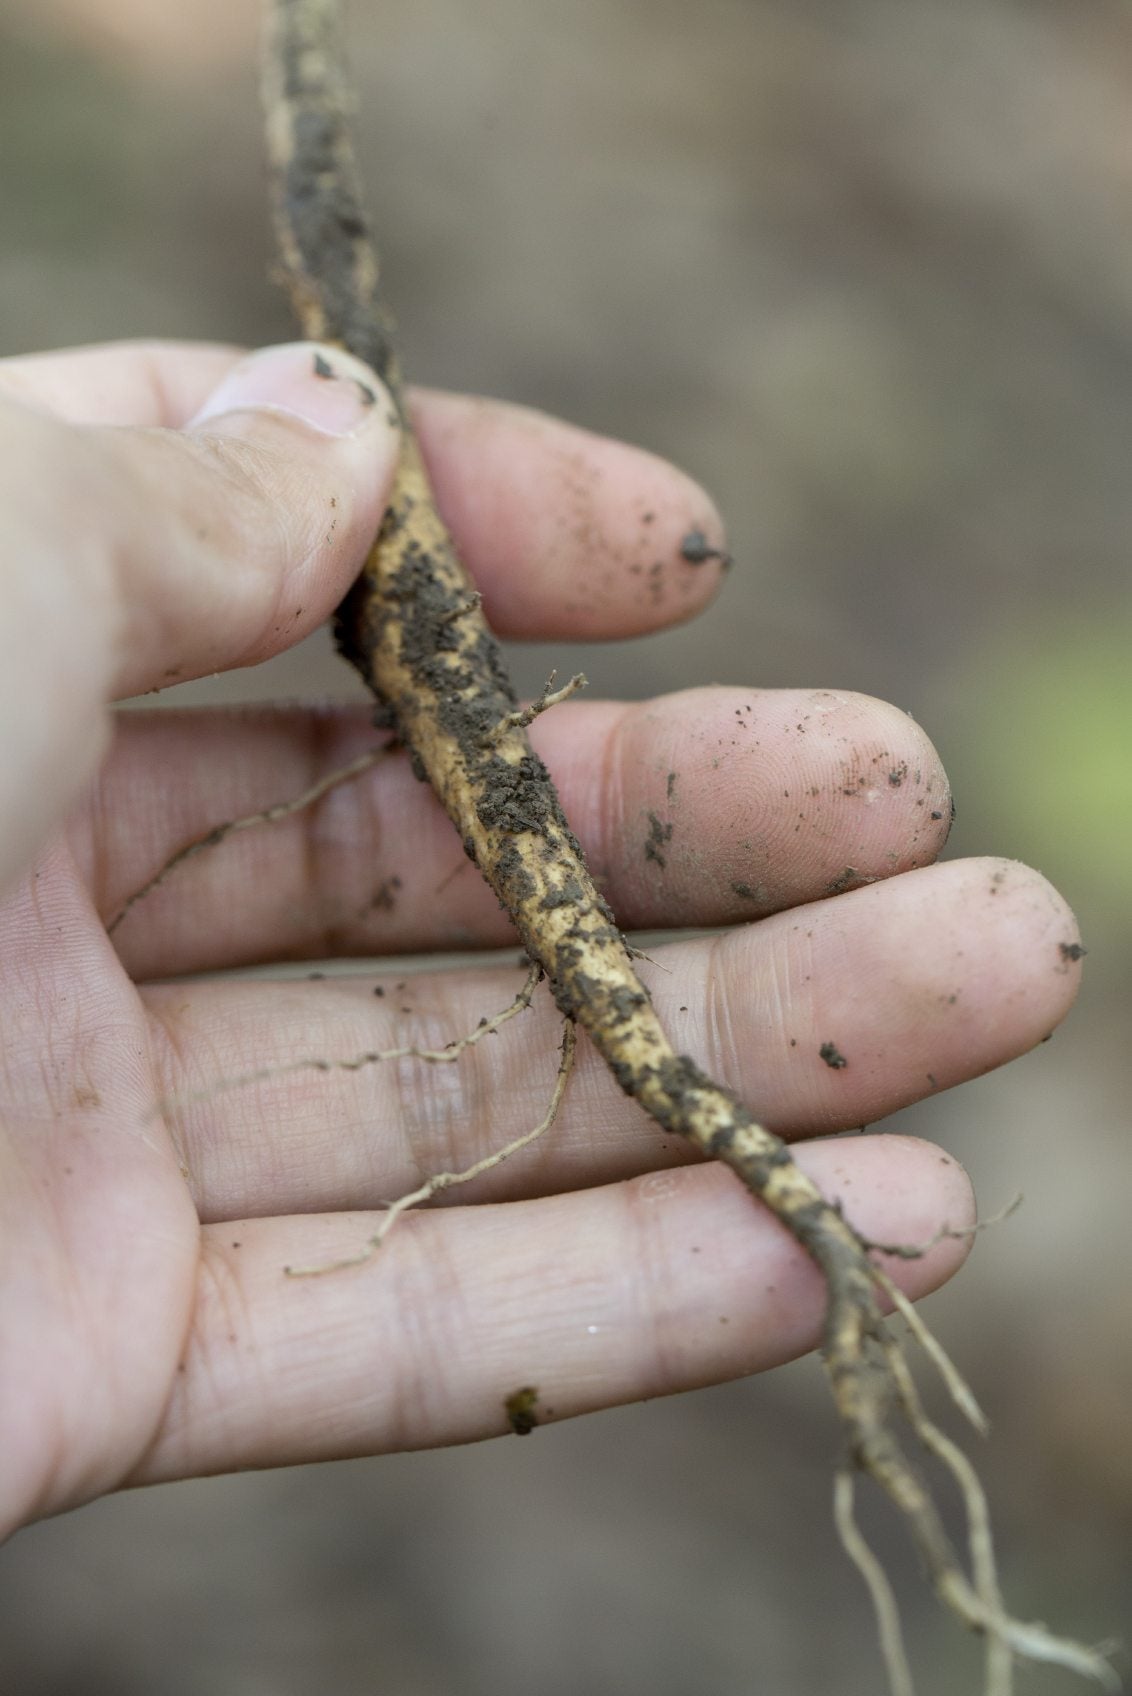
Root cuttings are pieces of root cut from plants that you want to propagate. Take cuttings from root growth in late winter or early spring, before the plant breaks dormancy. Roots have high levels of carbohydrates before they begin their spring growth, and the cuttings are more likely to be successful. Examine the roots before you cut them and choose roots that are firm and white. Avoid those that show signs of insects, disease, or rot. The new shoots grow from the part of the root closest to the plant. If you plant the root upside down, it won't grow. You'll have an easier time identifying the cut end later on if you make your cuts at an angle.
How to Take Root Cuttings
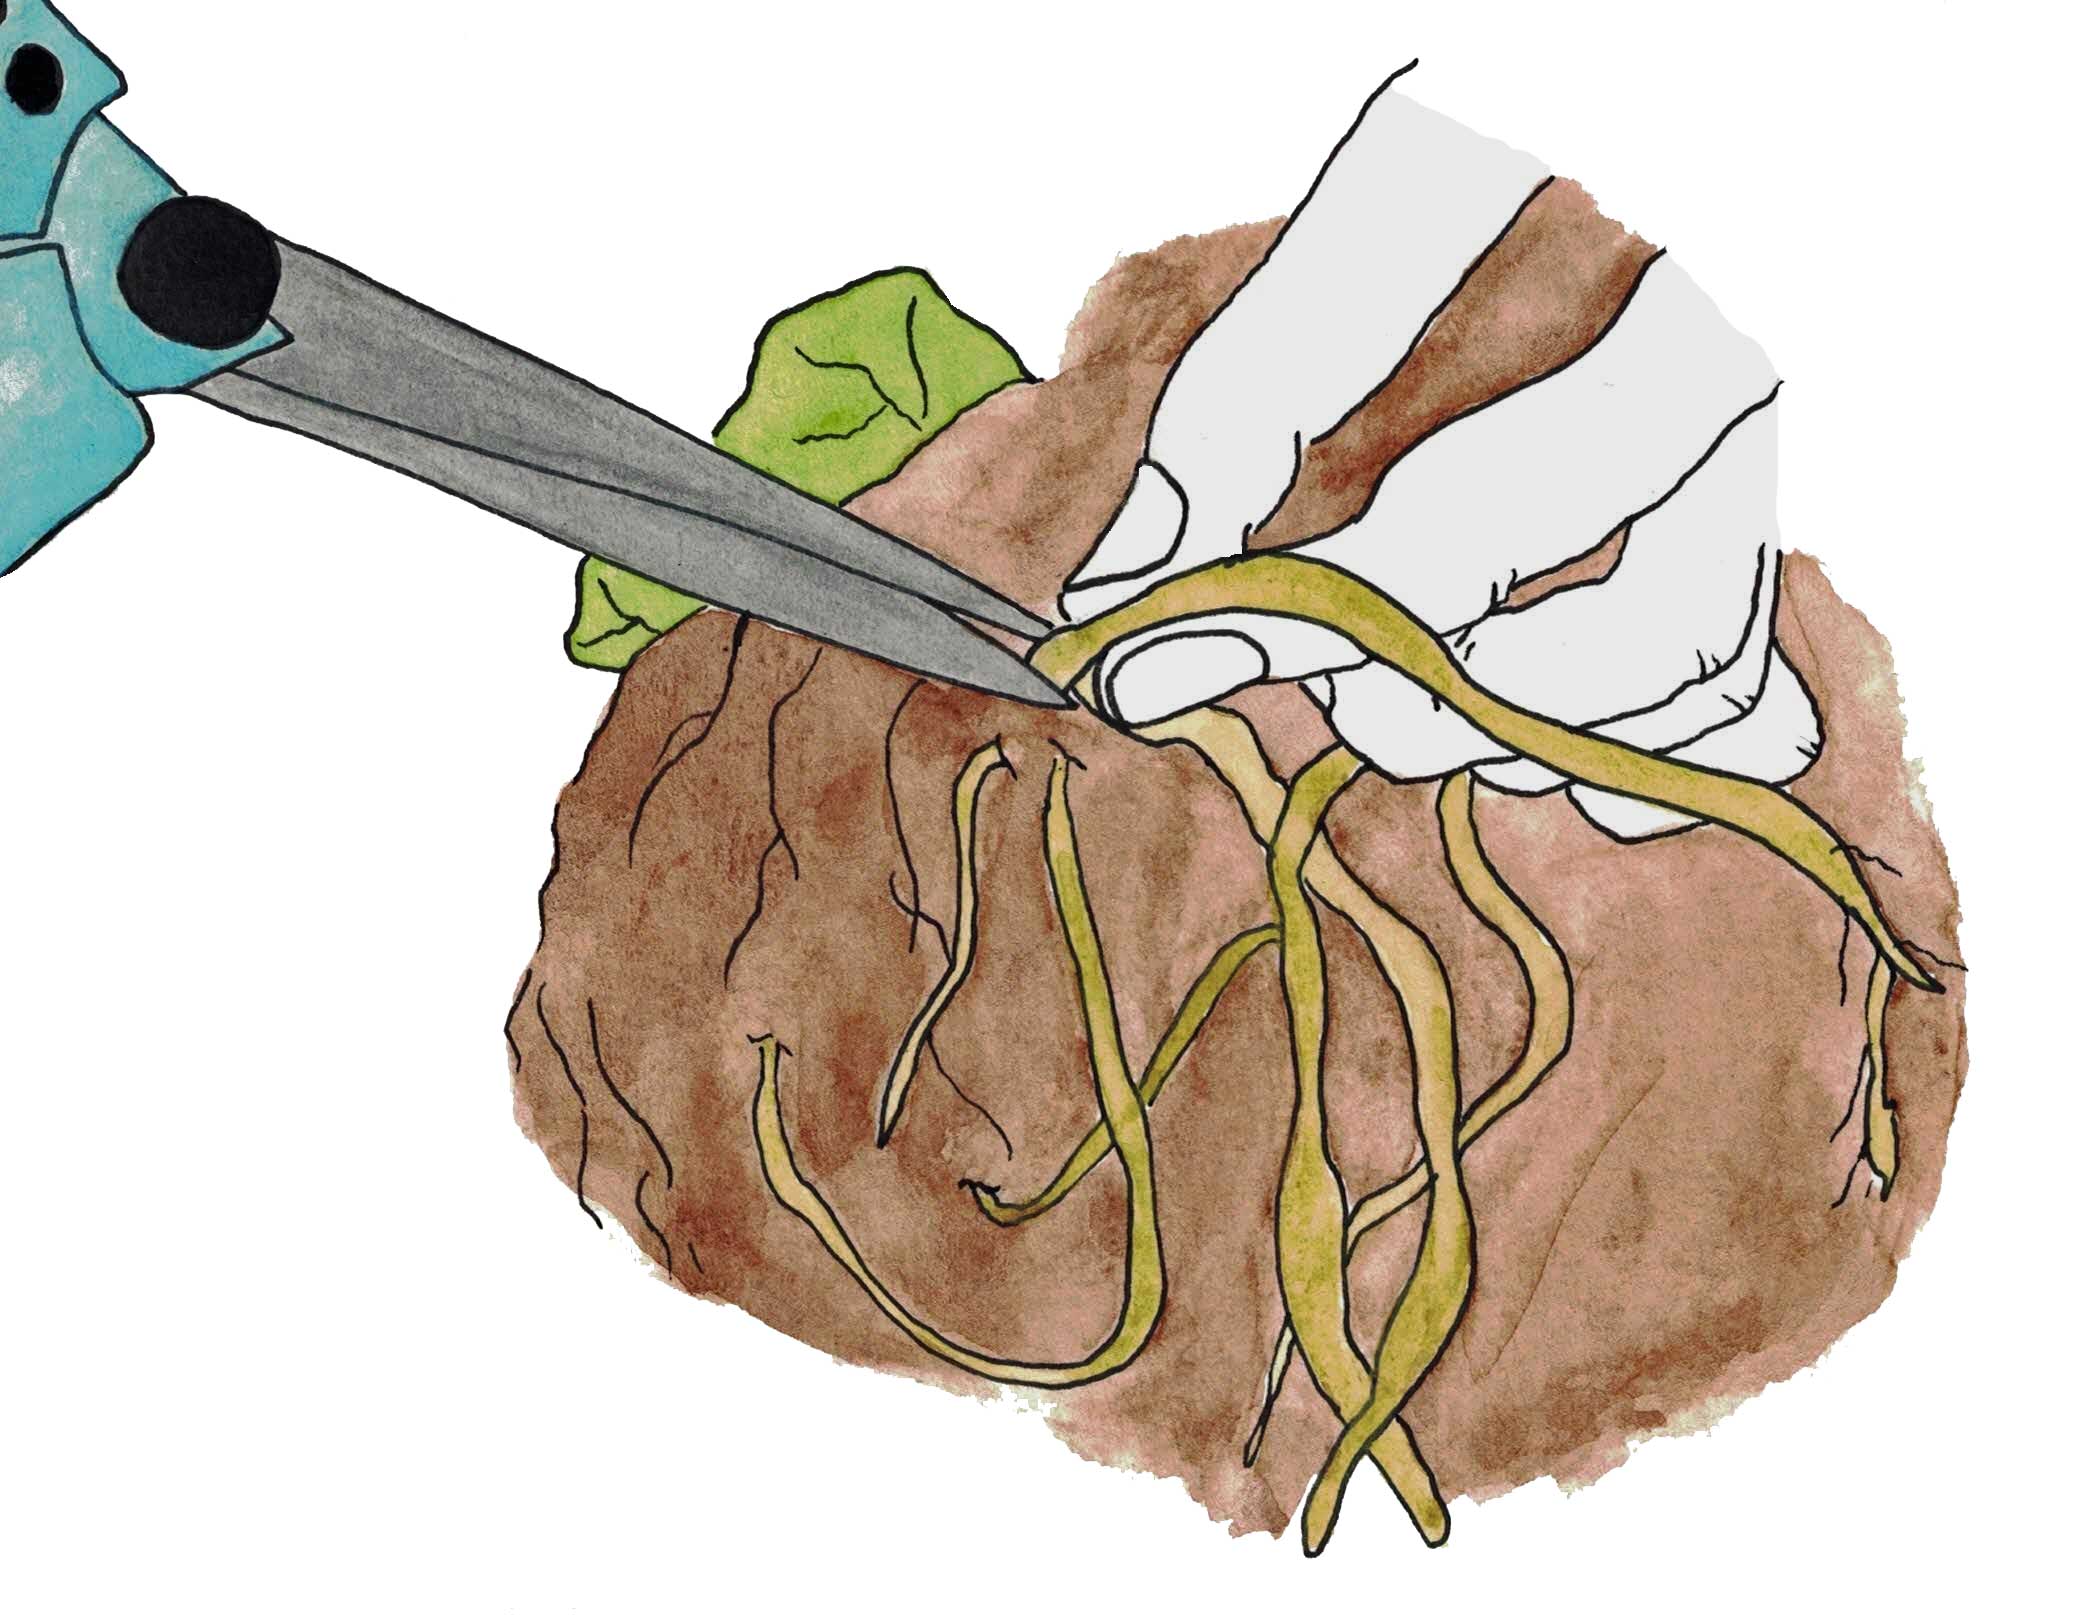
[caption id="attachment_113498" align="alignleft" width="200"]

Taking the root cutting[/caption] Dig up the parent plant and cut a 2 to 3 inch (5-8 cm.) root tip. Replant the parent plant right away and water it thoroughly if the soil is dry. Use a sharp knife rather than scissors or shears to avoid pinching the root. [caption id="attachment_113499" align="alignright" width="200"]

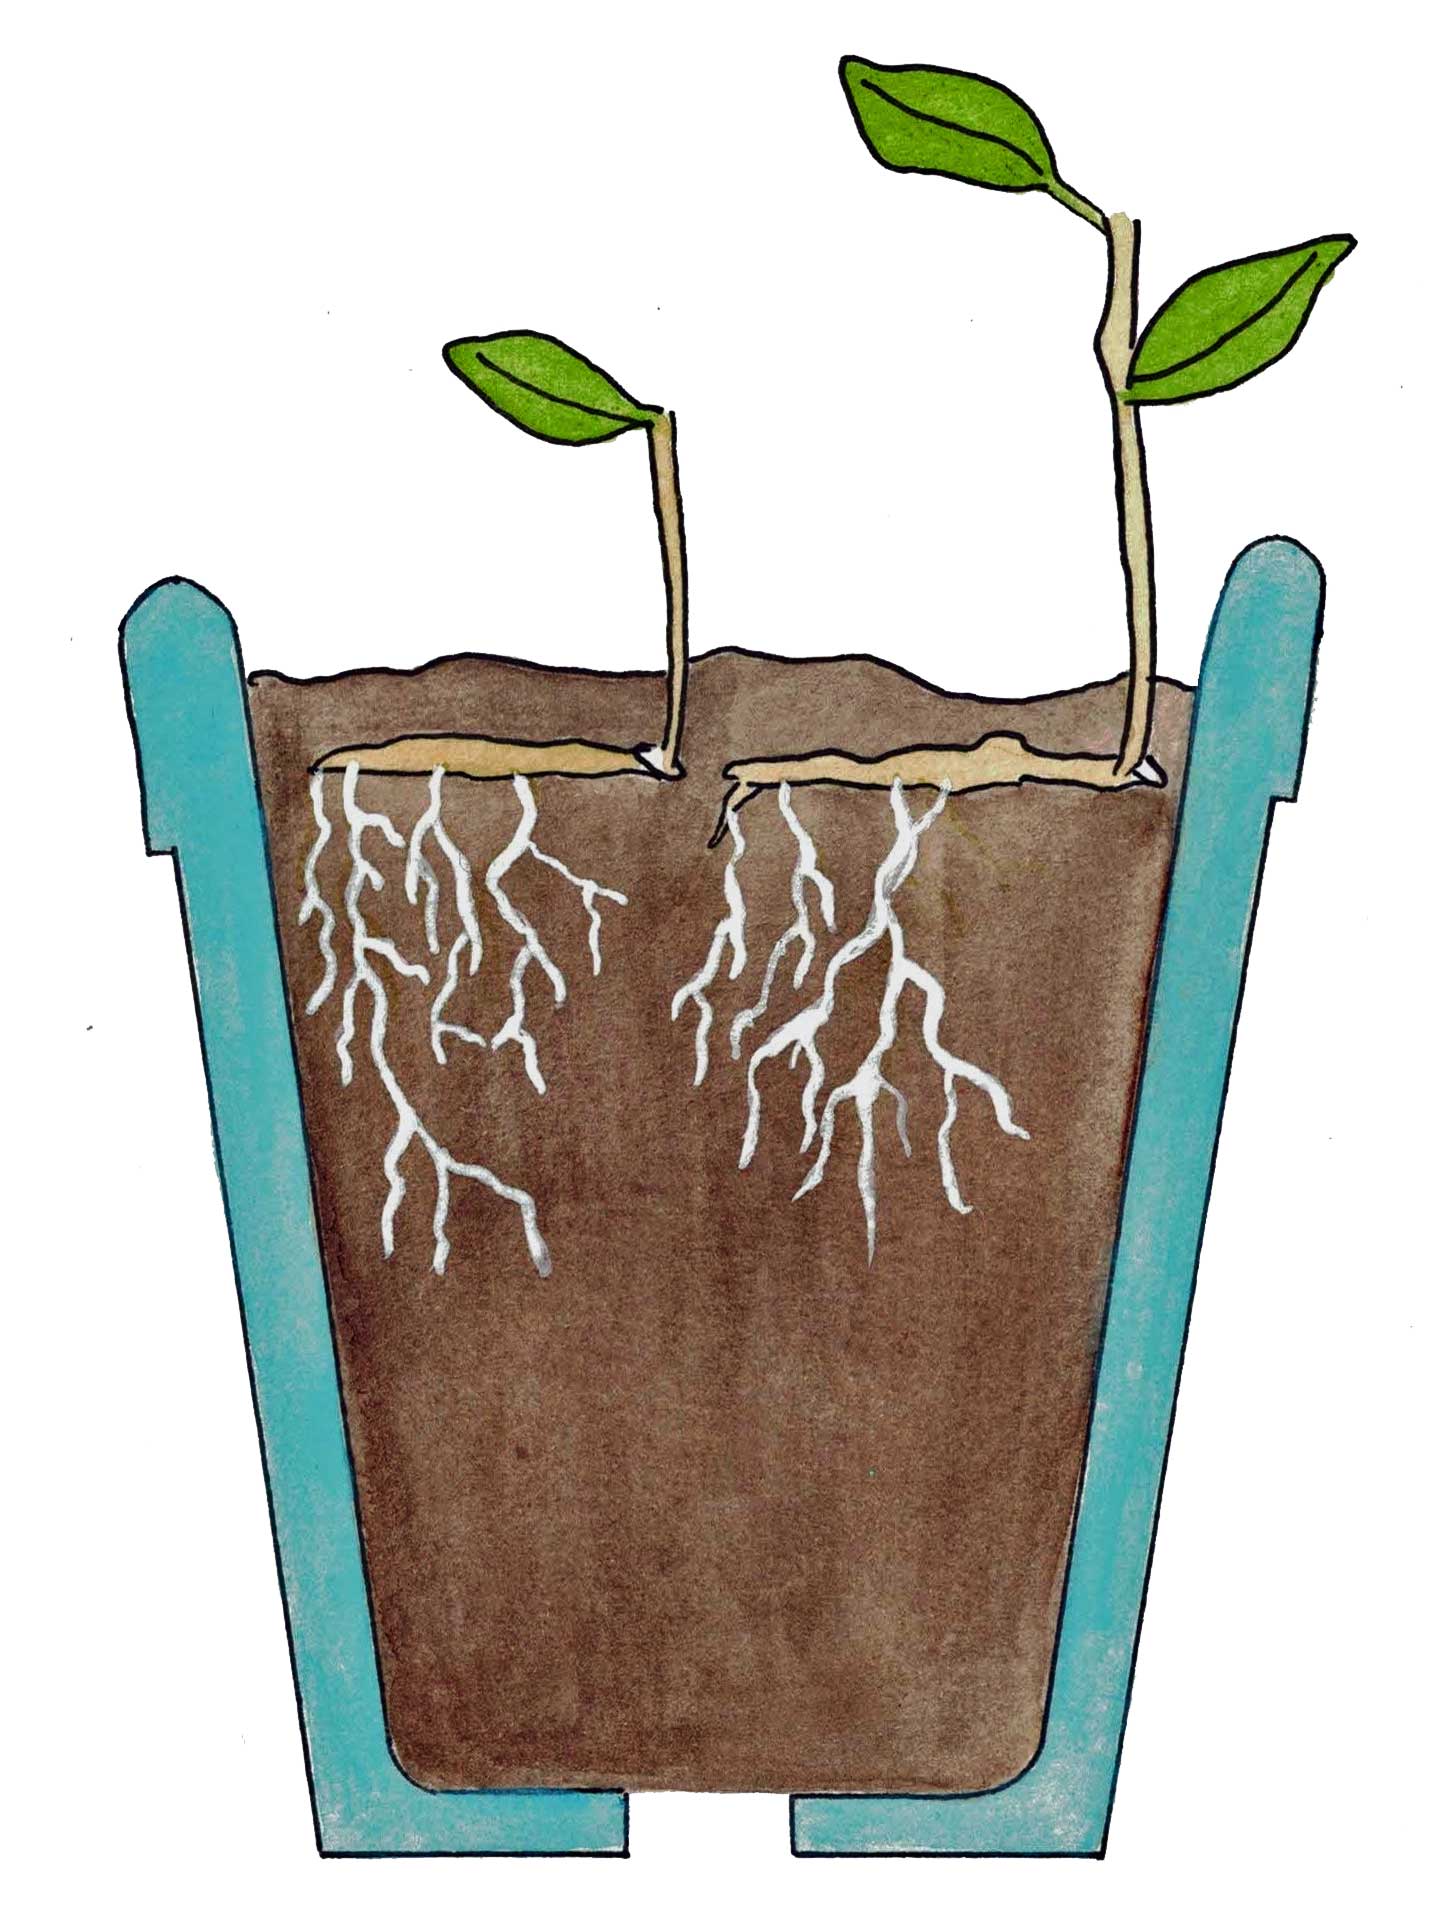
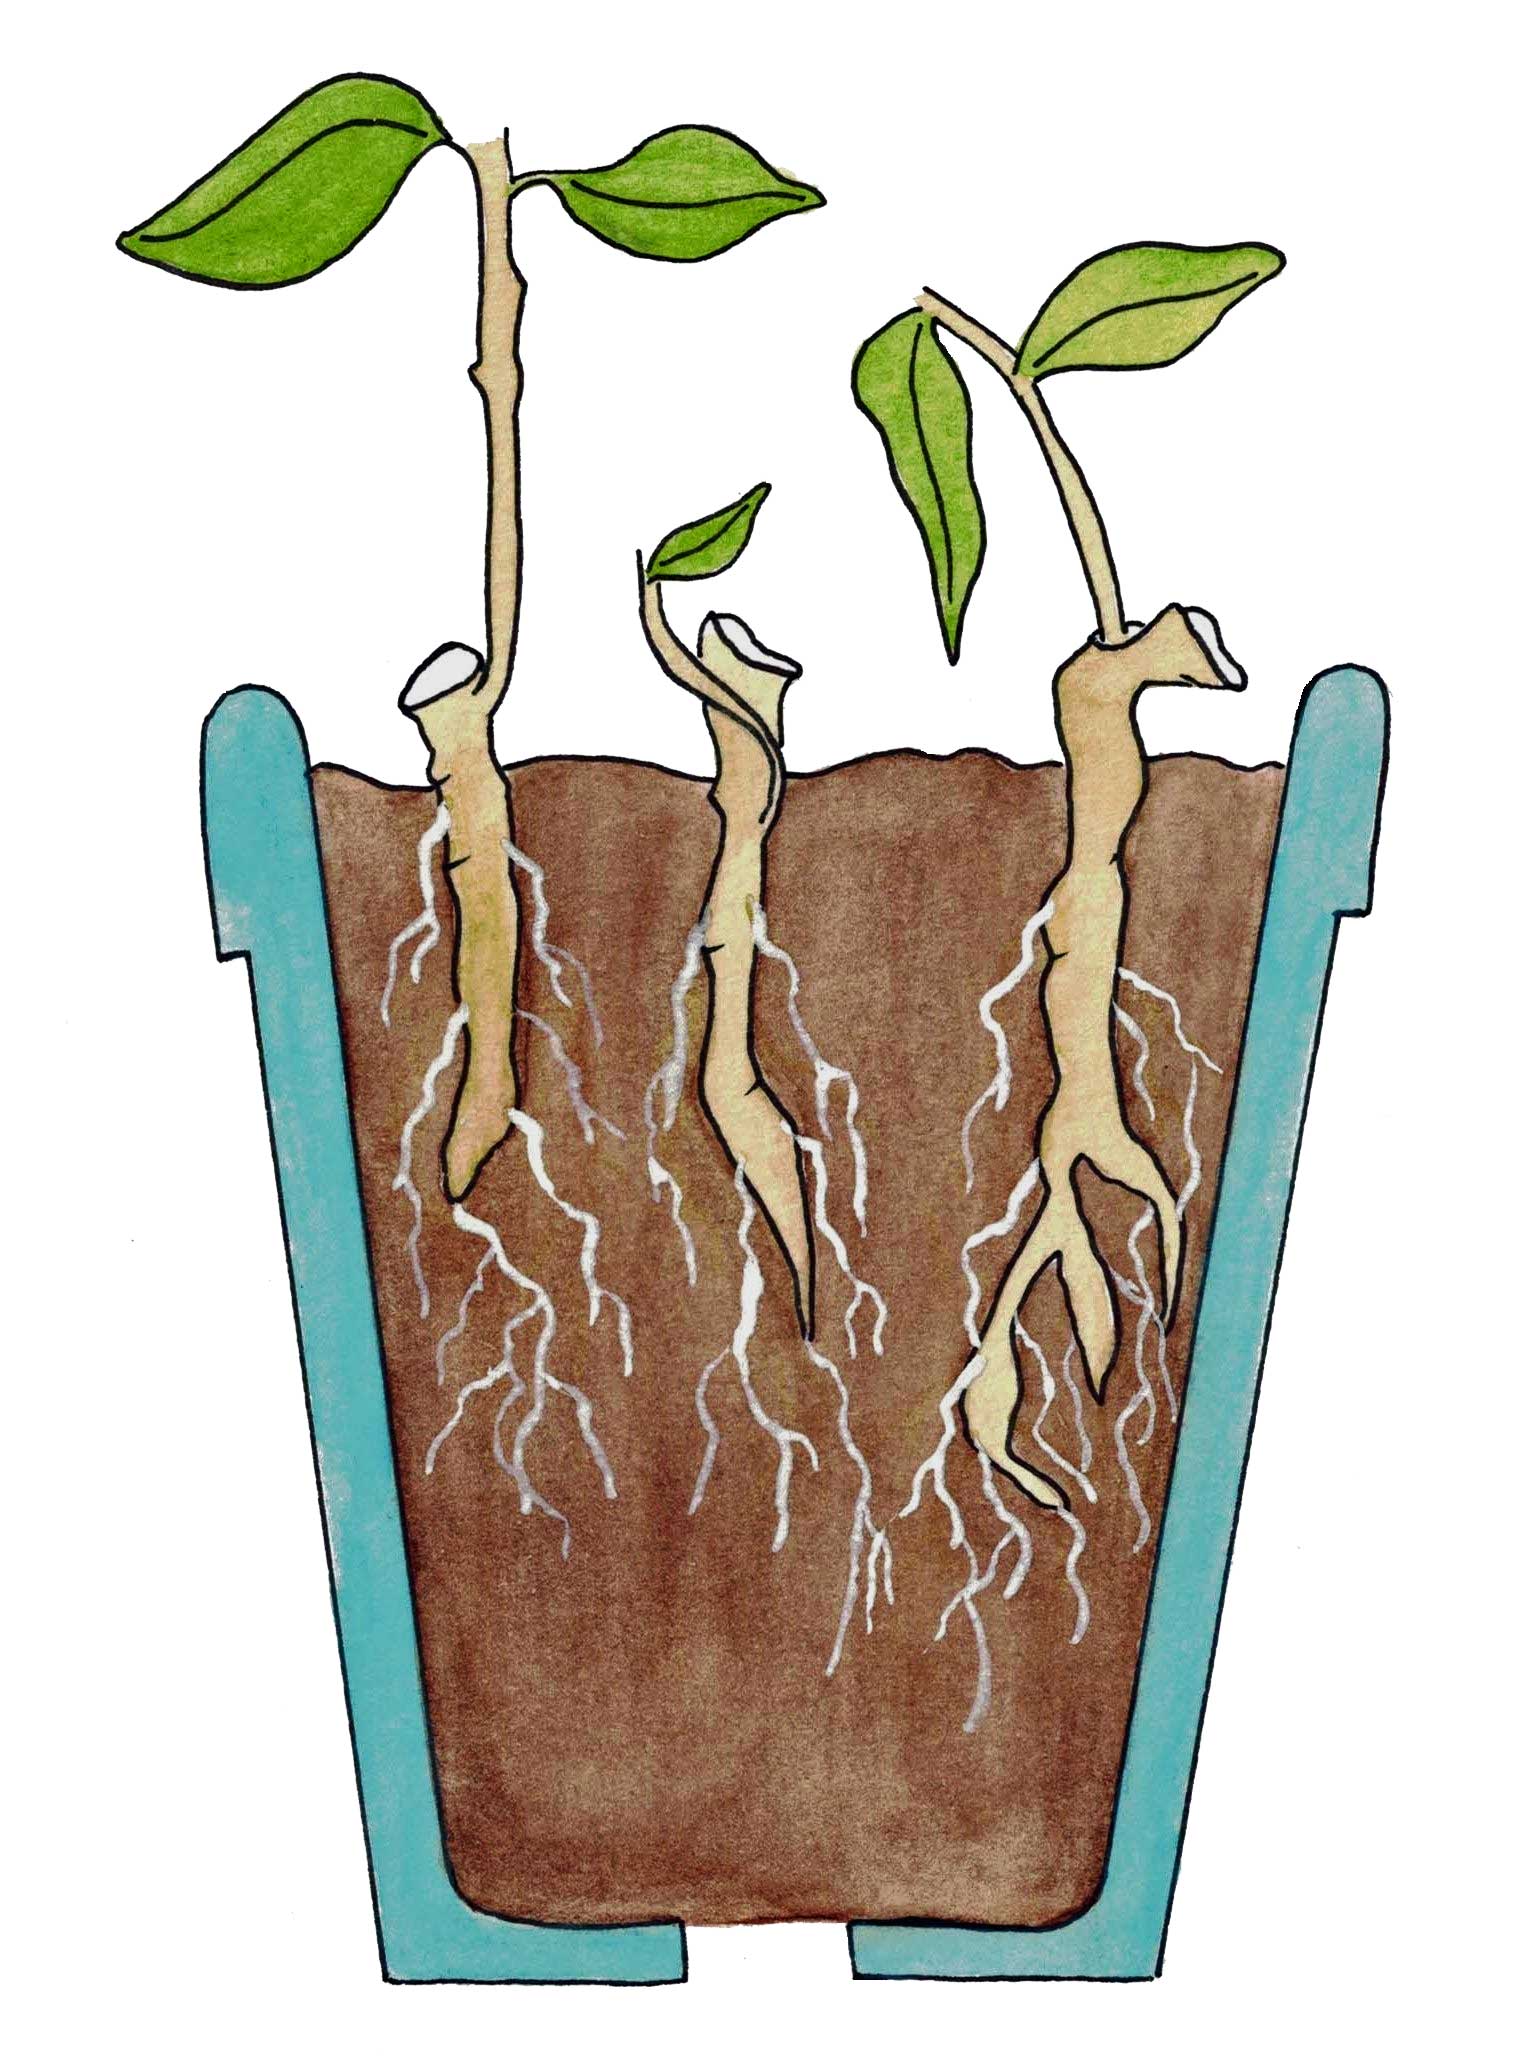
Horizontal planting[/caption] The root cutting technique depends on the thickness of the root. Lay thin cuttings out horizontally on moist starting mix. Remember: the shoots grow from the cut ends. Cover the root pieces with about a half-inch (1 cm.) of mix. If you have thick pieces of root, plant them vertically with the cut end up. Enclose the pots of root cuttings in a plastic bag, and cover trays with a sheet of plastic wrap. Don't place the cuttings in direct sunlight where heat will build up under the plastic. [caption id="attachment_113497" align="alignleft" width="200"]

Vertical planting[/caption] Check from time to time to make sure the mix is still moist. It takes several weeks for shoots to emerge. When they finally show themselves, remove the bag or plastic wrap. Each shoot develops its own roots, and the original root eventually disappears. Once a shoot has a small mass of roots, transplant it into a pot filled with good quality potting soil. Place the plant in a sunny window and keep the soil moist at all times. Most potting soil contains enough nutrients to support the plant for a couple of months. If you feel that the foliage is pale or the plant isn't growing at the expected rate, feed it with half-strength liquid houseplant fertilizer.
Sign up for the Gardening Know How newsletter today and receive a free copy of our e-book "How to Grow Delicious Tomatoes".

Jackie Carroll has written over 500 articles for Gardening Know How on a wide range of topics.