Whip And Tongue Grafting Basics And Benefits


Grafting—causing pieces of two plants to grow together into one plant—is an asexual method of propagating plants, just like rooting cuttings. One method of grafting that has much success is called whip and tongue grafting. What is whip and tongue grafting? It involves cutting the two pieces of plant so that they have a more secure fit. Read on for whip and tongue grafting steps.
Getting Comfortable with Grafting
Grafting is the process of joining two pieces of material from two different plants together so that they grow to form a single composite plant. Like rooting cuttings, grafting is a form of asexual plant propagation. Many gardeners who are comfortable with cuttings may hesitate to try their hand at the ancient propagation practice of grafting.
In grafting, each piece of plant is given a name. The bottom portion that contains a root system is called the “rootstock.” The top portion that contains the shoot system is labeled the “scion.” The pieces are placed so that the inner wood or cambium of the two are touching and can grow together.
Generally, gardeners try to combine a scion with desirable fruiting or ornamental characteristics with a hardy or pest resistant rootstock to create a more ideal plant. New “composite” plants created by grafting will produce a shoot system (branches, foliage, flowers, and fruit) that is a genetic copy of the scion’s parent plant.
Advantages of Whip and Tongue Grafting
Nobody can dispute that “whip and tongue” is a curious name for a grafting method, but the reason for the name becomes clear as you understand how it works. Ordinary grafting cuts both the scion and the rootstock on the diagonal, then fixes them together, cut sections touching, so that they can grow together.
In whip and tongue grafting, the gardener makes long, slanted cuts as well on both the scion and rootstock, but also shorter cuts. This creates “tongues” on each piece of plant that interlock, resulting in a tighter, more secure fit than regular grafting. Whip and tongue grafting works best when the scion and the rootstock are the same diameter, no bigger than ½ inch (1 cm.).
Whip and Tongue Grafting Tools
All grafting should be done with a sharp grafting knife, sharpened or beveled on one side for flatter cuts. This means greater surface area contact between cut surfaces. The knife must be razor sharp.
Sign up for the Gardening Know How newsletter today and receive a free copy of our e-book "How to Grow Delicious Tomatoes".
You’ll also need a few more tools, including materials used to hold the scion to the rootstock until the cambium grows together to join them. These materials can be any of several products including masking/grafting tape, orange shellac, rubber band strips, Buddy Tape, grafting wax, or tar.
Whip and Tongue Grafting Steps
The ideal time to graft is in late winter to early spring, from February to early April before growth starts. However, take the scion graftwood some months earlier while the shrub or tree is fully dormant. Each scion should be one year old wood some 6 inches (15 cm.) long that contains several buds.
Let’s use as an example whip and tongue grafting apple trees. The scion will be taken from a cultivar with fruit that you like and want to have more of. The rootstock will be a small sapling currently growing in your home orchard, or else a branch growing from one of your apple trees. Remember that the growing part is the rootstock, not the wood you cut from it.
- Cut the trunk or branch off the rootstock with a long, slanting cut 2 to 3 inches (5-8 cm.) long made with one pass of the grafting knife.
- Make the tongue with a cut into the cut section of the rootstock. Start this cut about 1/3 of the distance from the tip of the cutoff tree or branch. Press the grafting knife into the wood until it has made a cut that is about 2/3 of the length of the first rootstock cut.
- Make a similar sloping cut on the bottom end of the scion, holding the wood with one hand and pushing the knife away from you into the wood with the other hand.
- Reproduce the tongue cut on the scion in the same way you made it on the rootstock.
- Press the two tree parts together, matching up the tongues for a snug fit.
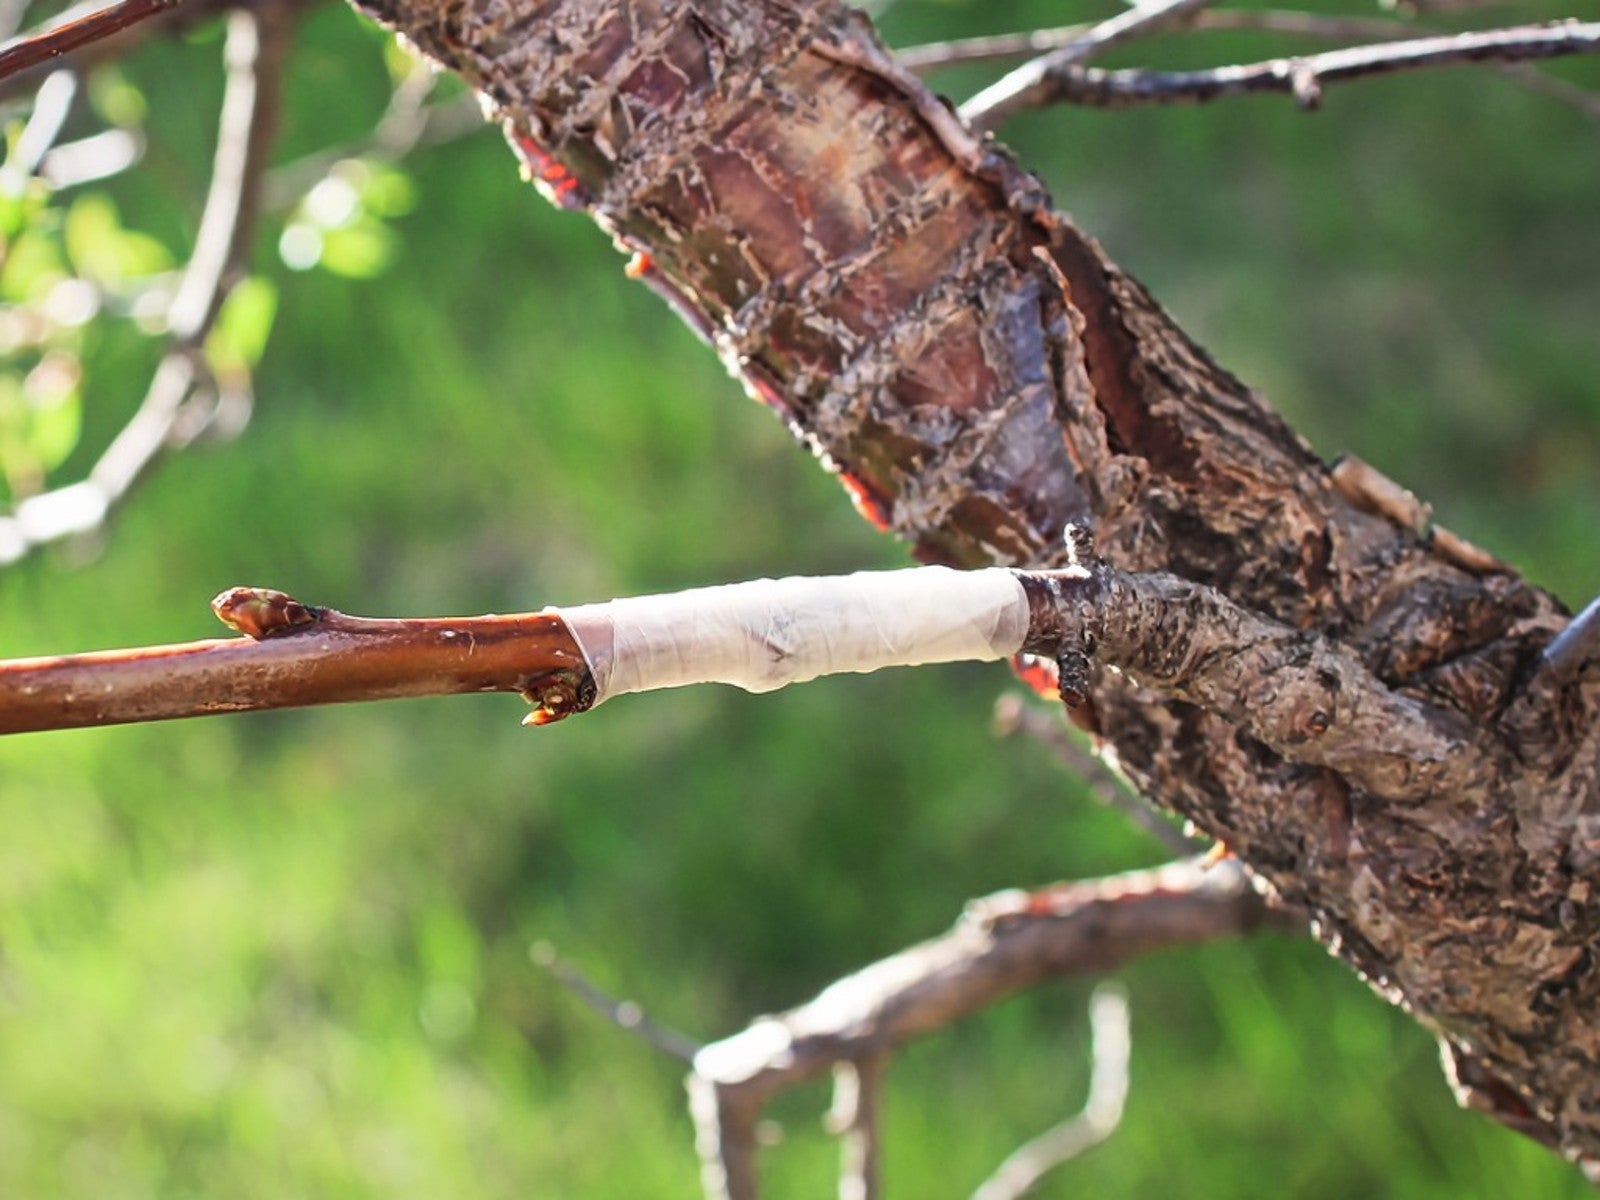
- Wrap the graft area with grafting tape. Pull it tightly to keep out air and keep the pieces securely in place, extending it above and below the graft union. Covering it with orange shellac can assist in keeping moisture in.

Teo Spengler is a master gardener and a docent at the San Francisco Botanical Garden, where she hosts public tours. She has studied horticulture and written about nature, trees, plants, and gardening for more than two decades, following a career as an attorney and legal writer. Her extended family includes some 30 houseplants and hundreds of outdoor plants, including 250 trees, which are her main passion. Spengler currently splits her life between San Francisco and the French Basque Country, though she was raised in Alaska, giving her experience of gardening in a range of climates.