

Laura Walters
There's nothing more discouraging for gardeners than precious seeds and seedlings failing to grow into strong, healthy plants. For those new to gardening, take comfort – even the most seasoned gardeners have made their fair share of seed-starting mistakes.
My own errors are often a result of overenthusiasm. The sun comes out and I start my seeds indoors – weeks too soon. The seeds germinate, healthy plants start to grow and then they linger and decline, becoming leggier by the minute.
If you’re on the other end of the spectrum and are planting seeds that simply don't grow, be assured there’s a laundry list of reasons for seeds not germinating. This is yet another common problem that particularly affects gardeners starting seeds indoors and may have nothing to do with your prowess as a grower.
Ensuring you have the best growing equipment is a great place to start. The Gardening Know How Shop is your go-to source of non-GMO seeds, seedling trays, and growing kits from trusted brands.
The good news is that most seed-starting mistakes can be avoided with a bit of knowledge. Here are the most common issues and their solutions.

1. Starting Seed Too Early
Not knowing when to start seeds indoors is one of the most common seed-starting mistakes. We gardeners can hardly wait to get our hands dirty, and when the sun comes out and starts to melt the snowdrifts, we just can‘t restrain ourselves. Out come the seeds and before we know it, we’ve sown an entire vegetable garden on the kitchen table.
The problem of course is timing. In my area, that first sweet glimpse of spring is usually followed by a snowstorm and, for good measure, a week of sub-freezing temps. Nowhere close to transplanting time. By the time the weather improves, your seedlings will have outgrown their containers and become leggy as they desperately try to stretch up to reach the available sunlight.
Look at the last frost date in your area for an idea of when to transplant seedlings. Do not start seeds until about 6-8 weeks before this date. I did say “about”, so keep an eye on weather predictions as well.
2. Choosing the Wrong Seeds
This can be interpreted in a number of ways but, again, the gardening enthusiasm is at fault. Sometimes we get so excited we neglect to factor in our USDA hardiness zone, which impacts the growing window.
What might be gorgeous tomatoes in a warmer zone may require an additional few weeks of growing season that isn't available in your area. Be sure you know your USDA hardiness zone and plant accordingly.

Browse the most stunning flower varieties, flavorful vegetables, and aromatic crops, or invest in a complete growing kit with seed-tray and bio dome lid in the Shop.
3. Planting Seeds That Aren’t Viable
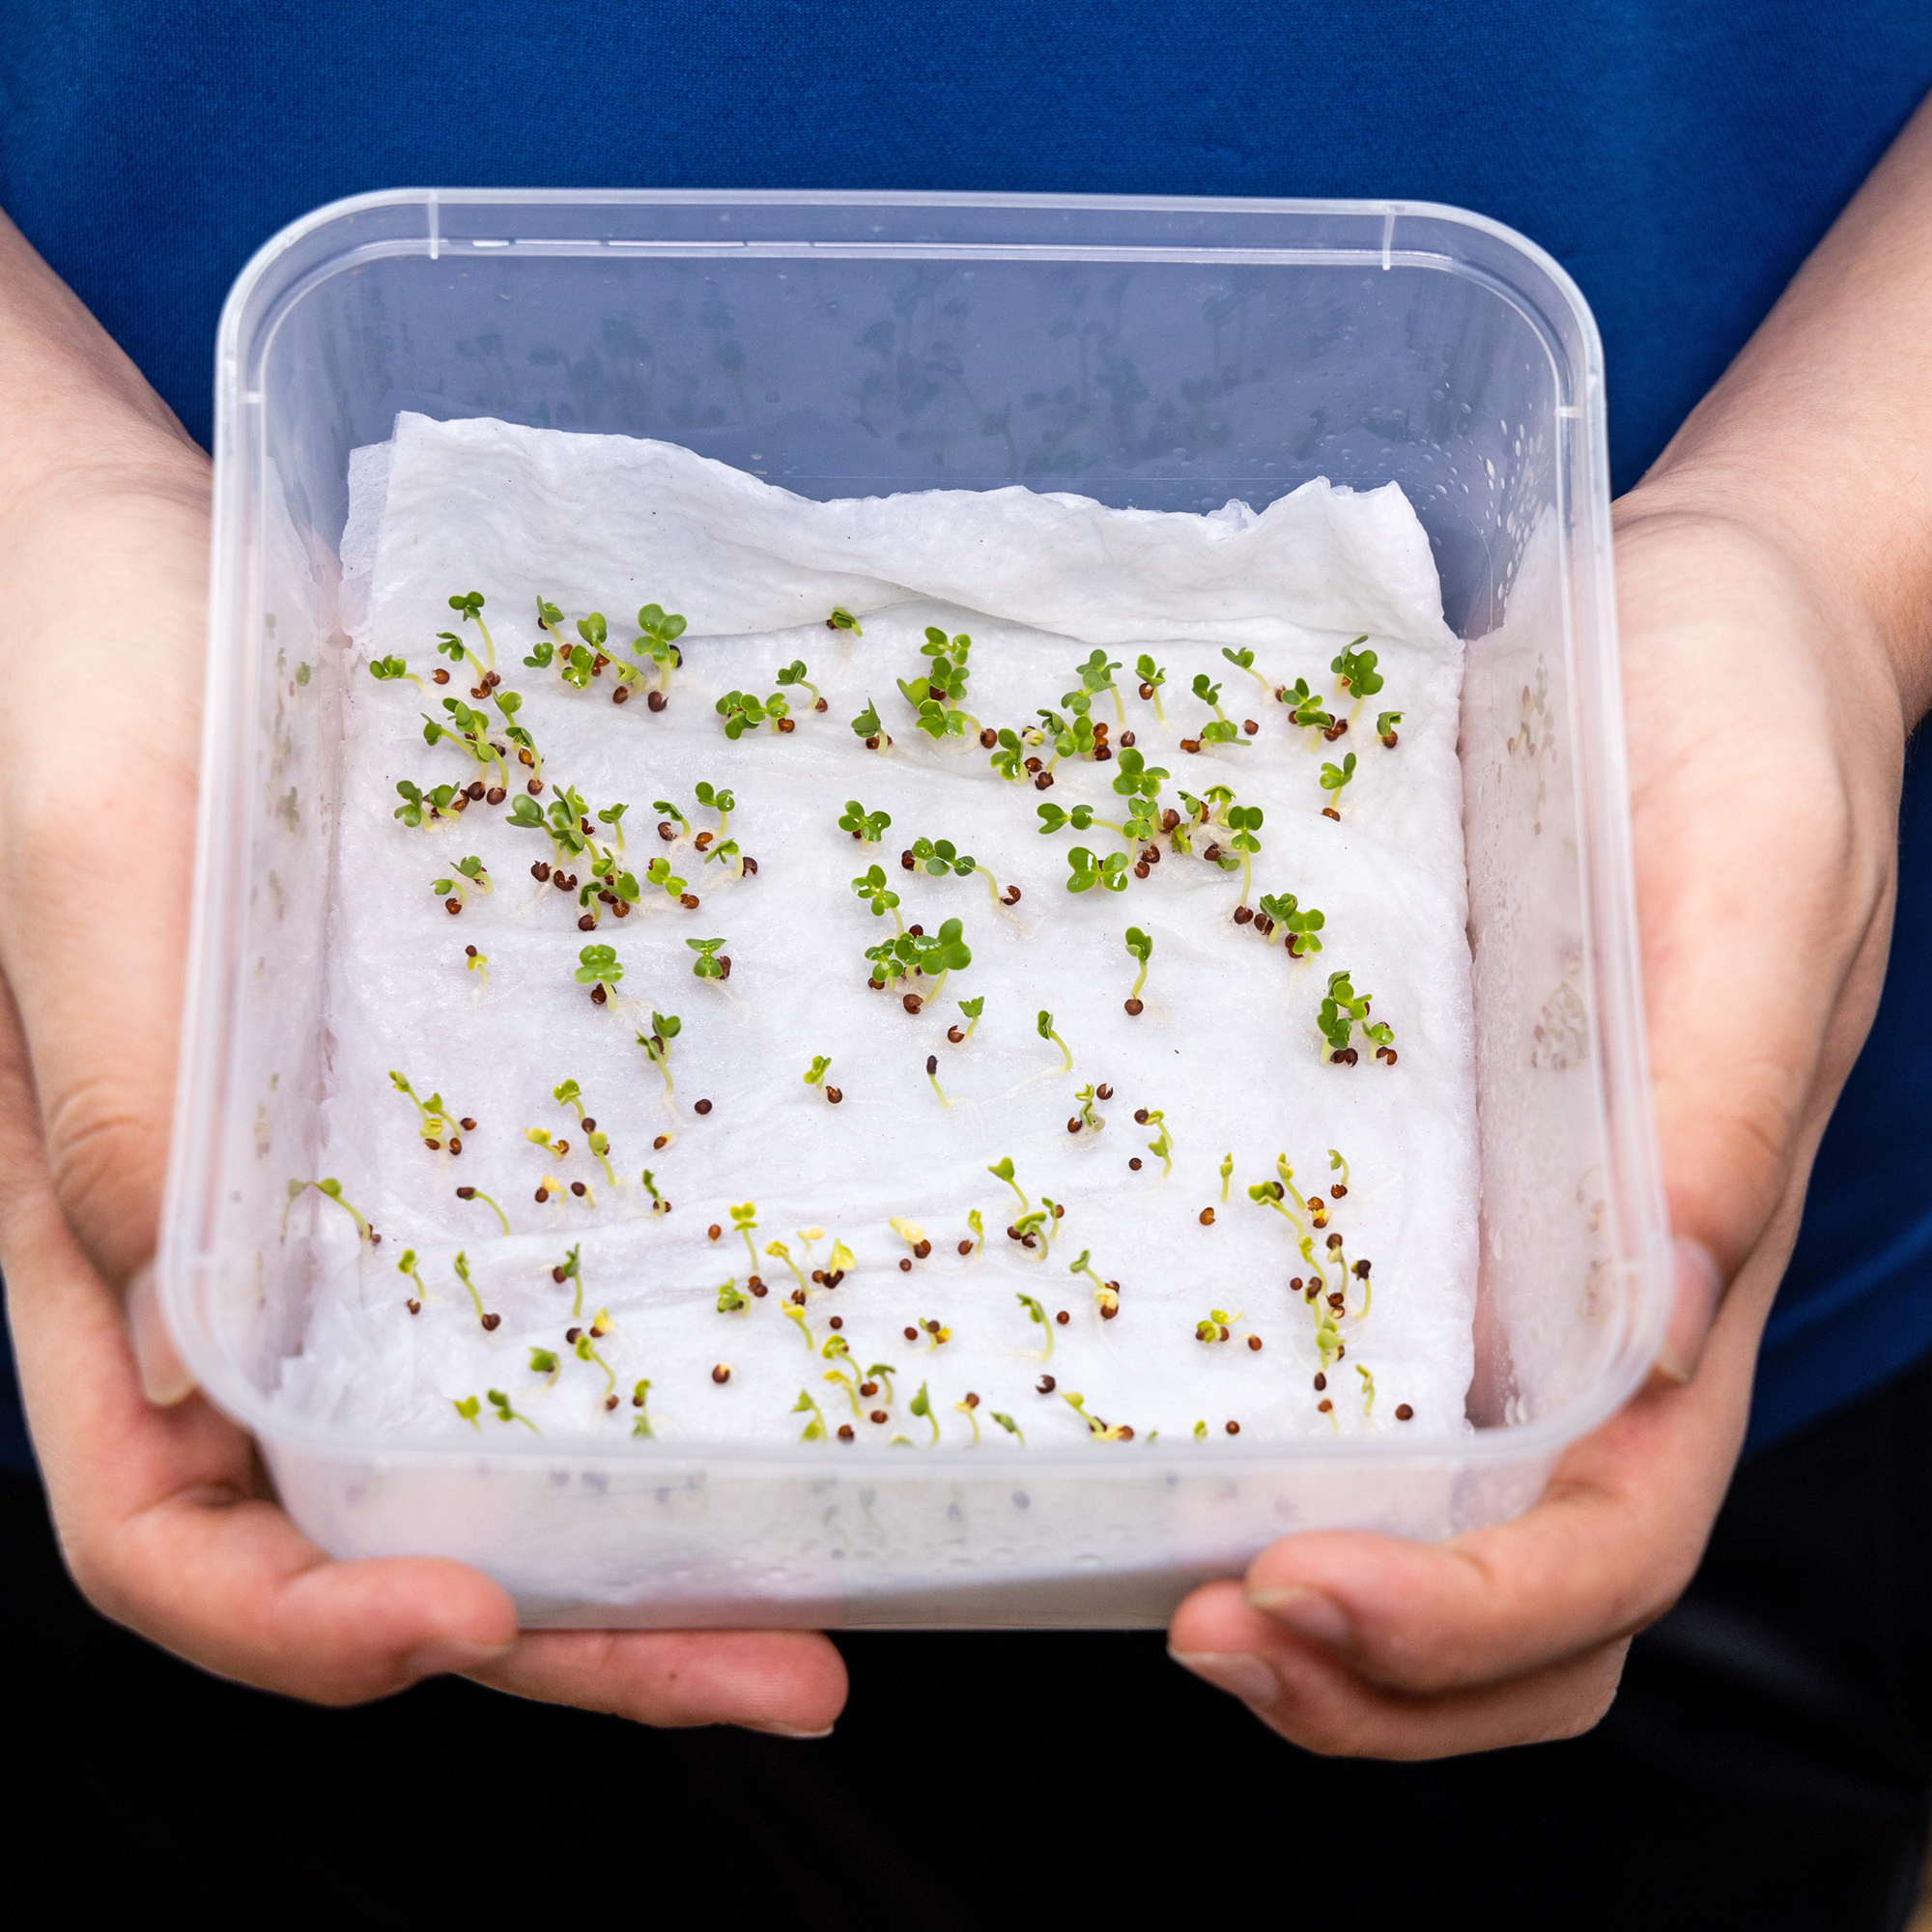
The easiest way to know if old seeds will germinate is to try an easy seed viability test, such as sprinkling them onto a damp paper towel. Some growers opt to test and grow seeds at the same time by germinating seeds in paper towel. As well as being an easy way to start seeds, it's also mess free as no soil is required.
Planting unviable seeds is easily done if you harvest seeds and aren’t all that dedicated to labeling them. When seed saving it is imperative that you label them not only with the type of plant and cultivar if possible, but the date you harvested them.
Most seeds are viable for 3-4 years but that’s dependent on how they’ve been stored. Storing seeds in a sealed container is the best option. Place the container in an area that is cool, dark, and dry.
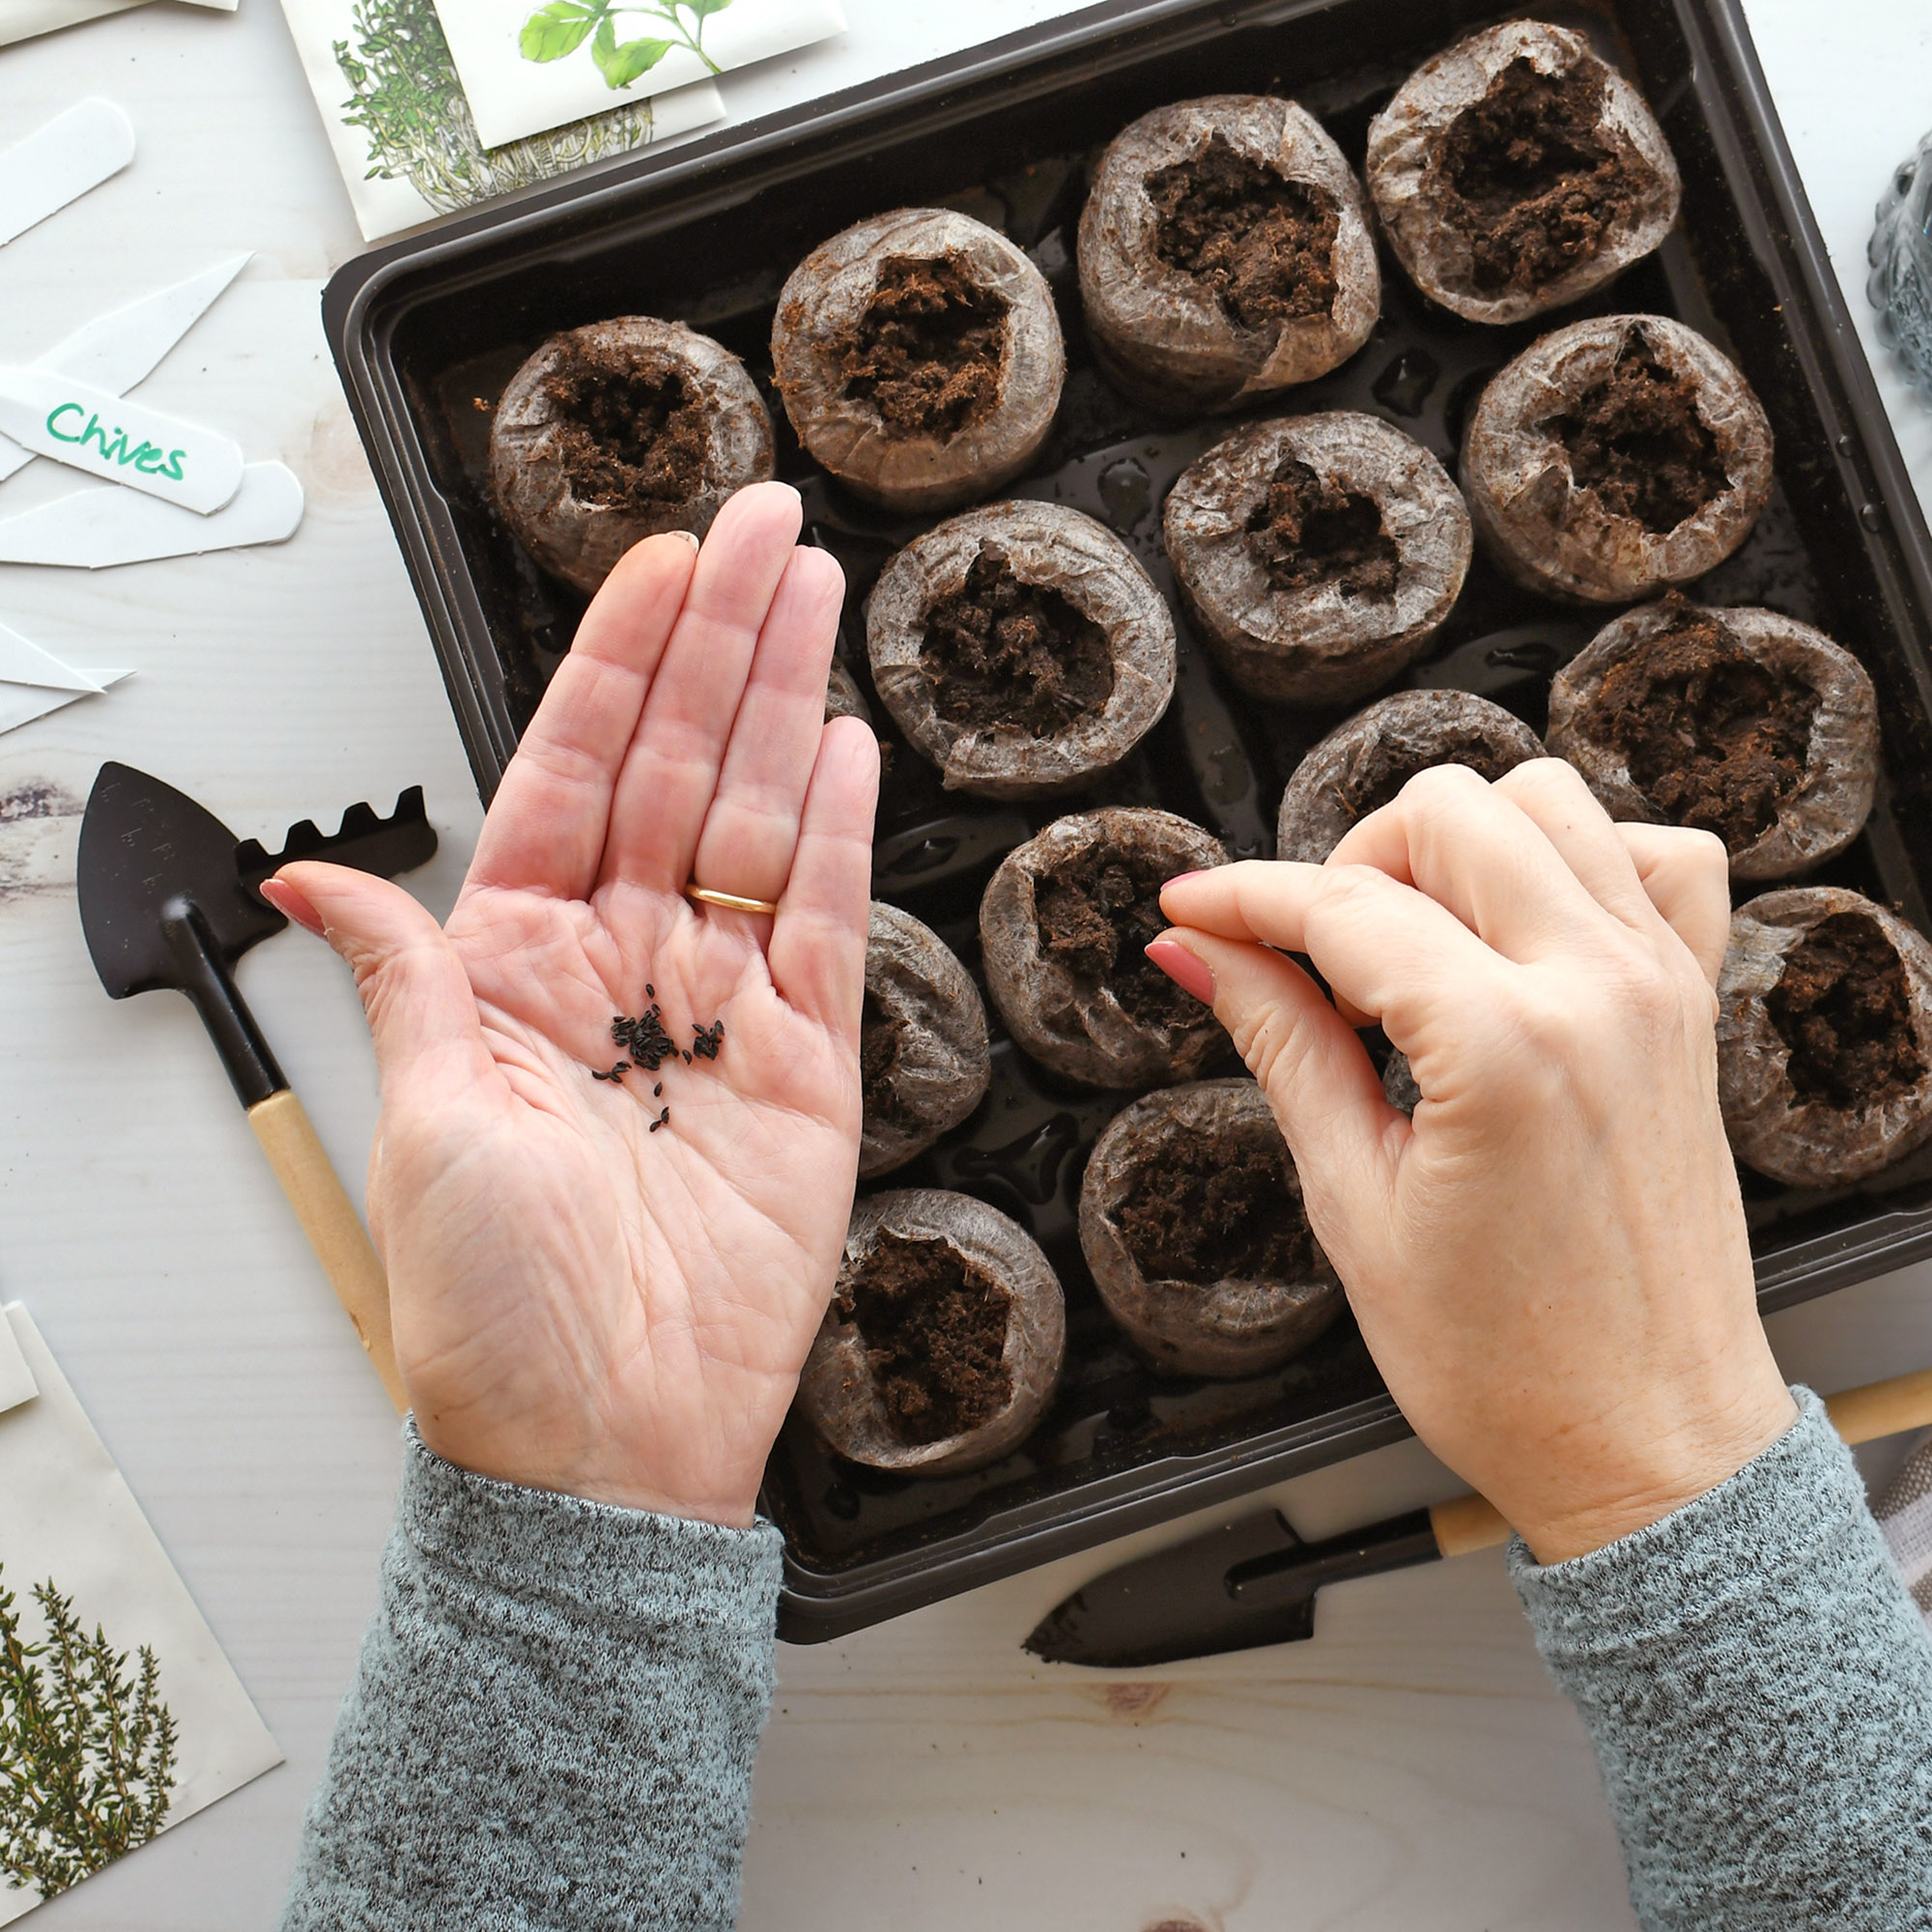
4. Not Reading The Seed Packet
It's really important to read the seed packet information before planting. Not only does it tell you days til maturity but it gives explicit instructions on how deep to plant seeds, how far apart, and what temperature the seed prefers for germination. So you won’t make the mistake of putting lettuce seed on a heat mat for instance, since it prefers cool soil to sprout.
You may also find out that some seed varieties don’t want to be started inside at all. Maybe they don’t transplant well and it's best to direct sow seeds into the garden proper. You can also find out what the germination rate is which will give you an idea of how many seeds to plant.

5. Using the Wrong Seed-Starting Medium
This is another very common error. Some people assume you can use soil from the garden to start seeds but that soil often contains diseases or pests which will then be passed onto your new seedlings. Others used bagged potting soil but that is often too dense for fragile seedlings.
Seeds need consistent moisture to germinate, but the soil should never be wet or soggy. If the soil is too wet, seeds can rot and disappear. Therefore, use soil that is specifically made for starting seeds that allows water to move through quickly. This soil holds the appropriate amount of water to keep the soil moist.
Mixes often contain peat moss (or a more sustainable option), vermiculite, perlite, mycorrhizae, coco coir, compost, organic fertilizer, and lime. You can also make your own soilless seed-starting mix using a combination of some of these ingredients.

6. Insufficient Light
We’ve all had the leggy plants – and in this case taller is definitely not better. Leggy seedlings are the result of insufficient light. The poor seedlings are stretching their utmost to get better light. To put this into perspective, vegetable seedlings need 12-18 hours of light; something a sunny indoor window sill can’t always provide.
That’s where artificial lighting comes into play. Yes, you need it for the best results. There are tons of grow light options available. LED grow lights are a popular choice and often come with programmable timers – a great boon to forgetful people like myself.

7. Not Thinning
I know this is a hard one, or at least it is for me. But you must learn how to thin seedlings. If you leave all the 6 or 8 or whatever beet seedlings in a tiny area, you’re likely to get no beets. You need to thin the beets to one healthy beet for every 2-3 inches (5-8cm) of space.
To make this easier, keep in mind that you can eat vegetable thinnings! They’re yummy tossed into a salad.
When you thin your seedlings, I find it is better not to pull them out. If you do, you’re likely to disturb the roots of your “keeper”. Instead, gently snip the seedlings you want removed at the surface of the soil.
More Seed Starting Inspiration
- Join our seed-starting workshop to learn how to grow flowers and vegetables like a pro.
- Sow these 5 flower seeds before winter ends for gorgeous spring blooms. Don't miss the sowing window!
- Browse seed starting trays in the Gardening Know How Shop. Choose from mix-and-match seedling trays and lids to complete growing kits to make a success of your seed starts.
- Prepare for any eventuality by learning the best seeds for survival – and grow a garden that can outlast almost anything.
This article features products available from third party vendors on the Gardening Know How Shop.

-
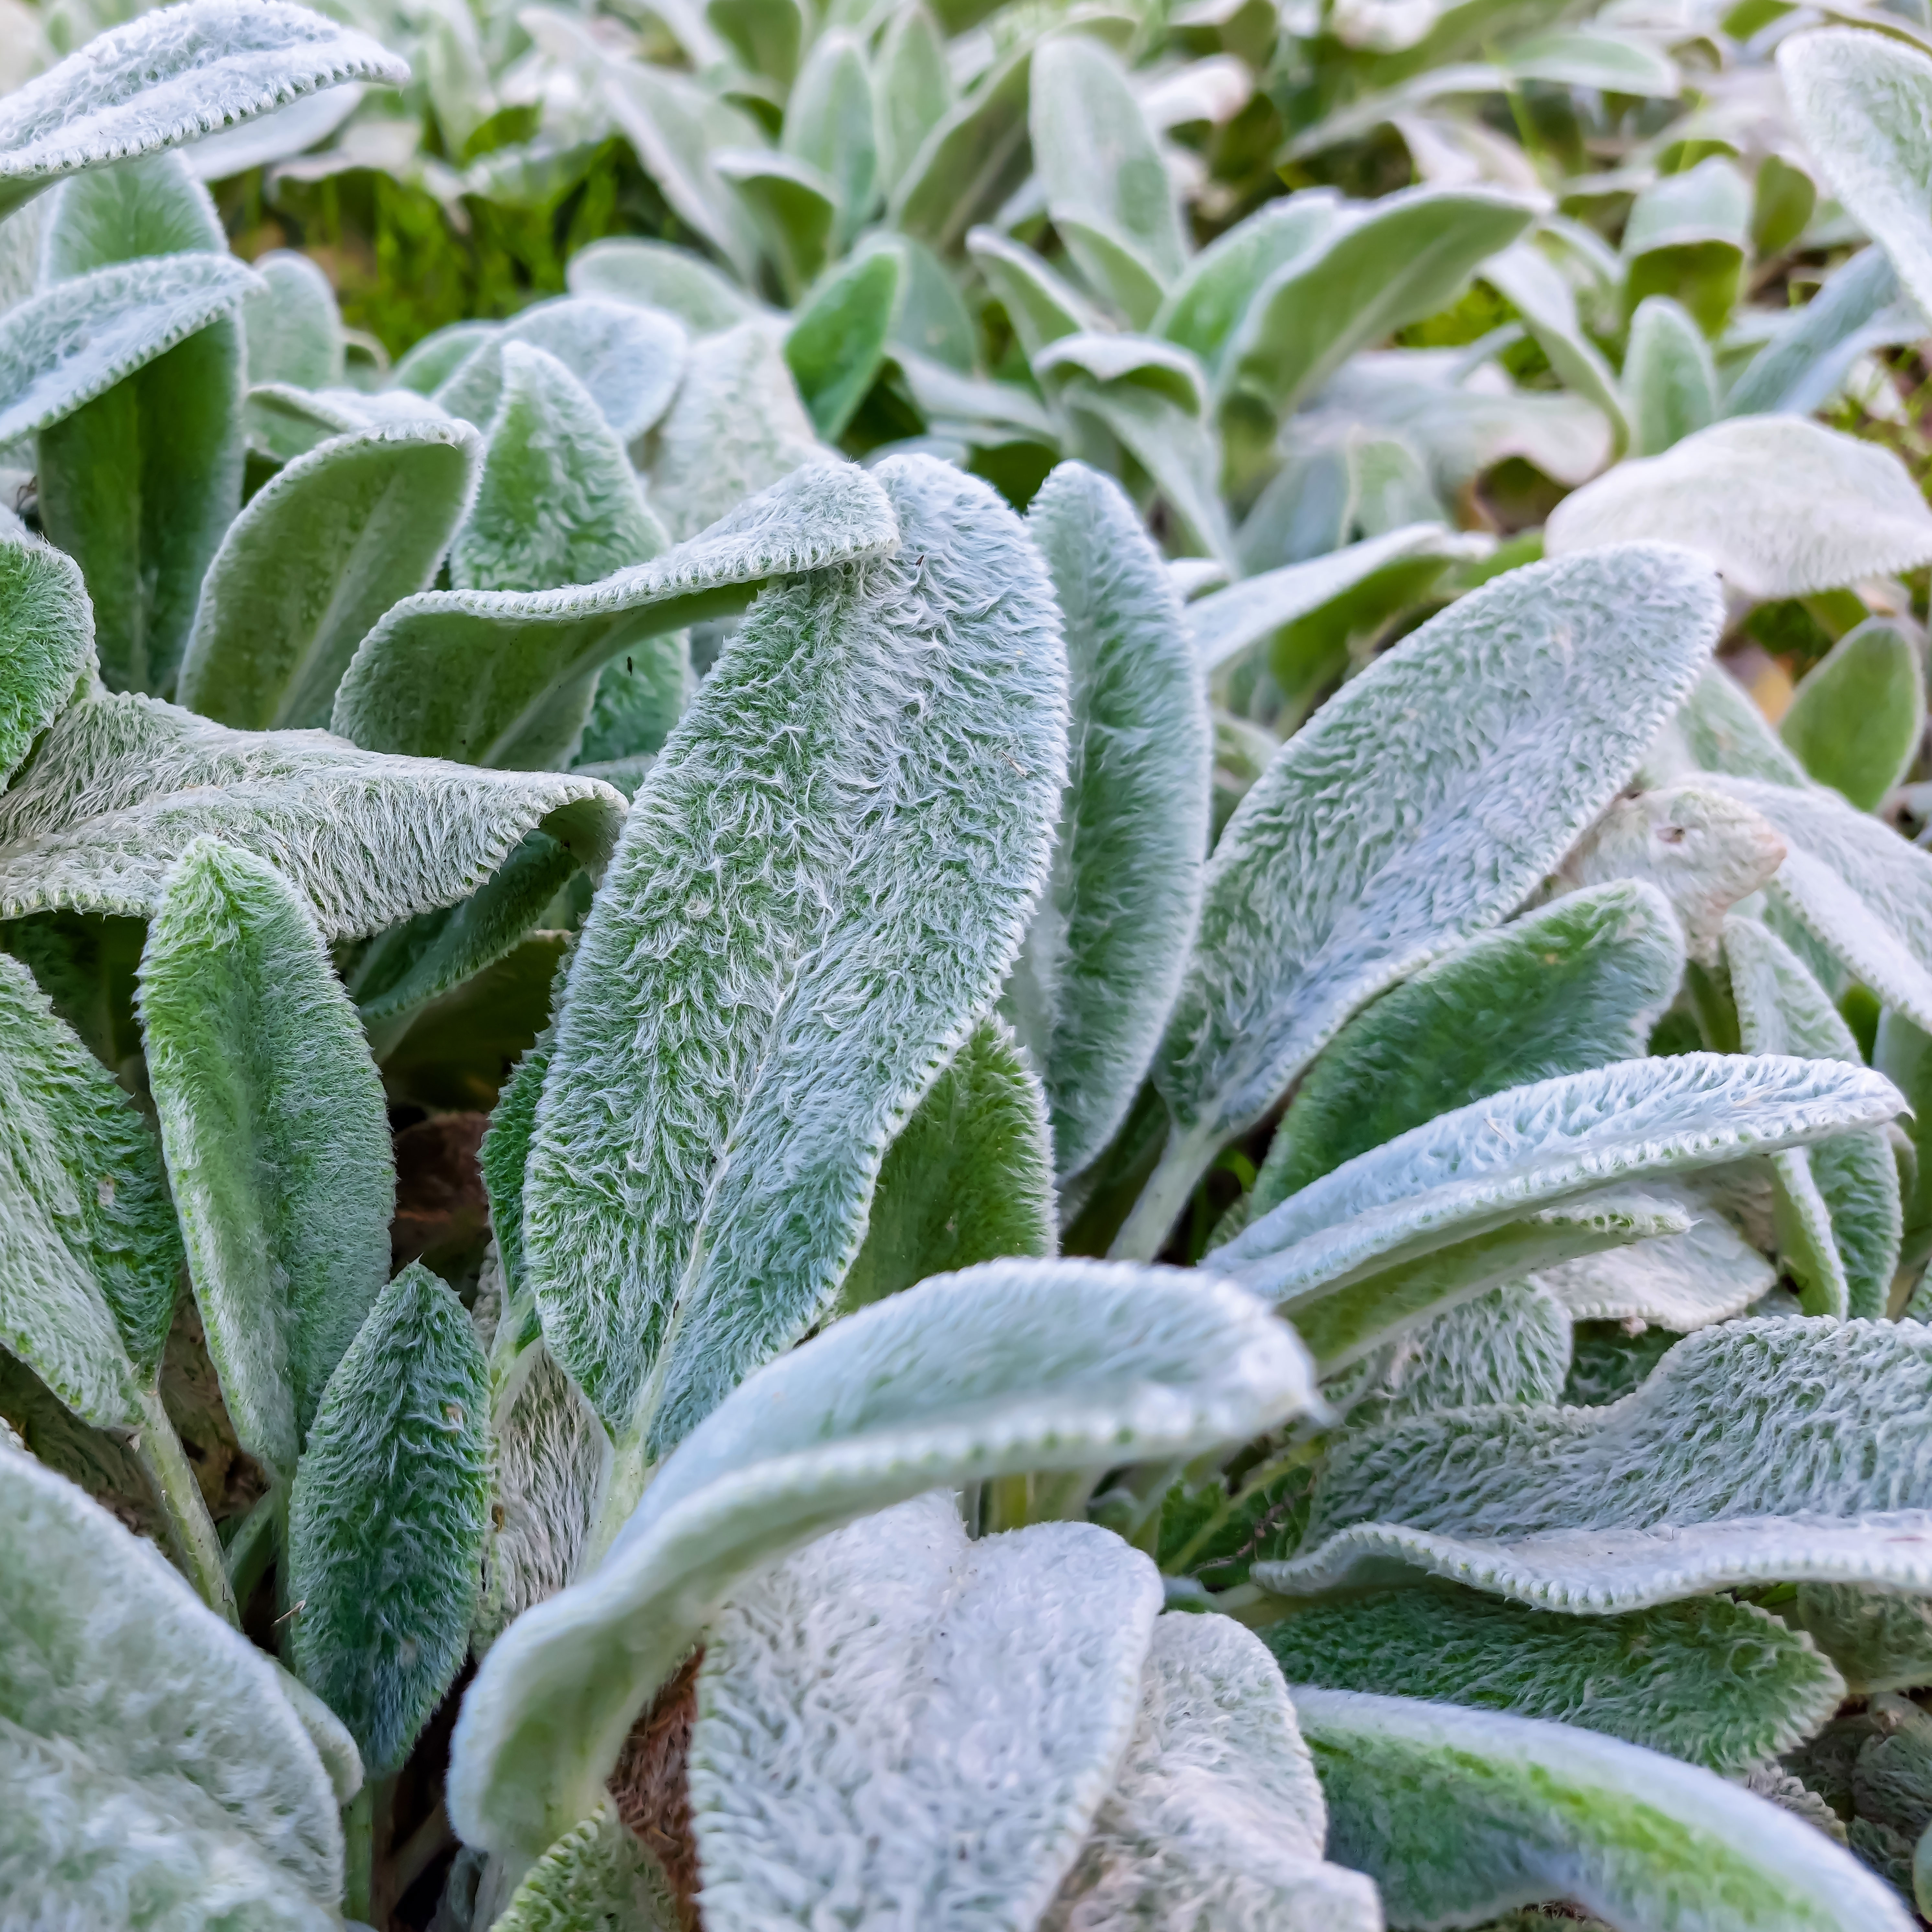 Looking For Plants To Give You The Soft And Fuzzies? Try These 5 Fuzzy Leaf Plant Options
Lovers of texture, drama, silver foliage and tactile plants will adore these special sensory garden additions. These fuzzy leaf plant options will leave you all aglow
-
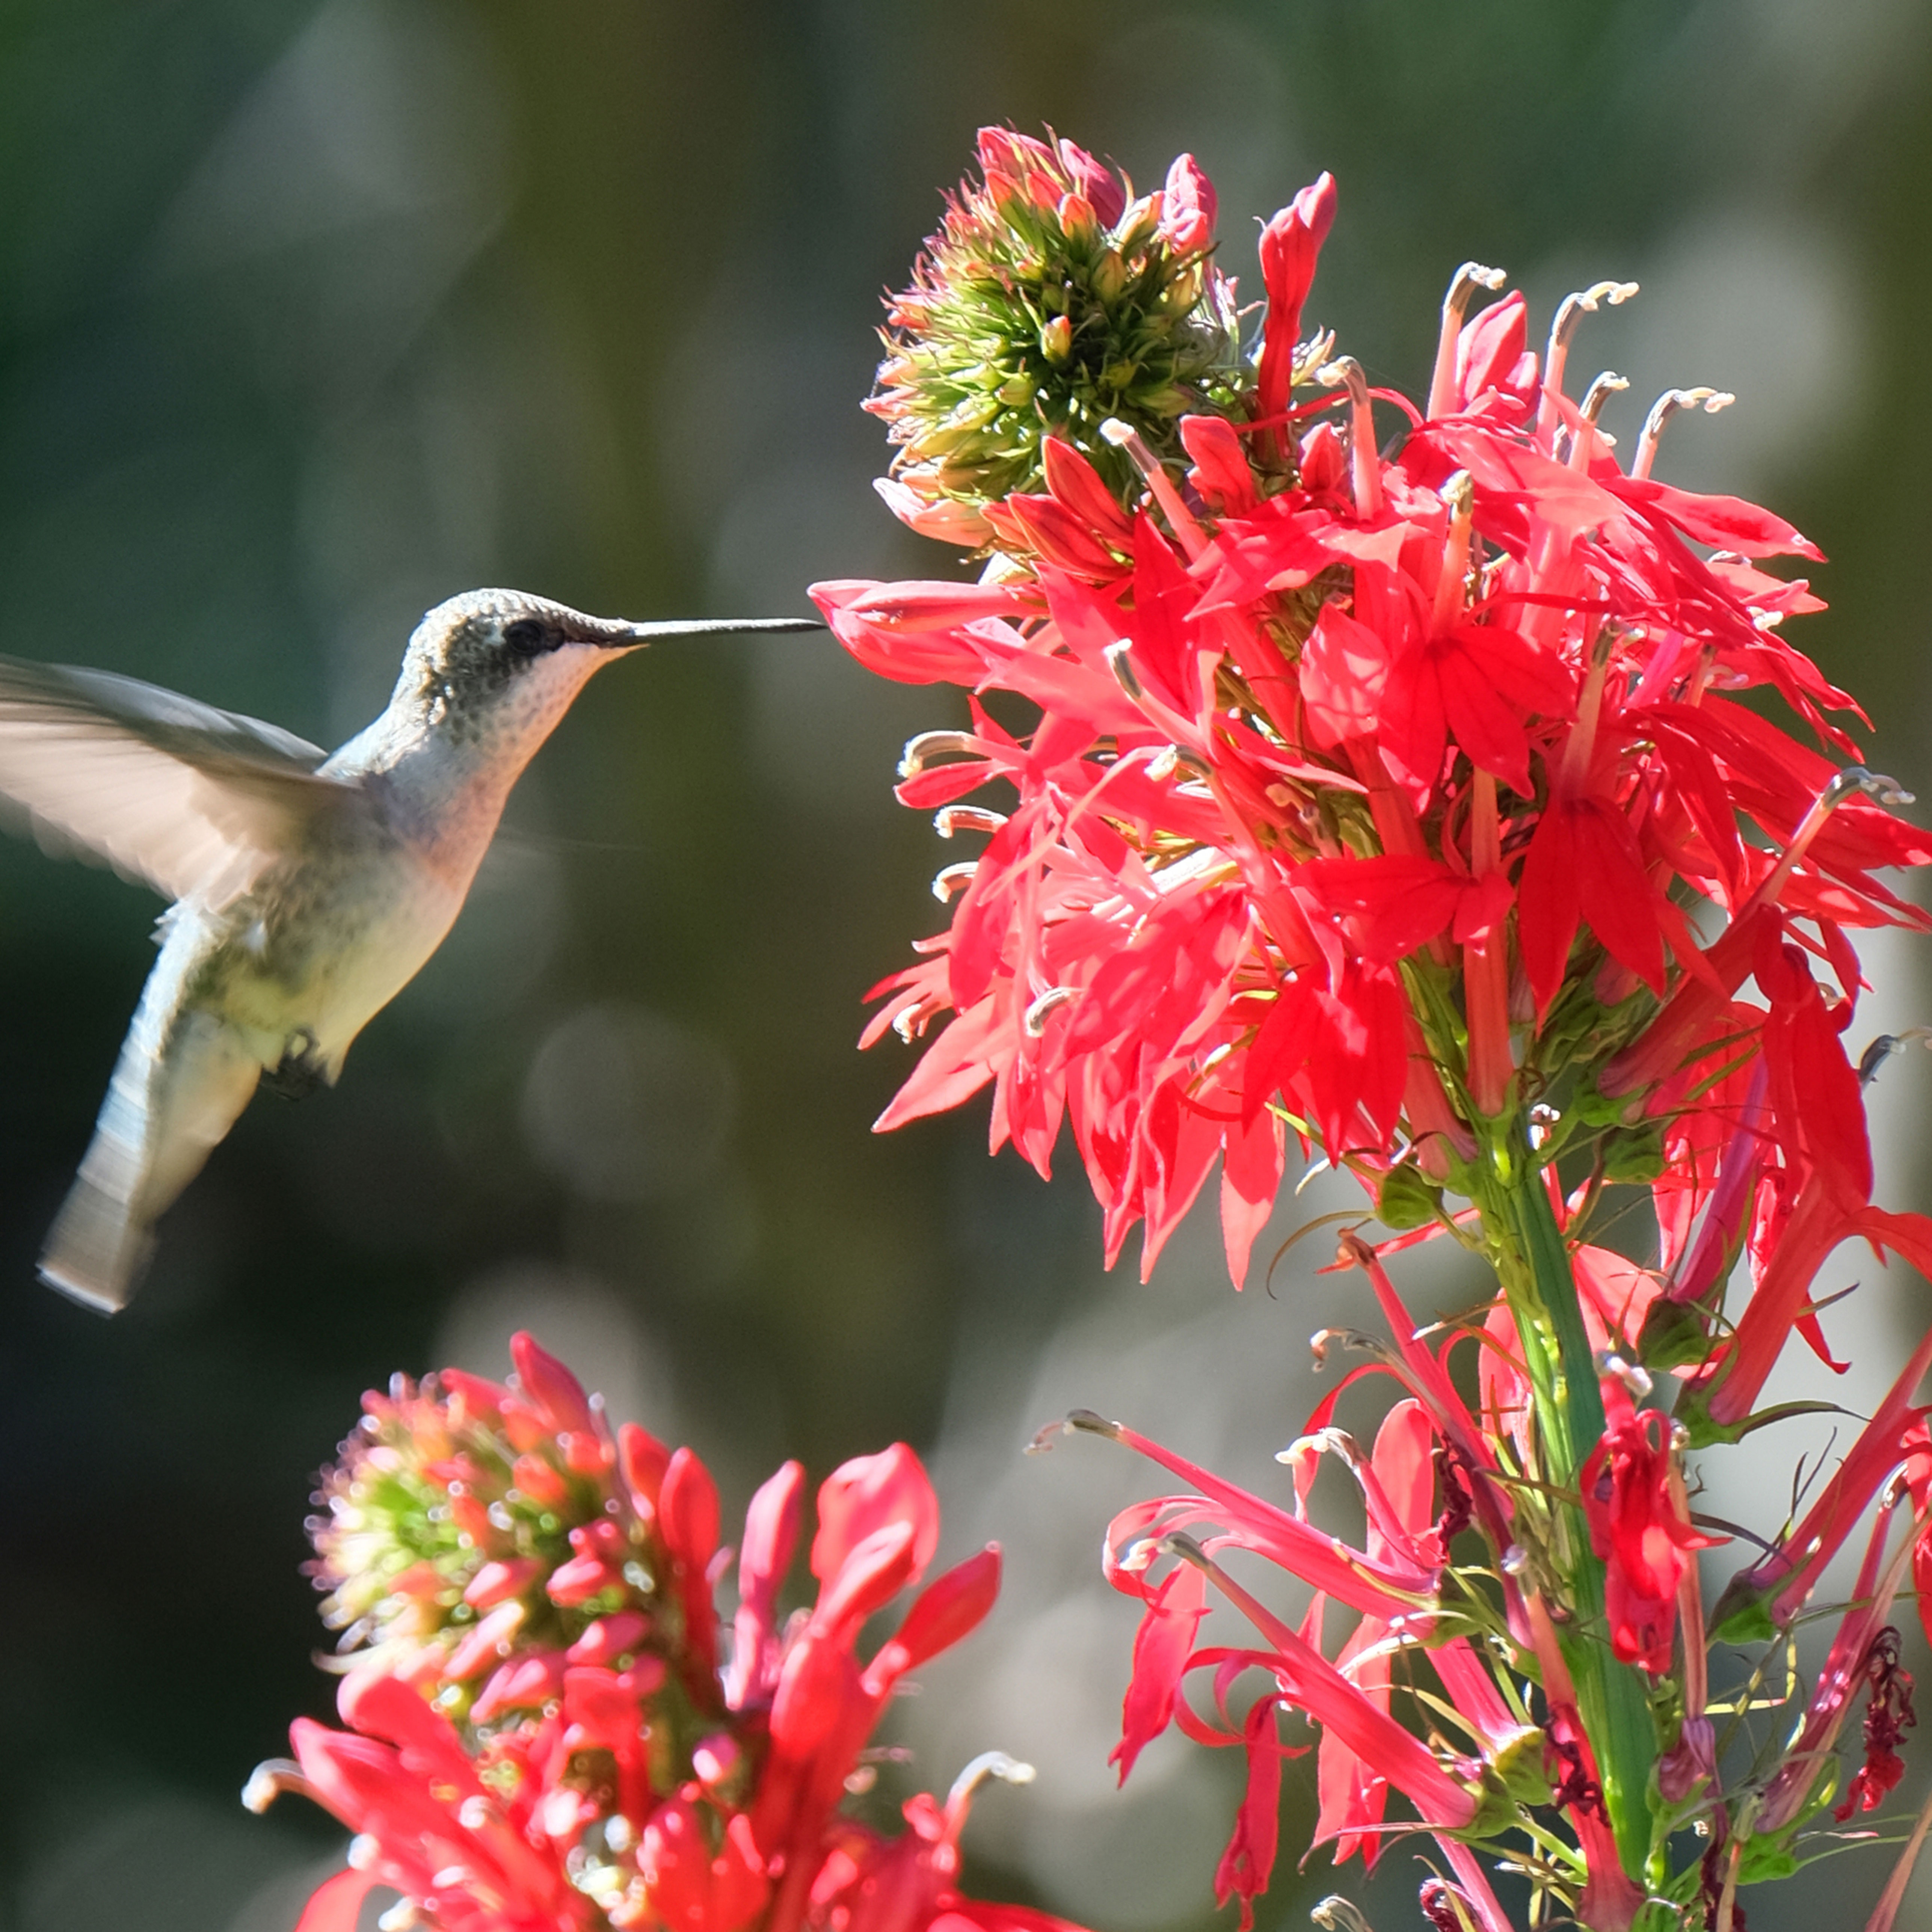 Get Ready For A Summer Of Hummers! Grow These Full Sun Hummingbird Plants and Flowers
If you’re lucky enough to enjoy a sunny backyard, make sure you are maxing out on your pollinator opportunities and grow these full sun hummingbird plants and flowers


-
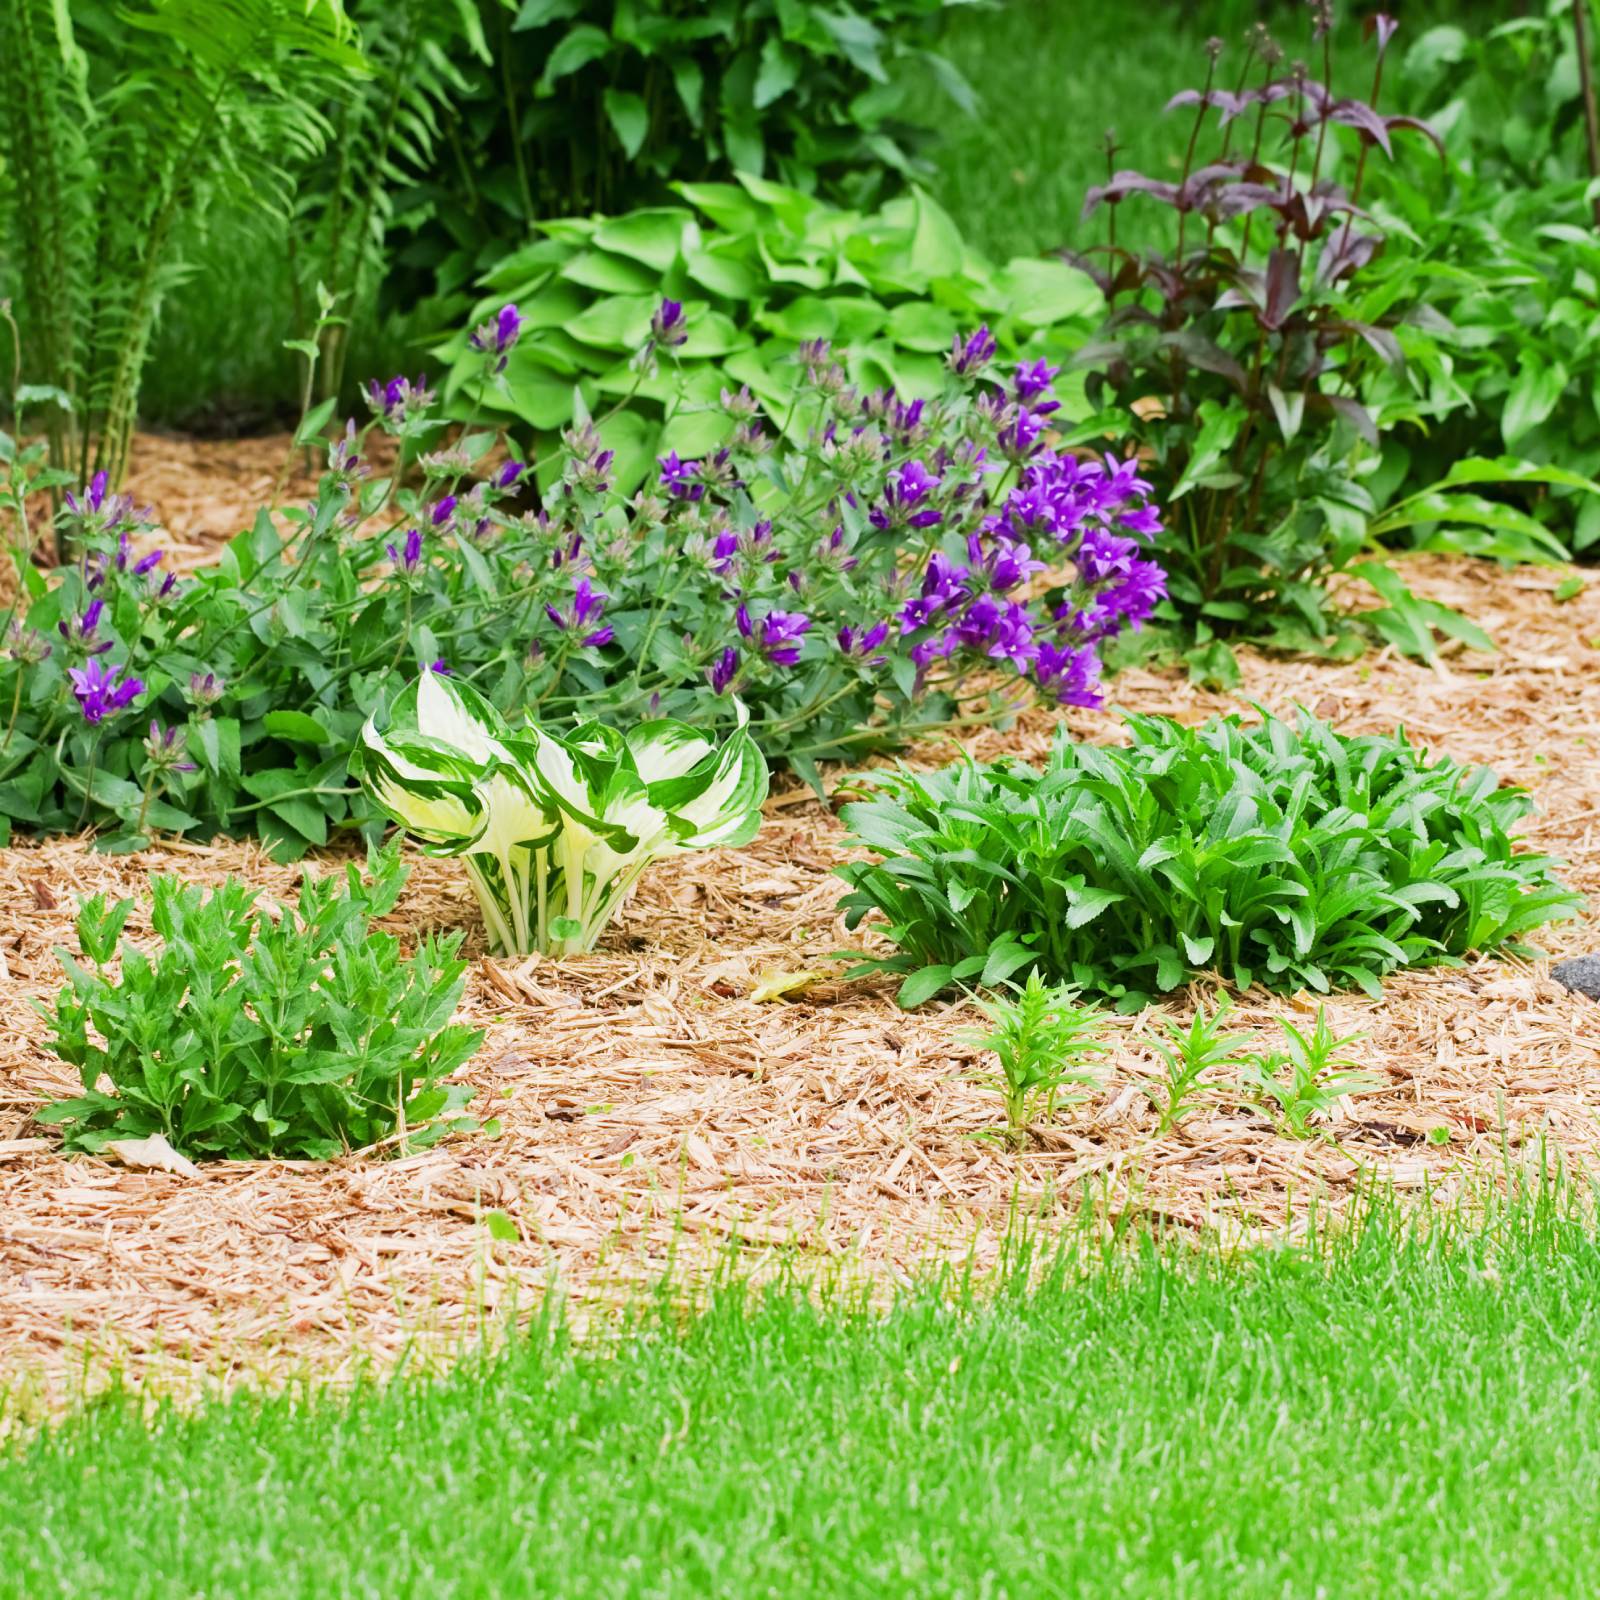 5 Free Magic Mulch Materials That Will Transform Your Garden – Per An Eco-Expert
Award-winning eco-expert Kim Stoddart reveals 5 magic mulches that improve soil health and help the planet. Plus, you can find these free materials anywhere!
-
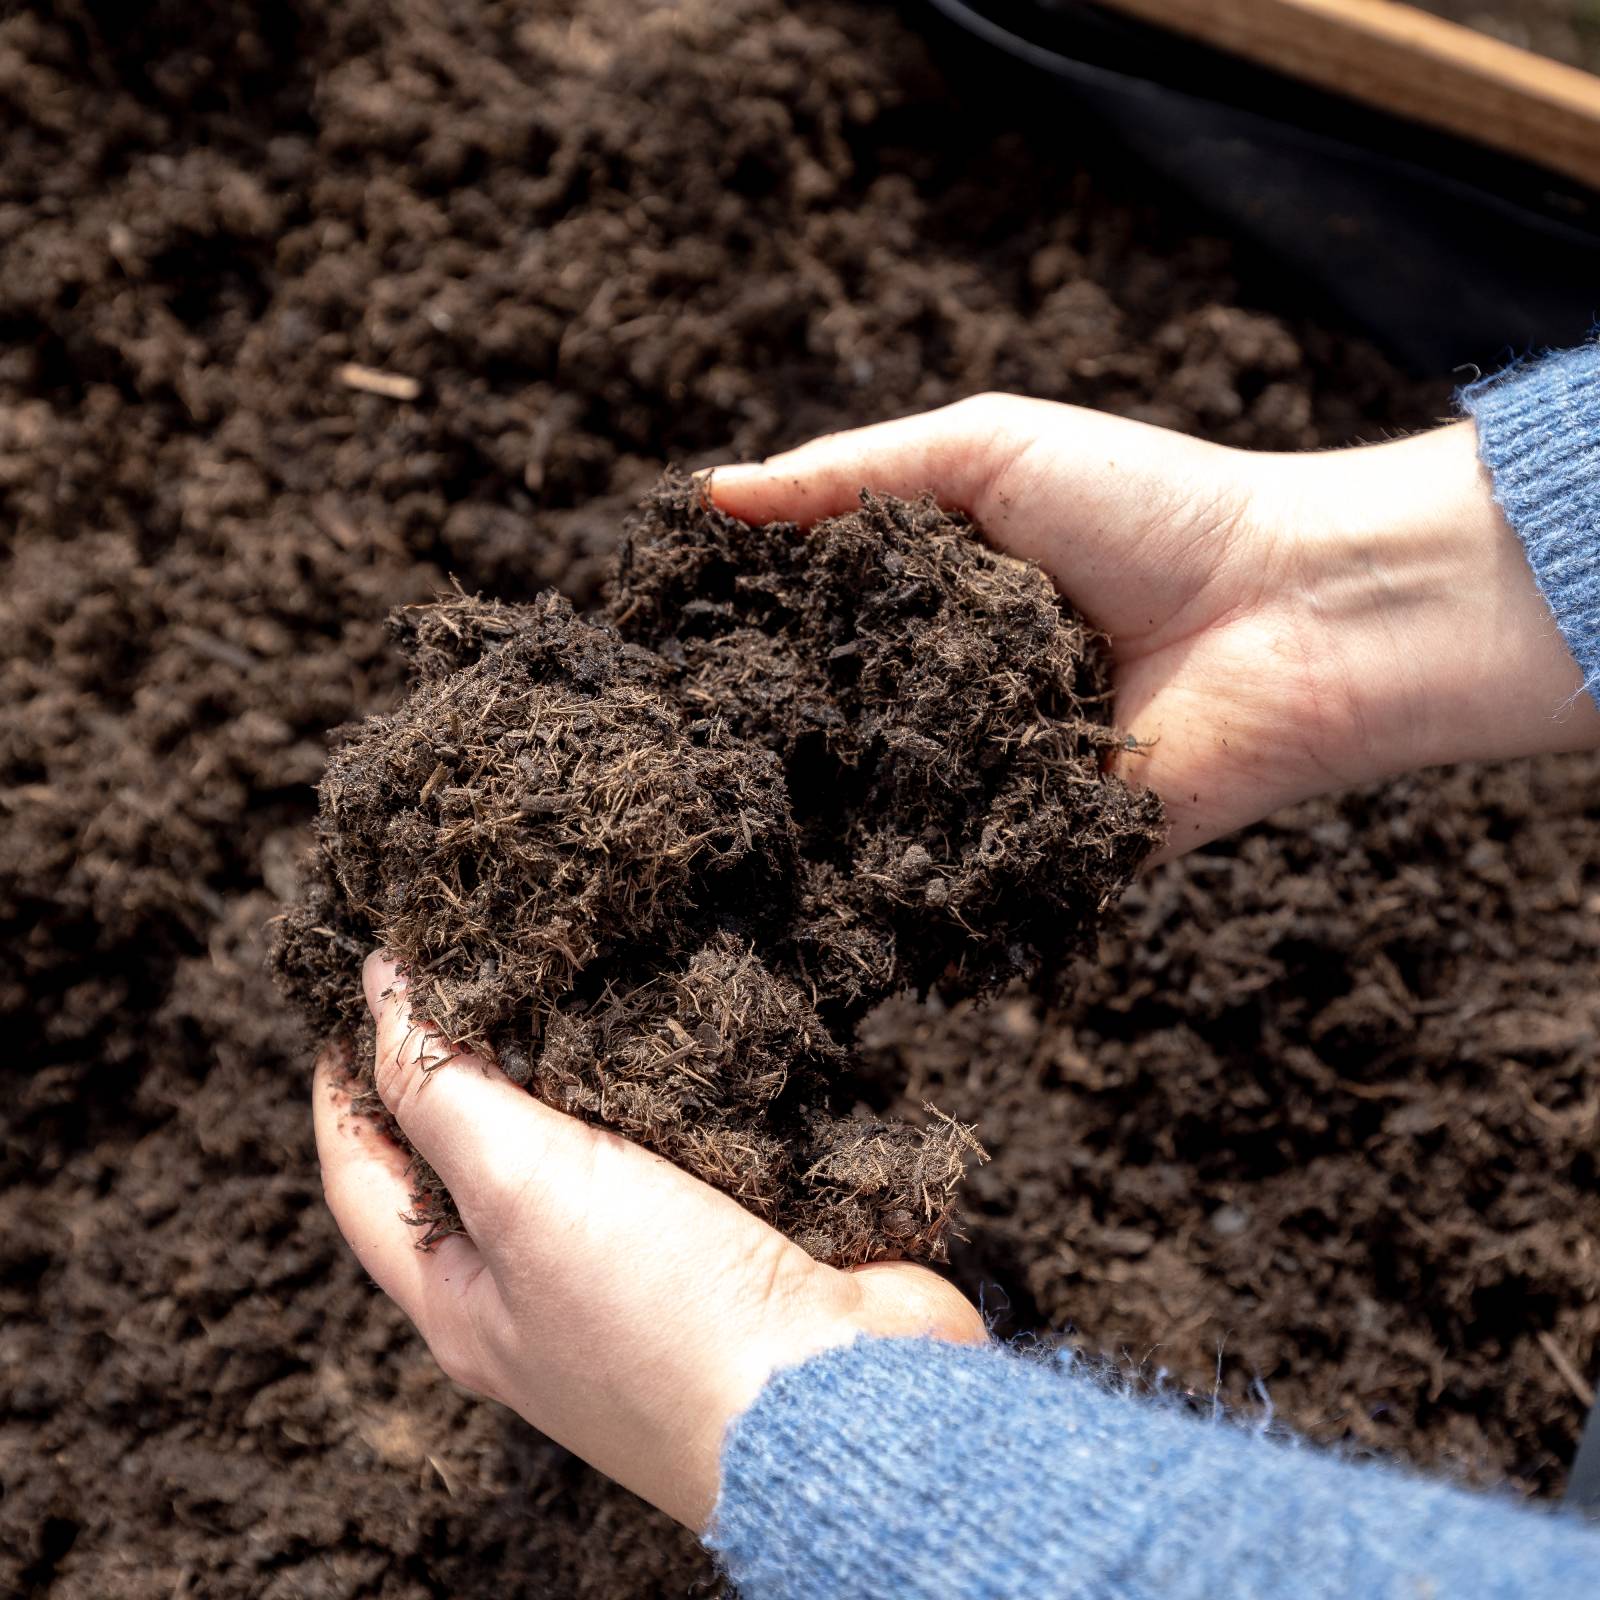 Regenerative Gardening Techniques – To Turbocharge Your Soil & Give Plants A Boost
A healthier garden crop is just one benefit of using regenerative gardening methods. Building nutrient-rich soil is a great way to help take care of the earth.
-
 Germinating Seeds In Paper Towel: The Easy, No-Mess Method For Faster Growth
Learn the quickest and easiest way to germinate seeds in a paper towel with this expert step-by-step guide – for faster, healthier seed starts every time.
-
 When To Start Seeds Indoors For Bigger Harvests & More Beautiful Blooms
Boost your garden's productivity by learning the best times to start seeds indoors – including a month-by-month guide for crops and flowers.
-
 8 Herb Gift Ideas That Will Inspire Foodies And Green Thumbs To Raise Their Culinary Game
Aromatic herbs are delightful to grow and infuse flavor into endless dishes, making for a wonderful gift theme for keen home cooks and passionate gardeners.
-
 12 Most-Wanted Holiday Gifts: Gardening Know How's Staff Picks For 2024
Browse gift ideas recommended by the Gardening Know How team – from tried-and-tested gems to products we're coveting for our own wish lists.
-
 9 Host & Hostess Gift Ideas That Are So Much Better Than A Boring Bottle Of Wine
Toast your holiday host with a gift they’ll love! Explore an expert-approved list of plant-themed presents that mean so much more than a boring bottle of wine.
-
 Preparing Your Garden For Winter: 9 Vital Tasks For Stronger Plants And An Easy Start In Spring
These essential fall tasks will help your garden endure winter’s challenges, and enable you to get a headstart on the next growing season.


