

A humidity dome is a fantastic tool that can aid your seed-starting adventure. Whether you’re a beginner or a seasoned seed-starter, using a humidity dome can significantly improve your germination rate and seedling success. In other words, more plants!
Starting seeds indoors is not only a cost-effective way to raise seedlings and start your garden, but it’s also a rewarding gardening activity. You start with this inert fleck or nugget of a seed, add just the right growing conditions, and in a few weeks’ time you have an actively growing plant. The process is no less than a miracle.

Choose from pro-quality seedling trays and humidity dome lids, plus expert-curated flower, herb, and vegetable seeds in the Gardening Know How Shop.
What Is a Humidity Dome?
A humidity dome is a clear plastic cover that is placed over a tray or pot sown with seeds. The clear nature of the material lets in light needed for growth of the just-germinated seeds.
It's possible to cover a tray or pot with plastic wrap or a flat piece of glass or plastic. A dome- or cloche-shaped cover has the added benefit of giving the just-emerged seedlings several more inches of room to grow, and can be used when planting seeds indoors or outside.

How Does a Humidity Dome Work?
Covering trays and pots creates a controlled environment that provides the ideal conditions for seed germination. A consistently warm and humid environment encourages seeds to break their dormancy, allowing the first roots and leaves to emerge.
A lightly watered seed tray will eventually begin to evaporate its water. With a dome on top, the water will condense on the inside of the dome and trickle downward. You’ve created a water cycle that efficiently reuses water in the system. This means the system will stay moist without frequent watering. This trapped moisture also helps prevent the soil, seeds, and young seedlings from drying out, which is one of the most common seed-starting mistakes when using trays.
Vego's seedling tray lids, available in the Gardening Know How Shop, have an innovative drip-irrigation chamber that can be refilled, so you can keep seedlings hydrated without lifting the lid and disturbing your delicate seeds.
Additionally, a dome helps to create a warm environment much like starting seeds in a greenhouse would. This environment can be several degrees warmer and much more humid than the air inside a home during peak seed-starting season. If your home is cool and dry in winter, using a humidity dome will increase your chance of seed germination success.
To summarize, a humidity dome’s benefits include:
- Increased germination rates: Consistent moisture and humidity help the growing medium to stay evenly moist, and in turn that helps produce a more uniform germination.
- Regulated temperature: A consistent temperature helps seeds to sprout.
- Protection from drafts: If you are using a window as a light source for your seed-starting venture, a dome will prevent drafts from creating temperature changes around those delicate seedlings.
- Less of a need to water: By creating a mini water cycle, you’re making efficient use of the water within the system. That means you can relax a bit around constantly watering your seeds and seedlings.
When to Open Vents on a Humidity Dome
Some humidity domes, such as the Park’s Original 60-Cell Bio Dome, available in the Shop, have built-in adjustable vents. These open to varying degrees to allow air to circulate inside the dome. Sometimes too much moisture builds up inside. Couple this with warmth and you have ideal conditions for the growth of fungal spores. Vents help to release excess moisture and prevent the spread of mold on seedlings.
The general rules of thumb for opening and closing the vents are:
Close vents during the early germination stage. Keep the vents closed after sowing your seeds to create a humid and warm environment that will encourage seeds to break dormancy. Remove the dome every few days to check on the soil’s moisture levels and return the dome to the tray promptly.
Open vents after seeds have germinated. Once small seedlings begin to grow, open vents slightly to introduce airflow inside the dome. This airflow will help prevent a fungal disease known as damping off. Having the vents open just slightly will still allow for some humidity to build up inside the dome.

When to Remove Humidity Dome for Seedlings
The dome is not meant to stay on your tray for the entirety of your seedlings' time in the tray. Remove the dome when the seedlings develop their first set of true leaves. Removing the dome will help the seedlings become accustomed to the indoor environment. It also ensures the seedlings don’t become cramped inside the dome, which can lead to moldy conditions.
Keep an eye on the seedlings after removing the dome. If you think you took it off too soon, you can always place it back on the tray for a few more days.
Making a DIY Humidity Dome
The Bio Domes available in the Gardening Know How Shop are quality products with stellar reputations that get you on your seed-starting journey right away. However, you can create do-it-yourself humidity domes from everyday materials.
As mentioned earlier, plastic wrap stretched over the top of a pot or tray will create a warm and humid environment. You can poke holes through the plastic for venting. The wrap won’t allow for the seedlings to grow very tall.
You can also make a DIY mini greenhouse using plastic jugs. Milk jug seed starting is a popular option. Just make a horizontal cut through the jug to separate the bottom (in which you’ll sow your seeds) from the top (which you’ll use as the “dome”).
Another DIY option is to use takeout containers that have a clear plastic lid. Again, poke holes through that lid when it comes time for venting.

Do You Really Need a Dome?
It’s possible to germinate seeds in a tray without a dome if you have a naturally warm and moist environment. This might occur if you are starting your seeds in a warm sunporch in mid to late spring, or if you use a humidifier and keep careful watch over your seed trays.
Using a humidity dome simplifies the seed-starting process. It can be especially useful for those new to seed-starting or for seeds that require more precise growing conditions, such as those of warm-weather crops like tomatoes and peppers. If you live in a dry or cold climate, a humidity dome can be super helpful in providing just the right conditions to coax your seeds into growing.
More Seed-Starting Inspiration
- Browse professional-quality seedling trays, lids, and growing kits in the Gardening Know How Shop – all from tried-and-trusted brands.
- Make the perfect DIY seed-starting mix with these easy recipes to ensure strong, healthy seedlings.
- Wondering how deep to plant seeds? Get it right every time with this simple trick.
- Try germinating seeds in paper towel: the easy, no-mess method for faster growth.
This article features products available from third party vendors on the Gardening Know How Shop.

-
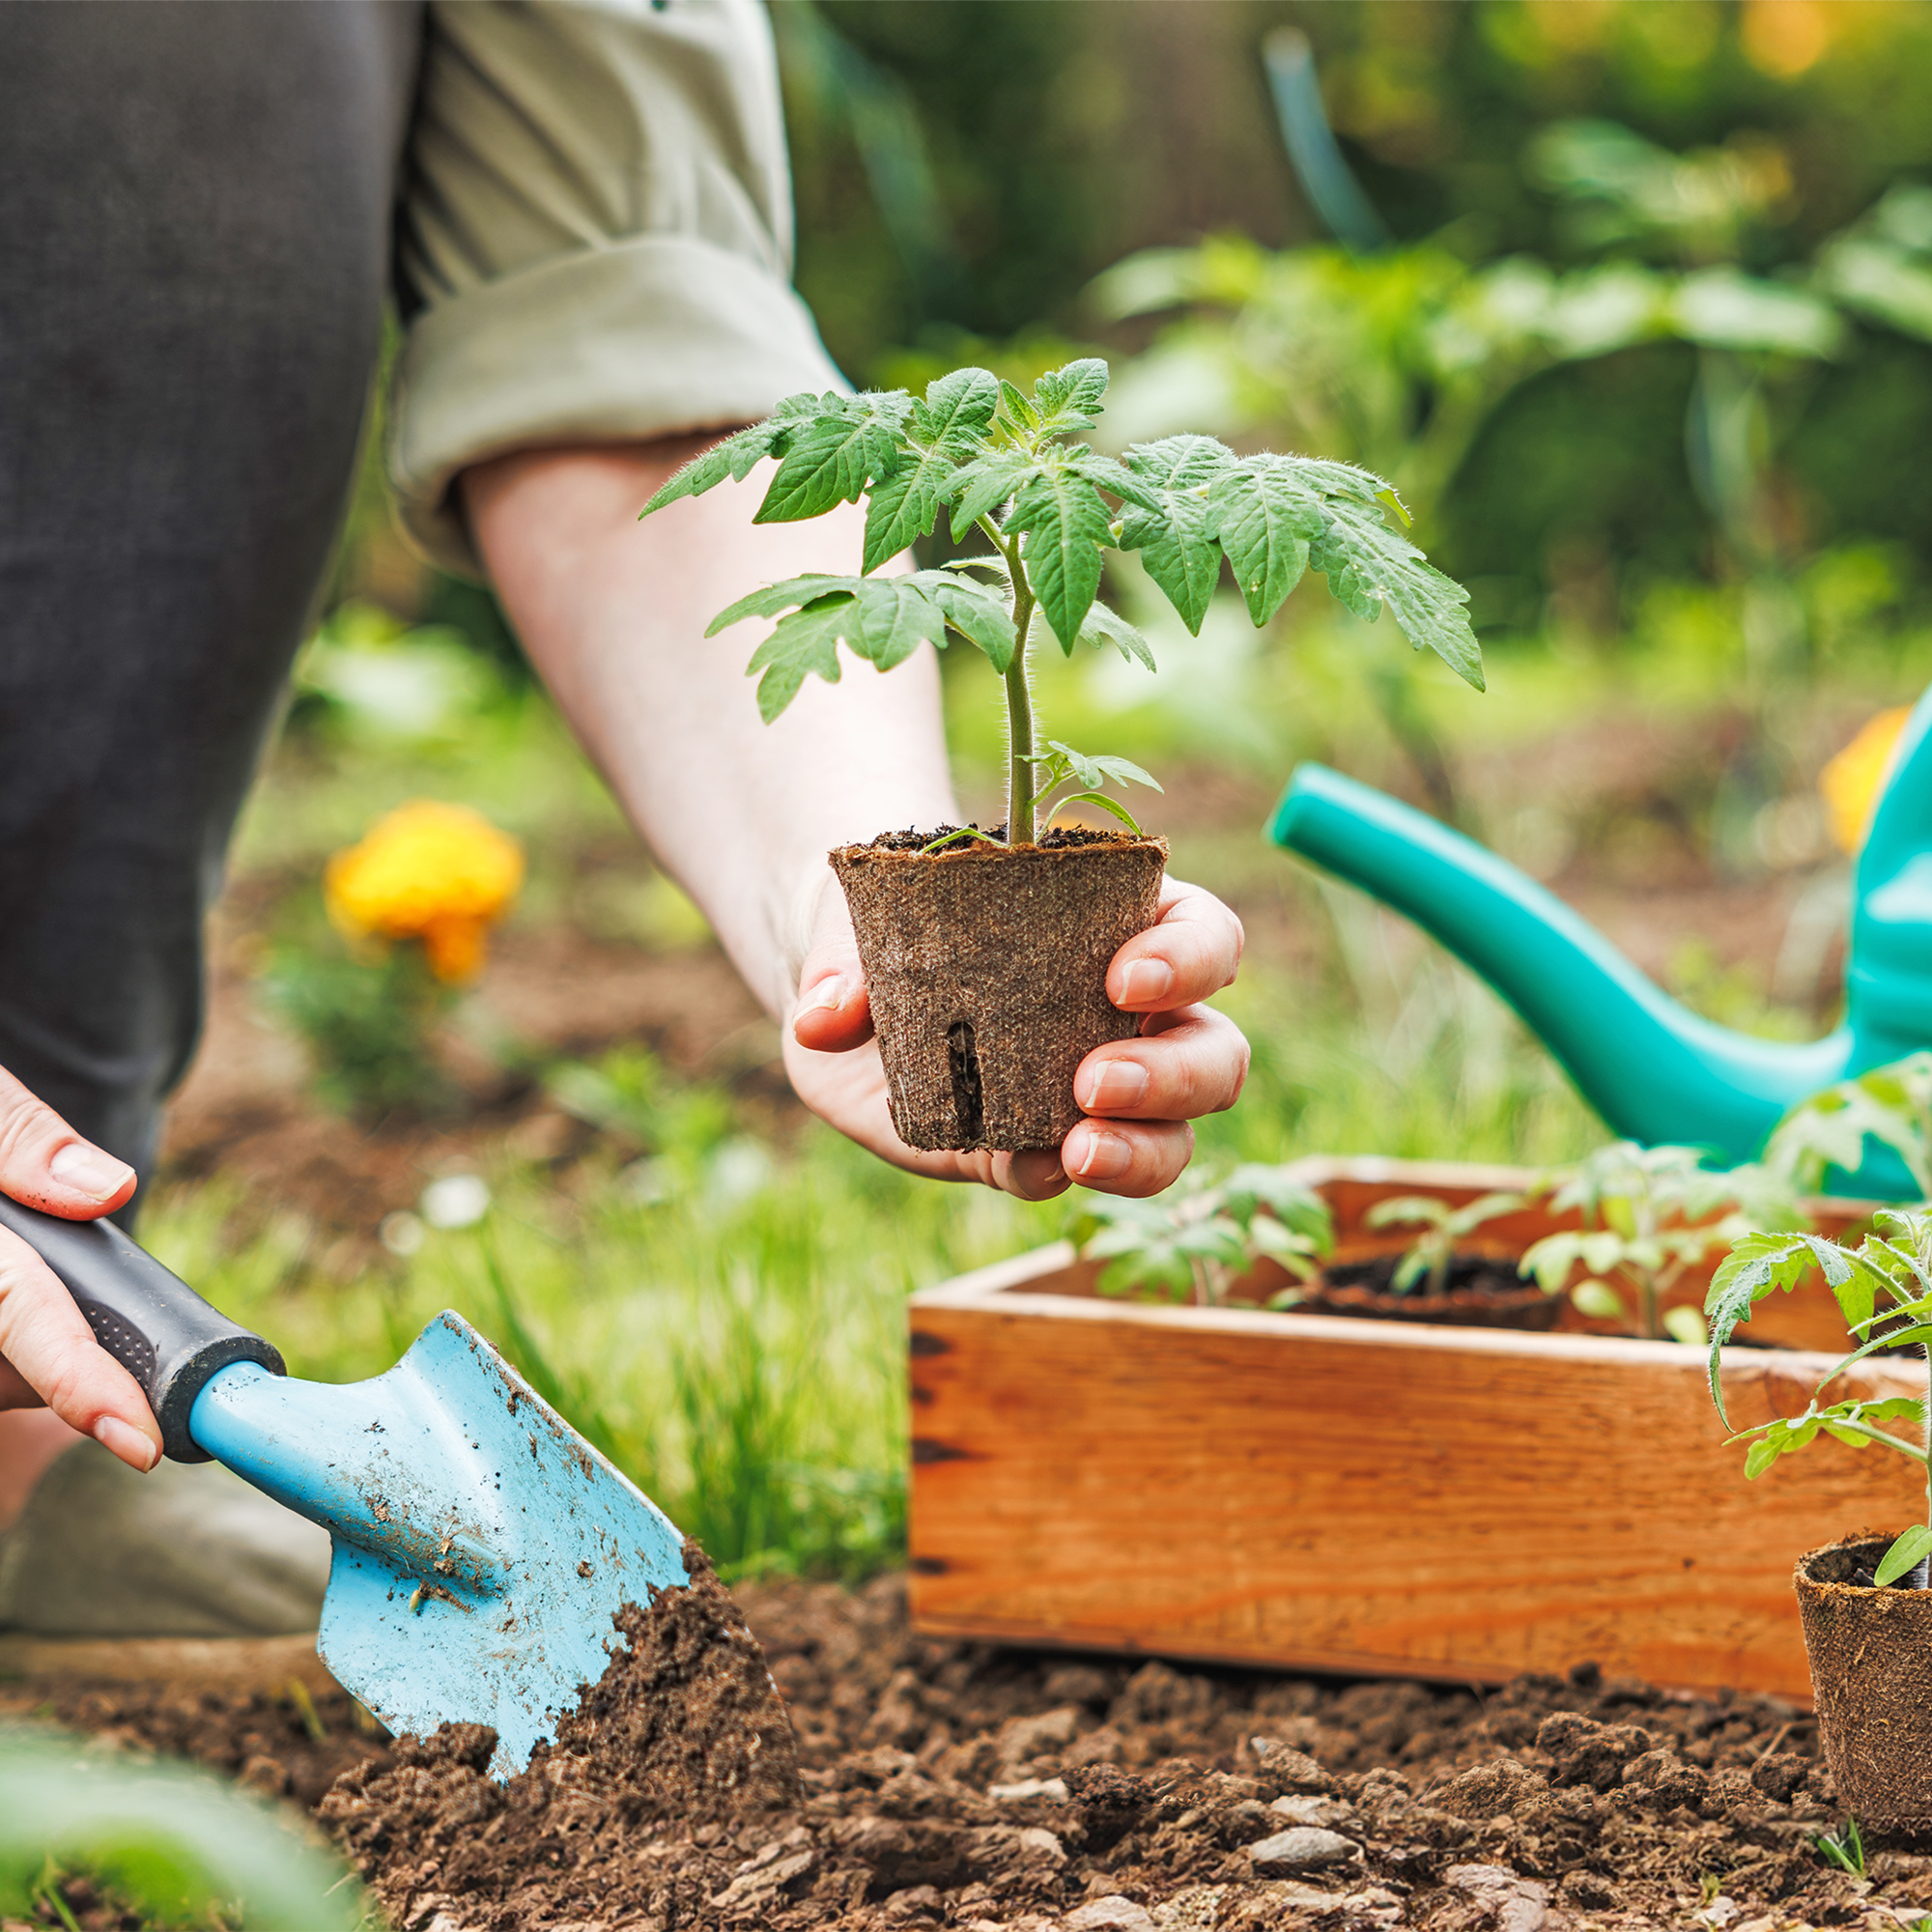 Never Plant Seedlings Until They Pass These 3 Simple Tests
Don't be over-eager to transplant seedlings into the garden before they are ready. These quick and easy checks will help ensure flourishing plants.
-
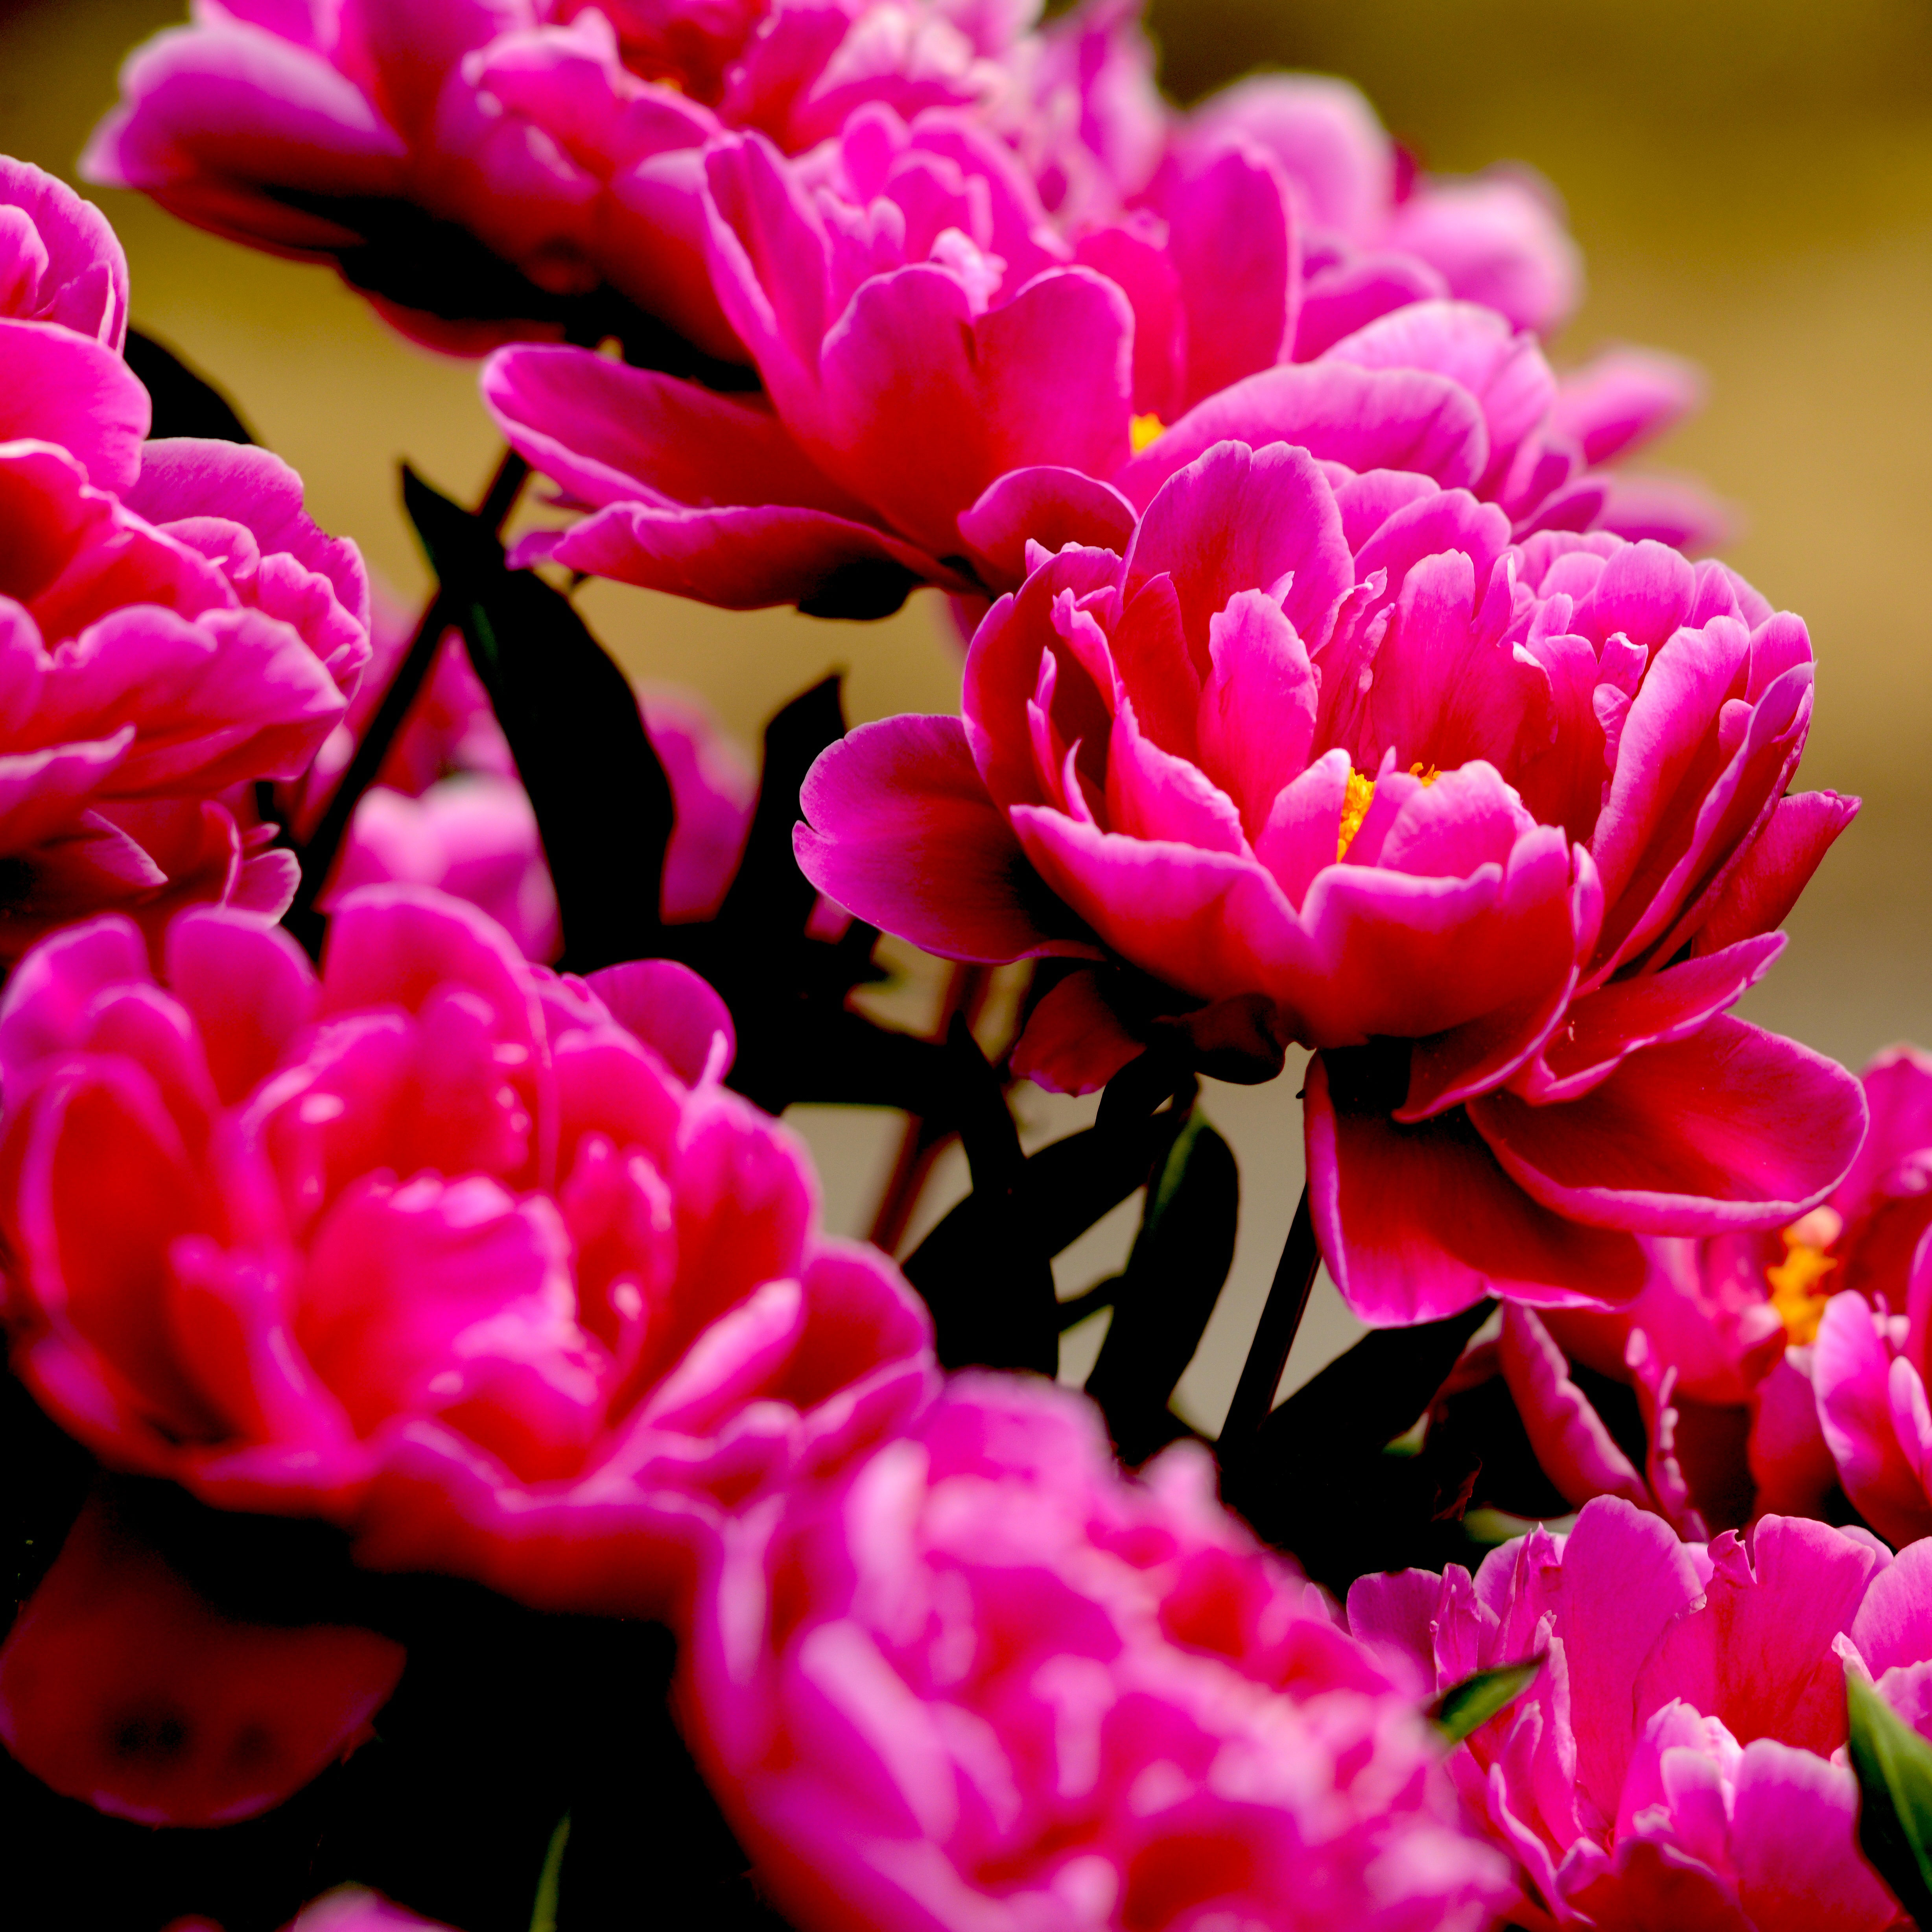 Grow ‘Karl Rosenfield’ Peony Plants For The Ultimate Frilly Border Beauties And Cut Flowers
For frilly double magenta peony petals infused with a heady fragrance, grow ‘Karl Rosenfield’ peony plants. Here’s how to cultivate the ultimate plushy blooms

