Starting Seeds Indoors Made Easy: Plant Now For More Flowers And Better Crops
Begin your gardening journey for the season ahead by starting flower and vegetable seeds indoors. Plant early for the longest possible growing window.

Melanie Griffiths
- When to Start Seeds Indoors
- What Do I Need to Start?
- Starting Seeds Indoors – Step by Step
- 1. Check Seed Requirements
- 2. Fill Seed Trays
- 3. Keep Them Moist & Warm
- 4. Increase Light Levels
- 5. Thin Seedlings
- 6. Harden Them Off
- 7. Transplant Seedlings
- How Long Will it Take for Seeds to Sprout?
- Do You Have to Start Seeds Indoors?
- The Best Seeds to Grow Indoors
Starting seeds indoors is an essential skill for gardeners. Whether planting flower seeds or working on this year’s vegetable garden, there are several good reasons to begin inside rather than outside. The most important is timing. It helps you get a head start on the growing season, extending the flowering and cropping window.
Planting seeds instead of transplants from the garden center is also less expensive and gives you more options in terms of varieties. In addition, when starting indoors, you have more control over the growing conditions, increasing seed germination rates and giving your plants a better start.
When to Start Seeds Indoors
Timing is everything when it comes to gardening. Deciding when to start seeds indoors depends on two important factors: the time to maturity for each plant you’re starting, and your area’s last frost date.
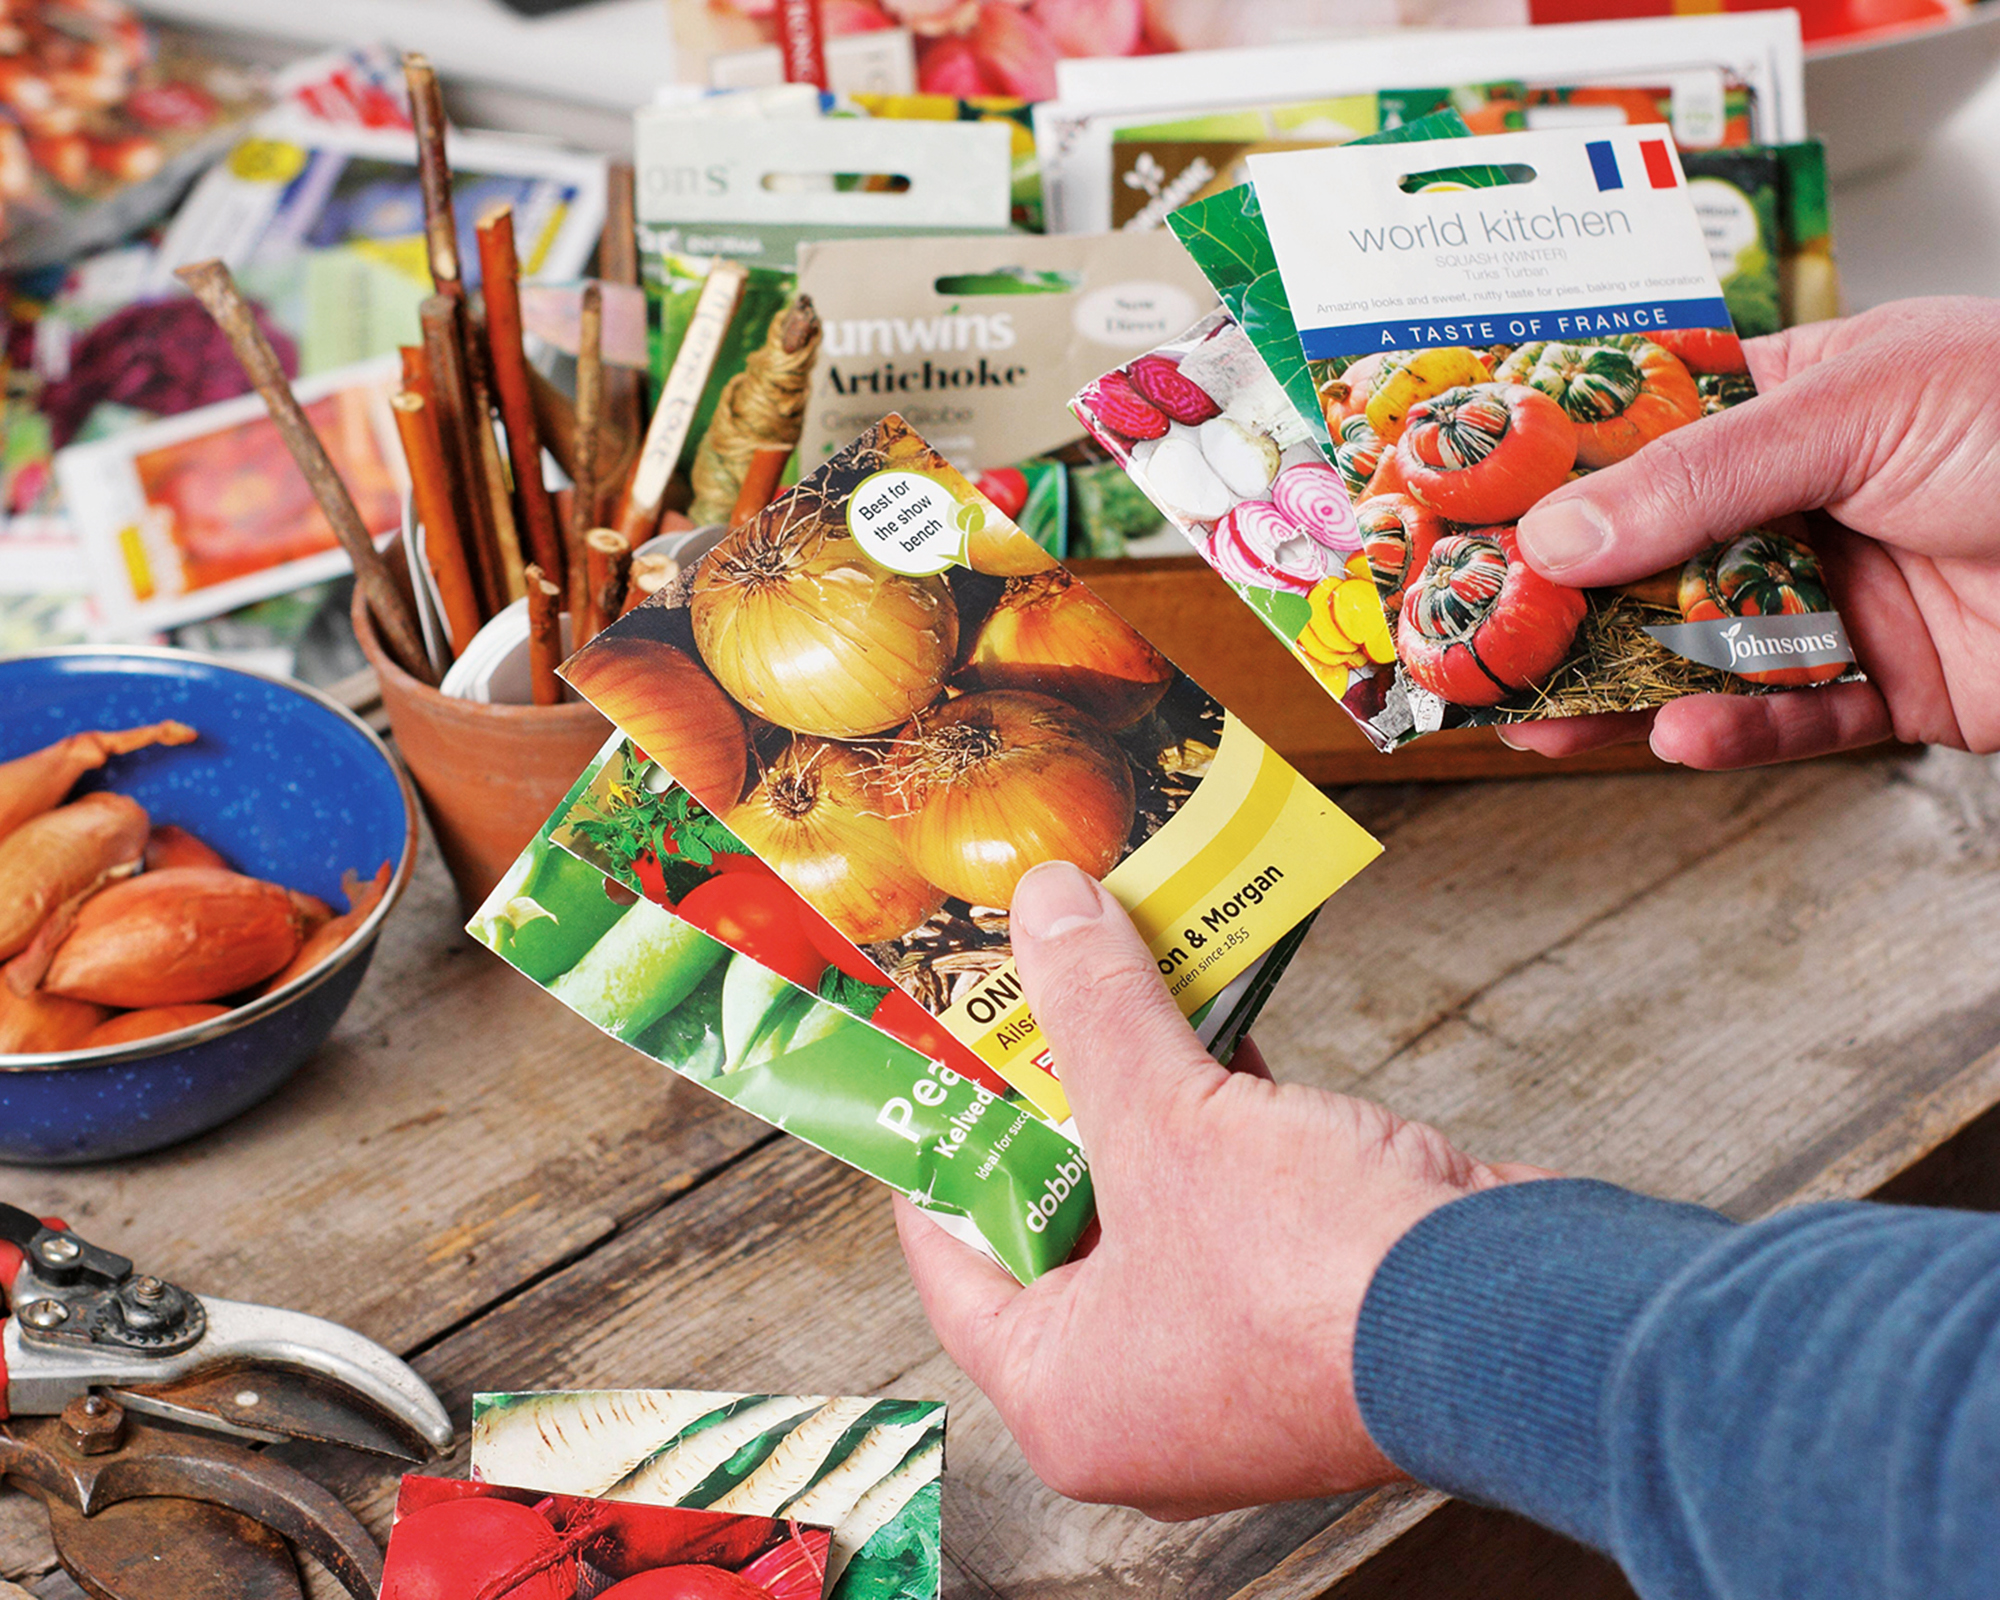
Check the seed packet information for details on maturity time and how many weeks before the last frost date to sow the seeds.
Depending upon how quickly the plant grows, you will need to sow seeds about four to eight weeks before the projected outdoor transplant date.
What Do I Need to Start?
You need just a few items for your indoor seed-starting setup:
- Seeds
- Containers, such as seed trays or small pots
- Soil or potting mix
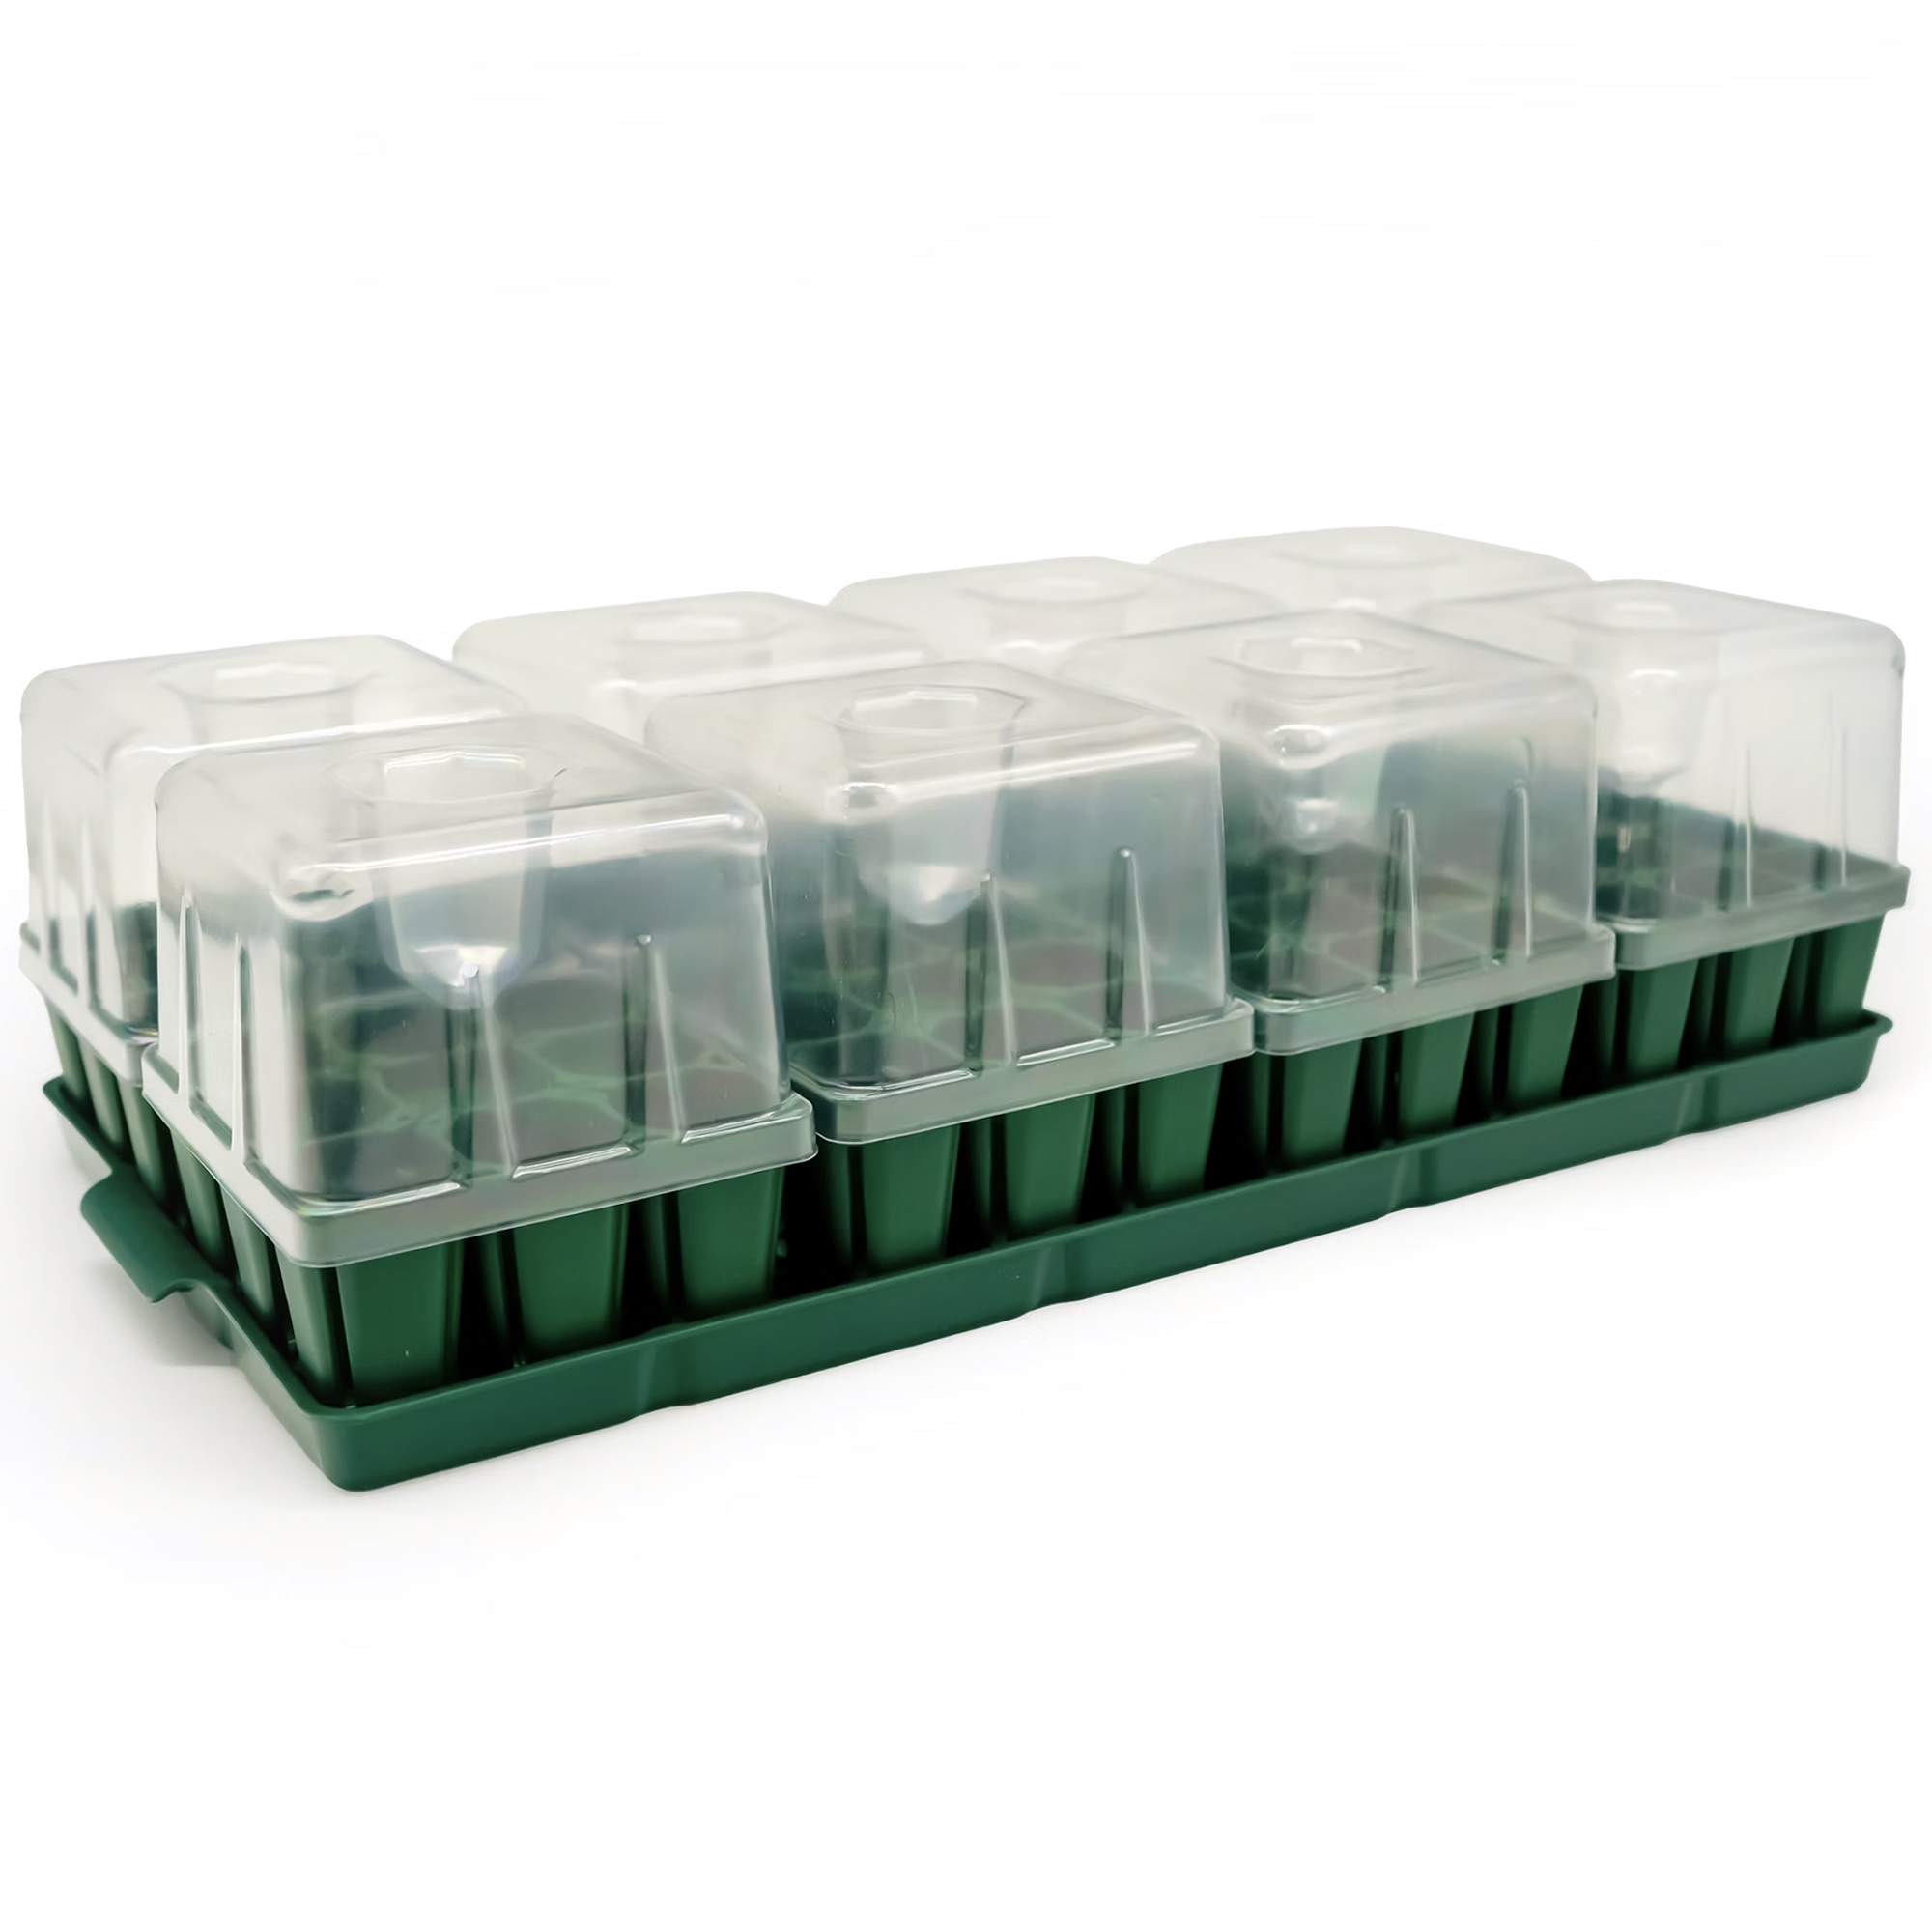
This is really all you need. Extras that can help include plastic to cover the trays and keep them moist, labels to indicate which seeds are in which containers, and grow lights.
Sign up for the Gardening Know How newsletter today and receive a free copy of our e-book "How to Grow Delicious Tomatoes".
Starting Seeds Indoors – Step by Step
Sowing seeds indoors is relatively simple, but it’s important to follow specific requirements for different varieties. The seed packet should contain this information, but if in doubt check Gardening Know How's growing guides for your chosen flowers and vegetables.
Follow these steps to growing success.
1. Check Seed Requirements
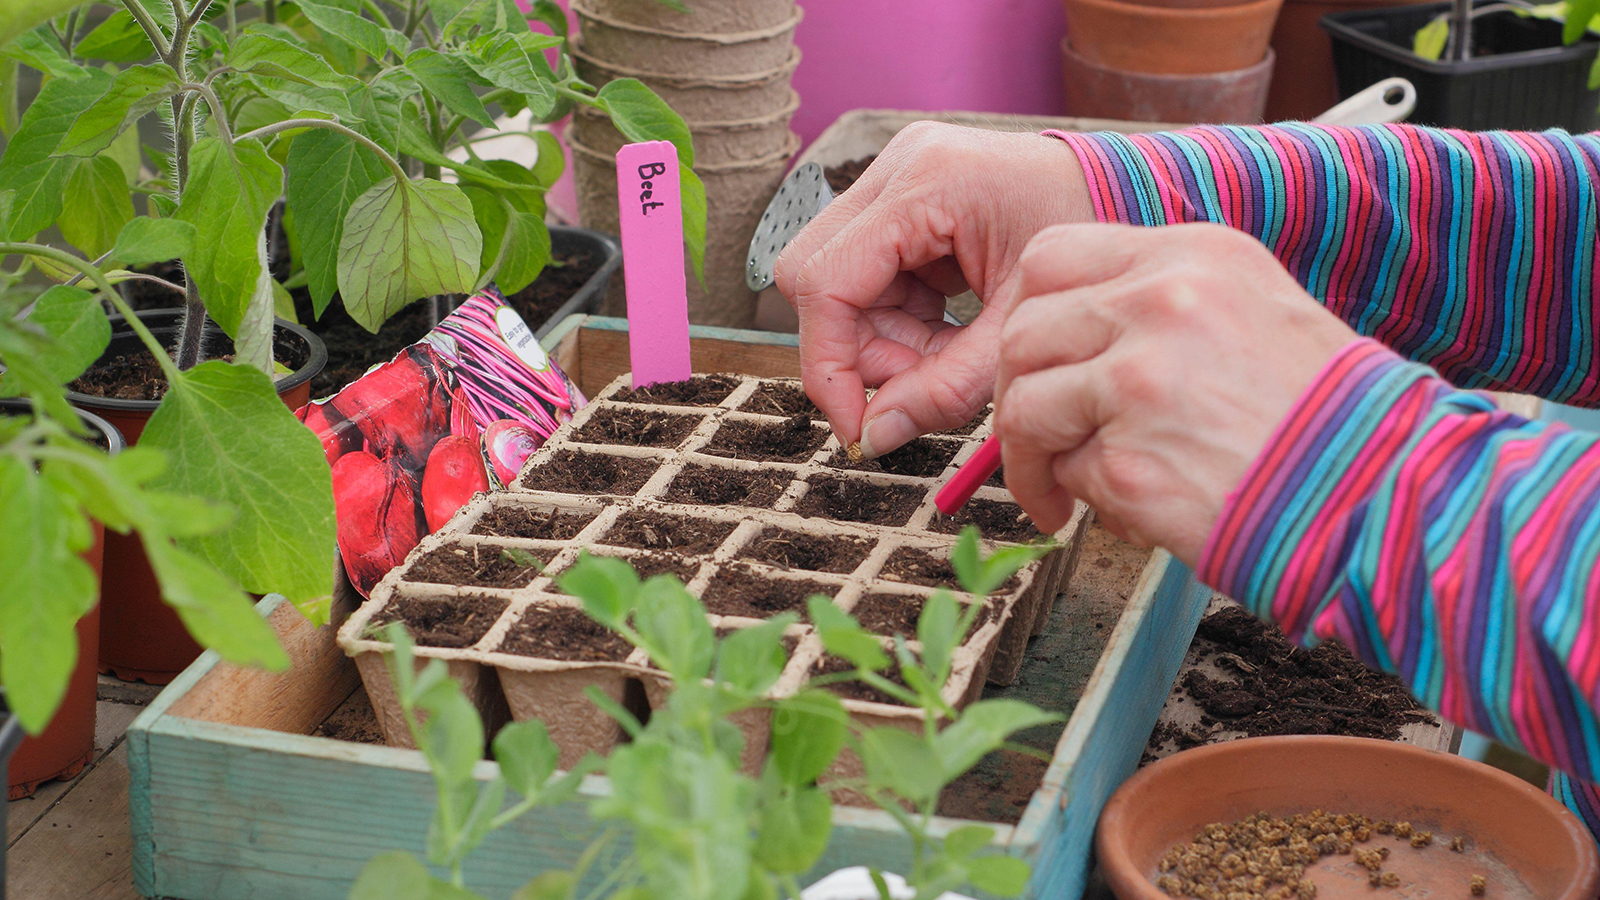
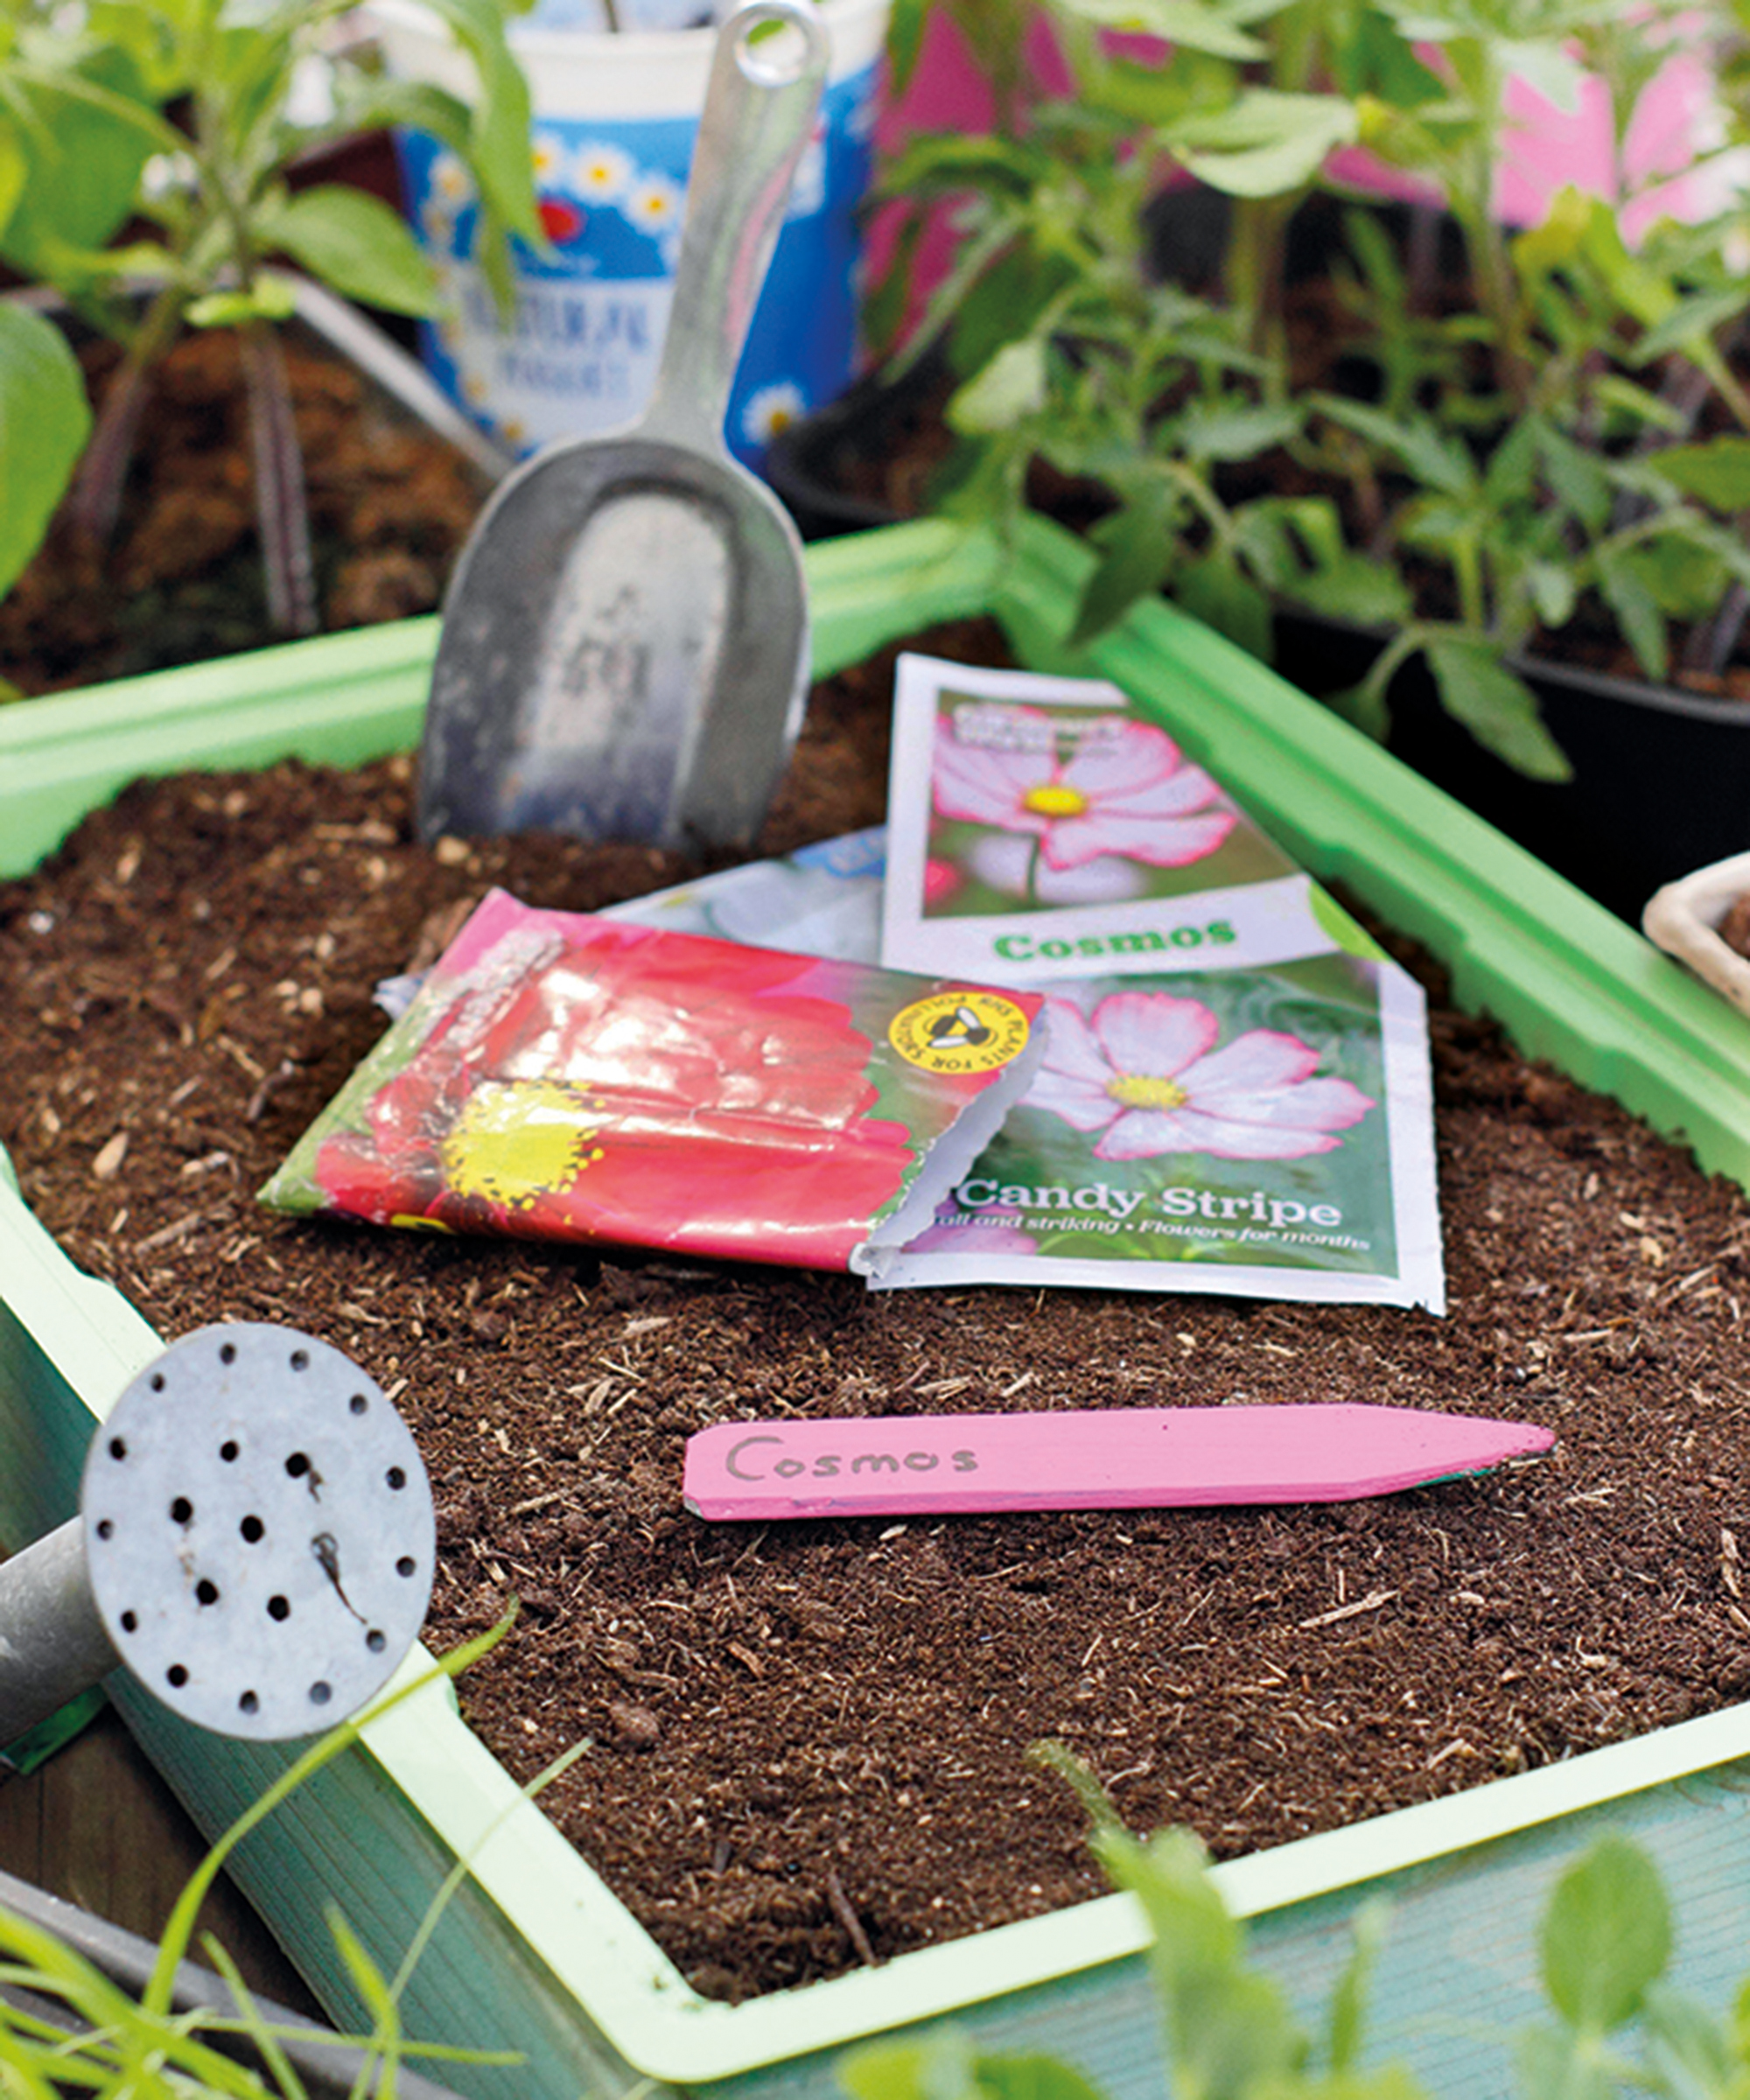
Check the seed packet for information on planting depth and spacing. As a rough guide, many larger seeds should be planted at a depth of two to three times their diameter. Often just one or two seeds should be planted per seed module or pot.
Small seeds are harder to space out and usually need to be sown thinly across the surface. While certain seeds require some light for best germination – meaning they are left uncovered or lightly sprinkled with potting mix – others will need to be covered with soil.
Sometimes seed packets suggest soaking seeds before planting or to scarify seeds by nicking or sanding them. This is intended to soften or permeate the hard seed coating to speed up germination.
Where the instructions state that cold treatment is required, you need to follow the process to stratify seeds by chilling them in the refrigerator.
2. Fill Seed Trays
Fill seed trays or small pots with soil. Seed trays don't have to be anything special as long as they have drainage holes – consider repurposing the clear plastic trays used to package berries and other groceries. Alternatively, starting seeds in egg cartons is a good option as the paper fibers will absorb excess moisture.
If reusing old pots, first sterilize them to avoid disease transference. The best way to clean containers is to soak them in water with a bit of bleach before rinsing them well and allowing them to dry.
The right choice of seed-starting mix is important for good results. You need a light, loose mix that stays moist but does not become heavy and dense when wet. The easiest way to get it right is to use a mix designed specifically for seed starting. These mixes are nice and light and are also sterile.
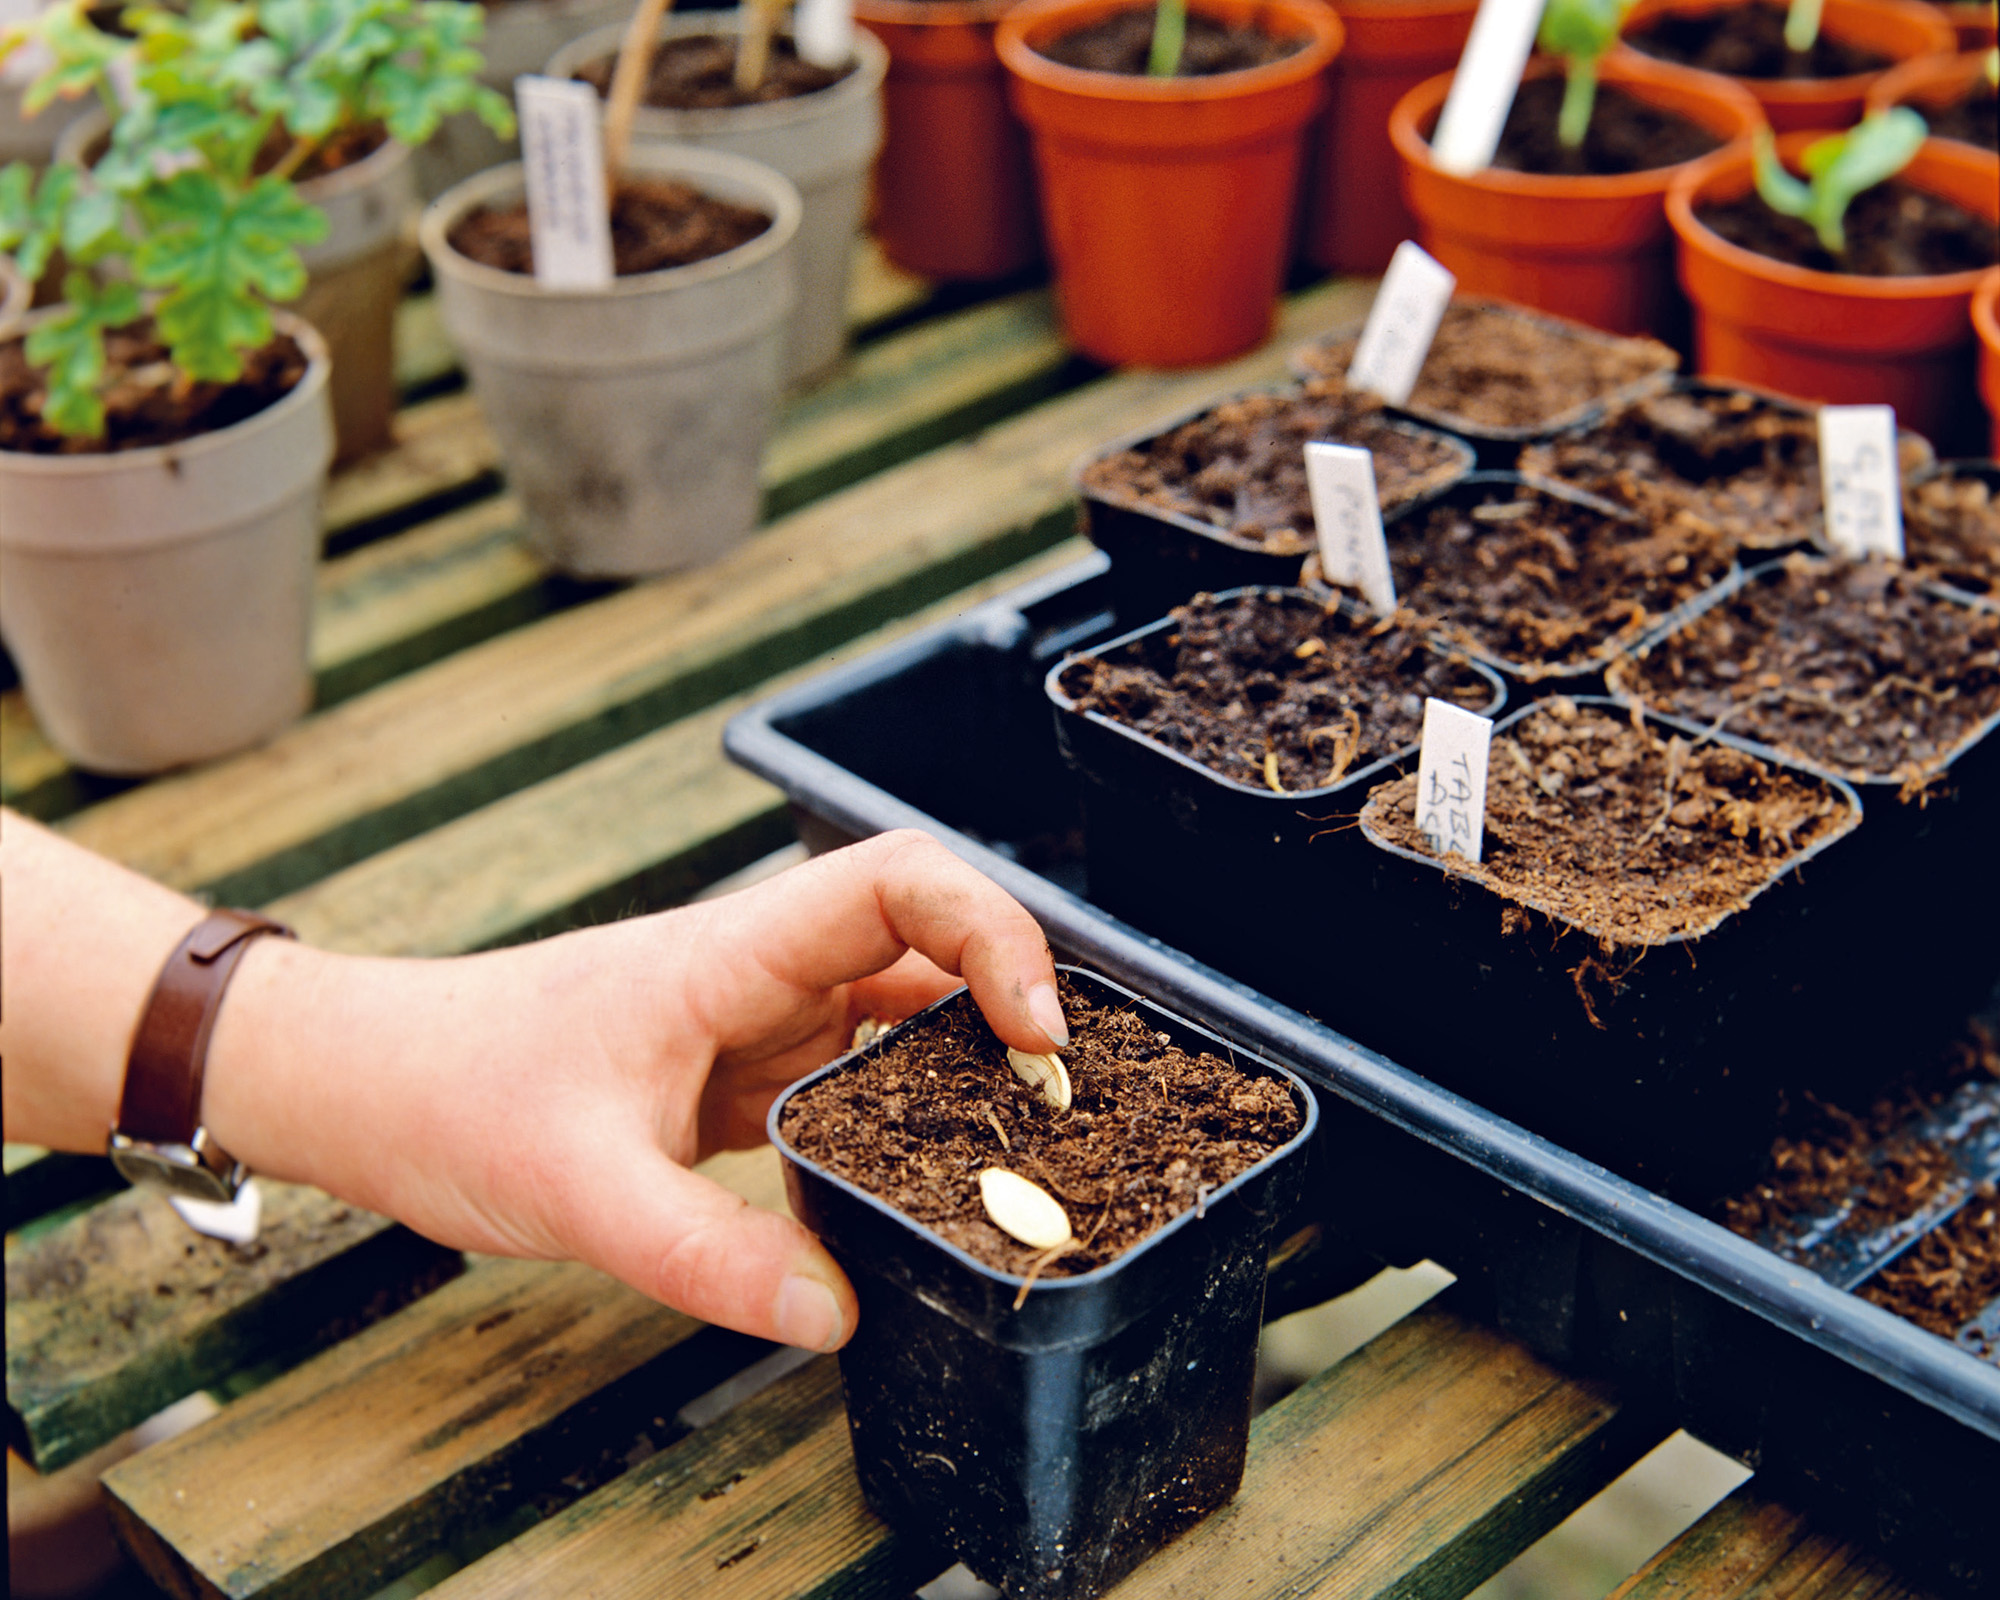
Gently press down the soil to firm it and then sow the seeds according to the package instructions. If planting small seeds, you may prefer to water the soil before planting.
Plant your seeds to the specified planting depth or scatter them across the surface as directed.
3. Keep Them Moist & Warm
Water the seed trays well – the potting mix for your seeds should be constantly moist but not soggy. Overly wet soil can lead to damping off and is one of the top reasons seeds and seedlings fail. However, it is important not to let the soil dry out throughout the seed-starting process or growth will be stunted and the seeds may not germinate at all.
Check moisture levels daily, and if the soil starts to dry out, then water lightly with the rose attachment on a mini watering can.
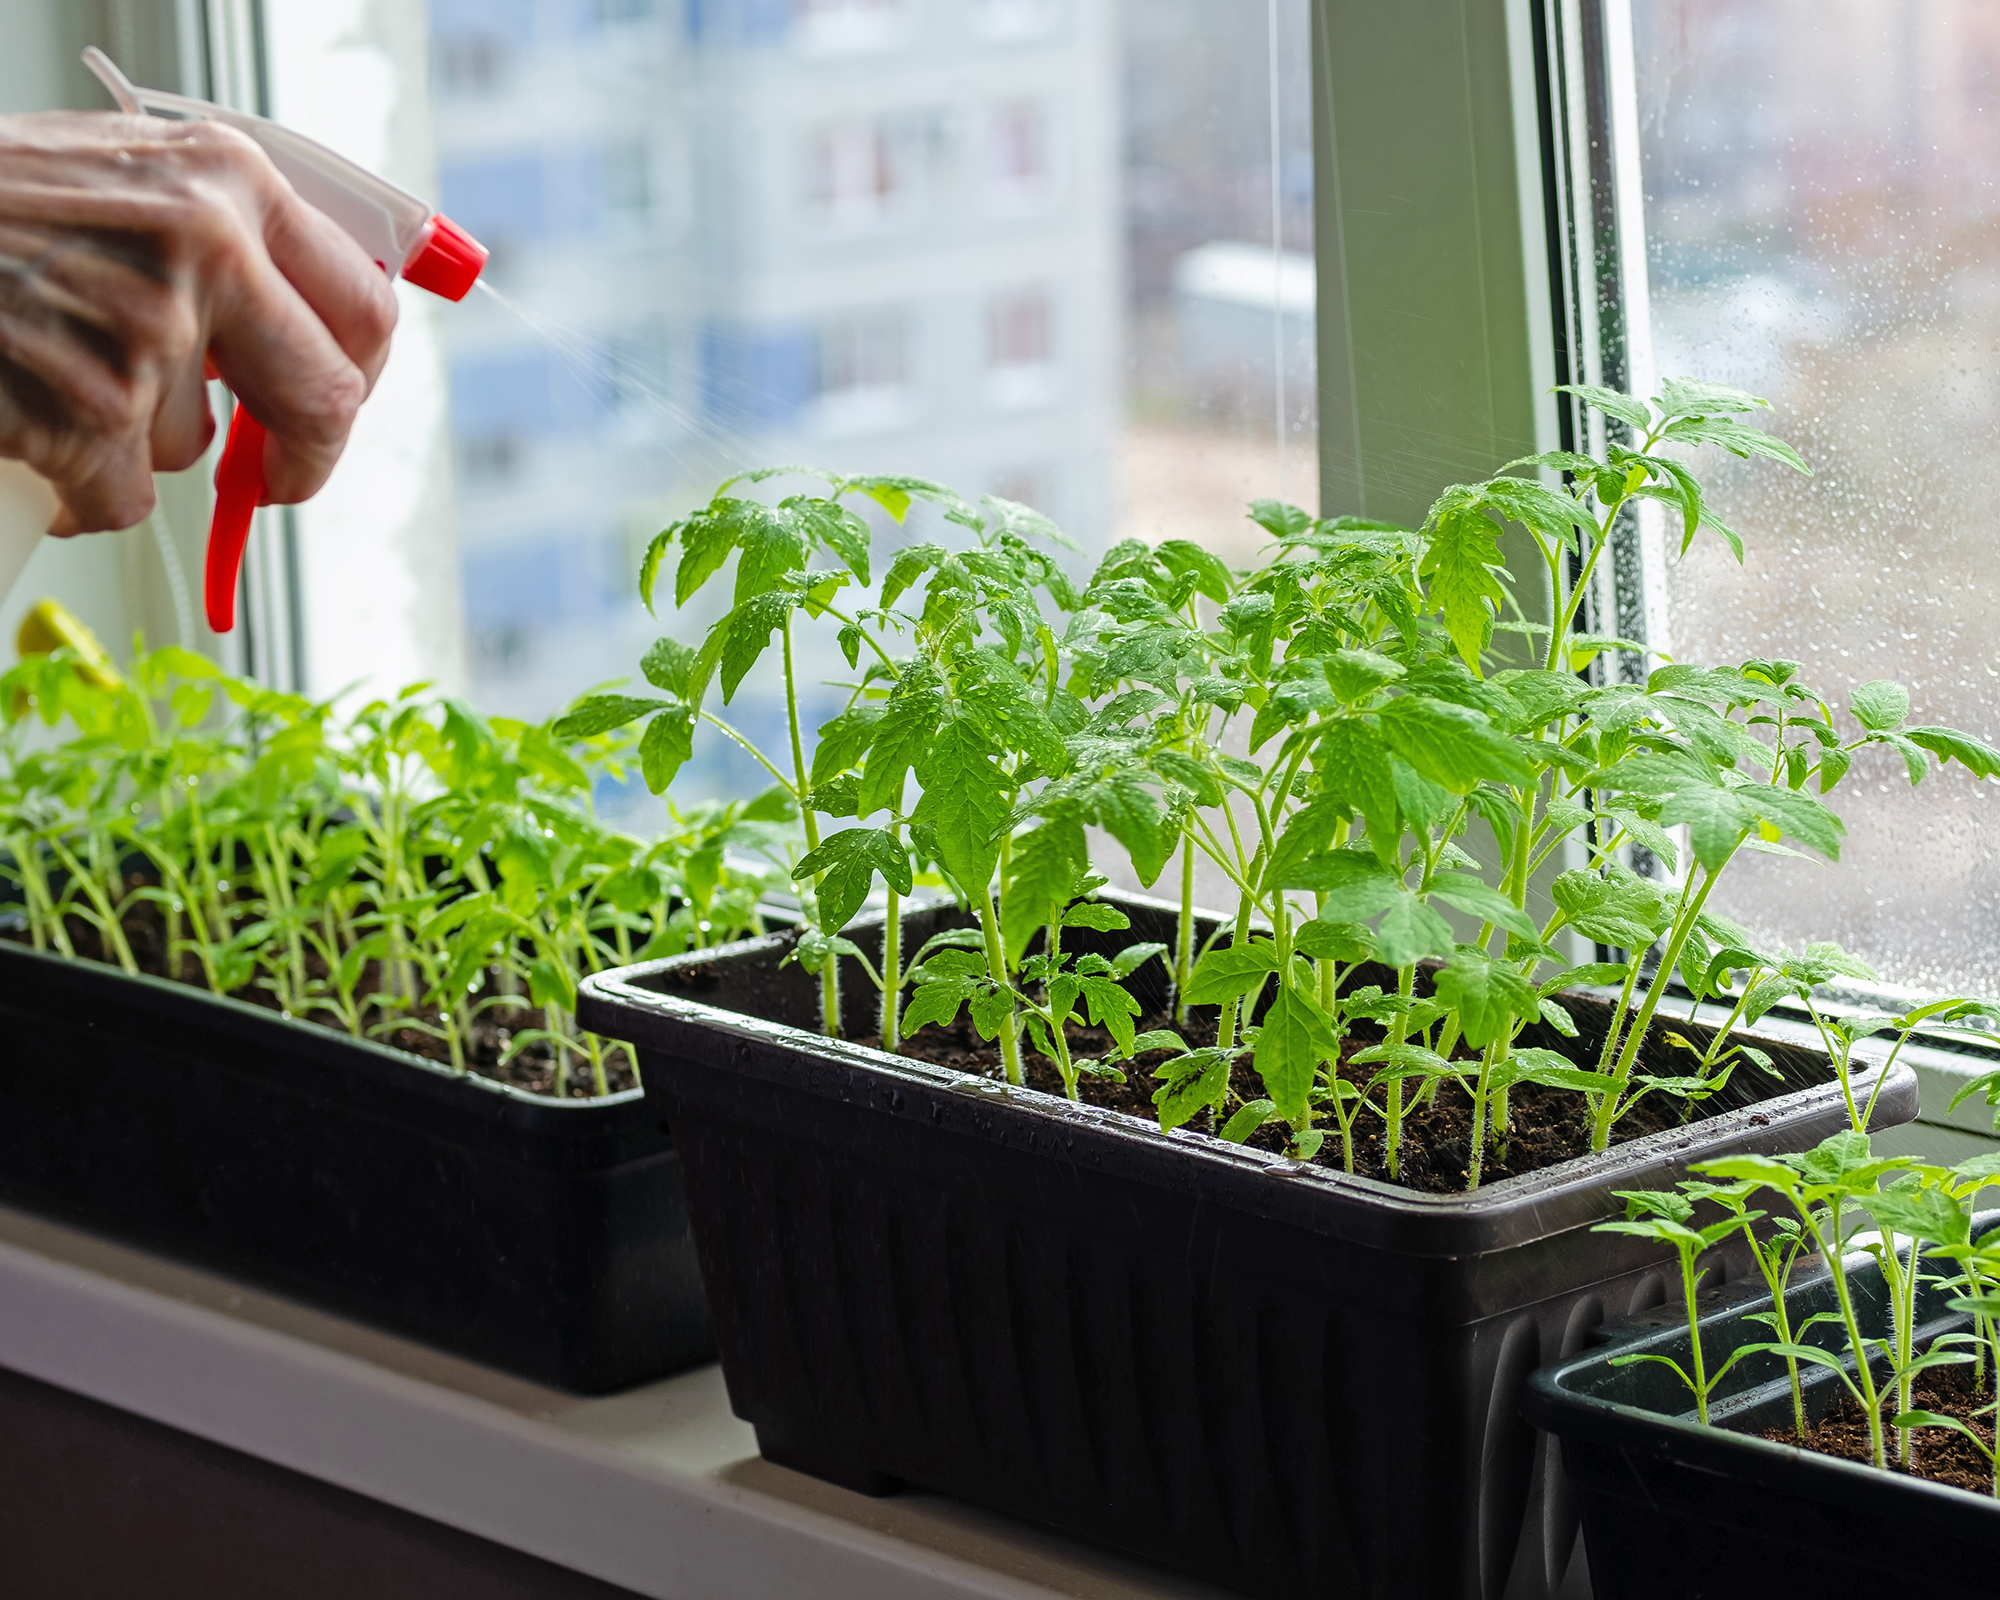
If you are concerned about small seeds washing away, an easy way to add more water is to spritz the seedlings and the top of the soil with water from a spray bottle as needed. Alternatively, you add moisture from the bottom by placing the pots in a tray filled with water just until the soil has absorbed enough moisture.
You can create a warmer, more humid environment for the germinating seeds by covering the pots or trays with a plastic lid or bag.
Place the seed trays in a warm spot or add a seedling heating mat underneath.
4. Increase Light Levels
Once the seeds have sprouted, place the trays in a windowsill or under grow lights. If the window receives enough sun, then natural light should be sufficient. However, using grow lights gives you more control and avoids leggy seedlings.
You can find grow lights designed specifically for this purpose – basic fluorescent lights that provide cool white light do the job very well.
Lights should be situated two to four inches (5 to 10cm) above seedlings. You’ll need to be able to raise the lights as the plants grow. Provide seedlings with 12 to 16 hours of light per day for the best results. Turn the lights off at night. Most plants need a dark period to grow.
5. Thin Seedlings
Unless you only planted one seed per pot or module, it is essential to know how to thin seedlings to give them enough space to grow. If seedlings are too close together they will compete for nutrients, leading to weaker plants, and will be more prone to fungal diseases caused by limited air movement from overcrowding.
It's important to thin seedlings before they get too big and the roots become entangled. Choose the stronger seedlings you want to keep and remove the weaker seedlings by pulling them out or snipping at the soil line.
Even if seedlings close to each other all look strong, you should still thin them out. You can try replanting the thinned seedlings into separate pots, or in the case of vegetables, eat them as microgreens.
6. Harden Them Off
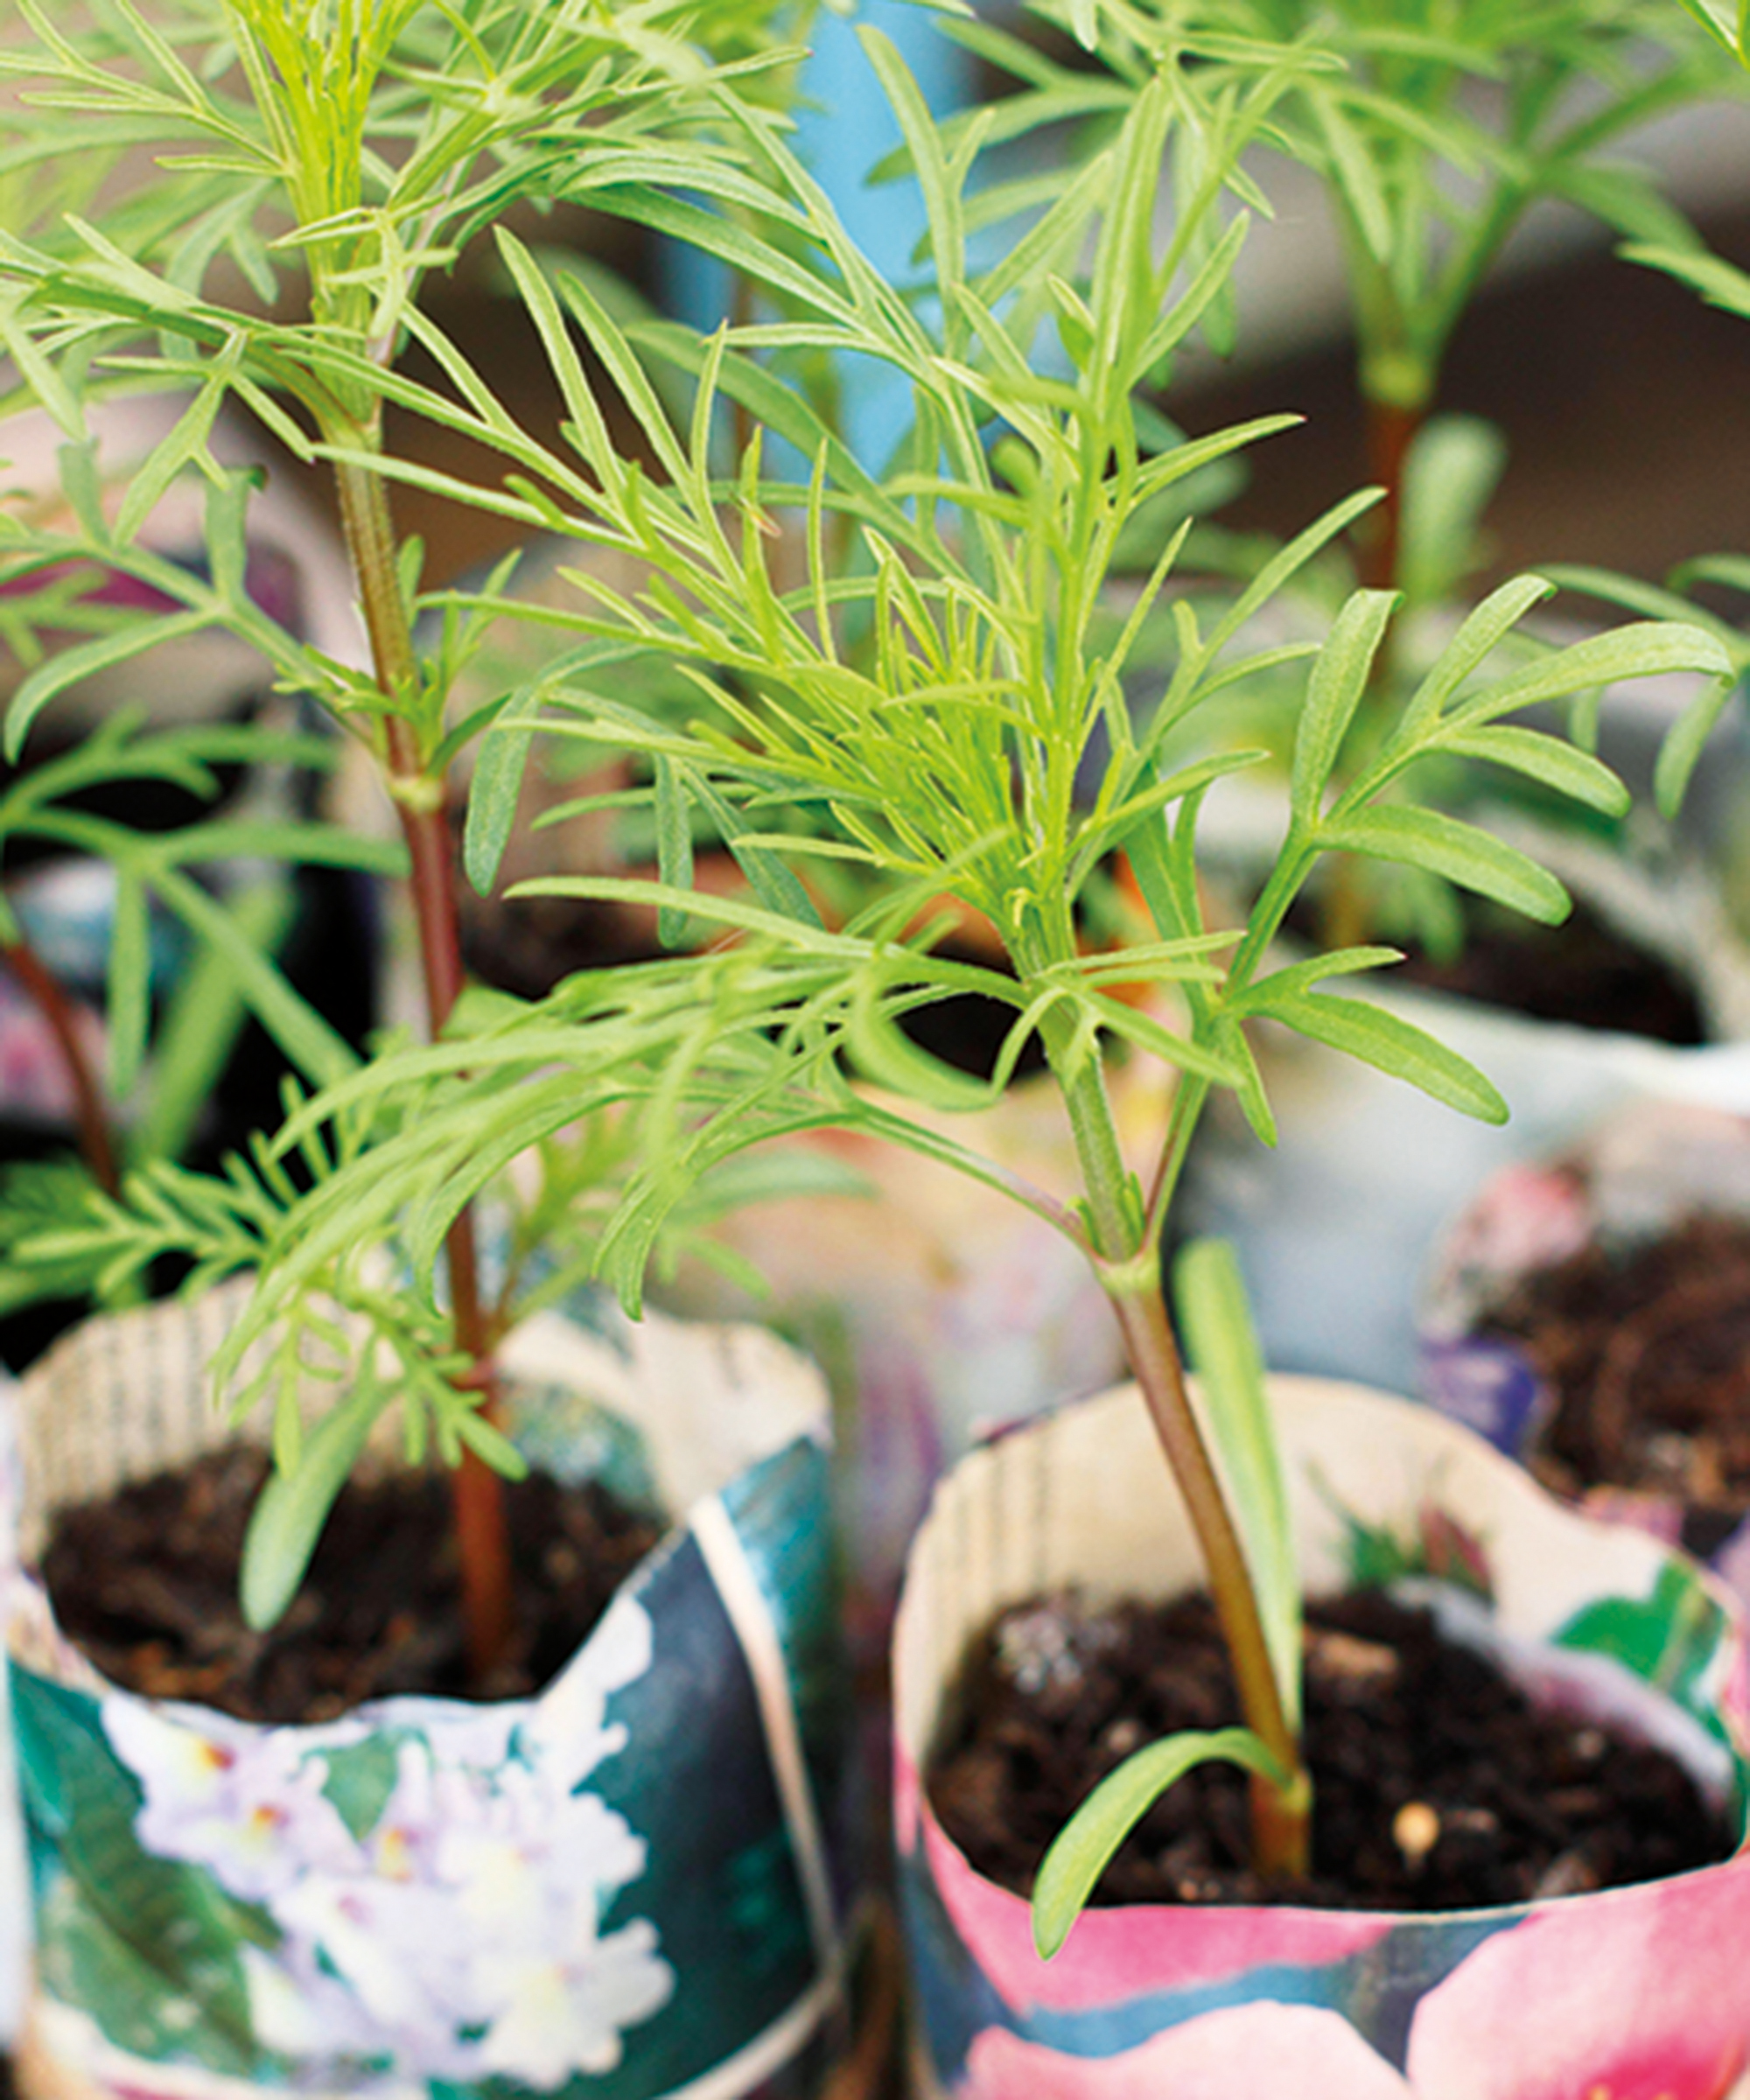
You need to learn how to harden off seedlings because if you plant them out before acclimatizing them, they may not survive.
In the week before planting them, gradually introduce the seedlings to the garden so they can become resilient to the conditions outdoors. Place your seedlings outside in a sheltered, lightly shaded area for a few hours during the daytime, and bring them back inside before the evening. Do this every day over the course of a week, increasing the time outside each day.
7. Transplant Seedlings
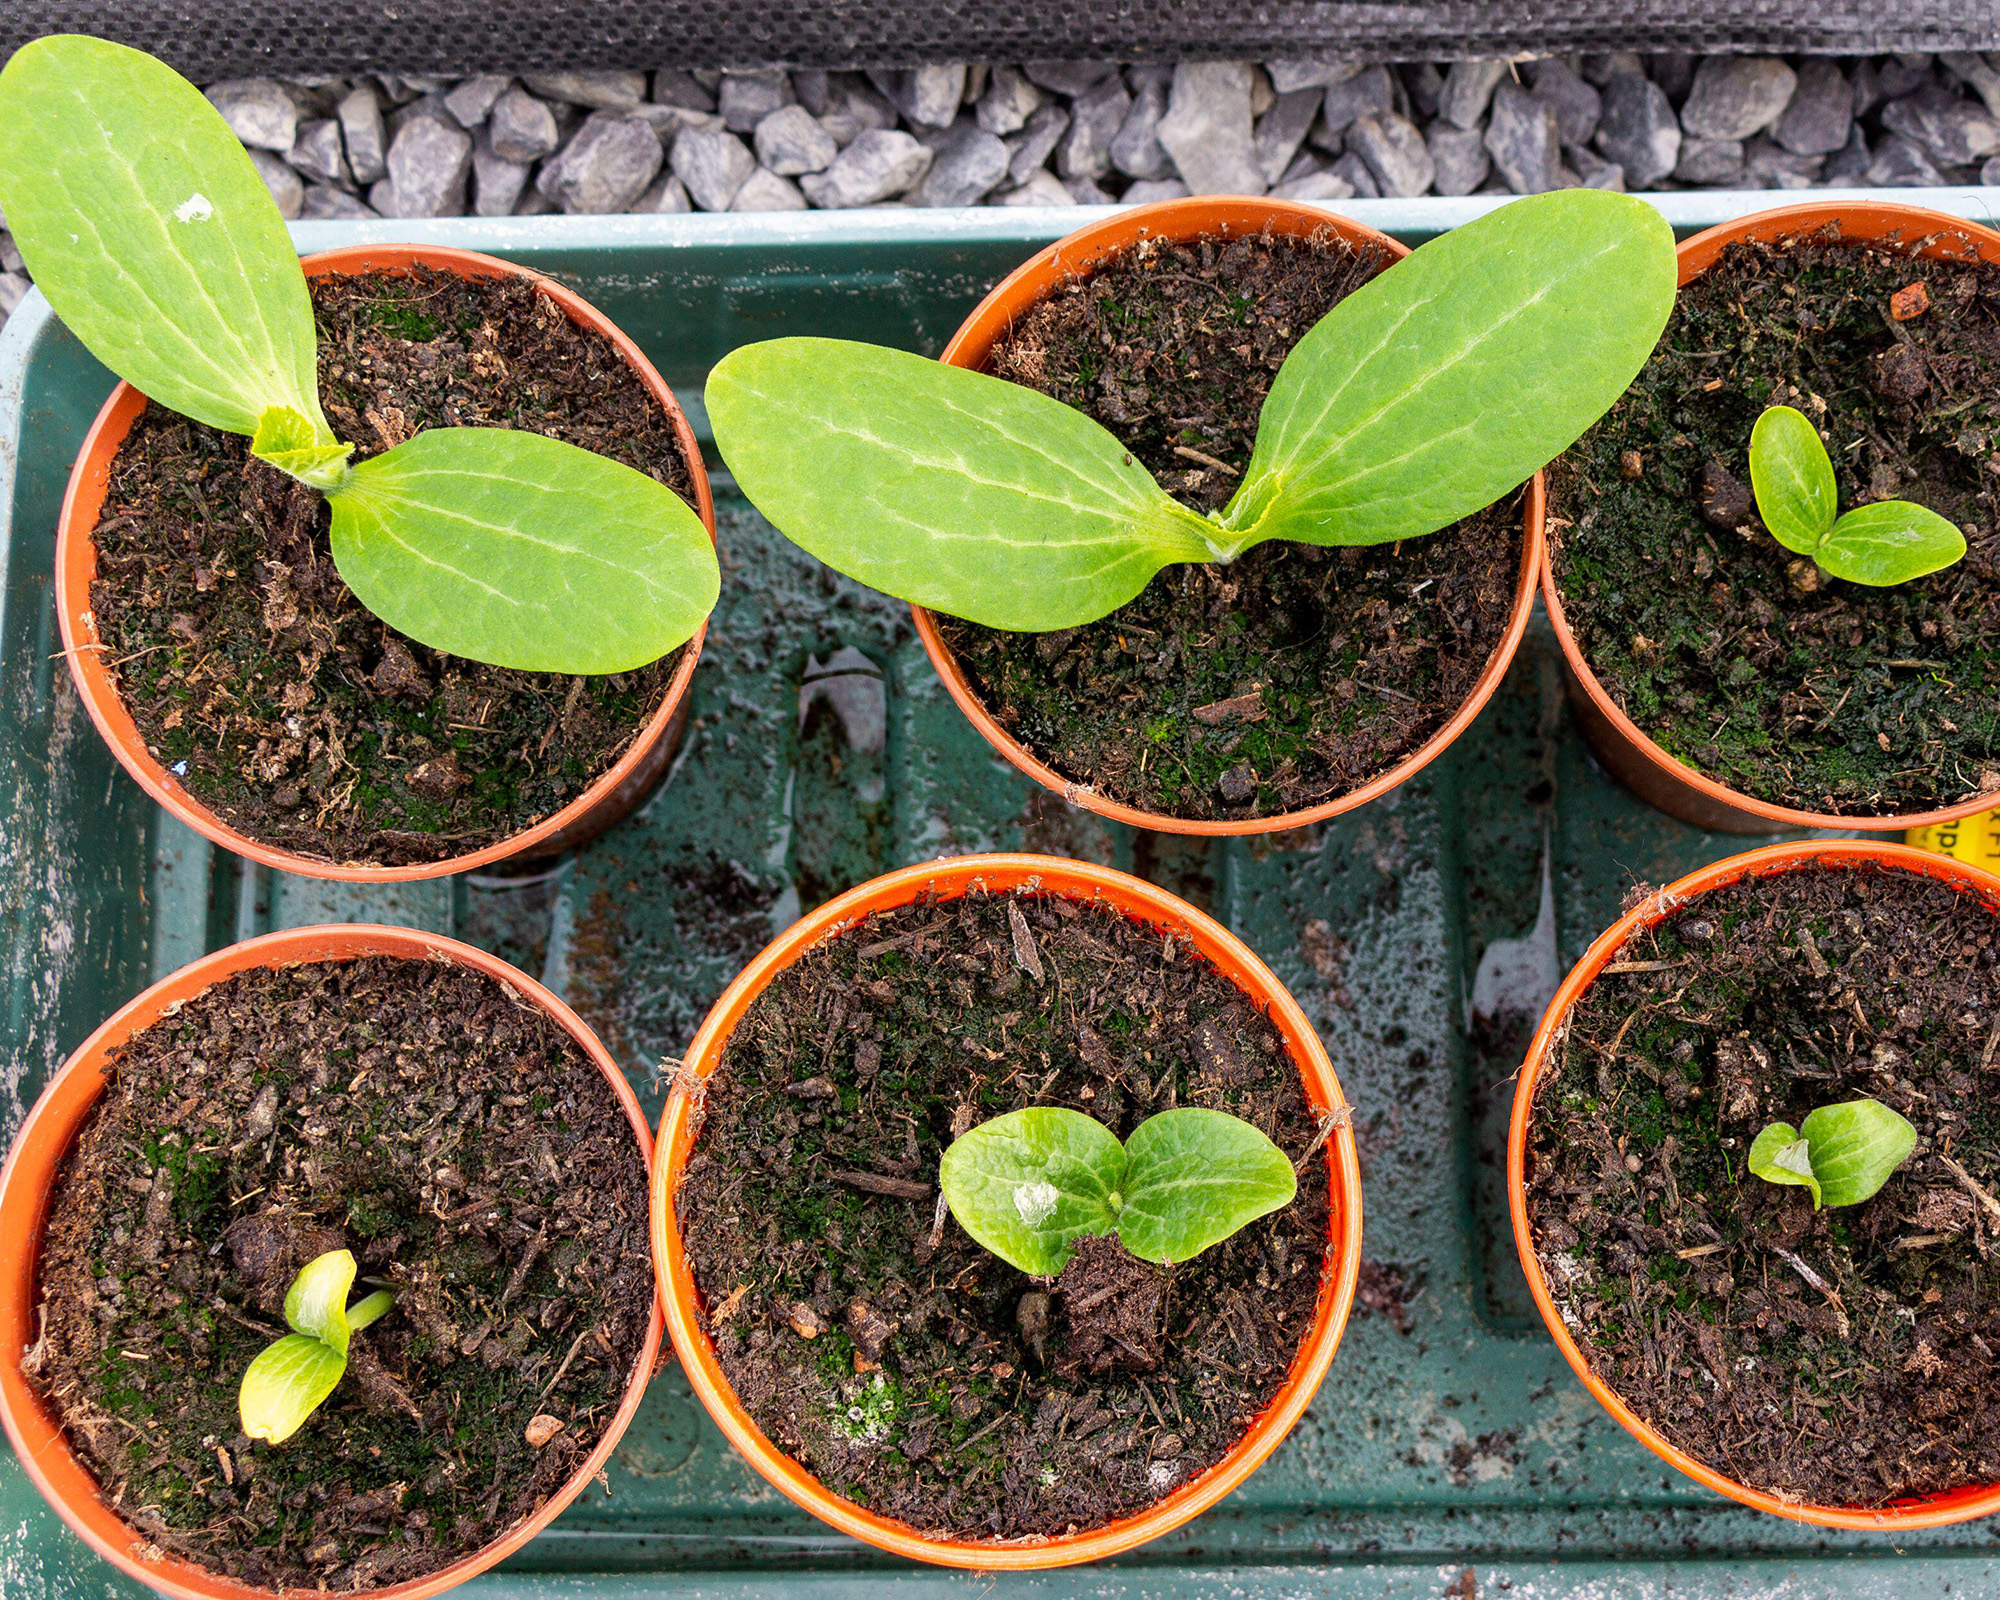
When to transplant seedlings should be based on upcoming weather conditions and how well developed they are. As a general rule, seedlings can be planted out once they have three to four true leaves. This is more important than how tall they are.
However, if a cold snap is forecast, keep them indoors a little longer.
How Long Will it Take for Seeds to Sprout?
Germination time, or how long it takes seeds to sprout, depends on the plant. Some vegetables, like lettuces, greens, and radishes, only take a few days to sprout. Most other vegetables and most flowers need a week or two.
Do You Have to Start Seeds Indoors?
You can direct sow seeds outside as an alternative to starting seeds inside. This is easier and takes less time, but it also means you have to wait until after the last frost, so the plants will come to maturity later. It’s also more difficult to control growing conditions and pests.
The Best Seeds to Grow Indoors
You can start most vegetables and flowers indoors from seed. Some types benefit more from this head start with controlled growing conditions:
- Vegetables that grow slowly can be started inside, like peppers, eggplant, celery, and cauliflower.
- Tender vegetables benefit from seeding indoors to protect them from late frosts or cold temperatures, such as tomatoes and zucchini, as well as peppers and eggplants.
- Cool-season vegetables that grow fast can be started outside or indoors. These include peas, radishes, and lettuce.
Bear in mind that some vegetables should be sown directly outside because they do not respond well to being transplanted. These include squash, cucumbers, pumpkins, melons, and root vegetables.
You can also start most flowers from seed indoors. Starting annual flowers from seed is particularly cost-saving, as you would otherwise buy them as transplants every year. You can also start many perennial flowers from seed.
Some annuals to consider starting indoors to get an early start on flowers include:
More Seed-Starting Inspiration
- Discover 8 enchanting blue flowers you can start from seed in winter to chase away the blues.
- Be inspired by the best flower seeds to start in January for the most glorious garden this year.
- Kickstart your growing year with organic vegetables ideal for starting in winter.
- Shop seed-starting supplies in the Gardening Know How Shop – from seeds to growing kits and accessories.
This article features products available from third party vendors on the Gardening Know How Shop.

Mary Ellen Ellis has been gardening for over 20 years. With degrees in Chemistry and Biology, Mary Ellen's specialties are flowers, native plants, and herbs.
- Melanie GriffithsEditor in Chief
