5 Budget-Friendly Ways To Reinvigorate Garden Soil – To Grow Better, Healthier Plants
Improve and condition your soil with these clever solutions that are simple, sustainable, and cost almost nothing. You will soon reap the rewards with lush foliage, abundant flowers, and delicious crops.
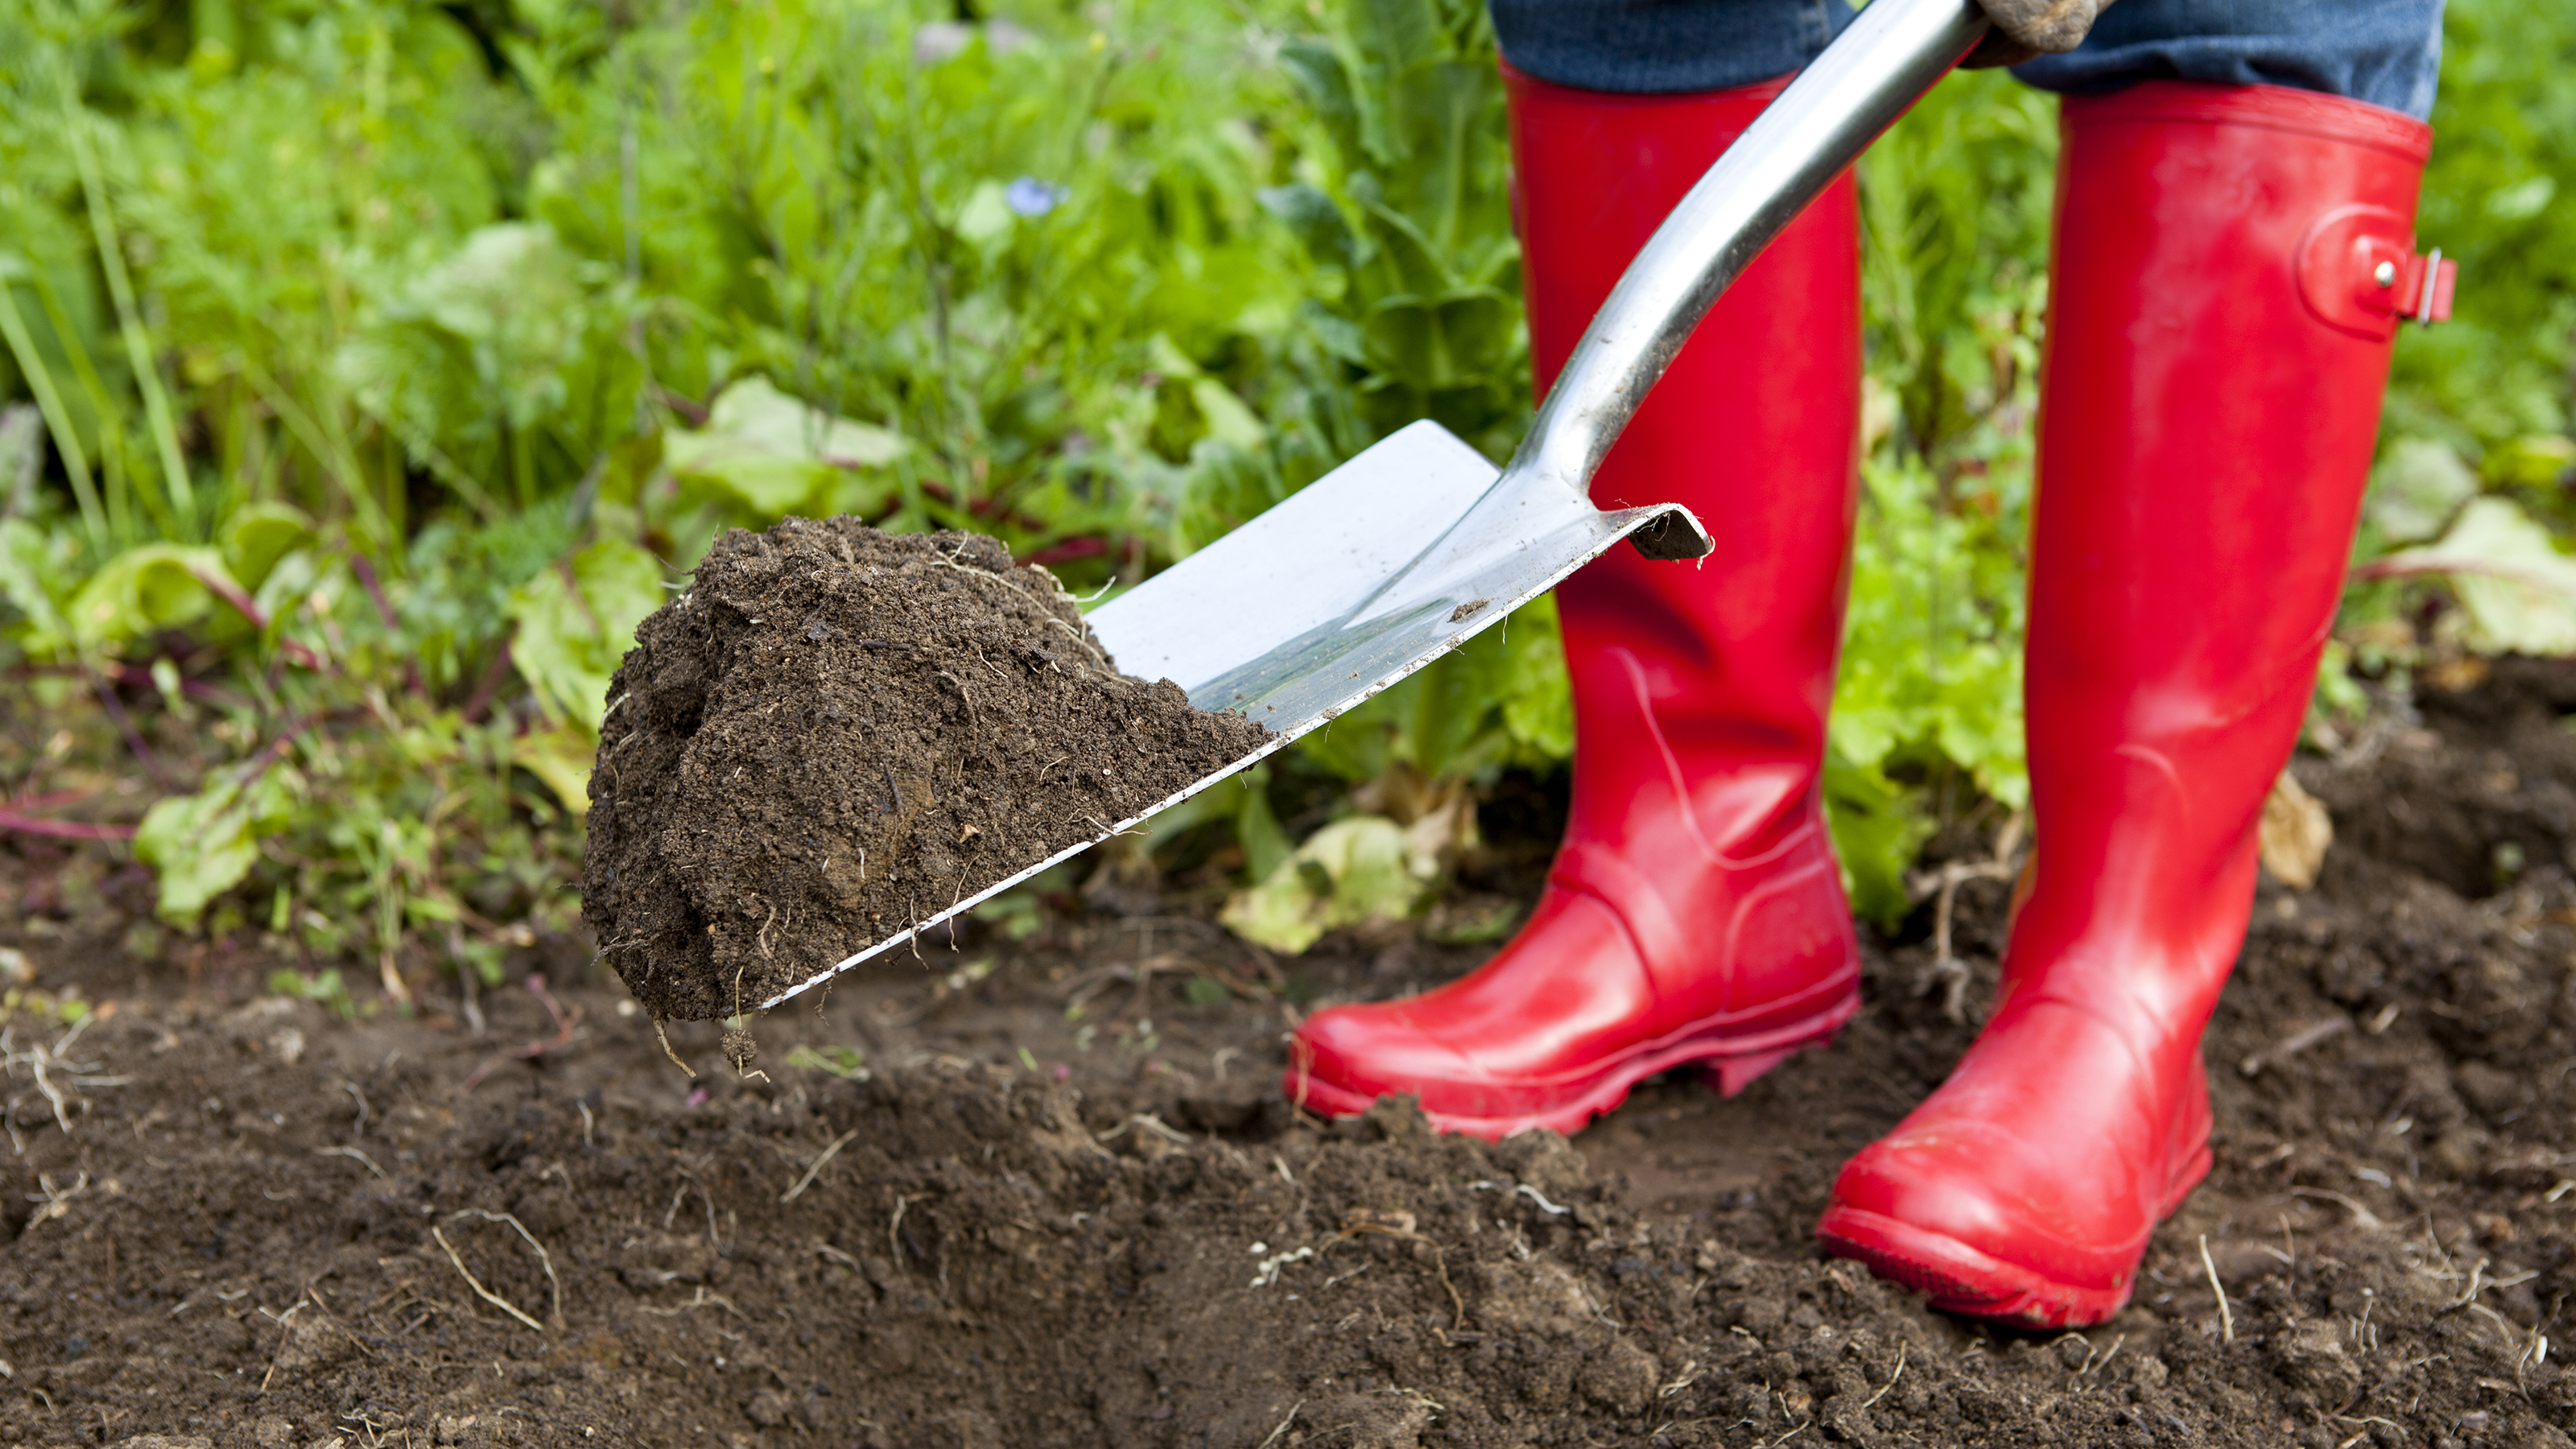
In order to grow healthy plants, you need to start with a foundation of nutrient-rich, good-textured soil.
Some gardeners find it takes a lot of work to prepare soil for planting, while others are blessed with beautiful, lush soil full of organic material and beneficial soil microbes.
Either way, there is always more you can do to improve and enrich your soil to promote better growth.
As plants grow each season they use up the existing soil nutrients and organic matter. Therefore, it is beneficial to amend the soil in anticipation of spring planting, and there are numerous ways of doing this.
Most gardeners resort to buying bags of compost and soil conditioner from the garden center. This can be very expensive when you consider that there is a wealth of organic material available for free, or very cheaply.
Use a combination of these soil improving methods for the best results, and your plants will reward you with bushy growth, maximum flowers, or a bumper harvest.
1. Grow cover crops as “green manure”
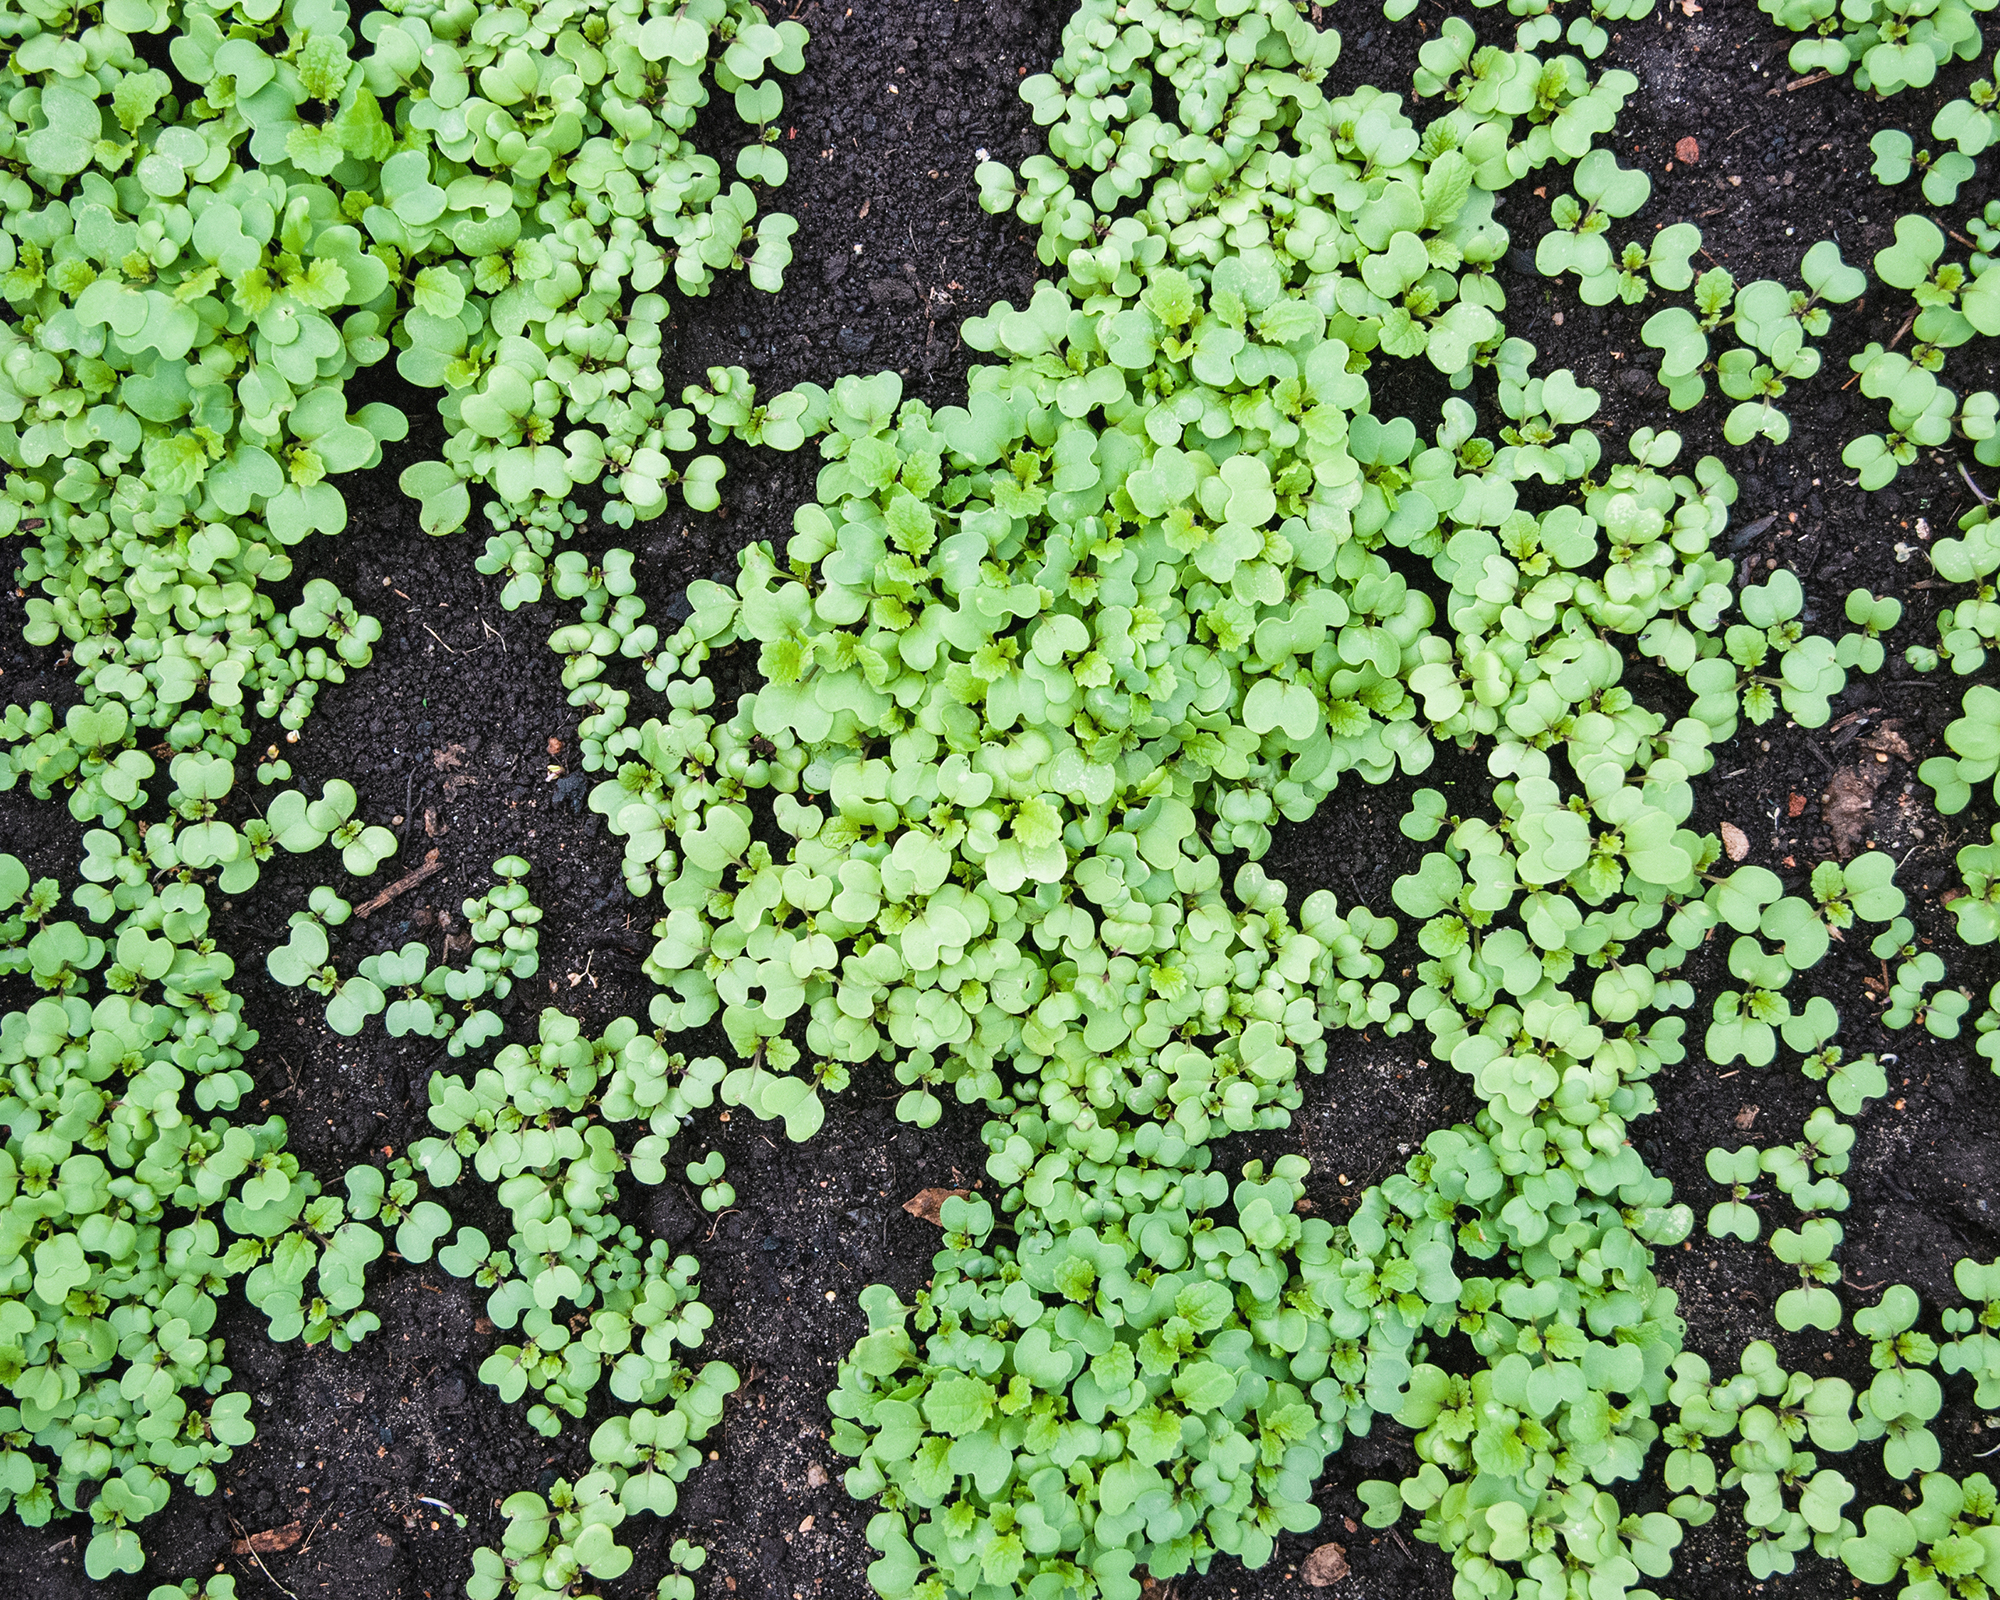
It might seem counterproductive to grow crops in the soil you want to use for something else. However, growing cover crops as green manure is a common agricultural practice that has multiple benefits for soil.
Gardening tips, videos, info and more delivered right to your inbox!
Sign up for the Gardening Know How newsletter today and receive a free copy of our e-book "How to Grow Delicious Tomatoes".
Cover crops are sacrificial plants – such as grass mixtures and legume plants – that are grown for the purpose of improving soil fertility and structure.
To achieve this, the crops are usually cut and then plowed into the soil – at which point they become green manure. Alternatively, they may be left in the ground for an extended period prior to tilling the ground.
There are green manure seed options that can be sown from spring through to fall, depending on when you want to plant.
Try sowing seeds wherever you have a patch of bare soil you want to plant up, or after you have lifted crops such as potatoes.
Many green manure seeds are fast to germinate and can be dug in within 6 weeks.
As well as enriching the soil with organic material and valuable nutrients such as nitrogen and potassium, green manure crops will help to keep down weeds while they are growing, and even retain more warmth within the soil.
2. Try “trench composting”
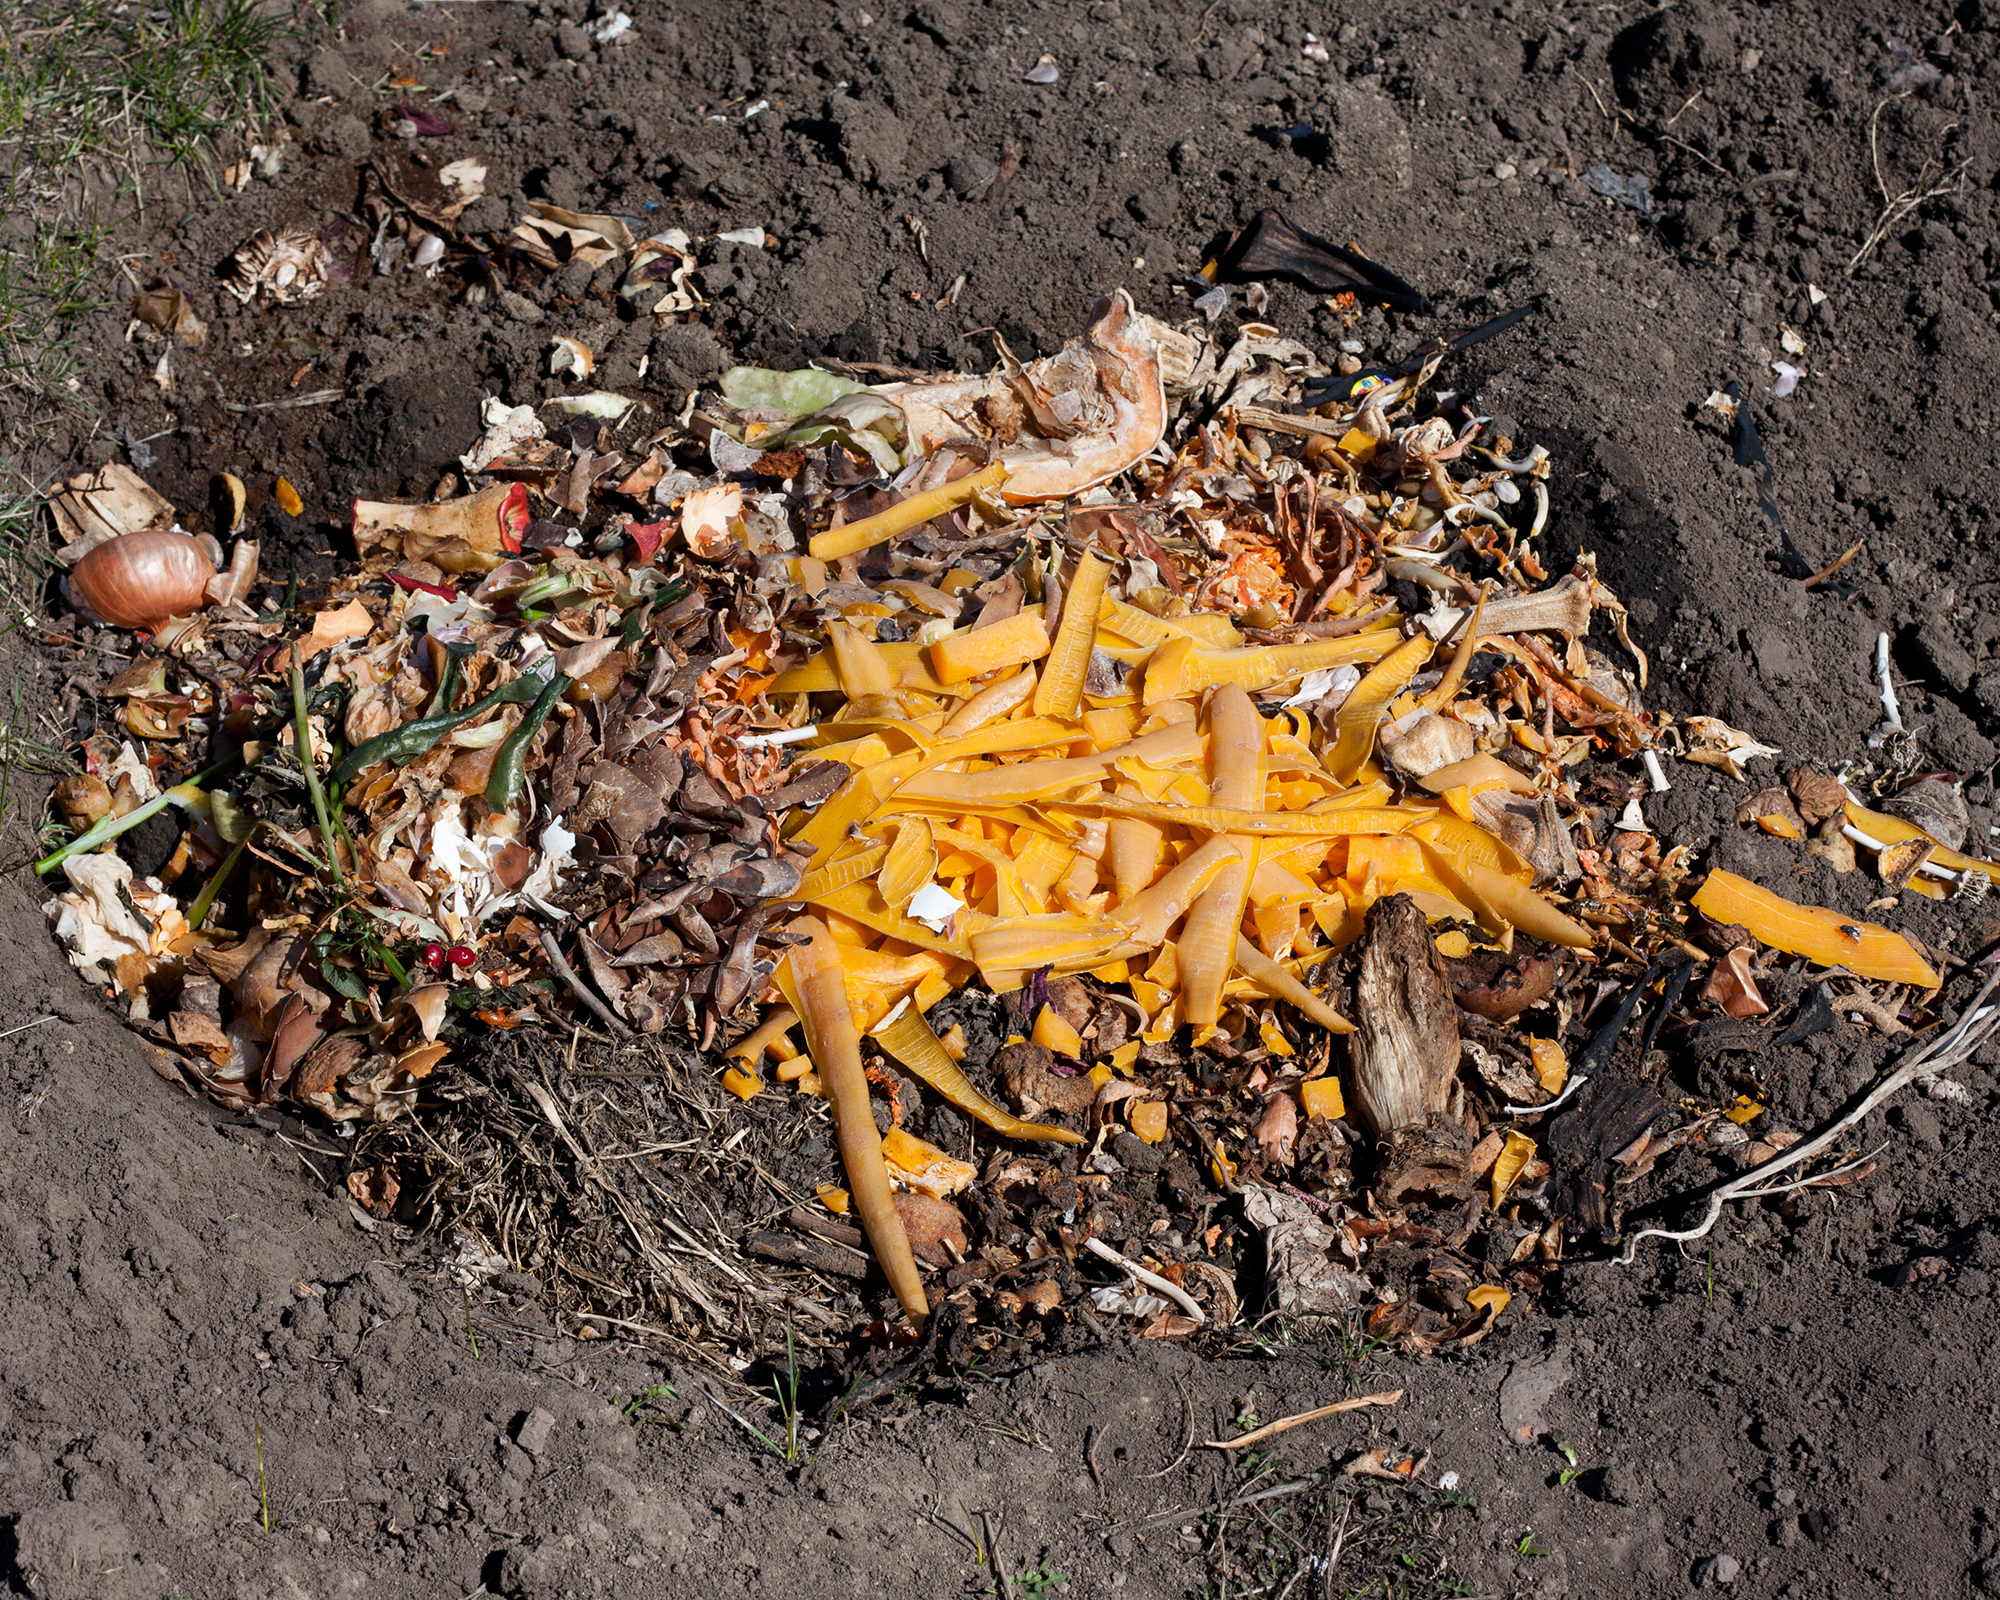
If you don’t have room for a compost pile, then trench composting enables you to gain many of the same benefits without losing space in the garden.
It simply involves digging a trench and adding food scraps to the bottom, covering with compostable garden materials, and then again with soil. Finish by watering deeply.
The entirety will break down and enrich the soil with little work from you.
It takes at least six weeks for the scraps to decompose before you can plant in the soil. To speed things up, you can sprinkle a handful of blood meal over the top of the kitchen waste before covering with soil.
You can either position the pits according to your planting plan, or create small compost pockets in random areas.
3. Source free manure
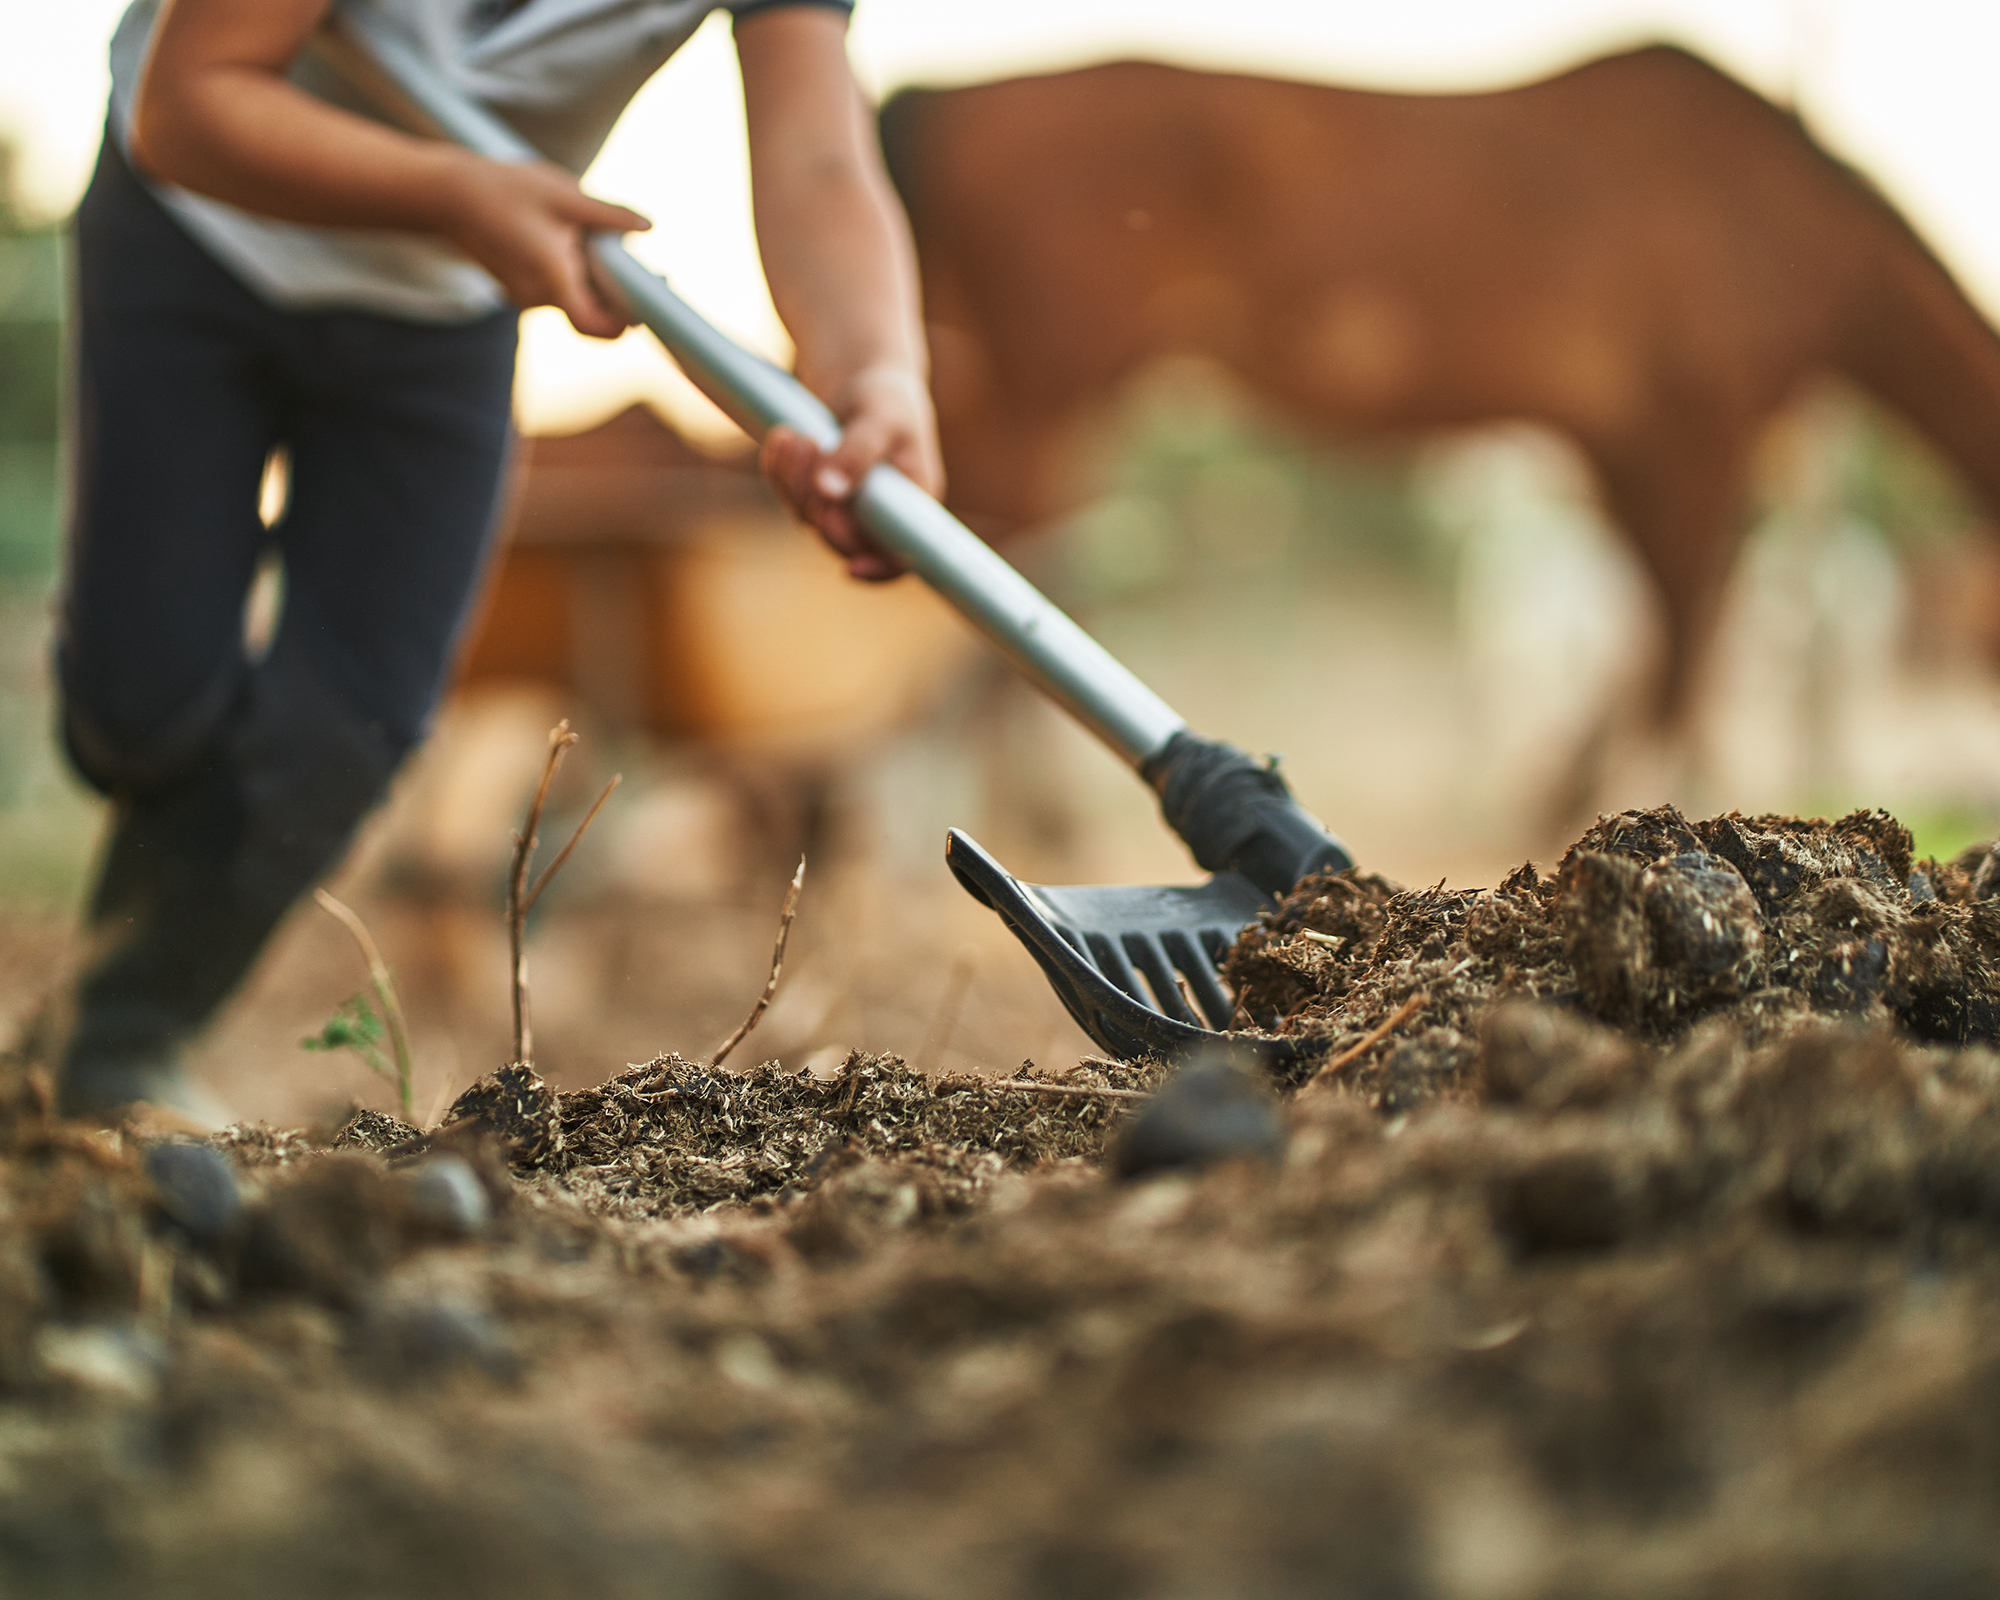
At the end of the growing season, when the plants are starting to die back in the fall, it’s a great idea to top dress the soil with aged manure. Then, when spring arrives, you can turn the soil to amend it.
Not only does manure improve the structure of all soil types, it also improves its capacity to store water and nutrients.
Manure is by far the cheapest organic fertilizer you can buy – and is often available for free from local farms and stables.
However, free manure is usually fresh, so cannot be used until it has had a chance to rot down.
If you have a small yard, then you should purchase well-rotted manure, as fresh manure contains high levels of harmful pathogens, as well as undigested weed seeds – plus it stinks. It cannot be used fresh on plants as it can burn the roots.
If you have a large yard and can pile up manure without offending your nostrils (or those of your neighbors), then allow it to rot for at least four months – ideally six – before adding it to soil.
4. Dig in cut grass and leaf mulch
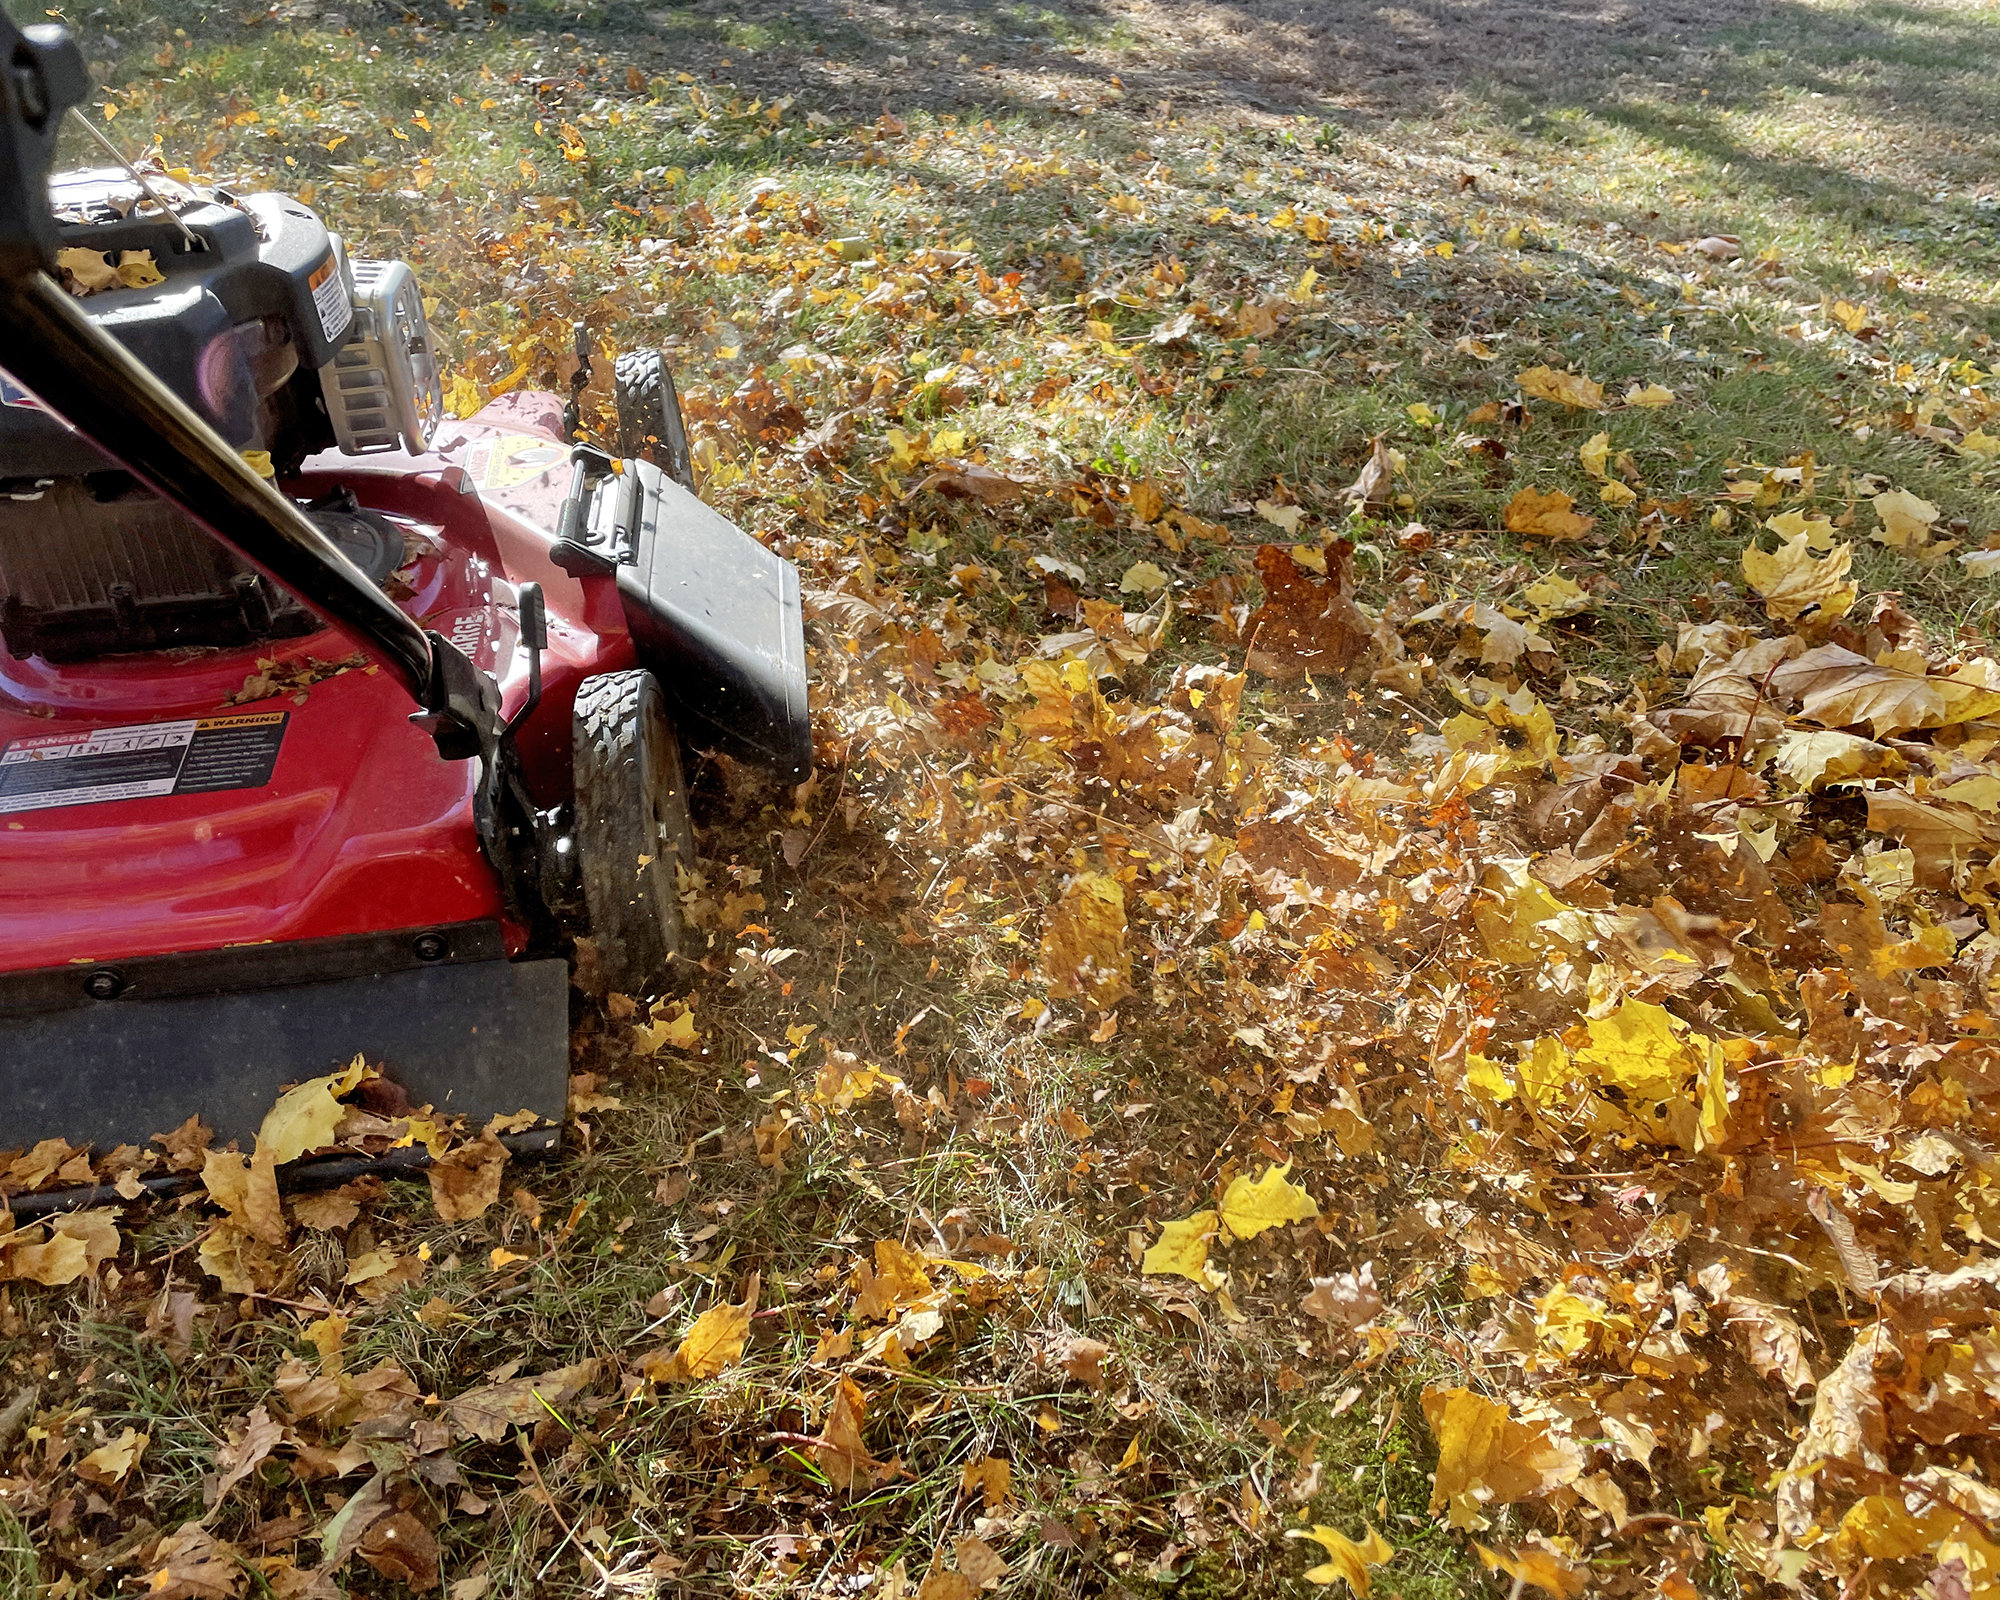
Instead of disposing of fallen leaves and grass clippings, recycle them back into the soil. The decomposing matter is packed with nutrients and will also help to improve the structure of the soil. It’s also a great way to reduce garden waste
While grass clippings can be used as they are, leaves need to be shredded before being used around the garden, otherwise they can have a smothering effect.
To do this, allow them to dry for a few days before spreading them out on the lawn and shredding them using the mulching blade on your mower.
A clever way to get a double benefit from grass clippings and leaves is to layer them up around plants as mulch in the fall, then to dig them into the soil in spring.
This helps to protect plants from winter’s icy breath before doing their duty as an amendment once they have been dug in.
5. Make organic compost
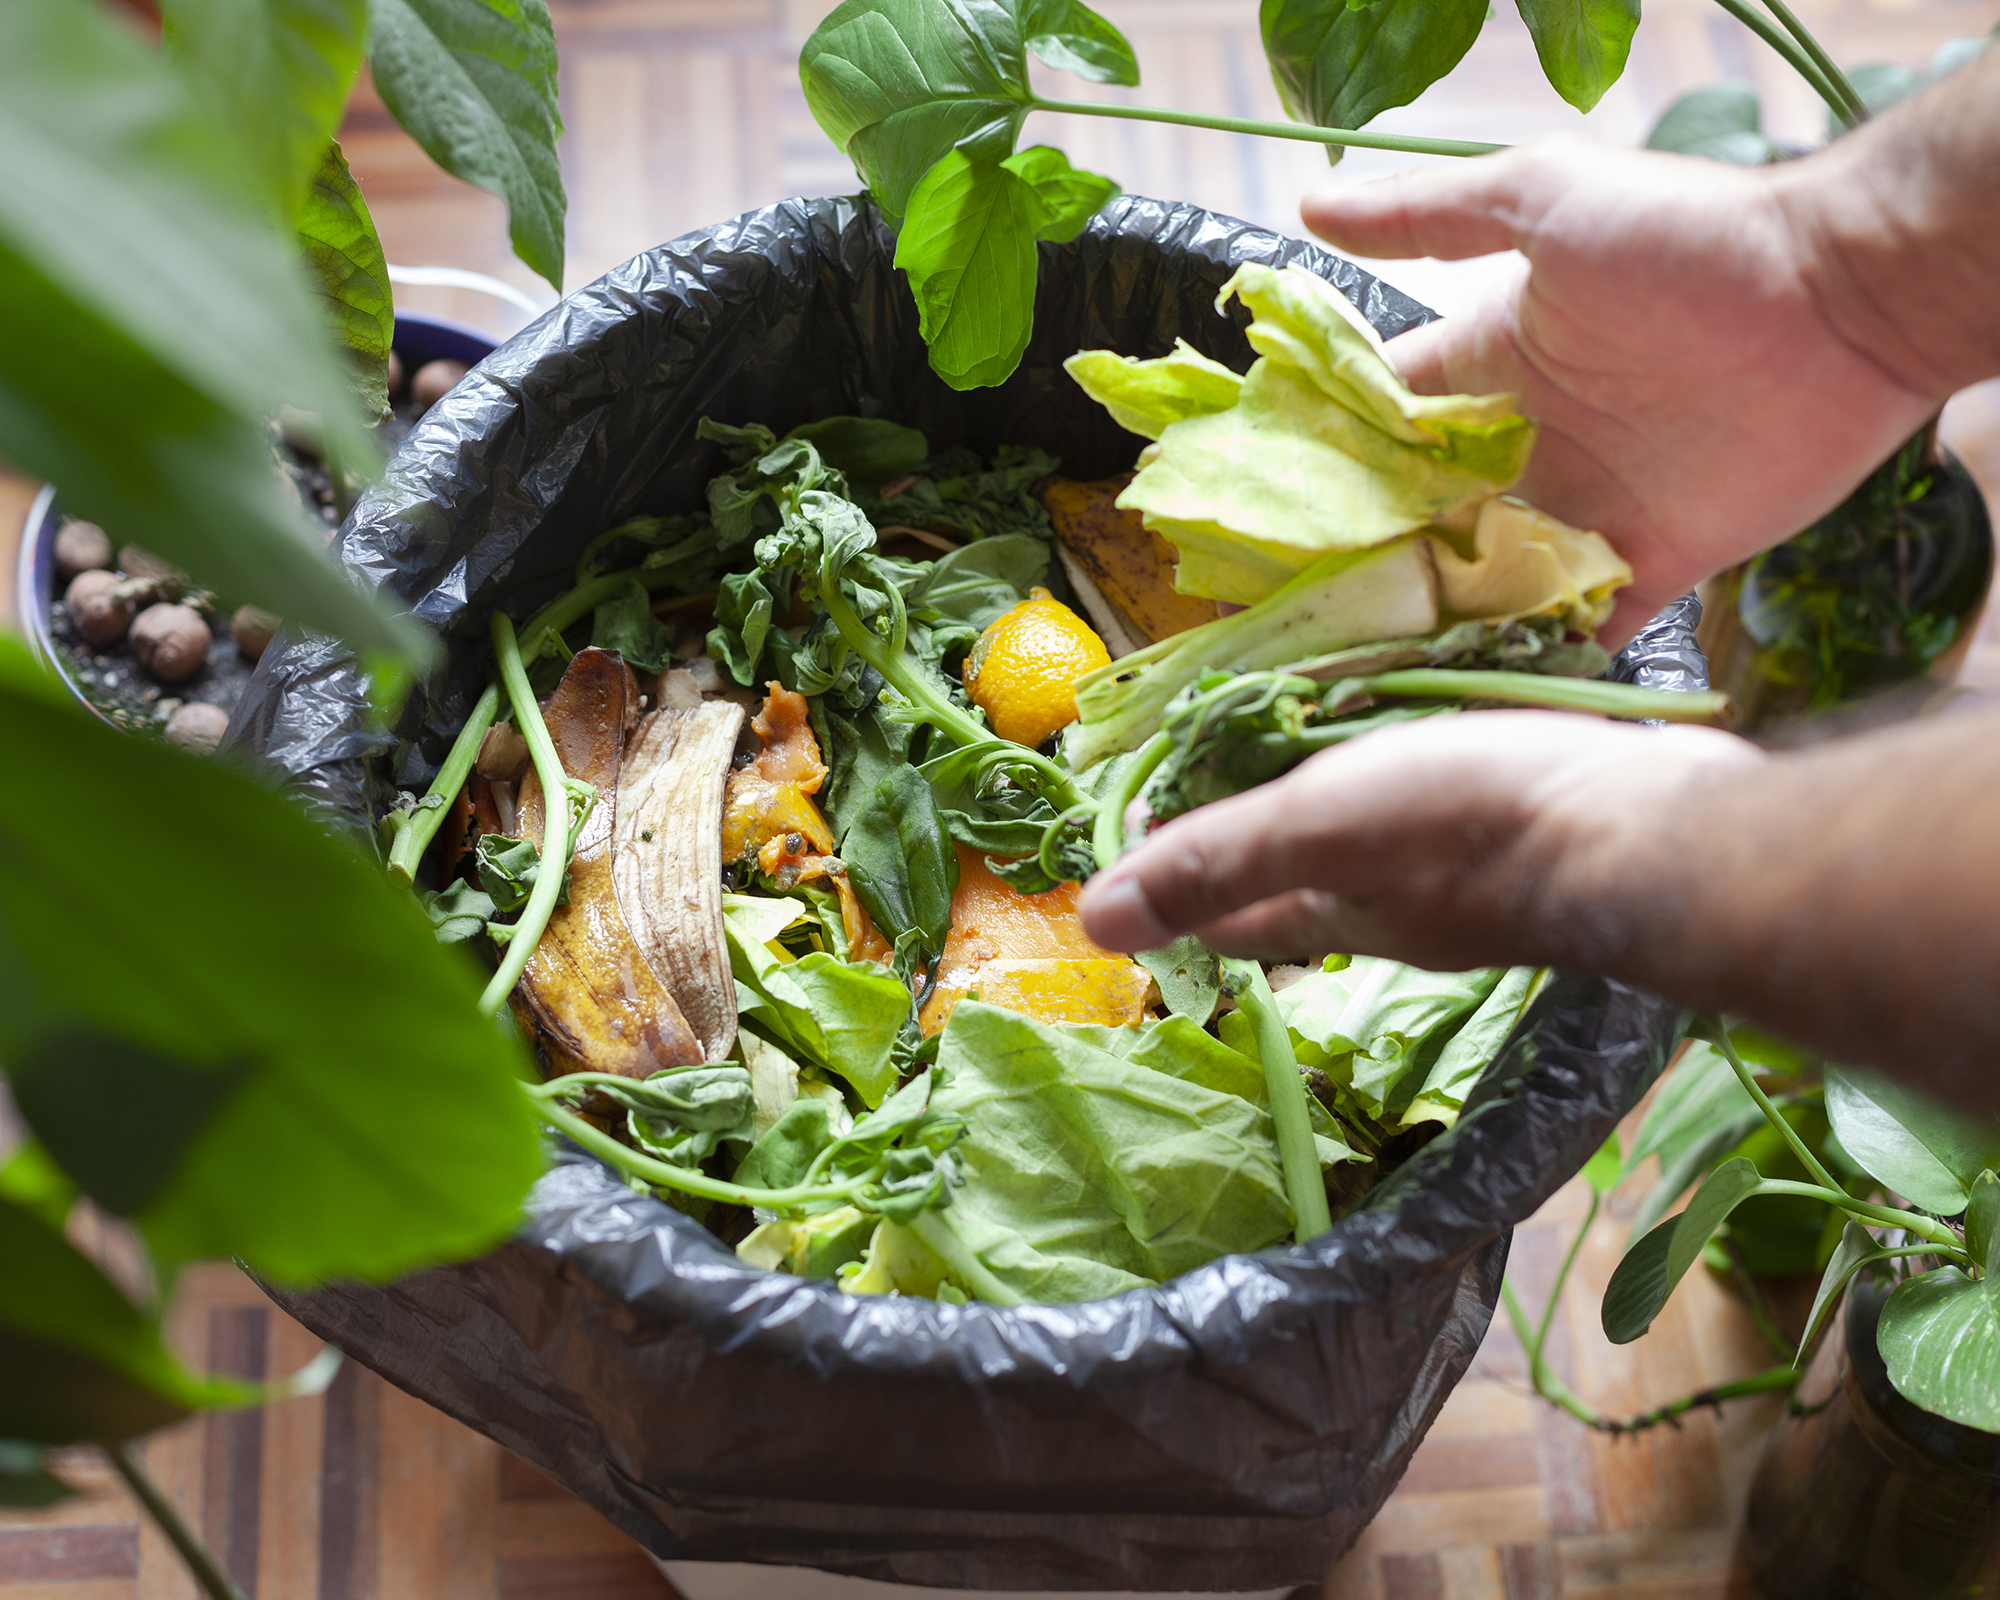
If you don’t already have a compost heap, then you should really start one. Known as “black gold”, it's one of the most nutrient-rich soil improvers you can cultivate.
To start making compost, you will need some space for a bin or enclosure – ideally at the bottom of the garden to avoid being subjected to any unpleasant smells or flies.
To your bin, you can start adding a mix of green and brown materials. Green items add nitrogen to the compost and include grass clippings and kitchen scraps. Brown materials add carbon to compost, and consist of things like leaves, shredded newspaper, and sawdust.
When you have the right balance of materials, there will be a natural reaction in the compost and it will heat up, aiding the decomposition process.
It’s vital to turn compost regularly with a garden fork, to keep it moist and aerated.
Depending on the materials used and size of the pile, it will take anything from several months to a year before your compost is ready to be used in the garden.
You will know it is ready when it is dark brown to black in color, has a crumbly texture, and a pleasant earthy smell.

Melanie is an experienced gardener and has worked in homes and gardens media for over 20 years. She previously served as Editor on Period Living magazine, and worked for Homes & Gardens, Gardening Etc, Real Homes, and Homebuilding & Renovating. Melanie has spent the last few years transforming her own garden, which is constantly evolving as a work in progress. She is also a passionate organic home grower, having experimented with almost every type of vegetable at some point. In her home, Melanie tends to an extensive houseplant collection and is particularly fond of orchids.
- Amy GrantWriter
-
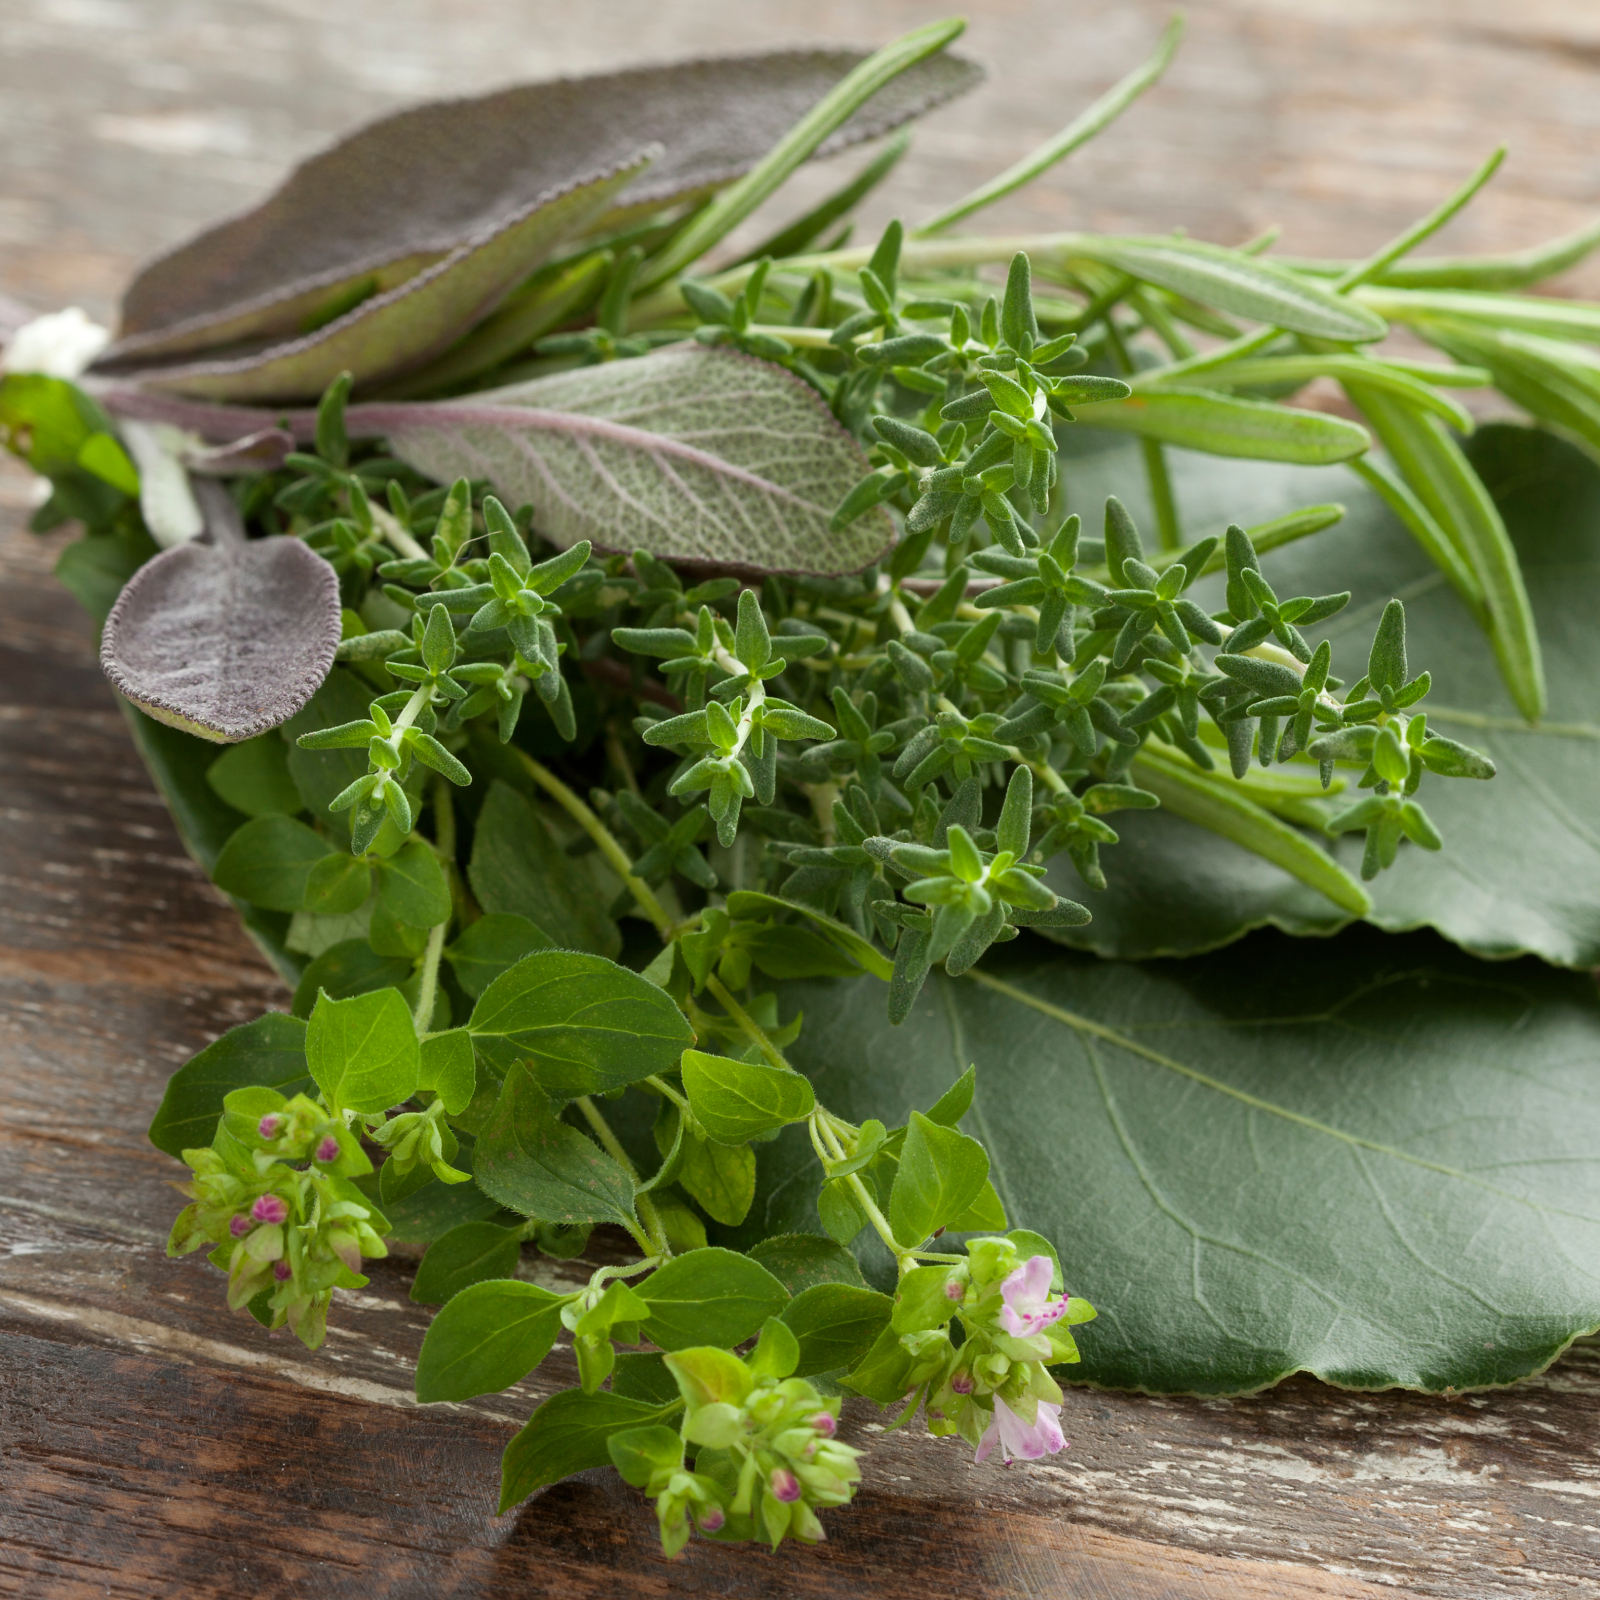 How To Make A Bouquet Garni Or Herb Bundle For Cooking
If you’re a great cook, you may have made an herb bundle before. If this is a new idea, learn how to add sparkle and interest to your dish with a bouquet garni.
By Amy Grant
-
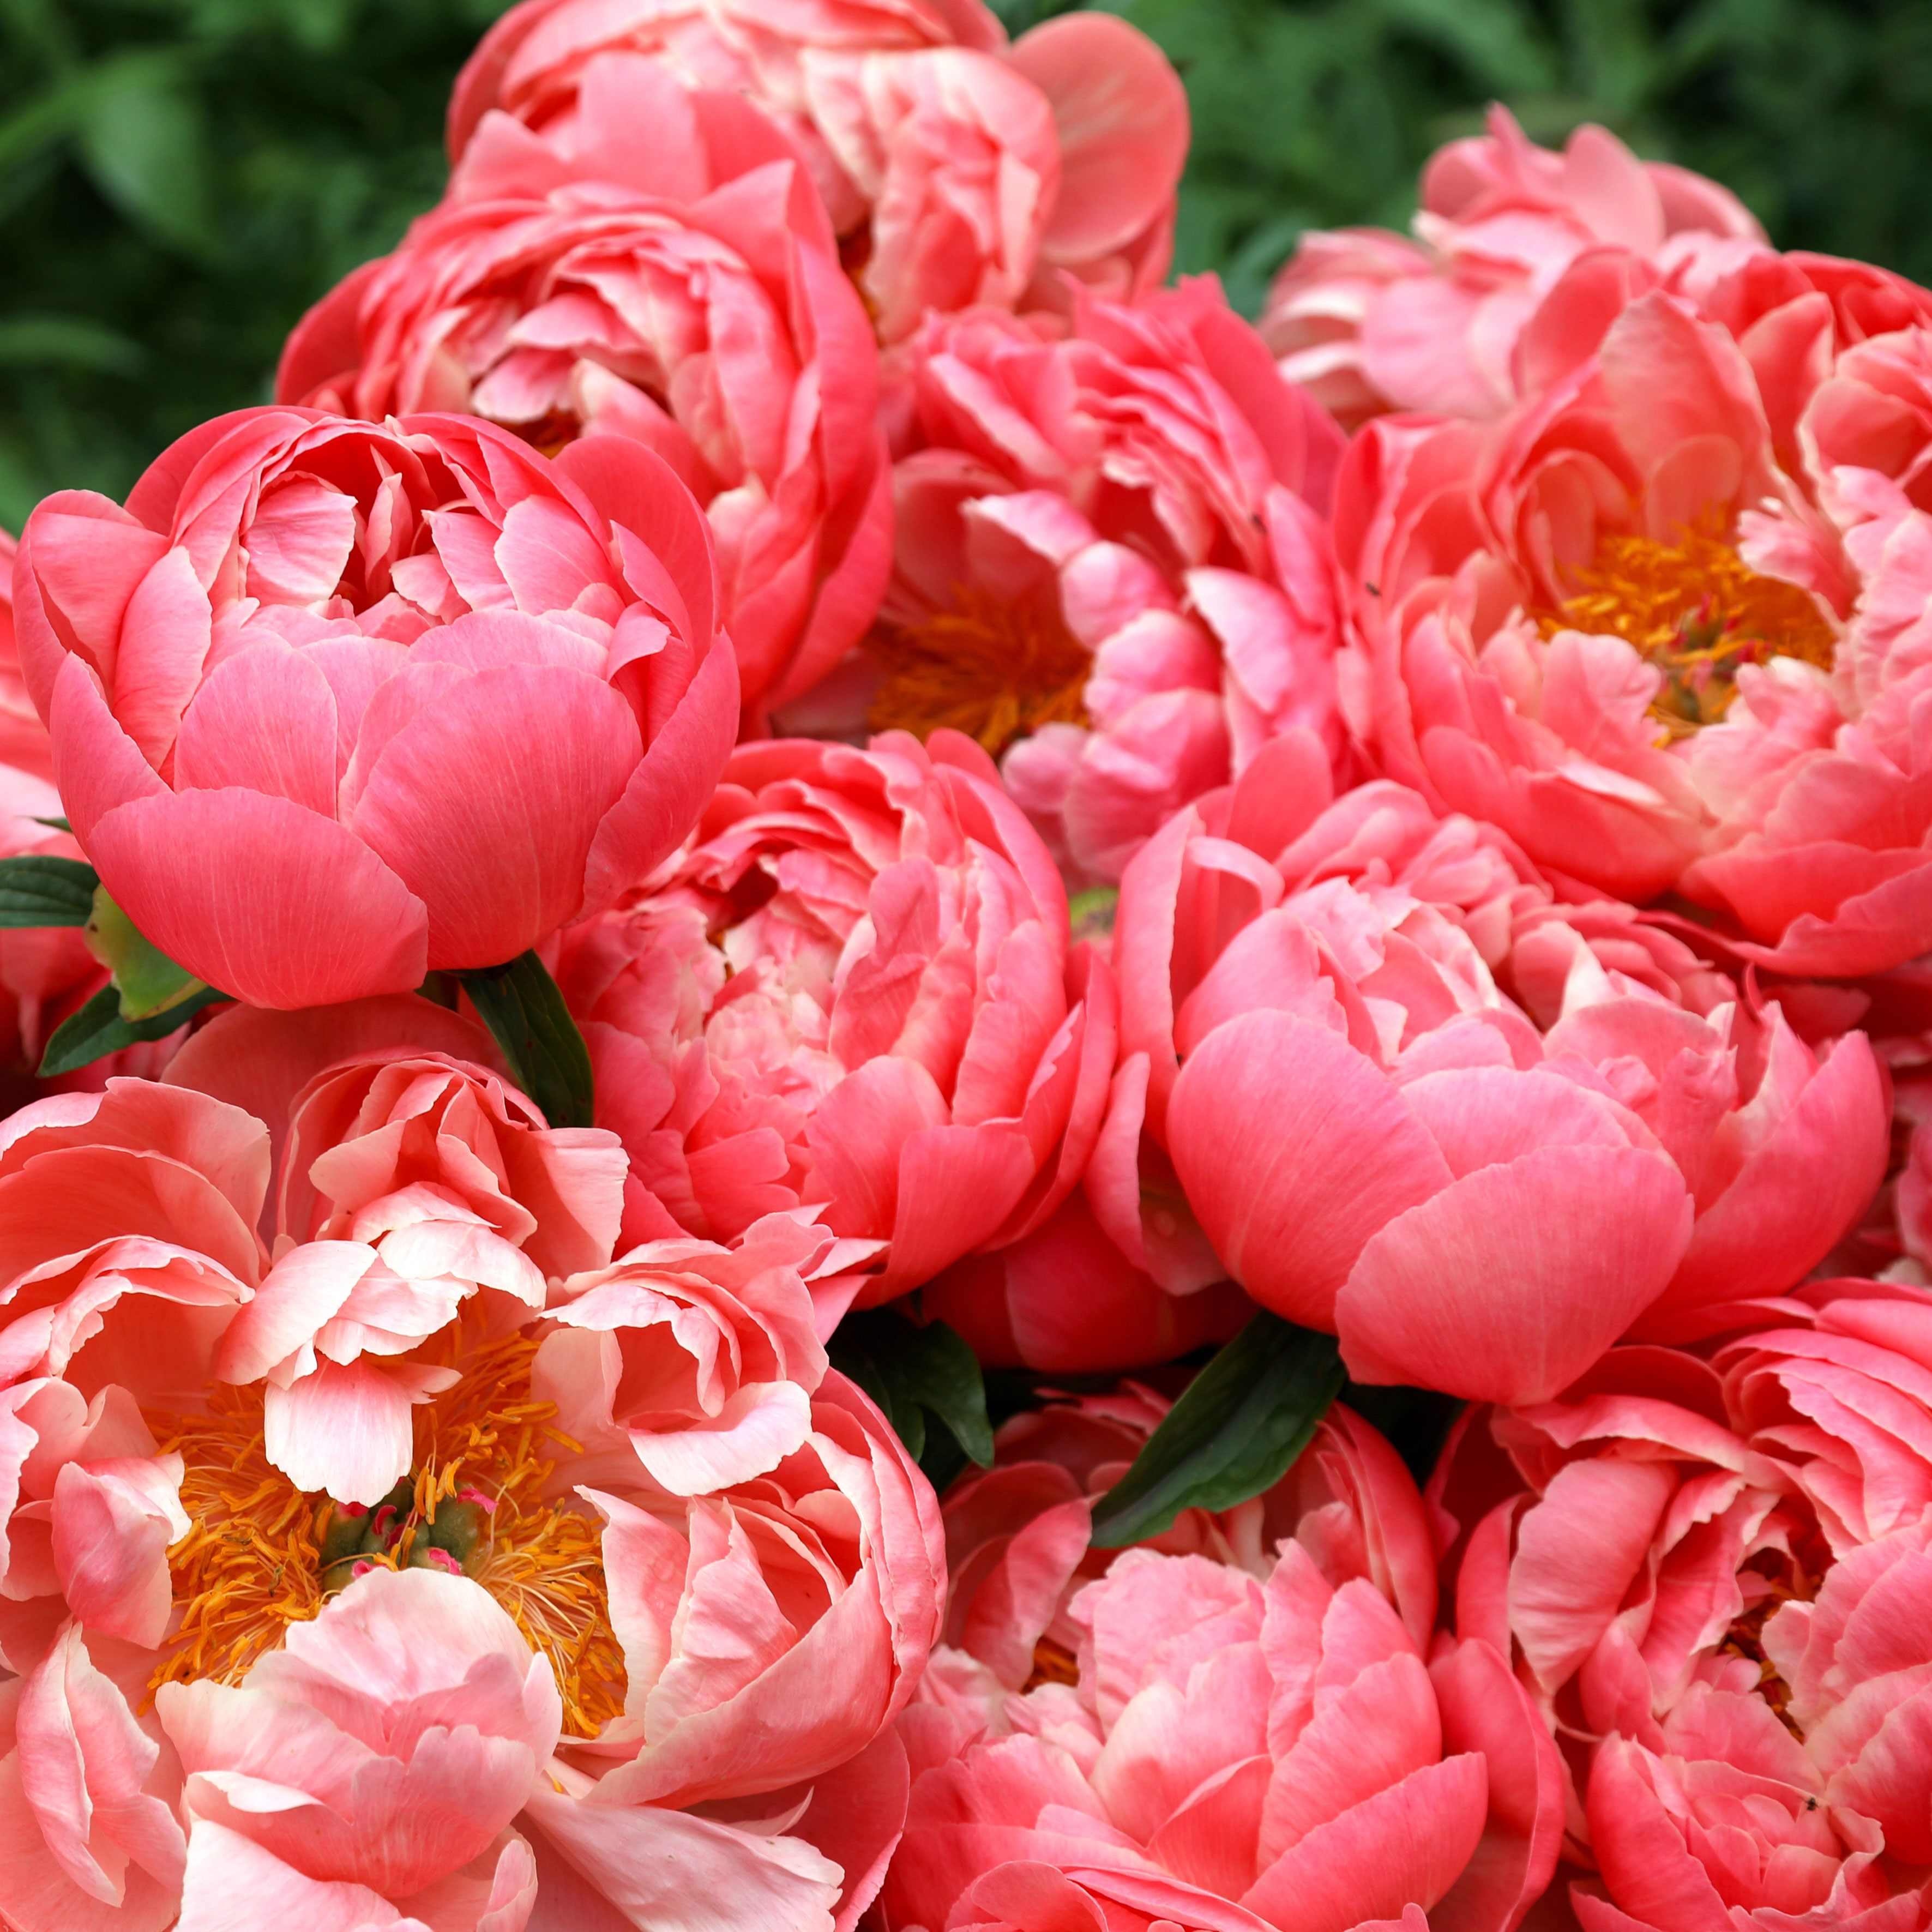 ‘Coral Charm’ Peony Care For Sublime Semi-Double Peonies With Lush Salmon Pink Flowers
Peonies are known for their soft baby pink or magenta tones, but if plushy coral blooms are your thing, here’s our guide to the ultimate ‘Coral Charm’ peony care
By Tonya Barnett