Soil Testing 101: What You Need To Know To Grow A Better Garden
See what your soil needs with a simple test. Learn how with our complete guide to soil testing.

Amy Draiss
If you’re planning on starting a new garden or have had issues with crops in the recent past, soil testing will give you pertinent information. A soil test can ferret out a number of issues and is a terrific diagnostic tool. Not sure how to test soil? Soil sampling tests may be done with an at home soil test or sent to a lab. Read on to learn more about soil testing.

Why Is Soil Testing Important?
Garden soil testing can help determine the composition of your soil. It will tell you the pH of the soil which can help to determine if the soil is nutrient deficient in some area and needs to be augmented.
Soil testing can also keep the gardener from over-fertilizing by determining which nutrients are lacking or in abundance. A potential reduction in the amount of fertilizer used is also good for the environment.
A soil test can help the gardener to diagnose plant issues. Once you know more about why a plant or crop is ailing, you can better make informed decisions regarding its care. A soil test can also help you to improve crop production by identifying soil-borne pathogens.
As seasoned gardeners know, good soil equals good plants. That's why soil testing is one of the keys to growing a healthy garden. Regular testing helps you better understand your soil and how you can improve it.
Home Soil Tests vs. Lab Tests
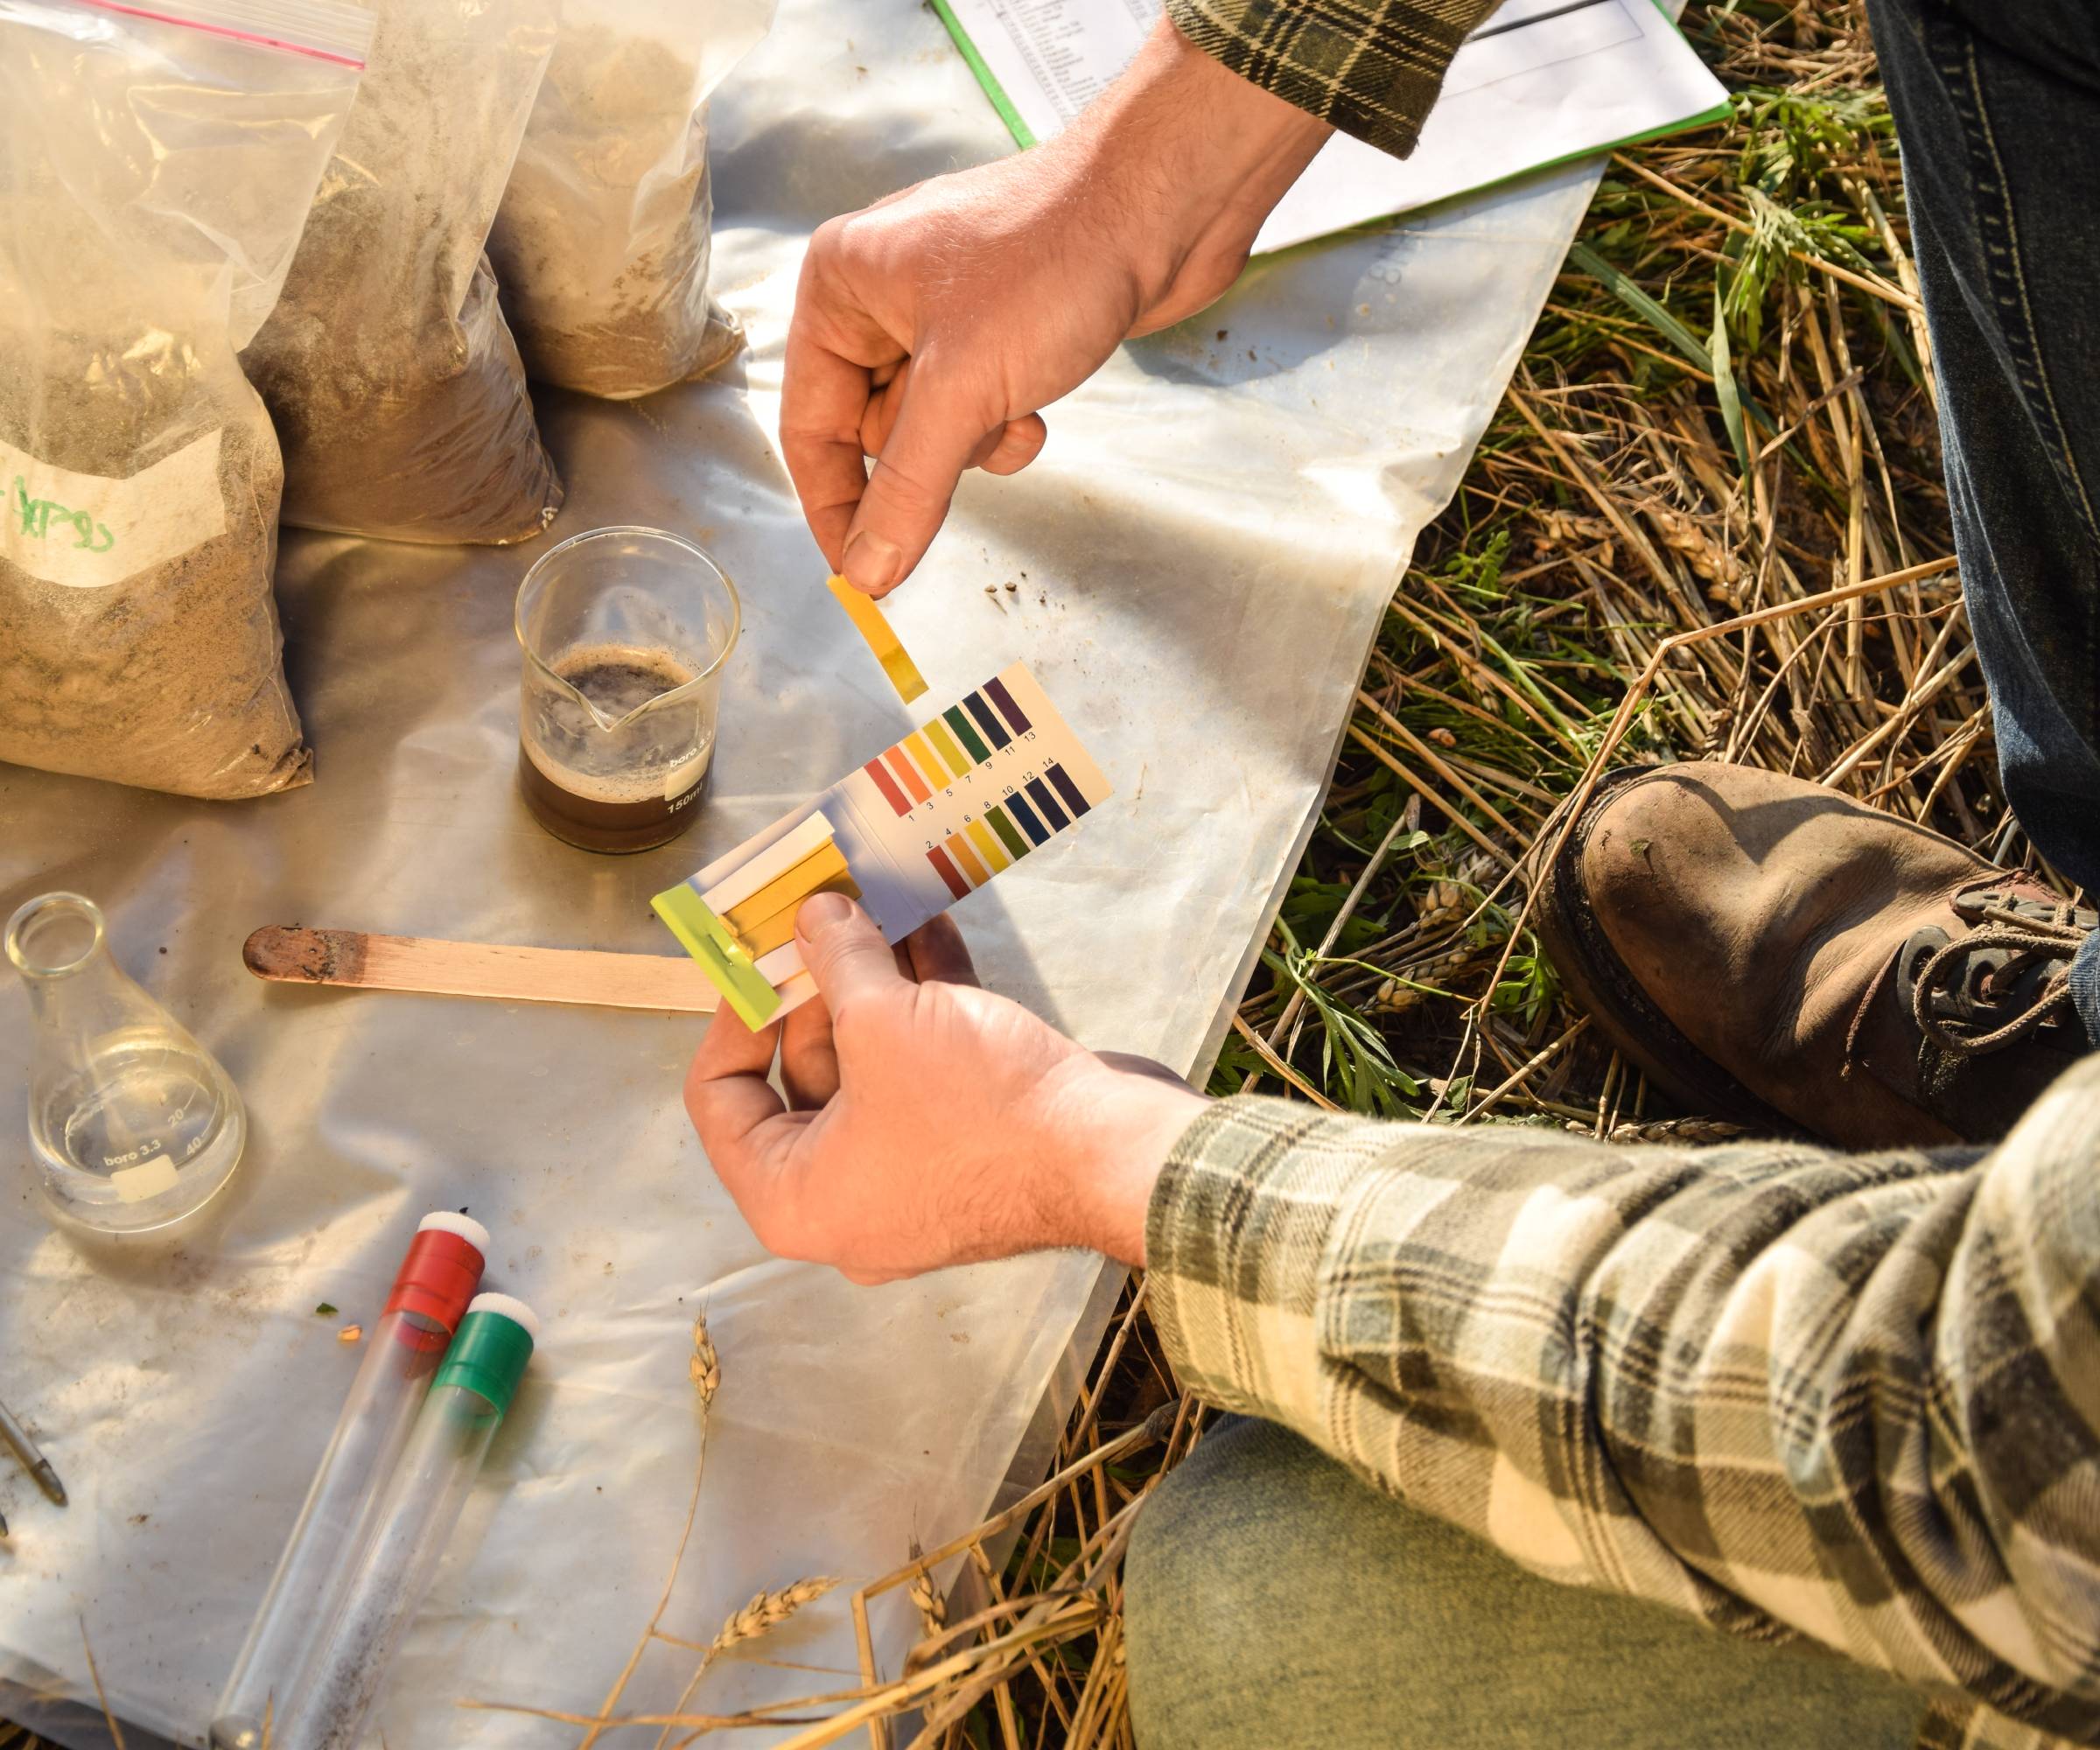
Home soil tests are generally the less expensive option with rapid results but they also aren’t as accurate or complete as tests sent to a lab. If you are a homeowner that simply wants to know the pH of the soil, a home test is probably sufficient.
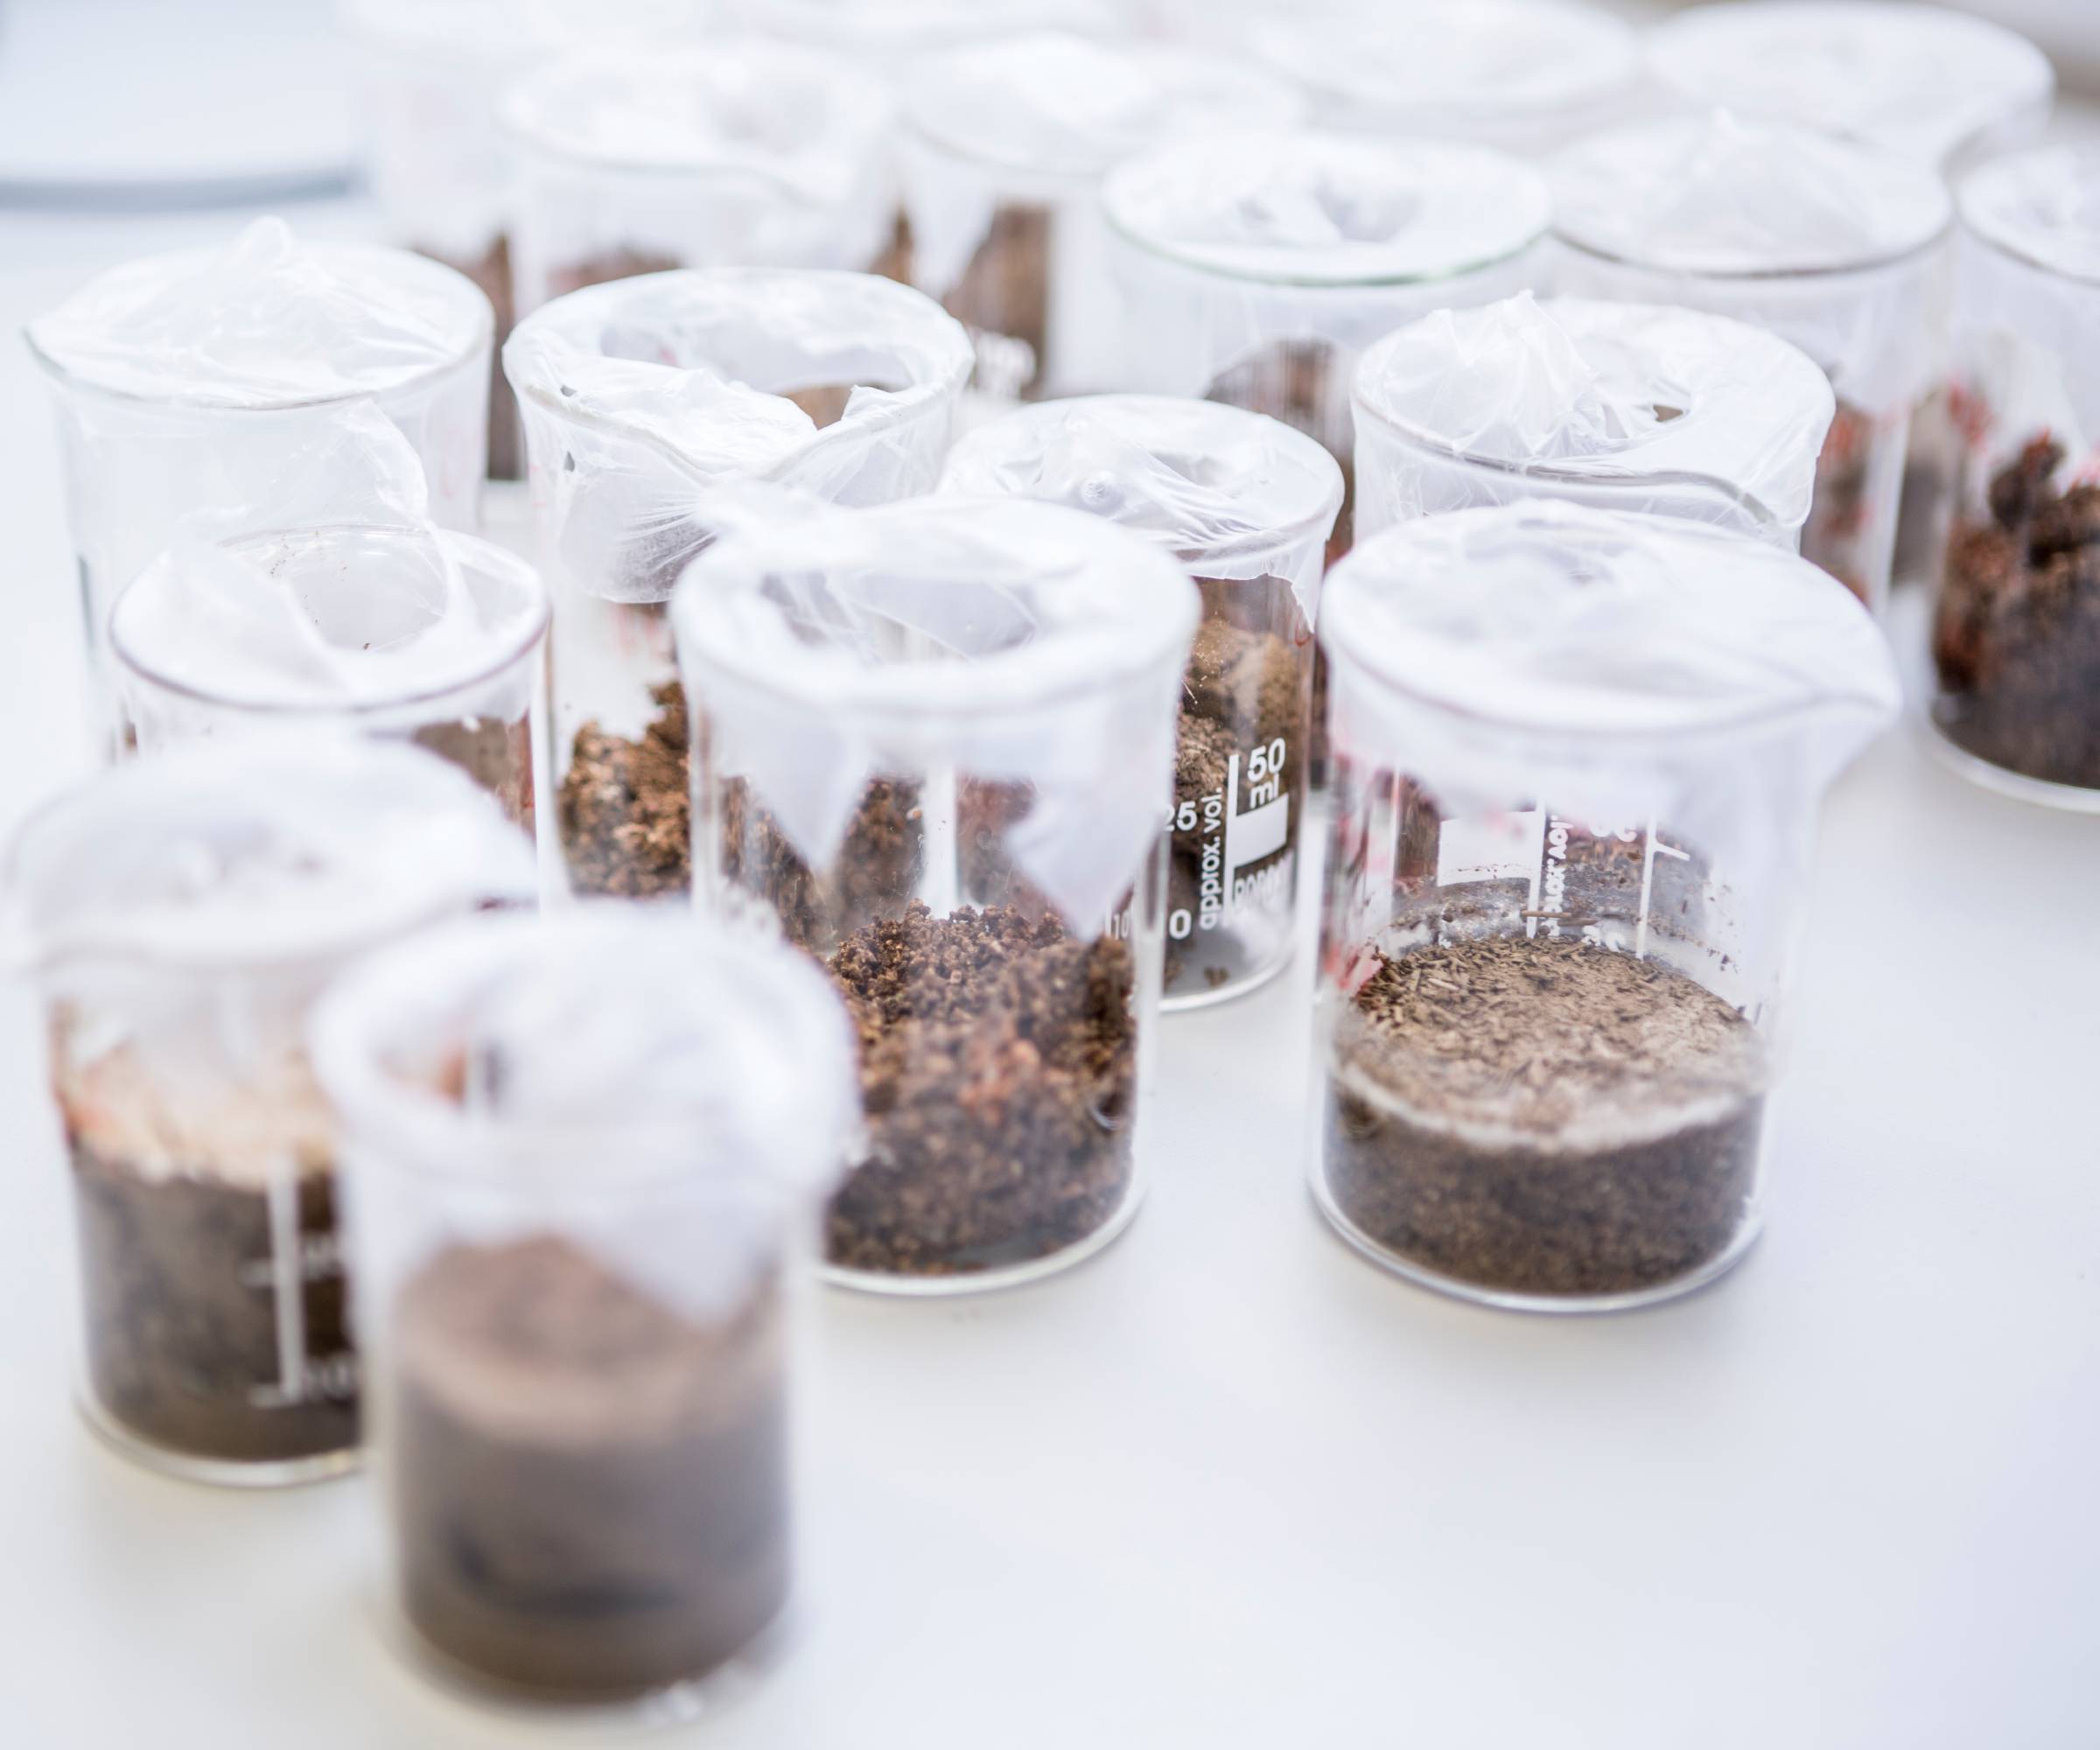
If however, you need to know about potential diseases or nutrient deficiencies, a lab test is the way to go. They take a bit longer to get results but are able to pinpoint more specifically than an at home or DIY soil test kit.
Gardening tips, videos, info and more delivered right to your inbox!
Sign up for the Gardening Know How newsletter today and receive a free copy of our e-book "How to Grow Delicious Tomatoes".
Some county extension offices provide basic soil testing or can help you find a lab near you.

How Often Should You Test Your Soil?
Soil should be tested every 3-5 years in established gardens. New gardens should be tested before planting so any necessary amendments can be worked into the soil.
Sample fields at the same time each year. Pastures and perennial cropland should be tested in the late summer while annual cropland should be tested in the fall.
How to Test Soil
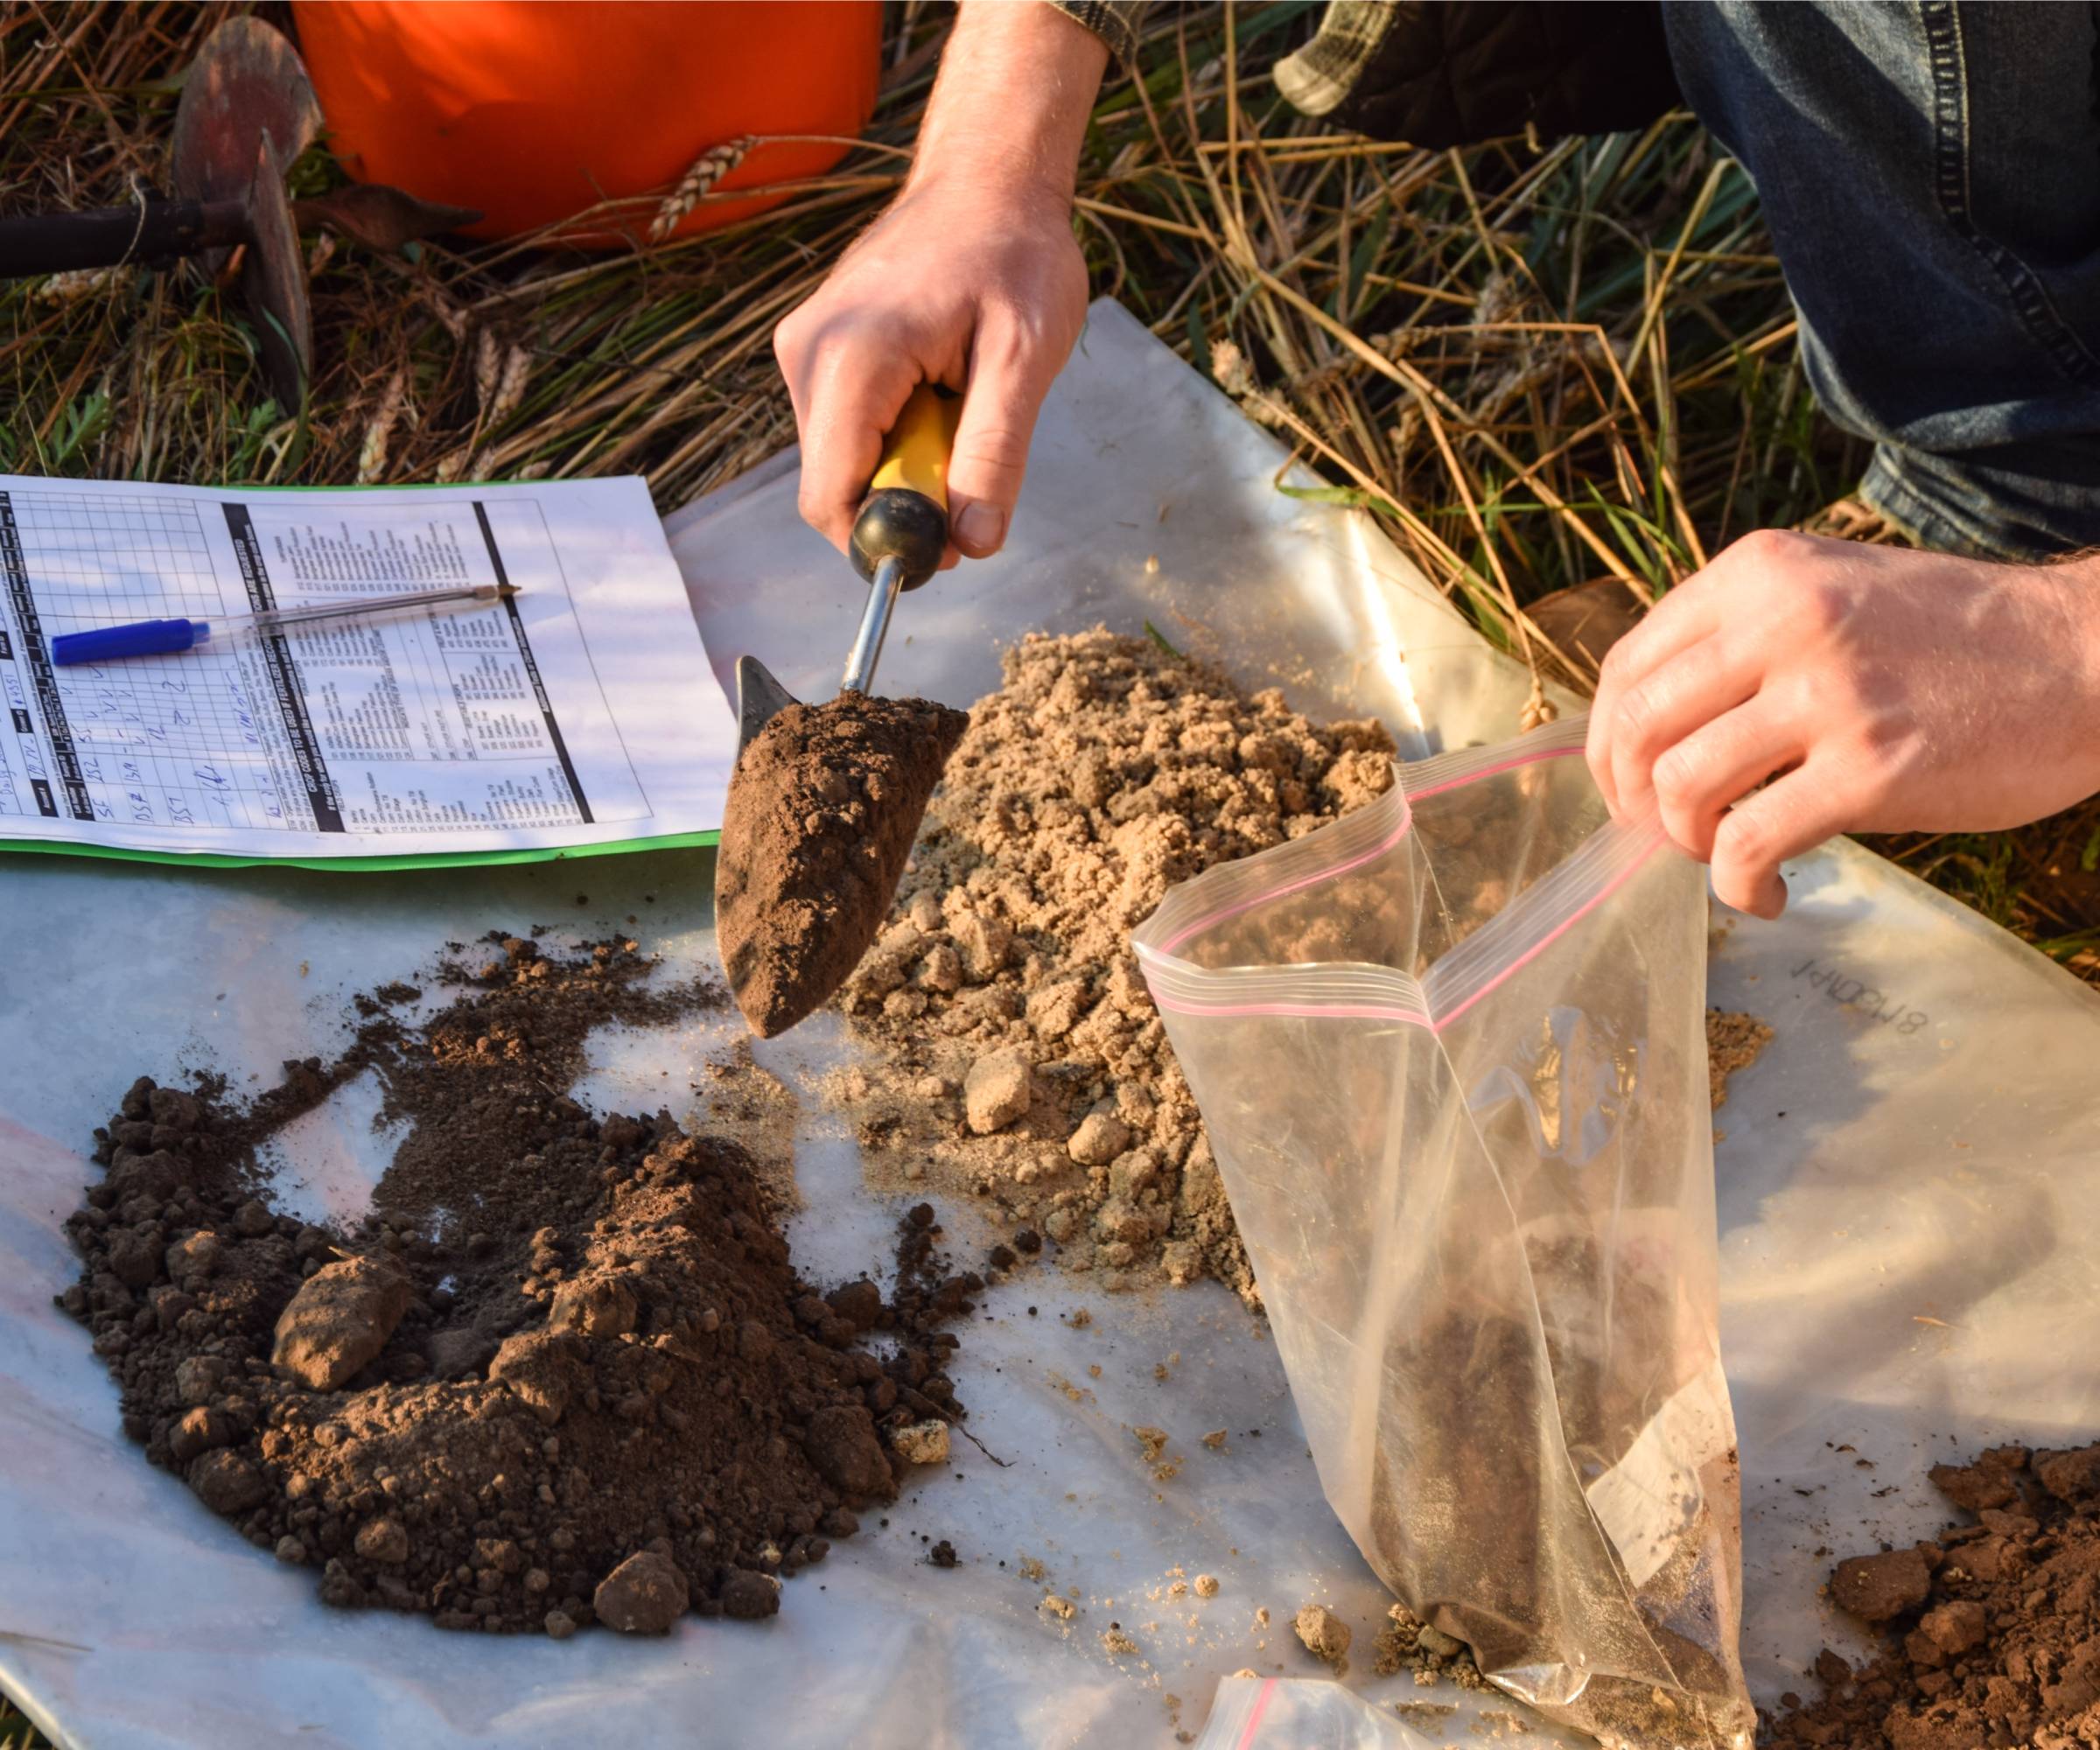
You may only want to test one area of the landscape, but to get a really good idea of the composition as a whole, you will need to take samples from various areas.
If you have a soil sampling tube, so much the better, but if not, a spade will suffice. Don’t use galvanized steel however, since it can skew the results.
Clear the top of the soil where you wish to take a sample from debris or weeds. Collect a sampling of the soil from the area.
Remove any roots or grass from the sample. Bag the soil sample in a sealed plastic bag and label it with your name, date and area from where it’s been collected; like “veggie garden” or “front lawn”.

Understanding Your Soil Test Results
The lab will send you back the results of your soil test. They may have a written recommendation of what type of amendment to use or just the pH and the levels of nutrients found.
The soil test will also list your soil’s pH for each sample. A pH of 6.0-7.0 is perfect for growing veggies so if you are within that range, you need do nothing. Otherwise, pH varies for different crops. If you wish to grow a crop that prefers a higher pH (alkaline) add lime, if your crop of choice prefers a more acidic pH, add sulfur. Keep in mind that raising or lowering pH levels isn’t an overnight fix. It can take a year or longer to shift that pH.
As far as information regarding the levels of nutrients in your soil, the lab will be focusing on phosphorus, potassium, magnesium and calcium. Nitrogen is, of course, extremely important to plants, but it is malleable in the soil making it difficult to precisely test for.
If you are having difficulty interpreting your soil test results, reach out to your local extension office or even local chapter of Master Gardeners.

Frequently Asked Questions
How can I test my soil myself?
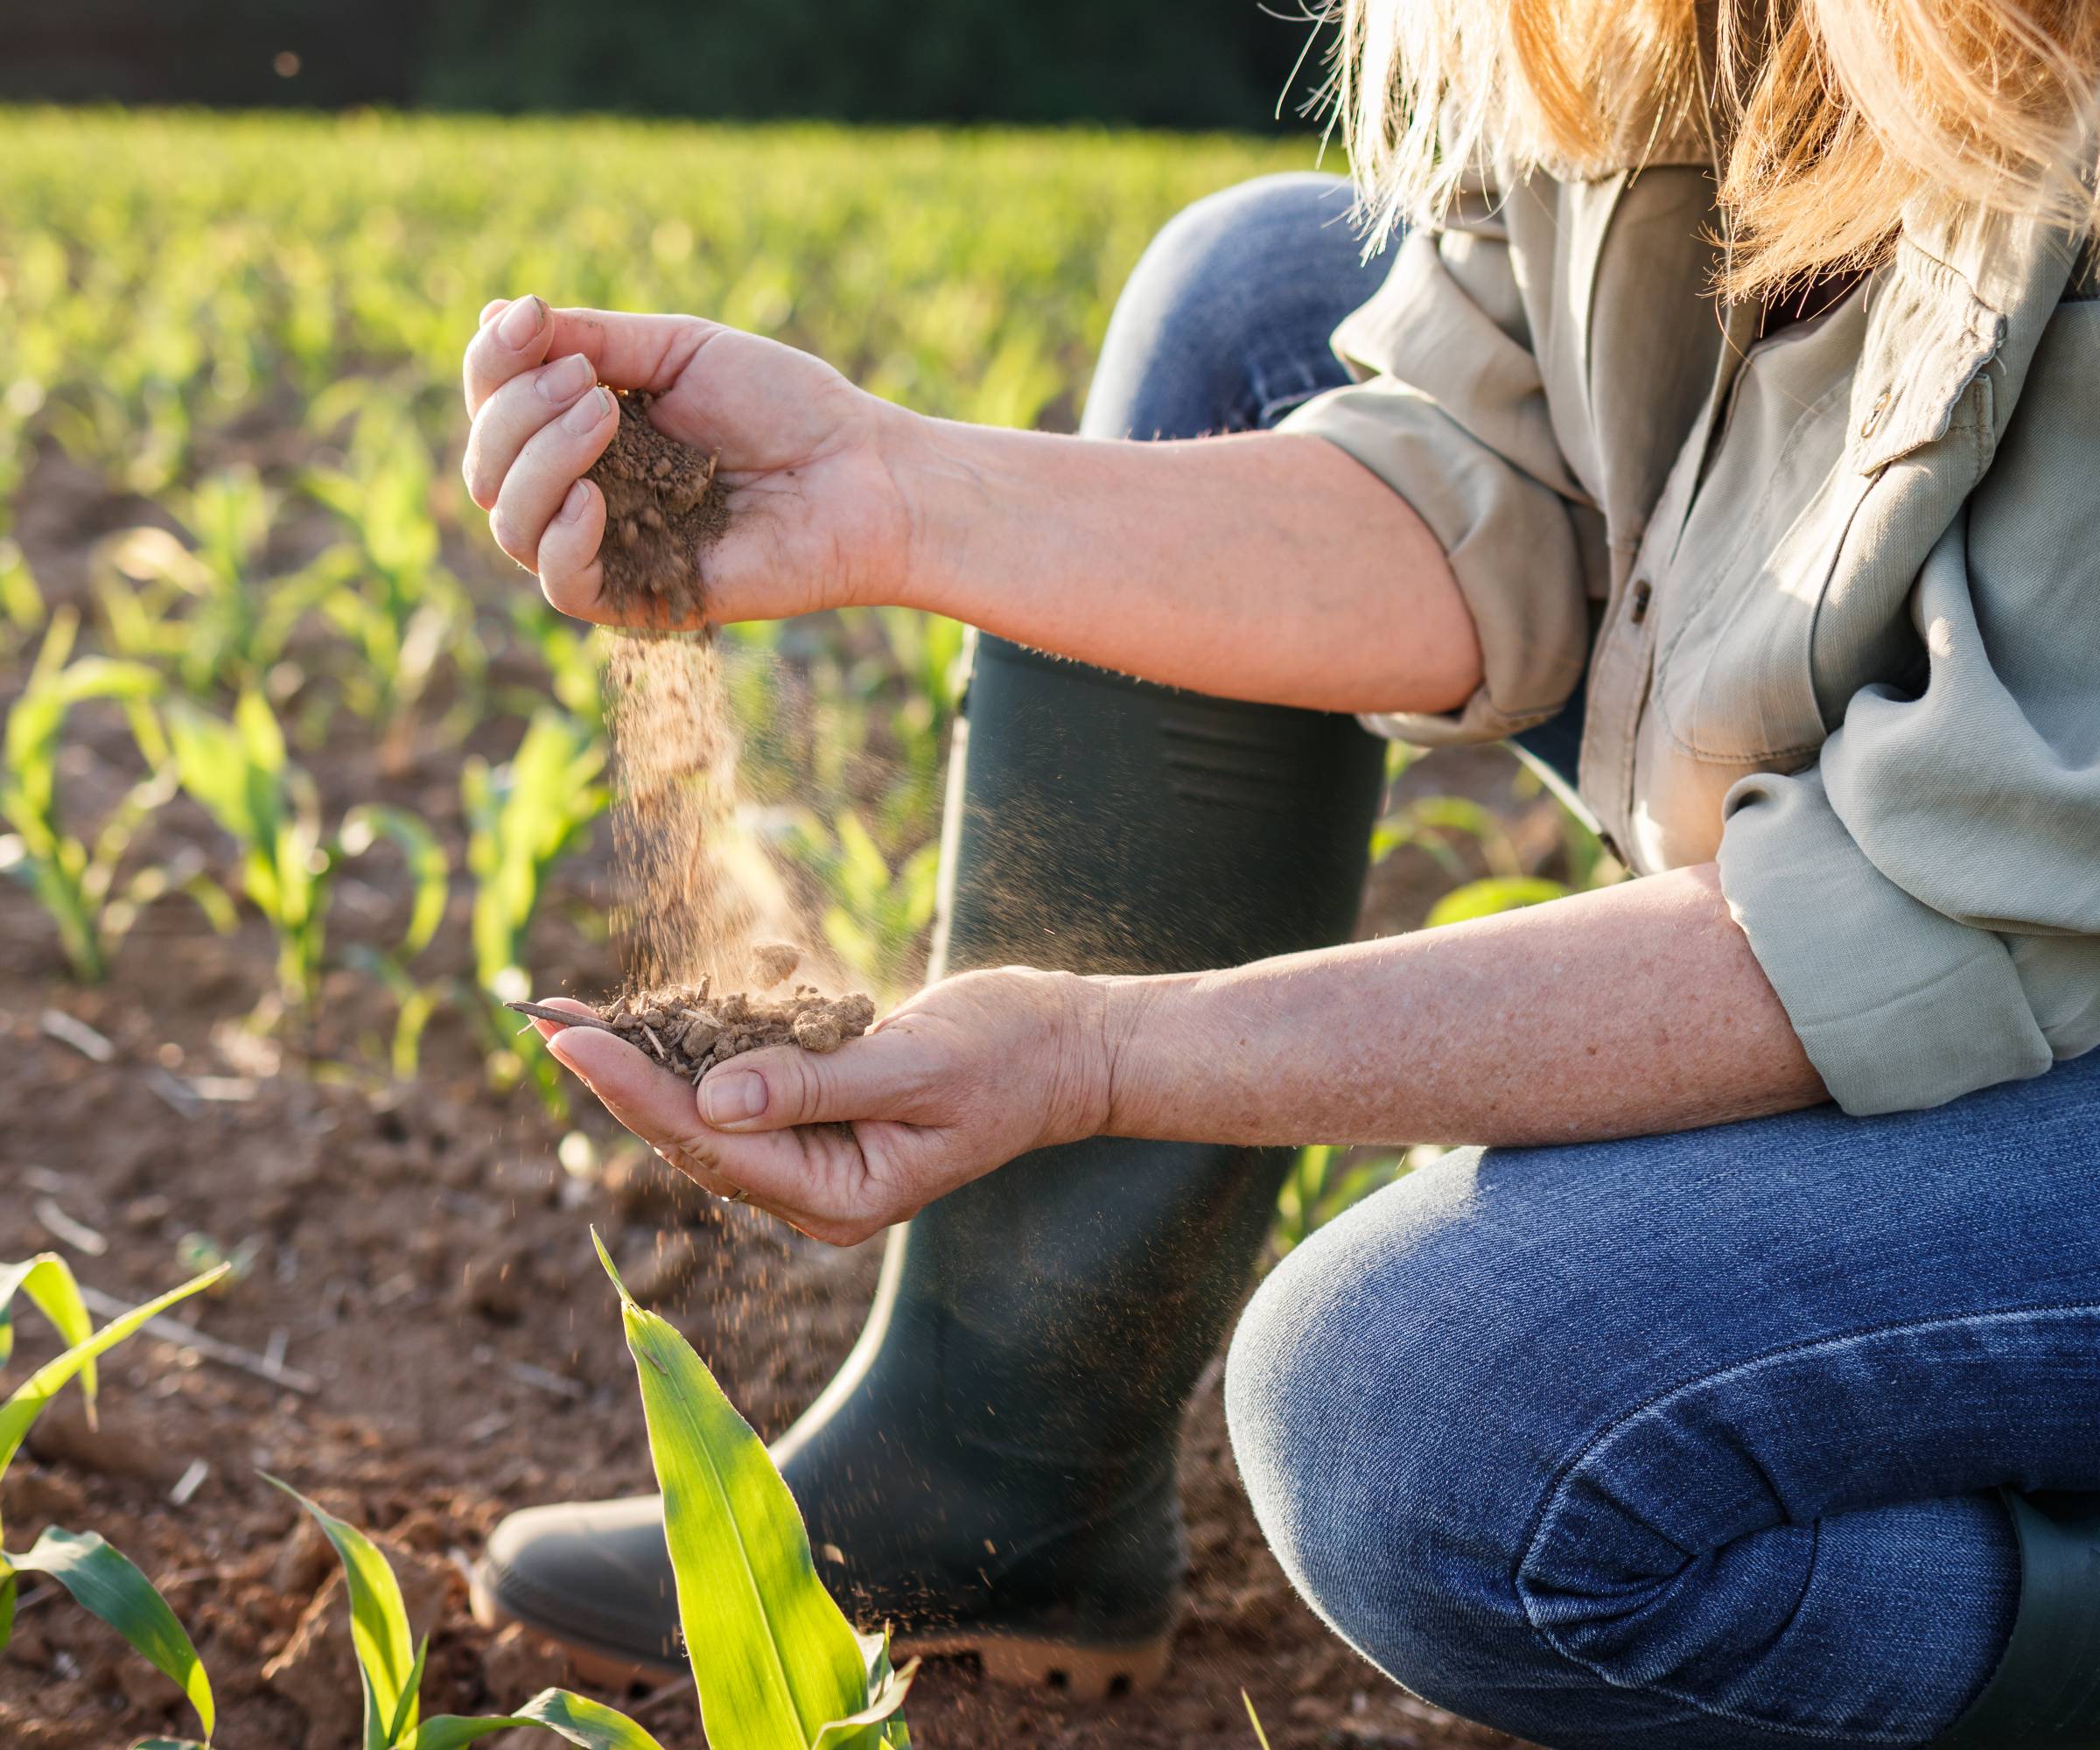
You can buy a simple home test soil kit. Simpler still, is to test soil by feel. Squeeze some soil in your hand, then open your hand and shake the soil a bit. If the soil stays together in clumps, it’s good soil. If it falls apart or slips through your fingers, it’s sandy or poor soil. Clay soil will stay in the form of your clenched fist.
What is the most accurate way to test soil?
The most accurate method is by sampling the soil and sending it to a reputable lab to be tested.
Are home soil test kits accurate?
Home soil test kits have their place but they are not as accurate as a lab soil test. They won’t give you as much information either.

Amy Grant has been gardening for 30 years and writing for 15. A professional chef and caterer, Amy's area of expertise is culinary gardening.
- Amy DraissDigital Community Manager