Bromeliad Propagation – Learn How To Grow Bromeliad Pups


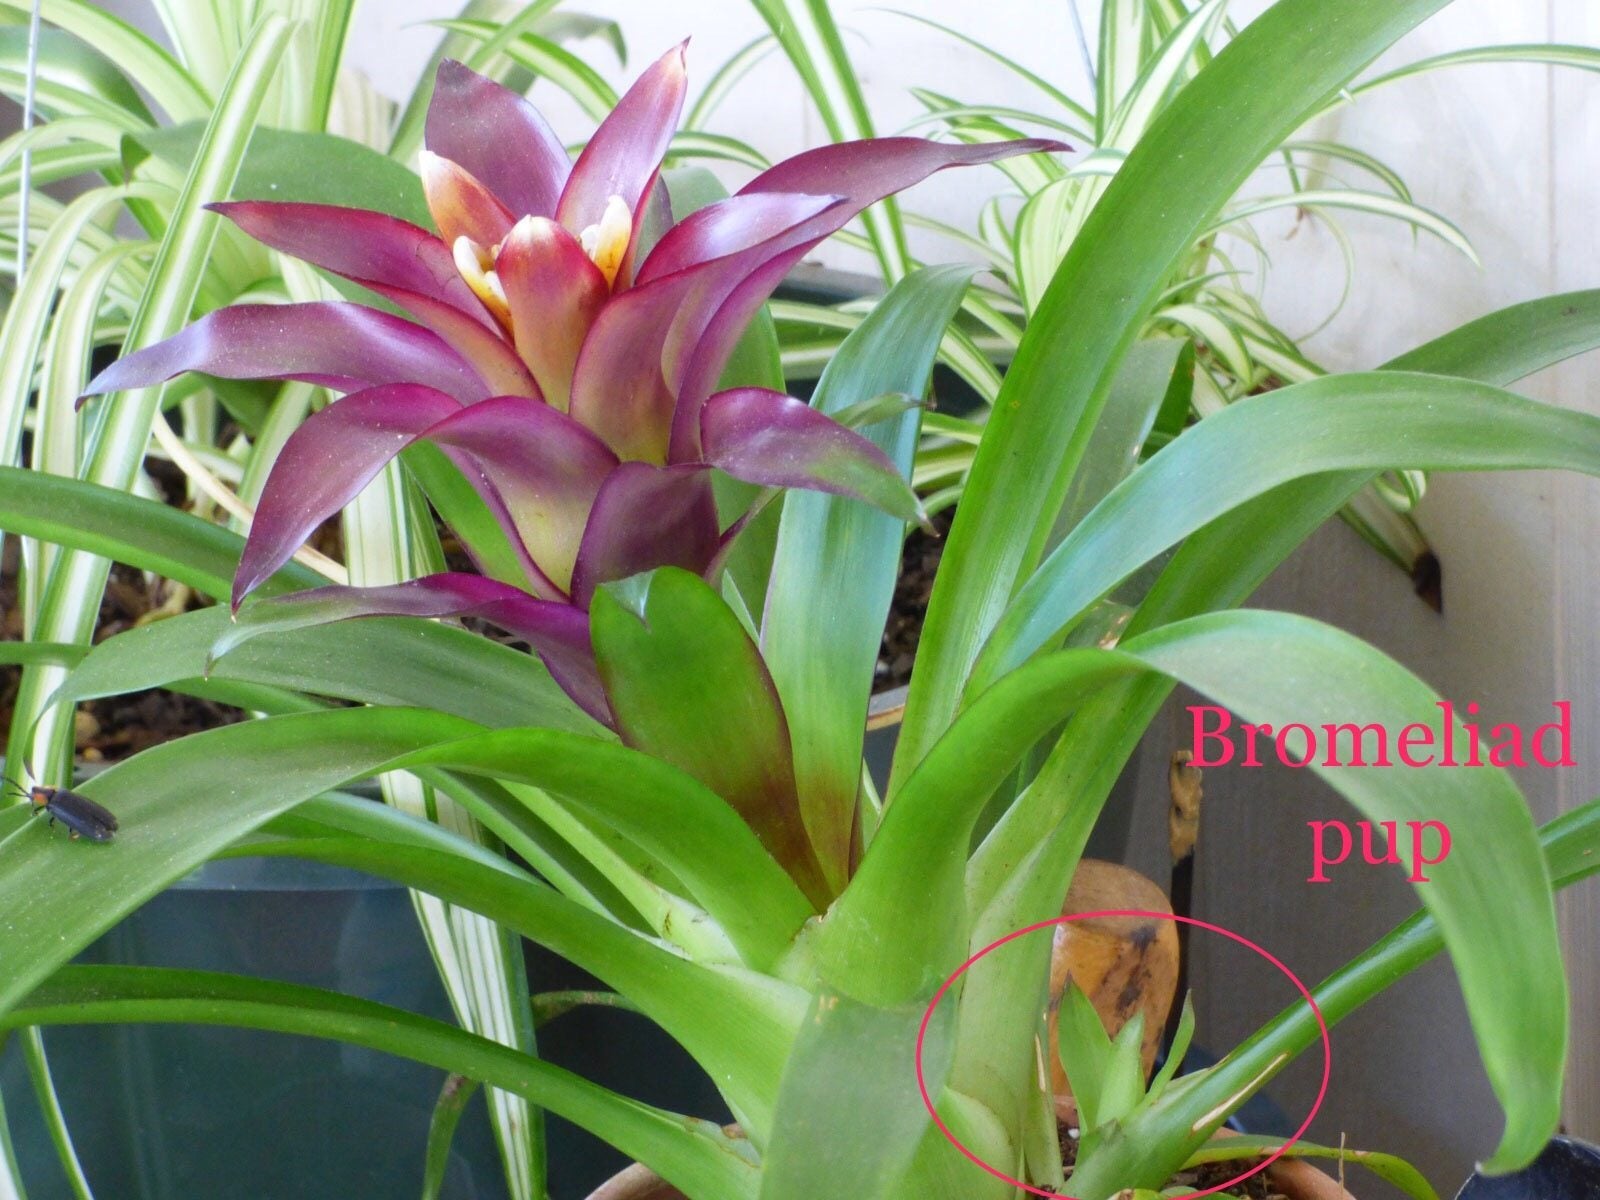
One of the more fun aspects of bromeliads is their ability to produce pups, or offsets. These are the babies of the plant, which primarily reproduces vegetatively. A bromeliad needs to reach maturity before producing its lovely flower, which lasts many months. After the bloom is gone, the plant produces pups. Some tips on how to grow bromeliad pups can get you started on a whole crop of these amazing plants.
Bromeliad Propagation
Bromeliads are popular tropical looking houseplants, or outdoor plants in warm regions. The most commonly sold forms develop a cup at the center of the rosette which holds water. Many also form a brightly colored flower that dies after a few months.
At this time, pup starts from bromeliad begin to form. You can carefully divide these away from the parent plant and have a new bromeliad that will flower and pup after a few years. Bromeliads can be grown from seed, but it requires two plants to cross to produce sexually viable seed.
Seeds are sown in moist sphagnum moss or sterile potting medium. The medium and seeds must be kept moist in a warm location to sprout. A quicker and easier method of bromeliad propagation is by division. This means waiting until pups form and gently cutting them away from the dying parent.
Pup starts from bromeliad adults will not flower for up to three years, but it is half the time it would take for plants grown from seed and is so easy to do, so why not?
How to Grow Bromeliad Pups
The first step to growing pups is to get them off of the mother plant. The longer pups remain on the parent, the earlier they will reach maturity and flower. That means tolerating a dying parent plant whose leaves will yellow and eventually brown. This is a natural process and no cause to worry, as the parent is putting all its energy into propagating through the pups.
Most bromeliad parents can produce several pups. Wait until the parent plant is looking fairly dead before harvesting offsets. The pups should be a third to a half the size of the parent before division. You may begin to see roots on pups, but even if they have not formed roots, mature pups can survive since they are epiphytic. Once they are big enough, it is time for harvesting and planting bromeliad pups.
Gardening tips, videos, info and more delivered right to your inbox!
Sign up for the Gardening Know How newsletter today and receive a free copy of our e-book "How to Grow Delicious Tomatoes".
Bromeliad Pup Planting
Use a sterile, sharp knife to remove the pups. It is often best to remove the mother from the container to better see where to make cuts. Cut the pup away from the parent, taking a small amount of the parent along with the offset. Use a good, moist peat mixture for planting bromeliad pups.
The container should be twice as big as the base of the pup. If the pup has no roots, you can tie it to a cork board or even a branch. Let the medium dry out a bit before watering the pup in its tiny cup. If the mother plant still looks lively enough, repot and care for her as usual. With a little luck, she may produce more pups before she is gone.

Bonnie Grant is a professional landscaper with a Certification in Urban Gardening. She has been gardening and writing for 15 years. A former professional chef, she has a passion for edible landscaping.
-
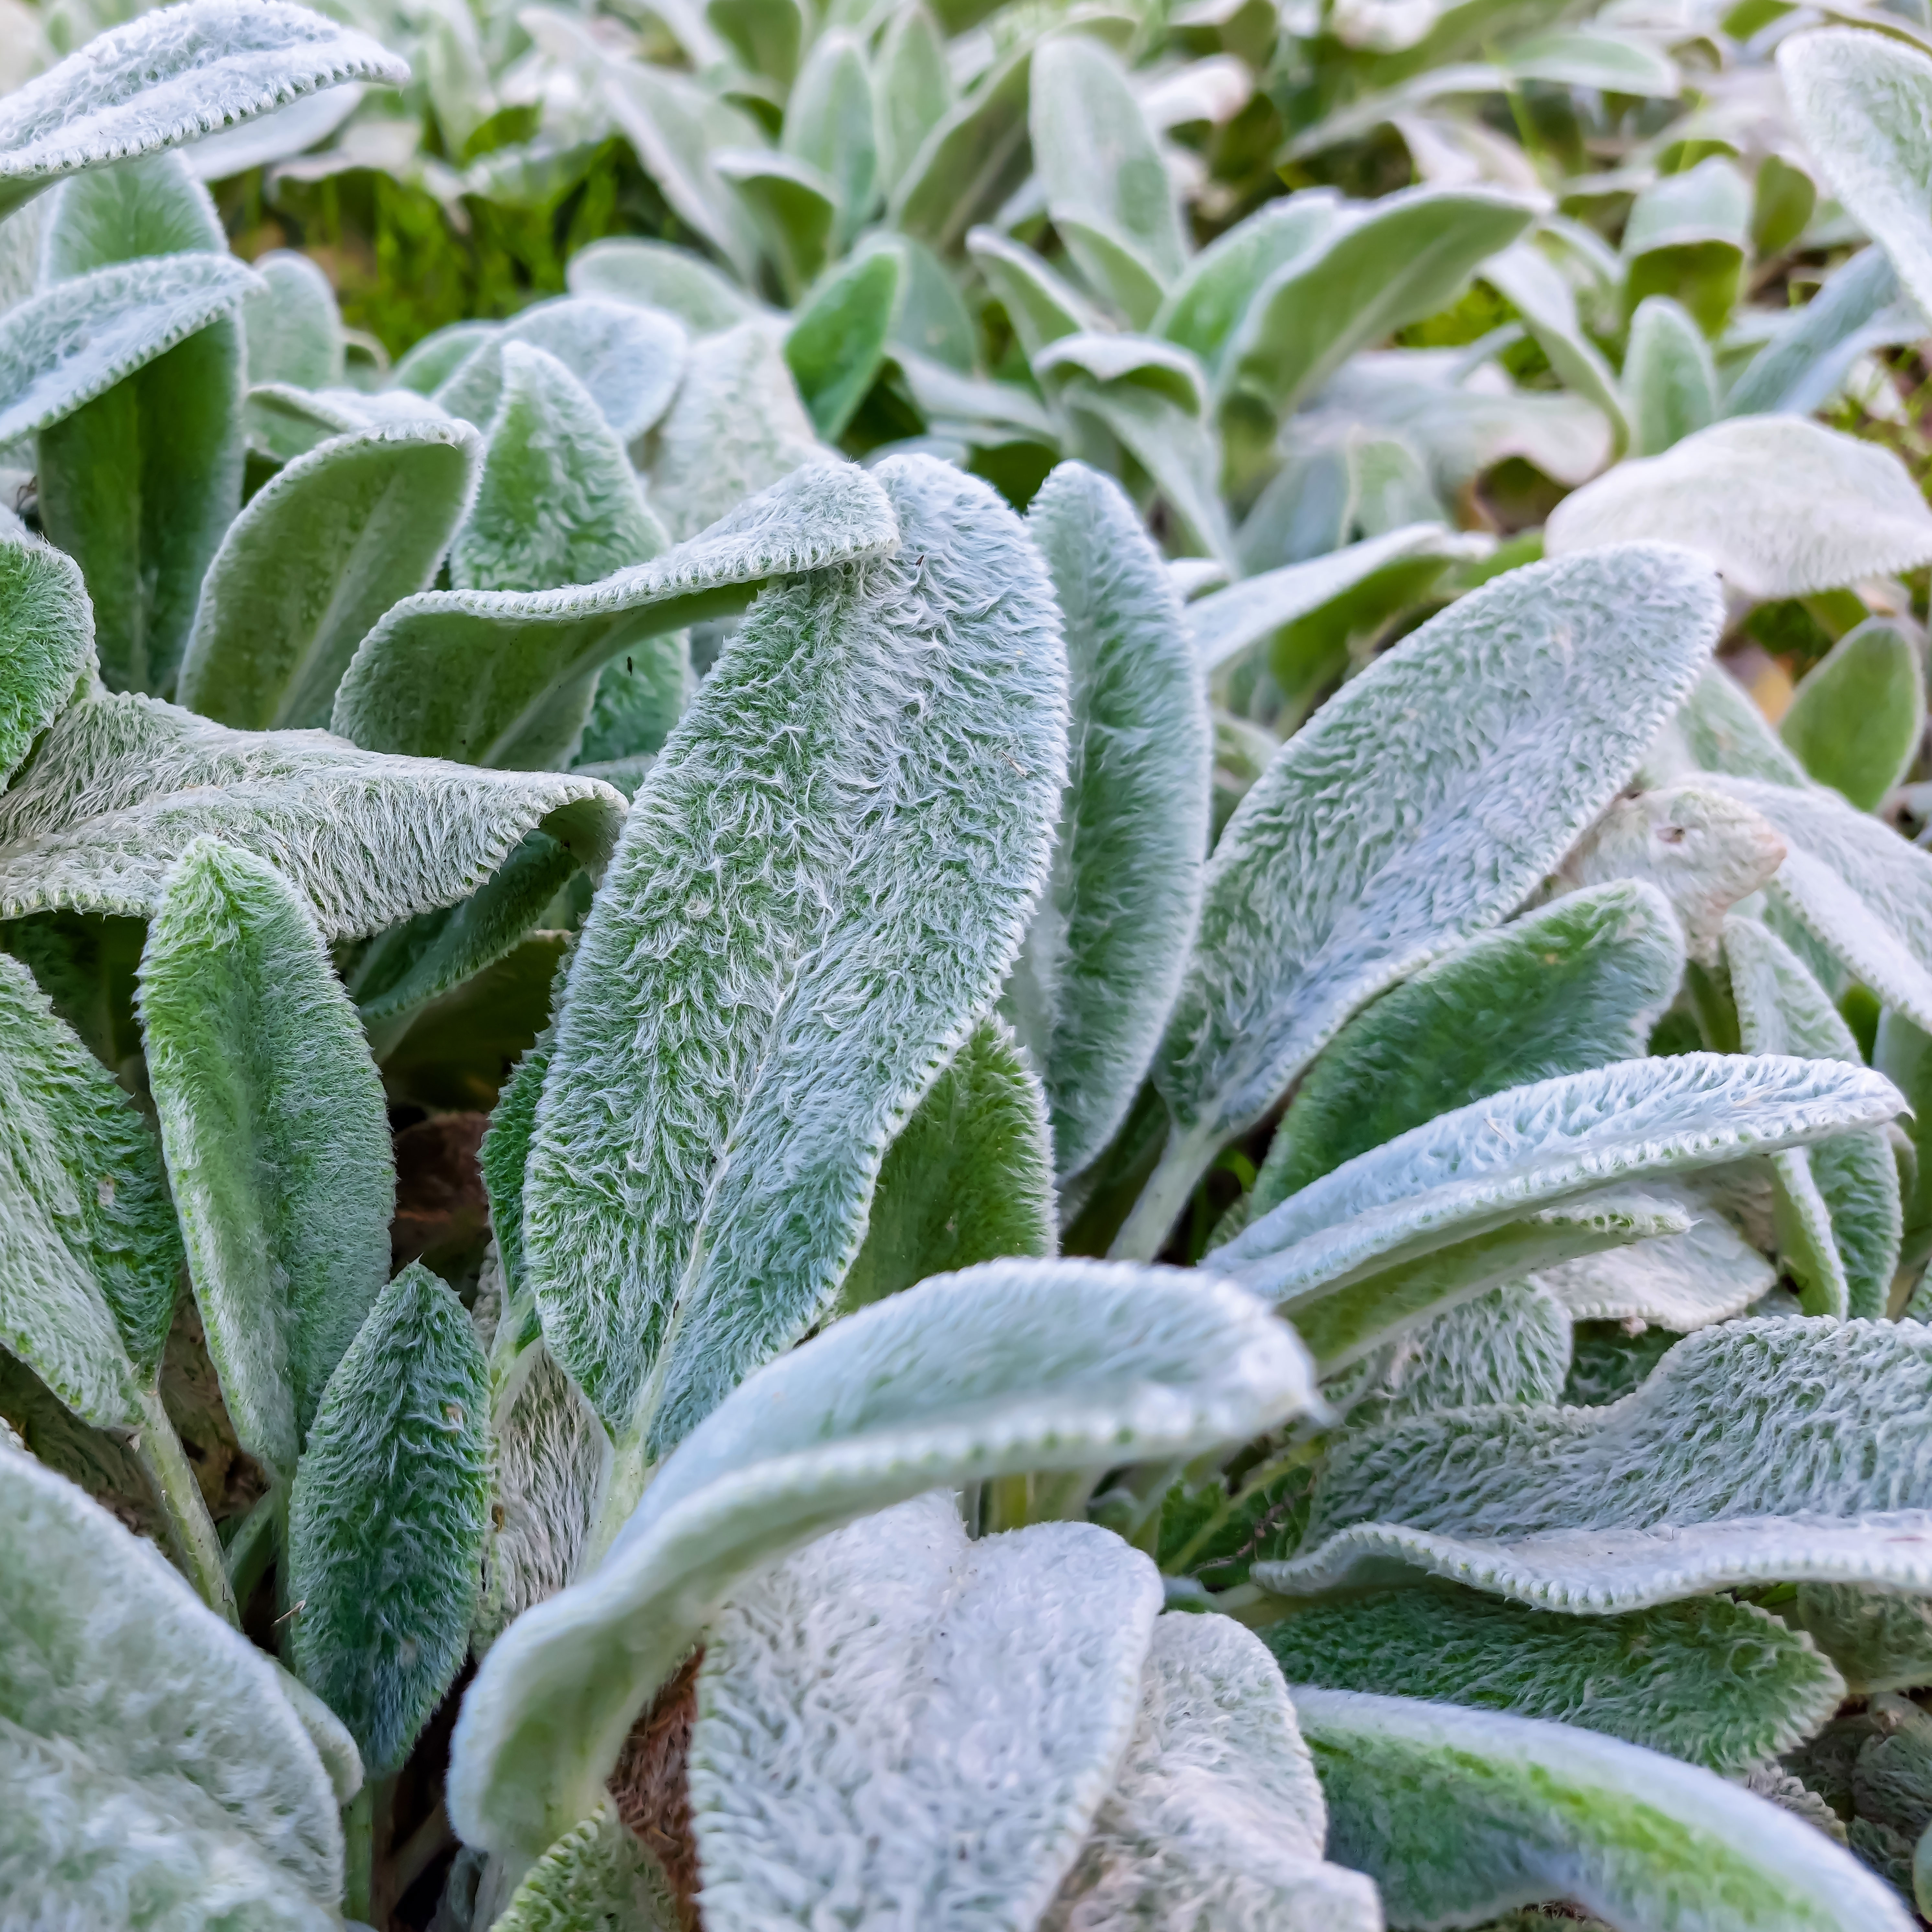
 Looking For Plants To Give You The Soft And Fuzzies? Try These 5 Fuzzy Leaf Plant Options
Lovers of texture, drama, silver foliage and tactile plants will adore these special sensory garden additions. These fuzzy leaf plant options will leave you all aglow
By Susan Albert
-
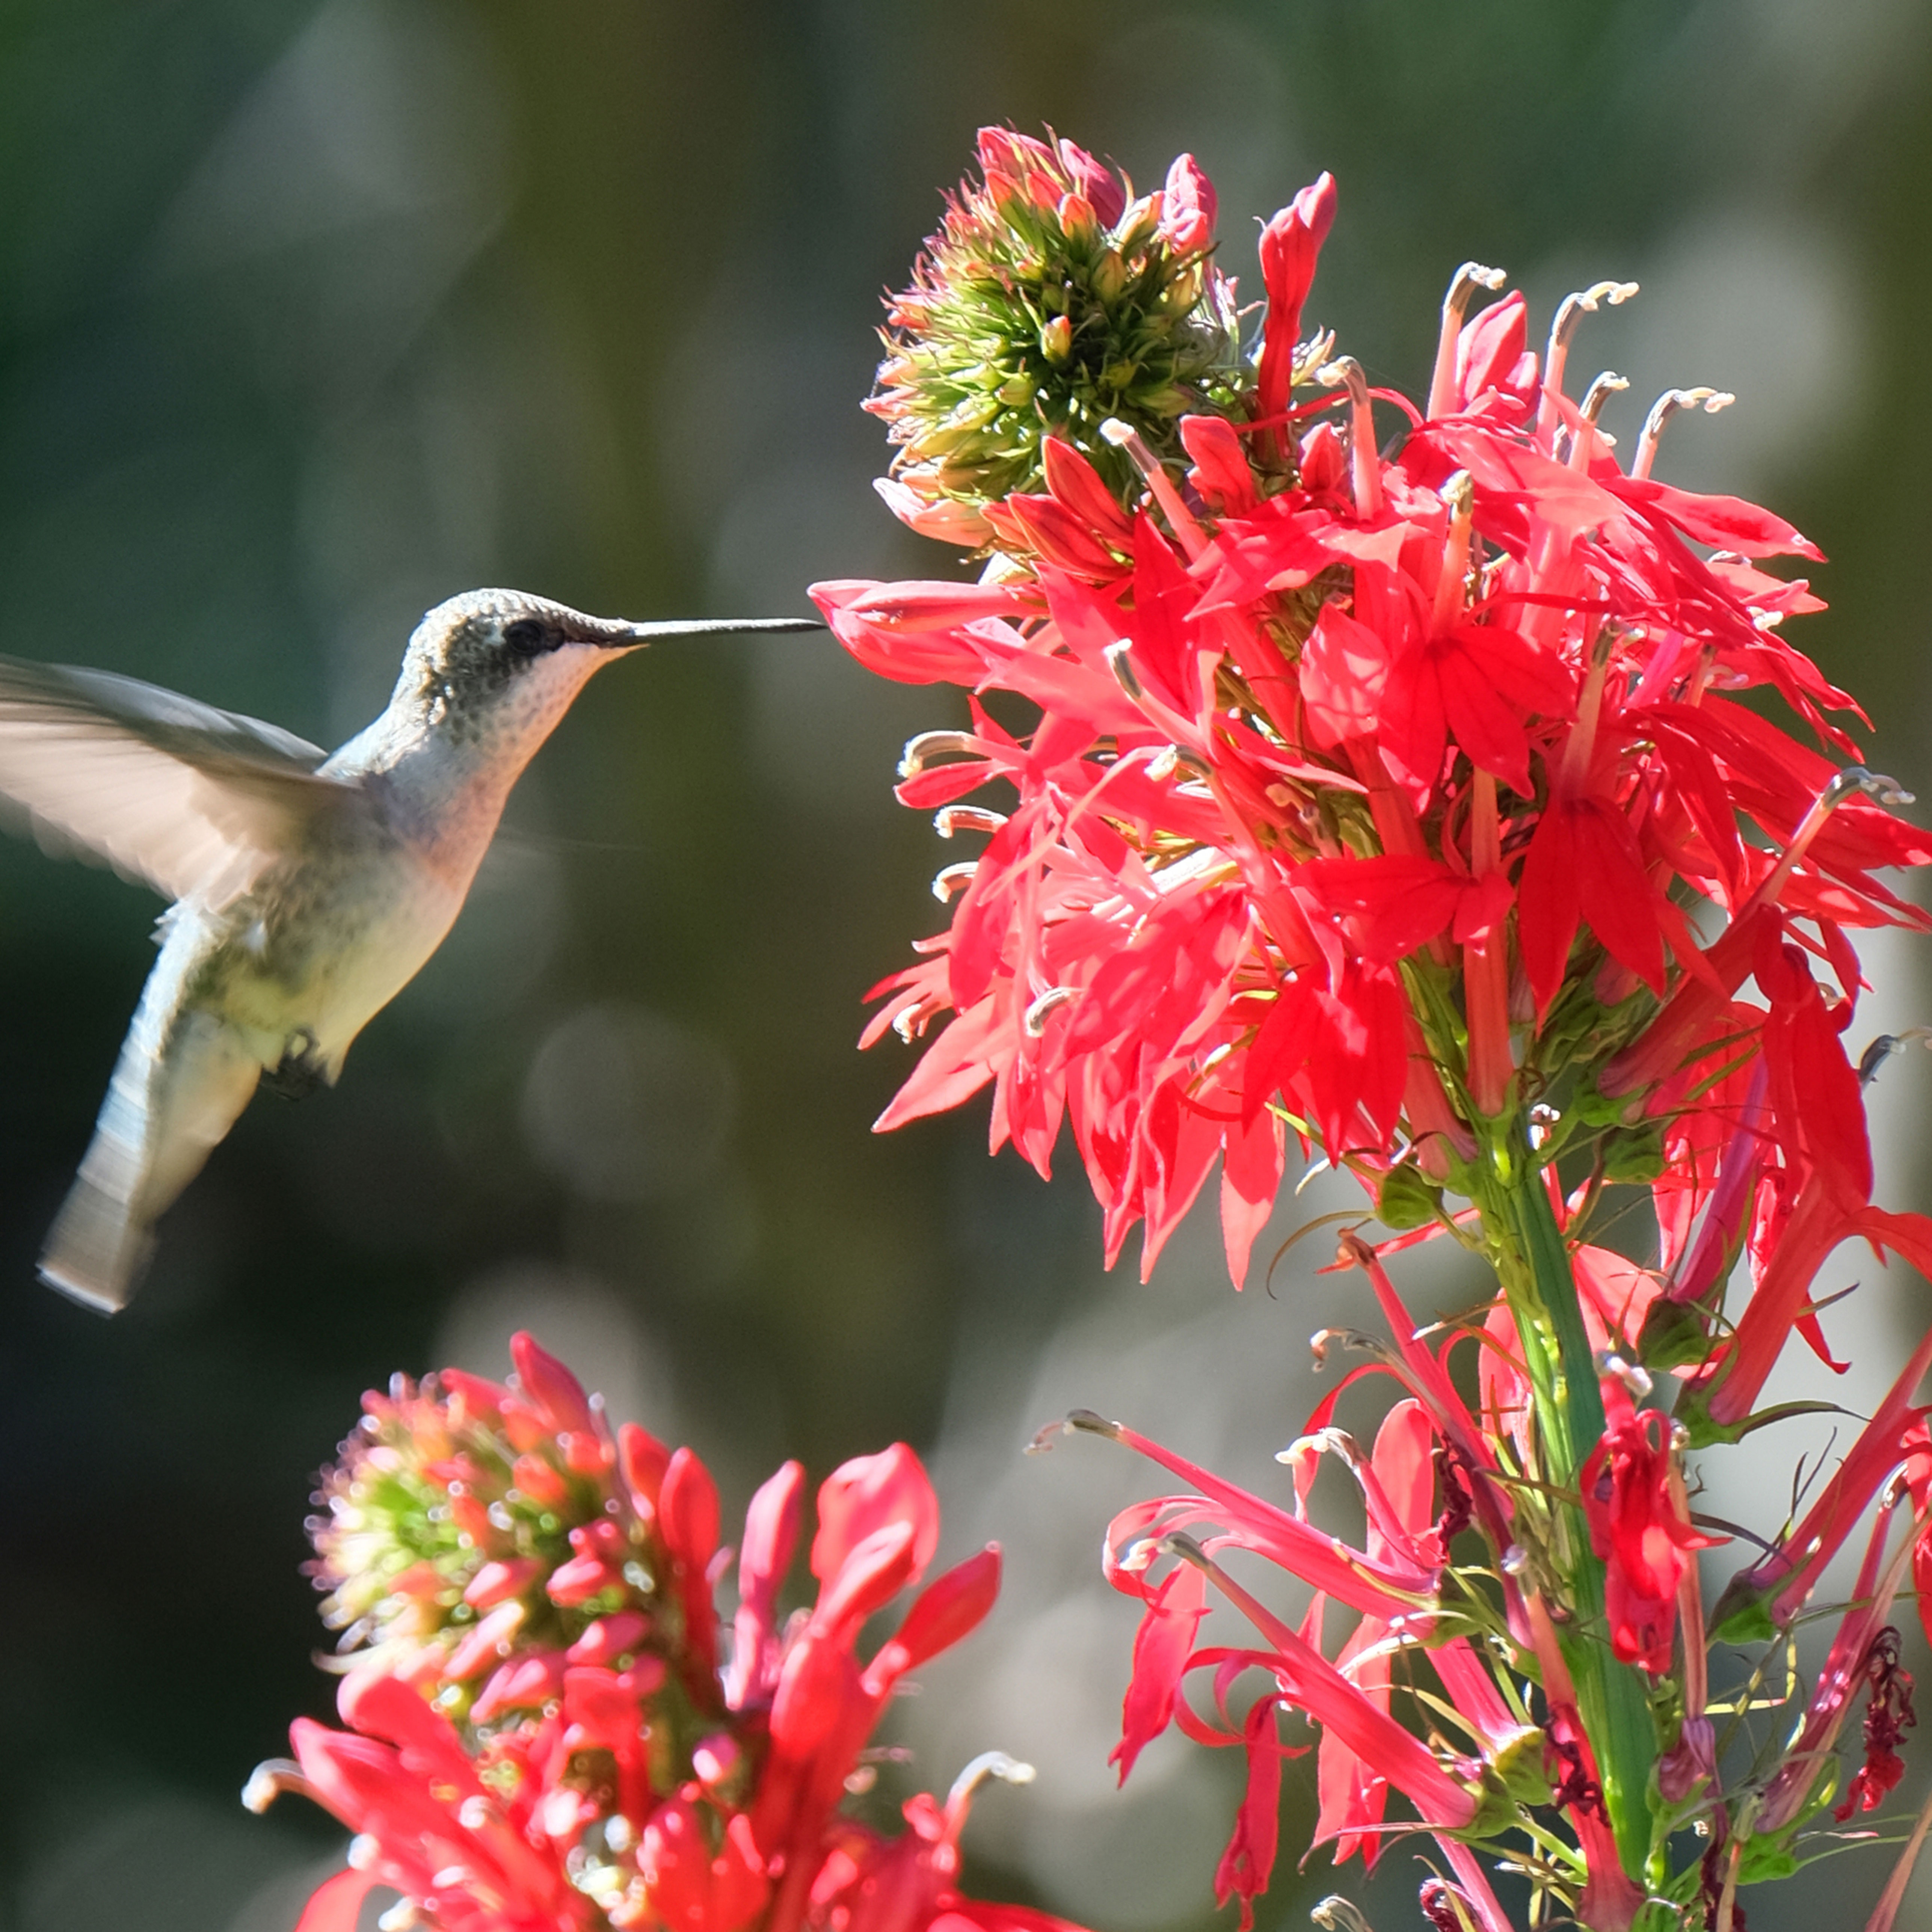
 Get Ready For A Summer Of Hummers! Grow These Full Sun Hummingbird Plants and Flowers
If you’re lucky enough to enjoy a sunny backyard, make sure you are maxing out on your pollinator opportunities and grow these full sun hummingbird plants and flowers
By Tonya Barnett