How To Revive A Peace Lily Drooping After Repotting
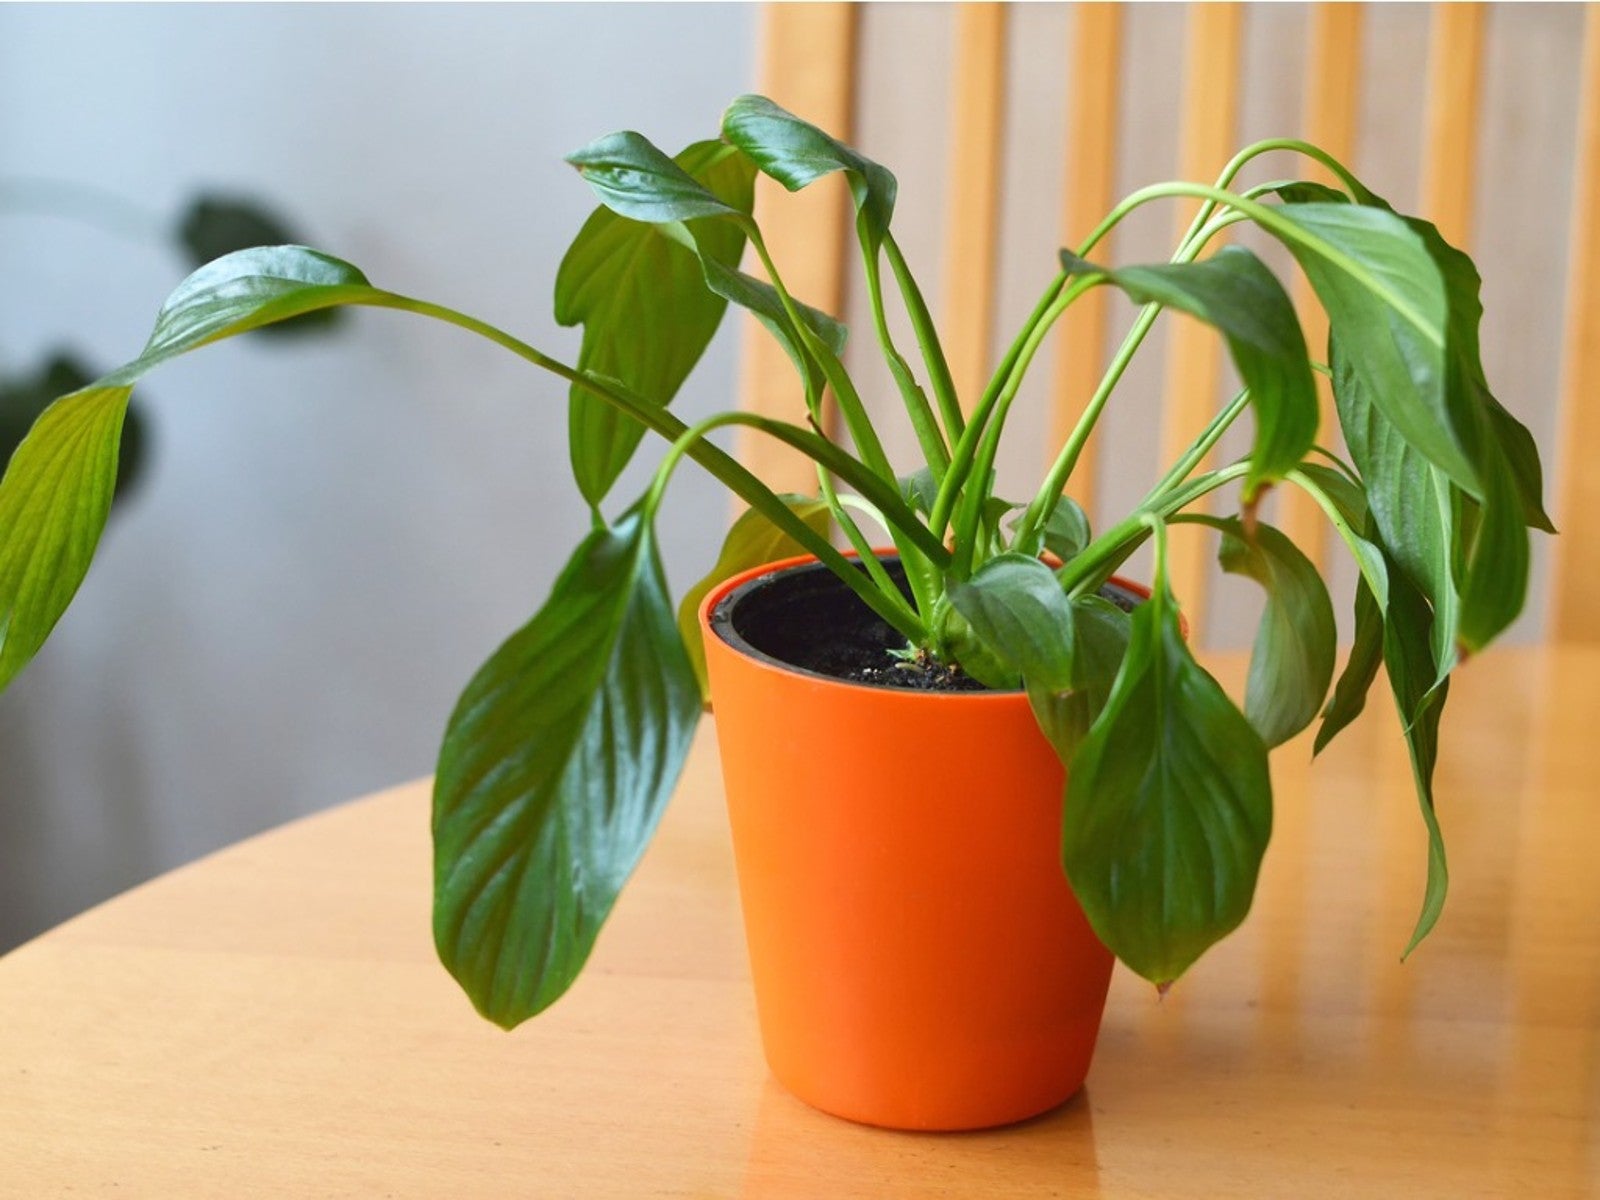

It is not unusual to find your peace lily in shock after repotting. This can happen when repotting any houseplant. There are steps you can follow to prevent a peace lily wilting after transplanting, as well as steps you can take to correct the situation if it does happen.
Peace lilies (Spathiphyllum spp.) are popular household plants that will bloom if given sufficient light. Proper care of a peace lily, plus following transplant tips, will help prevent a peace lily dying after repotting.
How to Fix a Peace Lily Droopy After Repotting
If your peace lily wilted after repotting, follow these steps to bring the plant back to health.
- Let the top 1/2 inch (1.3 cm.) of soil dry out between watering. Peace lilies prefer moist soil but not wet. You can let it stay a little on the dry side till it recovers.
- Position the plant in indirect light for about a week to 10 days. When it perks up, relocate it to its former location or in bright, indirect light, such as near an east or south window.
- Avoid placing the plant near heating or cooling vents.
- Wait two to four weeks before resuming fertilizer.
- Always water before the plant wilts. Waiting for a wilt signal to water will stress the plant.
- Increase the humidity around the peace lily by setting the plant on a tray of pebbles. Fill the tray with water making sure the pot sits on the pebbles and does not touch the water.
Transplanting Tips
In the future, before transplanting a peace lily or any houseplant, follow these tips to successfully make the transition.
- Two weeks before transplanting, fertilize the plant and inspect it for pests. Address any pest problems before transplanting.
- Water the plant the night before transplanting to hydrate the roots and make it easier to remove from the container.
- Choose a container that is 1 or 2 inches (2.5 or 5 cm.) larger in diameter than the original container. Anything larger can cause root rot by holding excess water in the soil.
- Make sure the container is clean. Kill any pathogens by dipping the pot in a solution of 1 part bleach to 9 parts water.
- Purchase a soilless planting medium with organic matter or mix your own including perlite to increase the drainage capacity.
- Carefully remove the plant from the container. Inspect the roots for damaged or circling roots. Break up any circling roots and snip off any black or discolored roots. Divide the plant, if needed, making sure each division has three stems.
- Fill the container about half full with the soilless mixture. Add the plant at the same level it was before and fill in the edges with more soilless mixture. The top of the soil should end about 1 inch (2.5 cm.) from the top of the container to make watering easier.
- Water well and let the water drain through the drainage holes. Discard any water that collects in the drip pan.
- Pot up any divisions you made.
Observing these recommendations should help keep your peace lily vibrant and thriving.
Gardening tips, videos, info and more delivered right to your inbox!
Sign up for the Gardening Know How newsletter today and receive a free copy of our e-book "How to Grow Delicious Tomatoes".

After graduating from Oklahoma State University with a degree in English, Susan pursued a career in communications. In addition, she wrote garden articles for magazines and authored a newspaper gardening column for many years. She contributed South-Central regional gardening columns for four years to Lowes.com. While living in Oklahoma, she served as a master gardener for 17 years.
-
 Looking For Plants To Give You The Soft And Fuzzies? Try These 5 Fuzzy Leaf Plant Options
Lovers of texture, drama, silver foliage and tactile plants will adore these special sensory garden additions. These fuzzy leaf plant options will leave you all aglow
By Susan Albert
-
 Get Ready For A Summer Of Hummers! Grow These Full Sun Hummingbird Plants and Flowers
If you’re lucky enough to enjoy a sunny backyard, make sure you are maxing out on your pollinator opportunities and grow these full sun hummingbird plants and flowers
By Tonya Barnett
-
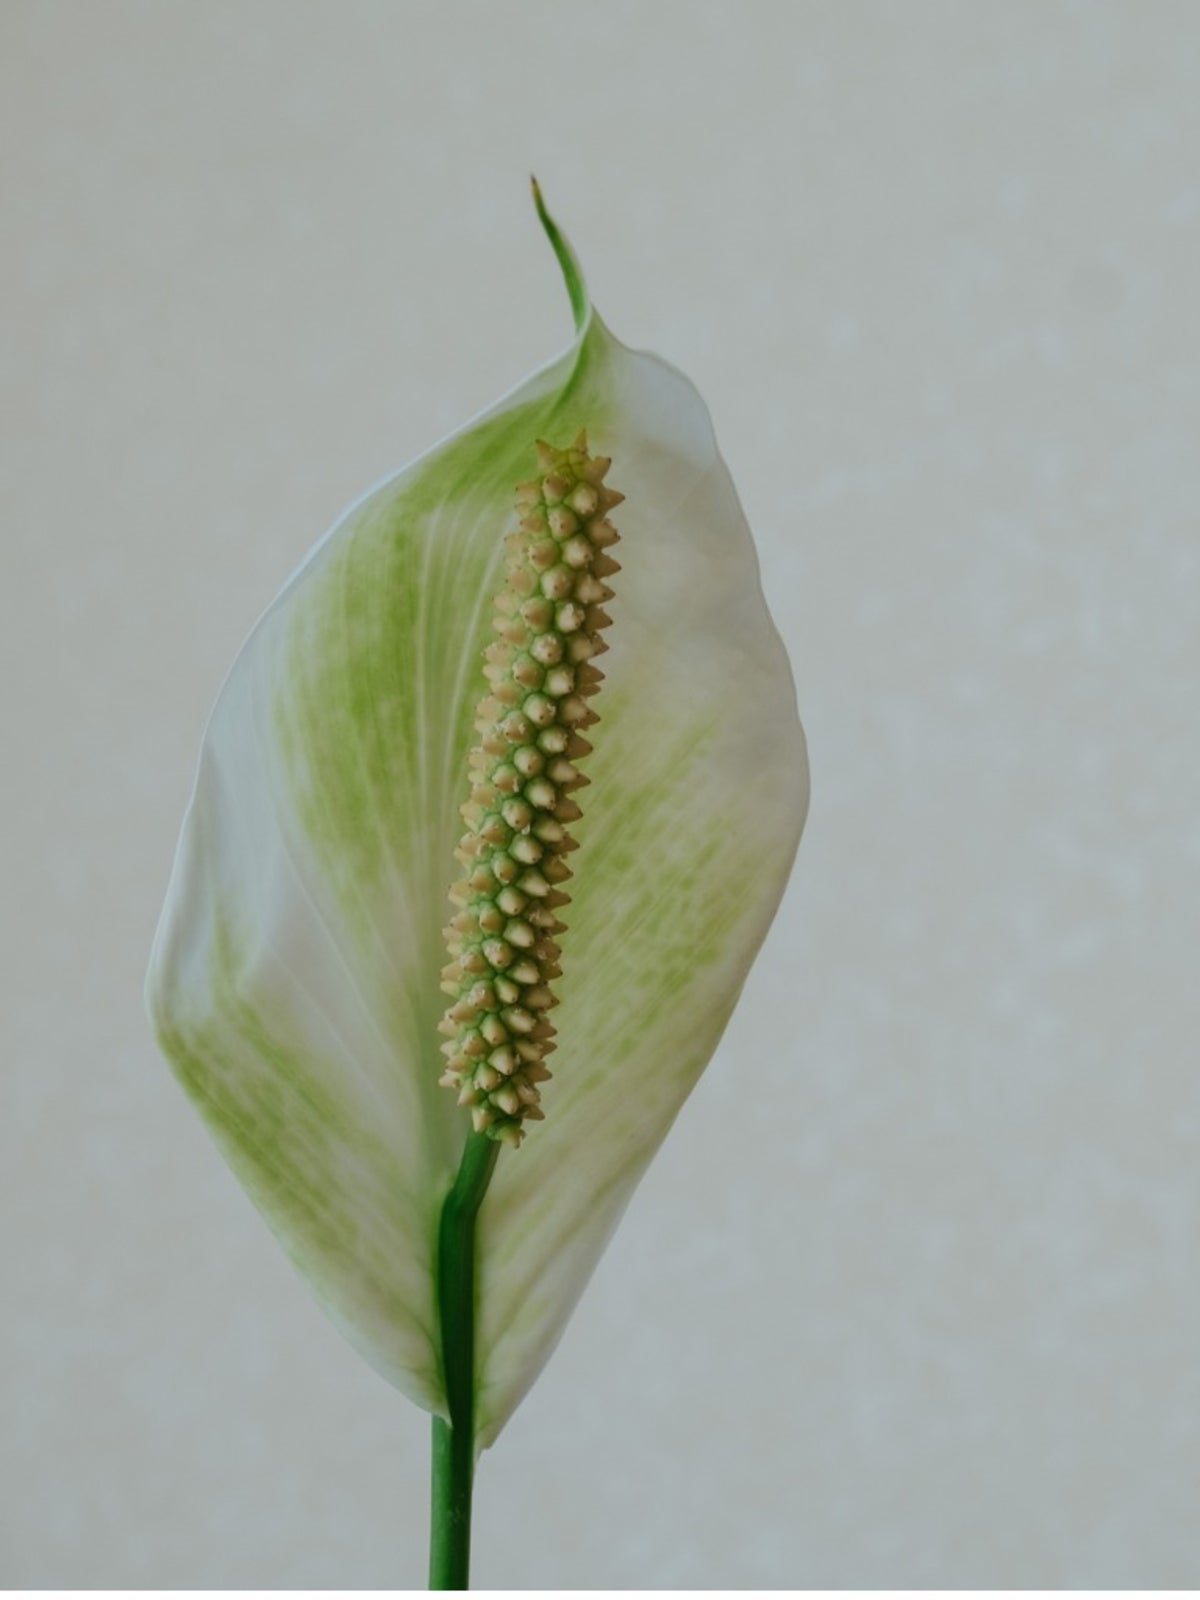 Peace Lily Flowers Are Green – Fixing Green Blooms On Peace Lilies
Peace lilies produce gorgeous white flowers. But if your flowers are green, the contrast is not as striking. Learn about this phenomenon here.
By Mary Ellen Ellis
-
 Diseases In Spathiphyllum: Tips On Treating Peace Lily Diseases
Peace lilies are tough and resilient, but they are susceptible to a few pests and diseases. This article provides more information about peace lily plant problems, including common diseases in Spathiphyllum plants.
By Teo Spengler
-
 Drooping Peace Lily: How To Revive A Wilting Spathiphyllum
A drooping peace lily is a common occurrence and can indicate several different issues, most of which can be corrected.
By Tonya Barnett
-
 Do Peace Lilies Need Fertilizer – When To Feed Peace Lily Plants
Do peace lilies need fertilizer? Believe it or not, many folks prefer to skip the fertilizer and their peace lily plants do just fine without it. However, fertilizing a peace lily now and then is important to encourage blooming. Learn more in this article.
By Mary H. Dyer
-
 Peace Lily With Brown Tips: Common Causes & How To Fix Them
A common complaint about peace lily tips turning brown is an easy fix if you know what’s causing it. Make it happy by adjusting your care.
By Teo Spengler
-
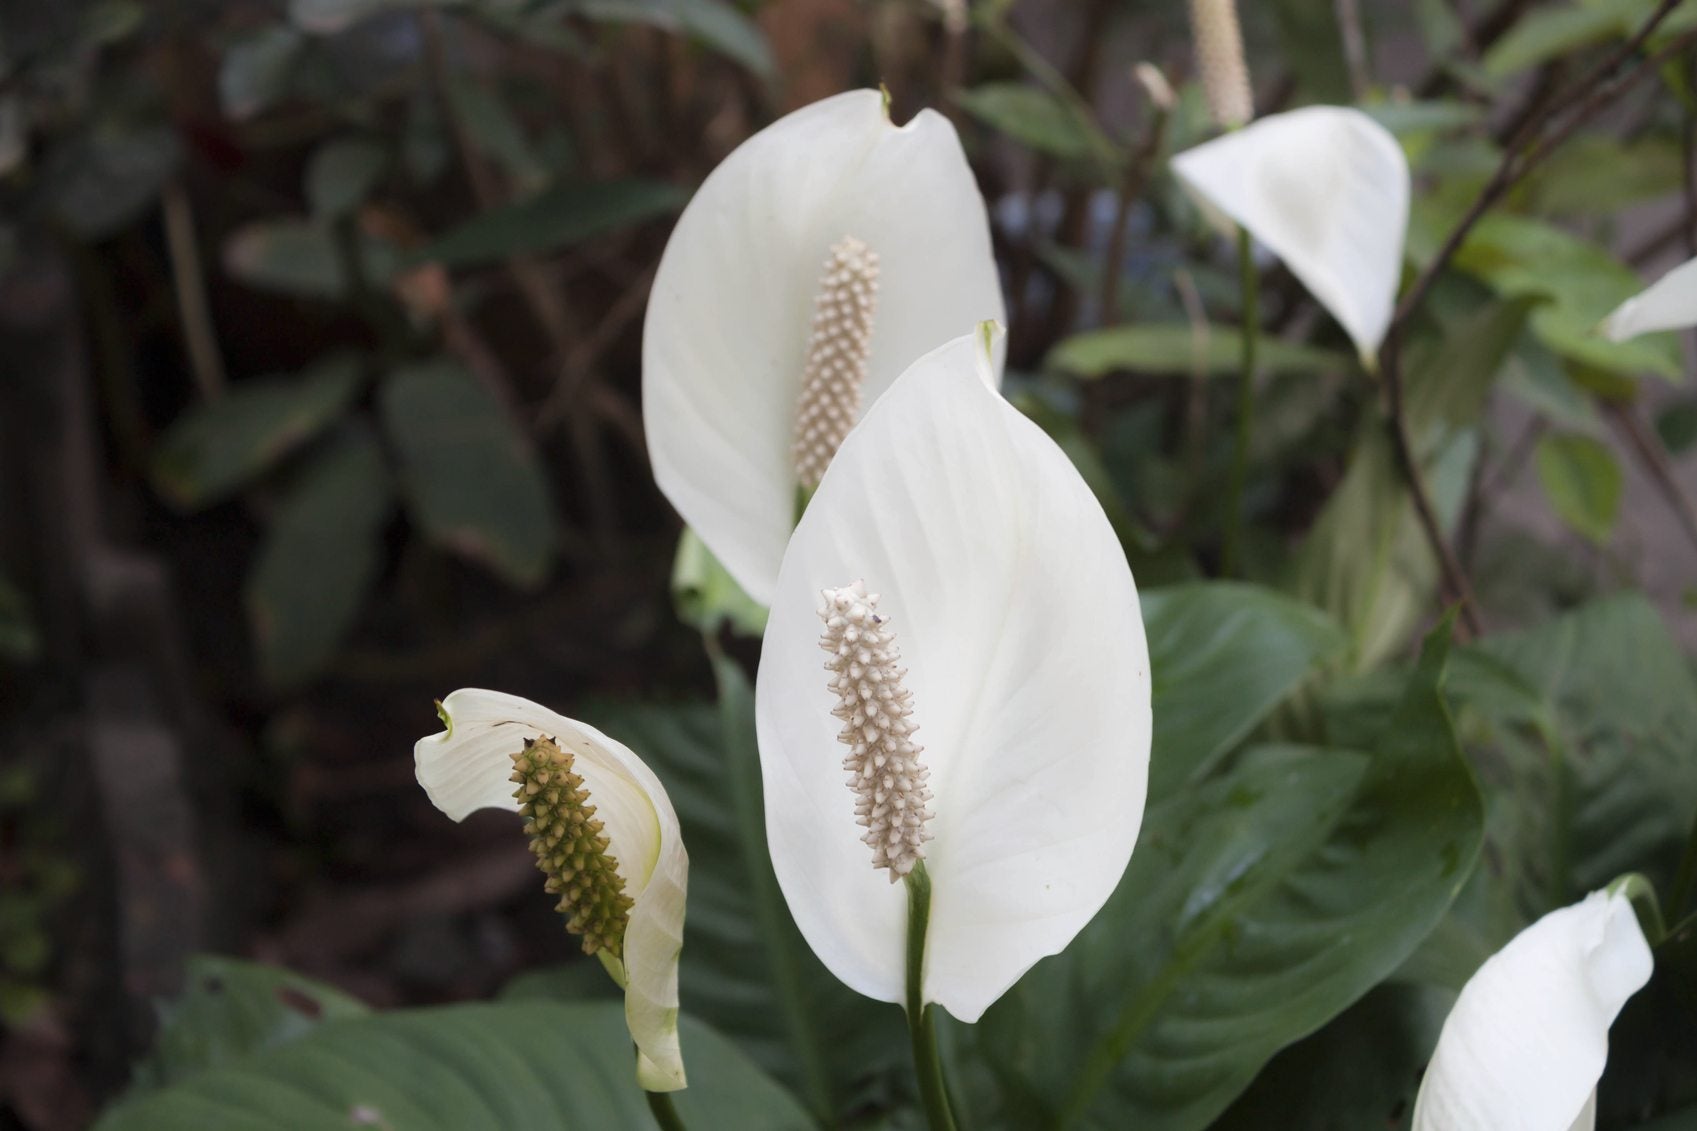 Peace Lily And Pollution – Do Peace Lilies Help With Air Quality
There are many plants that thrive indoors in low light and actively remove pollutants from the air. Way at the top of that list of plants is the peace lily. Learn more about using peace lily plants for air purification.
By Liz Baessler
-
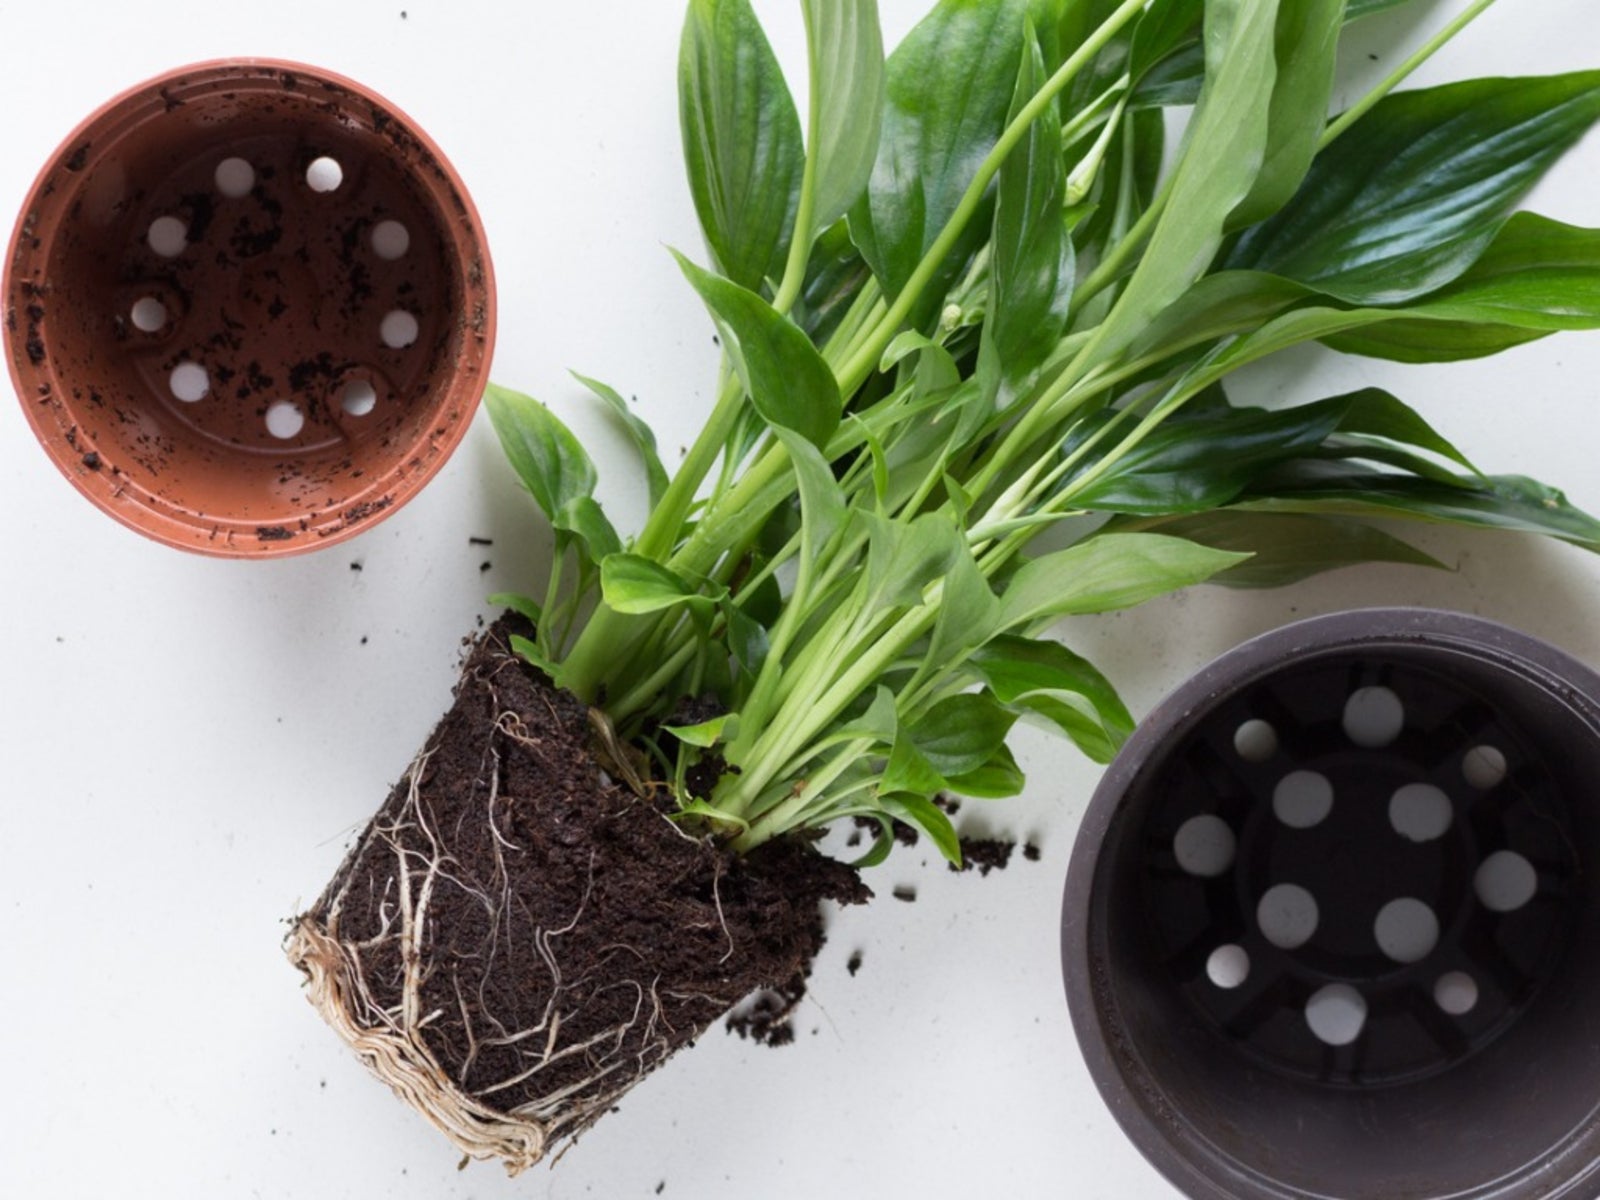 Peace Lily Repotting – Learn How And When To Repot Peace Lilies
Repotting a peace lily plant is occasionally necessary, as a rootbound plant isn't able to absorb nutrients and water and may eventually die. Fortunately, peace lily repotting is easy! Learn how to repot a peace lily in this article.
By Mary H. Dyer
-
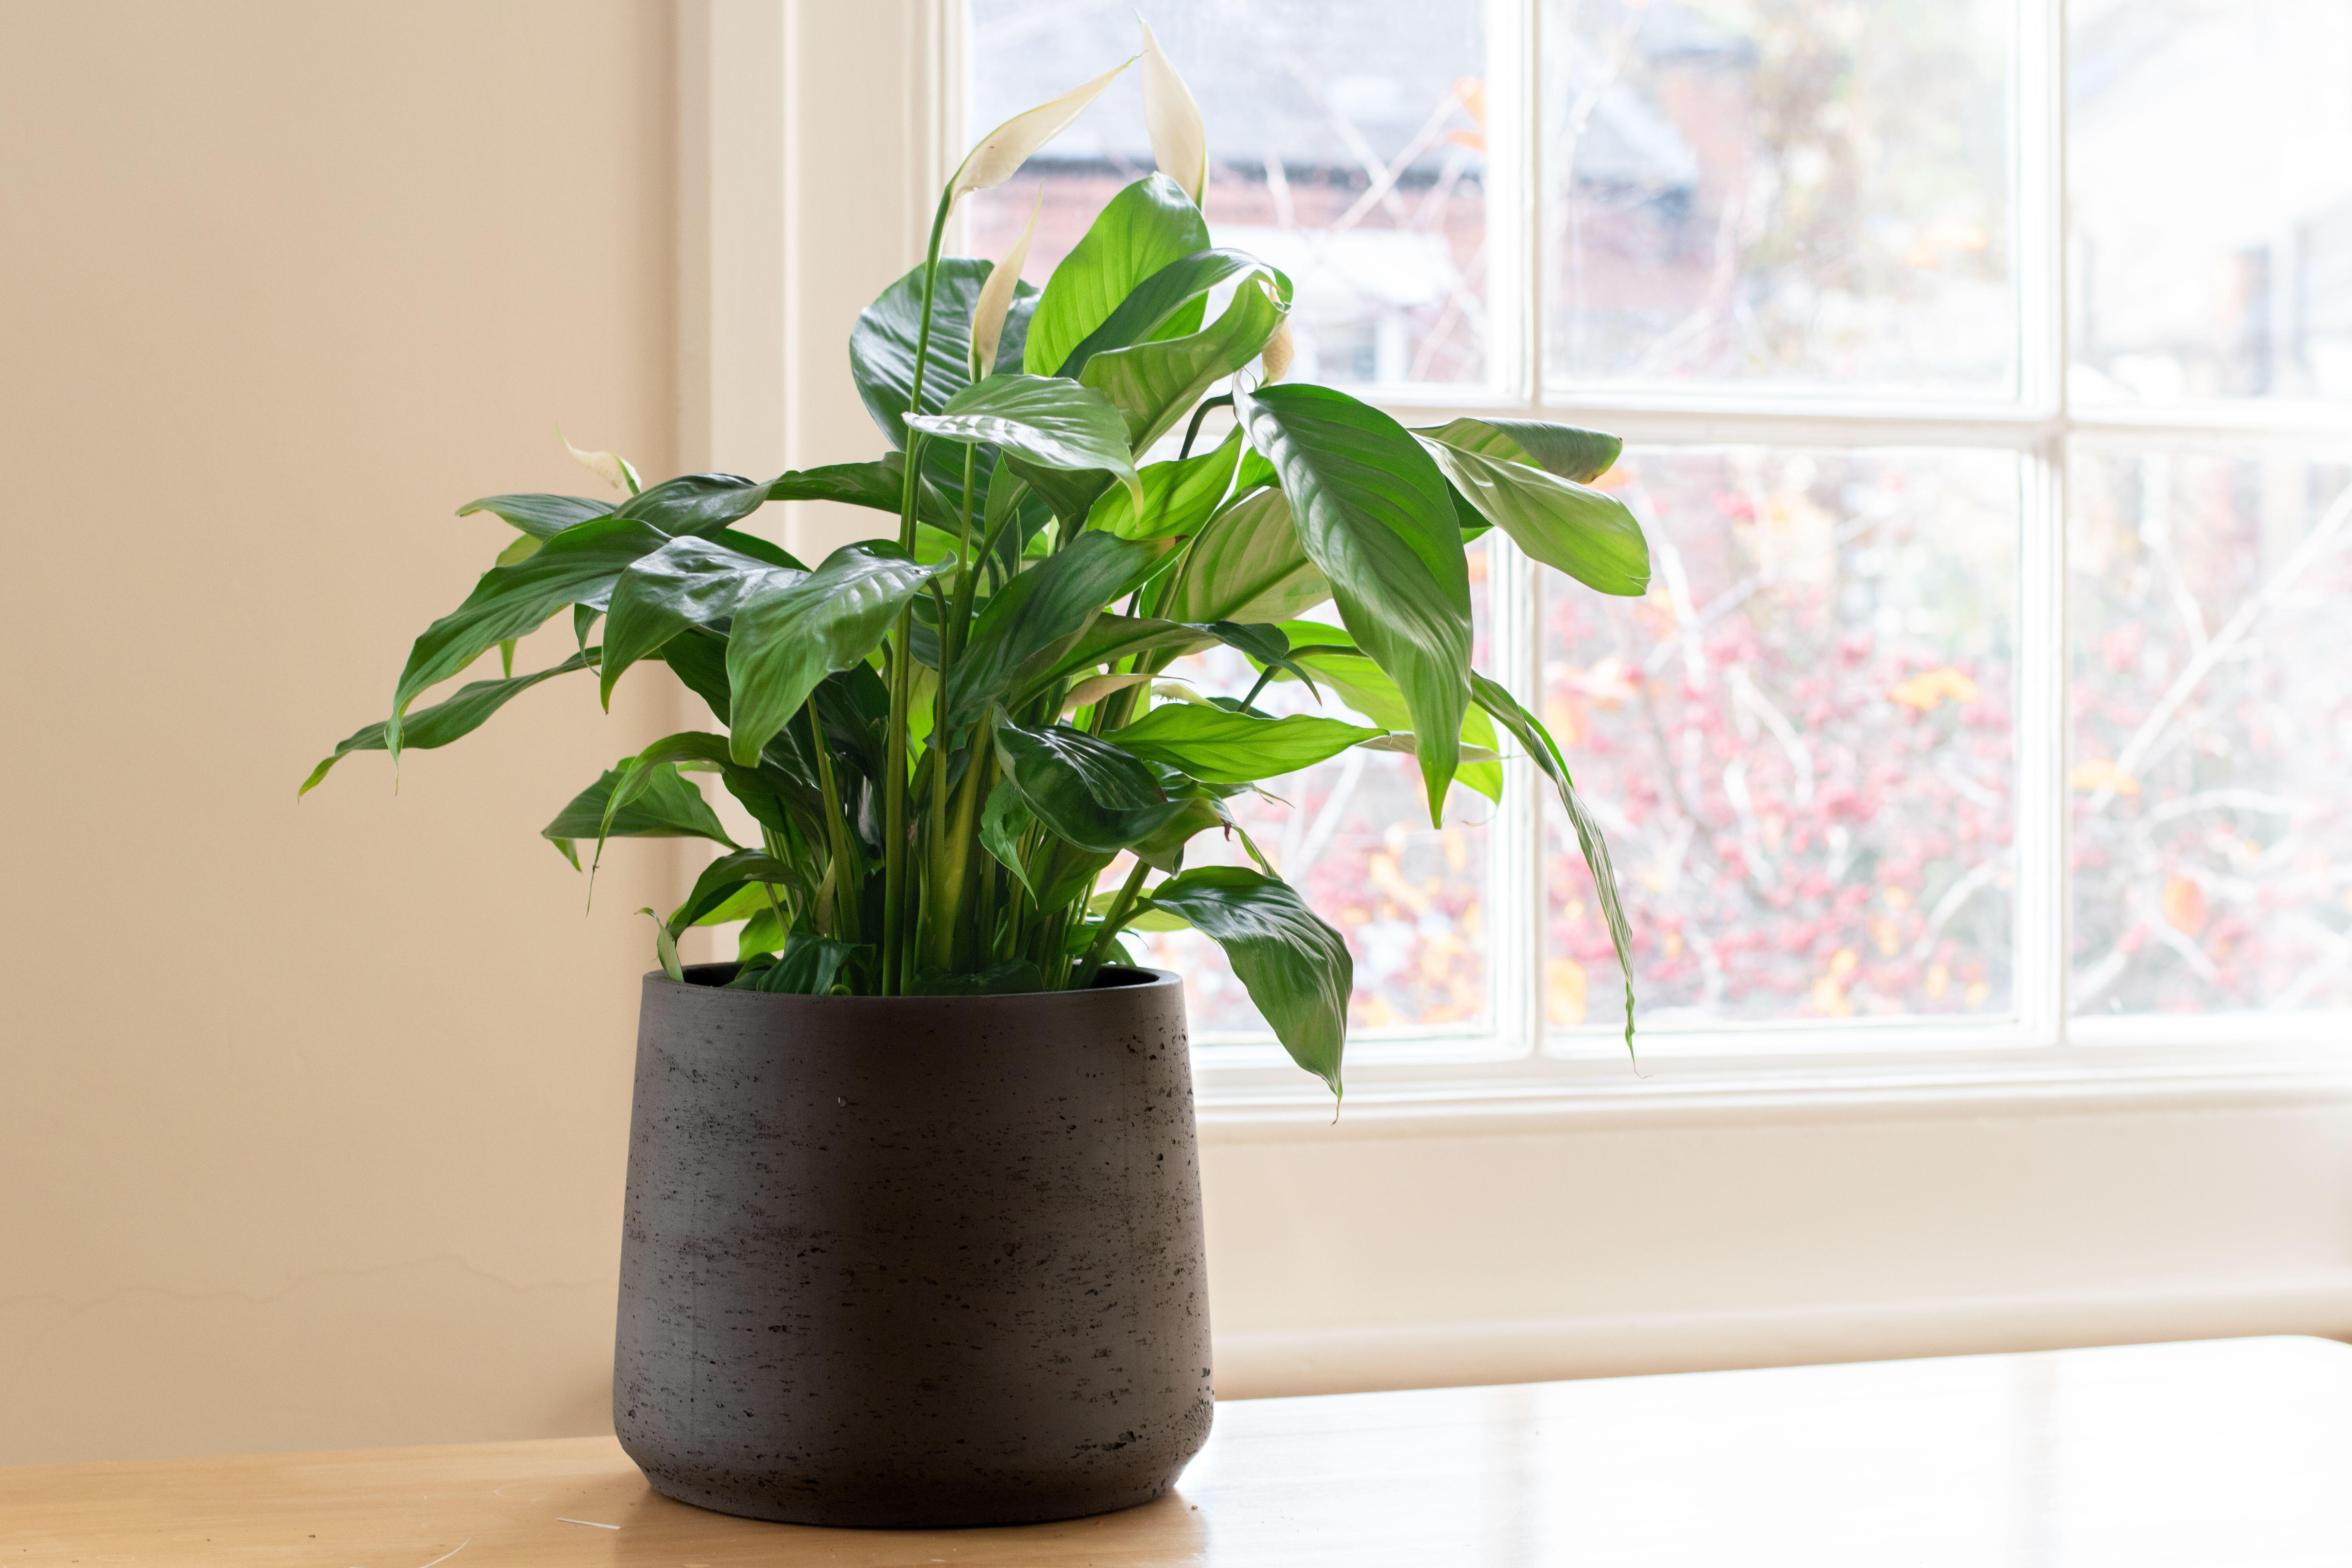 How To Prune A Peace Lily For Better Growth
As houseplant fans, we should all learn how to prune a peace lily. It’s easy to do and an occasional little trim will keep it shapely and healthy.
By Liz Baessler