Yellow Rubber Tree Leaves – Reasons For Yellowing Leaves On A Rubber Plant


The aim of every gardener is to maintain a visual vibe with every plant by keeping it healthy, lush, and vibrant. Nothing disrupts a plant’s aesthetics more than the presence of unsightly yellow leaves.
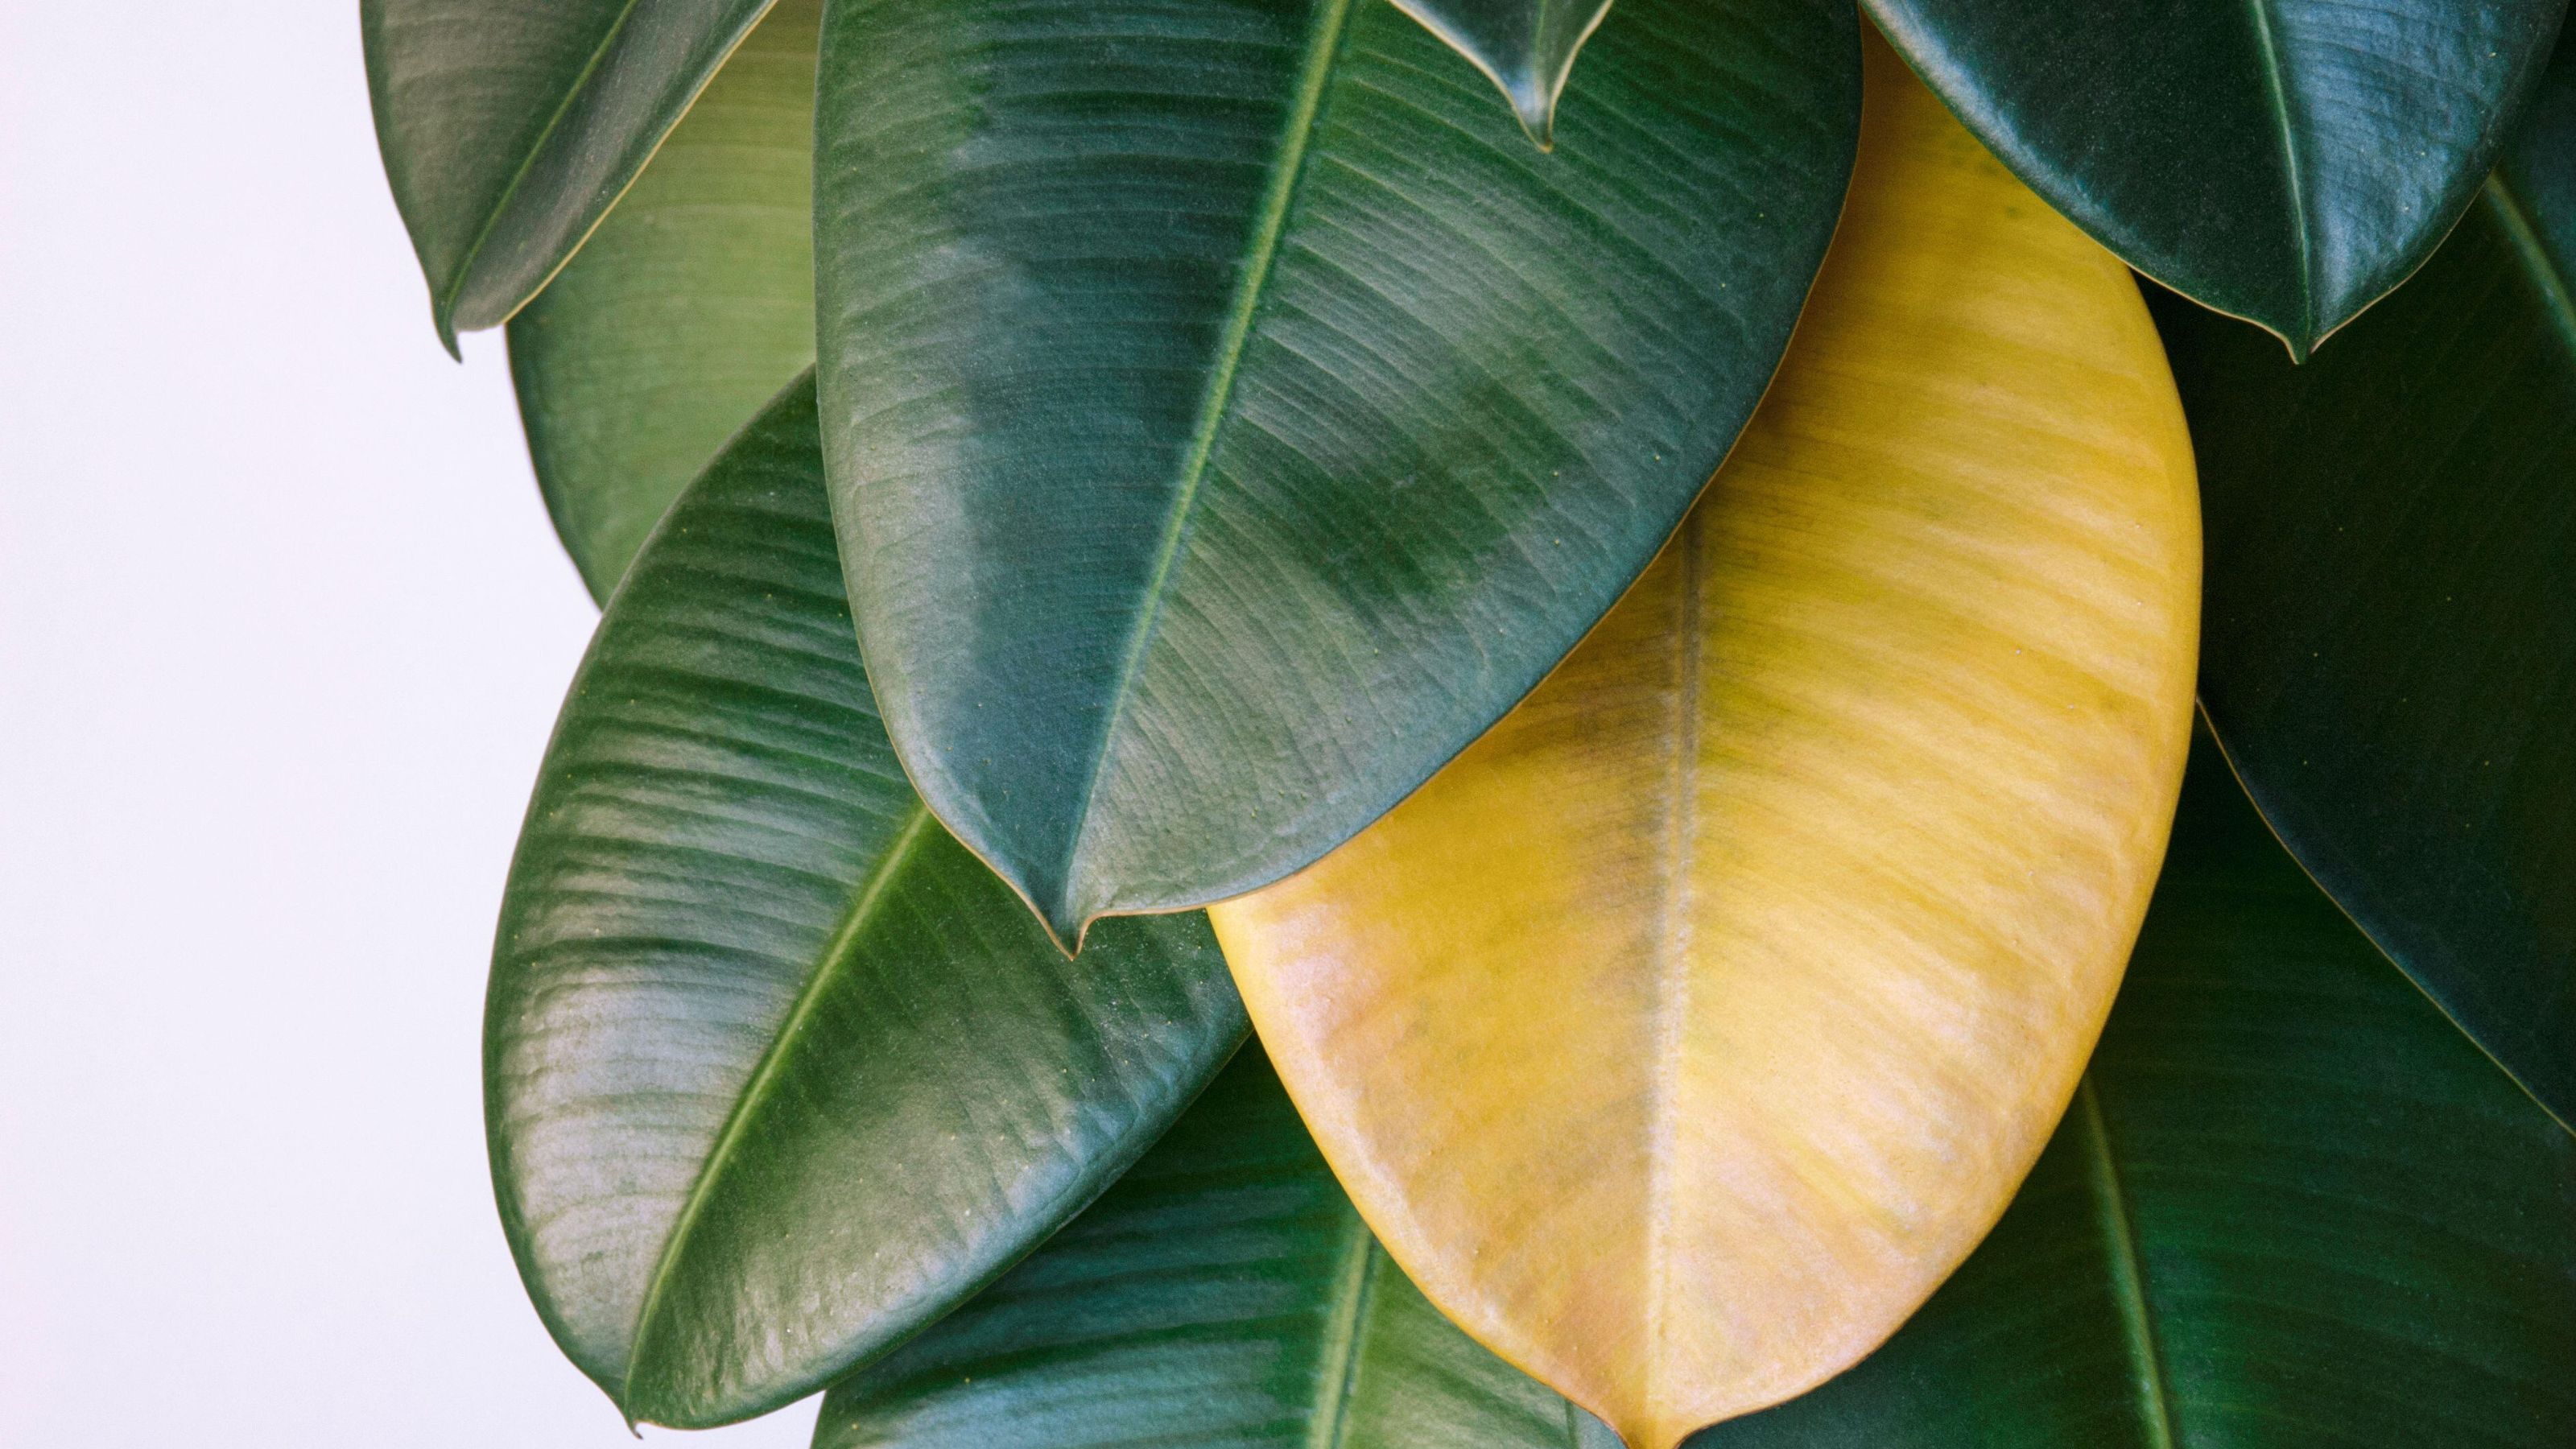
Right now, I seem to have lost my gardening mojo because my rubber plant leaves are turning yellow. I want to hide the rubber plant with yellow leaves out of sight, which makes me feel guilty because it’s not the plant’s fault that it’s yellow, is it? So, I guess I shouldn’t treat it like a castaway. No, no matter how much I try to rationalize, yellow is not the new green! It’s time to cast the guilt and these foolish notions aside and find a solution for yellow rubber tree leaves!
Reasons for Yellowing Leaves on a Rubber Plant
Too Much or Too Little Watering
One of the most common reasons for the presence of yellow rubber tree leaves is over or underwatering, so it is highly recommended that you know how to properly water a rubber tree plant.
The best rule of thumb is to water when the first few inches (8 cm.) of soil are dry. You can make this determination by simply inserting your finger into the soil or by using a moisture meter. You should also ensure that your rubber plant is situated in a pot with adequate drainage to prevent the soil from becoming too wet.
Incorrect Lighting and Temperature
Other changes in environmental conditions, such as sudden changes in lighting or temperature, may also cause a rubber plant with yellow leaves as it struggles to reacclimate itself to the change. This is why it is important to be consistent in your care of a rubber plant.
Rubber plants prefer bright, indirect light and fare best when they are kept in temperatures in the 65 to 80 degrees F. (18-27 C.) range.
The Pot is Too Small
Yellowing leaves on a rubber plant could also be a sign that it is pot bound so you may want to consider repotting your rubber plant. Select a new pot, with adequate drainage, that is one to two sizes larger and fill the base of the pot with some fresh potting soil.
Sign up for the Gardening Know How newsletter today and receive a free copy of our e-book "How to Grow Delicious Tomatoes".
Extract your rubber plant from its original pot and gently tease the roots to remove excess soil from them. Inspect the roots and prune any that are dead or diseased looking with sterile pruning shears. Position the rubber plant in its new container so that the top of the root ball is a few inches (8 cm.) below the rim of the pot. Fill in the container with soil, leaving an inch (2.5 cm.) of space at the top for watering.

Shelley Pierce was a writer for Gardening Know How, contributing to hundreds of articles for the site.