Tips For Transplanting A Snake Plant
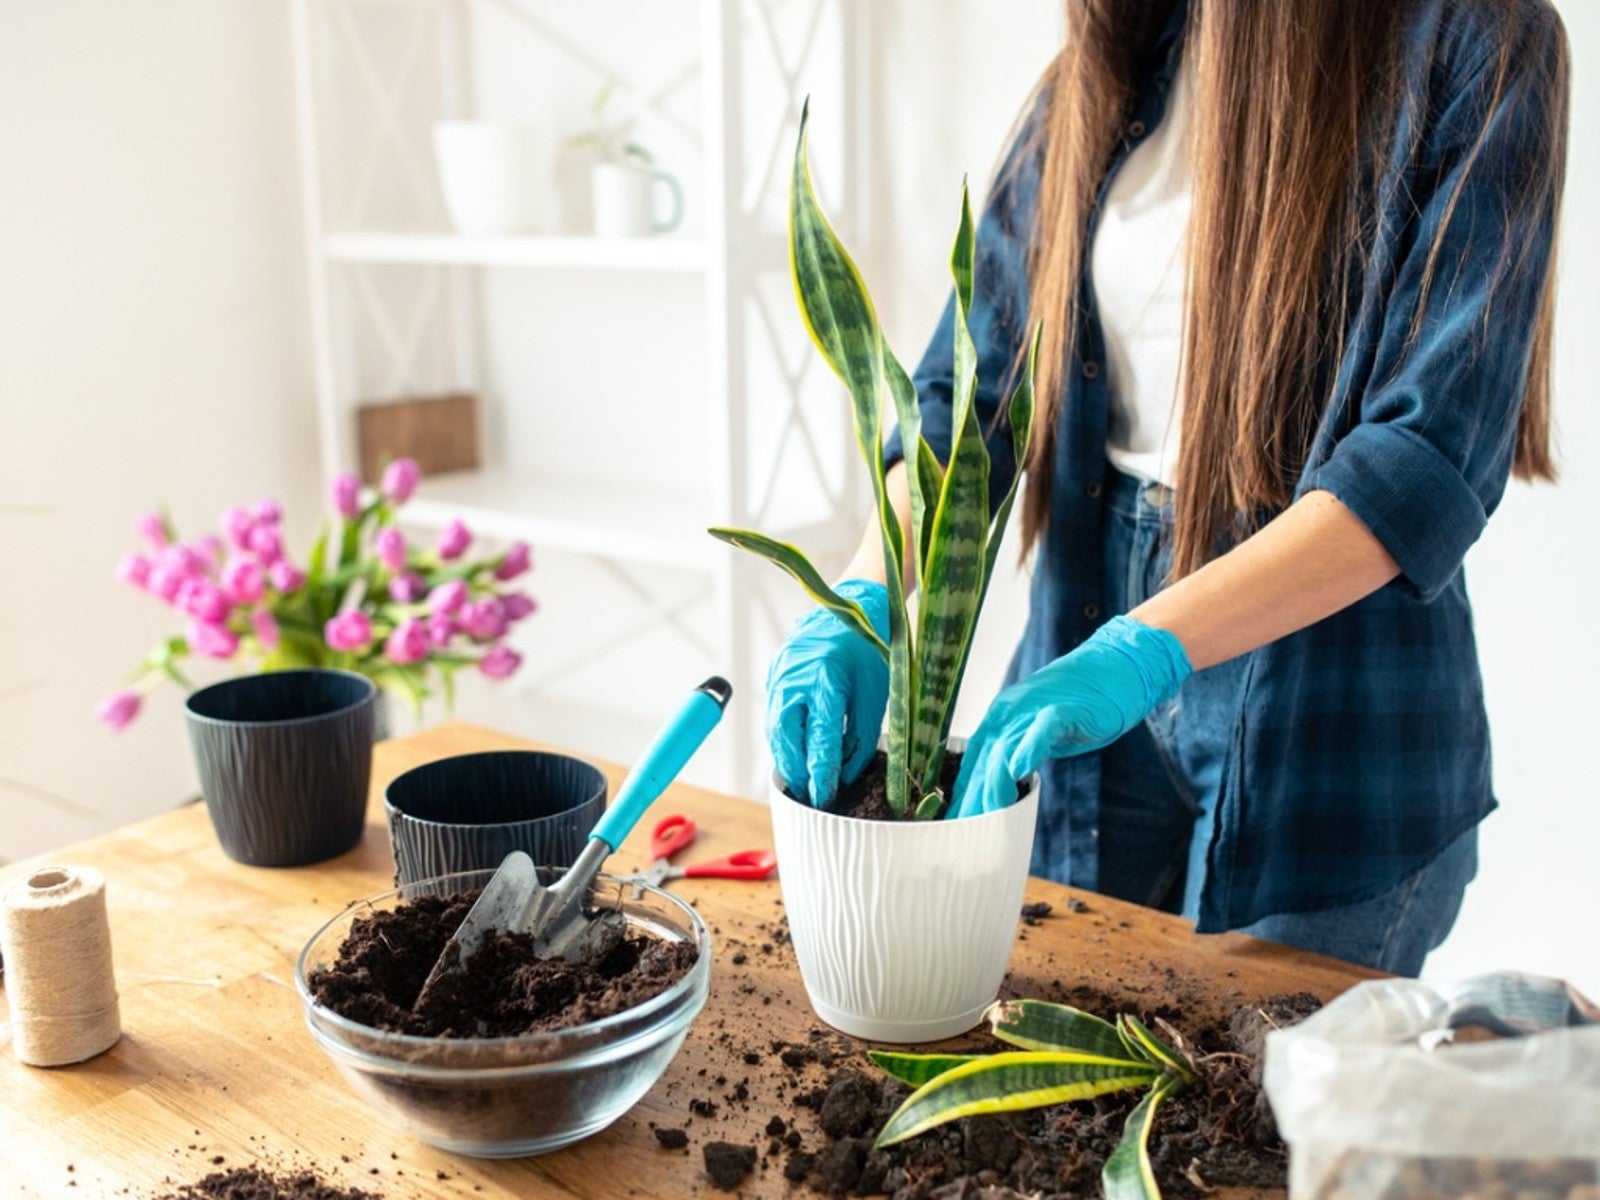

With a nickname like mother-in-law's tongue, one might think snake plants are anything but lovable. Yet, despite the moniker and the connotations associated with it, snake plants continue to be one of the most popular houseplants. They require very little care, which can make it difficult to judge if repotting a snake plant would be beneficial.
When To Repot a Snake Plant
As a general rule of thumb, snake plants can be repotted every 3 to 5 years. These popular houseplants prefer being a bit snug in their pots. In fact, snake plants won't produce flowers unless they feel the stress of being rootbound.
Yet, holding off the repotting process for too long can be detrimental to the health of the plant. If you're unsure, look for these telltale signs that it's time to transplant a snake plant:
- There are roots growing on the surface of the soil or through the drain holes of the planter.
- Water runs through the pot too quickly.
- The leaves are rotting at the base from overwatering or poor drainage.
- The plant is overcrowded and needs divided.
- The pot has cracked from the pressure of being rootbound.
How to Repot a Snake Plant
Follow these tips to reduce transplant shock and help your snake plant adjust to its new home:
- Size matters – Choose a planter which is about 2 inches (5 cm.) larger in diameter than the current pot. An excessively big container will retain too much moisture and may not adequately support a top-heavy snake plant.
- Sanitize equipment – To prevent the spread of viral, bacterial and fungal diseases, sterilize all tools and any pots which have been previously used.
- Choose a lightweight soil – To discourage root rot, select a commercial potting mix designed for cacti or blend your own soilless medium.
- Water well – To prevent wilting and reduce transplant shock, hydrate the plant at least an hour before beginning the snake-plant repotting process.
- Remove gently – To avoid damaging the foliage and roots of the plant, turn the pot on its side and push or tap the bottom to release the snake plant. If the planter is already cracked, cut or break the remaining pot for ease of removal.
- Examine and prune the roots – Healthy roots are firm to the touch and are white or off-white in color. Remove sections of roots which exhibit signs of damage. Loosen or cut through dense mats of roots to encourage new growth.
- Division – Removing and repotting snake plant pups will give the plant a tidier appearance. Keep these new plants for yourself or share with family and friends.
- Line the pot – Place a coffee filter, coir liner or circle of landscape fabric in the bottom of the new pot to prevent soil leakage. Avoid using gravel in the bottom of the pot as this does not facilitate drainage and can lead to root rot.
- Don't plant too deep – Replant the snake plant to the same depth as before. Be sure to leave the soil level about an inch (2.5 cm.) below the top edge of the planter.
After repotting, water to settle any loose soil and place the snake plant in bright, but indirect sunlight.
Gardening tips, videos, info and more delivered right to your inbox!
Sign up for the Gardening Know How newsletter today and receive a free copy of our e-book "How to Grow Delicious Tomatoes".

Laura Miller has been gardening all her life. Holding a degree in Biology, Nutrition, and Agriculture, Laura's area of expertise is vegetables, herbs, and all things edible. She lives in Ohio.
-
 Types Of Tomatoes Explained: Explore The Many Wonderful Shapes, Colors, Flavors, & Best Uses
The world of tomato varieties is vast and fascinating. Learn about the key types to grow in your garden, tailored to your preferences and space.
By Amy Grant
-
 Try The Trend – Turn Any Bed Into A Keyhole Garden With This Clever In-Ground Composter
Keyhole gardening is an efficient and sustainable practice that saves space. Get started on this DIY project quickly and easily with an in-ground composter.
By Bonnie L. Grant
-
 Help, My Snake Plant Is Mushy! Advice For Root Rot In Snake Plants
Snake plants are hardy houseplants, but they can be susceptible to root rot. Learn how to prevent and treat this common snake plant problem.
By Amy Grant
-
 Are Snake Plants Toxic To Dogs? Keep Your Pup Safe Around These Popular Houseplants
Snake plants are incredibly popular houseplants because of their hardy nature, but are they dangerous to human's best friend? Learn how to keep your pup safe.
By Amy Grant
-
 Snake Plant Getting Enough Light? Understanding Light Requirements And How To Adjust
Snake plant light requirements aren’t as stringent as for some houseplants, but the right lighting is important for their growth and well-being.
By Tonya Barnett
-
 Telltale Signs Of An Overwatered Snake Plant – And How To Fix This Fatal Mistake
By Bonnie L. Grant
-
 Are Snake Plants Toxic To Cats? Here’s How To Protect Your Felines And Avoid Trouble
Are snake plants toxic to cats? A good rule of thumb is to simply keep the plant where kitty can’t get to it.
By Mary Ellen Ellis
-
 Mini Snakes: Try These 6 Small Snake Plant Varieties For A Cute And Compact Indoor Plant
You love the drama and structure of a snake – but what if you don’t have much indoor space? These small snake plant varieties are ideal for mini pot perfection
By Teo Spengler
-
 10 Snake Plant Varieties To Elevate Your Indoor Plant Collection
Don’t let the name fool you - snake plants are friendly, beautiful, and easy to grow. Here are 10 of my favorites you may not have heard of.
By Bonnie L. Grant
-
 Care Of Kenya Hyacinth: Tips On Growing Flowering Sansevieria
Kenya hyacinth is a pretty, little succulent that makes a great houseplant. It produces flowers irregularly and can be grown outdoors in hot, dry regions. Care of Kenya hyacinth is not difficult if you provide the right soil and don’t overwater. Learn more here.
By Mary Ellen Ellis