Repotting Spider Plants: How Do You Repot A Spider Plant


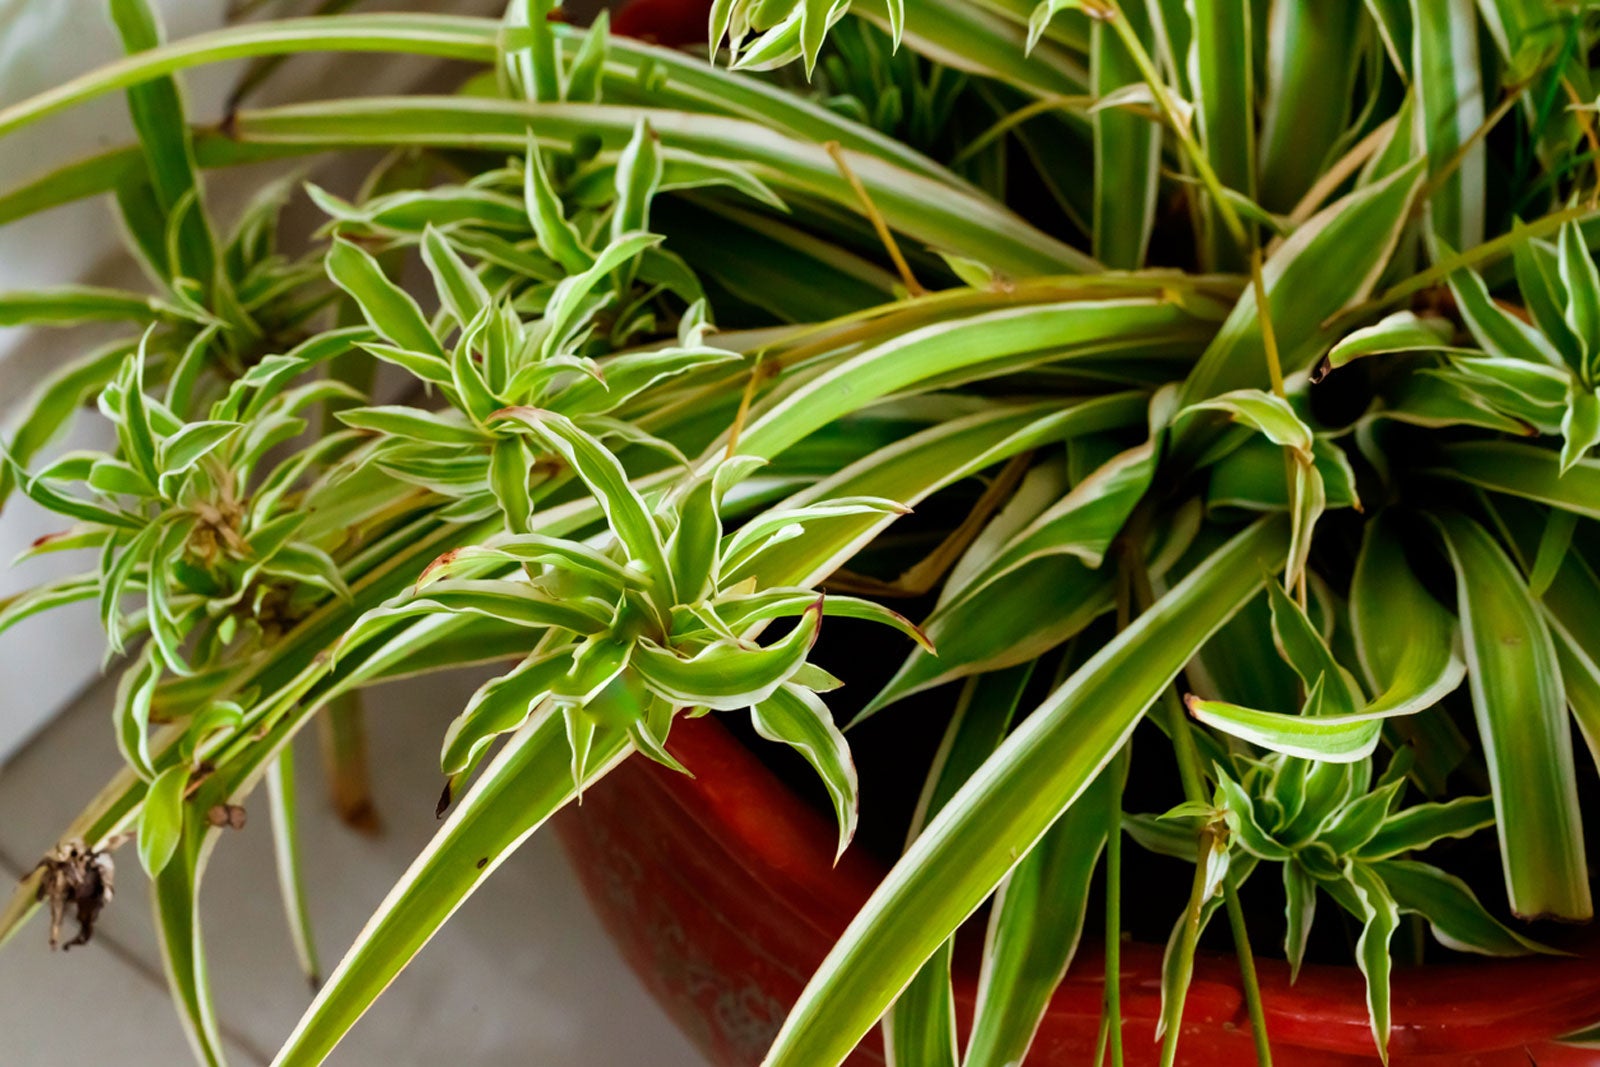
Spider plants (Chlorophytum comosum) are popular houseplants. Flexible about the level of care they receive and tolerant of abuse, they are perfect for gardening beginners. When should you repot a spider plant? These plants grow fast and the tuberous roots can crack open a flower pot. It’s important to start spider plant repotting before this happens. Read on for information on moving spider plants to larger pots.
Spider Plant Repotting
Repotting spider plants simply means moving spider plants to larger pots. It is often necessary to repot houseplants as they outgrow their pots, and spider plants tend to grow faster than most. Spider plants are native to the coastal areas of South Africa. The plant’s tuberous roots allows the species to thrive despite varying levels of precipitation in the wild. These same water-storing tuberous roots assist your spider houseplant to survive when you forget to water it for a few weeks. The roots grow fast, however. At some point before the roots crack open the pot, it’s time to think about spider plant repotting.
When Should You Repot a Spider Plant?
Spider plants grow best when they are slightly pot bound. However, the plants, roots included, grow fast. You’ll want to think about repotting spider plants before the plants crack their pots. Plants get different cultural care, so their growth rates vary. You just have to keep an eye on your spider plant. When you see roots showing above the soil, it is time to start moving spider plants to larger pots.
How Do You Repot a Spider Plant?
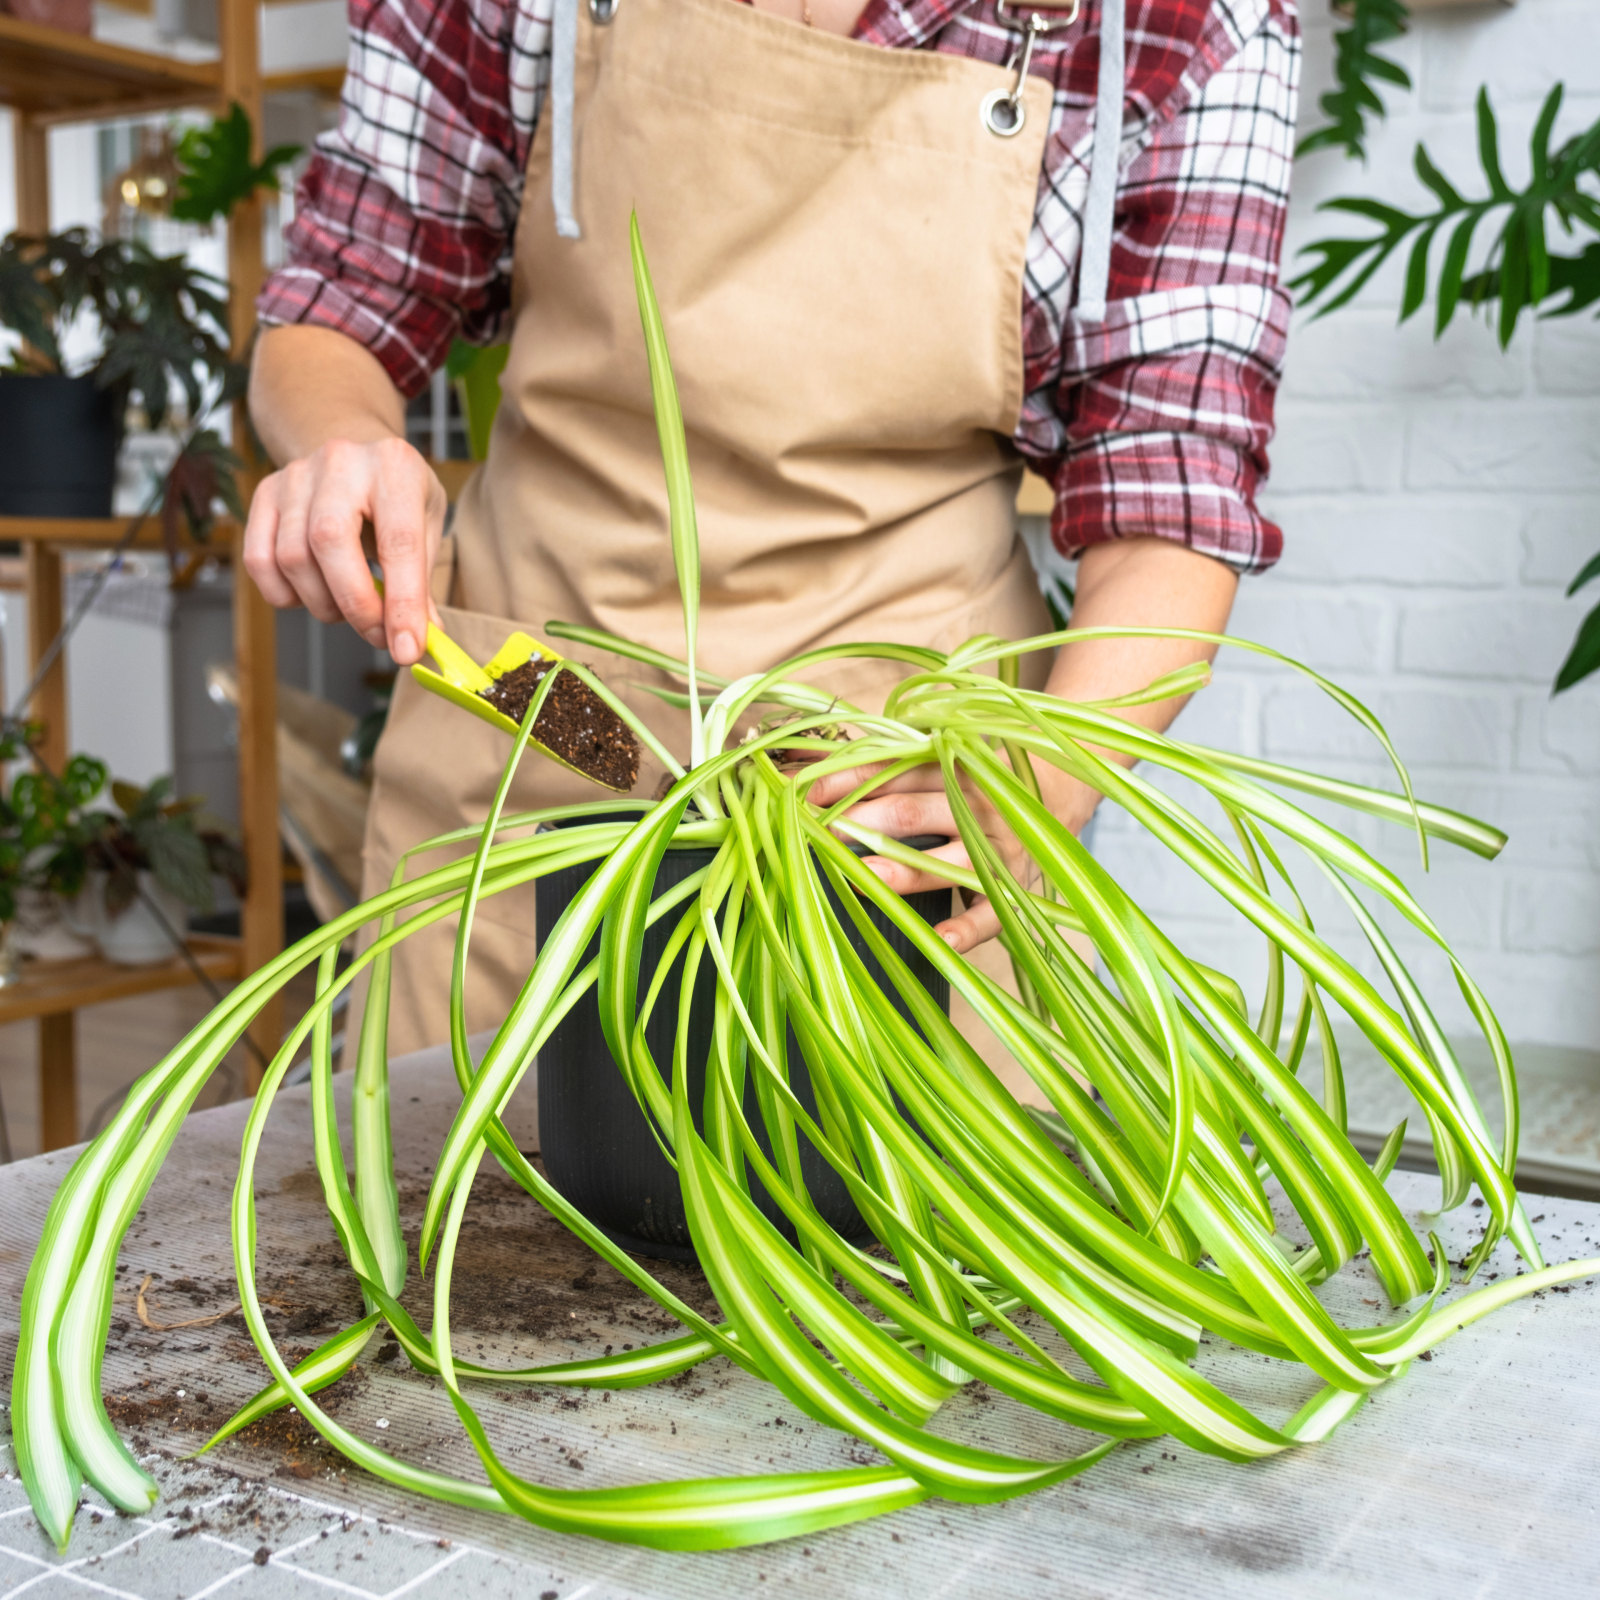
How do you repot a spider plant? Repotting a spider plant is fairly easy. You gently remove the plant from its current pot, rinse and trim its roots, then replant it in a larger pot. When you are moving spider plants to larger pots, make sure the new pots have good drainage holes. Spider plants don’t tolerate wet soil for very long. Use a general-purpose potting soil or soilless medium for spider plant repotting. Fill the bottom of the pot with soil, then place the plant’s roots in the soil. Keep adding soil and tucking it around the roots until all the roots are covered. Water the plant well and care as usual.
Gardening tips, videos, info and more delivered right to your inbox!
Sign up for the Gardening Know How newsletter today and receive a free copy of our e-book "How to Grow Delicious Tomatoes".

Teo Spengler is a master gardener and a docent at the San Francisco Botanical Garden, where she hosts public tours. She has studied horticulture and written about nature, trees, plants, and gardening for more than two decades. Her extended family includes some 30 houseplants and hundreds of outdoor plants, including 250 trees, which are her main passion. Spengler currently splits her life between San Francisco and the French Basque Country, though she was raised in Alaska, giving her experience of gardening in a range of climates.
-
 4 Superfast Composting Methods: Turn Waste Into Garden Gold In 30 Days Or Less
Try the fastest composting methods to turbocharge your pile and transform kitchen scraps and garden waste into finished compost in just a few weeks.
By Mary Ellen Ellis
-
 Best Spider Plant Soil – Complete Soil Guide And Expert Tips For Keeping Plants Happy
Spider plants are fun and easy plants to grow, but what is the best soil for a spider plant? Selecting the right soil is important so they can thrive.
By Bonnie L. Grant