Swedish Ivy Care: How To Grow A Swedish Ivy Houseplant

Swedish ivy (Plectranthus australis) is a popular hanging basket houseplant native to northern Australia and the Pacific Islands. The plant is favored for its lovely trailing habit. Also known as Swedish begonia and creeping charlie (not to be confused with the creeping charlie weed), many gardeners incorporate this ivy as an annual into containers or use it as a groundcover in the garden.
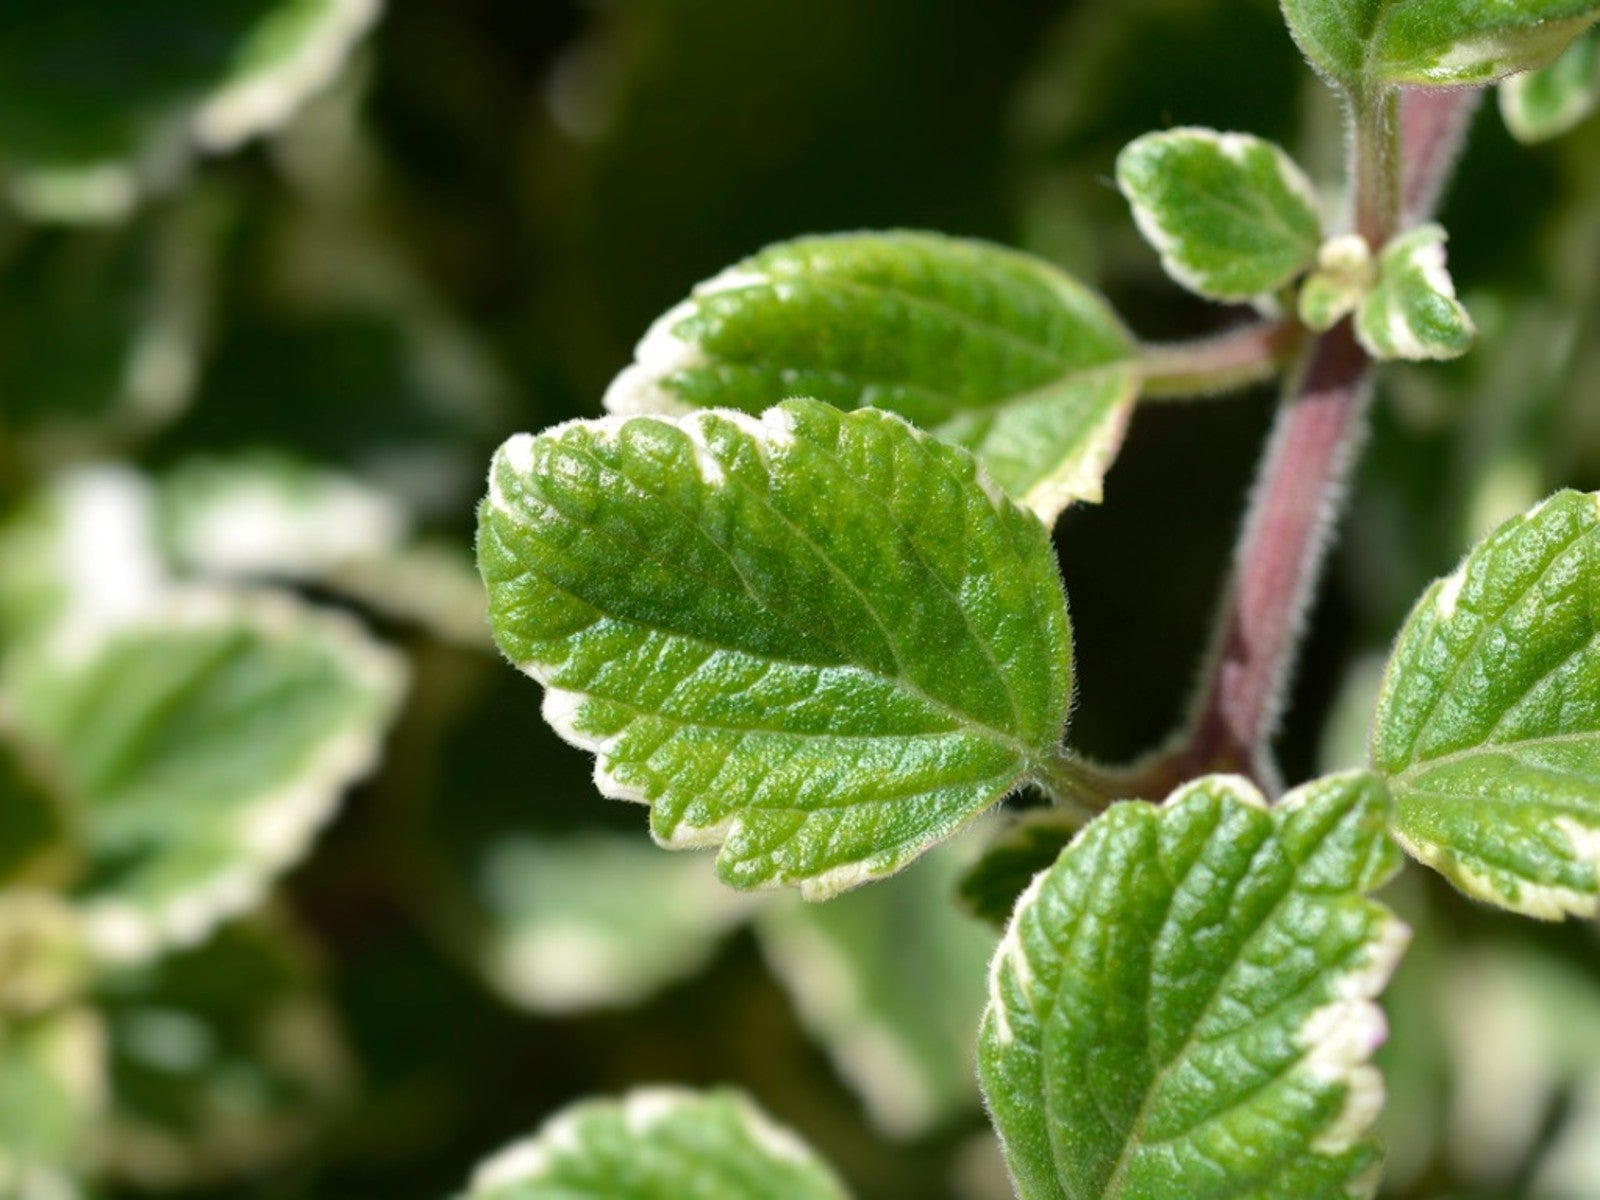
Leaves on a growing Swedish ivy plant are glossy with scalloped edges. Tubular mauve to white flowers appear in spring throughout summer but these are not nearly as showy as the dramatic foliage. The easy care of Swedish ivy houseplants make them great for even the most novice of gardeners.
How to Grow a Swedish Ivy Houseplant
Learning how to grow a Swedish ivy houseplant is not at all difficult. In fact, growing Swedish ivy plant indoors is an excellent project for beginner gardeners. Swedish ivy does best in a light and loamy potting mix with some perlite mixed in to help with drainage.
The plant will thrive in a location that receives bright, indirect light all year long. Given these conditions, this plant will grow very rapidly with little Swedish ivy care or maintenance being necessary.
Care of Swedish Ivy Houseplants
Swedish ivy care involves keeping a constant room temperature between 60 and 75 degrees F. (16-24 C.) year-round. Water the ivy once a week and be sure to allow the soil to dry out slightly between waterings. Good drainage is necessary, so do not let the ivy sit in water.
Feed Swedish ivy plants once every two weeks during the spring and summer and once a month during the fall and winter. Use a complete liquid houseplant fertilizer and follow the directions. Pinch off vine tips after flowering to keep the plant from becoming too leggy. Repot Swedish ivy every two or three years.
Propagating Swedish Ivy
The best way for propagating Swedish ivy is through cuttings. Be sure to cut a healthy stem section with a crown of leaves on the end. Remove the lower ends of the foliage to expose a bare stem. Dip the cutting in rooting hormone and place in a container prepared with potting medium.
Gardening tips, videos, info and more delivered right to your inbox!
Sign up for the Gardening Know How newsletter today and receive a free copy of our e-book "How to Grow Delicious Tomatoes".
For best root development, place the cuttings in indirect sunlight. Spray cuttings frequently with water or place clear plastic over the pot to retain moisture and humidity. Roots should form in three weeks with new plants forming from the base. Transplant individual plants and discard the old leaf.
-
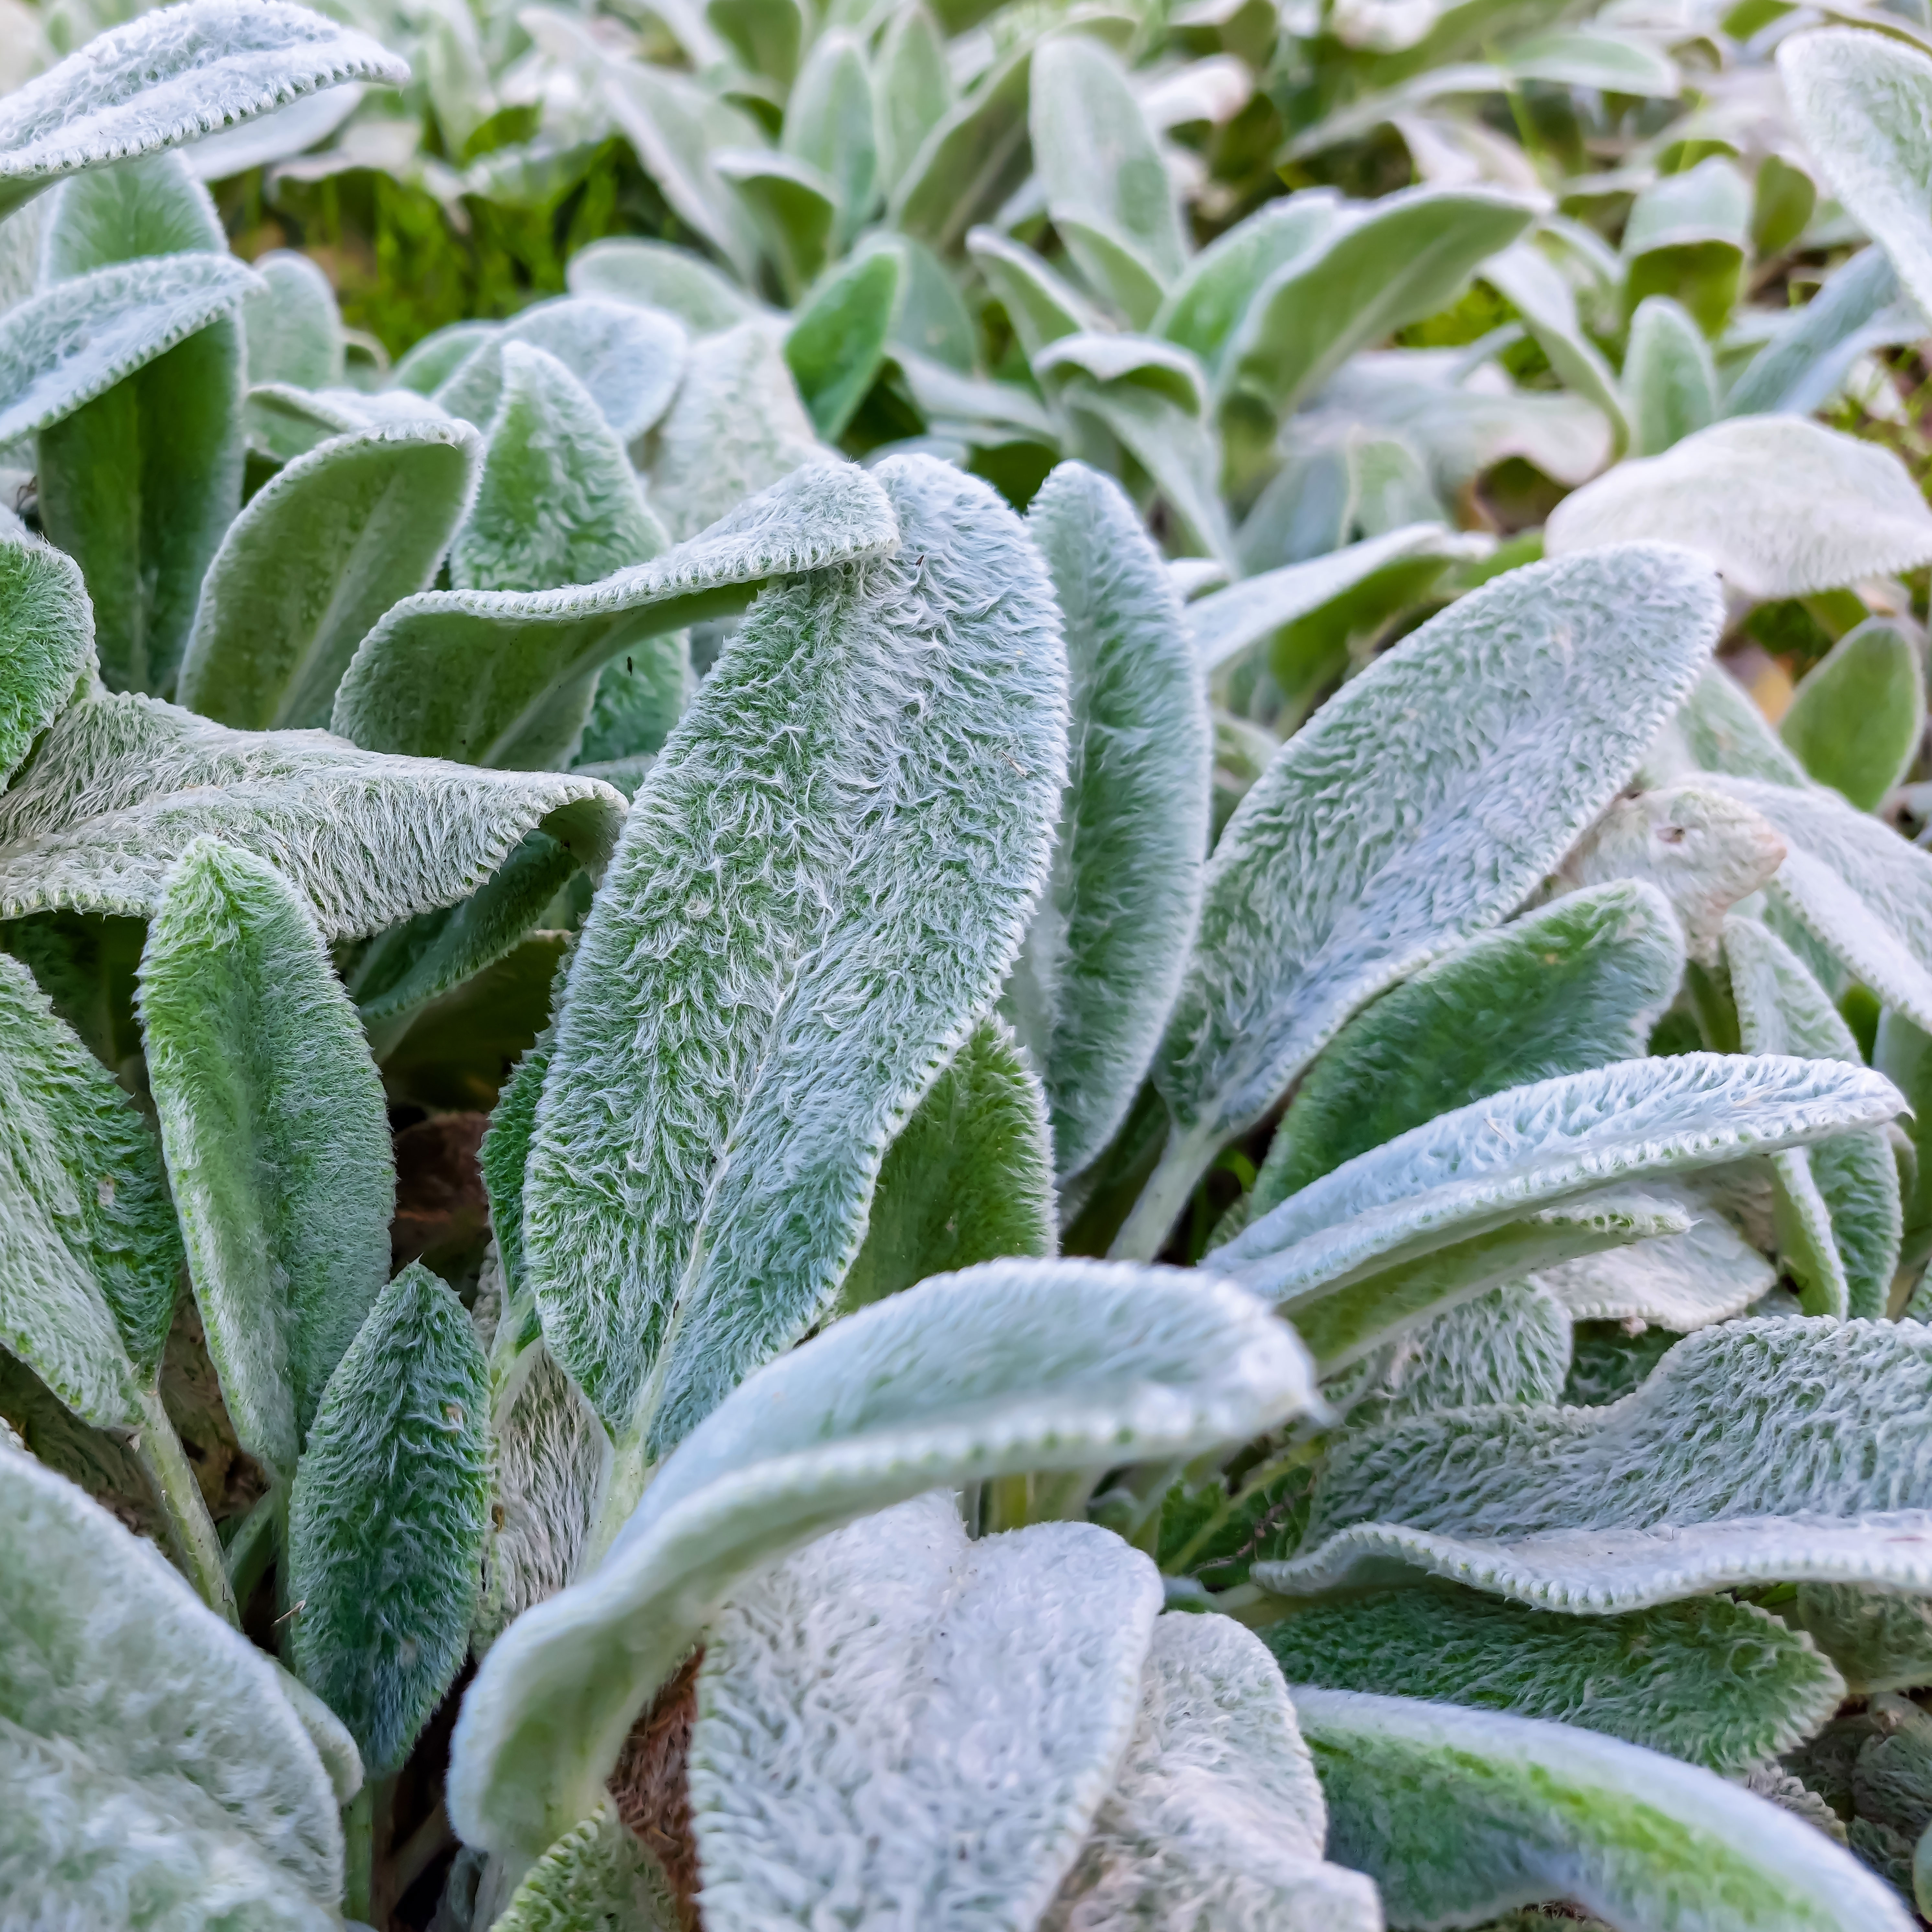
 Looking For Plants To Give You The Soft And Fuzzies? Try These 5 Fuzzy Leaf Plant Options
Lovers of texture, drama, silver foliage and tactile plants will adore these special sensory garden additions. These fuzzy leaf plant options will leave you all aglow
By Susan Albert
-
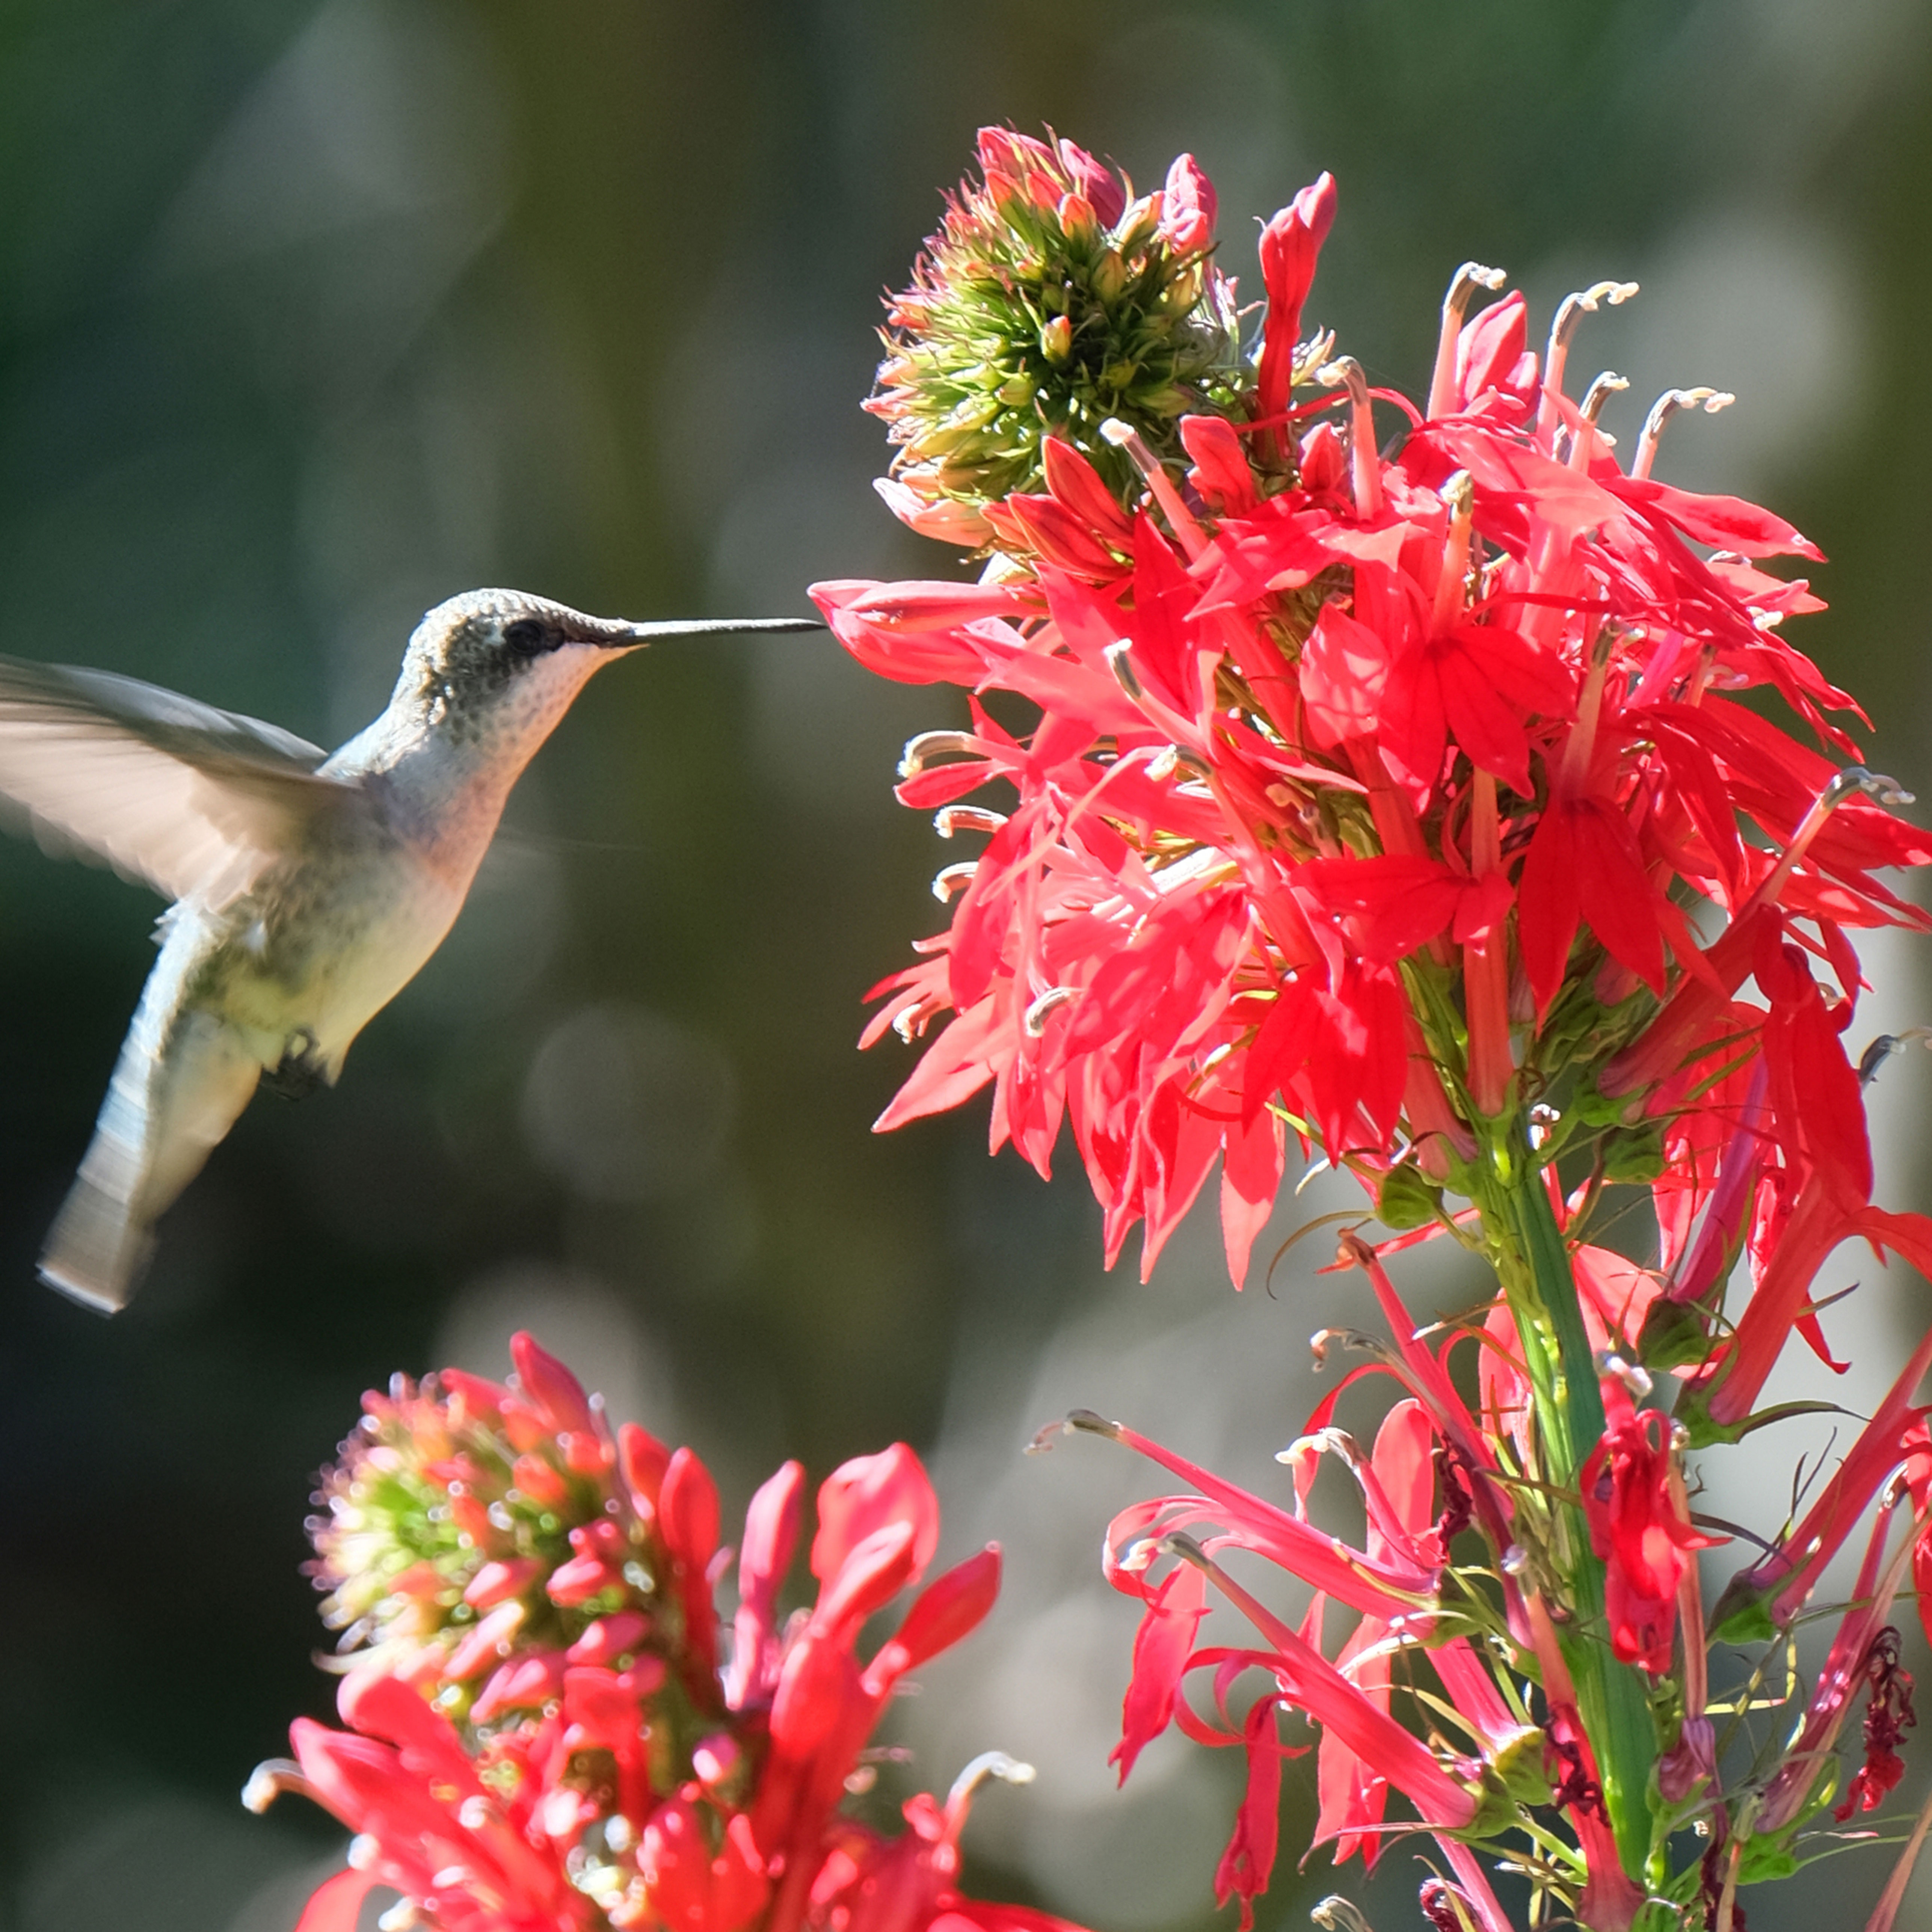
 Get Ready For A Summer Of Hummers! Grow These Full Sun Hummingbird Plants and Flowers
If you’re lucky enough to enjoy a sunny backyard, make sure you are maxing out on your pollinator opportunities and grow these full sun hummingbird plants and flowers
By Tonya Barnett