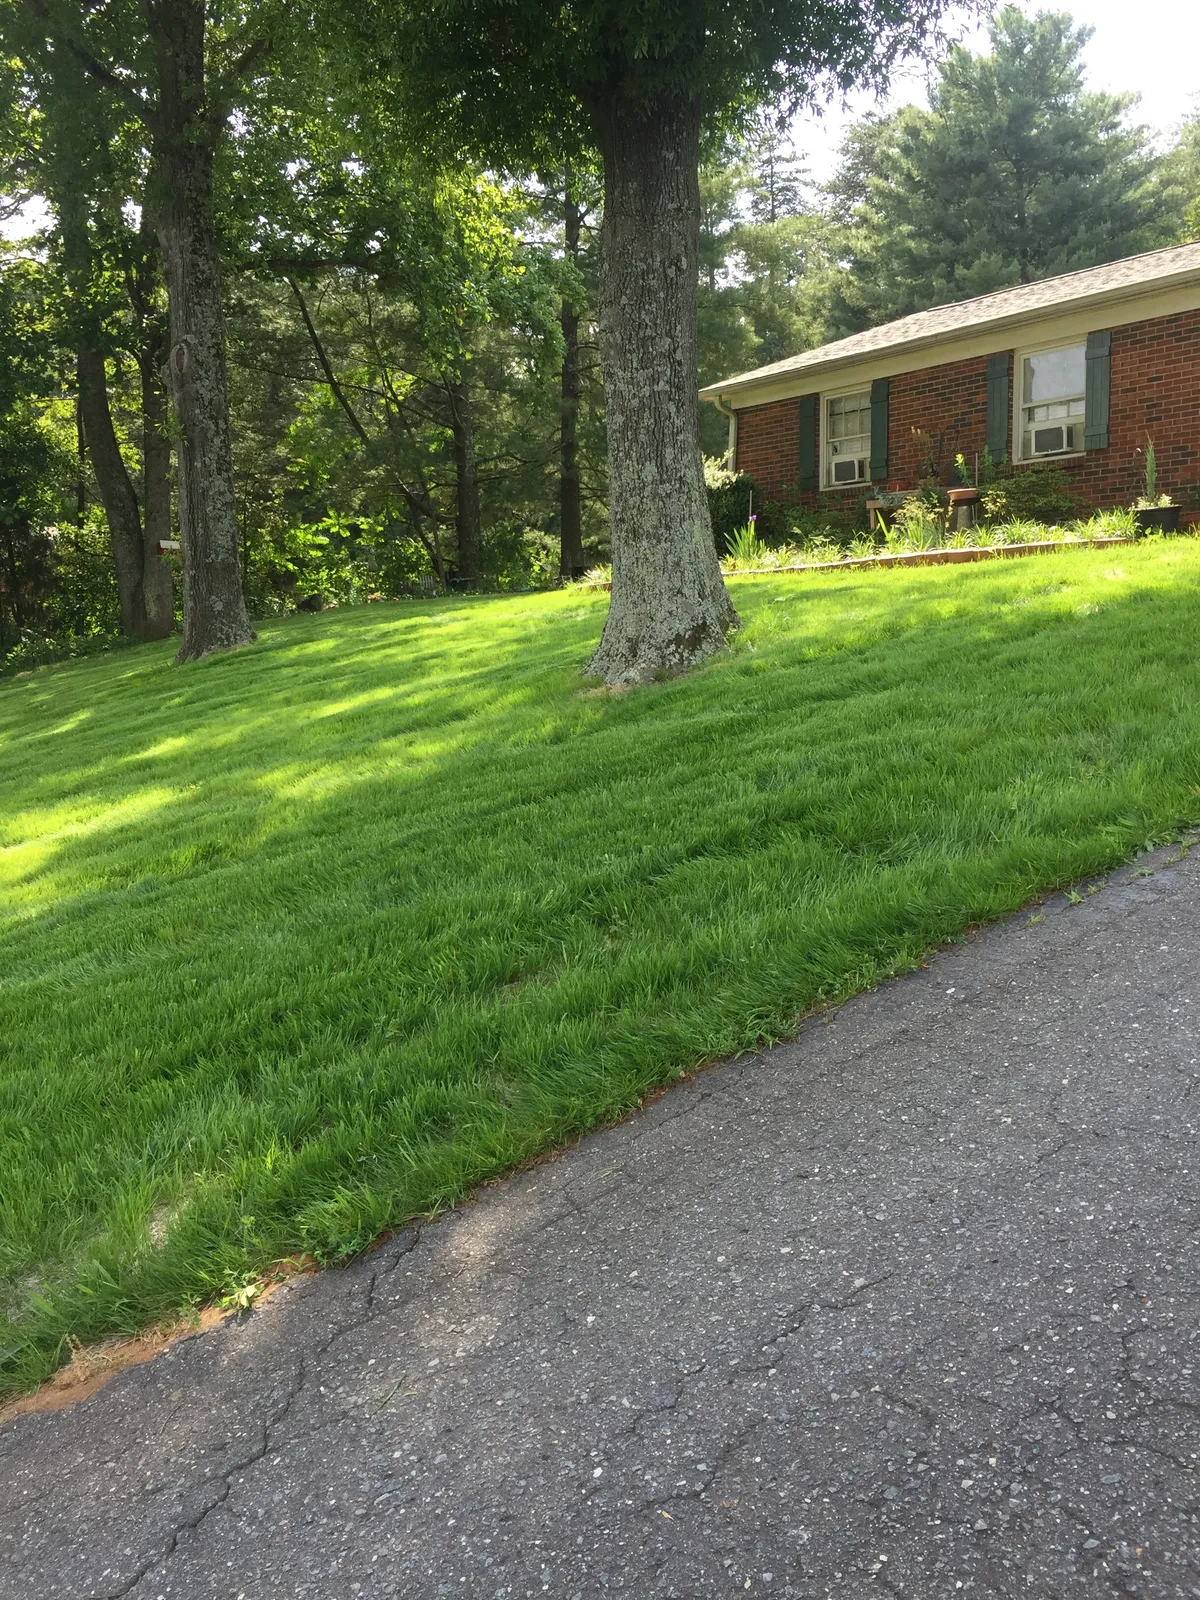

If you live in a hilly area, your property may have one or more steep slopes. As you've probably discovered, getting grass on a hill is not an easy matter. Even a moderate rain can wash the seed away, erosion leaches nutrients from the soil, and winds can dry out and compact the earth. Although growing grass on a slope is difficult, it's not impossible.
What Defines Steep Sloping Lawns?
Steep sloping lawns are those that have a grade of 20% or more. A 20% grade rises one foot (31 cm.) in height for every 5 feet (1.5 m.) of distance. To put this into perspective, it's dangerous to mow horizontally with a riding tractor on slopes with a 15% or greater grade. At this angle, tractors can overturn.
In addition to mowing issues, growing grass on a slope becomes more difficult as the grade becomes steeper. Homeowners with grades over 50% would be best to consider ground covers or building low walls to create a terraced yard.
How to Grow Grass on Slopes
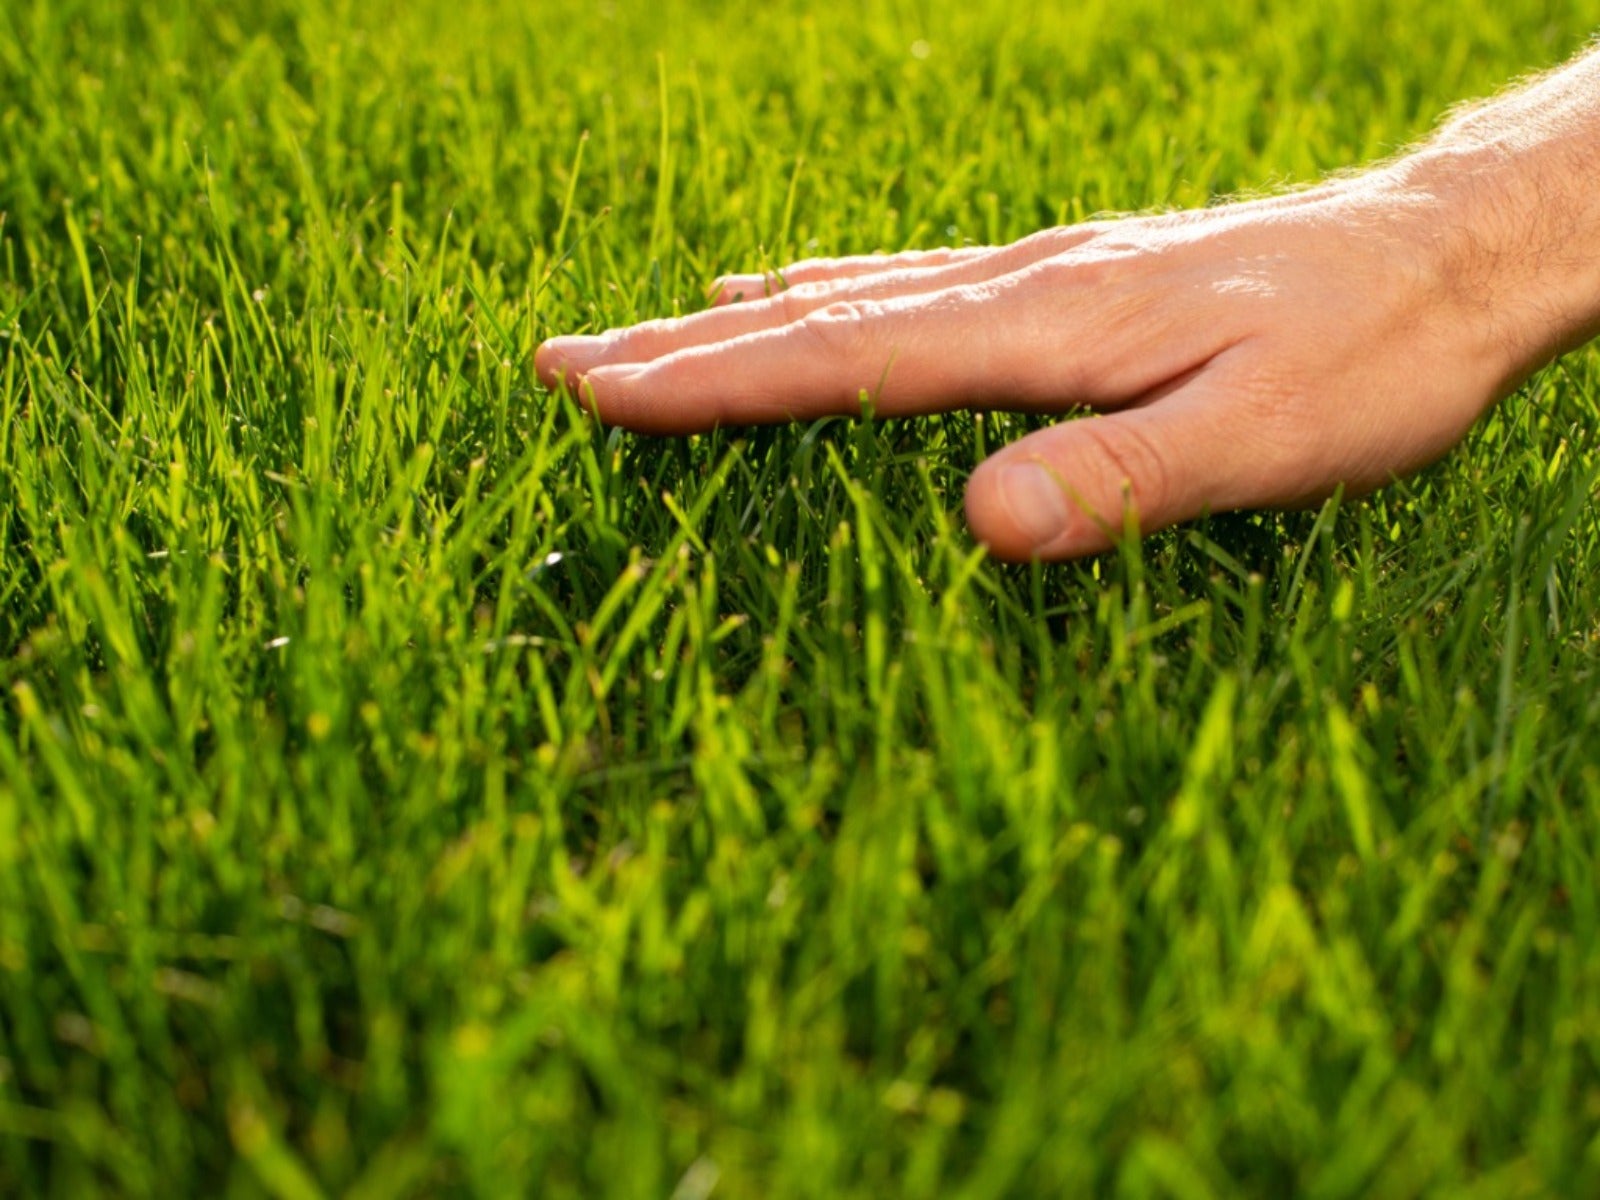
The process of planting grass on sloping lawns is basically the same as seeding a level lawn area. Start by picking a grass seed that's suitable for the growing conditions, such as a full sun or dense shade grass mix. Prepare the soil, spread the seed, and keep it watered until established. When growing grass on a slope, these additional tips can improve your success:
- Grade the area. Before planting, grade to create a gentle slope at the top and bottom of the hill. This prevents scalping the top and leaving high grass at the bottom when mowing.
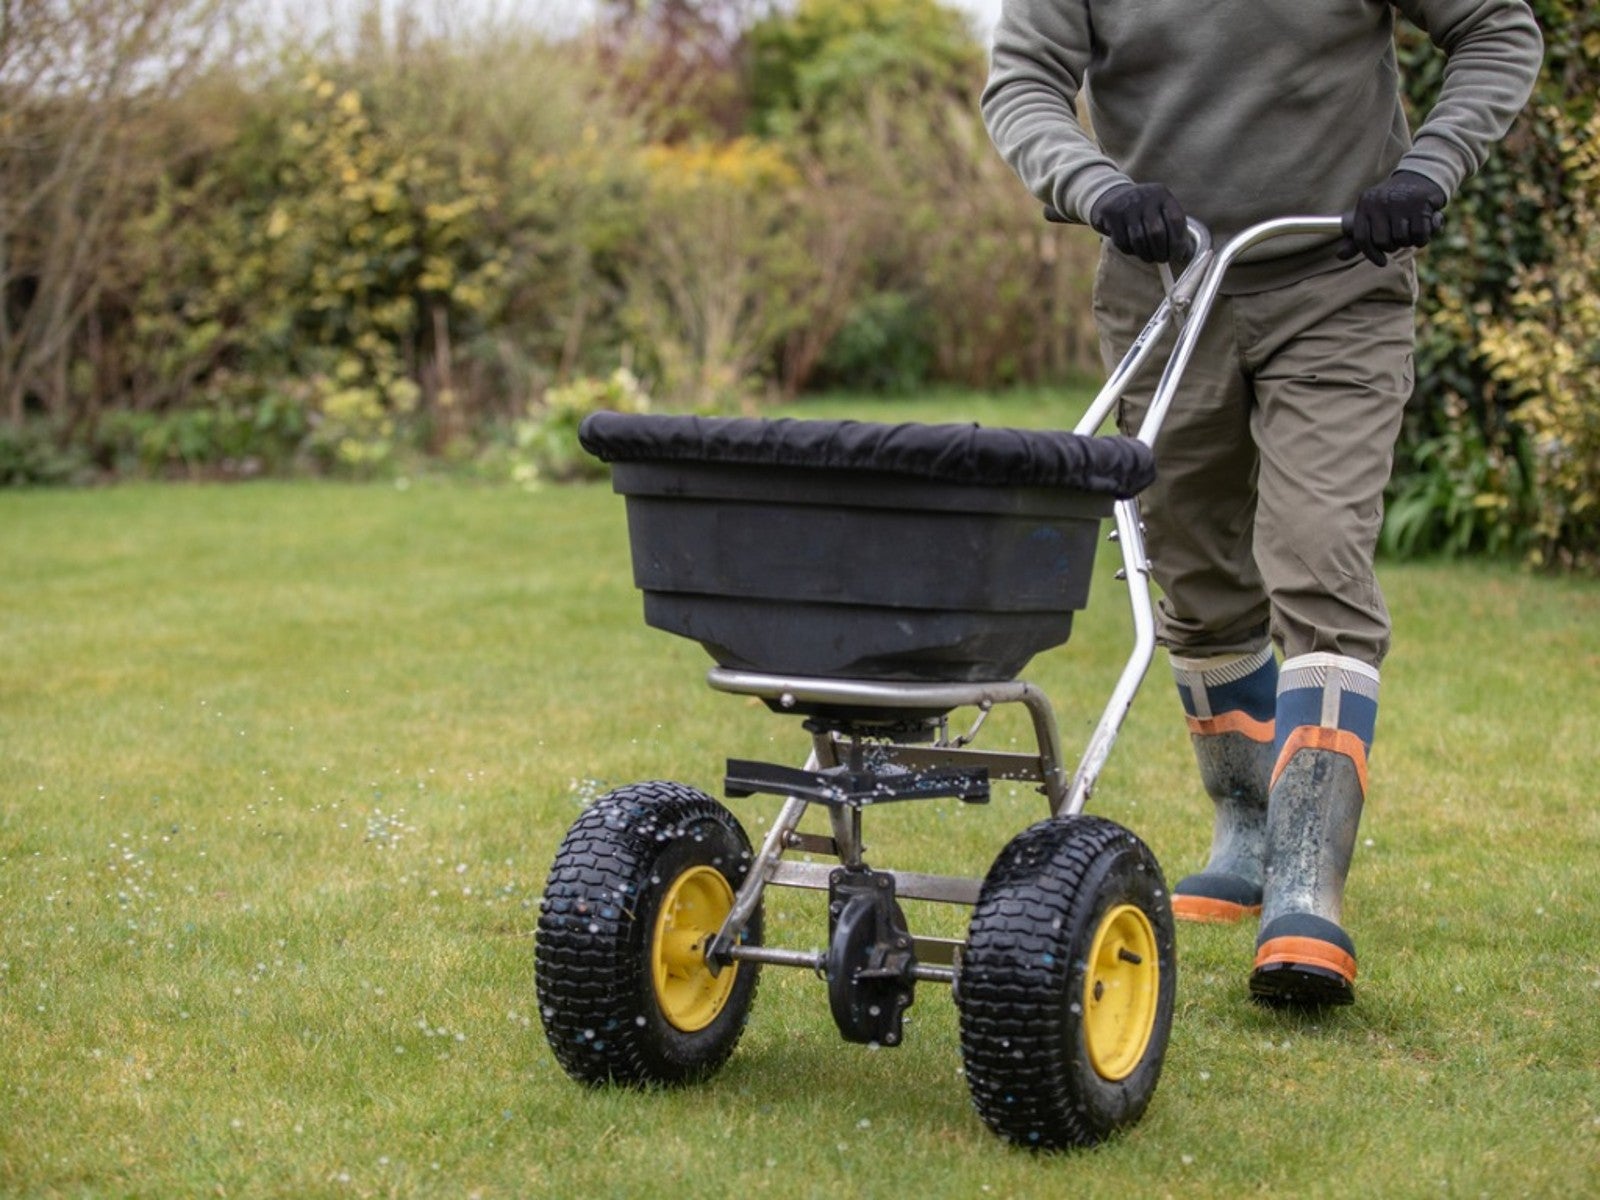
- Condition your soil. Prep soil before planting by incorporating fertilizer and adding lime if needed. This will help grass seedlings become established quicker.
- Consider using a deep-rooted grass for hillsides. Species such as buffalo grass and creeping red fescue are better suited for the environmental conditions found on sloping lawns.
- Try mixing seeds with soil. Mix the seed with small amounts of soil and compact to prevent the seed from washing away during rainstorms. The recommended ratio is 2 parts seed to 1 part dirt.
- Protect the seed by covering with straw. On steeper slopes use mesh fabric, coarse cheesecloth, or burlap to hold the seed in place. Anchor these fabrics to keep them from slipping.
- Consider runoff. Redirect runoff by building a temporary wood wall with lumber and wood stakes at the top edge of the seeded area.
- On slopes less than 25%, use a slit or slice seeder. The grooves made by the seeder will help hold the seed in place.
- Try hydroseeding. This method uses a sprayer to deliver seed, mulch, fertilizer, and a bonding agent that sticks the mixture to the surface of the ground.
- Install seed blankets. Available at big box home improvement stores, these biodegradable blankets contain seed, fertilizer, and protective covering. Roll them out, tack them down, and water.
- Consider using sod. Laying sod is said to establish quicker than seed. Use wooden stakes to keep the sod from sliding downhill. The stakes will eventually rot, but not until the sod has rooted.
- Use sprigs or plugs. Both sprigs (live roots) and plugs (small plants) are more expensive than seeding and take longer to fill in the area but work well.
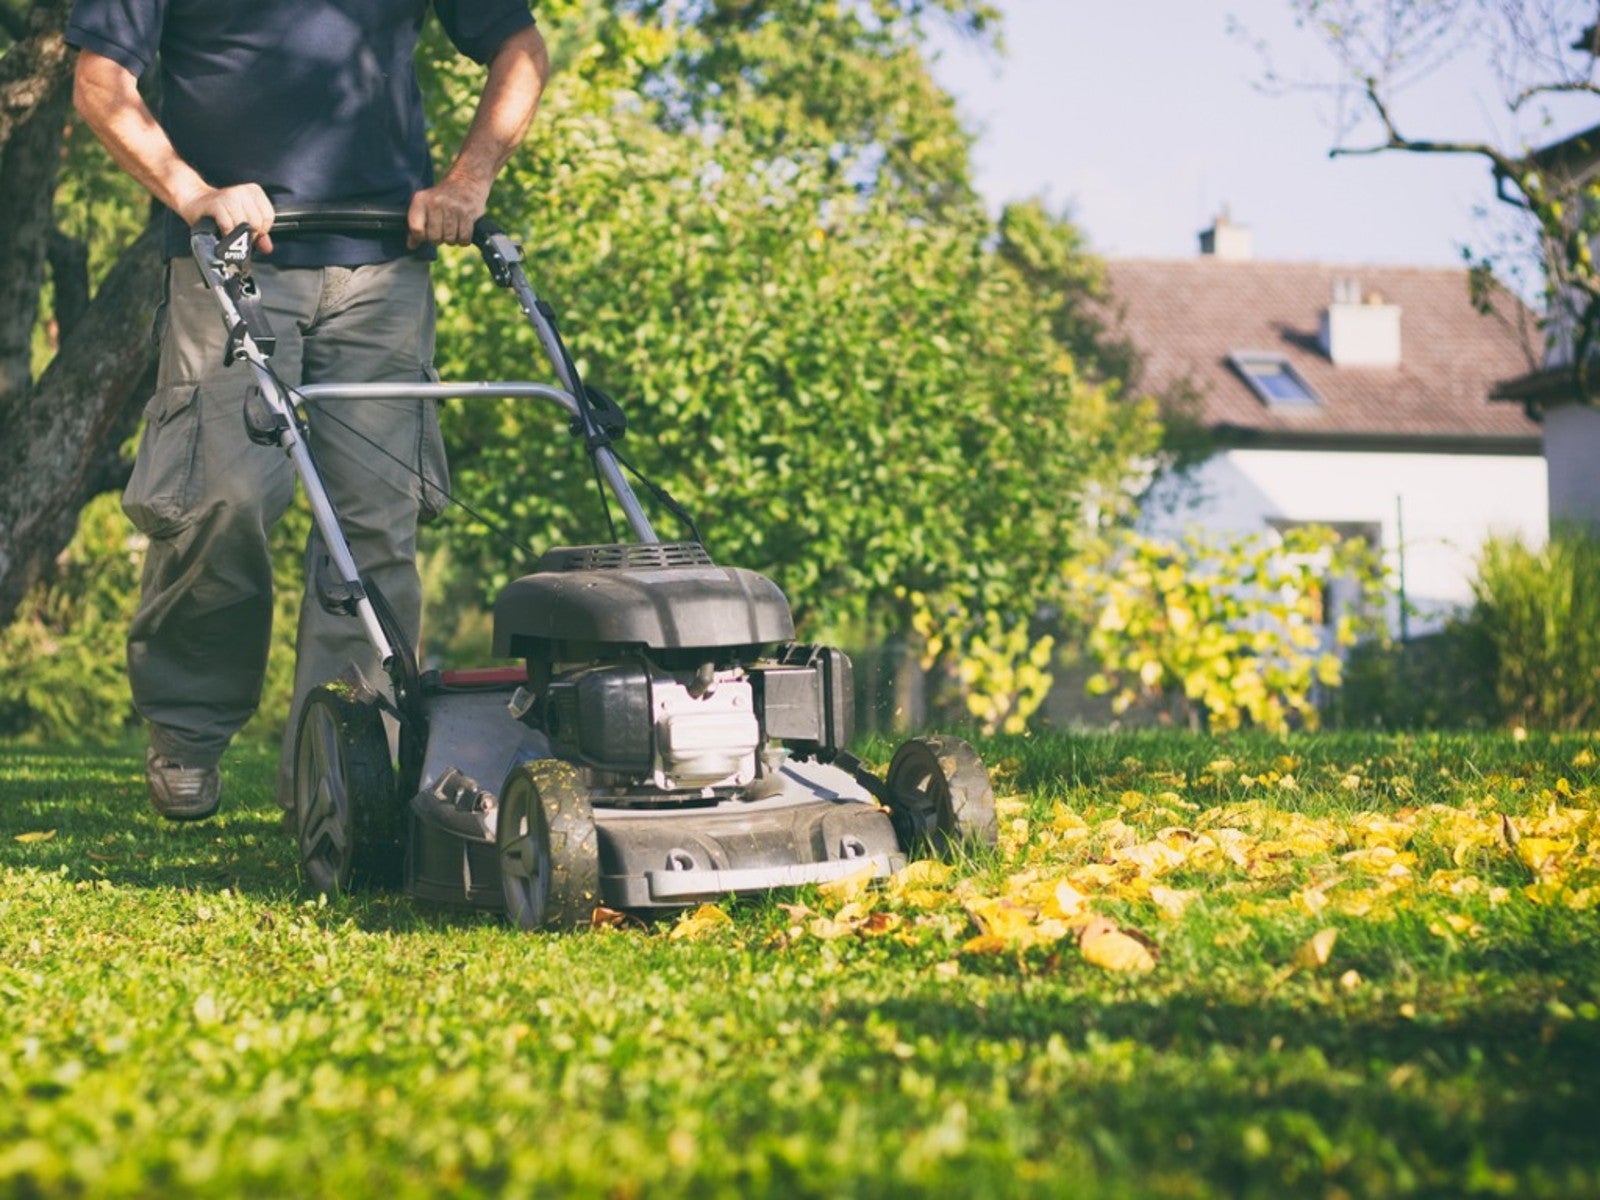
Finally, protecting the new grass will ensure its viability. Water during dry spells, aerate as needed, and set the mower on its highest setting to avoid damage caused by cutting the grass too short.
-
 Terrifically Tubular Flowers For Hummingbirds: 9 Tube-Flowered Plants To Attract Hummers
Growing tubular flowers for hummingbirds helps you create the optimum feeding conditions for your winged friends. Here are nine tubed delights for hummers
-
 How To Grow Hydroponic Tomatoes For Fresh Indoor Harvests – No Soil Required
Learning how to grow tomatoes in water is easy and allows you to harvest fresh-home-grown produce in every season without any mess.


-
 Sustainable Turf Species For A Greener Lawn
Click here for some of the most sustainable types of turf grass you can grow for an eco-friendly lawn.
-
 How To Grow A Sustainable Lawn
Adjust your thinking about a perfect green lawn and consider more sustainable methods. Click here to learn how.
-
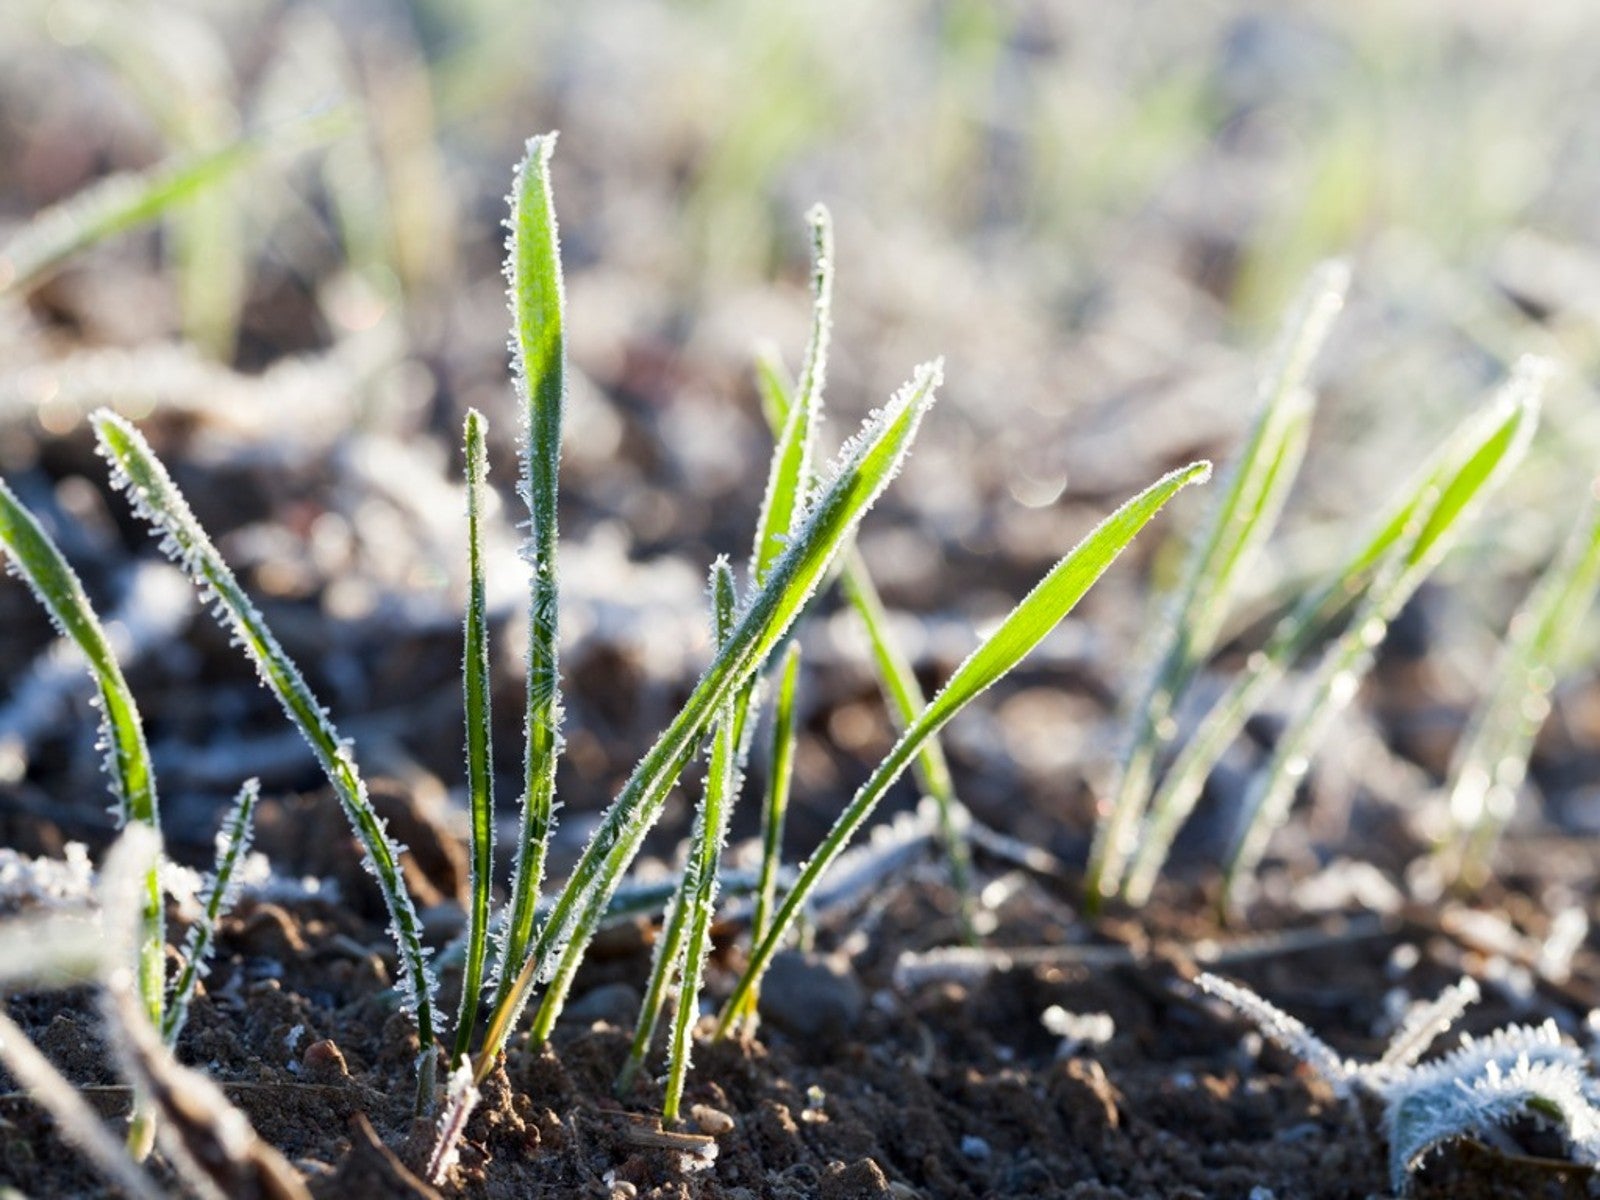 Will Frost Kill Grass Seed And How To Help New Turf Survive
Learn how to help your newly sown grass survive frost and freezing weather.
-
 Lawn Problems That Aren’t Really Problems
Your lawn may not require as much work as you think. Learn which common problems aren’t really problems.
-
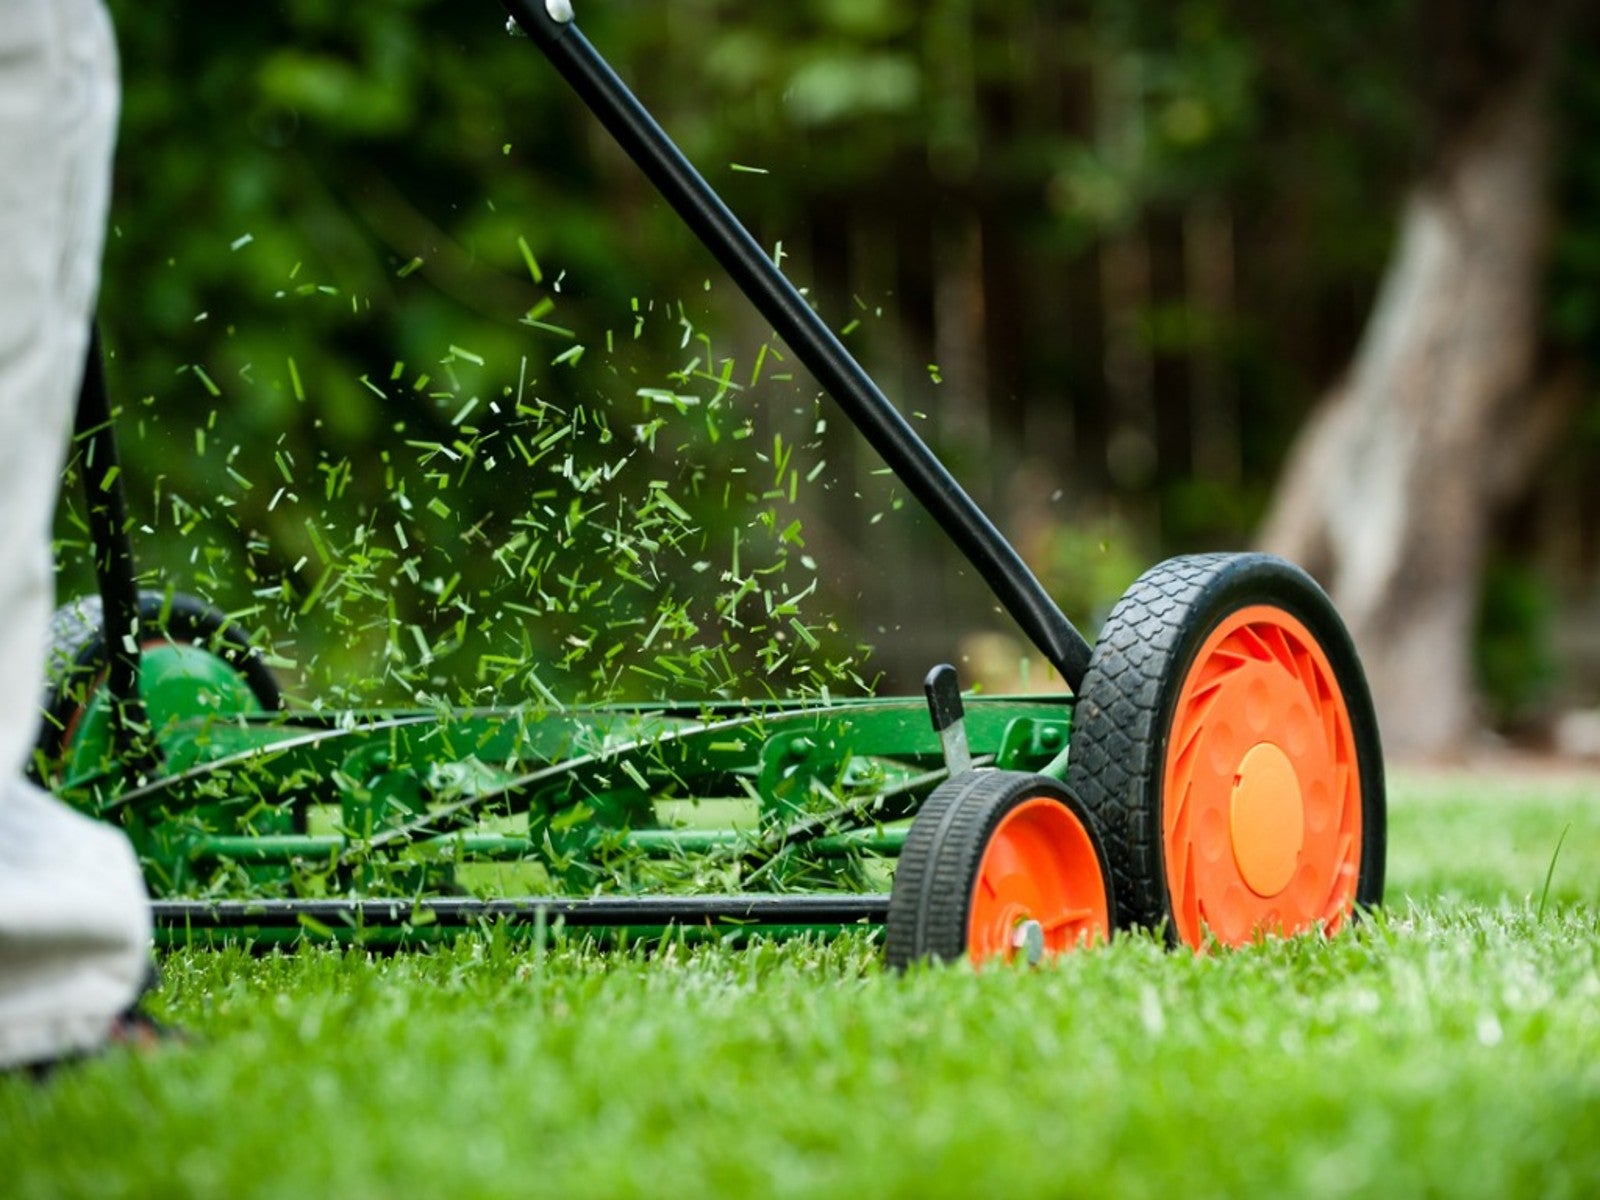 Why A Manual Push Mower Is Good For You And The Environment
Reel mowers are making a comeback, but why? Click here to learn about reel mower pros and cons.
-
 Fertilize Grass In Fall For A Lush Lawn In Spring
For everything you need to know about fertilizing your lawn in the fall, click here.
-
 Tips For Mowing Stripes In Lawn
Wouldn’t it be great to have stripes in your lawn like a sports field? Learn how here.
-
 Late Summer Lawn Care Checklist
Plan to do some late summer care and maintenance of your lawn so it will be healthy and beautiful in the spring. Here are some tips.


