Laying Fake Turf: Tips On How To Lay An Artificial Lawn


What is artificial grass? It’s a great way to maintain a healthy-looking lawn without watering. With a onetime installation, you avoid all the future costs and hassles of irrigation and weeding. Plus, you get the guarantee that your lawn will look good no matter what. Keep reading for more information on installing artificial grass.
Artificial Lawn Installation
The first thing you want is a clear, level area. Remove any existing grass or vegetation, as well as 3 to 4 inches (8-10 cm.) of topsoil. Pry out any rocks you may find and remove or cap any sprinkler heads in the area. Apply a base layer of crushed stone for lasting stability. Compact and smooth your base layer with a vibrating plate or roller. Give the area a slight grade, sloping away from your house to improve drainage. Next, spray a weed killer and roll out a fabric weed barrier. Now your area is ready for artificial lawn installation. Make sure the area is completely dry before you proceed.
Information for Installing Artificial Grass
Now it’s time for installation. Artificial grass is usually sold and delivered in rolls. Unroll your grass and leave it flat on the ground for at least two hours, or overnight. This acclimation process allows the turf to settle and prevents future creasing. It also makes it easier to bend and work with. Once acclimated, position it in roughly the layout you want, leaving a few inches (8 cm.) of leeway on each side. You will notice a grain to the turf-- make sure it’s flowing in the same direction on each piece. This will make the seams less noticeable. You should also point the grain so it’s flowing in the direction most often viewed, as this is the direction it looks best from. Once you’re satisfied with the placement, start securing the turf with nails or landscape staples. In places where two sheets of turf overlap, cut them so that they meet flush with each other. Then fold both sides back and lay down a strip of seaming material along the space where they meet. Apply a weather resistant adhesive to the material and fold the turf sections back over it. Secure both sides with nails or staples. Cut the edges of the turf to the shape you want. To keep the turf in place, lay a decorative border around the outside or secure it with stakes every 12 inches (31 cm.). Finally, fill the turf to give it weight and keep the blades upright. Using a drop spreader, deposit the in-fill of your choice evenly over the area until no more than ½ to ¾ inch (1 cm.) of grass is visible. Spray the whole area with water to settle the in-fill.
Gardening tips, videos, info and more delivered right to your inbox!
Sign up for the Gardening Know How newsletter today and receive a free copy of our e-book "How to Grow Delicious Tomatoes".

The only child of a horticulturist and an English teacher, Liz Baessler was destined to become a gardening editor. She has been with Gardening Know how since 2015, and a Senior Editor since 2020. She holds a BA in English from Brandeis University and an MA in English from the University of Geneva, Switzerland. After years of gardening in containers and community garden plots, she finally has a backyard of her own, which she is systematically filling with vegetables and flowers.
-
 Moody Blooms For Spring: 8 Types Of Black Flowers To Add Drama To Spring Displays
From midnight burgundies to inky violets, several types of black flowers can enrich and embolden a spring display. Try these brooding bloomers for a moody garden
By Tonya Barnett
-
 Can Snake Plants Live Outside? Everything You Need To Know For Snake Plants Al Fresco
Snake plants can live outside given the right conditions, but be careful that they don't take over! Learn the best way to use snake plants in your landscape.
By Mary Ellen Ellis
-
 Sustainable Turf Species For A Greener Lawn
Click here for some of the most sustainable types of turf grass you can grow for an eco-friendly lawn.
By Bonnie L. Grant
-
 How To Grow A Sustainable Lawn
Adjust your thinking about a perfect green lawn and consider more sustainable methods. Click here to learn how.
By Mary Ellen Ellis
-
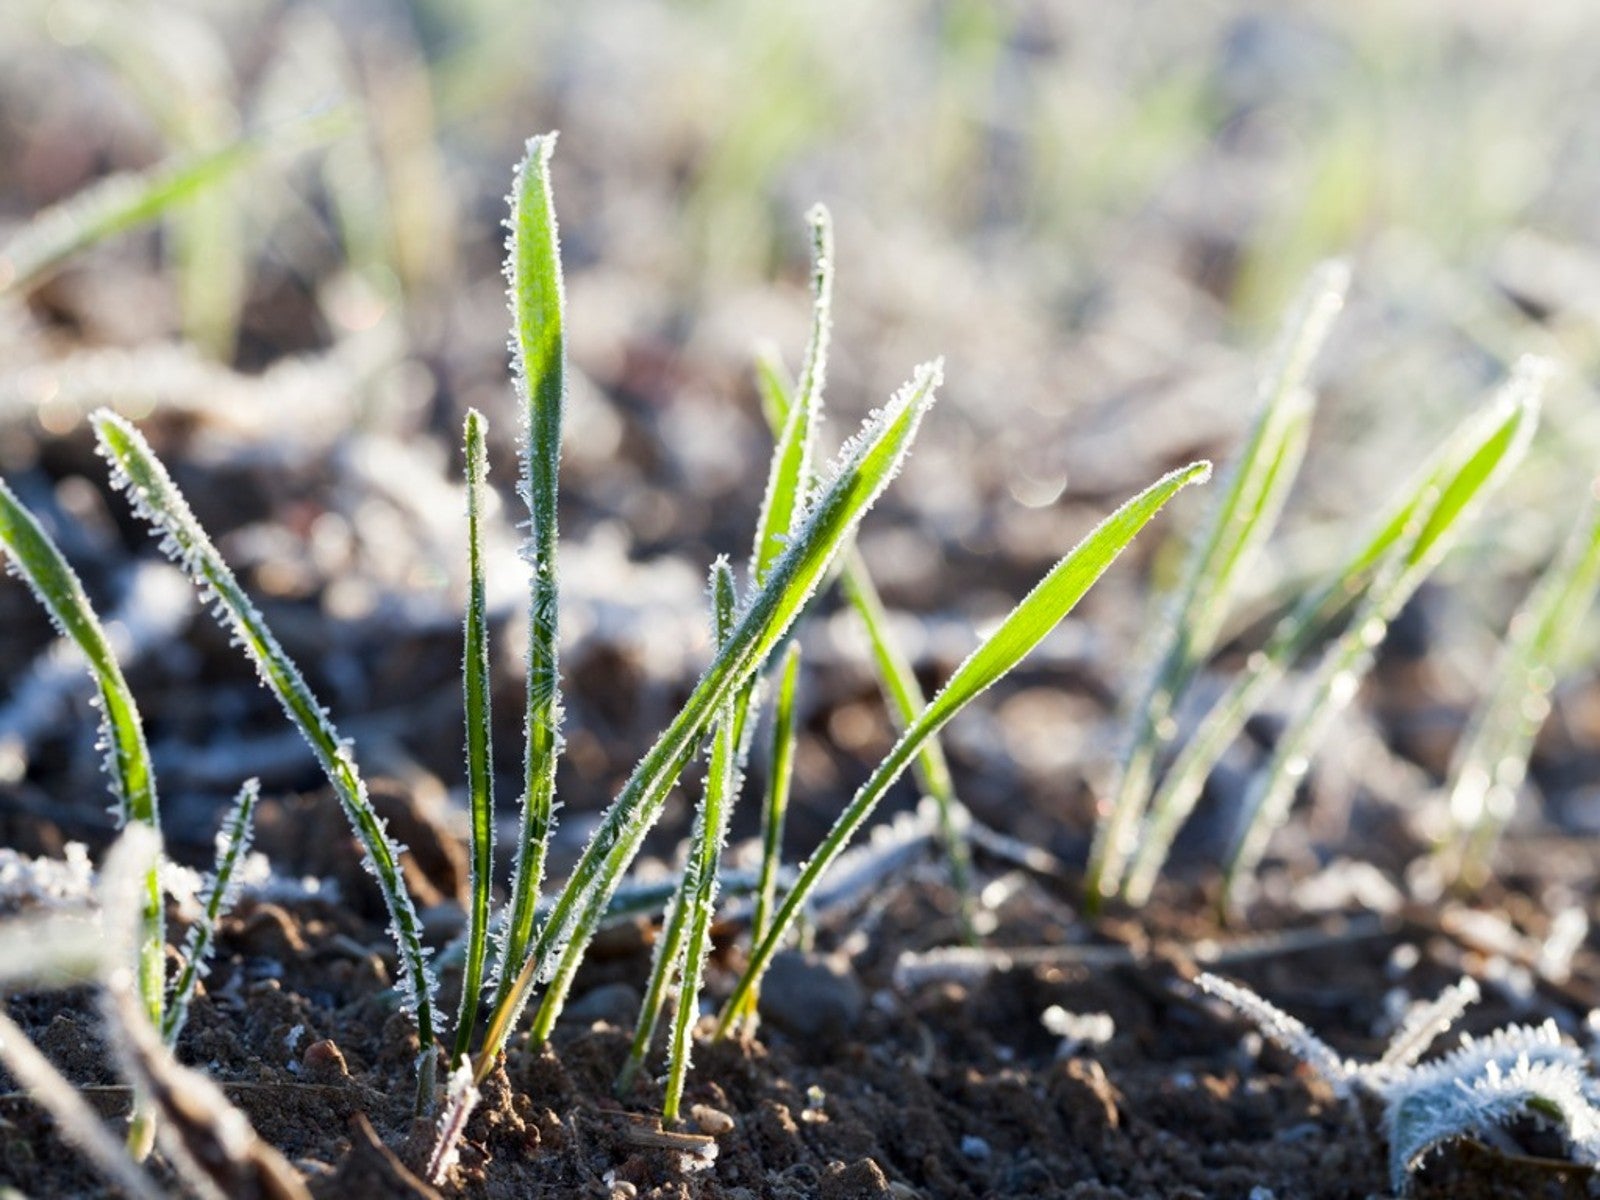 Will Frost Kill Grass Seed And How To Help New Turf Survive
Learn how to help your newly sown grass survive frost and freezing weather.
By Amy Grant
-
 Lawn Problems That Aren’t Really Problems
Your lawn may not require as much work as you think. Learn which common problems aren’t really problems.
By Teo Spengler
-
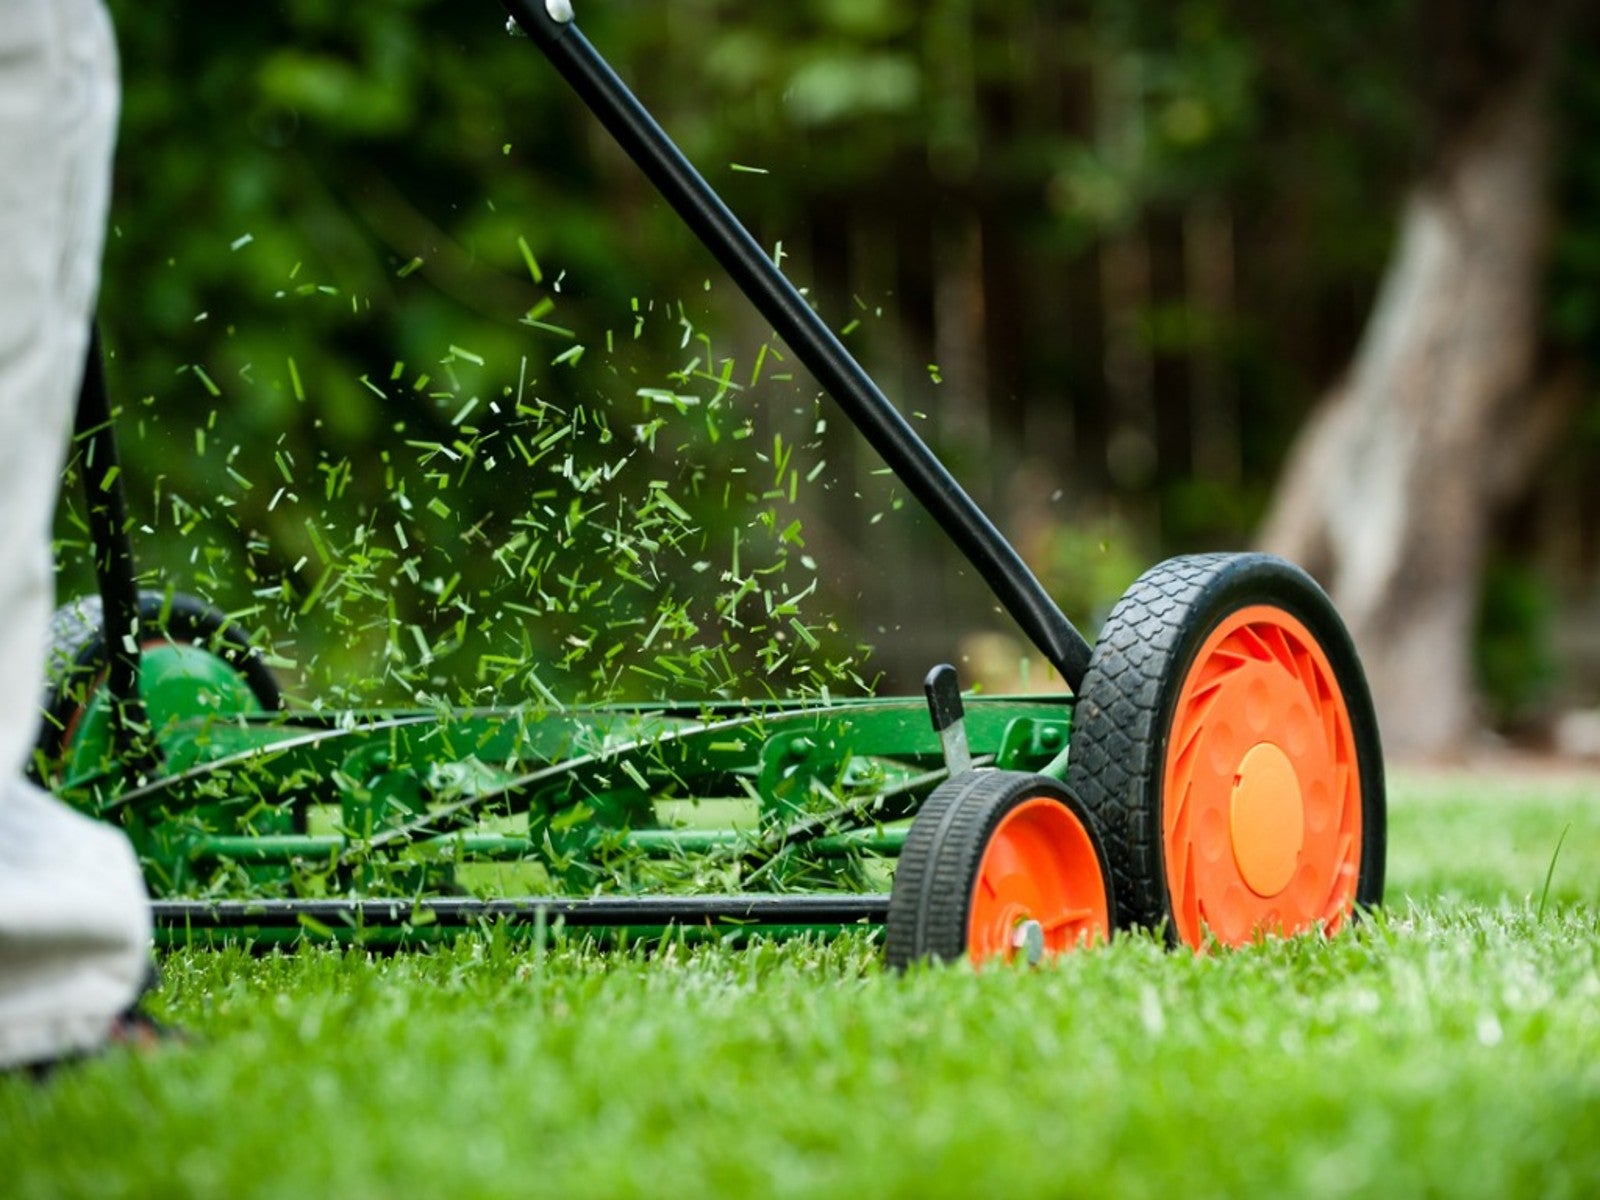 Why A Manual Push Mower Is Good For You And The Environment
Reel mowers are making a comeback, but why? Click here to learn about reel mower pros and cons.
By Amy Grant
-
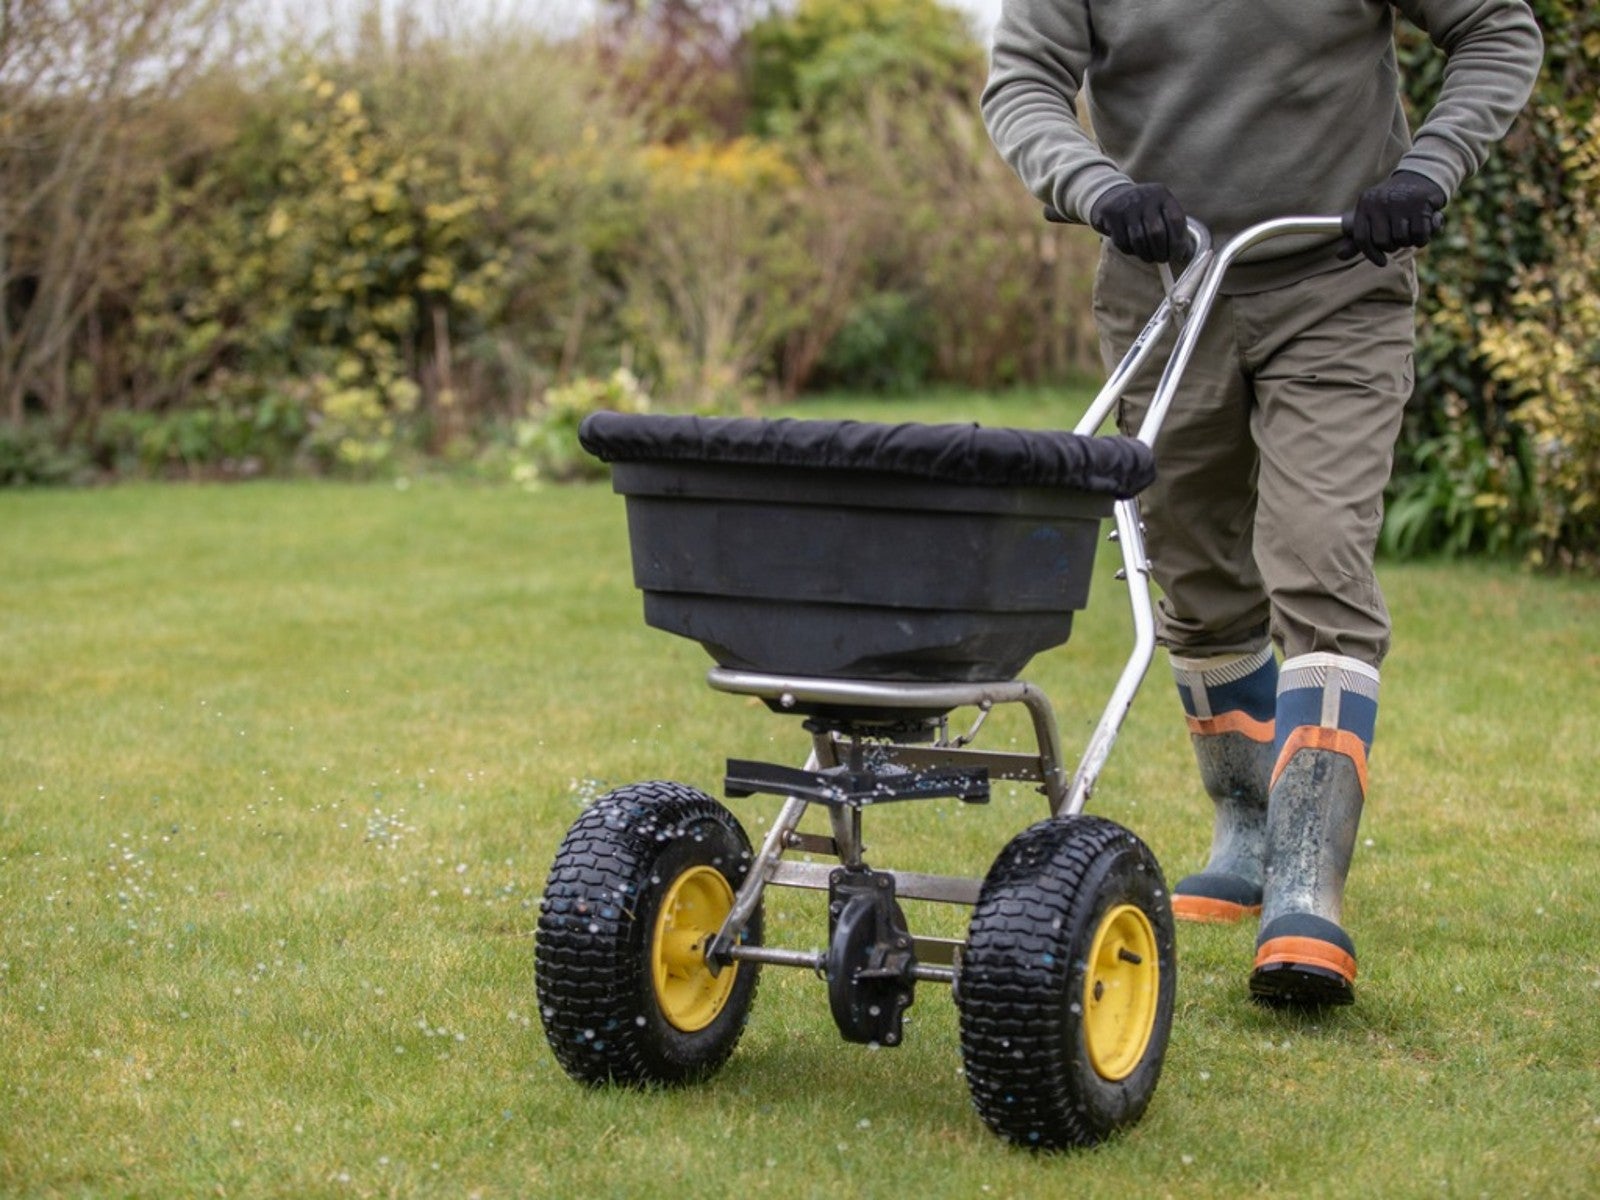 Fertilize Grass In Fall For A Lush Lawn In Spring
For everything you need to know about fertilizing your lawn in the fall, click here.
By Susan Albert
-
 Tips For Mowing Stripes In Lawn
Wouldn’t it be great to have stripes in your lawn like a sports field? Learn how here.
By Susan Albert
-
 Late Summer Lawn Care Checklist
Plan to do some late summer care and maintenance of your lawn so it will be healthy and beautiful in the spring. Here are some tips.
By Laura Miller