Know Your Ornamental Onions: How to Grow Alliums for Effortlessly Elegant Showstoppers
High on visual acrobatics yet delightfully low maintenance, you’ll be amazed how simple it is to grow alliums that transform the smallest gardens into living art installations. Here’s how to cultivate easy wins that are big on impact

Amy Draiss
Sign up for the Gardening Know How newsletter today and receive a free copy of our e-book "How to Grow Delicious Tomatoes".
You are now subscribed
Your newsletter sign-up was successful
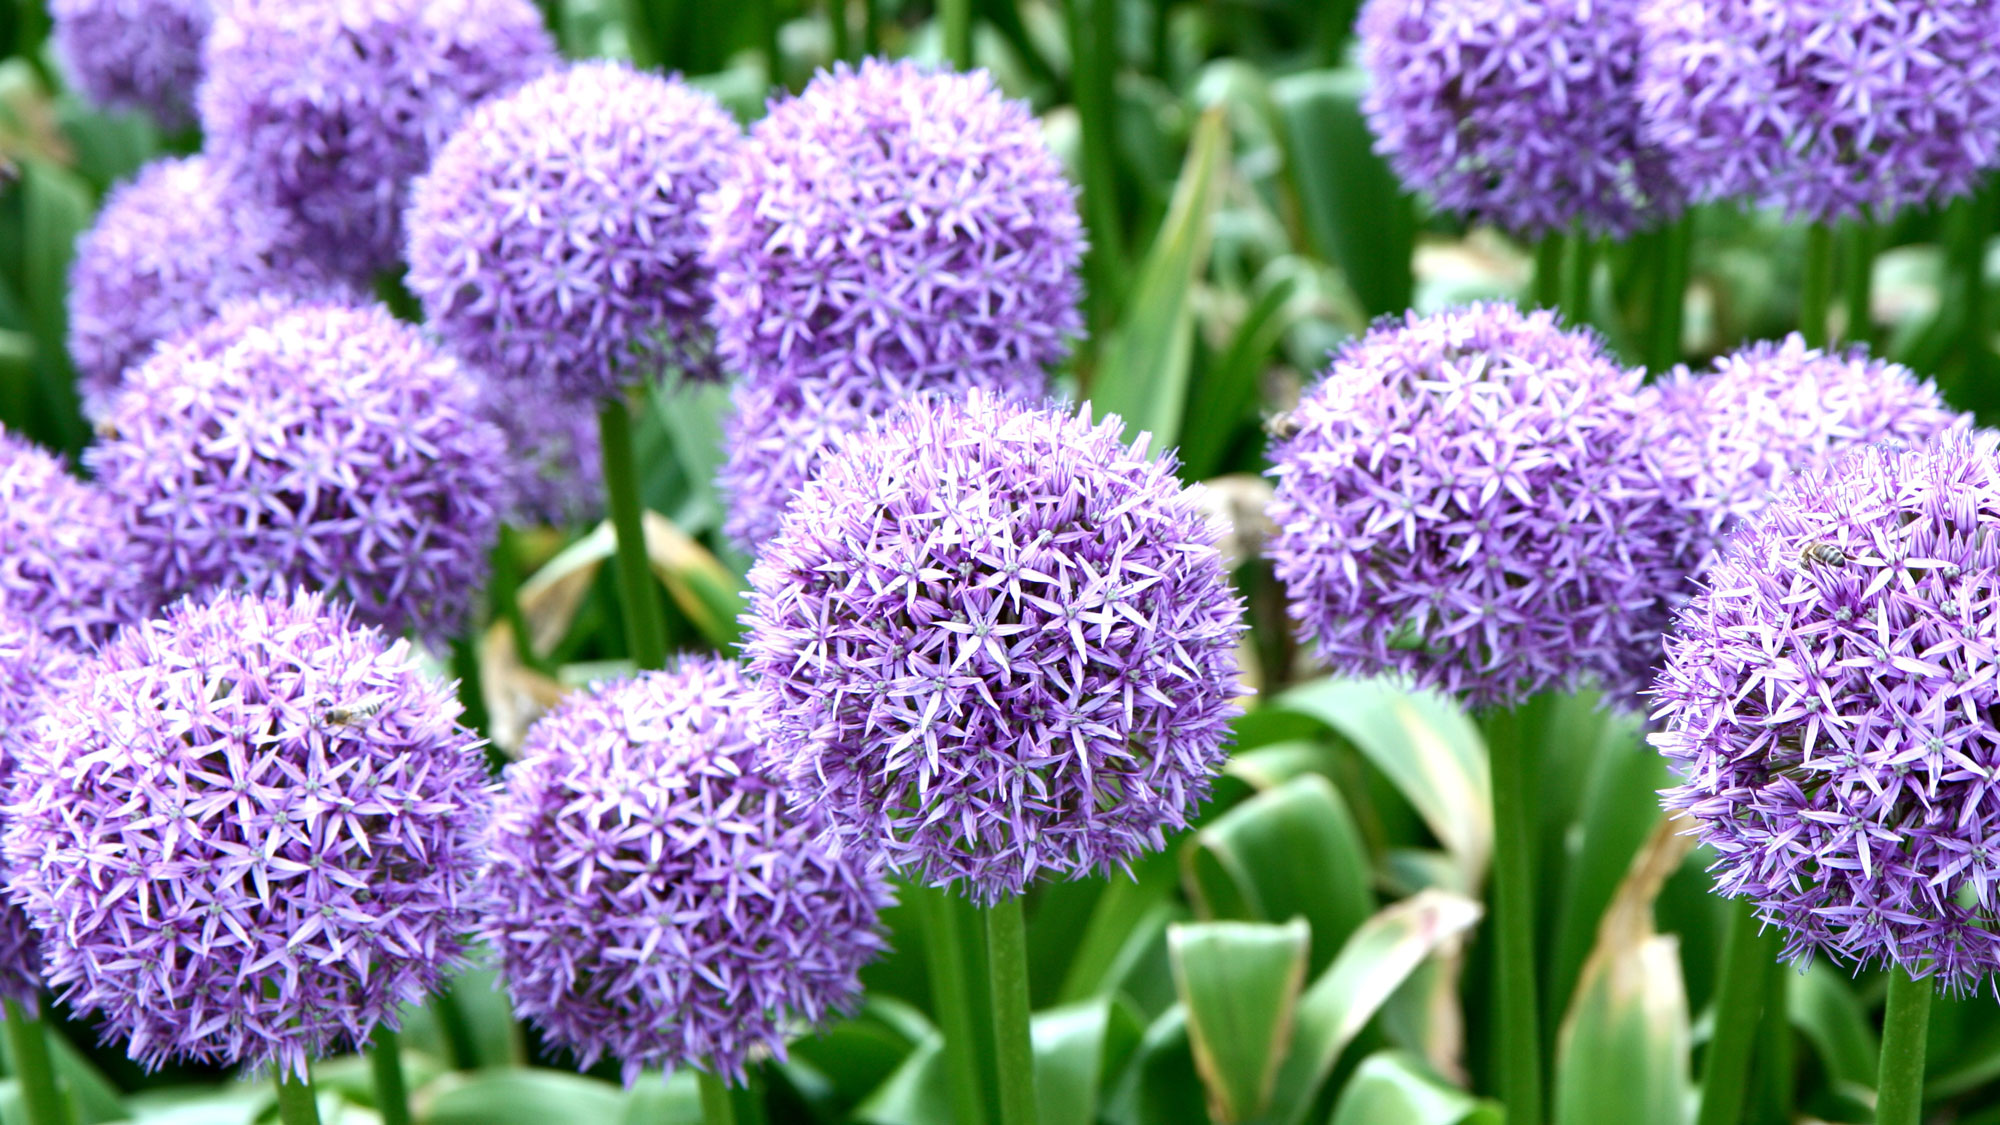
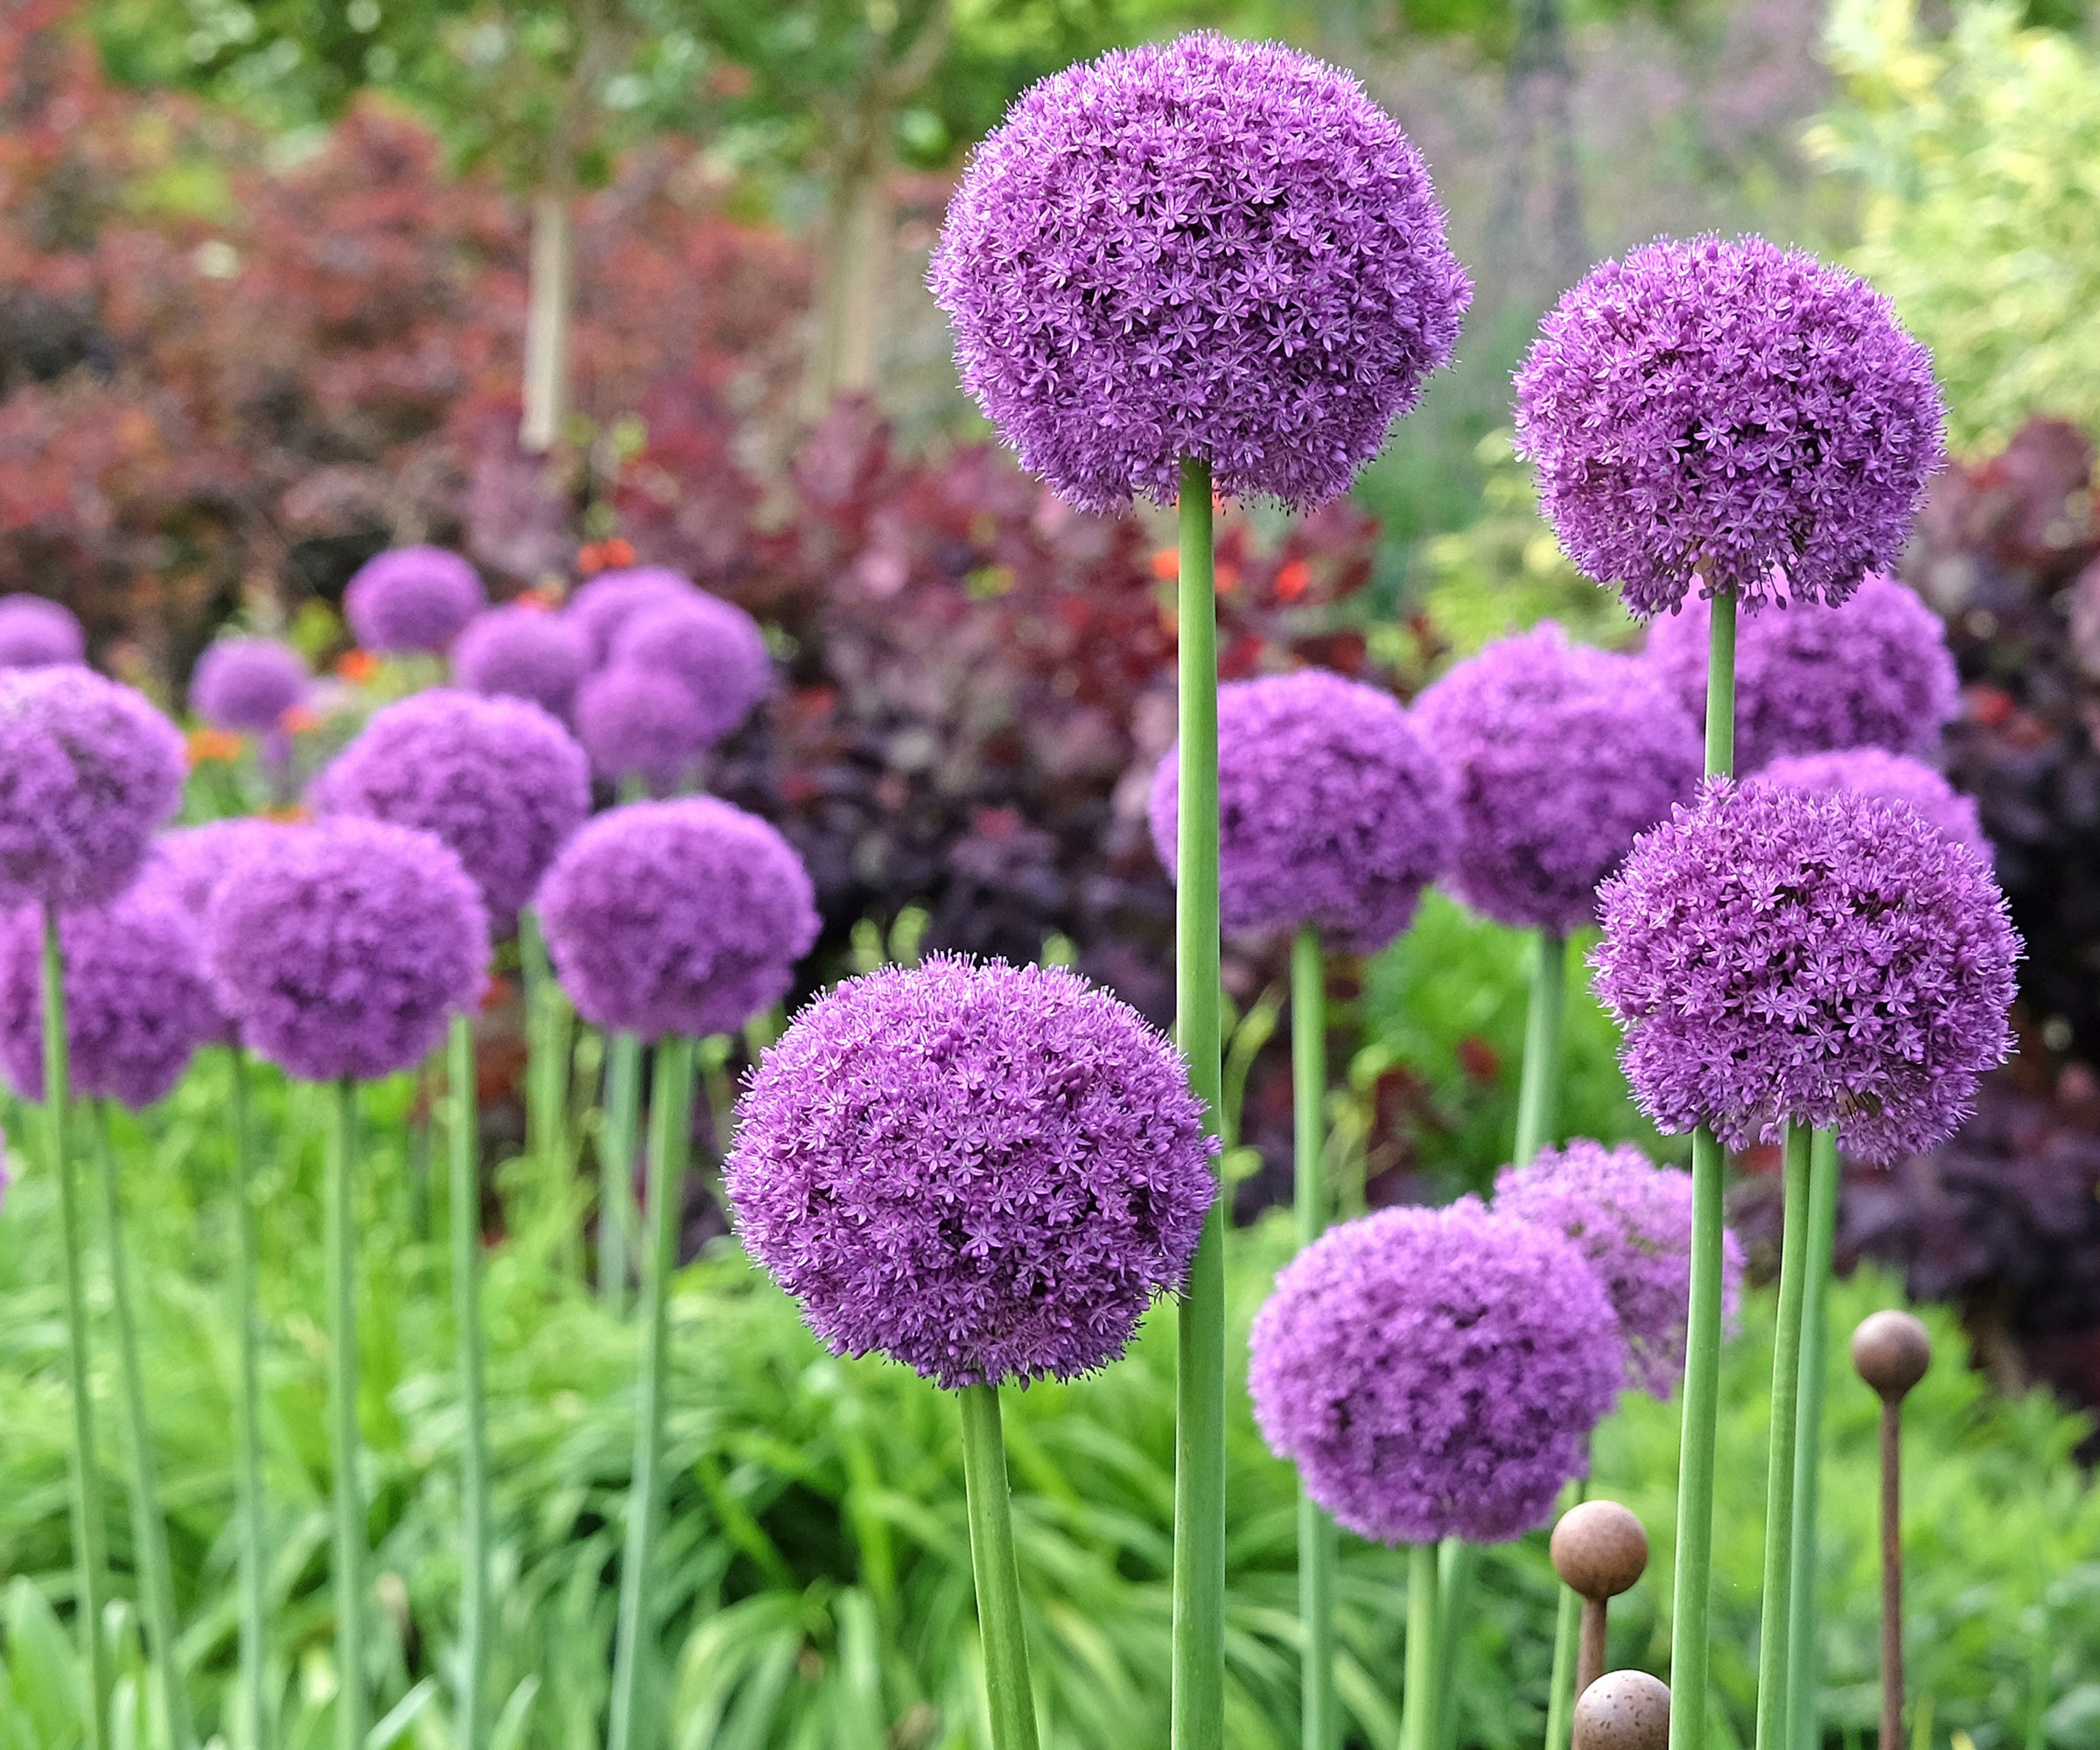
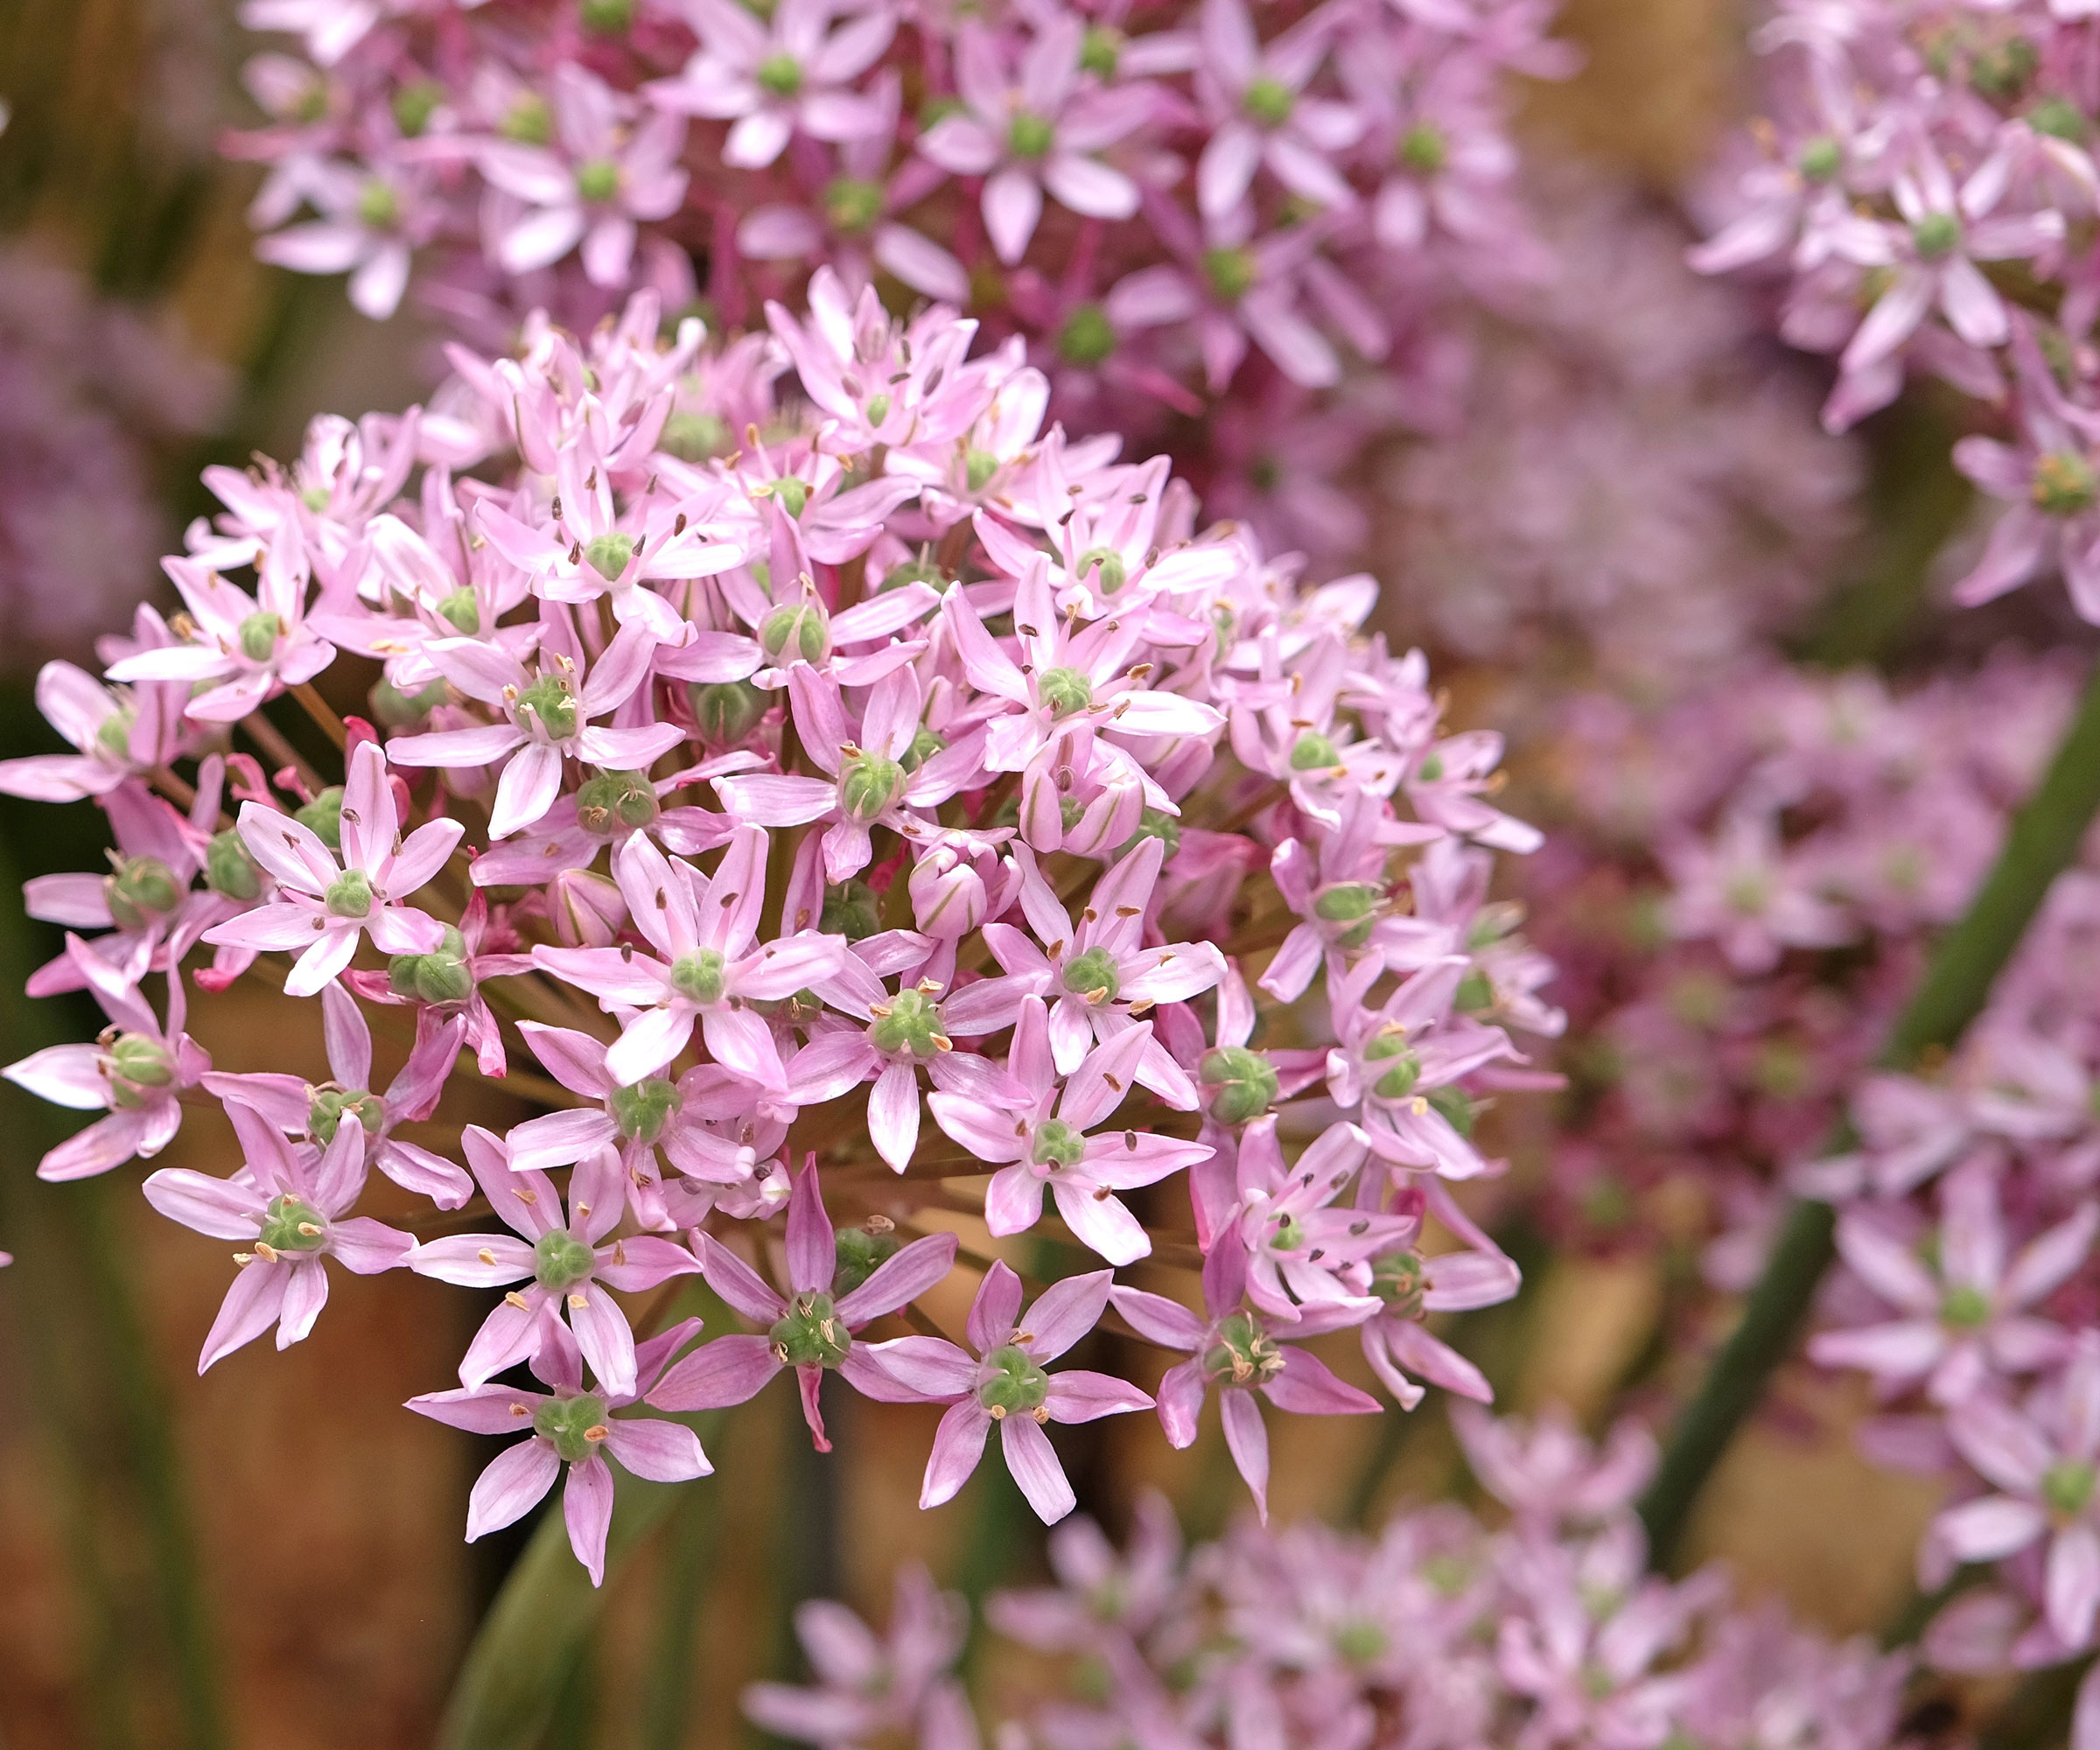
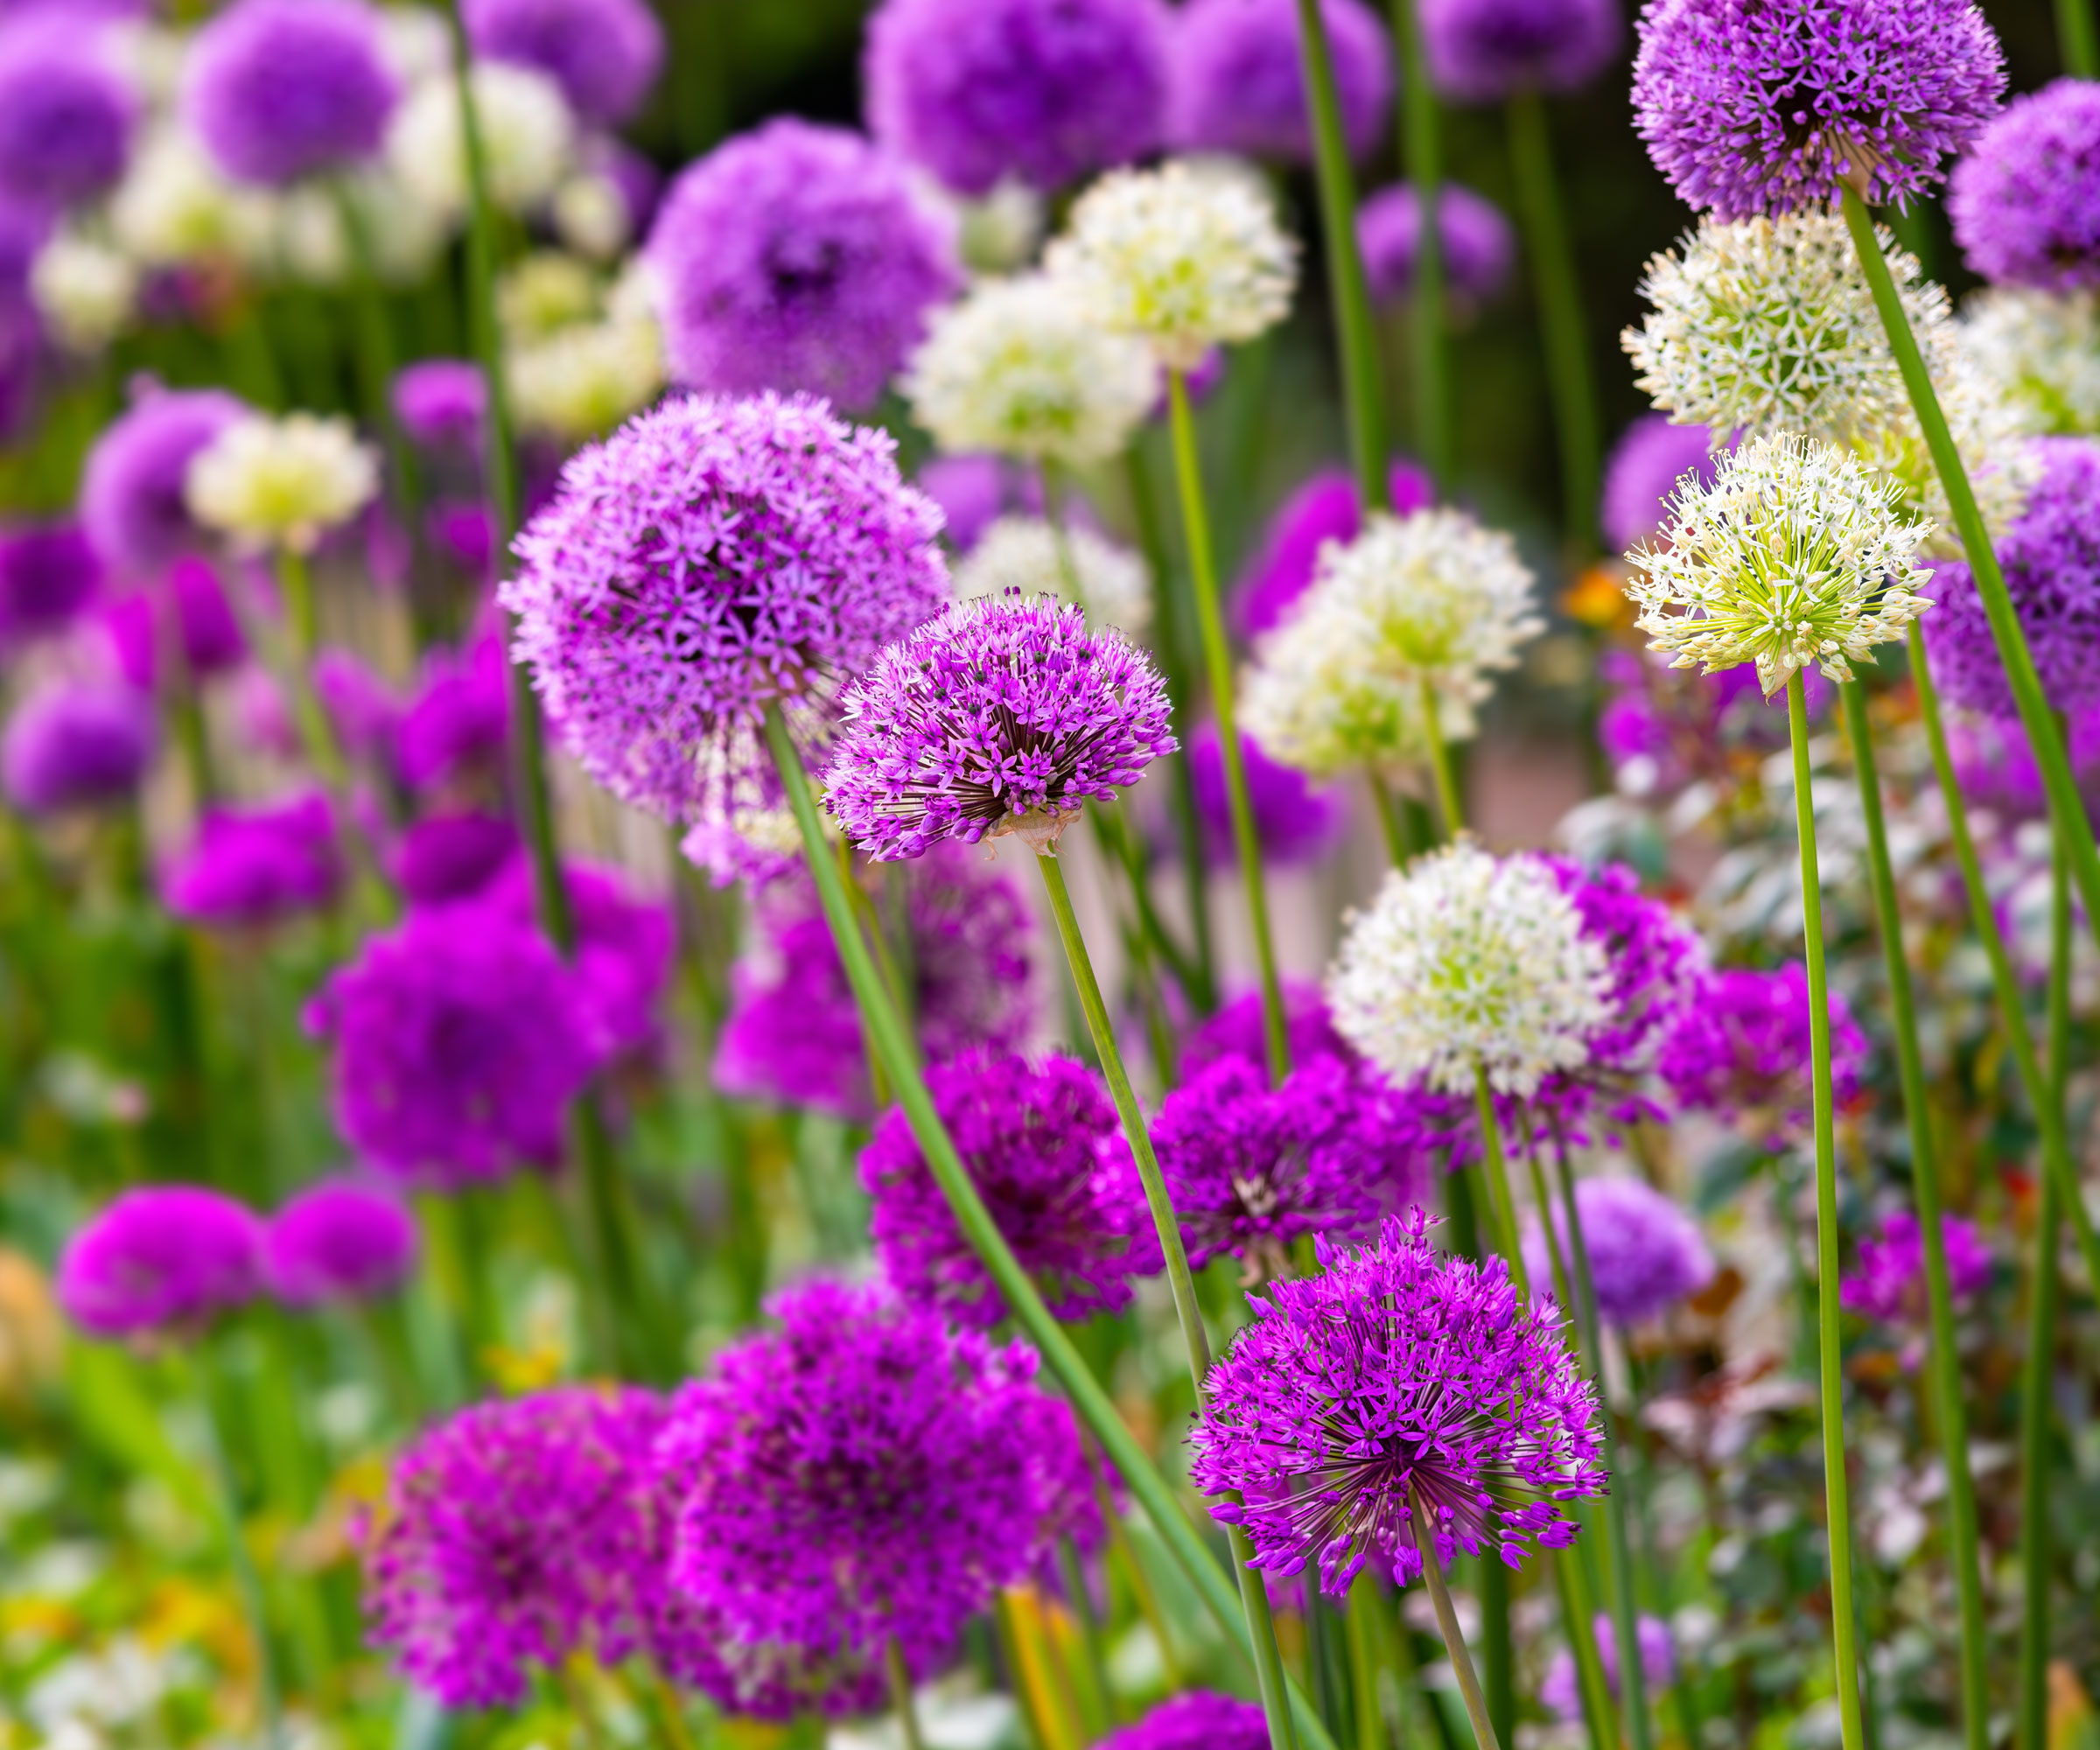
Anyone looking to grow alliums will be captivated by their extraordinary dimensions, evoking the effect of fireworks captured mid-explosion. From shimmering compact forms to basketball-sized orbs, these signature globes with their star-shaped petals add architectural dynamism and a whimsical flourish to any garden. Beloved in both traditional cottage themed displays and ultra modern floral settings, it’s hard to believe they are the ornamental relatives of leeks, garlic and chives: these exquisite floating spheres elevate the onion family to vivid heights. Yet despite their attention-grabbing dimensions, they are easy to cultivate, and even beginners can enjoy their dazzling spherical symphonies.
Given the singular sculptural impact of these sun-loving perennial flowers, they will fit right into any garden. Bees and butterflies adore their nectar-rich blooms in late spring and early summer displays, while deer and rodents steer clear of their scent. The toughest part about growing these uniquely dreamy, drought-tolerant ornamental onions is choosing which variety to go for, since there are dozens of dynamite spring flowering bulbs for every space and style. Fall is the time to plant your alliums for exquisite displays next spring. So find out how to grow and enjoy your own dazzling constellations of easy flowering bulbs with enormous impact!
Quick Allium Facts
Botanical Name | Allium spp. |
Plant Type | Bulbous perennial |
Height | 6 inches–4 feet (15 cm-1.2 m) |
Spread | 6-12 inches (10-25 cm) |
Light | Full sunshine |
Soil | Well drained, moderately fertile |
Hardiness | USDA zones 4-9 (Not in the US? Convert your zone) |
Flowers | Late spring, early summer |
Native Range | Northern Hemisphere, Europe, Asia, North America |
Planting Alliums
Their stature and floral detail can seem overwhelming, almost otherworldly, but it could not be easier to plant their bulbs and grow your own dynamic allium flowers. Despite their designer allure, they require only a basic set of planting criteria to be met, and their ongoing care requirements are modest and easy-going. Alliums comprise a large genus, containing 1000 species, including onions and garlic. They have close associations with their tastier edible cousins when it comes to planting.
If you aren’t sure when to plant allium bulbs, you have a fairly generous planting window in the fall. You can plant the bulbs from September and any time in November before the ground freezes. They grow easily from a bulb planted in the ground, and depending on your USDA hardiness zone, soil conditions, and space, they won’t need much to flourish. Ideally, they need a few weeks in the ground before the first hard frost so they can establish roots before winter.
Most common ornamental types are hardy in zones 4-9, so just give some thought to the condition of your planting site. If possible, test your soil before planting with a soil meter like the Raintrip 4-in-1 Soil Meter from Amazon, which can help you assess moisture levels and nutrient load as well as soil pH. For the strongest root development and spring growth, ensure the following needs are met.
Soil Needs
Alliums thrive in soil that mimics the dry slopes of their native mountain and meadow habitats: this means it needs to be loose, well-drained, sandy or loamy. Drainage is critical – alliums prefer conditions that don’t stay soggy for long. Heavy clay or soggy areas can lead to bulb rot, so if you have any worries about soggy soil, you’ll need to supercharge the soil and improve drainage before planting your bulbs. To reinvigorate your soil before growing allium bulbs, add a little coarse sand, fine gravel or vermiculite such as Plantonix Vermiculite Bliss from Walmart to improve aeration and drainage, as well as a measure of aged compost to give optimal soil structure. If you can reduce the risks of bulb rot due to poor drainage, you’ve already given your bulbs the best chance of flourishing.
Beyond drainage, alliums aren’t overly fussy about soil types, but they do prefer a soil pH that is neutral or slightly alkaline (6.5-7.5). If your soil is acidic, add a dusting of lime to bring the pH closer to neutral. A little garden lime like True Organic’s Garden Lime from Amazon can help raise alkalinity levels to a more desirable level.
Sign up for the Gardening Know How newsletter today and receive a free copy of our e-book "How to Grow Delicious Tomatoes".
Light and Warmth
Alliums love a sunny spot as well as one that is well-drained. In this respect, they are very much like their garlic and onion cousins. Sunshine is essential for the most dynamic ornamental onion displays. Aim for at least 6 hours of direct light each day. When growing alliums, a sunny border, open rock garden, or raised bed is ideal. The more direct sunlight you can guarantee, the better your chances of producing those tall, sturdy stems and those rich, vivid jewel tones.
Depending on the allium variety you are keen to grow, you can get away with some partial shade. Smaller species can tolerate light shade, although it might affect the abundance and vitality of blooms. A little dappled shade is fine for dwarf or woodland varieties, but full sunlight brings out their best. The last thing you want are sad-looming alliums with floppy stems!
Planting Step by Step
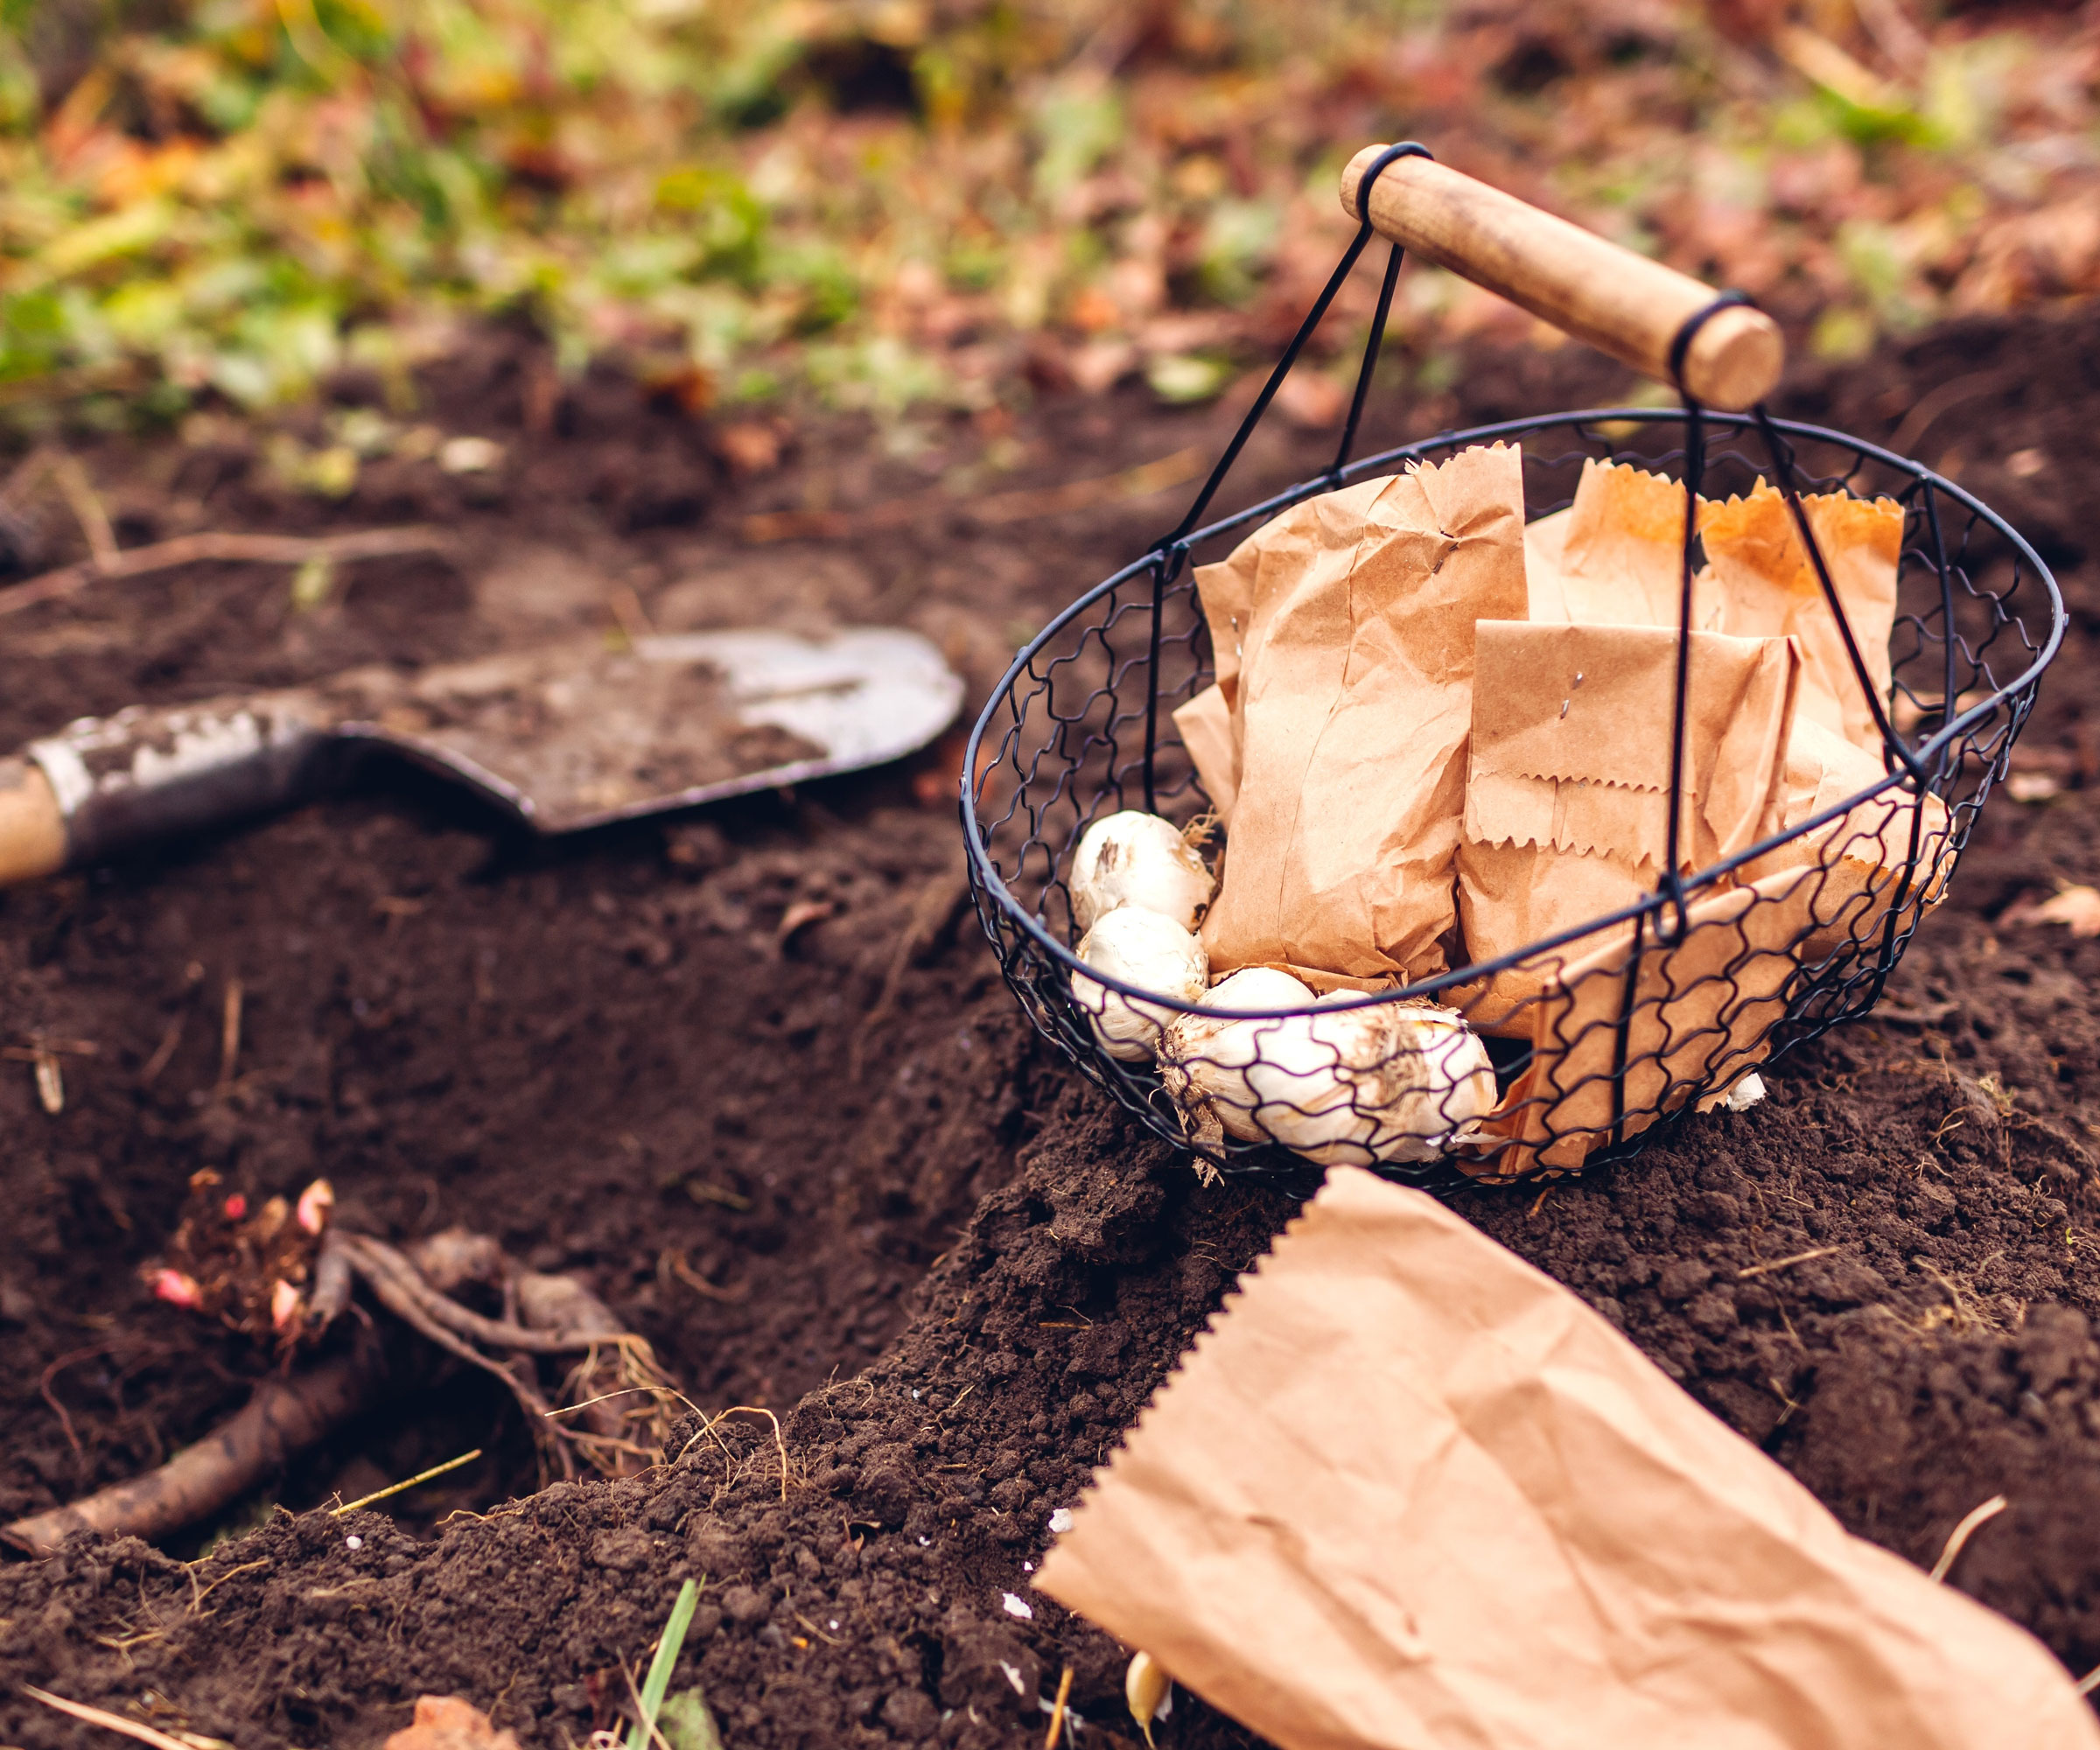
Once you have selected a sunny, open site with excellent drainage, you’re on your way and the process of planting is straightforward. The only other things to bear in mind when planting are to make sure you maintain the correct planting depth and spacing. If you have experience of growing bulb gardens, you should hopefully find this is like second nature. Having already prepped the soil and amended with coarse sand and some aged compost into the top 8-10 inches (20-30 cm) for texture, a couple of good planting tools can help you secure the allium bulbs.
Your choice of planting tool will depend on how many bulbs you are planting, where you are planting, and soil condition. The Garden Weasel Long Handle Bulb Planter 91350 from Amazon is great for preparing holes faster in a more ergonomic way, especially in thicker soils, deeper beds and larger areas. If you’re using containers or smaller scale bed plantings, you can use a hand tool like the highly rated Berry&Bird Garden Bulb Planter from Amazon, which can plant bulbs with 6-inch depth. Then knowing how to grow allium bulbs just involves these simple steps:
- Dig the holes: Depending on the variety, this needs to be 2-3 times the bulb’s height. Sprinkle a small amount of bone meal, such as Back To The Roots Organic Bone Meal from Amazon, into the hole to help boost root strength. It’s also helpful to add a slow-release bulb feed at the time of planting. A phosphorus-rich fertilizer like Espoma Organic Bulb Tone from Amazon helps promote healthy bulb development.
- Plant bulbs into holes: Depending on variety, allium bulbs need to be 4–8 inches apart.. Plant the bulbs with the pointed ends facing upwards and the flat bases (or the root plates) facing down into the earth. Cover the bulb with soil and gently firm the surface. Correct depth and spacing means optimal blooming and less risk of bulb rot.
- Backfill and firm lightly: Fill in the remaining soil around the bulbs, firm gently, and water once after planting. Water lightly, just enough to settle the soil. Then you can basically let nature take over. You can optionally mulch lightly to deter weeds and retain moisture and deter weeds. But this is as complicated as planting gets.
How to Care for Alliums
Allium care is surprisingly straightforward once your bulbs are in the ground. Assuming your soil conditions and planting site have been well thought out and adequately prepped, you won’t need to be constantly worrying about specific cultivation routines. While varieties will have their own specific needs in terms of support and space, as long as you keep your alliums in regular sunshine and free from soggy soil conditions, there are just a few core requirements to keep in mind.
Watering
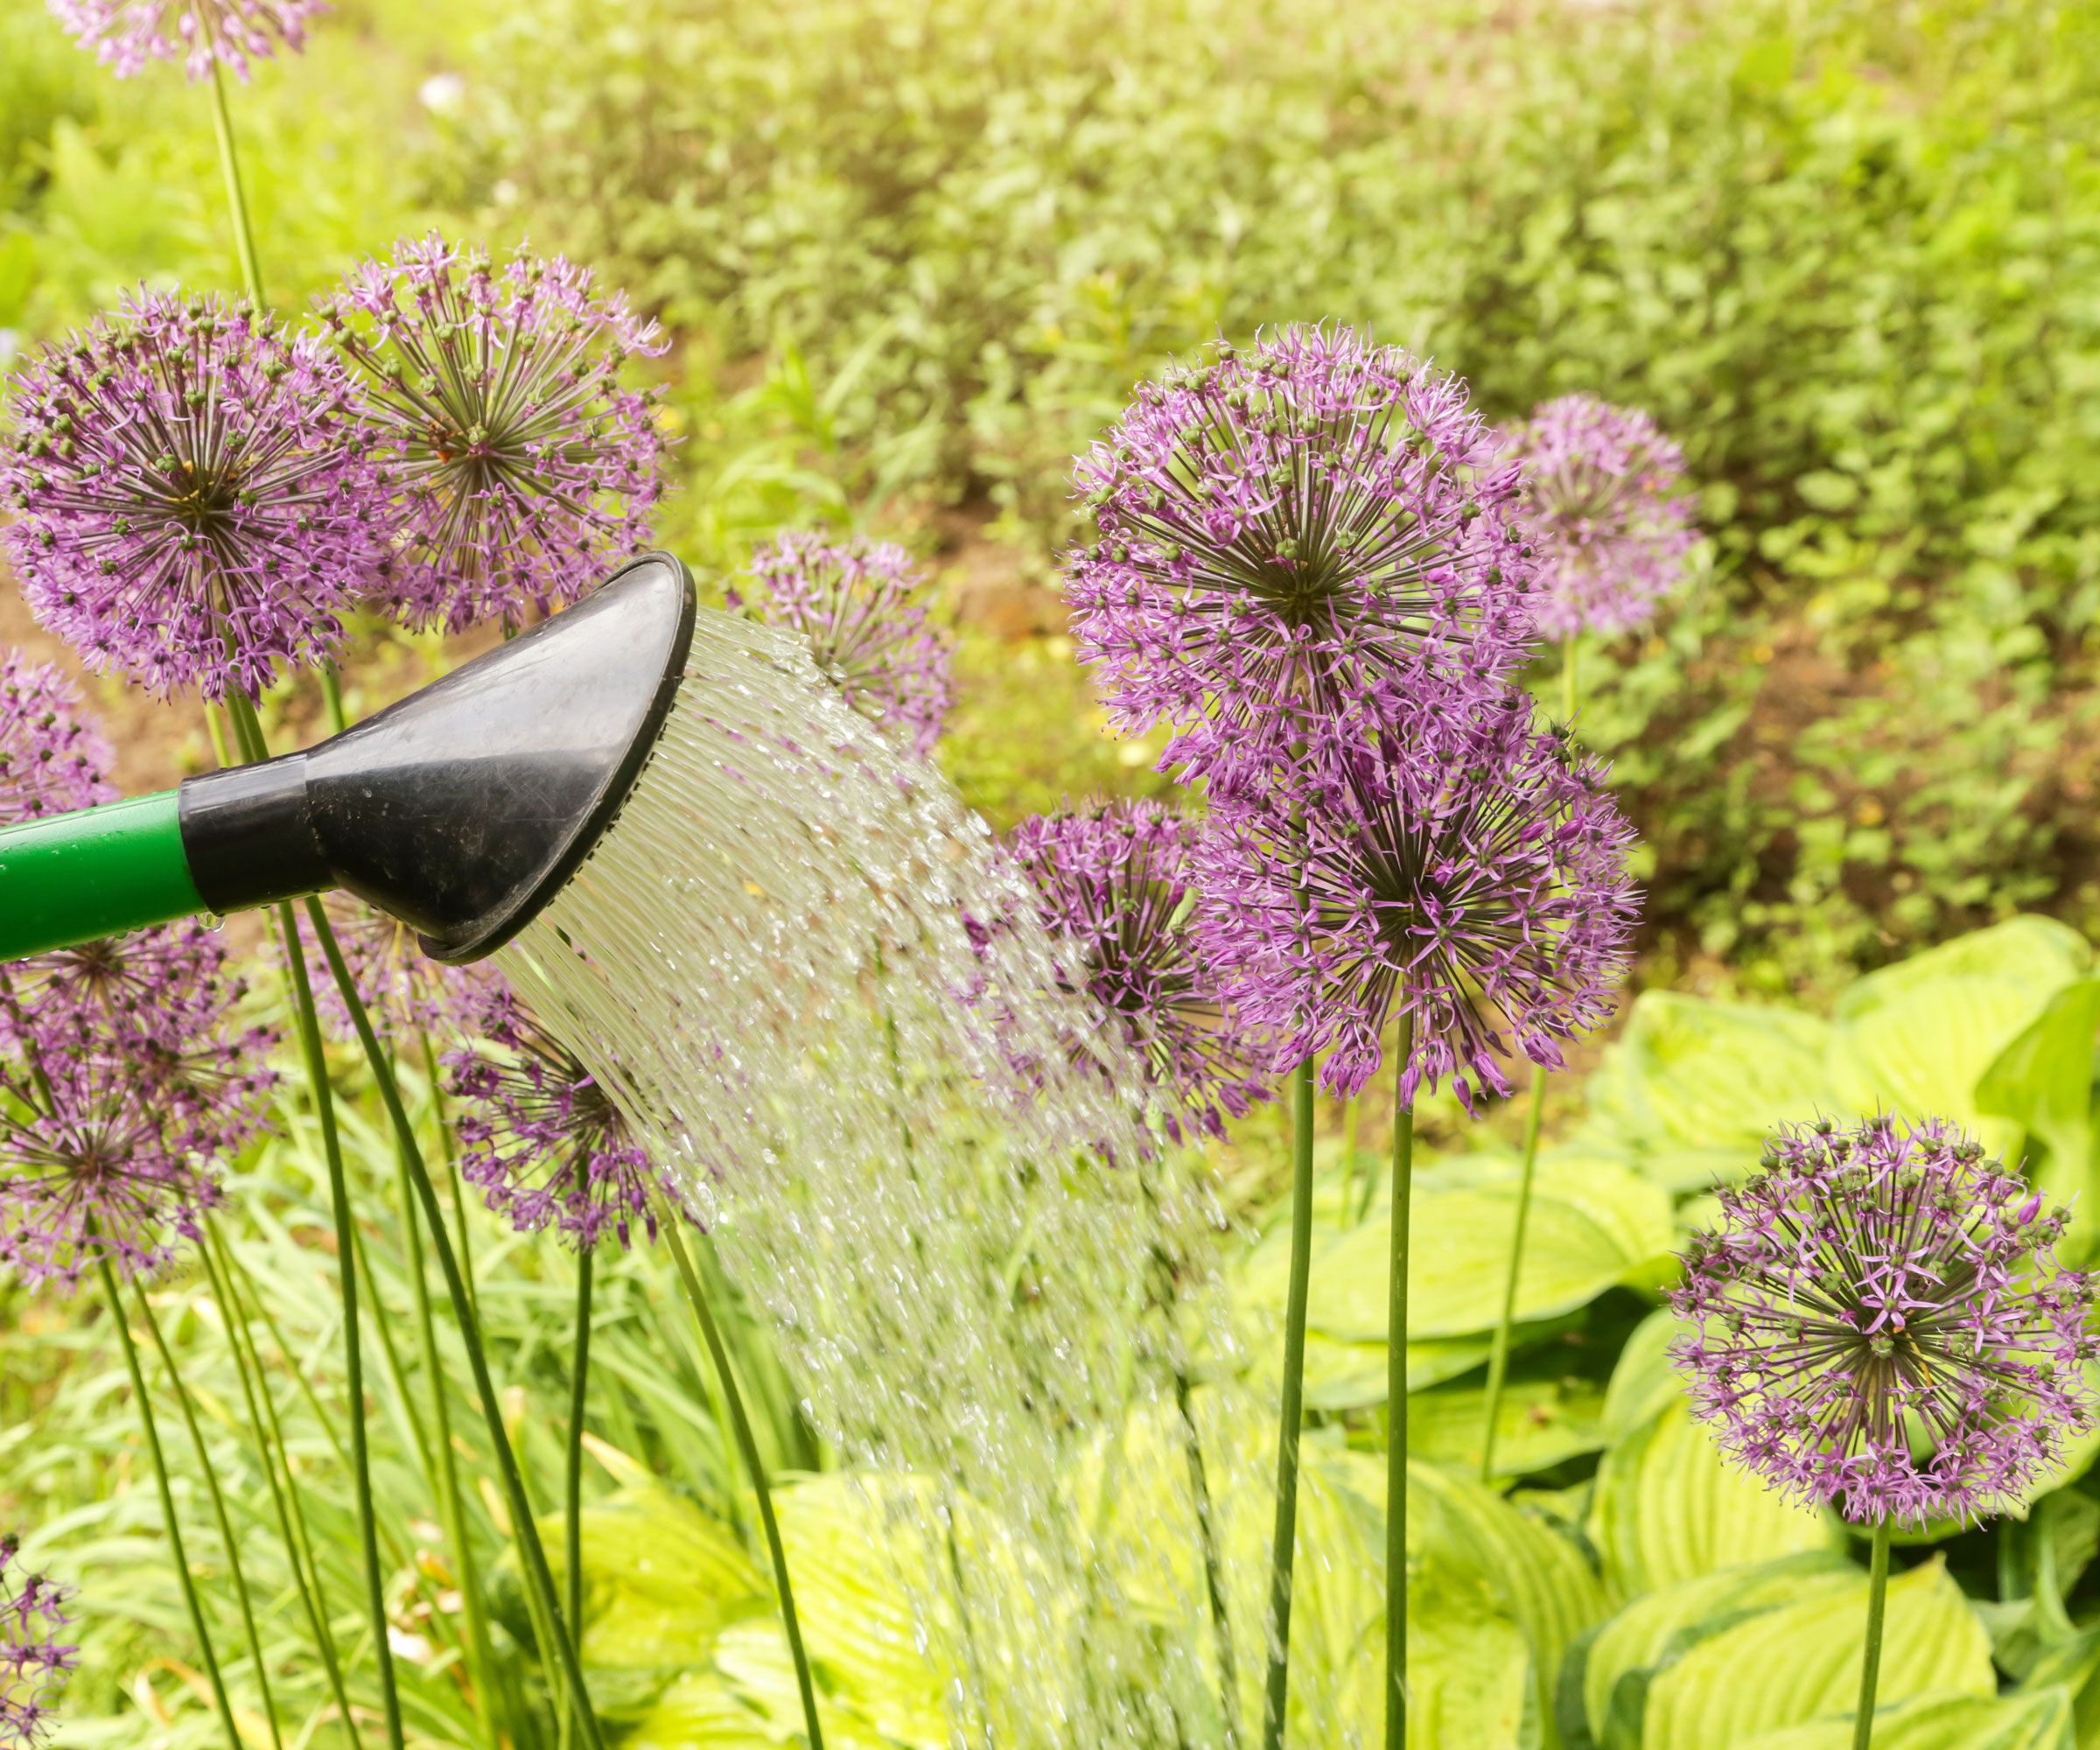
Alliums require regular watering while they are establishing, but they absolutely detest standing in wet soil for long periods of time, and hydrate accordingly. The last thing you want to do is foster bulb rot after all your good planting work. Where there are especially hot days, you can water more, but generally speaking the best time to water is once or twice a week, deeply, for stronger root growth. Keep their site not too wet, not too dry, and water prudently during active growth.
Alliums are reliably drought-tolerant once established. Water moderately during growth and bloom, but ease off once the leaves start to yellow, which signals dormancy is on the way. In terms of post bloom allium care, bulbs prefer drier summer dormancy. Just remember, consistently soggy soil is their worst enemy. Alliums prefer life on the drier side.
Fertilizing
Feed alliums with a balanced fertilizer that can release nutrients gradually and naturally during active growth. If you applied a bulb feed at the time of planting in the fall, you should only need to feed again in early spring when you see the first signs of growth appearing. Avoid high-nitrogen fertilizers, which promote leafy growth over flowers. A good balanced bulb fertilizer to apply is Espoma Organic Bulb Tone from Amazon which is phosphorus-rich and promotes healthy roots and strong blooms.
Whether you apply a bulb-specific formula or a general-purpose, slow-release fertilizer, try to avoid the temptation to overfeed. One application in spring during active growth is fine in order to support bloom production. Overfeeding can lead to soft growth and fewer flowers. Remember to follow label instructions carefully.
Mulching
To help maintain even soil temperatures and suppress weeds, it’s fine to add a thin layer of compost or bark-based mulch, such as Back to the Roots Organic Mulch with Natural Wood, available from Amazon. As long as you have taken steps to enhance soil drainage, this is a sensible precaution to help protect soil goodness and regulate drainage.
Just don’t make the mulch layer too thick, and don’t pile it on too thickly. The idea is to gently insulate and regulate growing conditions – not suffocate your growing alliums! Alliums like and need a little breathing space, just as they appreciate soil drainage. Add around the base of stems, taking care not to touch bulb crowns or stems directly or block the emergence of growing shoots.
Support
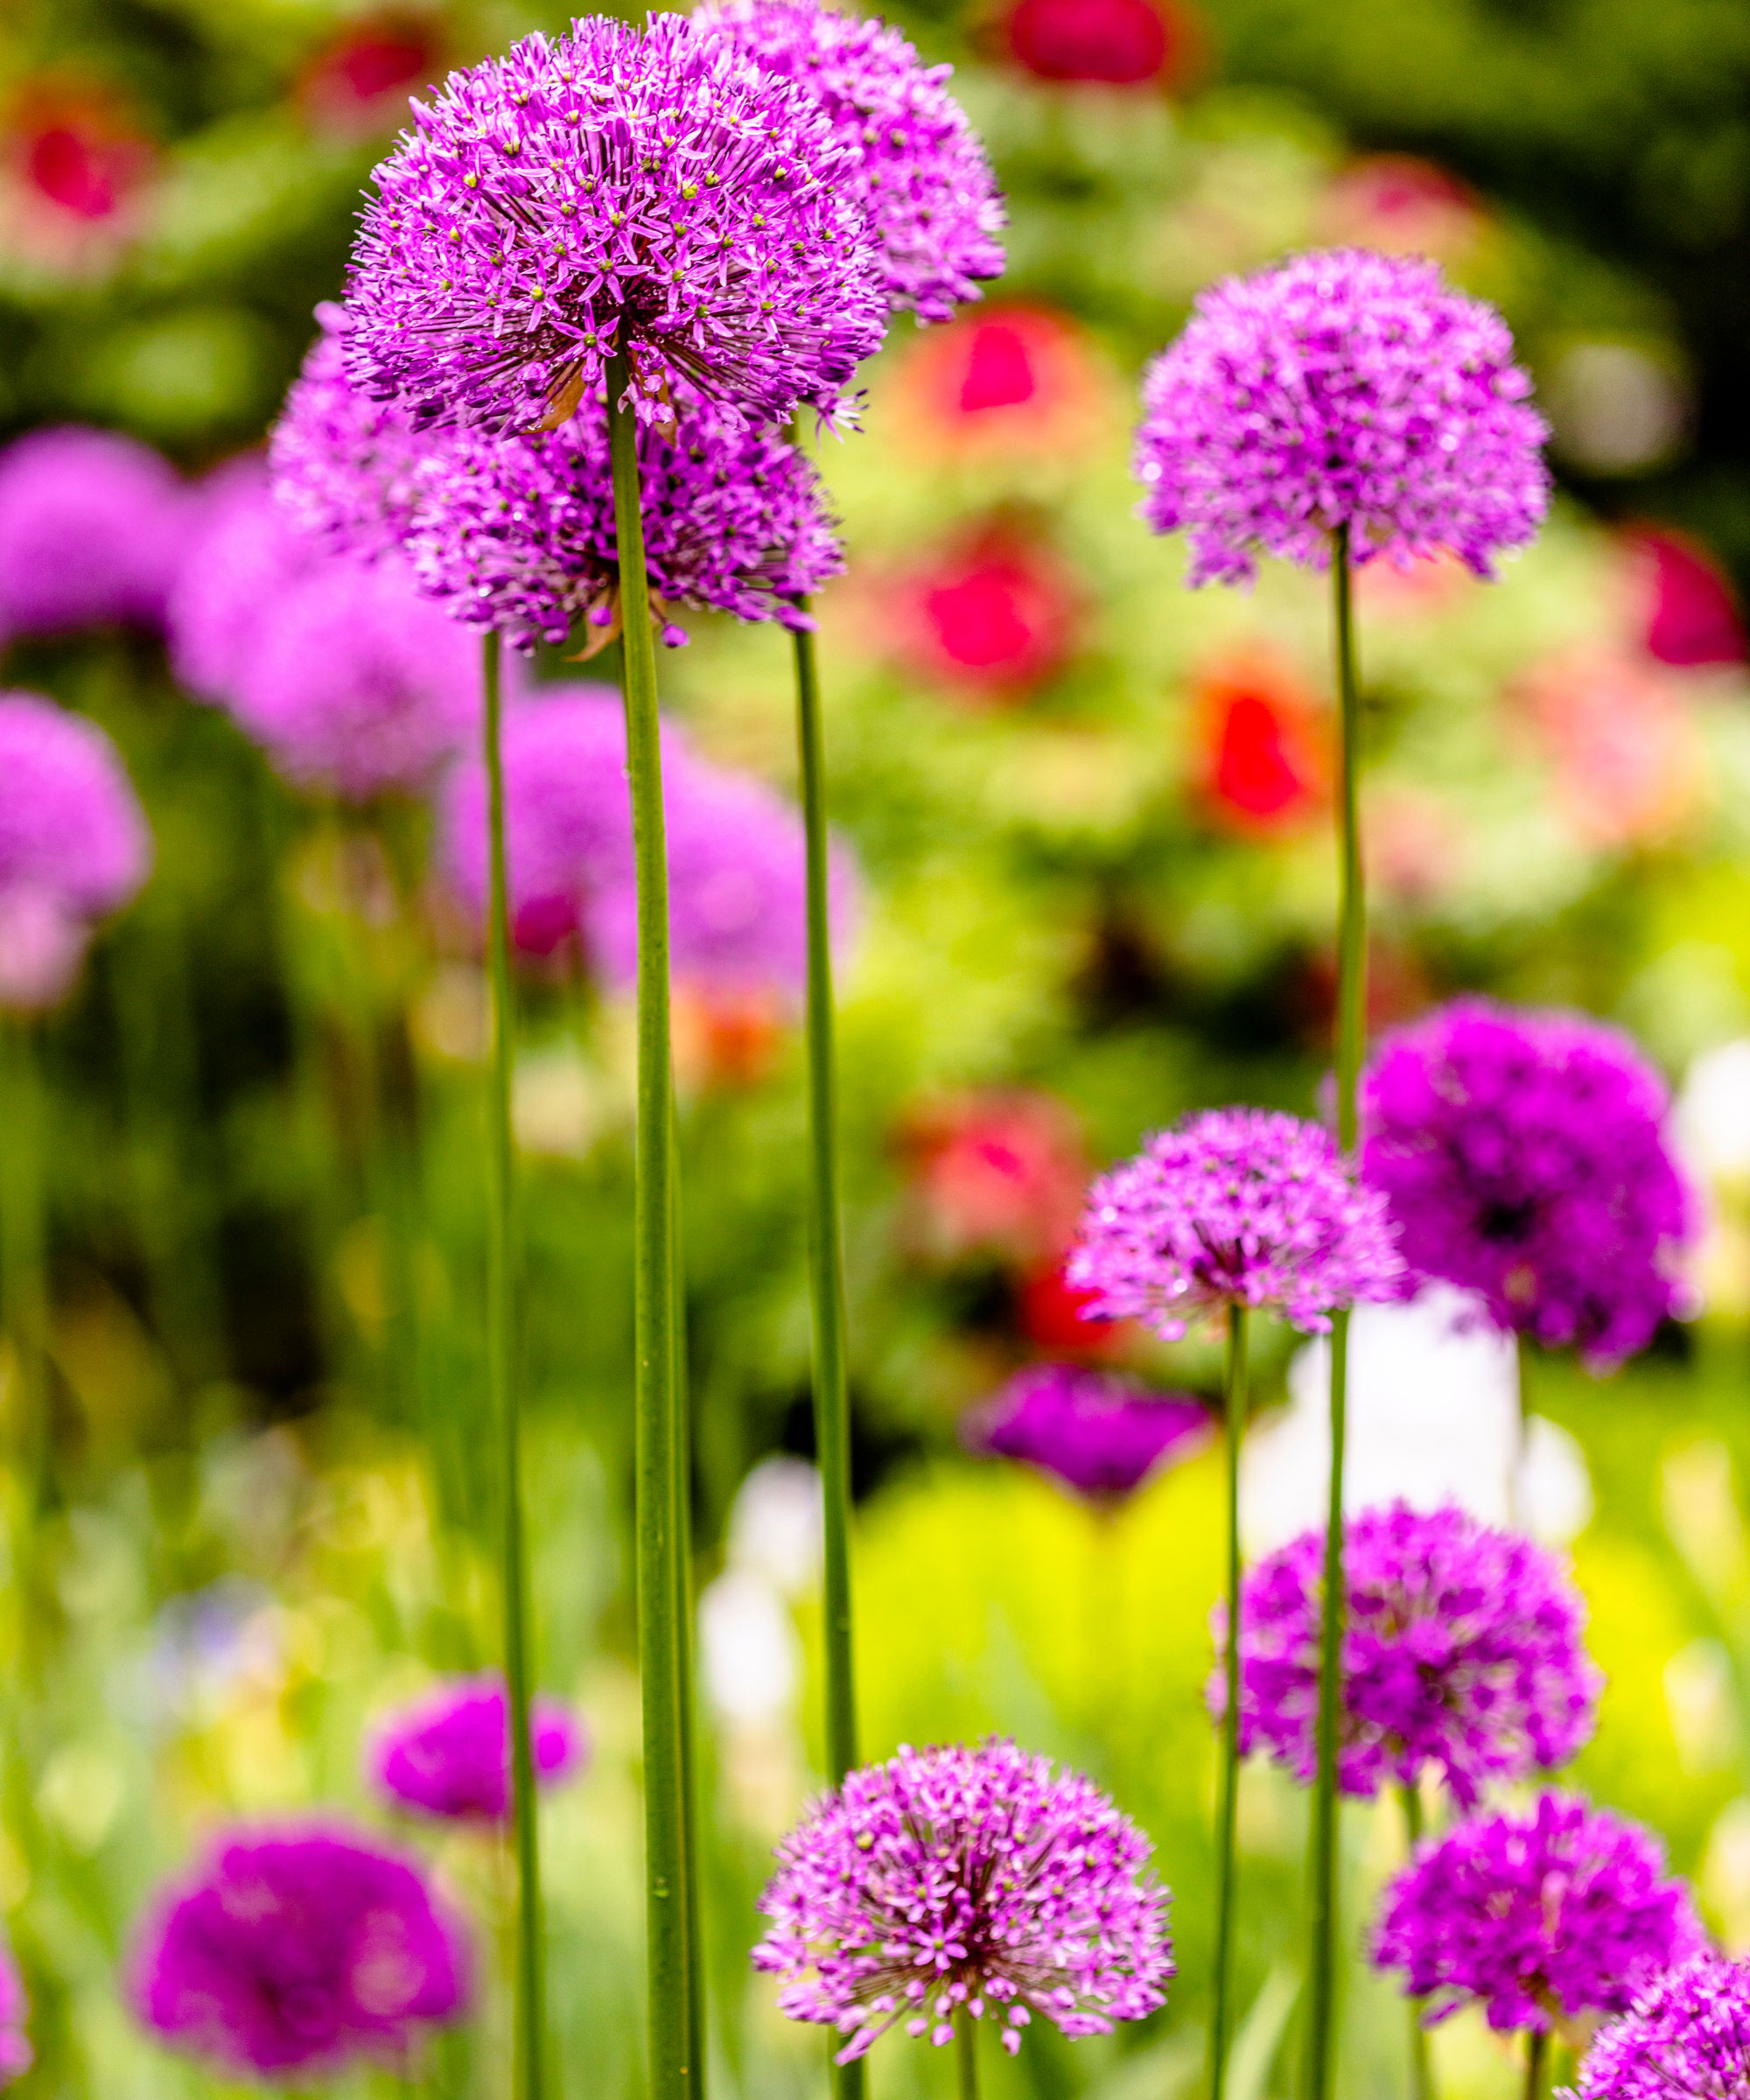
It might seem like these plants defy gravity, the way they manage to hold those giant spherical flowerheads aloft the way they do. But as long as the ground is well drained and fed, and your alliums are in full sunshine, nature will do a fine job of producing stems strong enough to keep these ornamentals upright. If you are worried and need a little extra reinforcement in the first weeks of emerging plant growth, it is fine to add allium plant supports (gently, so as not to disturb the roots).
Once you see flower stalks developing, use Kingsyard 5-Pack Plant Stakes from Amazon to prevent bending and snapping in the formative weeks and reinforce the stems as they thicken. Beyond that, depending on neighboring plants, variety, and weather exposure, your alliums should hold their own well.
Transplanting
Alliums prefer not to be moved once they have established. If you absolutely have to relocate your ornamental onions, it is best to do so in the transition from one growing season to the next. In other words, wait until the foliage and flowers have died back and the plant has entered dormancy. You would normally only need to do this if you have concerns about the planting site and don’t feel like your alliums received enough sunshine during their flowering season, or if you think they might have become crowded. Lift, divide bulbs, and replant immediately in fresh soil.
Pruning & Deadheading
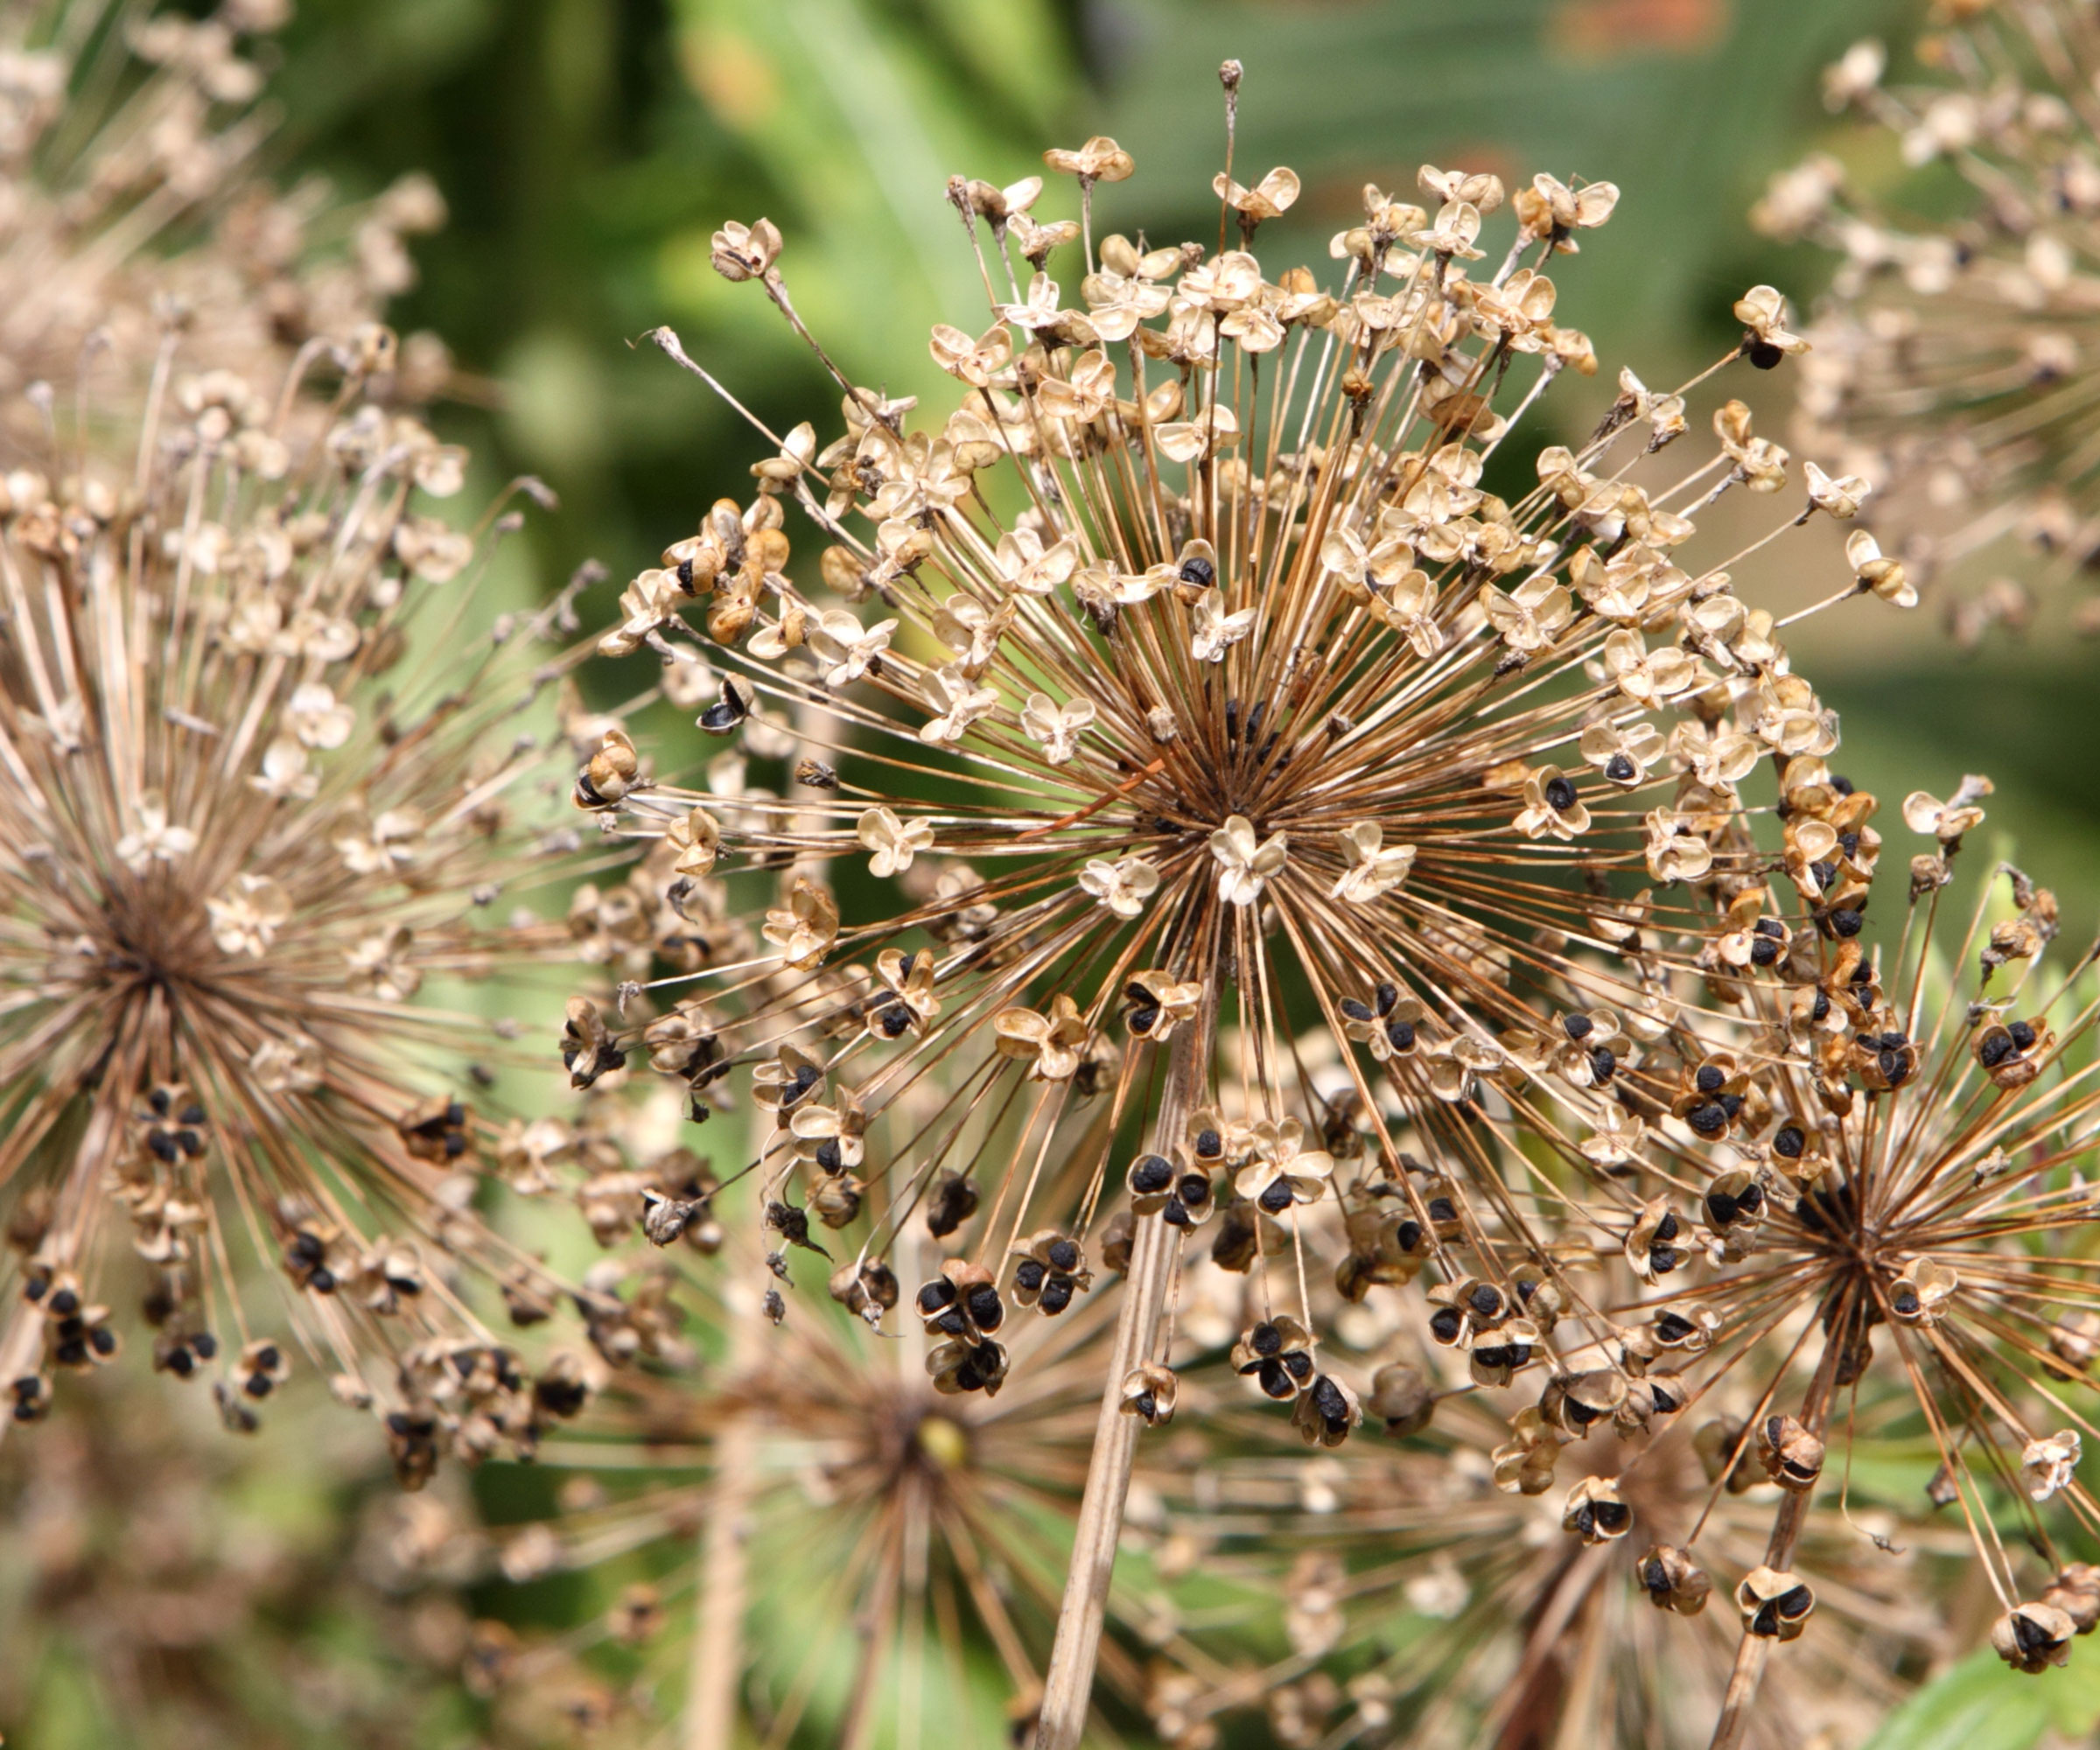
Pruning and deadheading are activities that can be fairly time consuming for countless other ornamentals – but as far as allium care goes, it’s a doddle. It’s up to you whether you choose to deadhead or not. You can remove spent flower heads after the blooms fade to keep the garden tidy and to prevent unwanted self-seeding. That said, spent allium flower heads continue to look extraordinary through the changing seasons, and can add visual brilliance long after the petal colors have faded. The sight of fall and winter frosts sparkling on the dried out explosives of faded flower heads can really lift the spirits in the quieter months of the year.
Whatever you do, resist the urge to cut back the foliage too soon. It’s true that allium leaves can start turning yellow naturally and become weary-looking quite quickly in the summer garden, but don’t be tempted to prune foliage until the time is right. The fading leaves are still sending vital energy back to the bulbs to help shore up reserves for the following year’s blooms. So let them do their thing.
This is where planting groups and neighboring planting schemes can be very important for growing alliums, as they help to disguise the fading leaves, while allowing the structural elegance of the flower heads to enchant even after summer is over. Where you do wish to prune, wait until the leaves have completely died and withered back, and trim them cleanly at the base. As well as pruning, you can deadhead any spent flowers you aren’t leaving for structural interest, by using sharp snips or pruners such as the Spear & Jackson CuttingSet8Traditional Bypass & Anvil Secateur Set from Amazon, for precision cuts that cause minimal damage to plants.
Allium Care Calendar
| Header Cell - Column 0 | Spring | Summer | Fall | Winter |
|---|---|---|---|---|
Plant | Row 0 - Cell 1 | Row 0 - Cell 2 | ✓ | Row 0 - Cell 4 |
Fertilize | ✓ | Row 1 - Cell 2 | Row 1 - Cell 3 | Row 1 - Cell 4 |
Mulch | Row 2 - Cell 1 | Row 2 - Cell 2 | ✓ | ✓ |
Deadhead | Row 3 - Cell 1 | ✓ | Row 3 - Cell 3 | Row 3 - Cell 4 |
Stake | ✓ | Row 4 - Cell 2 | Row 4 - Cell 3 | Row 4 - Cell 4 |
Propagate | Row 5 - Cell 1 | Row 5 - Cell 2 | ✓ | Row 5 - Cell 4 |
Great Allium Varieties
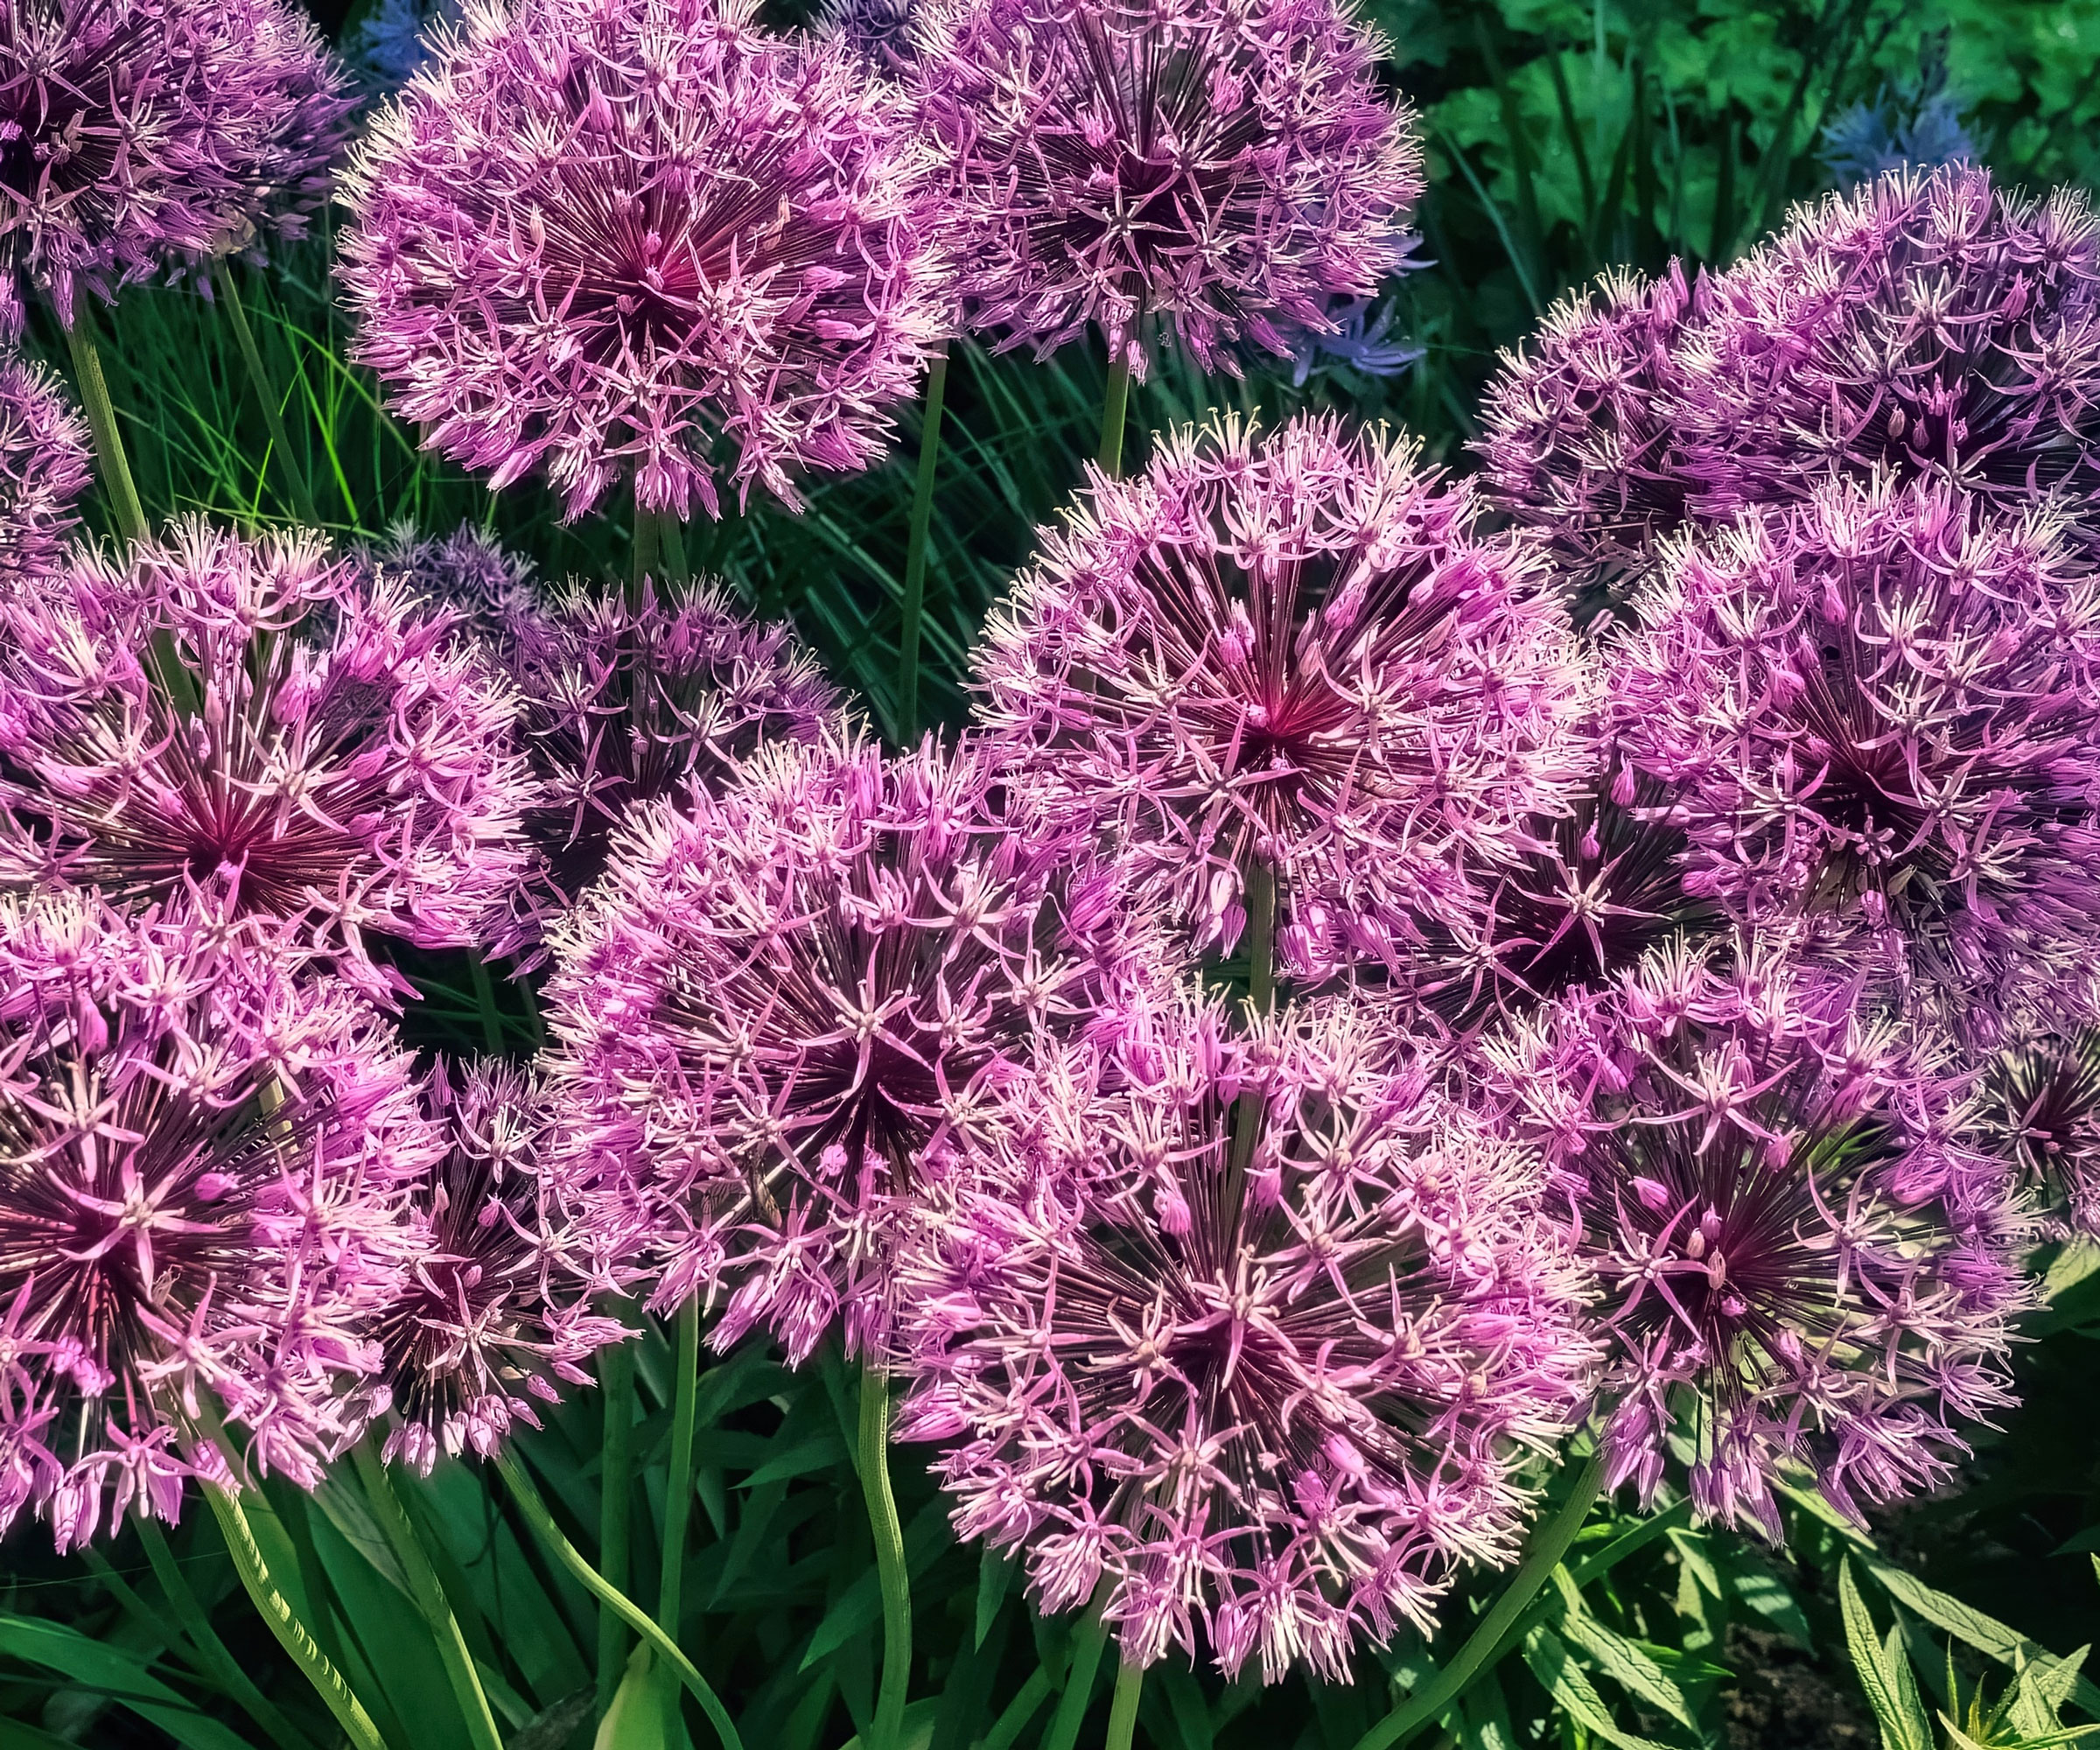
Growing the ultimate flowering alliums shouldn’t be hard. The tricky part is figuring out whether to pick one shade or variety, or mix and match for the most extraordinary beds and borders imaginable! Alliums vary dramatically by species; from dwarf types like Allium karataviense to giants like A. giganteum. You can cultivate spectacular spherical umbels in purple, pink, gold and white allium tones. Just think about where that structure and vertical drama can serve you best. Some dramatic options include:
- Giant Allium: These towering 4-foot stems proudly display their 6-inch (15 cm) violet globes. Giant Allium (A. giganteum) is a genuine showstopper both in terms of spherical flower size and vertical impact.
- Globemaster: This purple allium produces long-lasting blooms that last for weeks. Allium Globemaster develops dense violet spheres on sturdy 2-feet (60 cm) stems. These impactful purple globes bring wow factor to borders and to cutting displays.
- Purple Sensation: Reliable, early-flowering, and strikingly vibrant, these are the ultimate purple alliums for beginners. Typically reaching 3-feet (90 cm) high with vibrant violet flower heads that can manage dimensions of 4 inches (10 cm) across.
- Star of Persia: This explosive allium, reaching 2-feet (60 cm) tall, creates metallic lilac starbursts that look just as wonderful dried. Star of Persia (A. cristophii) has a looser, airy form but looks breathtaking in cottage garden beds and relaxed borders.
- Drumstick Allium: These compact, slender egg-shaped flowers may only reach a couple of inches in diameter but their jewel tones are utterly sublime. Drumstick Allium (A. sphaerocephalon) colors shift from green to bright pink and burgundy, and look stunning as part of meadow-style plantings and naturalistic gardens.
Growing Alliums in Containers
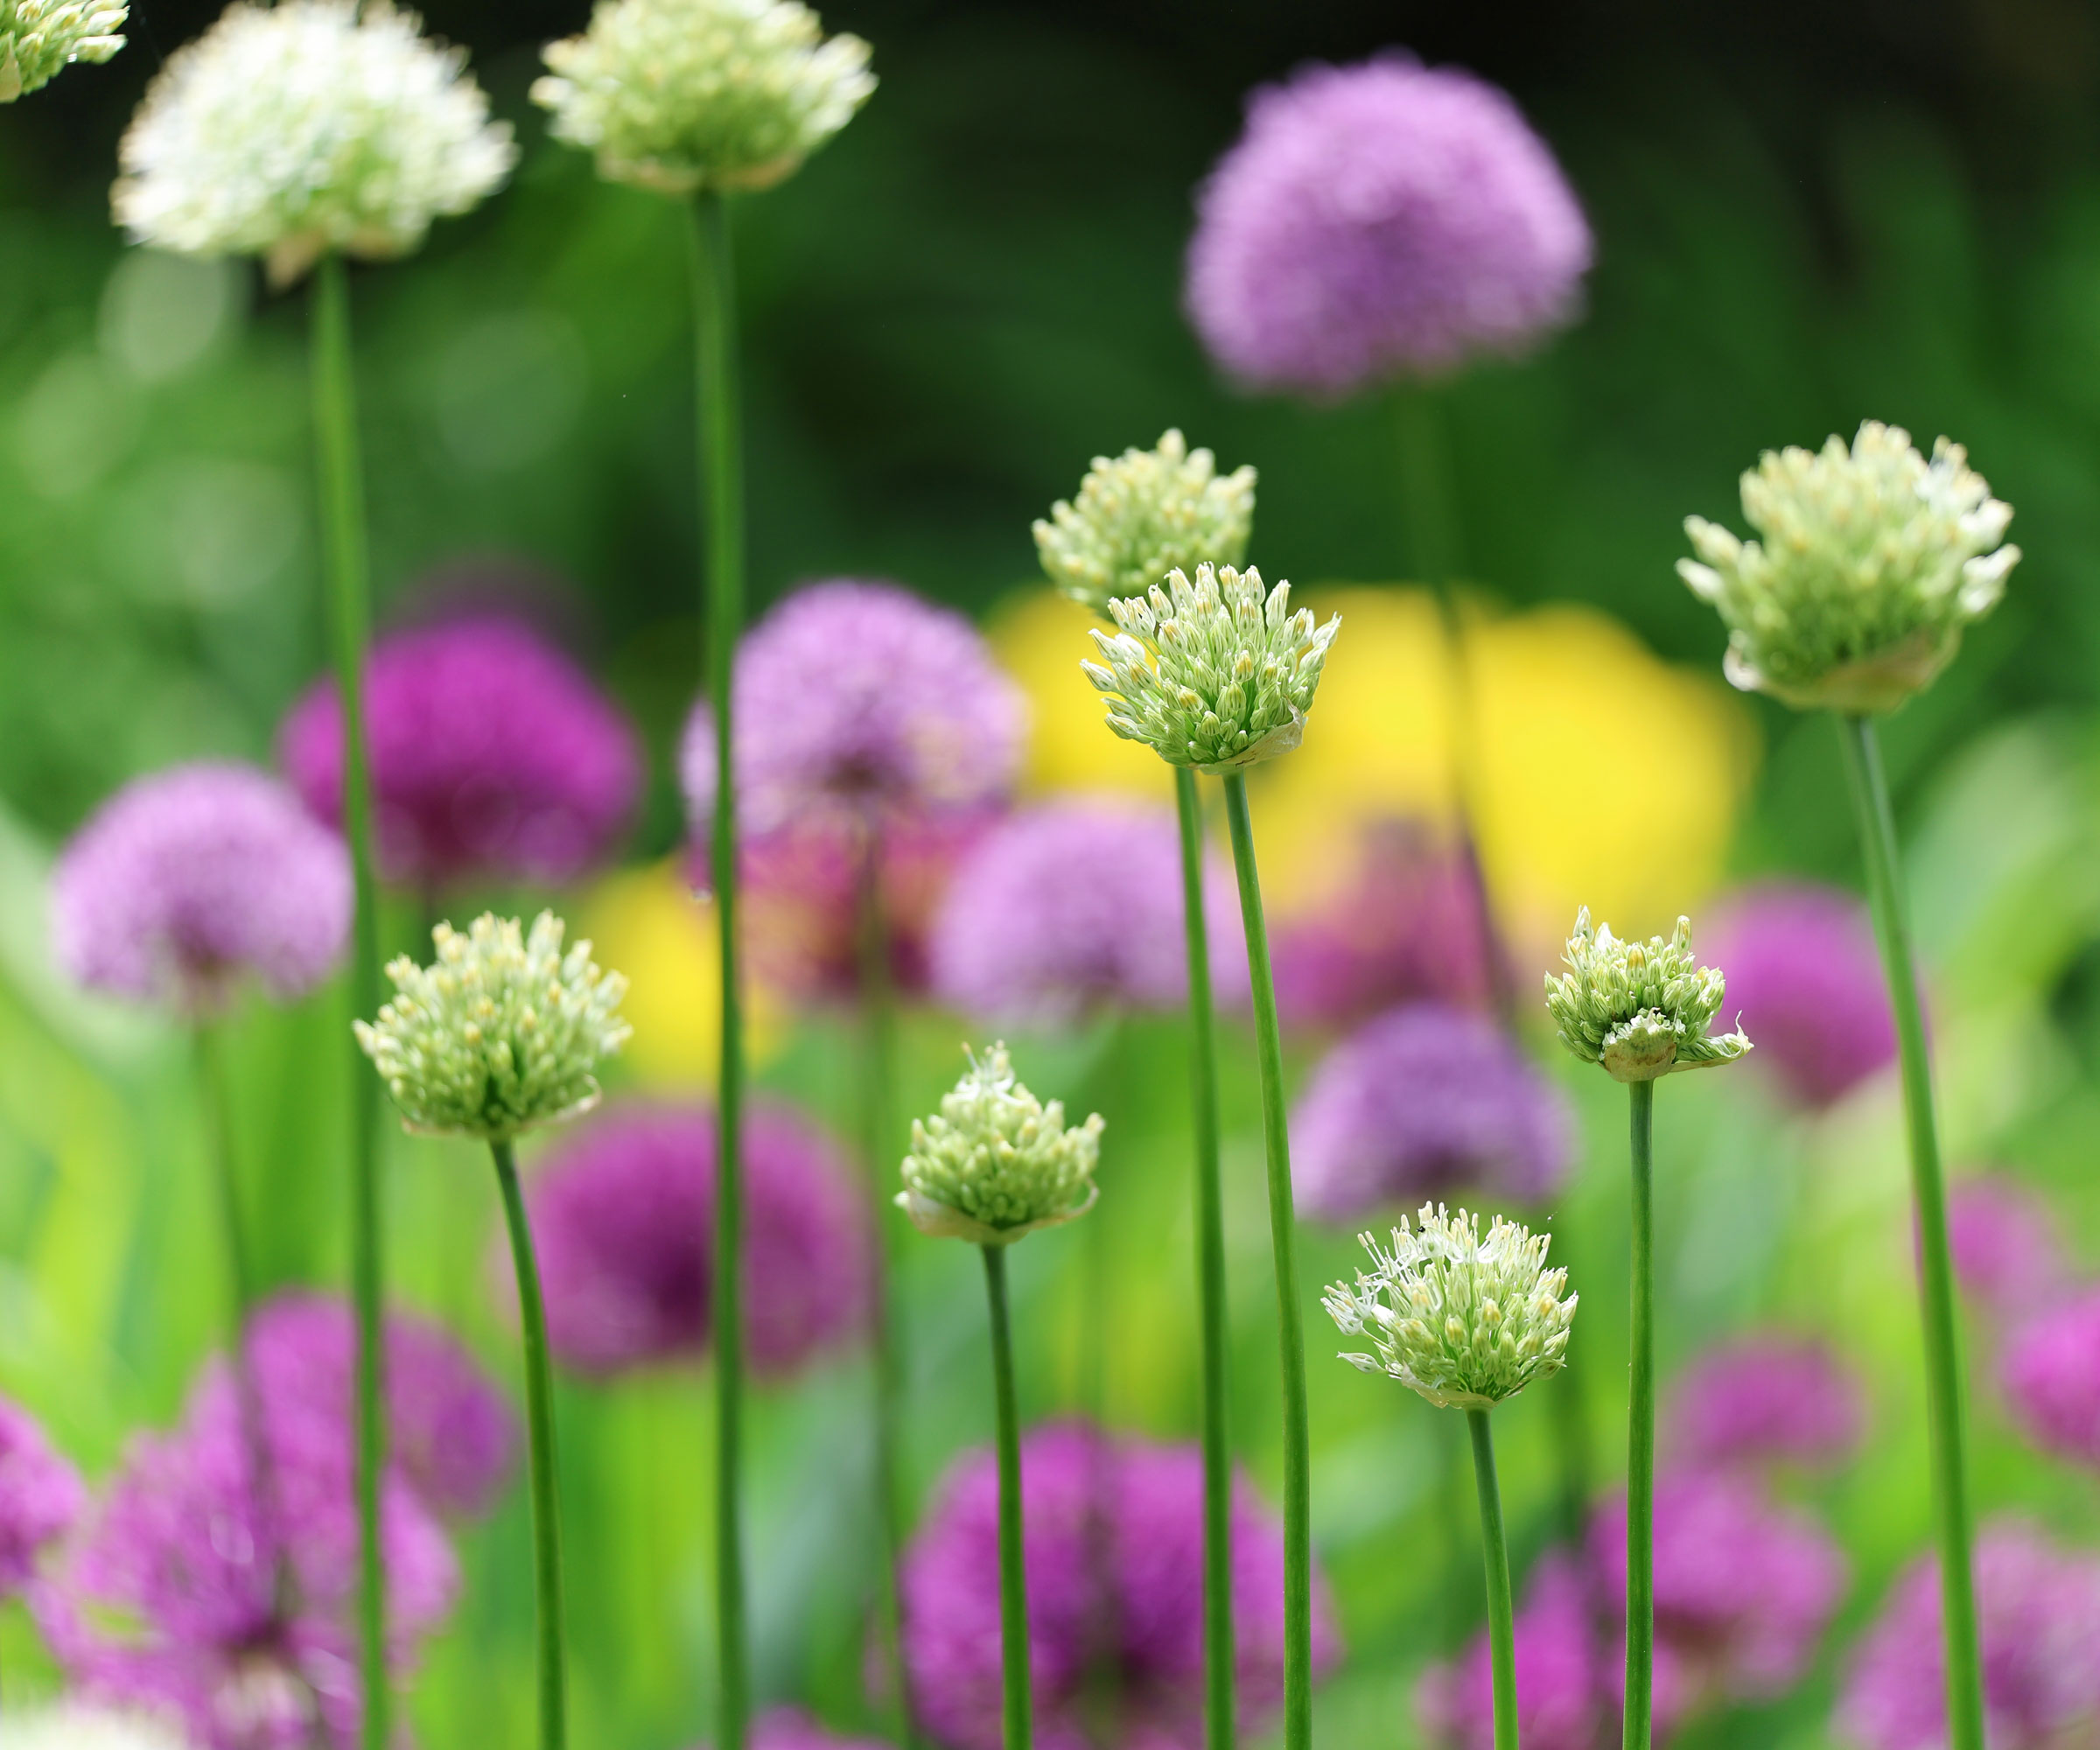
It might seem extraordinary to suggest it, given their considerable structural density and ponderous floral loads, but you absolutely can grow alliums in pots, although it isn’t ideal or preferred. You need a cold dormancy period and plenty of light to promote healthy bulbs. But if you choose the correct container depth and soil drainage, it is possible to enjoy alliums in container gardens. You have to select compact allium varieties, however. Plant at the same depth in containers as you would in the ground and make sure your alliums grow in full sun containers.
Suitable compact allium varieties include golden garlic or lily leek (A. moly) or drumstick alliums (A. sphaerocephalon). These can both be cultivated in generous containers, as long as their core sunshine and drainage needs are met. Use a deep pot (at least 12 inches / 30 cm) for medium to large allium varieties. Use a gritty, well-drained compost mix (half potting soil, half perlite or sand), and make sure your container has excellent drainage to support long lasting and vibrant plant varieties. Add a little extra horticultural grit or sand if needed.
Water moderately in spring and summer, during active growth and flowering. Start watering more sparingly once foliage dies back and cut back again after flowering fades. Make sure you store the container in a cool, sheltered, dry place over winter to protect the bulbs from repeated freezing and thawing. Bulbs in pots are more susceptible to freezing temperatures and will need some form of winter protection.
Overwintering Alliums
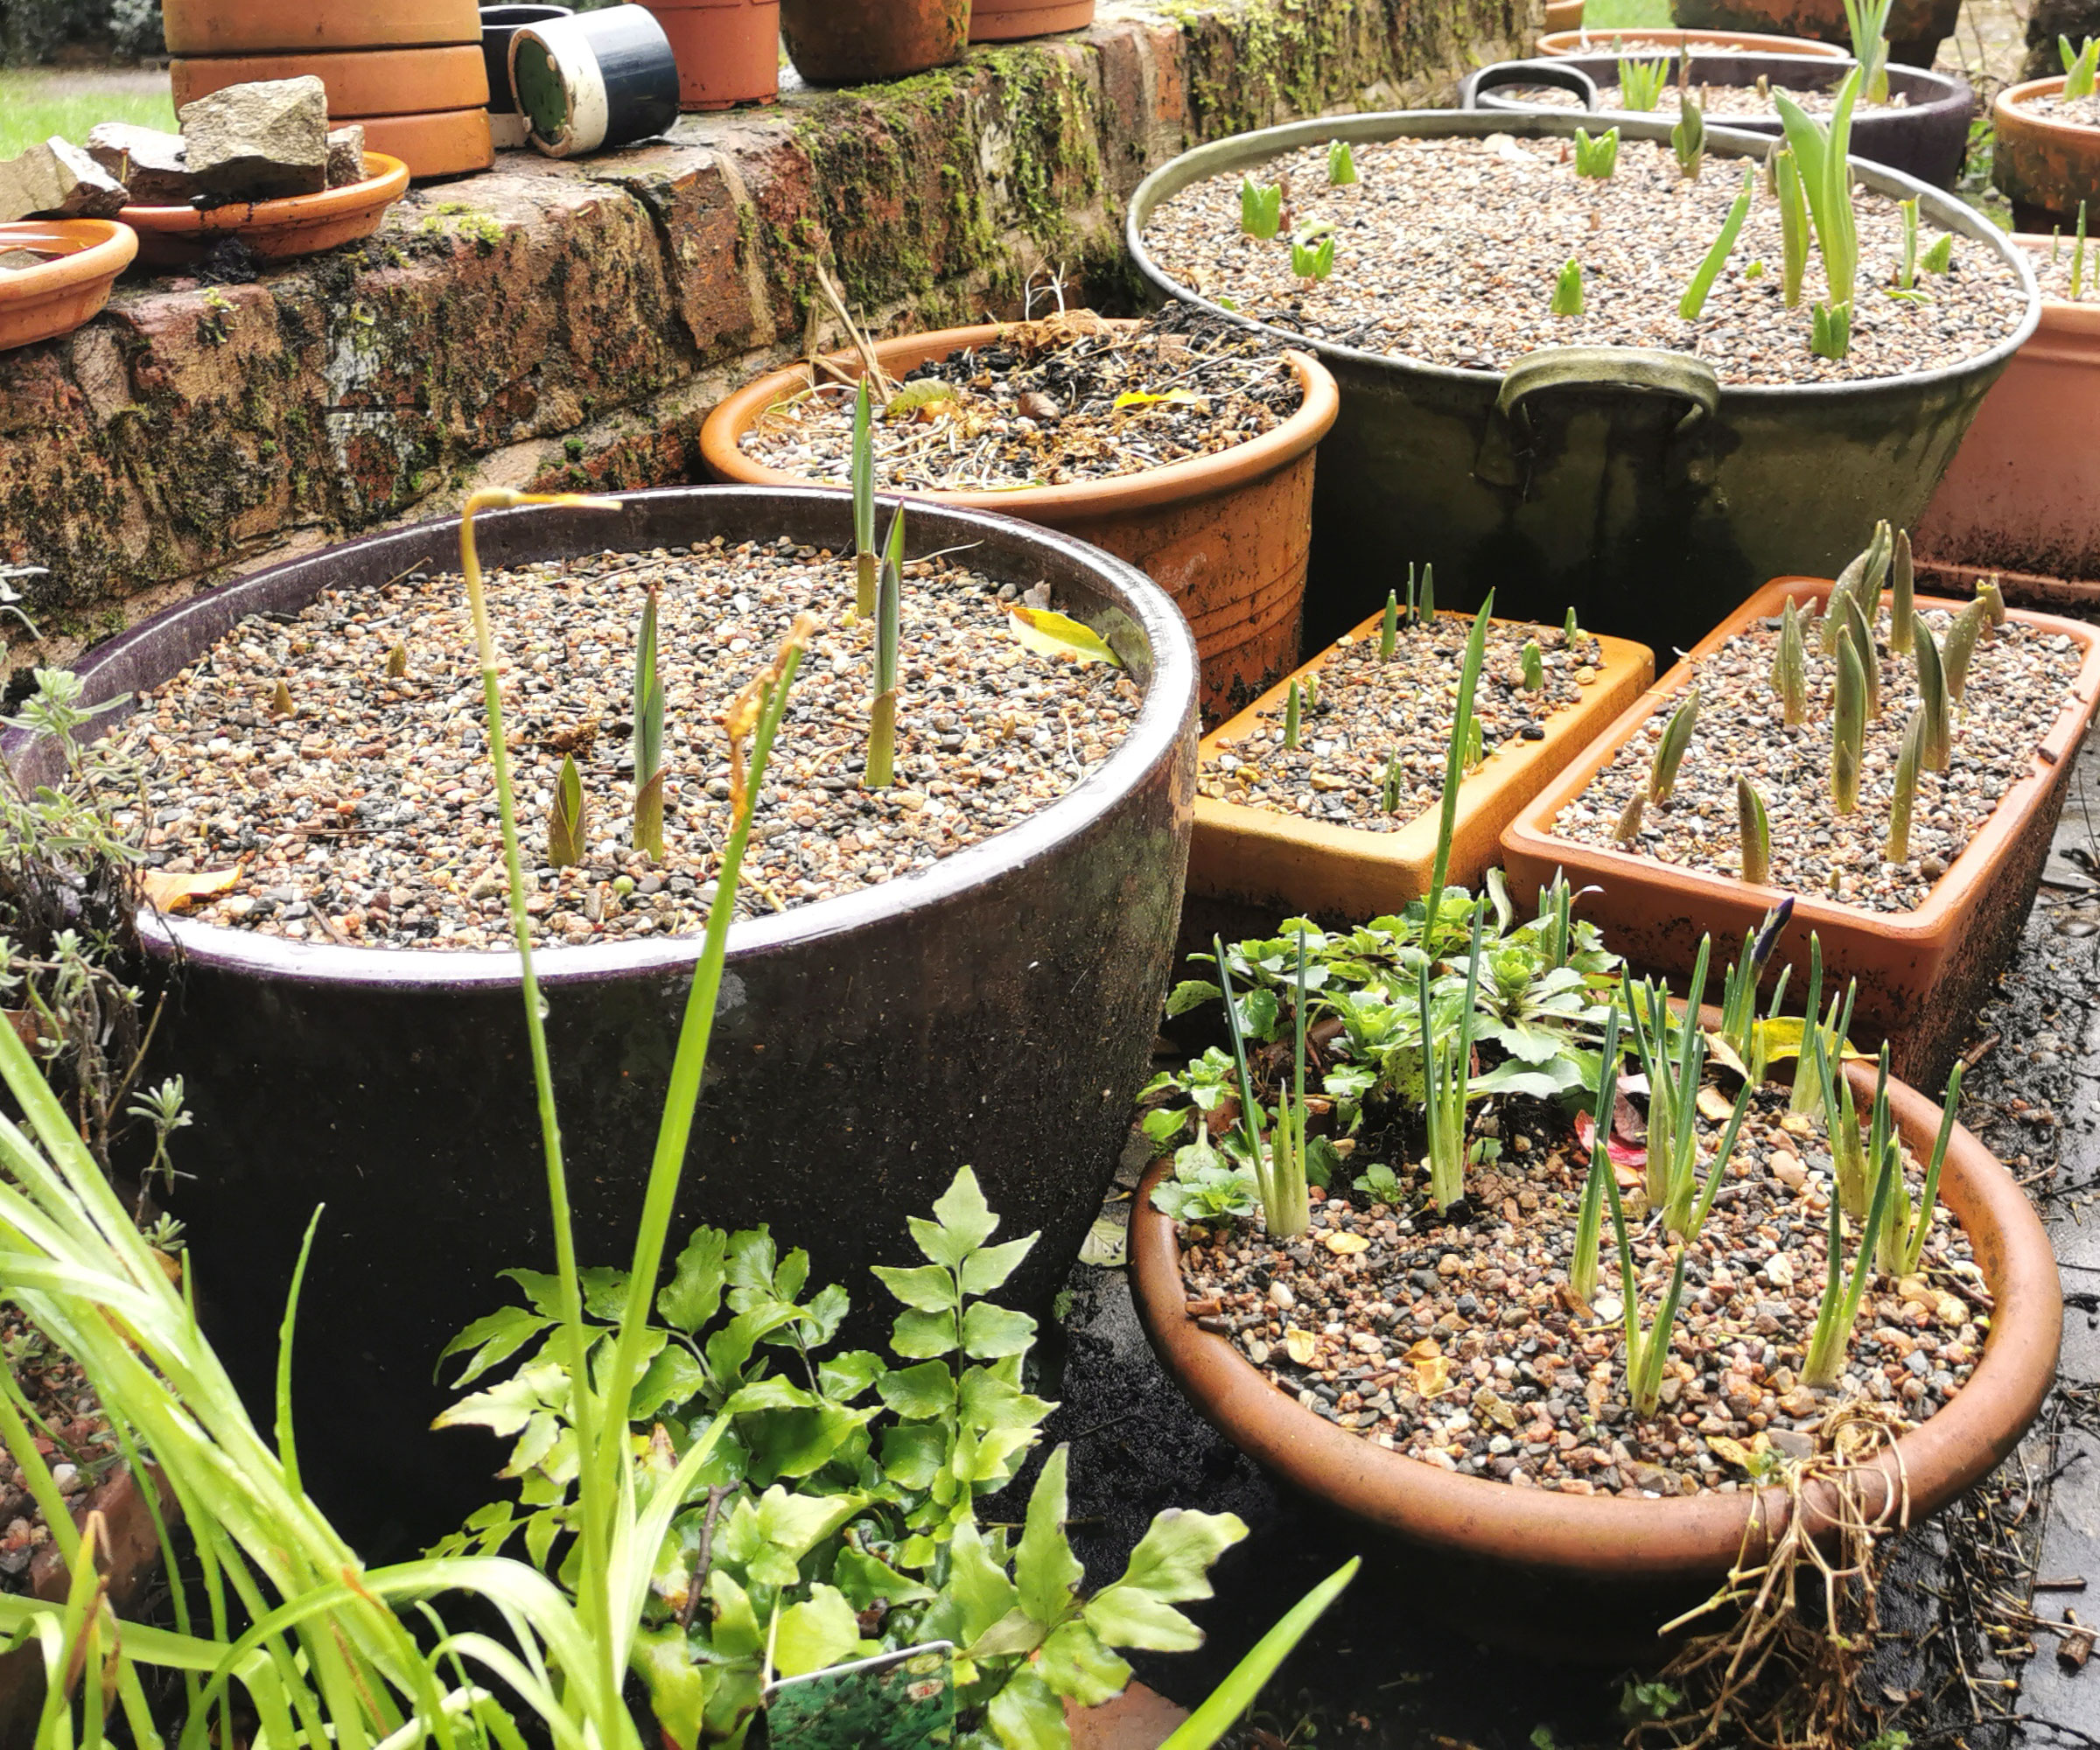
Alliums are hardy across most of the US and can usually overwinter in the ground. You don’t necessarily need special measures to keep most allium bulb varieties going into the new growing year, which is great news for more forgetful gardeners. As with the rest of the growing year, you just need to make sure that there is excellent drainage through the winter months in order to prevent bulb rot. When overwintering in USDA zones 4–5, you can apply a light mulch of straw or shredded leaves after the ground freezes to protect bulbs.
Move any container-grown allium bulbs to a sheltered spot such as an unheated garage to prevent freeze-thaw damage to your allium bulbs when winters are likely to be severe. Alternatively, if you think your zone is borderline, you can keep pots in a safe place outside as long as you insulate pots and place them in a spot that is nestled against cold winter extremes, such as a protected wall or frost-free porch.
Propagating Alliums
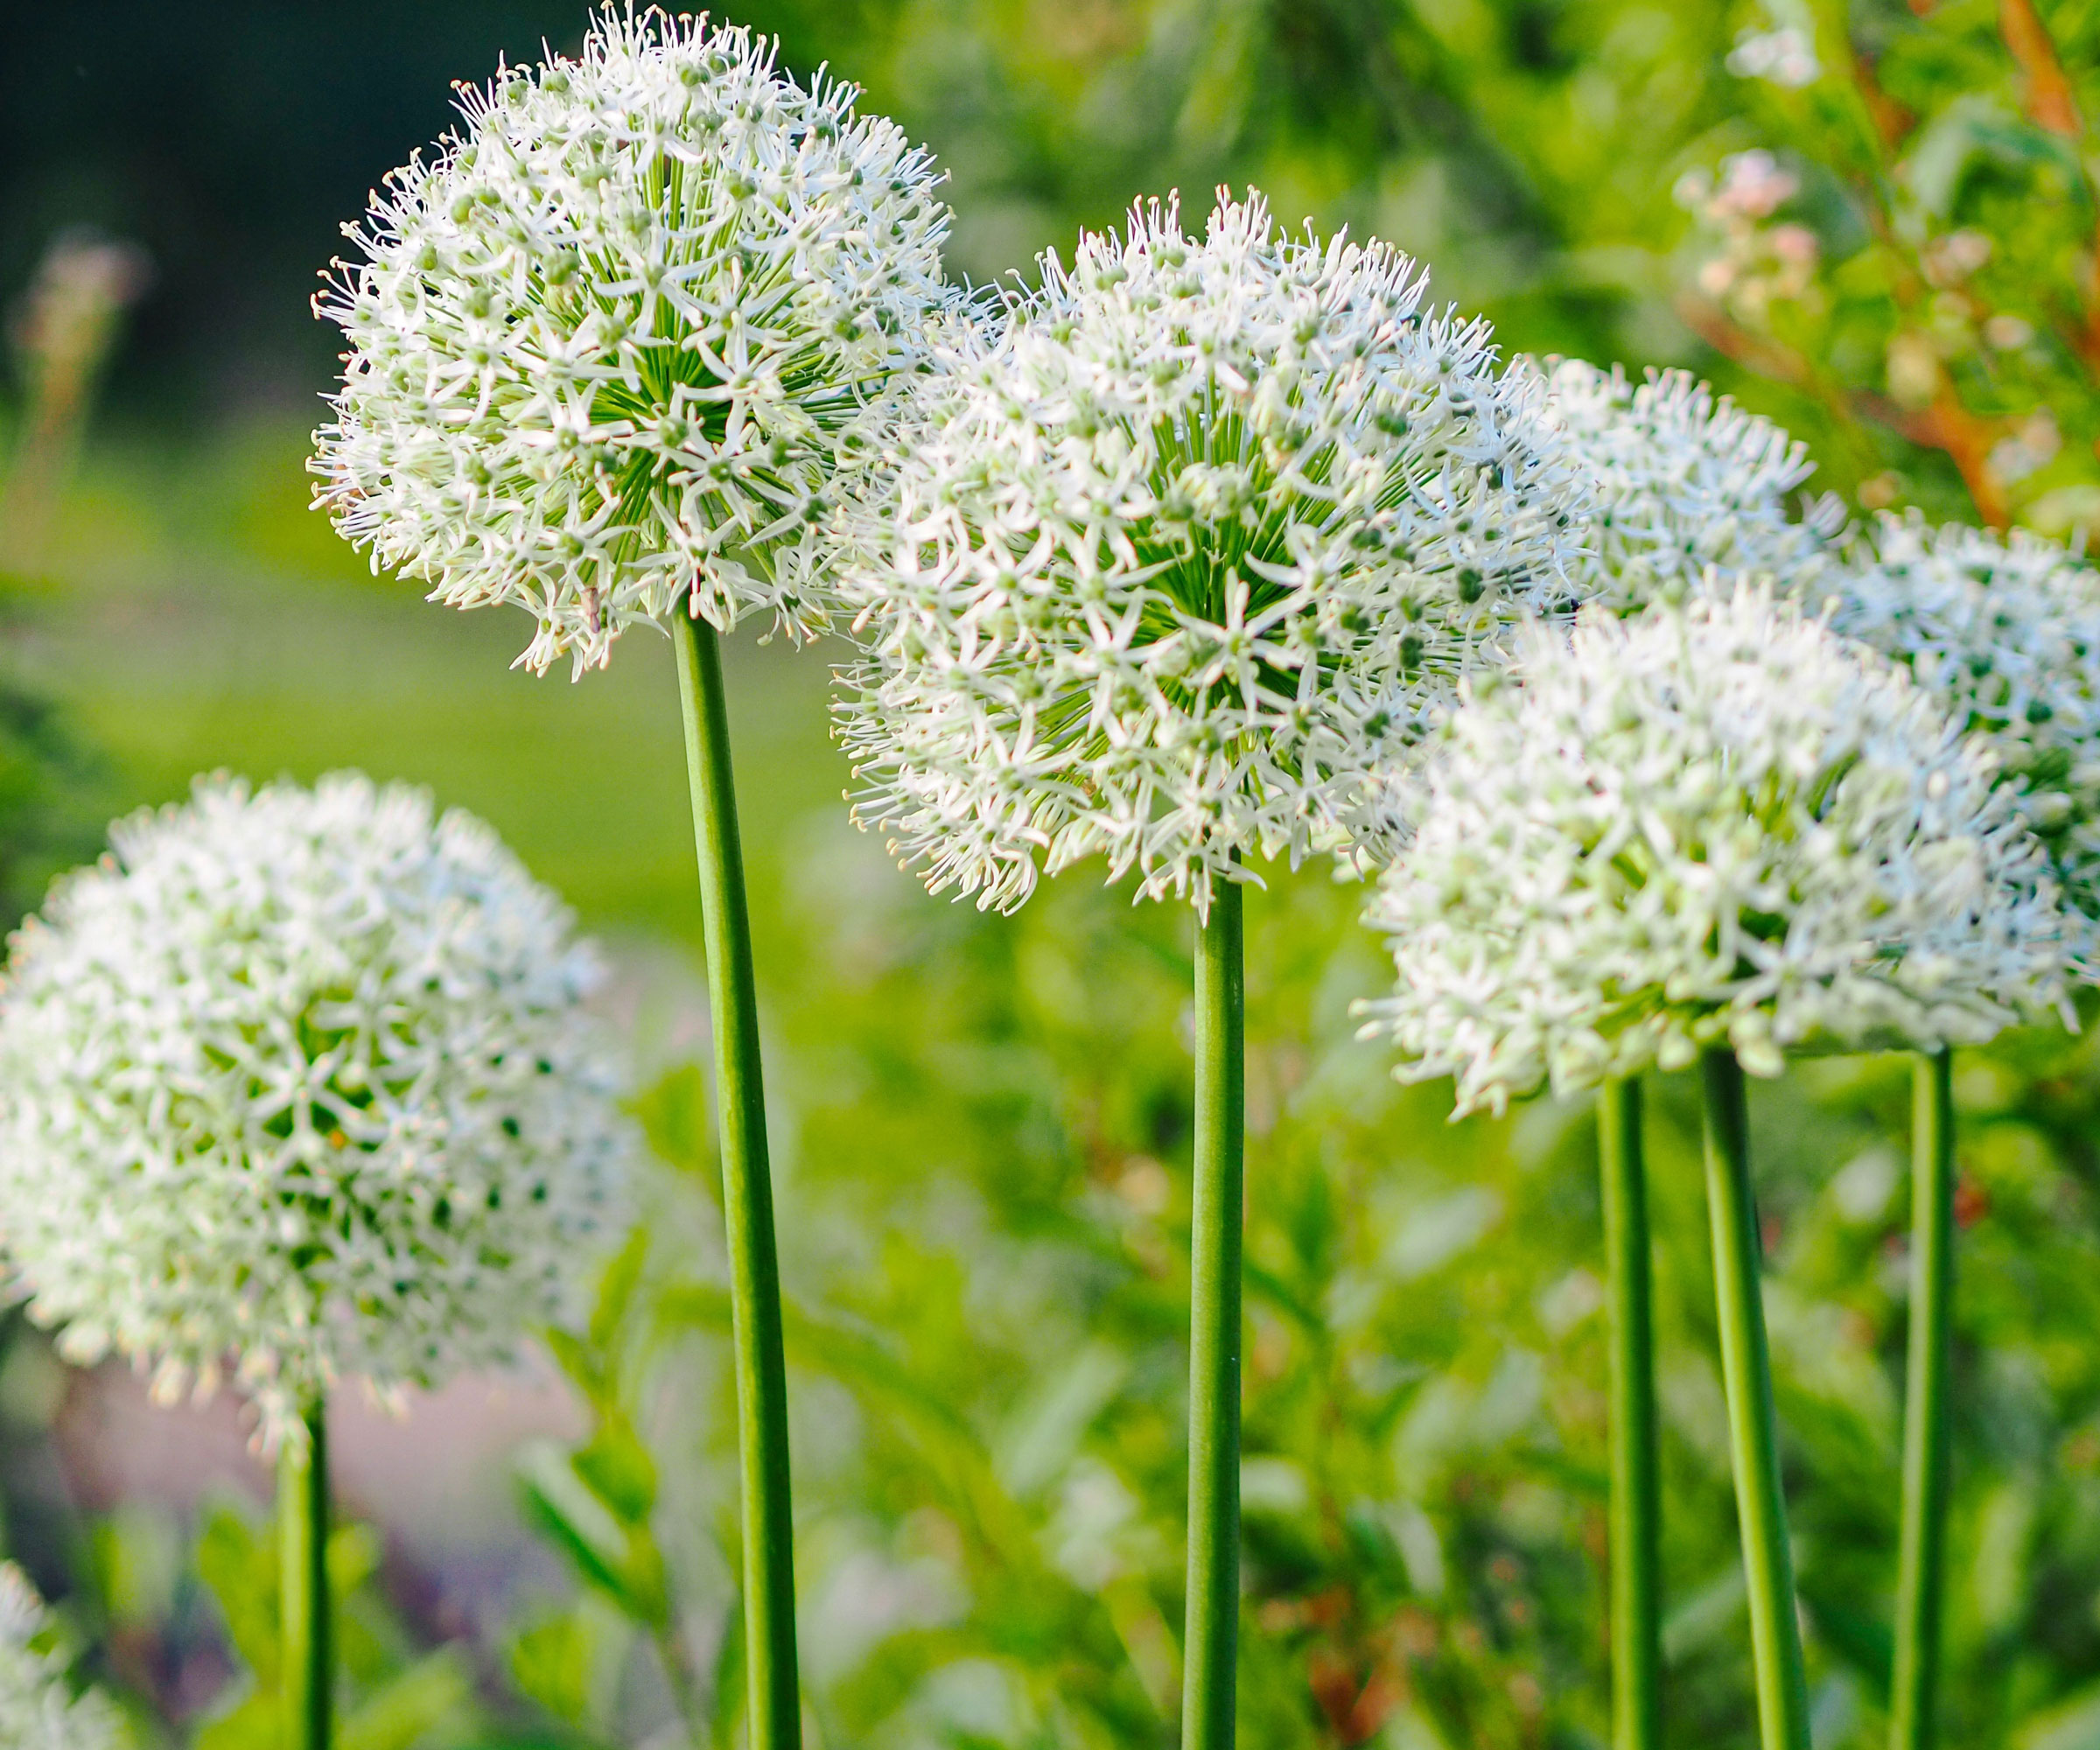
Alliums are perennials so you can leave your spent plants in the ground in most regions (or in a safe place in a container) and they should return the following year. However, if you would like to cultivate more alliums, there are a couple of plant propagation methods available. You can encourage more alliums from seed, either by encouraging self-seeding in the garden, or by propagating from seed under glass. Just bear in mind that this mode of propagation is only suitable for species alliums, not named cultivars.
Propagating from seed is a slow method, but satisfying. Bear in mind that seeds require a period of cold stratification to germinate. Sow seeds in trays of seed-starting compost in fall, then place them outside or in a cold frame so they experience some winter chill (and mimic winter dormancy in ground). Sow in trays of seed compost, cover lightly, and keep in a cold frame until germinated. Go for something sturdy with good airflow and optimal sunlight, like the HappyGrill Wooden Cold Frames from Amazon, with adjustable shelves and multiple access panels. Seed-grown alliums can take 2–3 years to bloom.
The easiest and most reliable way to grow more alliums is to grow from bulbs. These can be divided every 3-4 years to alleviate overcrowding. This is best done when the plant is dormant (in late summer or early fall). Dig up mature clumps in fall, gently separate the smaller offsets (the baby bulbs) from the parent bulbs, and then replant the divisions promptly. This rejuvenates your allium collection, refreshes bulb and root growth, and also helps to maintain strong flowering.
Common Allium Problems
Once established, you shouldn’t need to worry about that many allium pests and problems. As already pointed out, you won’t have to fret about deer or rodents, since they are repelled by the pungent onion smell. There are just a few issues to keep a watchful eye out for in order to ensure that your developing plants stay healthy:
- Onion Fly: This pest (Delia antiqua) appears as maggot-style larvae that feed on the roots and bulbs, causing plants to wilt or collapse from below. They’re likely to strike in damp springs or where onions and garlic have grown recently. Rotate crops yearly, and protect newly planted bulbs with floating row covers, such as Hortifan Pest Protection Floating Row Covers from Amazon. These can block adult flies from laying eggs. Remove infested bulbs promptly to prevent spread.
- Slugs and Snails: Molluscs can nibble on emerging shoots in early spring, leaving ragged holes or stunted growth. They thrive in cool, wet weather: Use barriers or slug traps such as beer pubs around young shoots to manage pest numbers. Try garlic solutions to keep slugs at bay, or encourage natural predators like frogs and ground beetles. Avoid overwatering or heavy mulching early in the season.
- Bulb Rot: This occurs when bulbs sit in poorly drained, soggy soil. Affected bulbs become soft, discolored, and may emit a sour smell. It is caused by overwatering or poor drainage, and presents as fungal pathogens such as fusarium or botrytis. To reduce the risks of bulb rot, always plant bulbs in well-draining soil or raised beds, and avoid overwatering. Mix in some coarse sand or grit when planting, and never reuse soil from rotted bulbs. Remove affected plants to prevent spread.
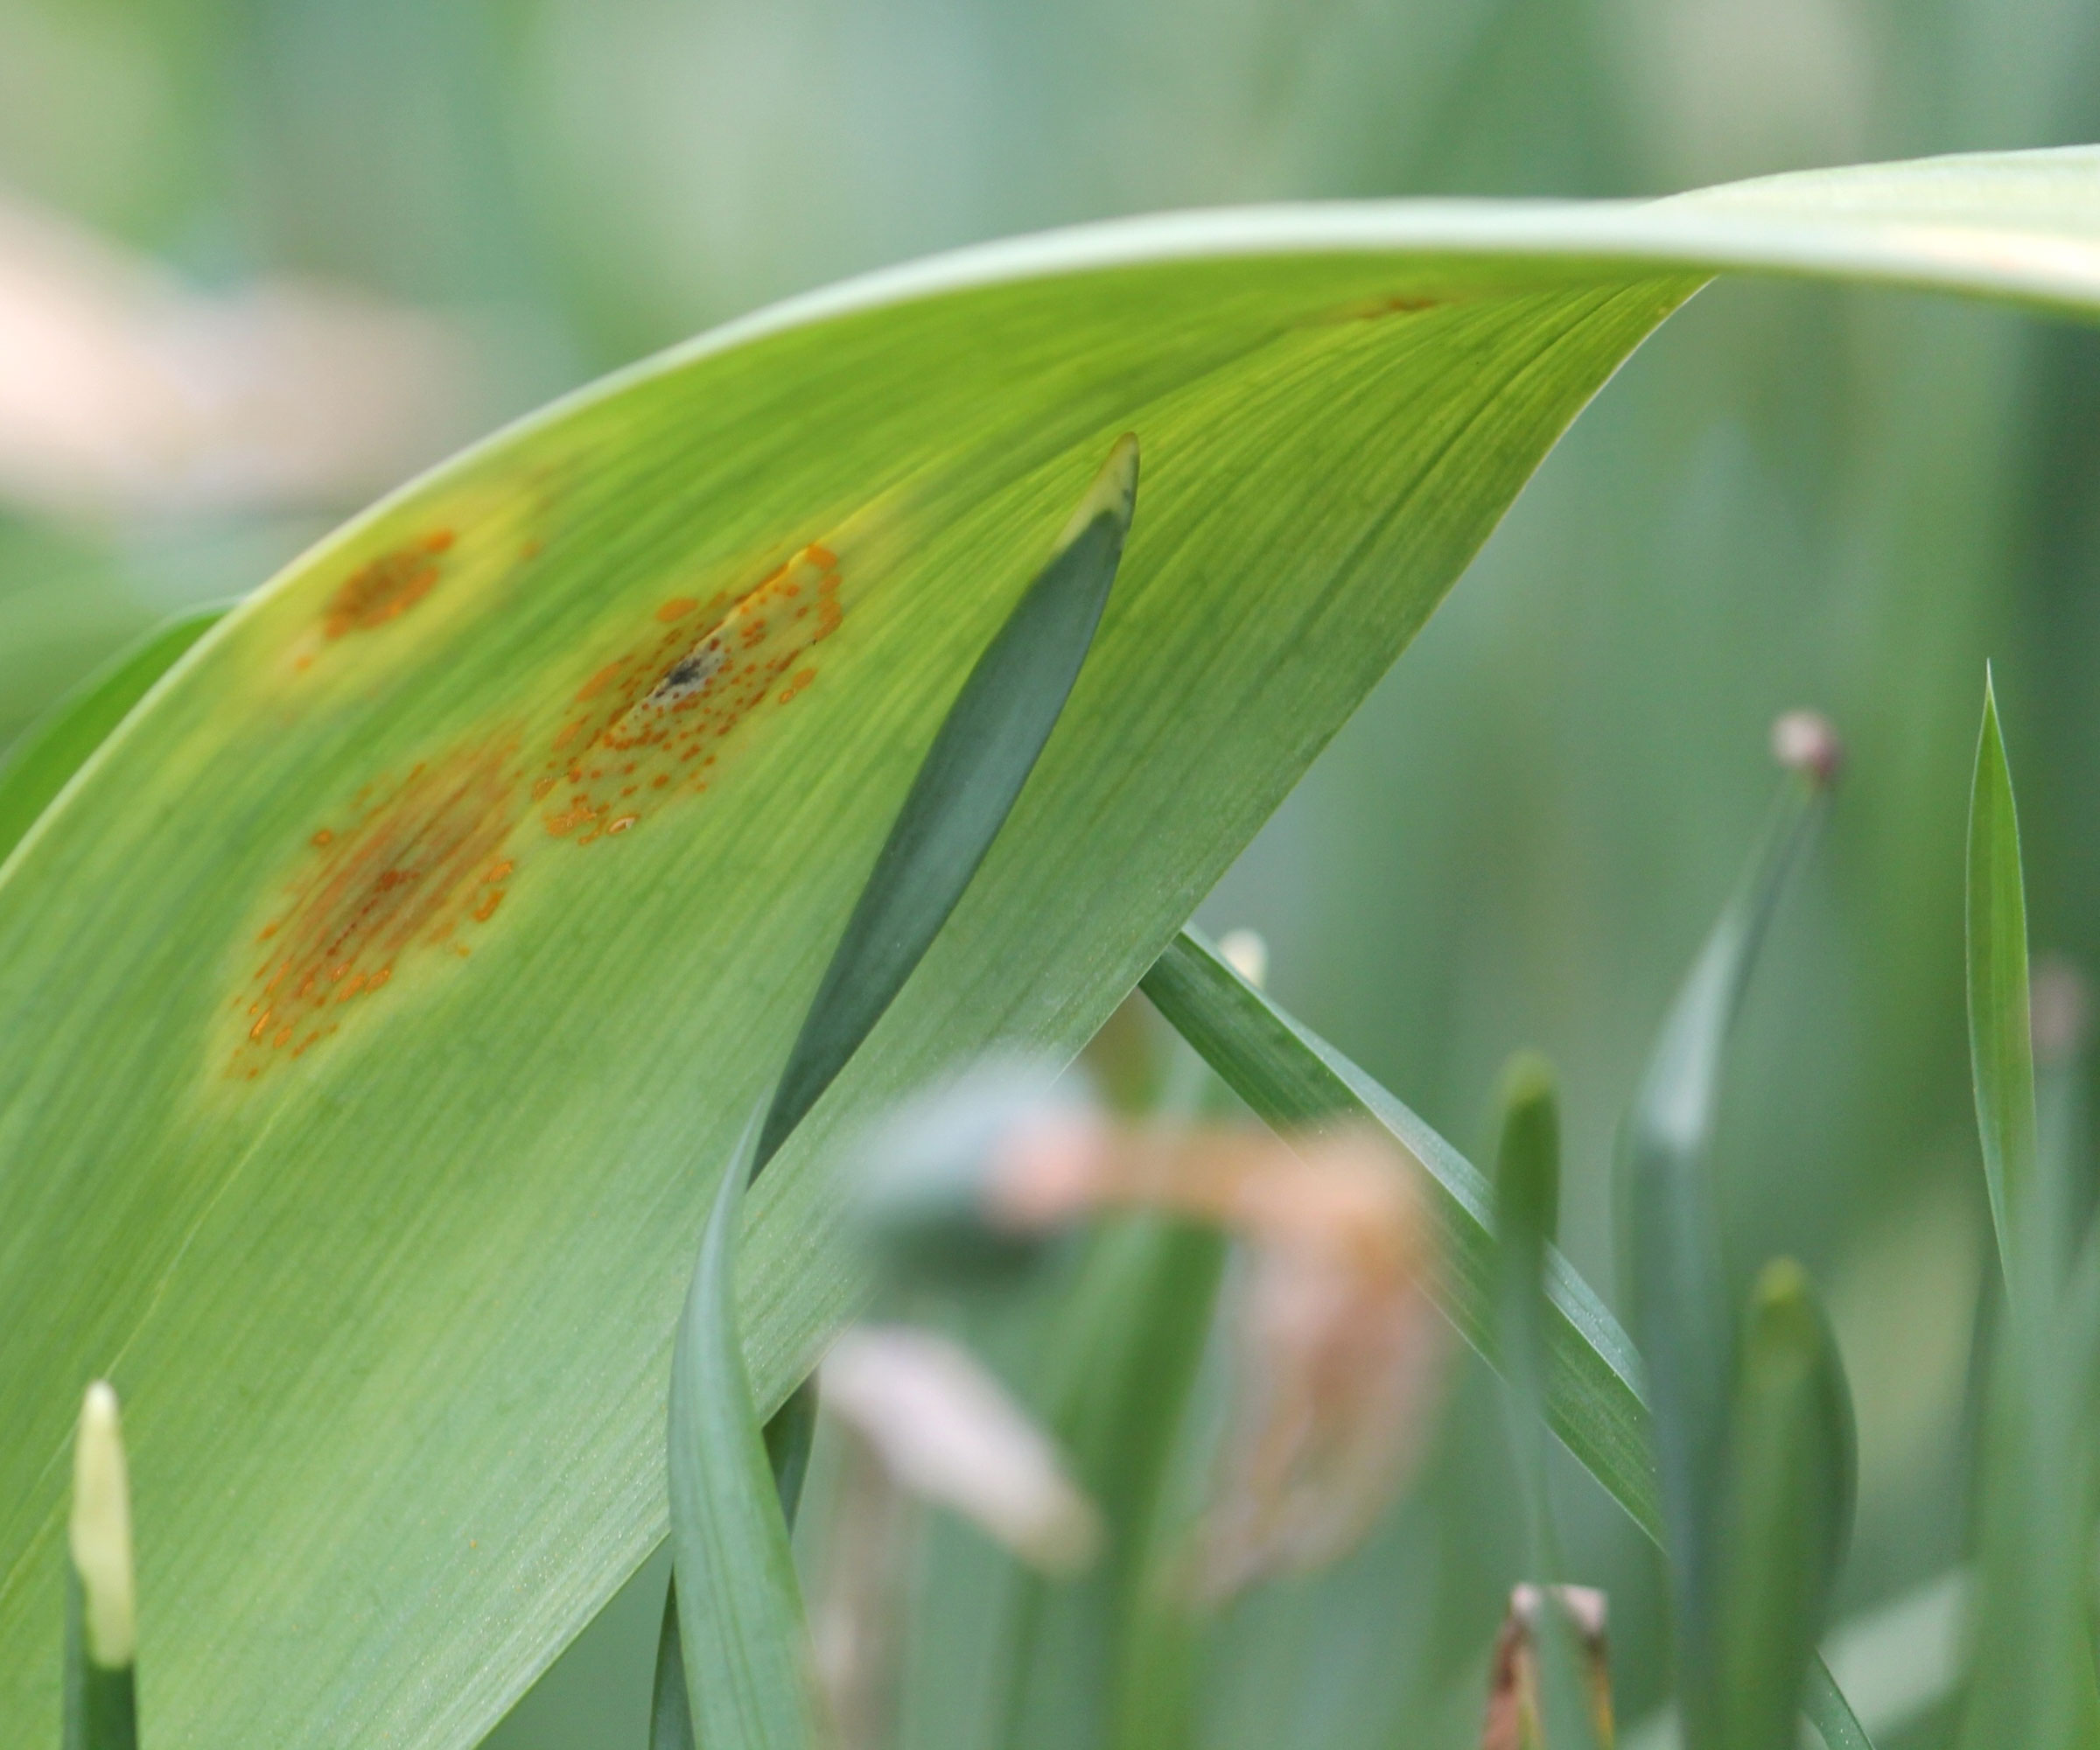
- Rust and Mildew: Rust appears as orange or brown pustules on leaves. Mildew forms a gray coating that weakens foliage. Both flourish in humid, overcrowded plantings with poor airflow. Space alliums generously and water at the base to keep leaves dry. Dispose of infected foliage (not on the compost heap). Encouraging good airflow and rotating planting sites can prevent reinfection. Apply neem oil foliar sprays like Bonide Captain Jack’s Ready-To-Use Neem Spray from Amazon, or use a homemade neem oil spray as an antifungal agent.
Allium Companion Plants
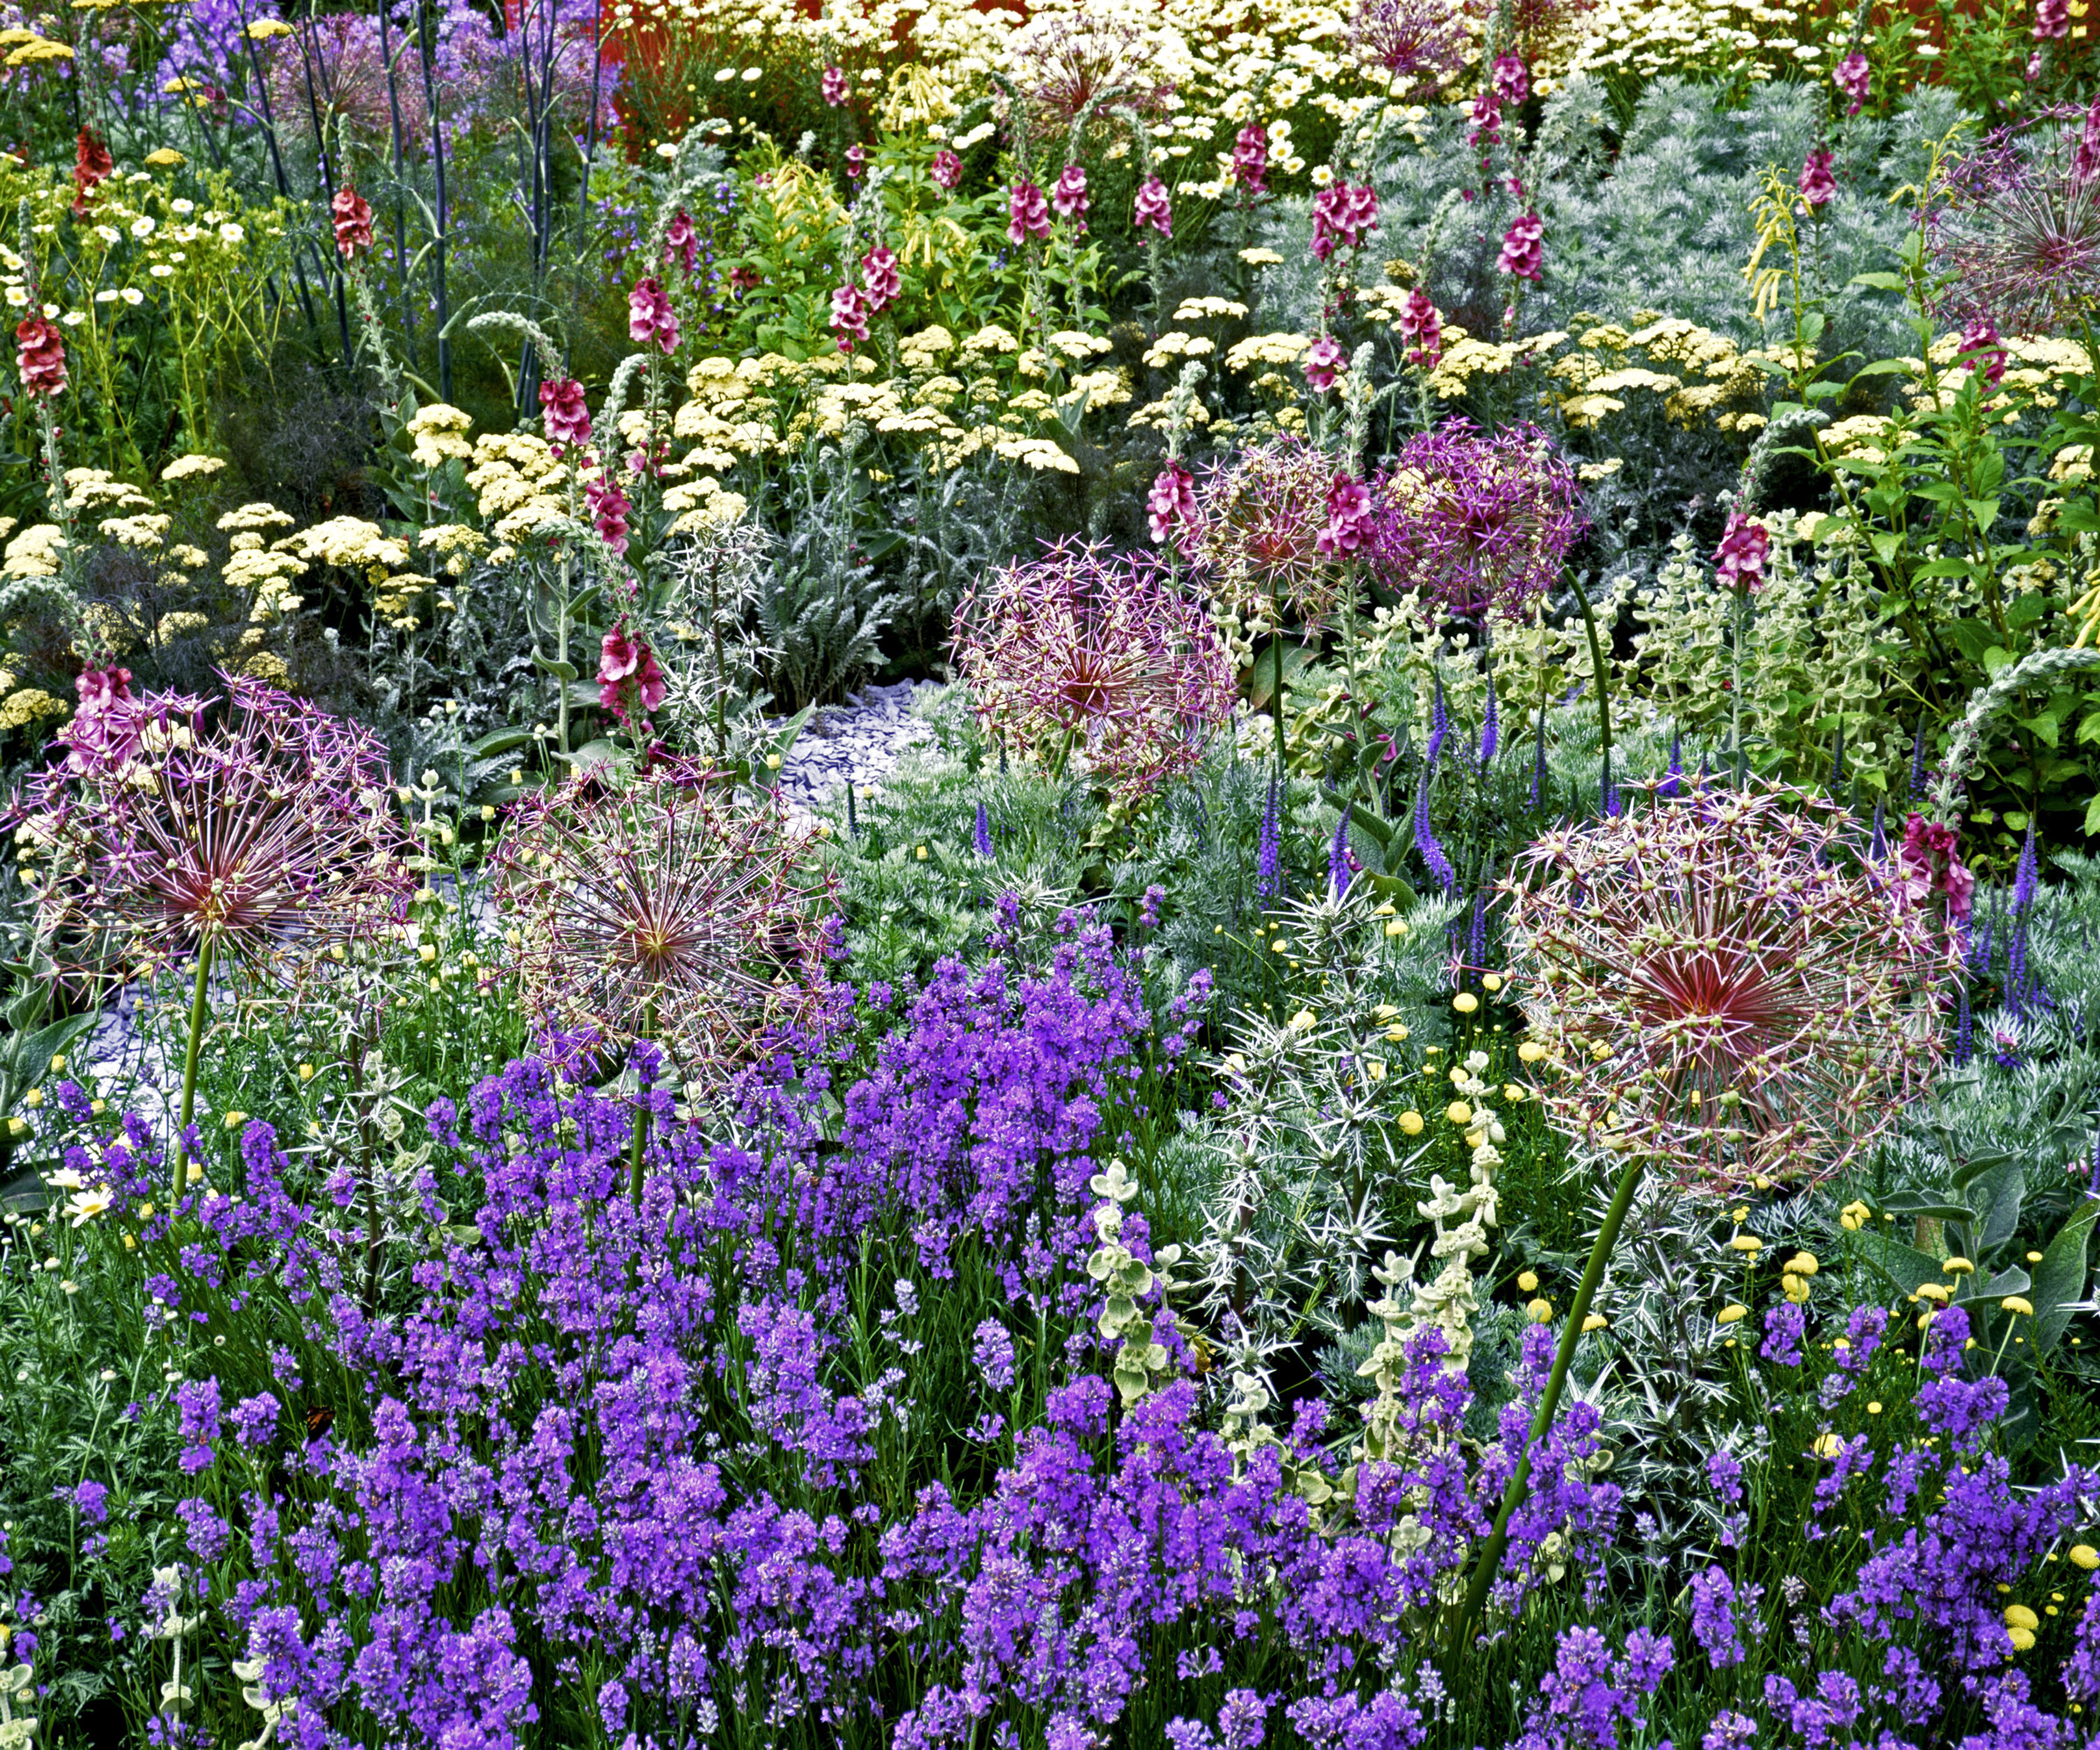
While you’re turning your garden into a living fireworks display, give some thought to the best plants to grow alongside your alliums. While they can look dominating, they make lovely team players in beds and borders. What’s more, the right plant partners can disguise early leaf dieback. Select leafy plants and perennials to pair with your spring bulbs to mask fading leaves, plus those that complement their bold colors:
- Nepeta: This silvery, aromatic foliage softens the vertical lines of allium stems, creating a romantic, layered effect. Catmint continues blooming after they fade. Buy ‘Pink Cat’ Nepeta Seeds from Amazon.
- Salvia: Drought-tolerant and pollinator-friendly, salvias thrive in the same conditions for seamless continuity. Buy Outsidepride’s ‘Blue Monday’ Seeds from Amazon for an arresting counterpoint.
- Roses: A lush pairing, as rounded alliums highlight velvety rose forms while helping to deter aphids. Buy ‘At Last’ Hybrid Tea Rose from Nature Hills for a gorgeous peachy complement to potent tones.
- Cranesbill: Hardy geranium makes an excellent living mulch and covers the space well as allium foliage dies back. Create months of color with long-blooming varieties like ‘Rozanne’ Geranium Hardy Cranesbill Perennials from Amazon.
- Lavender: The allium’s herbal twin, lavender, echoes its colors while extending the season. They are natural companions in a serene tapestry that hums with bees in summer. Buy Provence Lavender from Amazon for intense color saturation.
- Hostas: In part shade, hostas’ broad, lush leaves hide the fading foliage of alliums and provide a cool contrast. Pairing the two ensures your planting looks fresh and intentional. I love ‘Earth Angel’ Hosta from Nature Hills with its soft blue notes.
- Ornamental Grasses: Stipa and pennisetum bring movement and texture to the allium’s bold geometry. Airy Stipa tenuissima catches the light, while Pennisetum alopecuroides adds rhythm. Buy Pennisetum ‘Jamalaya’ from Nature Hills for soft, sweeping bronze tones.
Frequently Asked Questions
Can I leave allium bulbs in the ground year-round?
Absolutely! Alliums are reassuringly hardy and actually prefer not to be disturbed once they are established. Alliums prefer to stay put and will naturalize beautifully over time.Many varieties, like ‘Globemaster’, ‘Purple Sensation’ and Star of Persia (Allium cristophii), slowly multiply by forming offsets or self-seeding, but they’re rarely invasive so it’s fine to leave them underground after flowering.
Do alliums come back year after year?
As long as they are planted in a suitable spot with full sunshine and moist, well draining soil, alliums will come back for several years. Varieties like Star of Persia produce larger flowers as bulbs mature and increase in size. Let the leaves die back naturally after flowering as these leaves help to nourish the bulbs for the following year’s growth. You can divide them if they get crowded. Plant them once, enjoy them for years.
Why didn’t my alliums flower?
Likely reasons include shallow planting, insufficient sunlight, or overcrowded bulbs competing for nutrients under ground. It might also be because you removed foliage too early the previous year. Divide and replant for better results next year. Poor soil fertility could also be a factor. When you replant bulbs, make sure they are 2–3 times their own depth in full sun, ensuring well-drained, fertile soil. Feed lightly with a balanced bulb fertilizer in early spring.
Why are my allium leaves yellow?
Some foliage yellowing is normal as bulbs die back, but early or uneven discoloration often points to overwatering, compacted soil, or nutrient imbalance or deficiency. Check drainage and loosen compacted soil. Allow soil to dry slightly between waterings, and apply a slow-release fertilizer in spring to support healthy foliage before blooming. Improve drainage with a little coarse sand, grit or vermiculite, and manage water levels accordingly.
Allium Quiz
Allium Care Essentials
Alliums are the definition of low effort, high reward – and in many ways, they are a gardener’s secret weapon. If you haven’t grown an allium, ornamental onion displays are stunningly sculptural, yet almost effortless to cultivate. As you embark on your allium adventure, just make sure you have these key planting essentials to hand:
- Use a reliable soil meter like the Yamron 4-In-1 Soil Meter from Amazon, which can help test soil pH levels, moisture and light levels, and nutrient loads ahead of planting – and help you decide on any soil amendments to help alliums flourish.
- Plant your allium bulbs comfortably and at speed by using the Garden Weasel Long Handle Bulb Planter 91350 from Amazon, especially effective in heavier, less yielding soils and deeper beds.
- Boost allium root growth with a phosphorus-rich bulb fertilizer such as Espoma Organic Bulb-Tone from Amazon, applied at the time of planting and again after bloom to keep your alliums coming back strong.
- Use an organic mulch such as Back to the Roots Organic Mulch with Natural Wood, available from Amazon to manage moisture levels, suppress weeds, keep roots cool, and regulate soil temperatures.
- Tackle some of the worst effects of mildew with a swift, repeat application of Bonide Captain Jack’s Ready-To-Use Neem Oil Spray from Amazon (or similar organic control).
- Deadhead spent flowers you don’t want to leave standing for visual interest, using the Spear & Jackson CuttingSet8 Traditional Bypass & Anvil Secateur Set from Amazon, to help with precision cuts that cause minimal damage to plants.
Once you grow these bold orbs, it’ll be hard to imagine your garden without them. They may be part of the onion family, but these bulbs are anything but ordinary. Plant a handful this fall, and next spring you’ll be greeted by a galaxy of globe-tastic blooms.
Need more ideas for timely gardening jobs and seasonal expert advice delivered straight to your inbox? Sign up for the free Gardening Know How Newsletter!

Janey is a former assistant editor of the UK’s oldest gardening magazine, Amateur Gardening, where she worked for five years. For the last few years, she has also been writing and editing content for digital gardening brands GardeningEtc and Homes & Gardens. She’s taken part in a range of conservation and rewilding projects for the Royal Horticultural Society (RHS) and the British Trust for Conservation Volunteers (BTCV) as a way of exploring her horticultural horizons. She is currently undertaking her RHS Level 2 certificate in The Principles of Plant Growth and Development.
- Amy DraissDigital Community Manager