Care for Bulbs After Blooming

Spring displays of bulbs are one of the earliest signs of the upcoming growing season. From crocuses to daffodils then to tulips and alliums, this show can last for most of the spring months.
But, as spring becomes summer and the temperatures begin to rise, the flowers fade, and all you are left with are clumps of unattractive leaves.
While the foliage of some plants can remain upright and green for the next few weeks to months, some bulb plants decline quickly. This includes daffodils. The foliage usually flops to the ground in an unsightly fashion quickly after the blooms have faded. It is very tempting to chop the leaves at the ground, but, if you want the bulbs to bloom again next year, you have to resist this urge. Read on for tips on bulb care after blooming.
Deadheading
The first thing you can do to tidy up the plant is to deadhead the spent flowers.
In fact, it is highly recommended to remove the blooms as soon as they fade. Otherwise, the bulbs will exert too much energy to create seeds. Removing the seed pot will allow the bulb to focus its energy into producing a flower for next spring.
Once the flowers have faded, you can cut the bloom stalk off at the base of the plant or just below the flower.
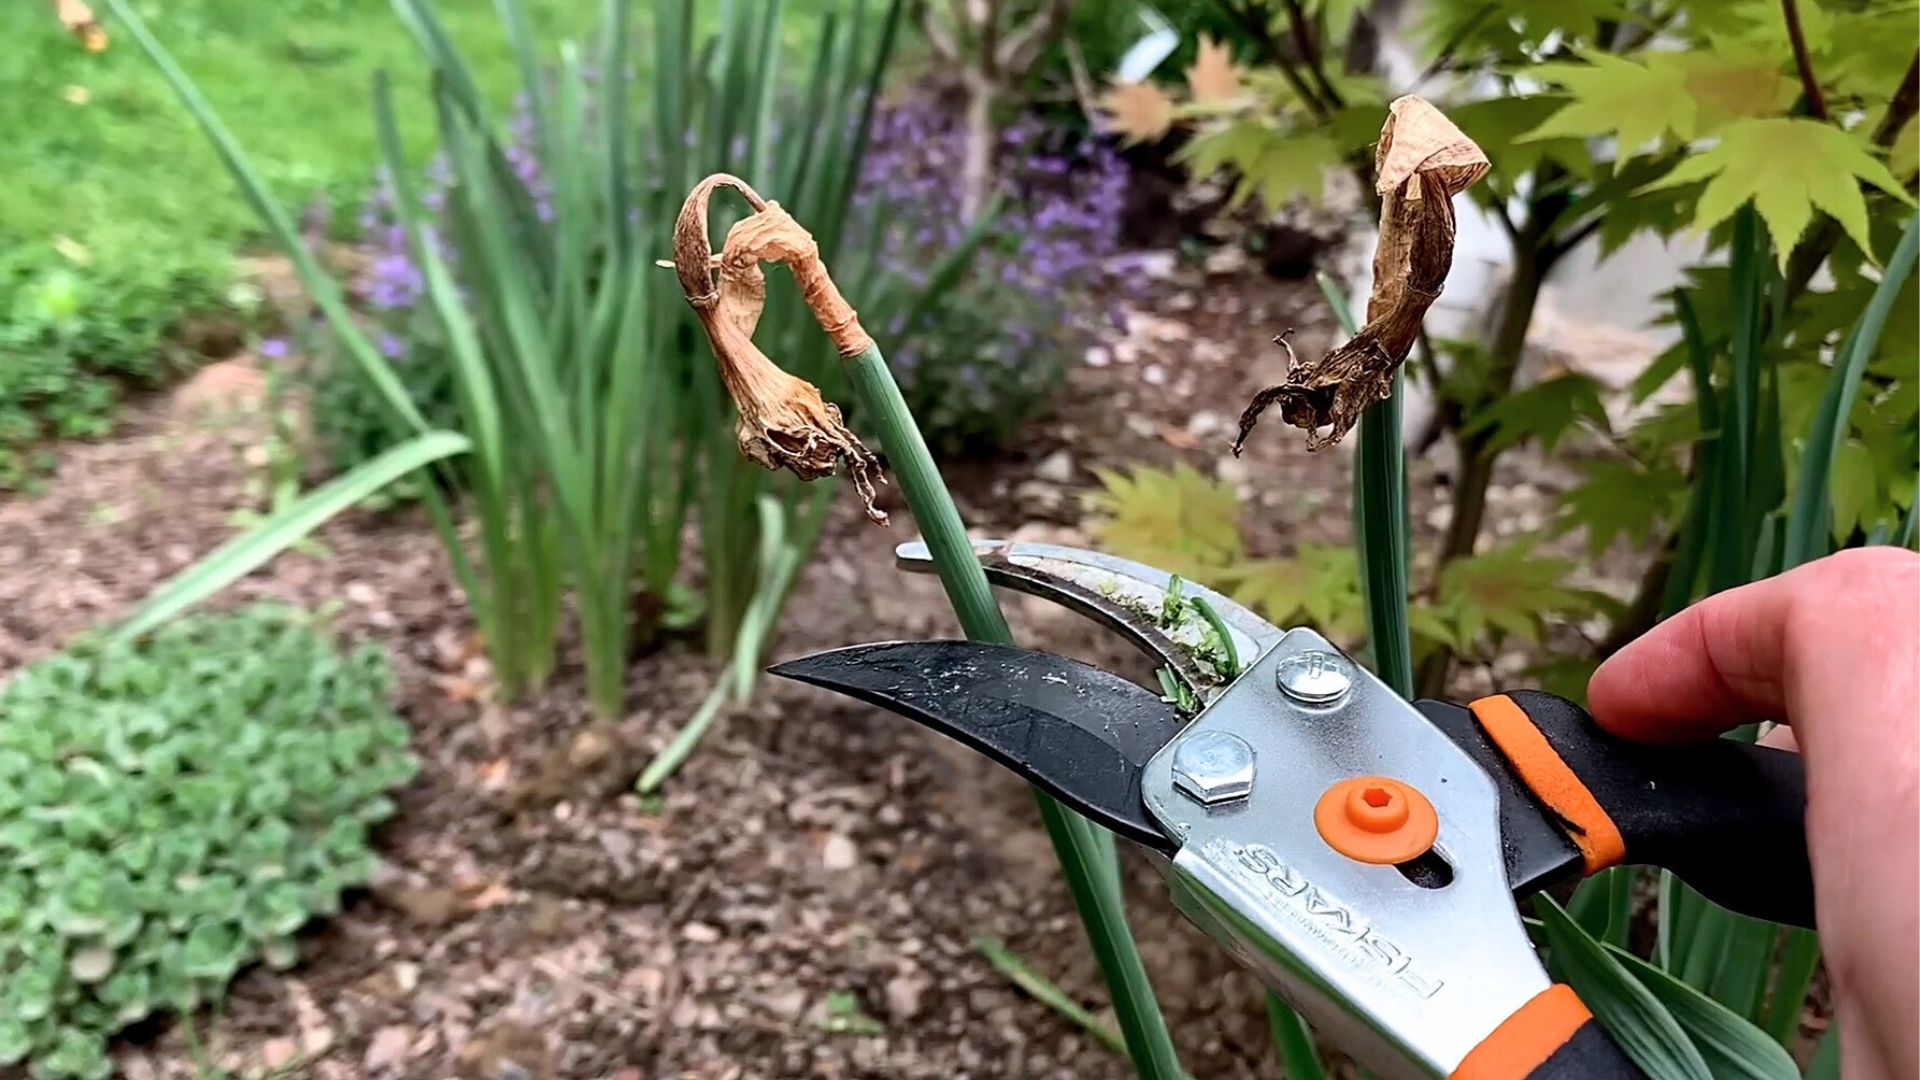
One particular plant that should be deadheaded is the grape hyacinth. The plant does not need seeds and setting these seeds depletes its energy. Be sure to deadhead these plants right after bloom.
Gardening tips, videos, info and more delivered right to your inbox!
Sign up for the Gardening Know How newsletter today and receive a free copy of our e-book "How to Grow Delicious Tomatoes".
Faded tulip blooms should also be snipped as soon as possible. If the tulip is not deadheaded and produces seeds, it will have less energy to form a flower for the next season.
Should You Cut Back Bulbs After Flowering?
You may be tempted to remove the leaves of these early spring bloomers but the foliage does have a role to play.
The leaves absorb sunlight, and through the process of photosynthesis, the energy is converted into food to feed the bulb for next year’s bloom. If the plant cannot gather enough energy, the flowers and foliage for next season may be negatively affected.
It is best to leave the foliage in place until it turns yellow and dies back naturally. This may take up to 6 weeks.
You may have seen some gardeners tie up the foliage with a rubber band, bend over the foliage, braid them or tuck the foliage under nearby plants. While this advice is controversial, many seasoned gardeners have had good luck with these methods. It may be worth a test in your own garden.
Basically, if the leaves are cut or bundled, they will not be exposed to enough sunlight, thus reducing photosynthesis and possible bloom potential for the next year.
When the foliage has completely yellowed or died back, usually 6-8 weeks after bloom, feel free to cut all of the foliage off. The foliage would make a fine addition to your compost pile.
Interplanting Bulbs
An alternate option to covering up unsightly bulb foliage is to camouflage the leaves.
Interplant your bulbs with perennial plants that grow leafy foliage quickly after the bulbs have bloomed. The taller, thicker foliage of these plants will quickly disguise the drab leftovers.
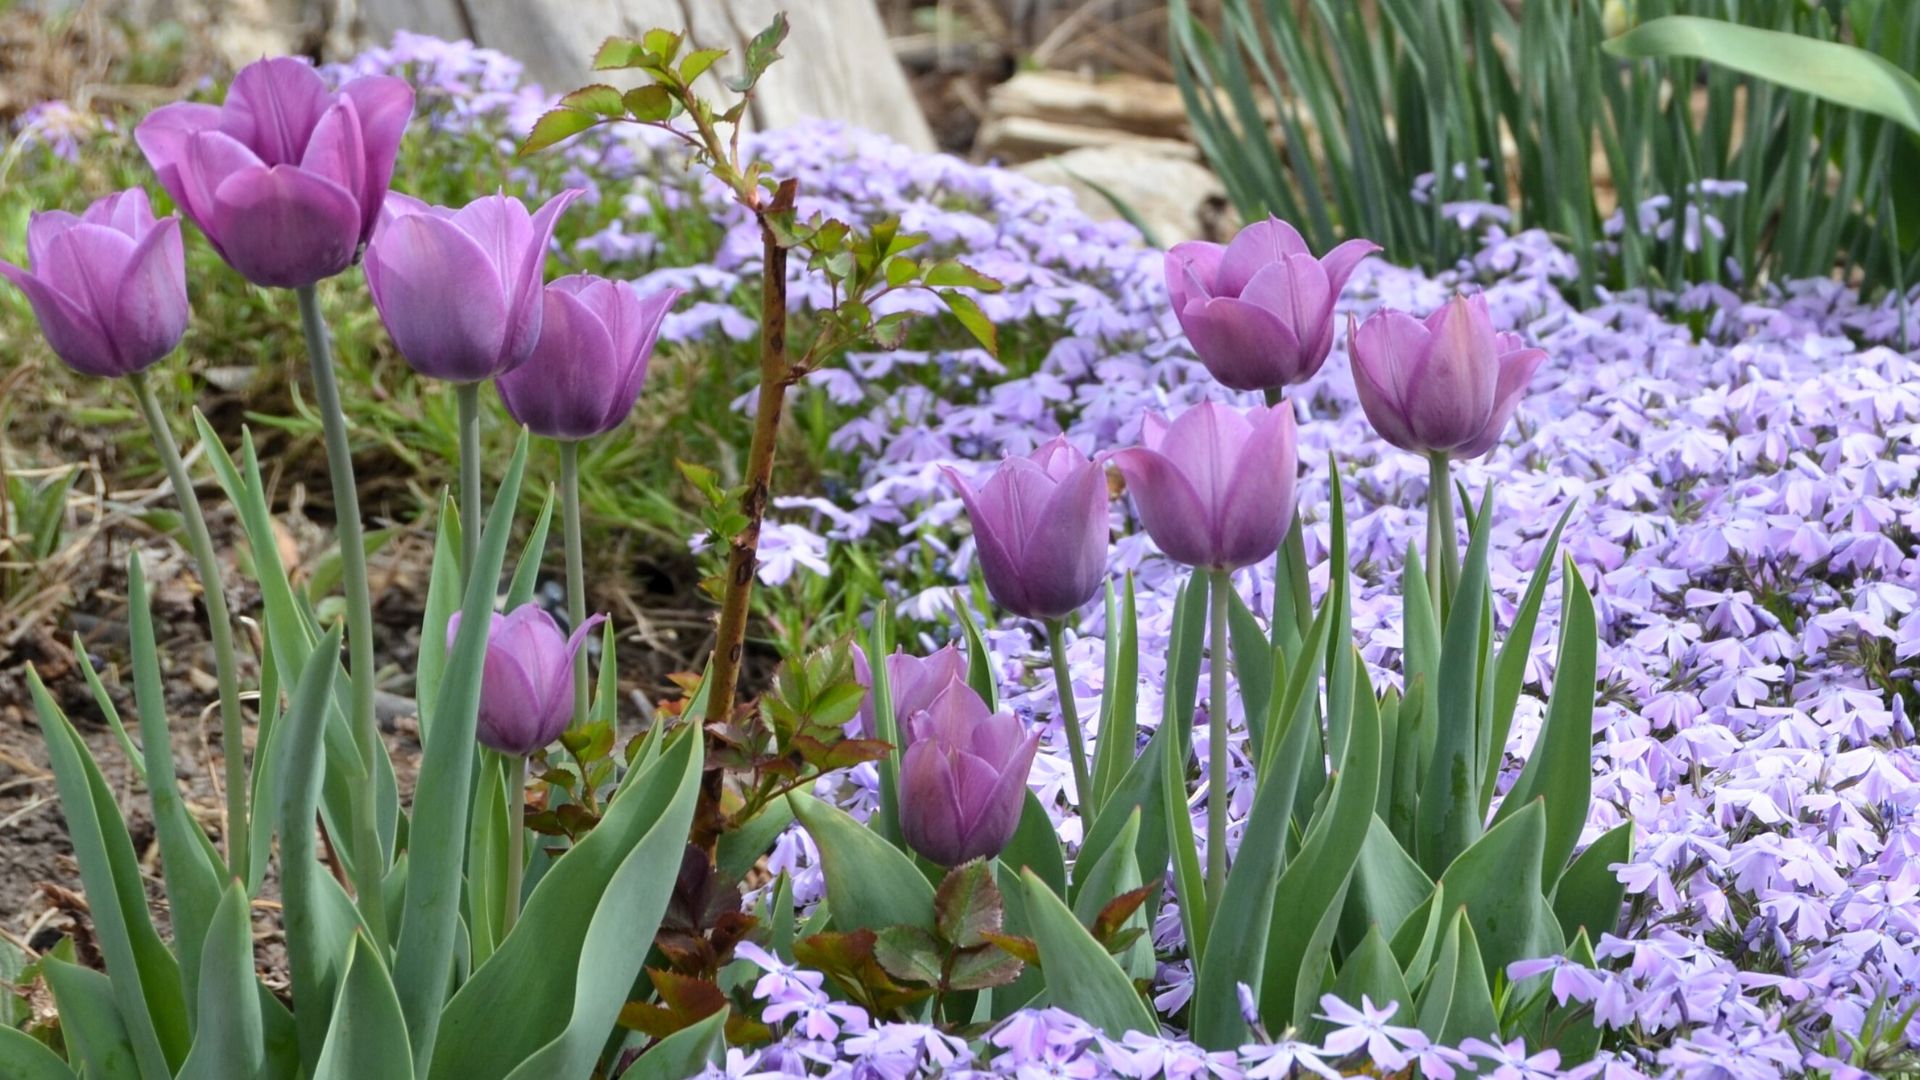
Some good candidates to help disguise dying bulb foliage are perennial plants such as garden peonies, daylilies, salvia, lupines, hosta, coral bells, sedum and ornamental grasses.
Select plants that bloom at different times in spring and summer to keep the fresh color going throughout the growing season.
Some plants that are short but early to bloom would be creeping phlox, dianthus and candytuft. This will draw your eye to the fresh flowers and away from the dull bulb foliage.
Dividing and Transplanting Bulbs
While dividing your bulb plants is never necessary, sometimes it is helpful. For example, if you notice the flowers on your daffodils getting smaller and smaller as the years go by, you can divide the bulbs to rejuvenate the plant. Divide as the foliage begins to die but is still visible so you can see where exactly to dig. This can be completed once every 3 to 5 years if needed.
Once you have lifted the clump, pull apart the bulbs that separate easily. Do not force any bulbs apart. The bulbs can be planted in clumps or separately depending on space.
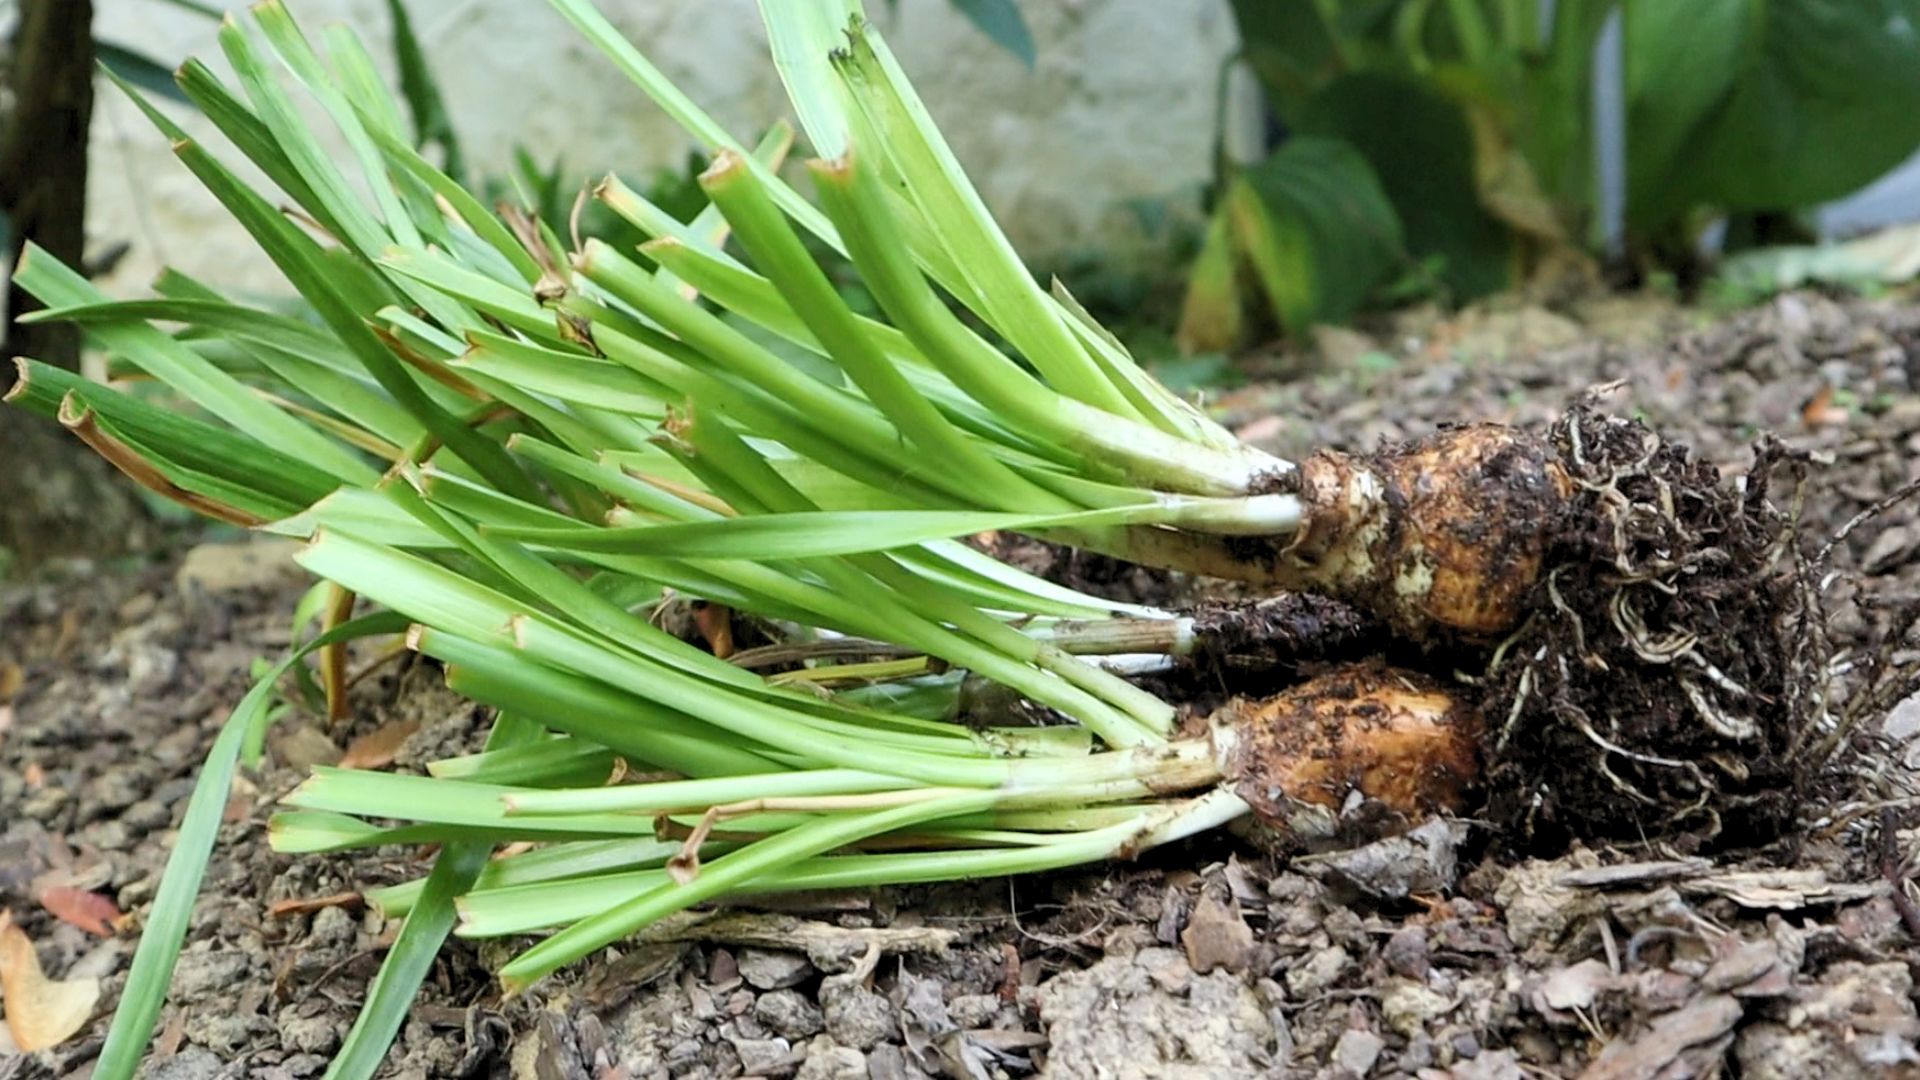
If you just need to transplant your bulbs to a new location, you can do that as well once the flowers have faded. It is best to do it at this time as you know exactly where they are. If you wait until fall, you may not know where to dig.
Dig around the clump of bulbs then scoop up the entire clump gently. Do not cut into the bulbs.
Plant them as soon as possible for best results. If the leaves are still green, leave them to continue gathering energy from the sun.

Amy Draiss, Digital Community Manager at Gardening Know How since 2021, seamlessly blends her hands-on gardening experience with a digital green thumb. With roots in family landscaping and management at a garden center, Amy has cultivated expertise in plants, supplies, and customer relations. Residing in the Midwest, Amy tends to her two-acre haven, showcasing a diverse range of trees, shrubs, and perennials. As the Hydrangea Queen, she shares her love for these blooms and imparts gardening wisdom through videos and social media. Beyond gardening, Amy enjoys quality time with her family, travel, and theme parks. Amy's mission is to inspire and advise plant enthusiasts, fostering flourishing gardens for both seasoned and budding gardeners alike.
-
 Looking For Plants To Give You The Soft And Fuzzies? Try These 5 Fuzzy Leaf Plant Options
Lovers of texture, drama, silver foliage and tactile plants will adore these special sensory garden additions. These fuzzy leaf plant options will leave you all aglow
By Susan Albert
-
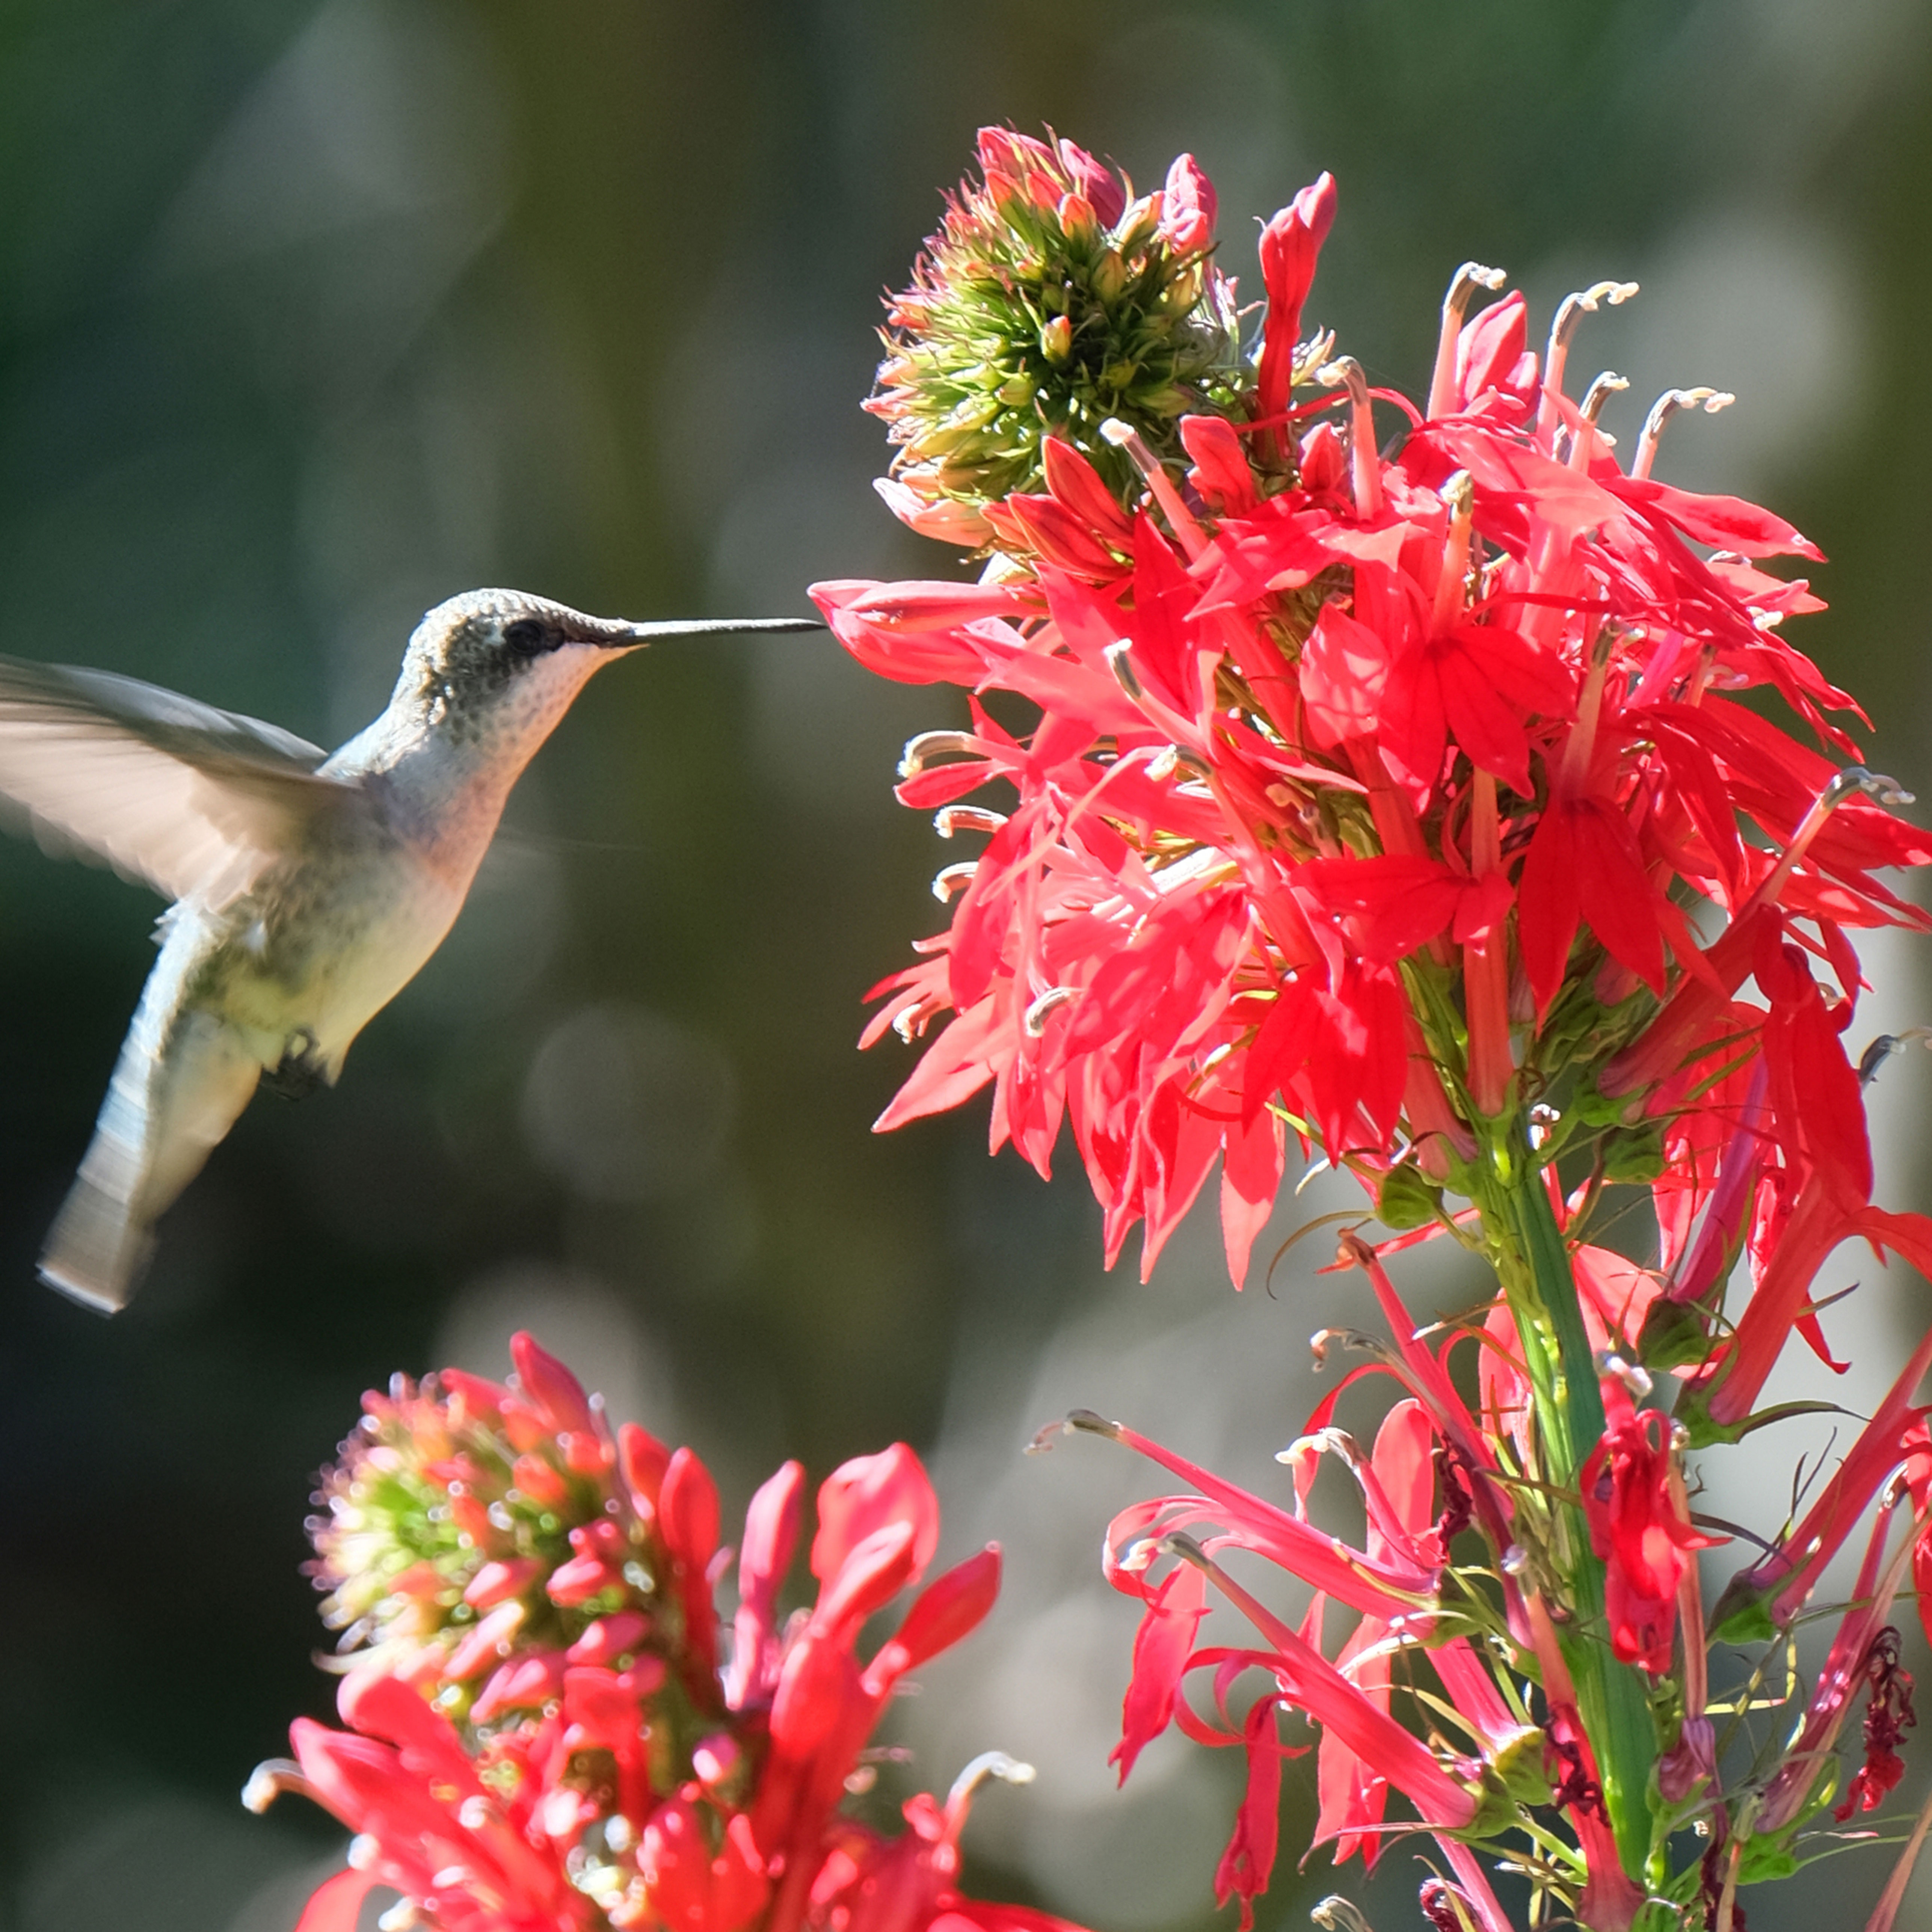 Get Ready For A Summer Of Hummers! Grow These Full Sun Hummingbird Plants and Flowers
If you’re lucky enough to enjoy a sunny backyard, make sure you are maxing out on your pollinator opportunities and grow these full sun hummingbird plants and flowers
By Tonya Barnett
-
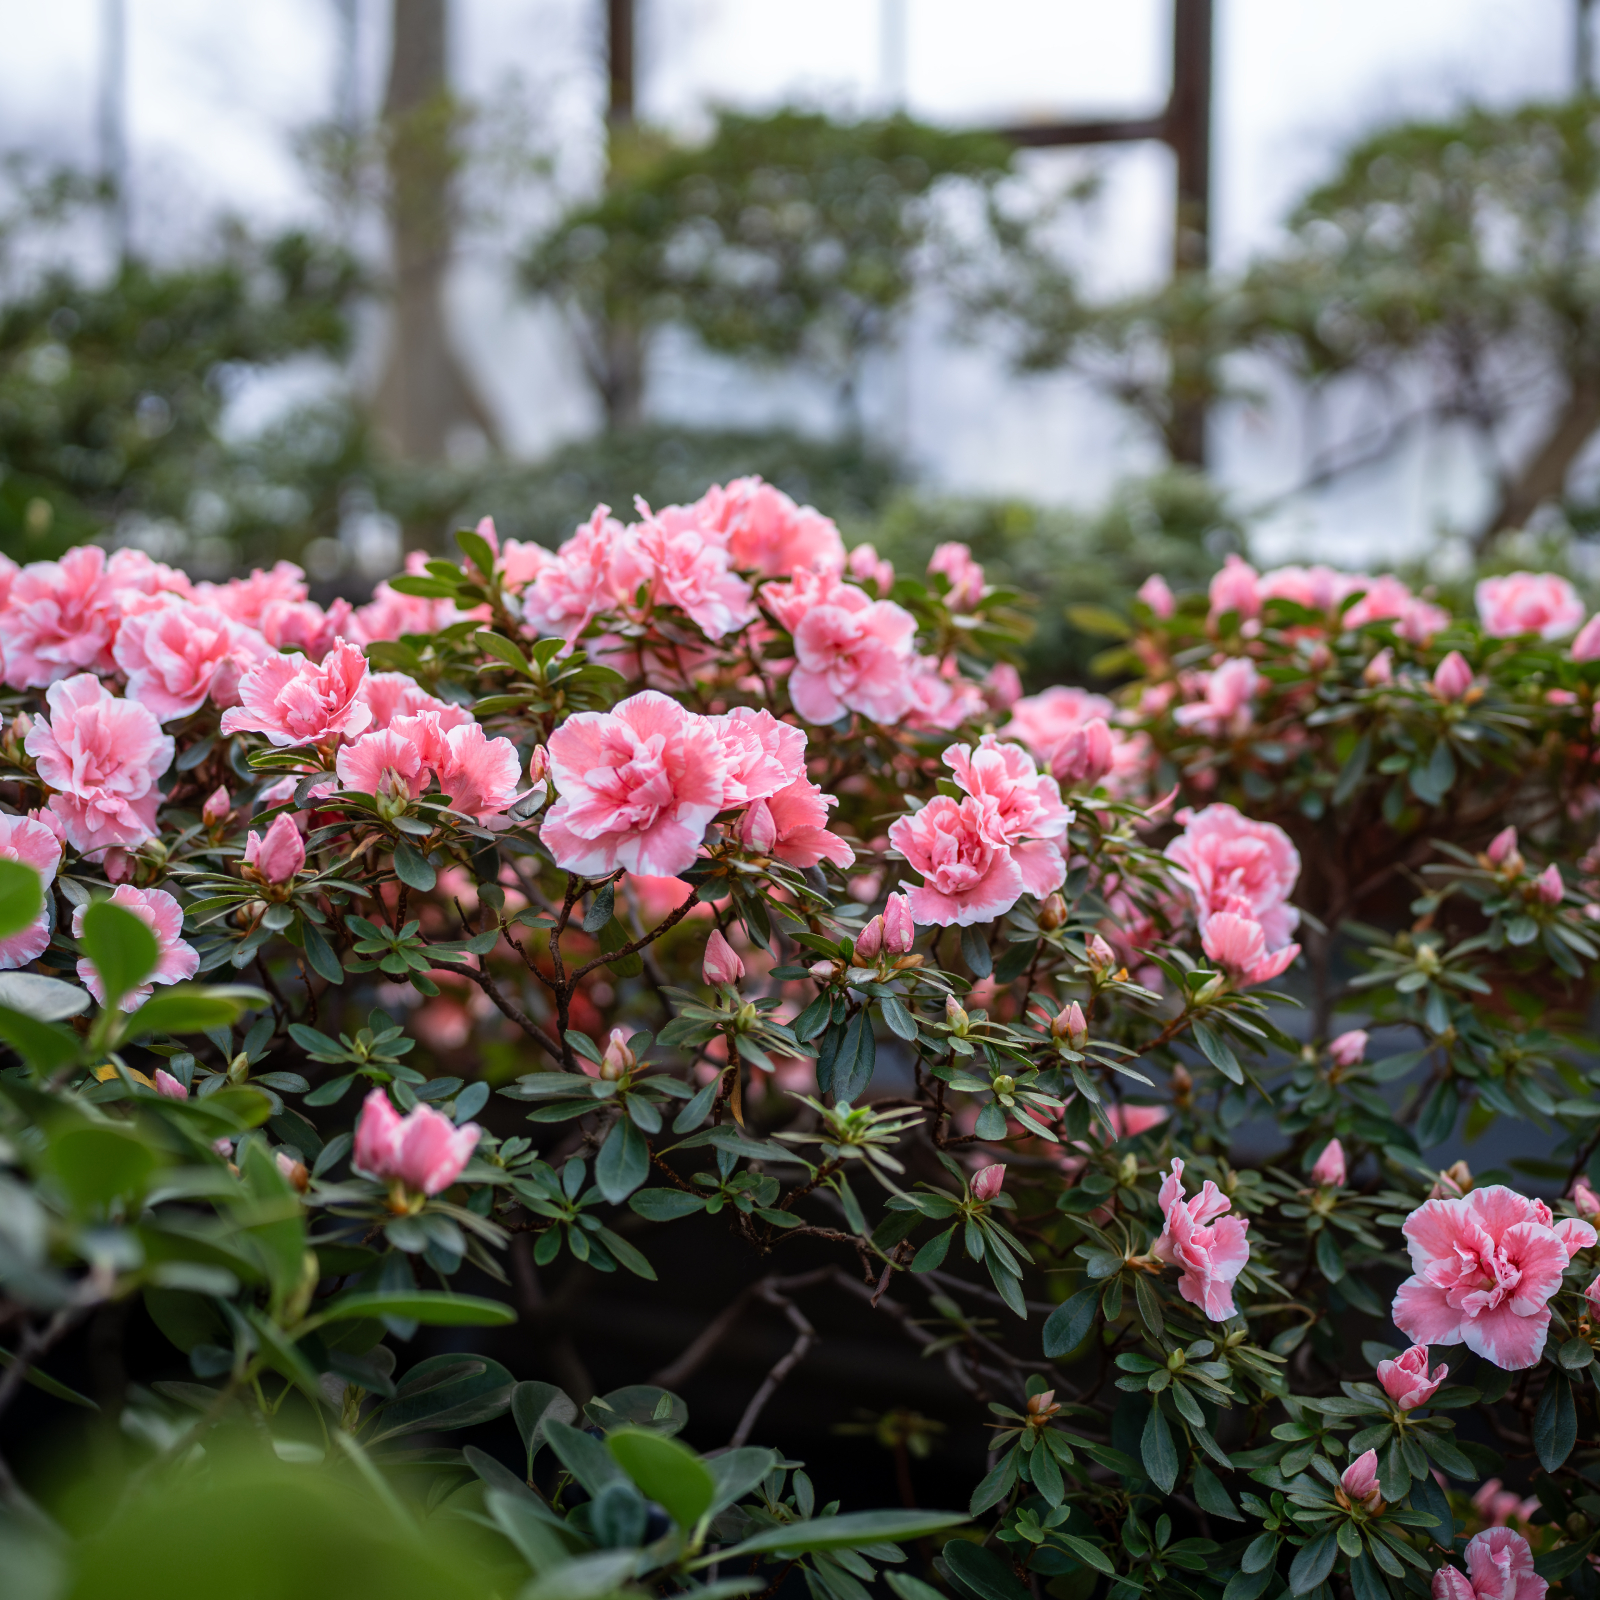 What Is The Size Of An Azalea? Explore Different Varieties That Will Suit Every Garden
The size of azaleas can vary widely because they have been selectively bred for different landscape needs. Check out our picks for each size category.
By Mary Ellen Ellis
-
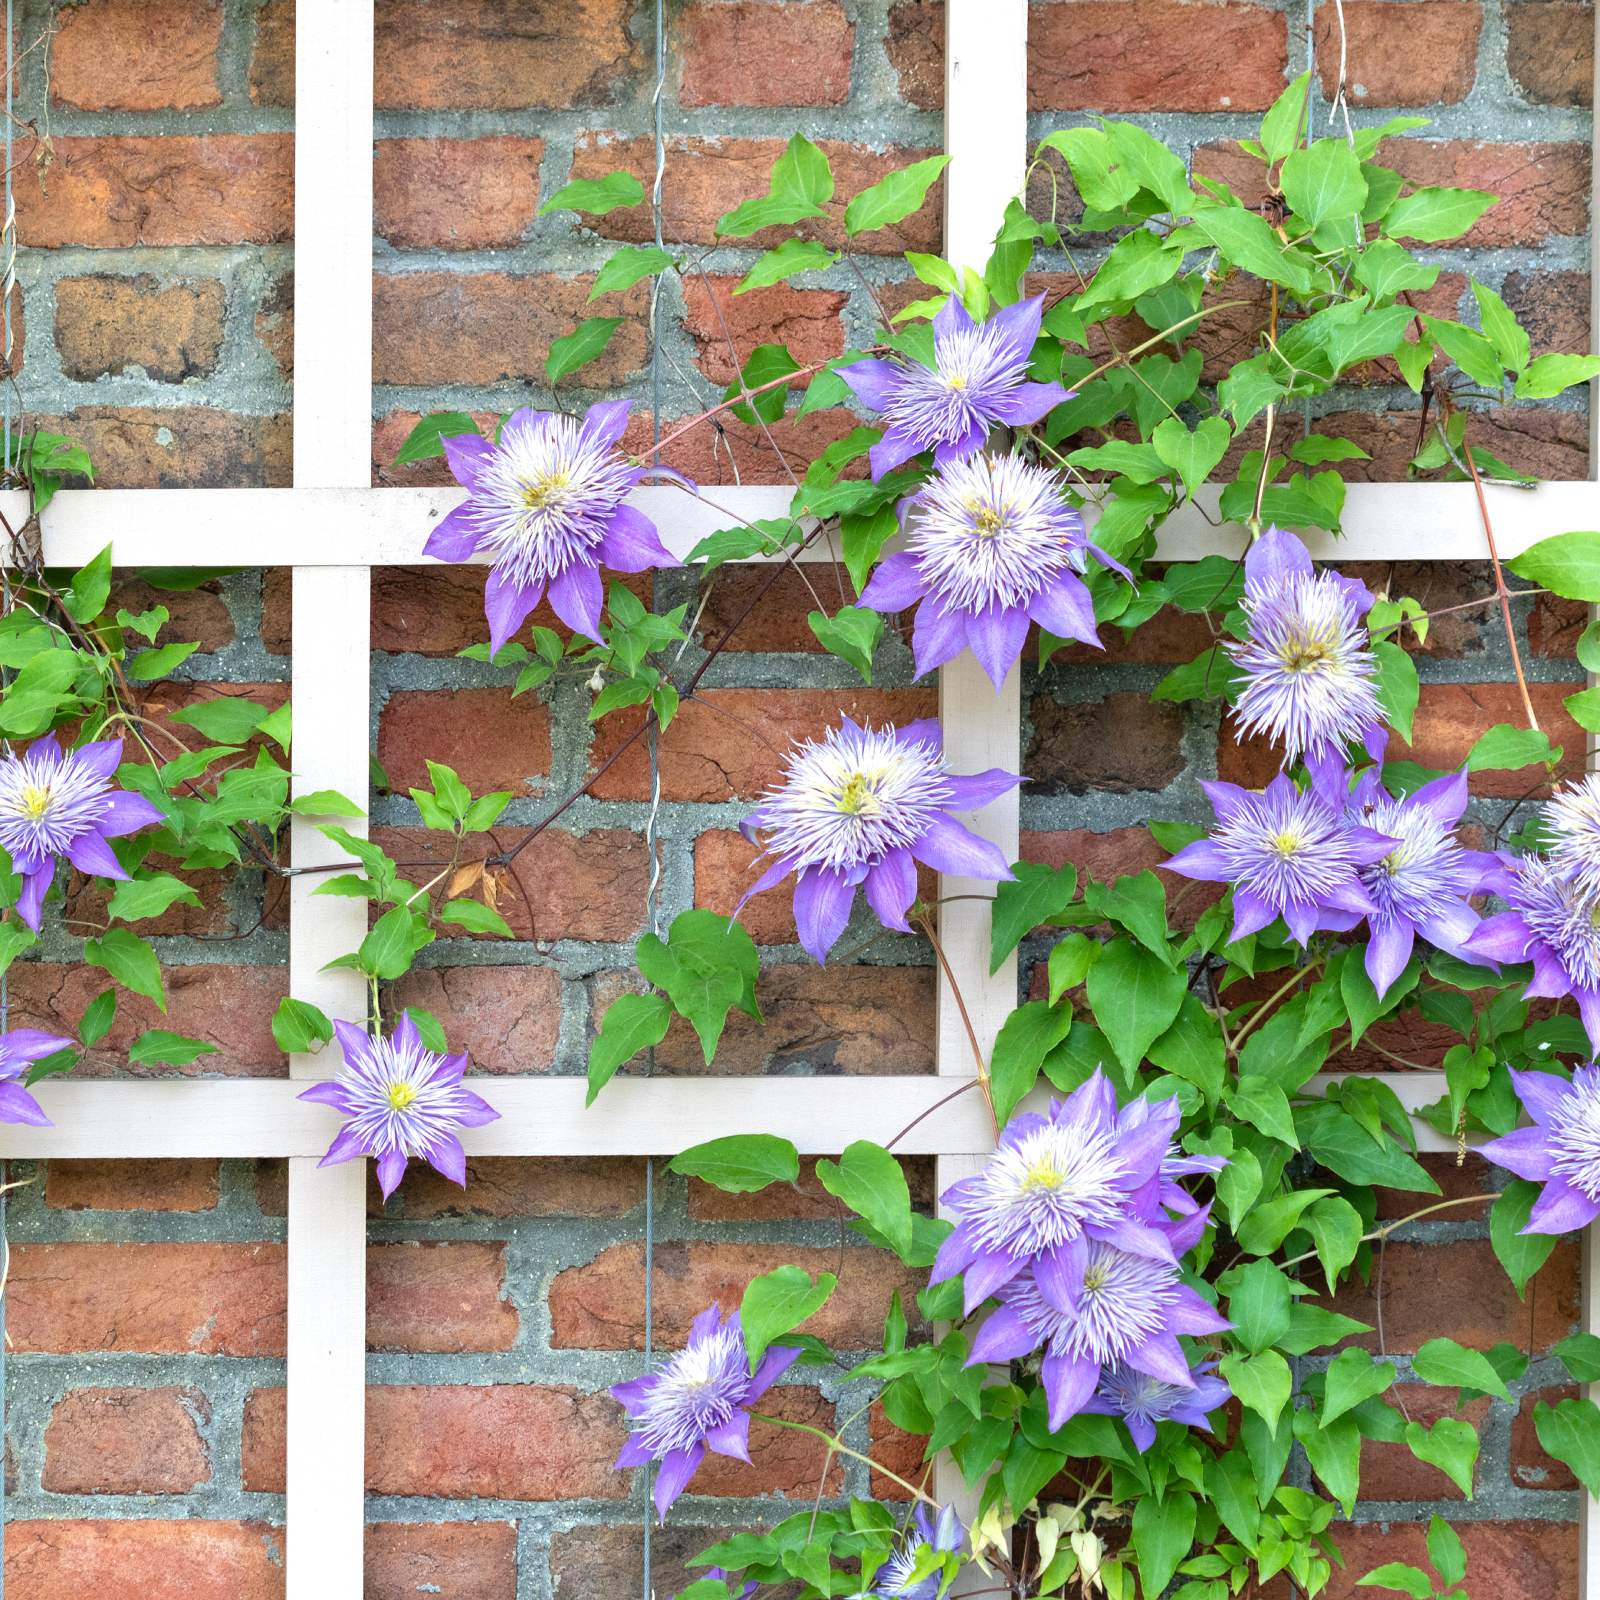 5 Fabulous Fast-Growing Vines – That Will Quickly Climb Any Arbor, Trellis, Or Fence
These fast growing vines are perfect for covering any eyesores in your yard or creating a living fence. They will provide great visual interest, as well.
By Amy Grant
-
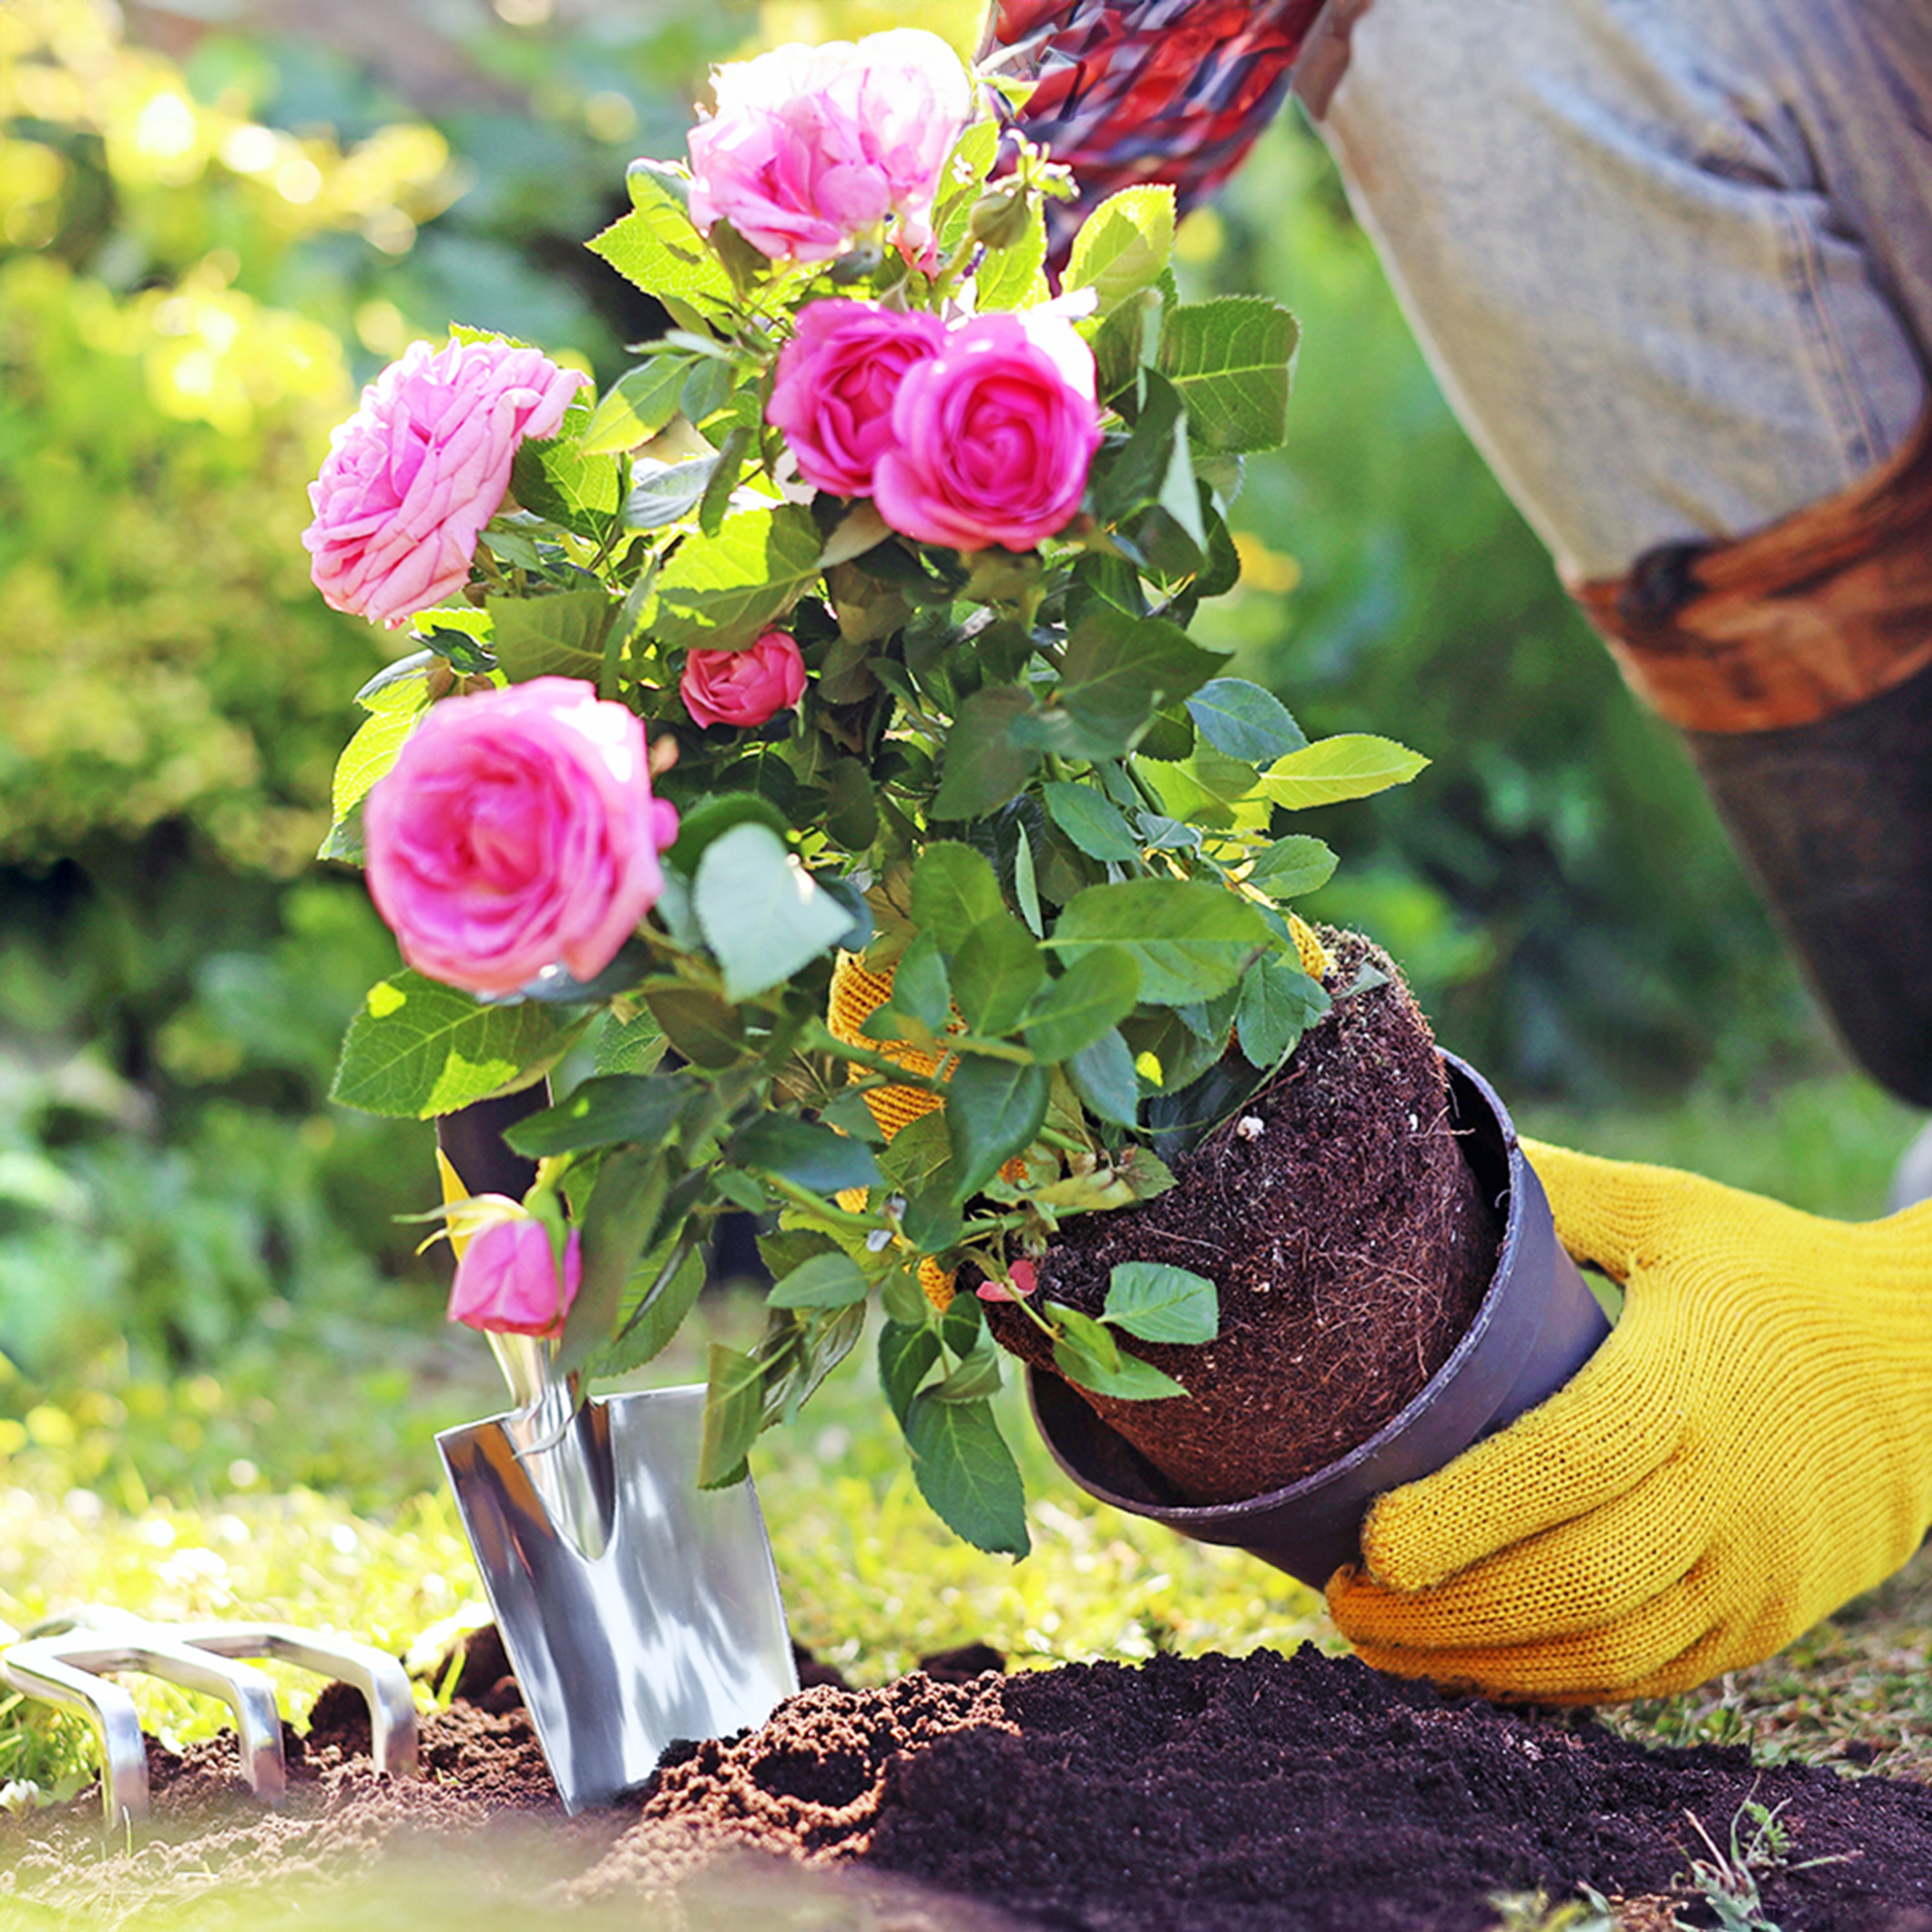 When To Plant Roses: The Best Time For Your Climate And Rose Type
Plant your roses at the right time and you will be rewarded with decades of glorious summer flowers – but get it wrong and you'll be crying over dead shrubs.
By Teo Spengler
-
 Spectacular Early Blooming Shrubs: 6 Sparkling Spring Flowering Bushes
Want to kickstart your gardening year with dazzling spring flowering bushes for beds and borders? These unique early bloomers are sure to help you rise and shine!
By Teo Spengler
-
 7 Shade-Loving Flowers To Start From Seed Now For A Stunning Summer Garden
Turn shady spots into vibrant new garden spaces with lovely and illuminating shade-loving flowers.
By Ellen Wells
-
 7 Summer-Blooming Bulbs To Plant In Early Spring: Don't Miss Months Of Glorious Flowers!
Get a head start on stunning summer blooms with these easy-to-plant bulbs – act early and you will enjoy vibrant flowers that last for months on end.
By Mary Ellen Ellis
-
 Quick Fire Hydrangea – The Elegant, Easy-Care Shrub Every Gardener Needs In Their Landscape
If you’re after an early flowering panicle hydrangea that offers plenty of floral variety, the Quick Fire hydrangea goes big on visual dynamics from early summer to fall
By Tonya Barnett
-
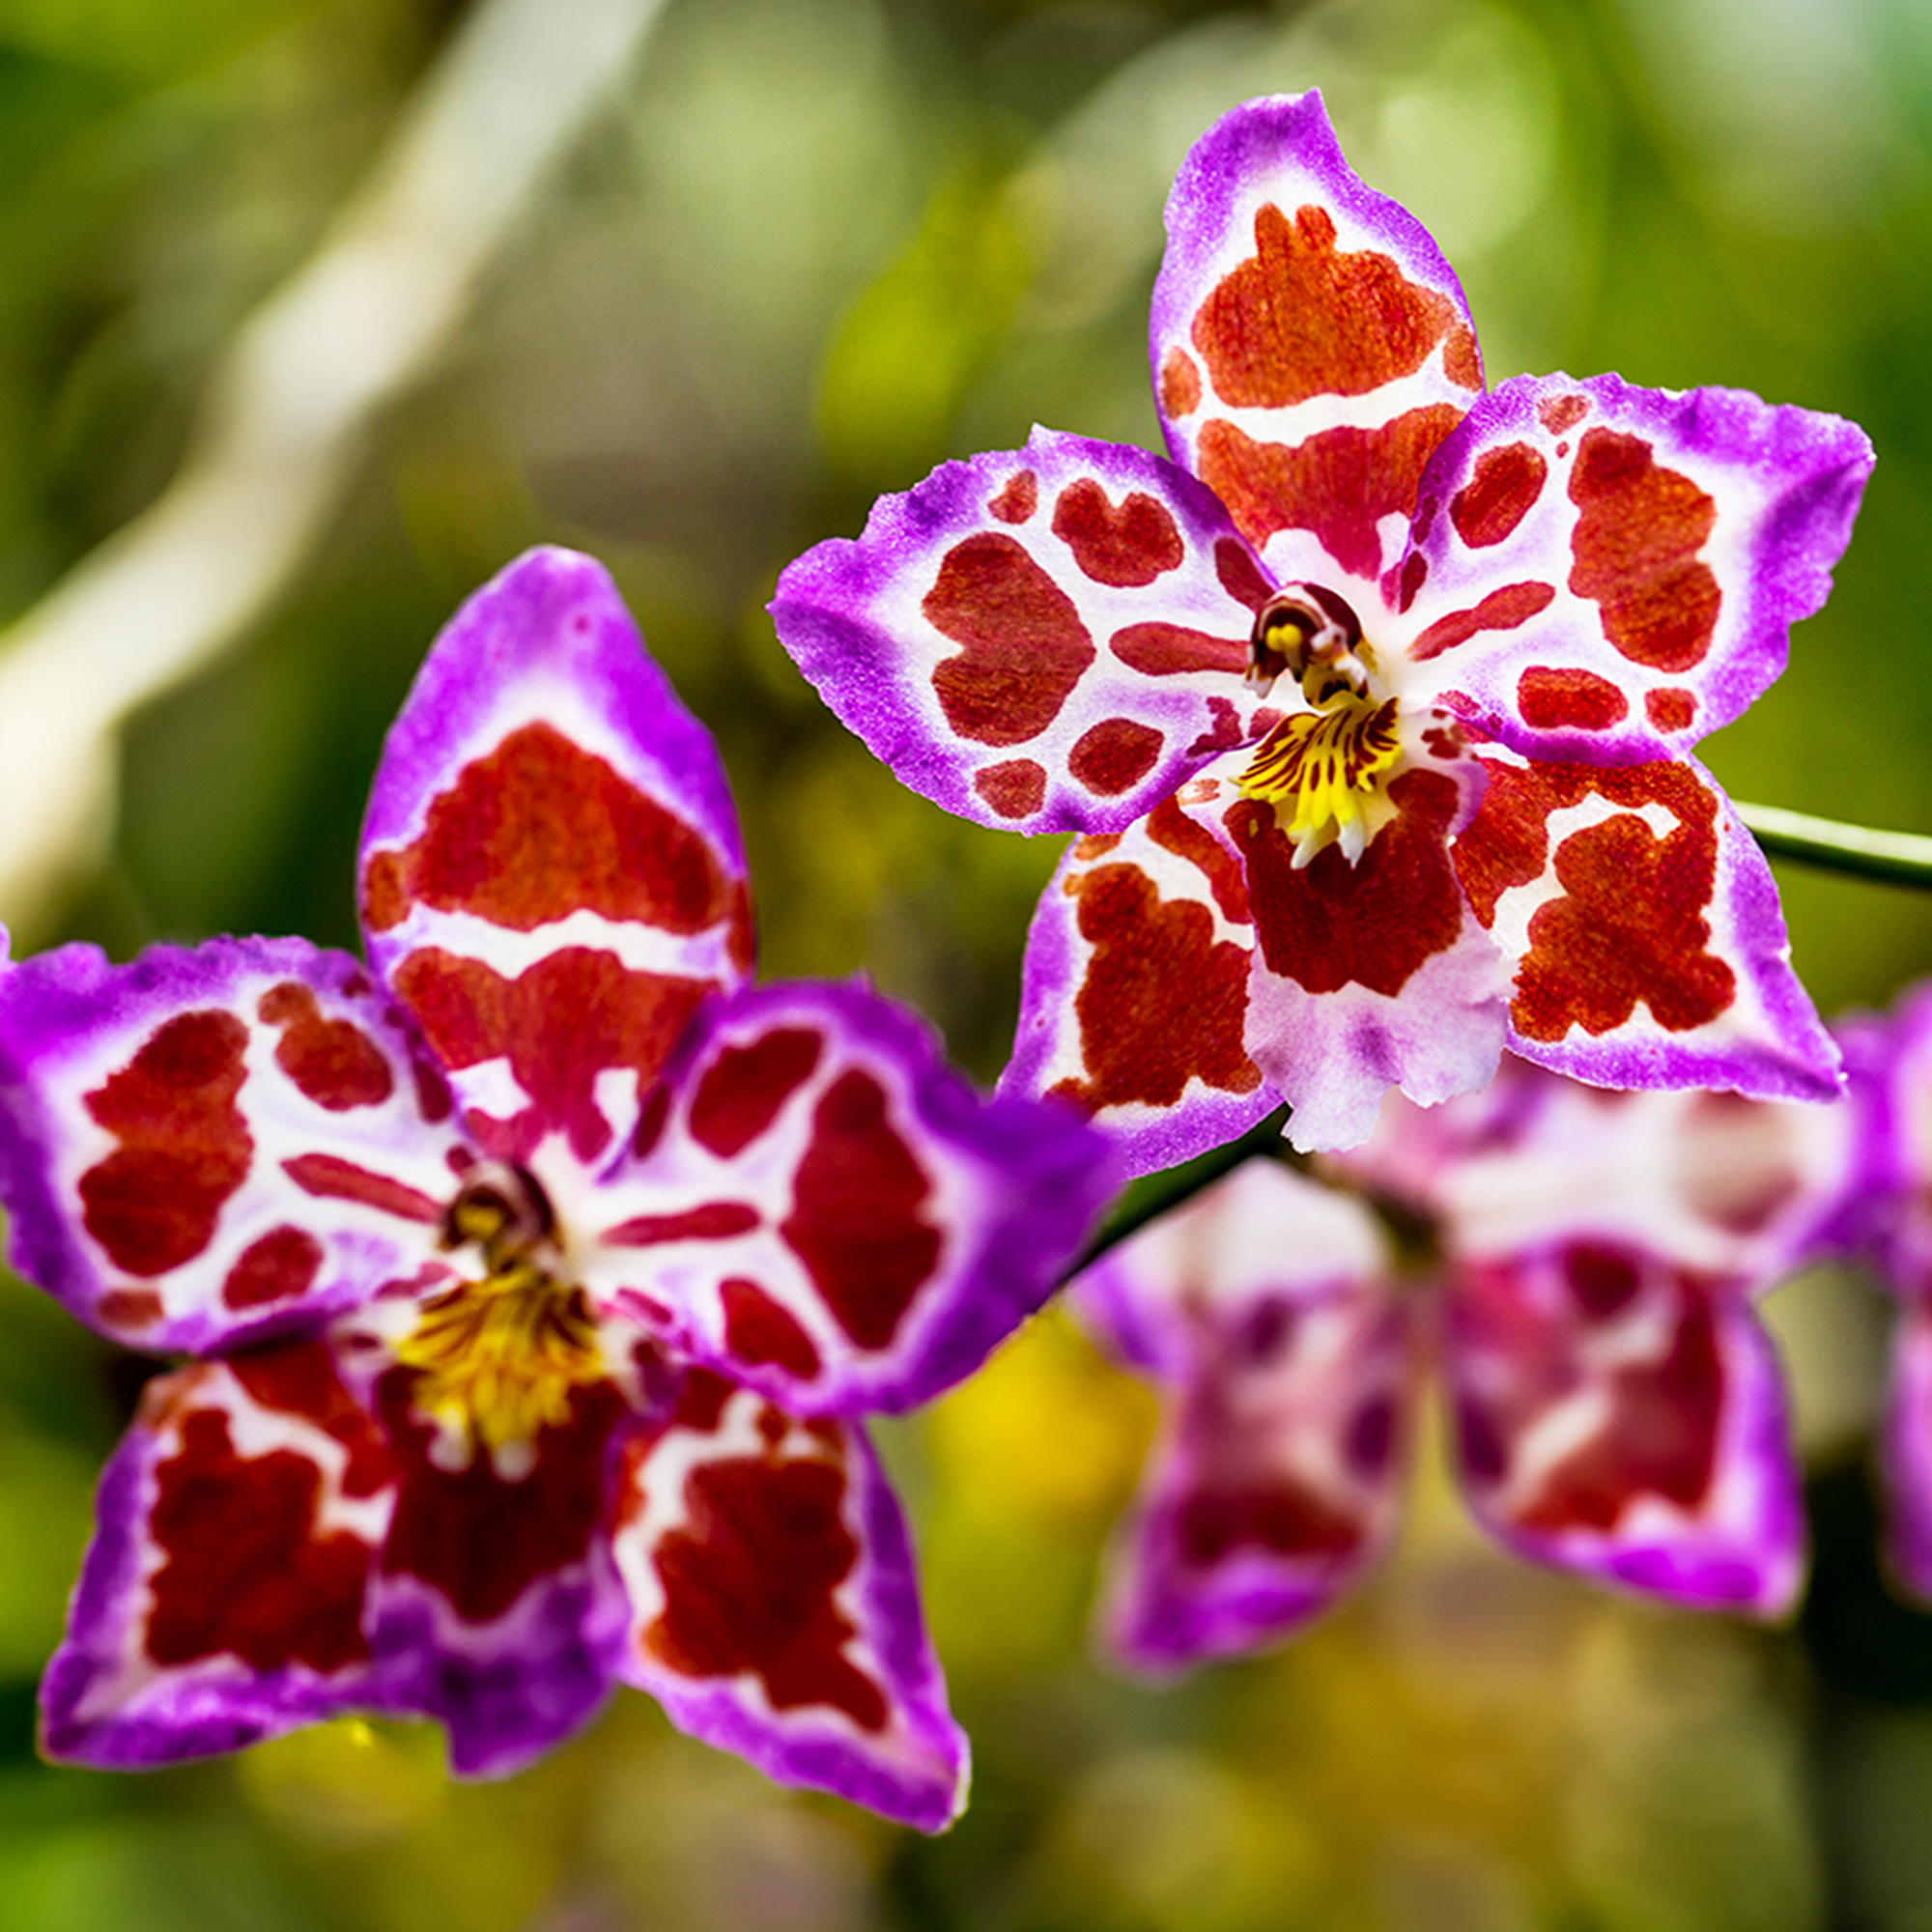 8 Rare Orchids That Make Stunning Houseplants – Some Are Surprisingly Easy To Grow
Discover unique orchids that will add exotic beauty to your home. Some make easygoing houseplants, while others offer a challenge for more seasoned growers.
By Melanie Griffiths