Bulb Care After Forcing: Keeping Forced Bulbs In Containers Year After Year


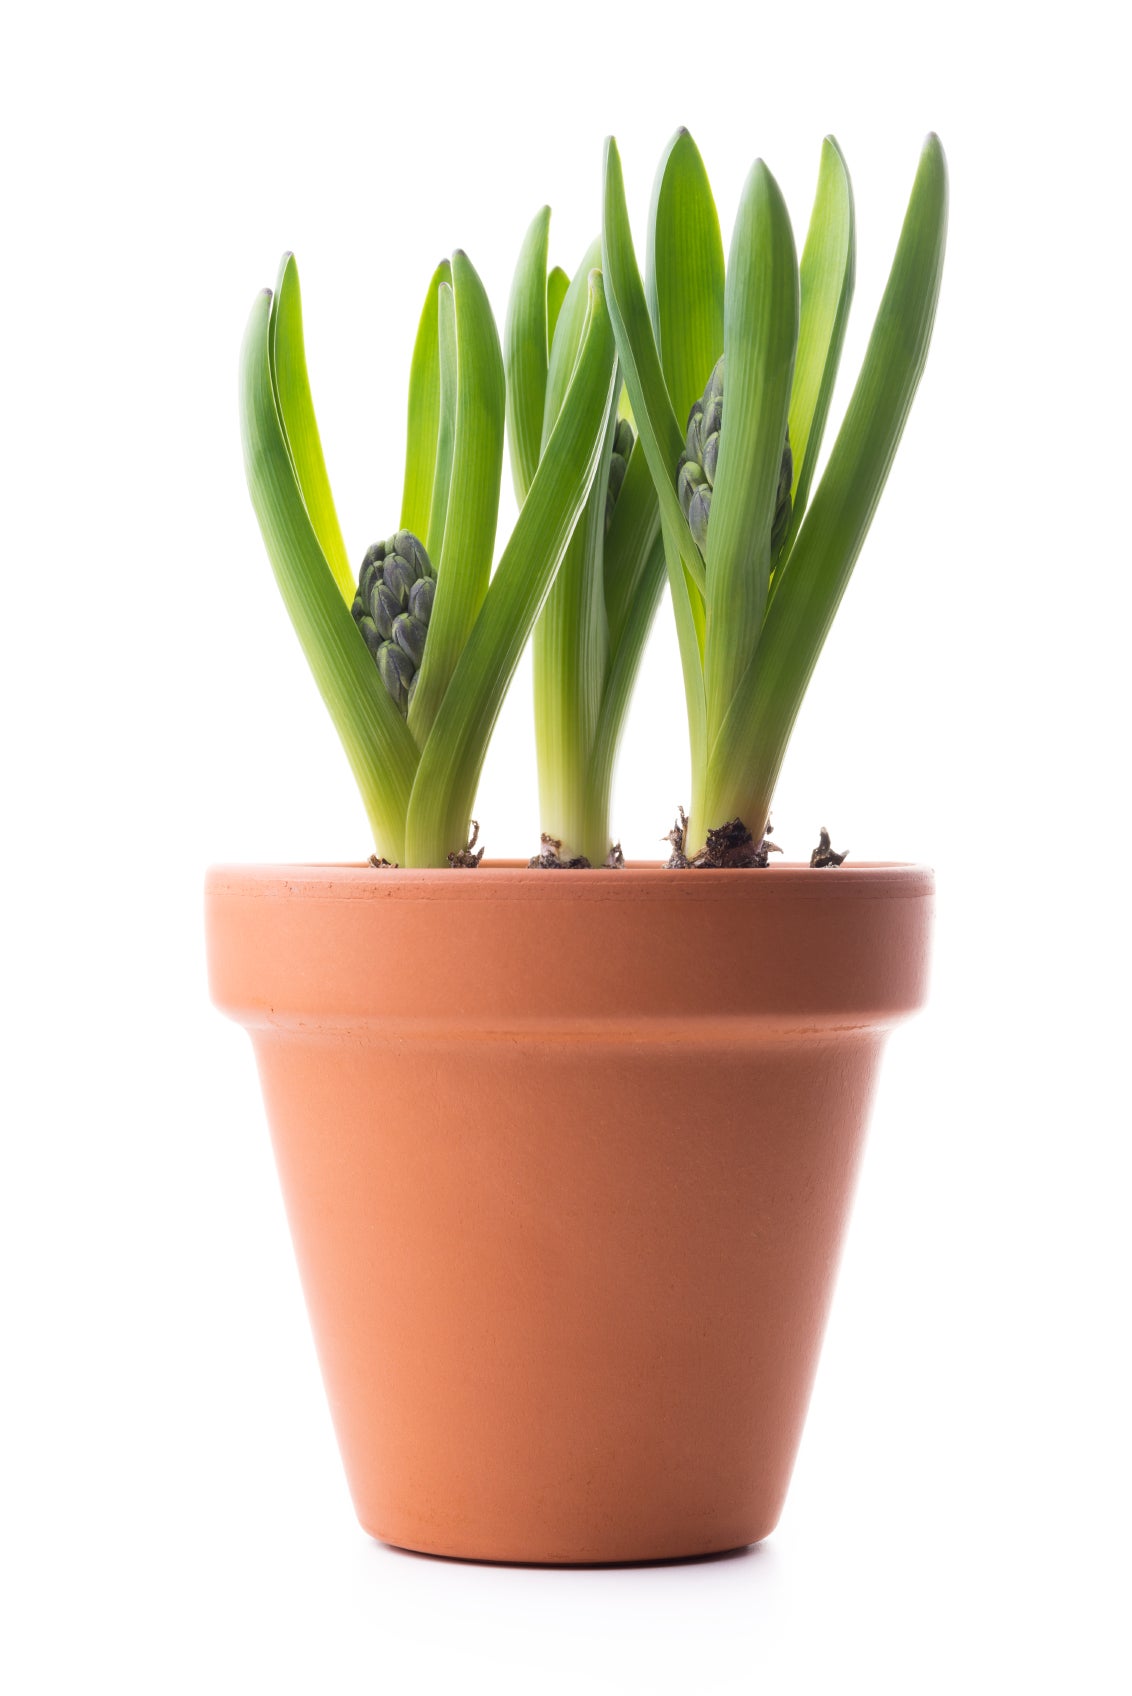
Forced bulbs in containers can bring spring into the home months before the actual season commences. Potted bulbs need special soil, temperatures, and siting to bloom early. The treatment and exposure they get in the ground naturally forces them, but in the home interior, you will have to fool them. Will forced bulbs rebloom in pots? For yearly blooms, the bulbs need to store extra nutrients and carbohydrates and be held at the right temperatures when not in bloom. Bulbs are storage organs that hold short-term supplies of fuel for leaf production and the embryonic flowers that will soon grace your space. Most bulbs require some sort of specific temperature change to force them out of dormancy. Forced bulbs in pots have been exposed to the chilling requirements necessary to get the bulb to grow leaves and flowers. This is generally three months at 40 degrees Fahrenheit (4 C.). Potted bulbs have needs that those in the ground do not in order for them to produce bountiful flowers year after year. The container, soil, food, water, temperature, lighting, spacing, and excellent drainage all contribute to year-round potted plants.
Environment for Forced Bulbs in Containers
While bulbs will only bloom once per year, there is no reason they won't do it annually with the proper care. The soil should be porous and loose, a mixture of half loam or compost and half vermiculite, perlite, or fine bark is ideal. Mix in a bit of bone meal and bulb fertilizer at the bottom of the container. The container should be well-draining and preferably unglazed so evaporation of excess moisture is possible. Even a nursery container works and has the ability to expand if the bulb is held where a freeze is possible. Use a basket or outer decorative container to disguise the unattractive pot. Potted bulbs should be planted almost touching with the pointed tops of the bulbs just outside the surface of the soil. The actual temperature for holding may vary by species, but at a minimum, pre-chill spring-blooming bulbs at 48 degrees Fahrenheit (8 C.) for eight to 12 weeks. Summer blooming bulbs do not require pre-chilling to bloom. You can chill the entire potted mass or just the bulbs. If you choose to chill in the refrigerator, make sure the bulbs are away from any fruit which gives off ethylene gas and can cause blooms to abort. Once the pre-chilling requirement has been met, move the pot to a warmer area. During the pre-chilling period, the bulbs do not need light.
Caring for Forced Bulb in Pots
Bulb care after forcing is similar to any plant that has not been forced. Indoor plants need regular, even watering until the roots are moist, but do not let them sit in water. This is imperative, as the bulbs are prone to rot if they stay too wet. Gradually increase the light exposure as the foliage begins to show. When the bloom appears, give the plant full sun, if possible. After the bloom is spent, cut it off to prevent the bulb from expending energy on trying to keep it alive. The most important bulb care after forcing is to leave the foliage intact until it dies back. The reason for this is to allow the bulb to gather solar energy to fuel year-round potted plants.
Bulbs in Pots After Flowering
You may keep the bulbs in pots after flowering, but it is a good idea to introduce some new soil with all its nutrients and fertilize again. You may also remove the bulbs, let them air dry, and put them in a paper bag in a location with the proper chilling requirements until you are ready to force them again. Some bulbs will peter out after a while; the storage organ can only stay recharged just so long, but many will reward you with forced bulbs in pots year after year with proper food, light, and chilling.
Sign up for the Gardening Know How newsletter today and receive a free copy of our e-book "How to Grow Delicious Tomatoes".

Bonnie Grant is a professional landscaper with a Certification in Urban Gardening. She has been gardening and writing for 15 years. A former professional chef, she has a passion for edible landscaping.