Collecting Freesia Seeds : Learn How To Harvest Freesia Seeds
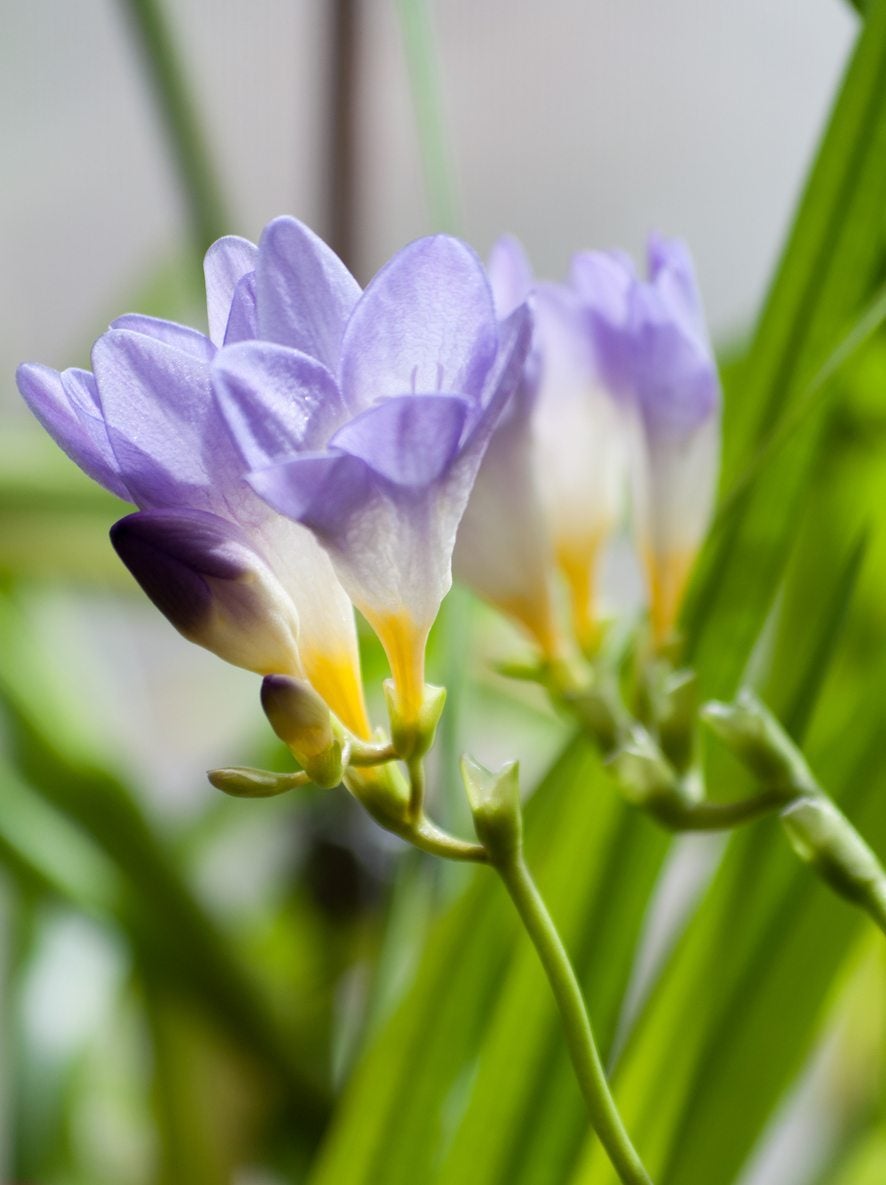
If you detect an aroma that is similar to vanilla mixed with citrus, it may be the strongly scented freesia flower. Freesias are most commonly grown from corms, but they can also be started with seed. Just be aware, seed may not give a plant that is true to the parent, and it may take several years before you see the first flowers. However, gathering seeds from freesia is easy. Learn how to harvest freesia seeds and the steps on preparing and sowing them.
About Freesia Seed Pods
Freesias are native to South Africa. Freesia plants will naturalize over time, developing new little corms, which can be separated from the parent plant and set out individually, increasing the number of these sweetly scented blooms. Another way to increase your stock of the flowers is by planting from seed. First, you must harvest the freesia seed pods. They are an early season bloomer that prefer to flower before summer heat, when the plant will go mostly dormant. They produce seed pods after blooming, which must be left on the plant to ripen in order to have any chance at viability. Let the flowers fade and all petals fall. The pod will develop from the ovary and will start out green but, when ripe, will turn tan and dry out. During this time, maintain the plant itself and allow the foliage to persist, gathering solar energy to fuel both the formation of seed but also feed the corms. Once the pods are ripe and brown, collecting freesia seeds is a breeze. The trick is to get the seed sown at the proper time and with the necessary treatment to force sprouting.
How to Harvest Freesia Seeds
Once the pods are dry it is time for harvesting freesia seed. It can be difficult to determine when the pods are ripe and timing is everything. Under ripe seed will not germinate, while overly ripe pods will split and disperse the seed before you can harvest it. You should keep your eye on the pods daily to determine when to harvest them. When pods are dry and have begun to form vertical striations, it is time to snip them off the plant. Allow the pods to dry for a few days in a paper bag that is left open for air circulation and moisture evaporation. Crack open the pods and pick out the large pieces, separating them from the seed. Pouring the bag contents into a fine sieve will make collecting freesia seeds easier. You can now save seeds or plant them immediately indoors.
Sowing Freesia Seeds
After gathering freesia seeds, you can pour them into an envelope, label, and save them until spring or plant them immediately. Seeds will require a 24-hour soak in warm water prior to planting, no matter what time you choose to sow them. This will soften the endosperm and make sprouting easier on the embryo. Use seed trays filled with leaf mold or compost, sand, and compost in equal proportions. Moisten the medium evenly. Sow seeds and cover with a fine dusting of the medium. For enhanced germination, place the flat on a seed warmer and cover with a plastic lid. Remove the lid daily to release excess moisture that can cause damping off and other fungal issues. Germination time will vary but, generally, seeds will sprout in about one month. Once seedlings have two sets of true leaves, move them to larger pots and set them outdoors when temperatures are 55 to 65 degrees F. (13-18 C.).
Gardening tips, videos, info and more delivered right to your inbox!
Sign up for the Gardening Know How newsletter today and receive a free copy of our e-book "How to Grow Delicious Tomatoes".

Bonnie Grant is a professional landscaper with a Certification in Urban Gardening. She has been gardening and writing for 15 years. A former professional chef, she has a passion for edible landscaping.
-
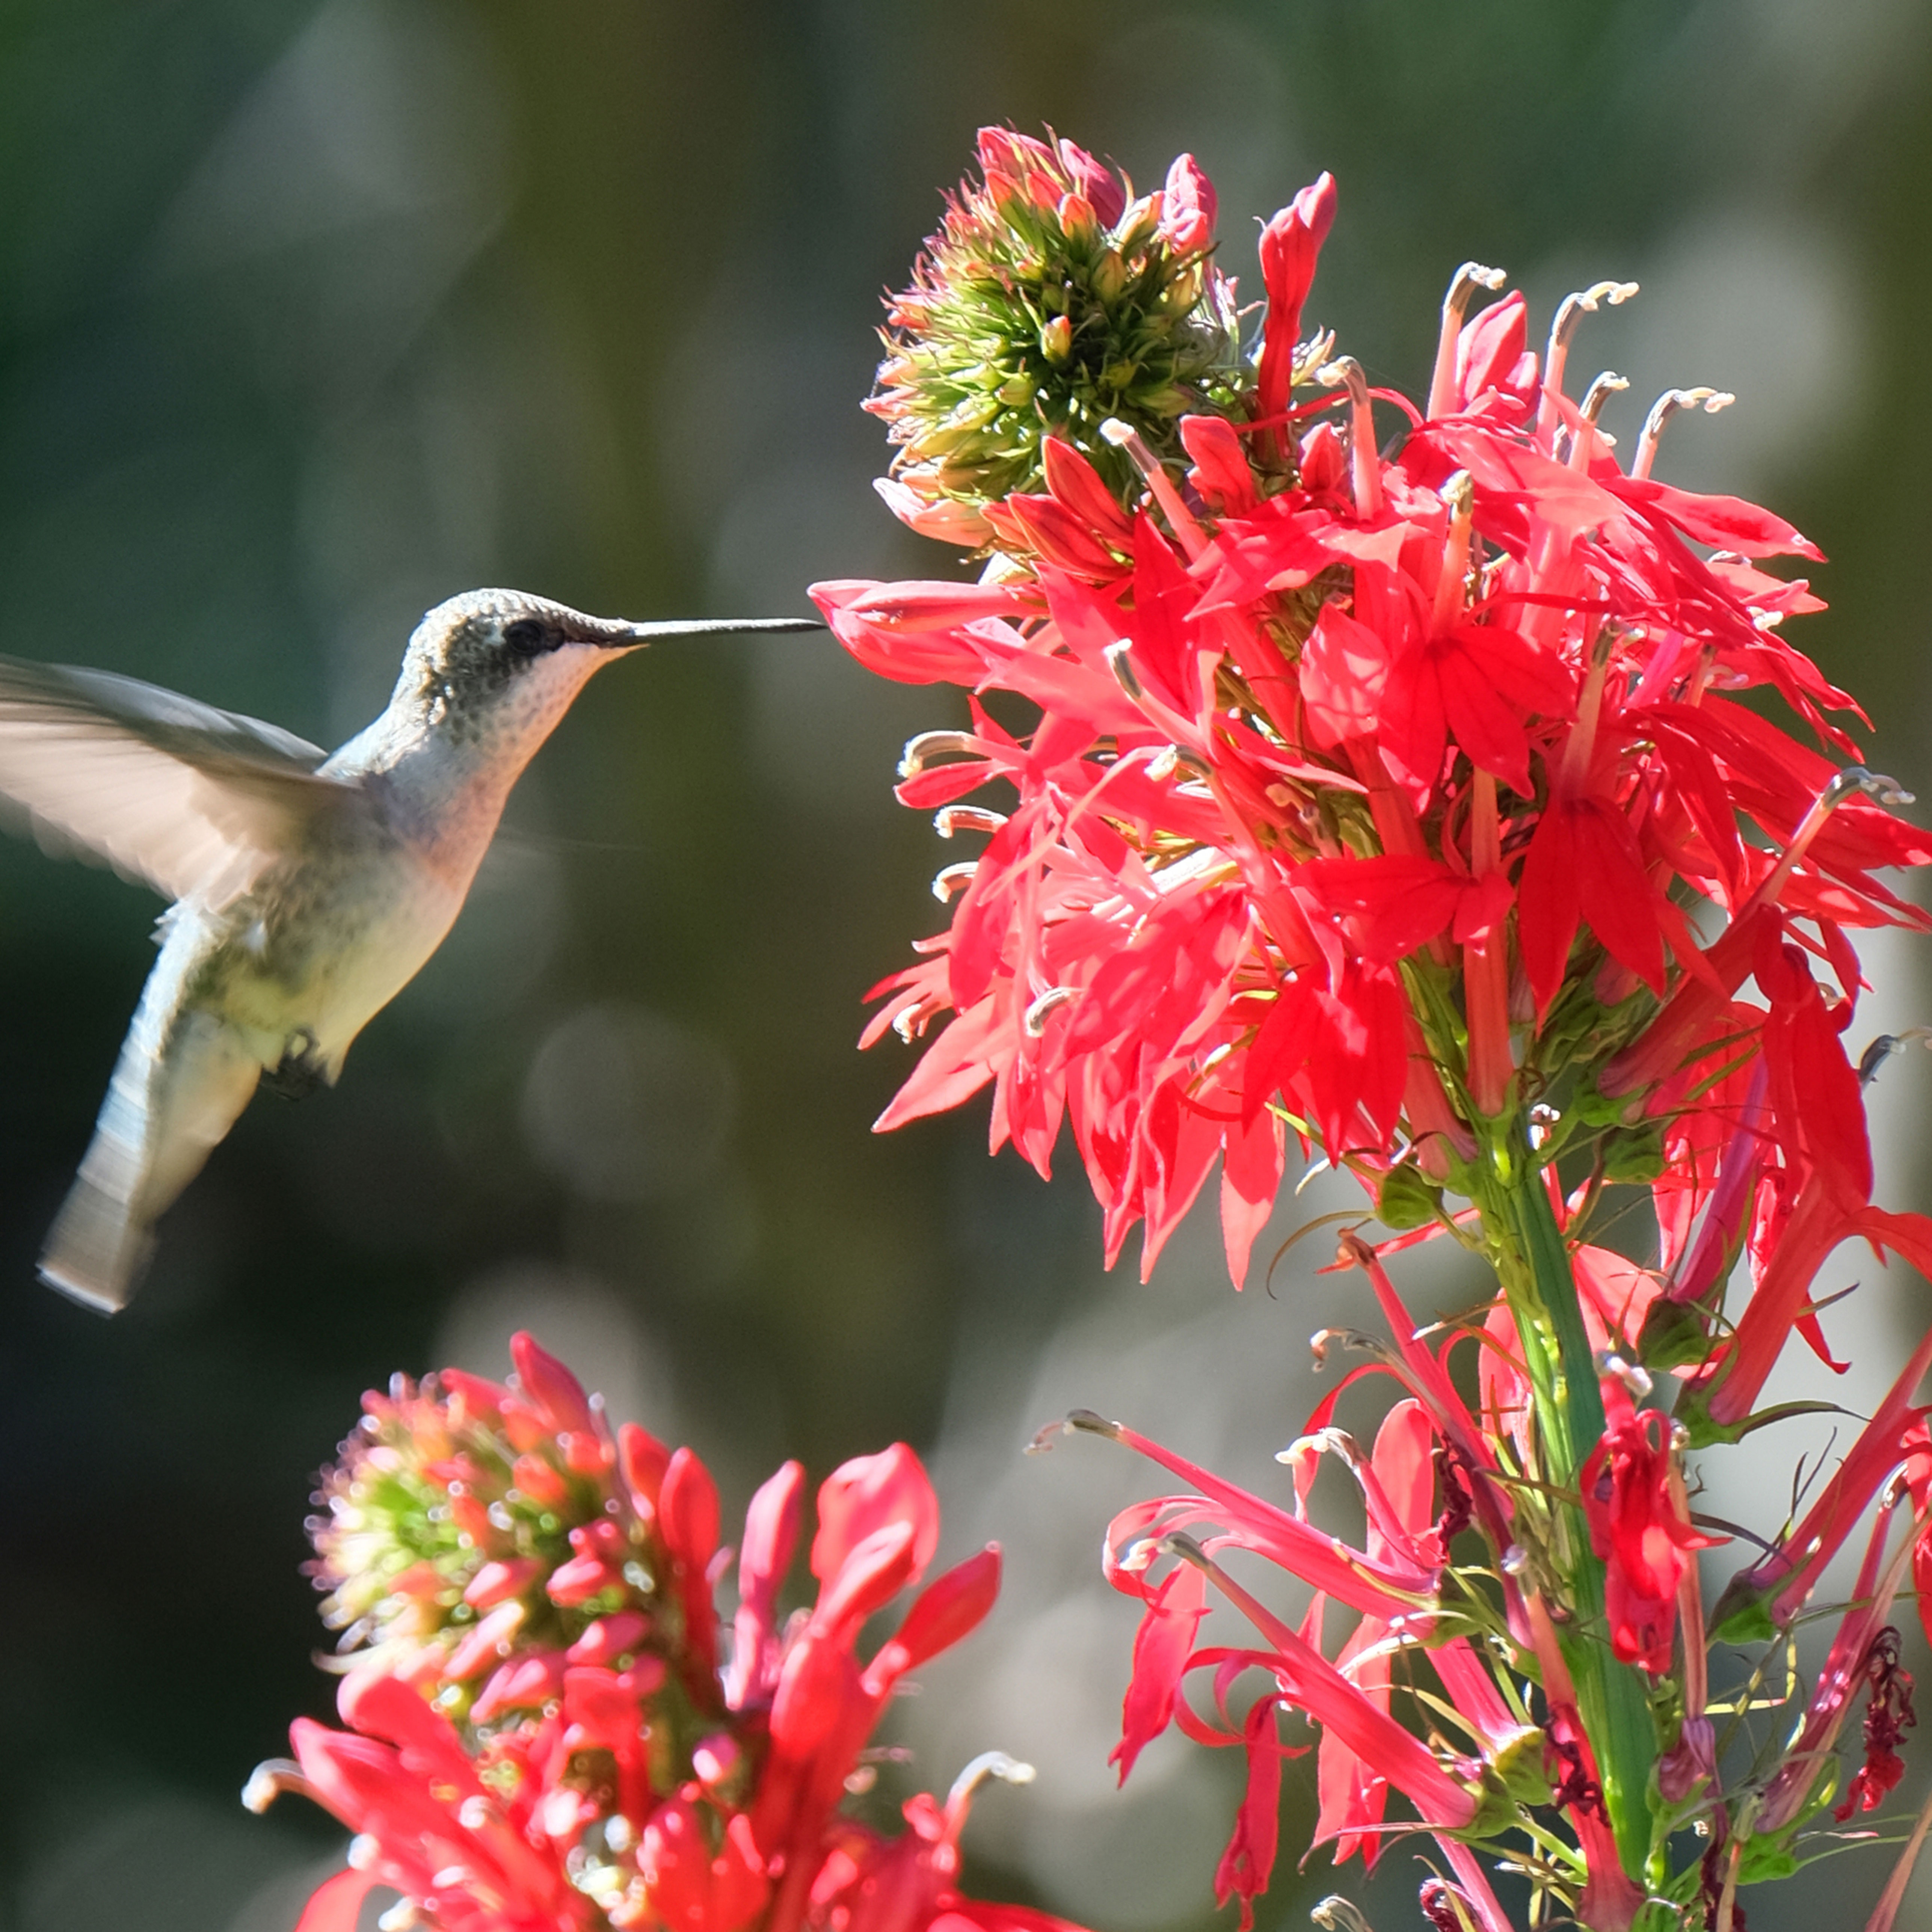 Get Ready For A Summer Of Hummers! Grow These Full Sun Hummingbird Plants and Flowers
If you’re lucky enough to enjoy a sunny backyard, make sure you are maxing out on your pollinator opportunities and grow these full sun hummingbird plants and flowers
By Tonya Barnett
-
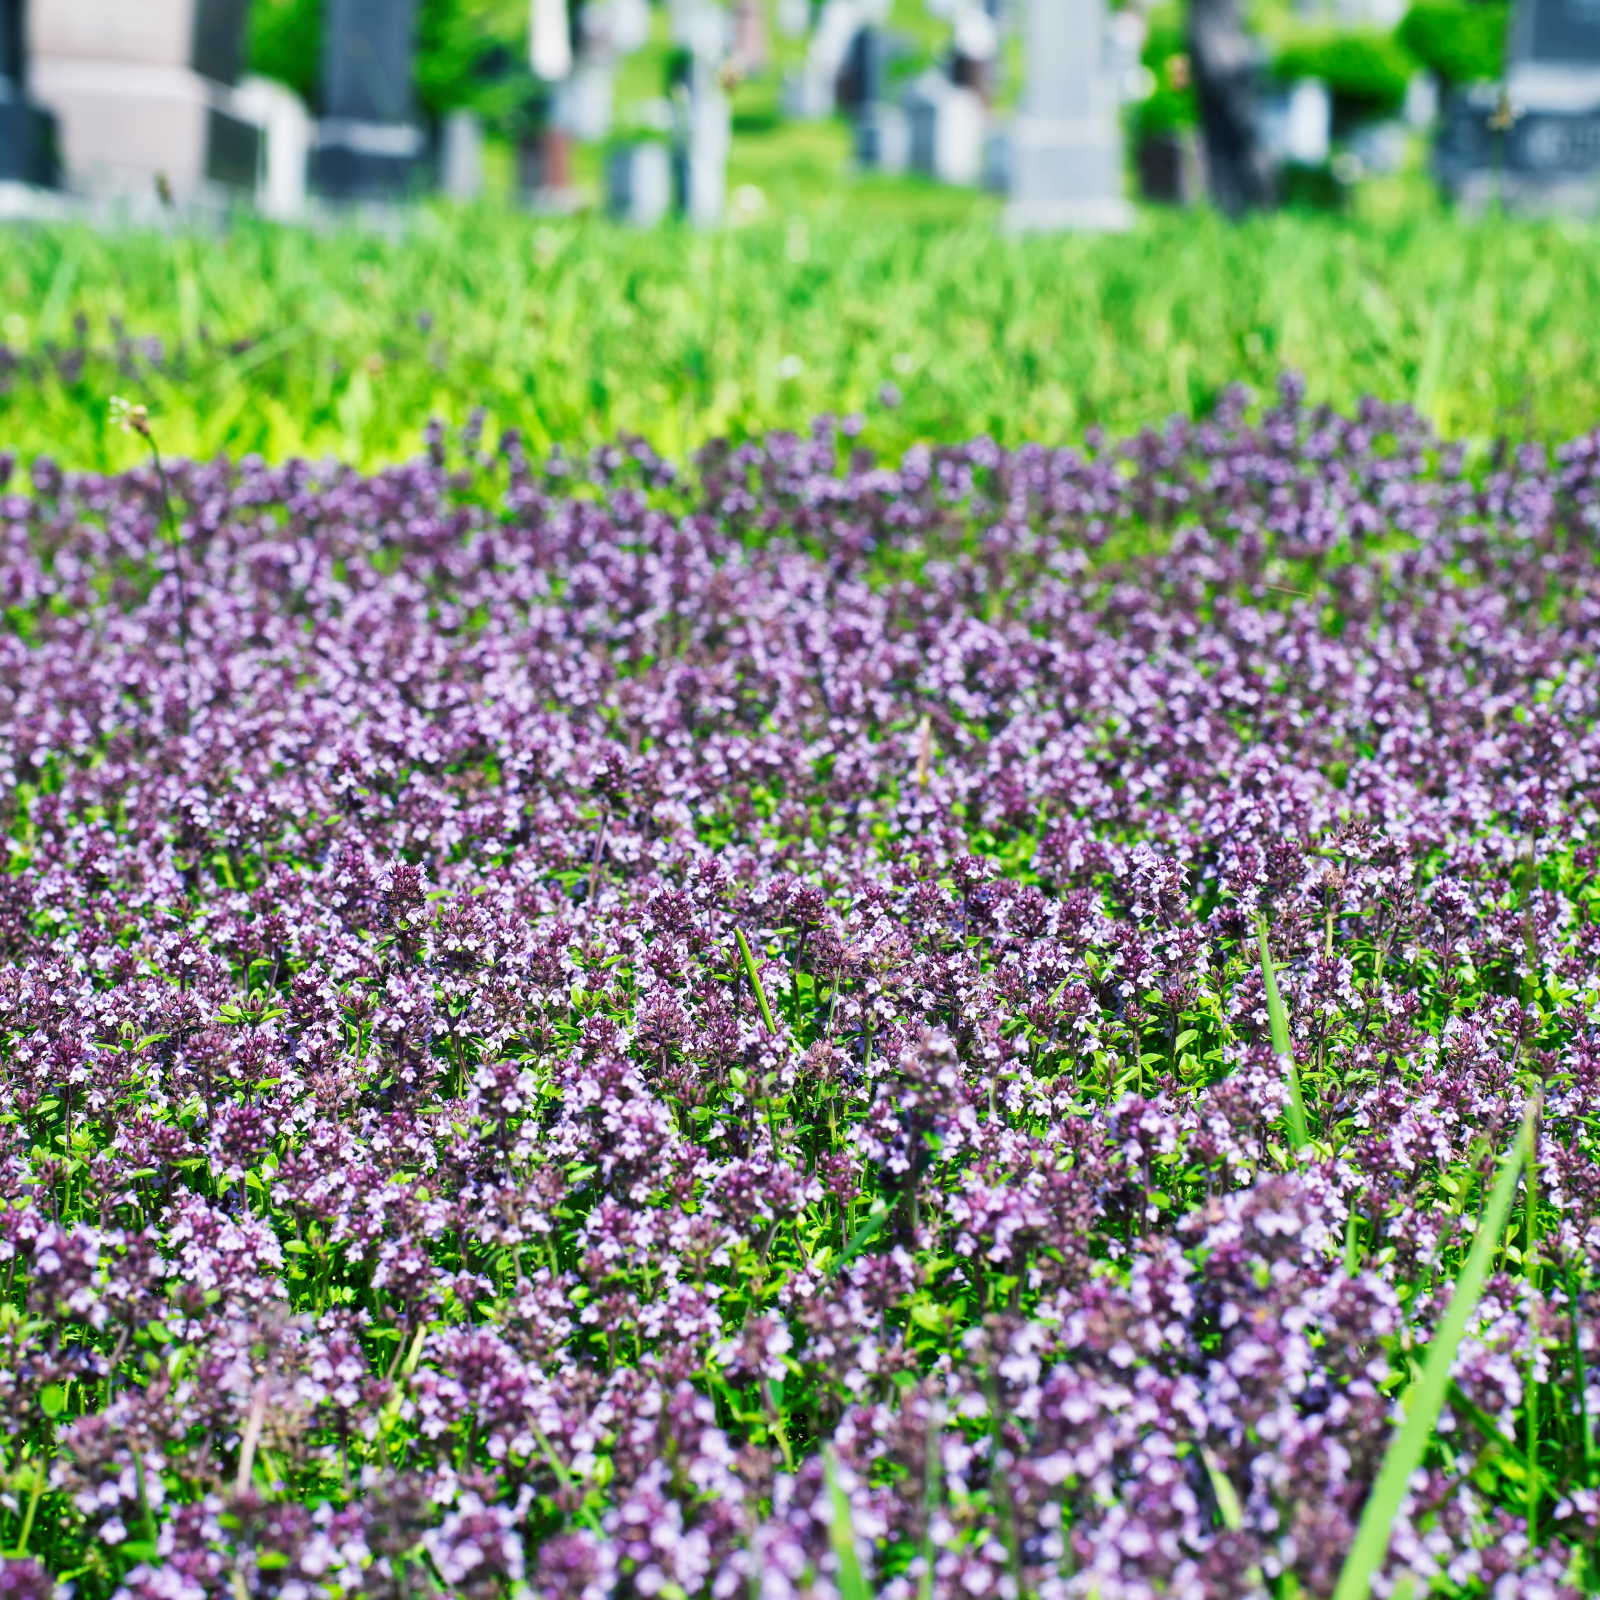 12 Lush Alternatives To A Lawn For Sustainable Spaces
Alternatives to a lawn are beautiful and also beneficial to your local ecosystem and its pollinators. Explore our top picks for plants to replace grass.
By Tonya Barnett
-
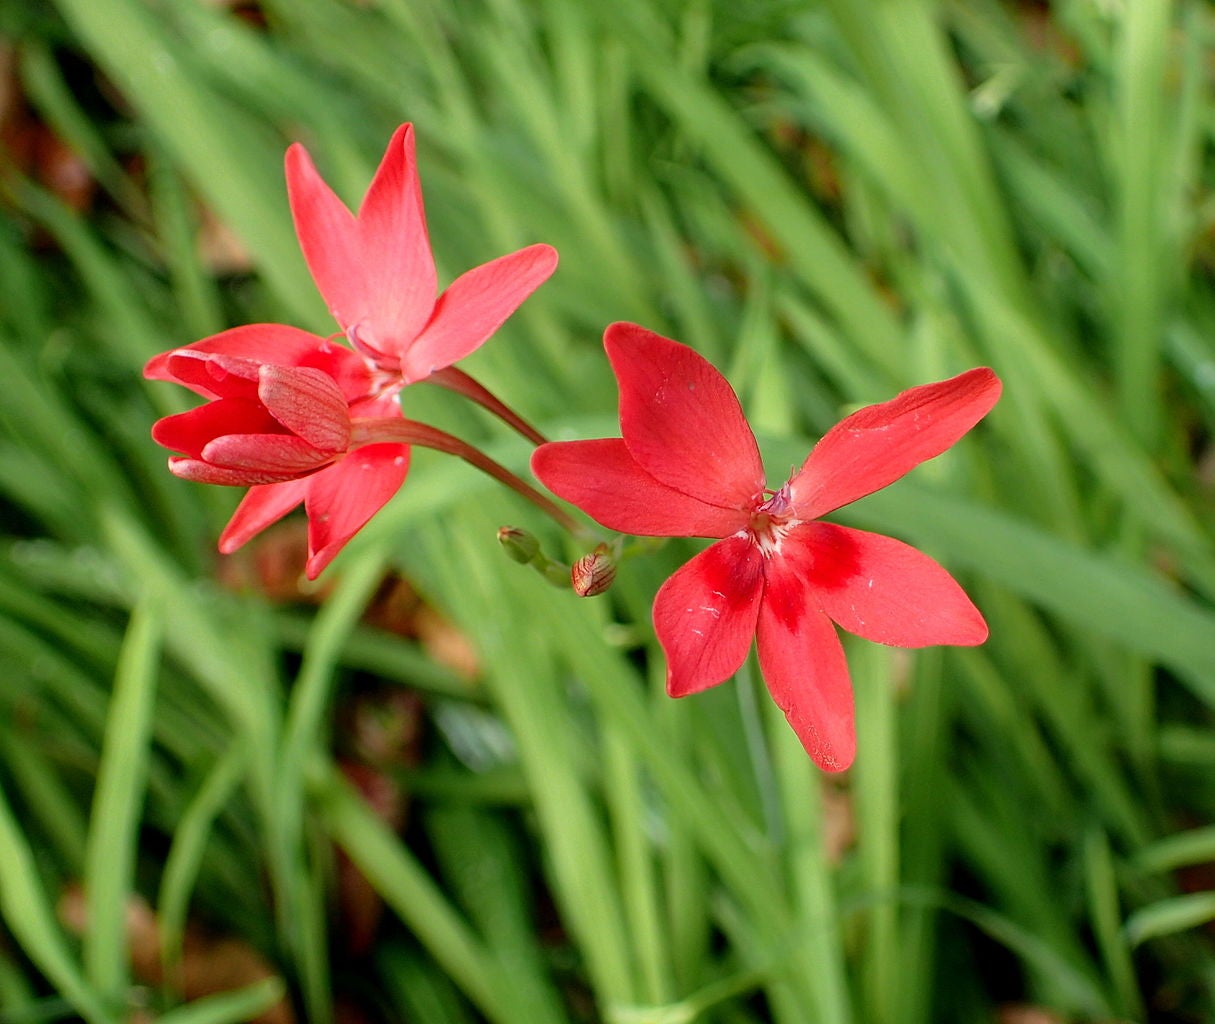 False Freesia Plant Care – Information On Planting False Freesia Corms
If you like the look of freesia flowers but wish you could find something similar that wasn't quite so tall, you're in luck! False freesia plants can add a bright splash of red to the garden. Its shorter stature makes it ideal too. Learn how to grow false freesia here.
By Laura Miller
-
 Trouble With Freesia Plants: Learn About Freesia Diseases And Pests
Carefree freesias in a garden space are a wonderful addition, but nothing in the plant kingdom is truly without worry. A few common problems plague freesias, but many are simple to deal with if you're armed with the right knowledge. Learn about freesia troubles here.
By Kristi Waterworth
-
 No Flowers On A Freesia: How To Get Blooms On Freesia Plants
When a freesia won't bloom, it can be frustrating but there are several possible reasons for this, and many of them can be easily corrected. Find tips in this article on how to get blooms on freesia so you can get on your way to growing these scented beauties.
By Bonnie L. Grant
-
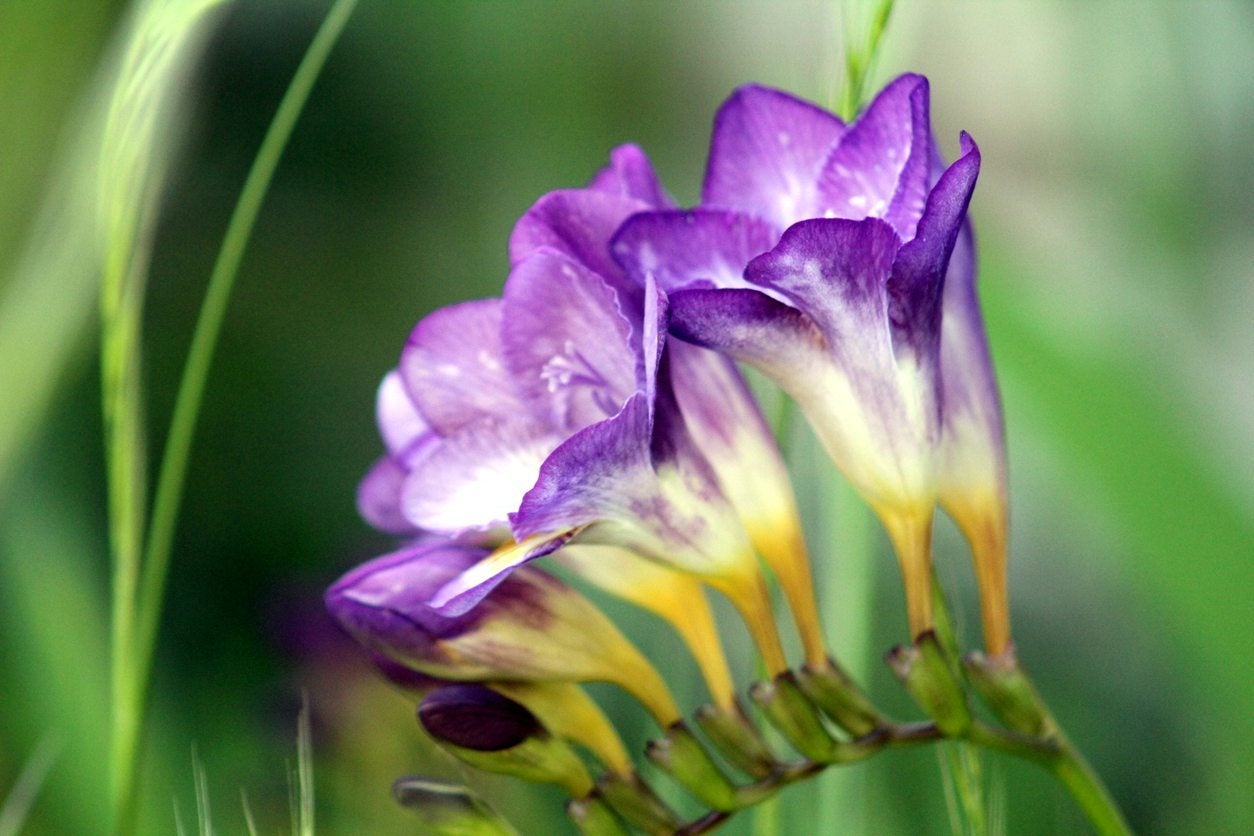 Caring For Freesias: Guide To Freesia Care In The Garden
In order to properly grow freesia in the garden, it is important to mimic its native habitat. If you're looking for a long lasting flower for a cutting garden, click the following article to learn about freesia growing requirements.
By Darcy Larum
-
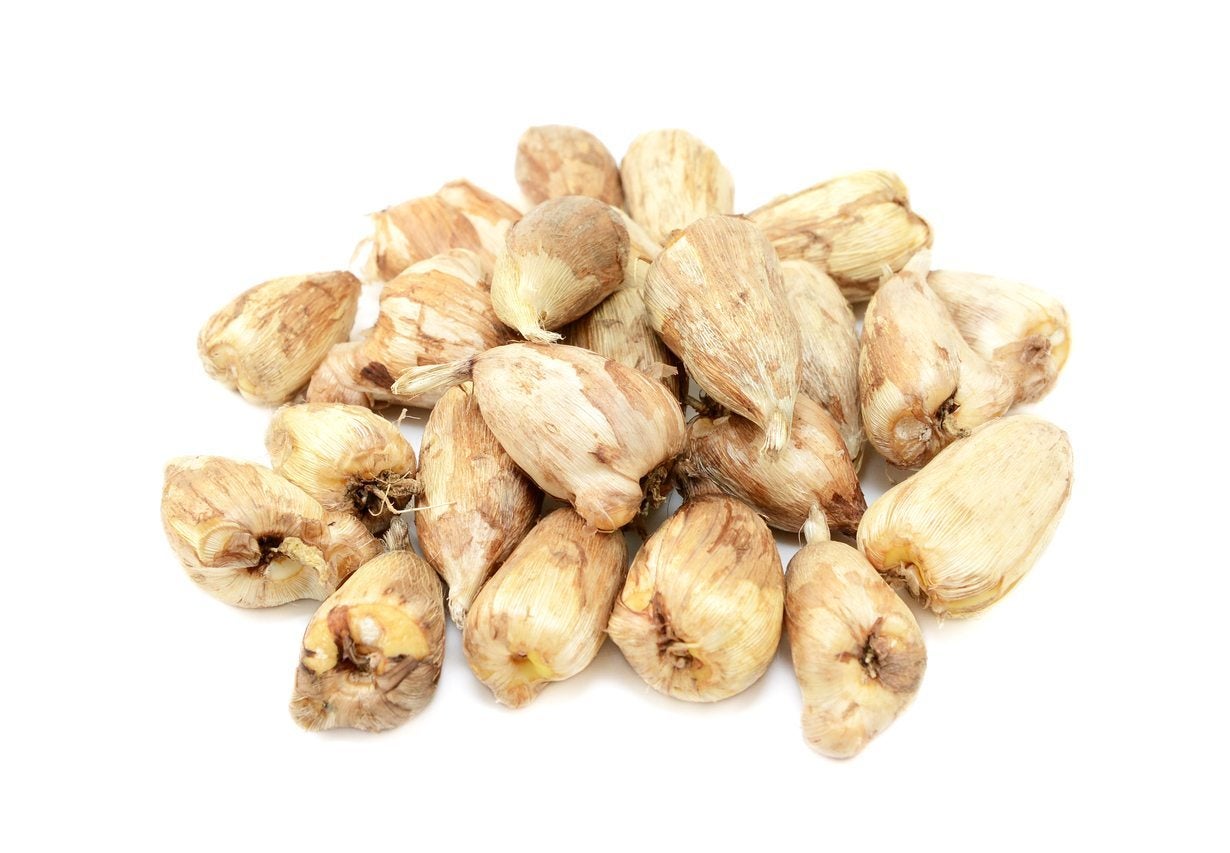 Propagating Freesias: Methods For Starting Or Dividing Freesia Plants
Freesias are beautiful, fragrant flowering plants that have a well deserved place in plenty of gardens. But what could be better than one freesia plant? Lots of freesia plants, of course! Learn more about how to propagate a freesia in this article.
By Liz Baessler
-
 Caring For Forced Freesias – How To Force Freesia Bulbs
Can you force freesia bulbs to bloom indoors? Yes you can! Click here to learn how to make the process a breeze.
By Bonnie L. Grant
-
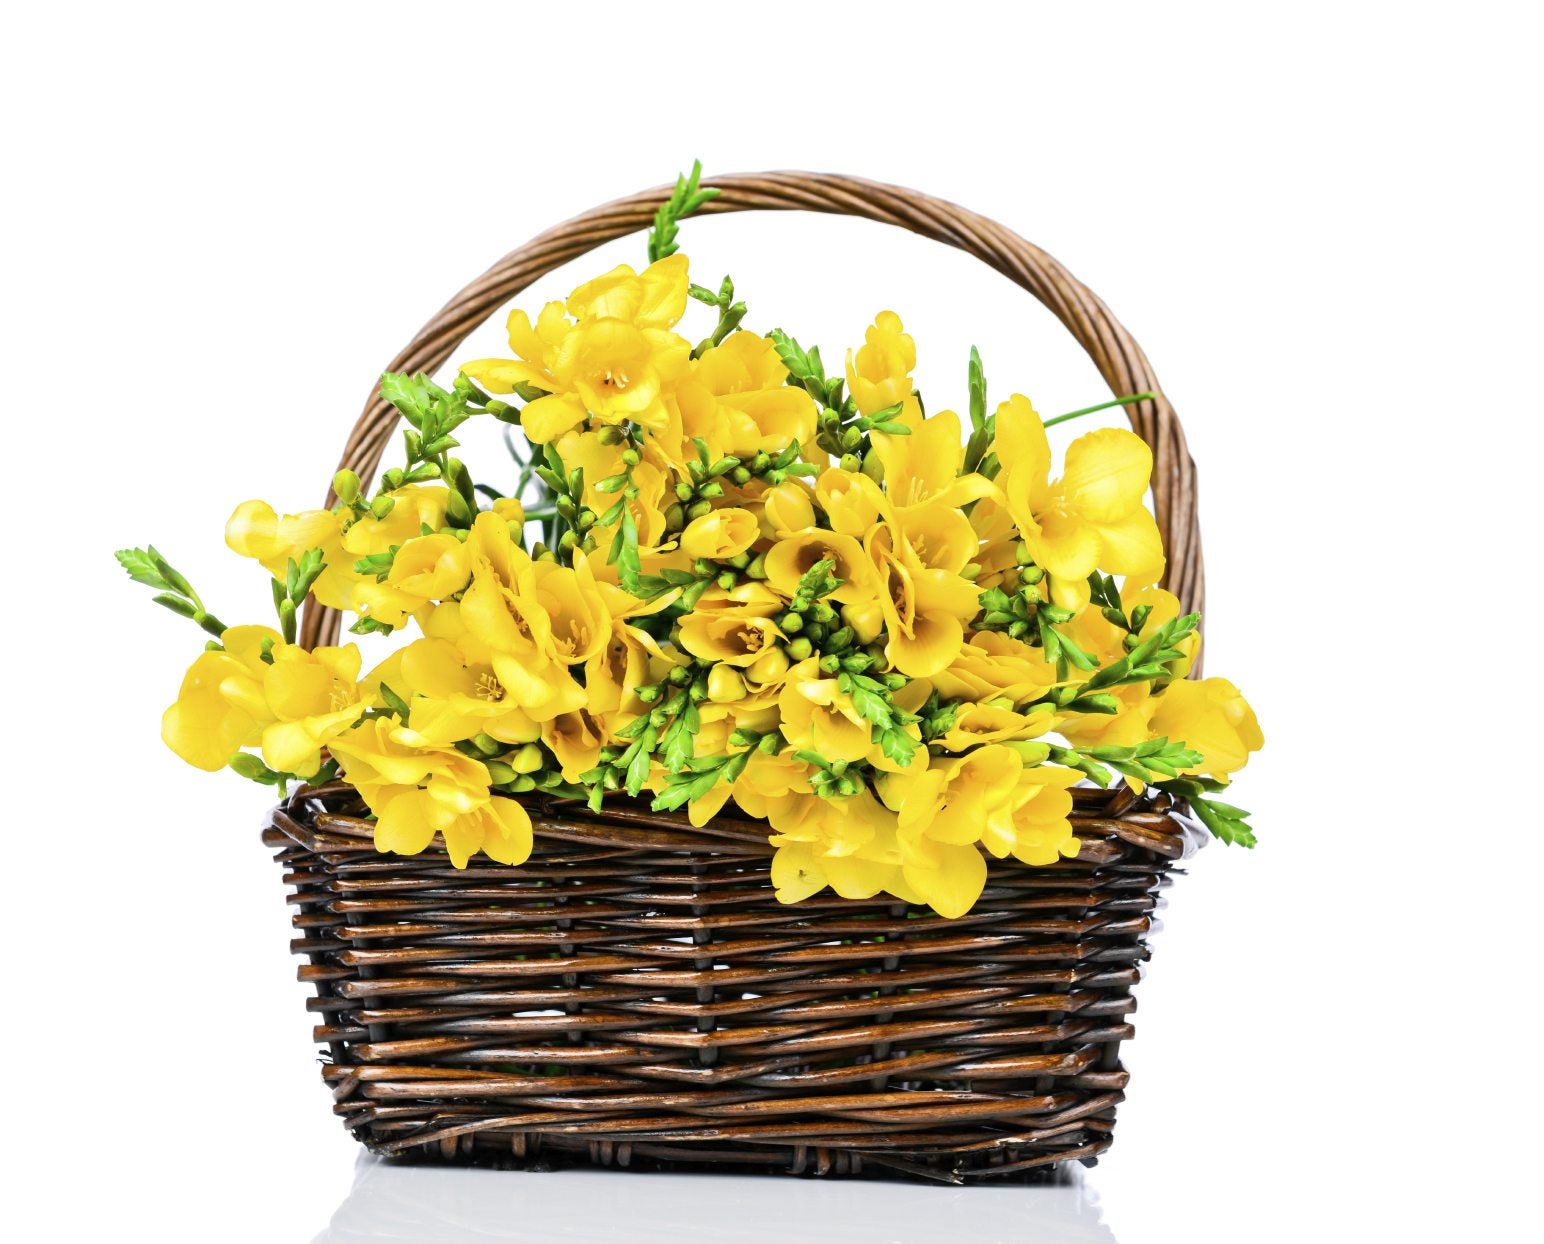 Freesia Container Care: How To Grow Freesia Bulbs In Pots
Freesias are ideal for gardens and flower arrangements, but they're also very well suited to being grown in containers. Click on the following article to learn more about how to grow freesia bulbs in pots.
By Liz Baessler
-
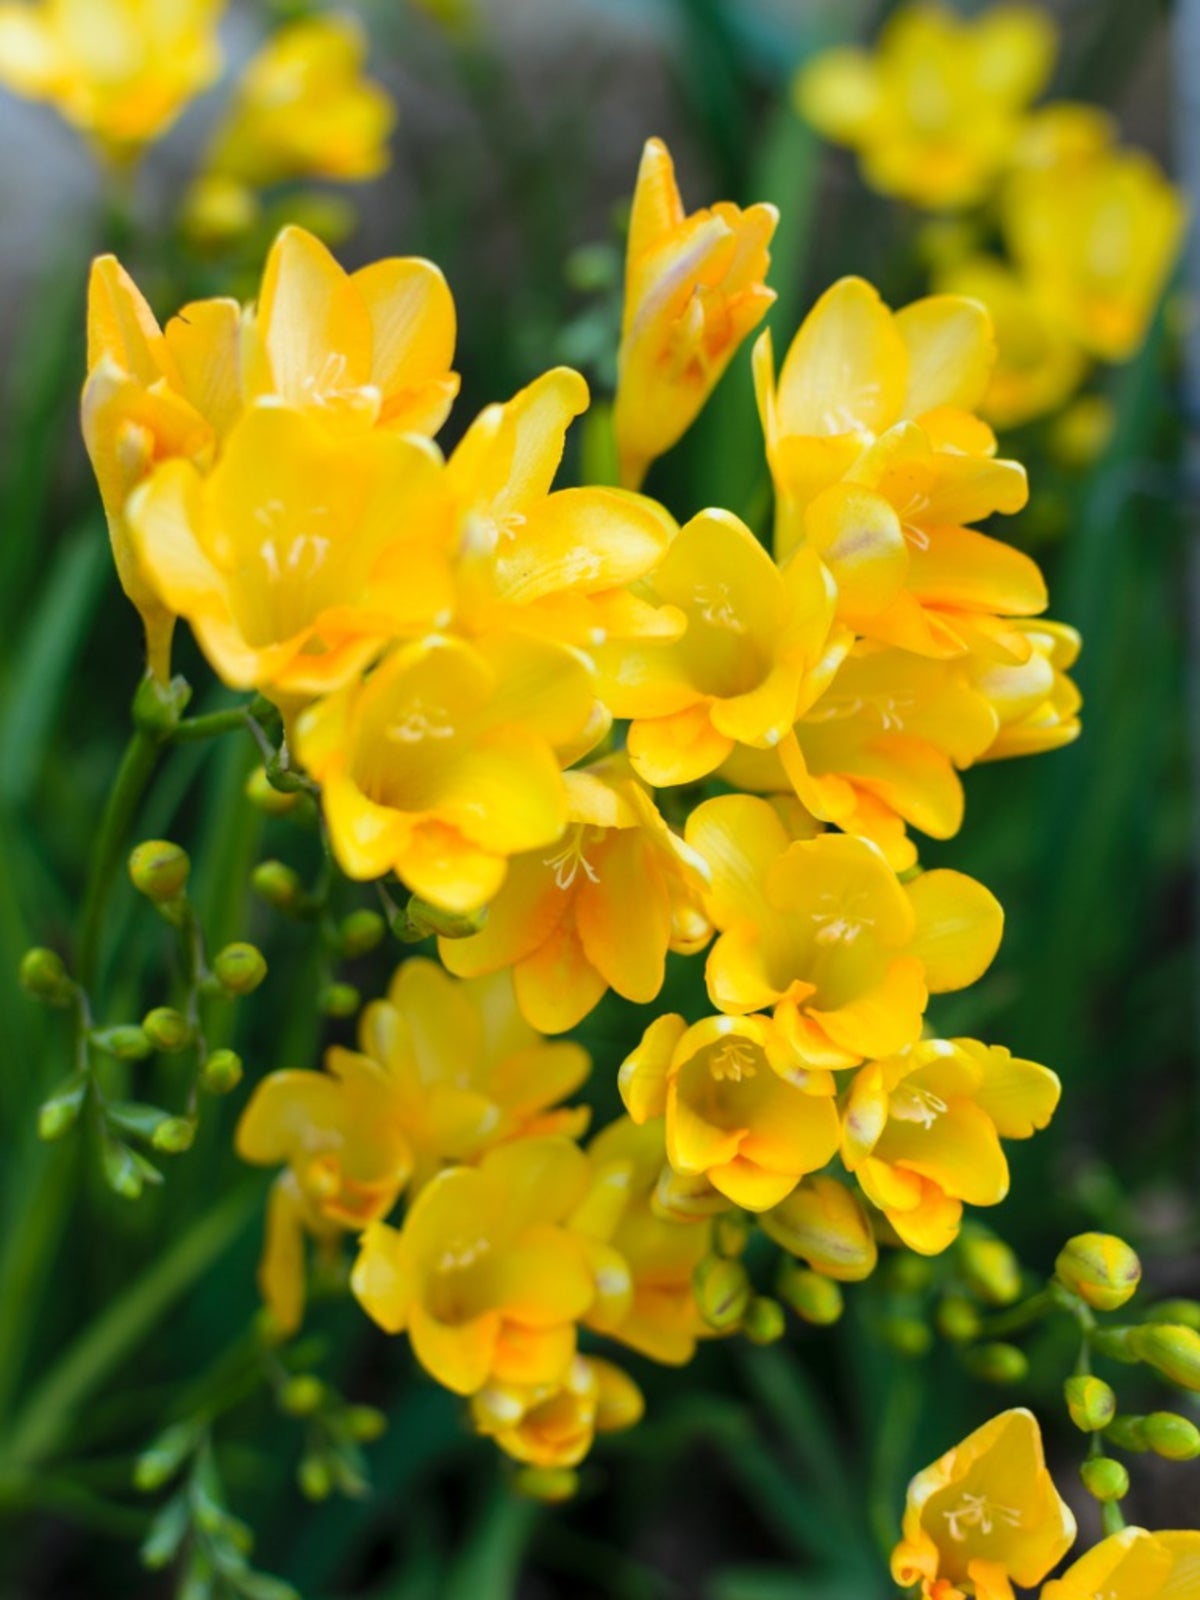 Freesia Bulb Plant: When And How To Plant A Freesia Corm
A wide range of colors and an alluring floral fragrance make freesia hard to resist. The freesia bulb plant is easy to force indoors on sunny windowsills, or plant them in the garden. This article has more info.
By Jackie Carroll