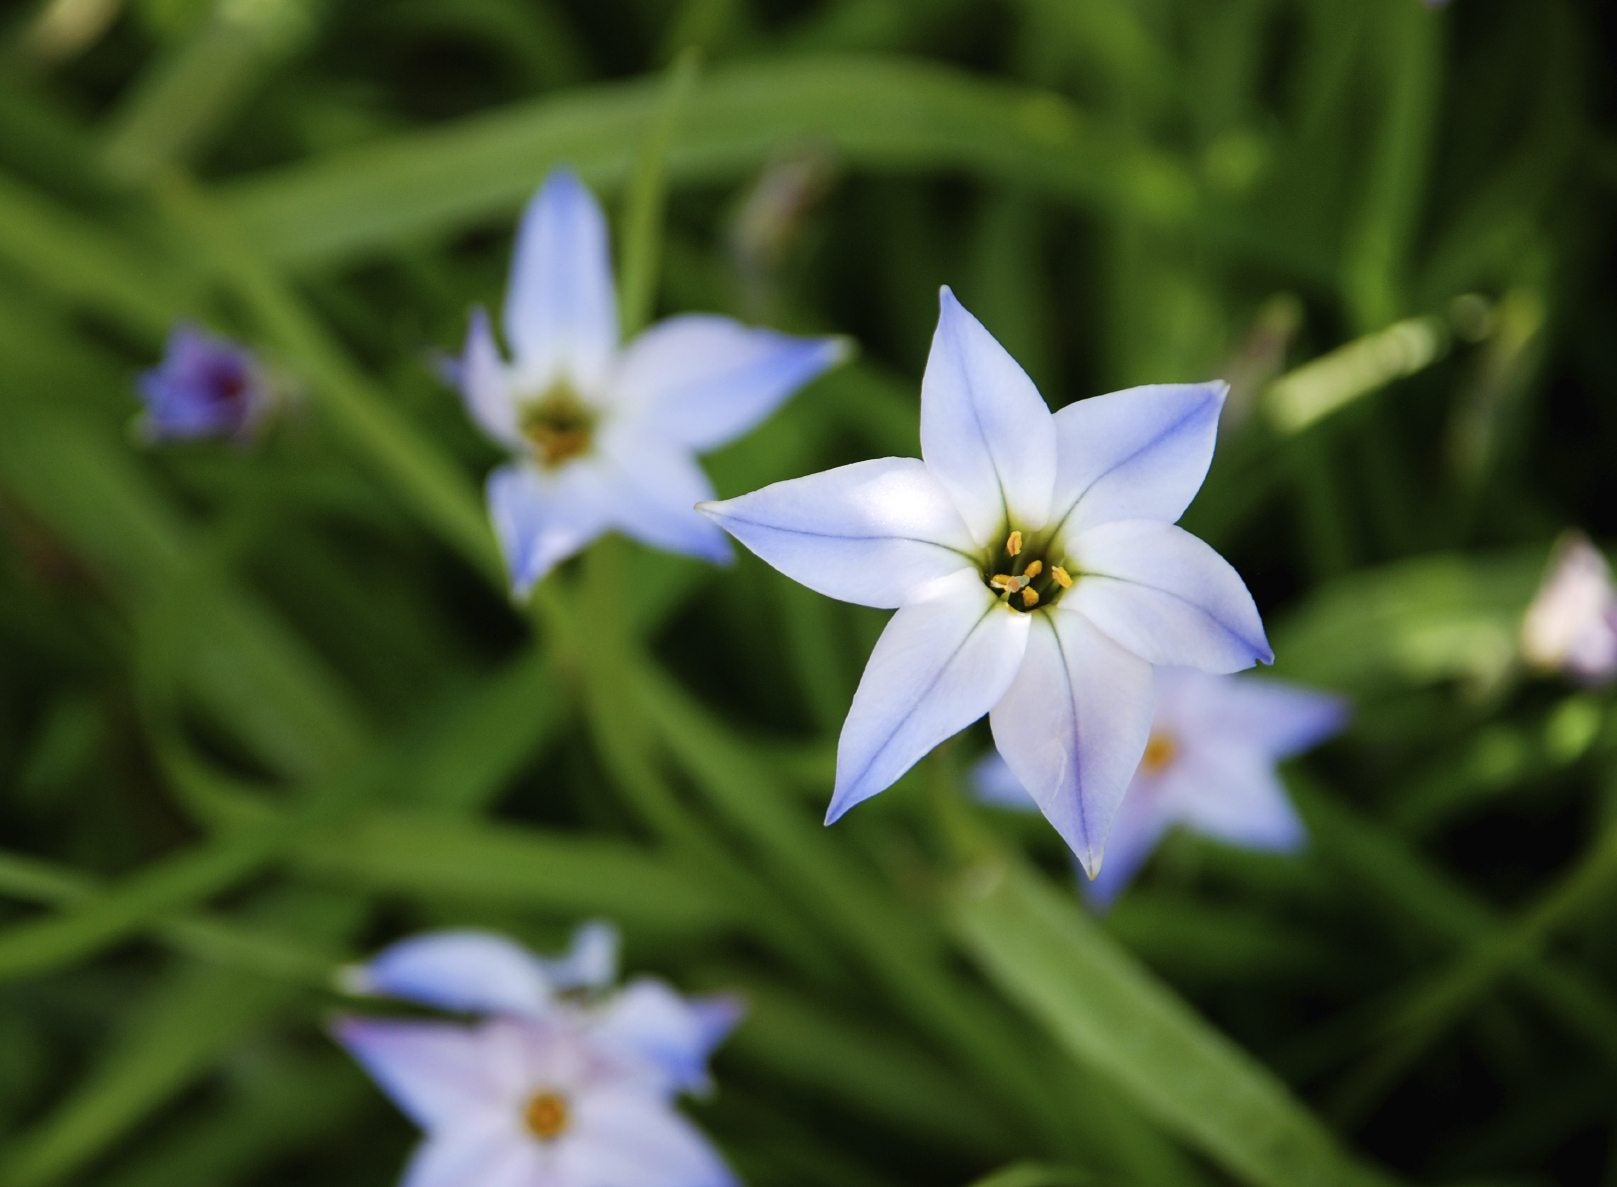
Growing Spring Starflowers In Containers: How To Plant Ipheion Bulbs In Pots
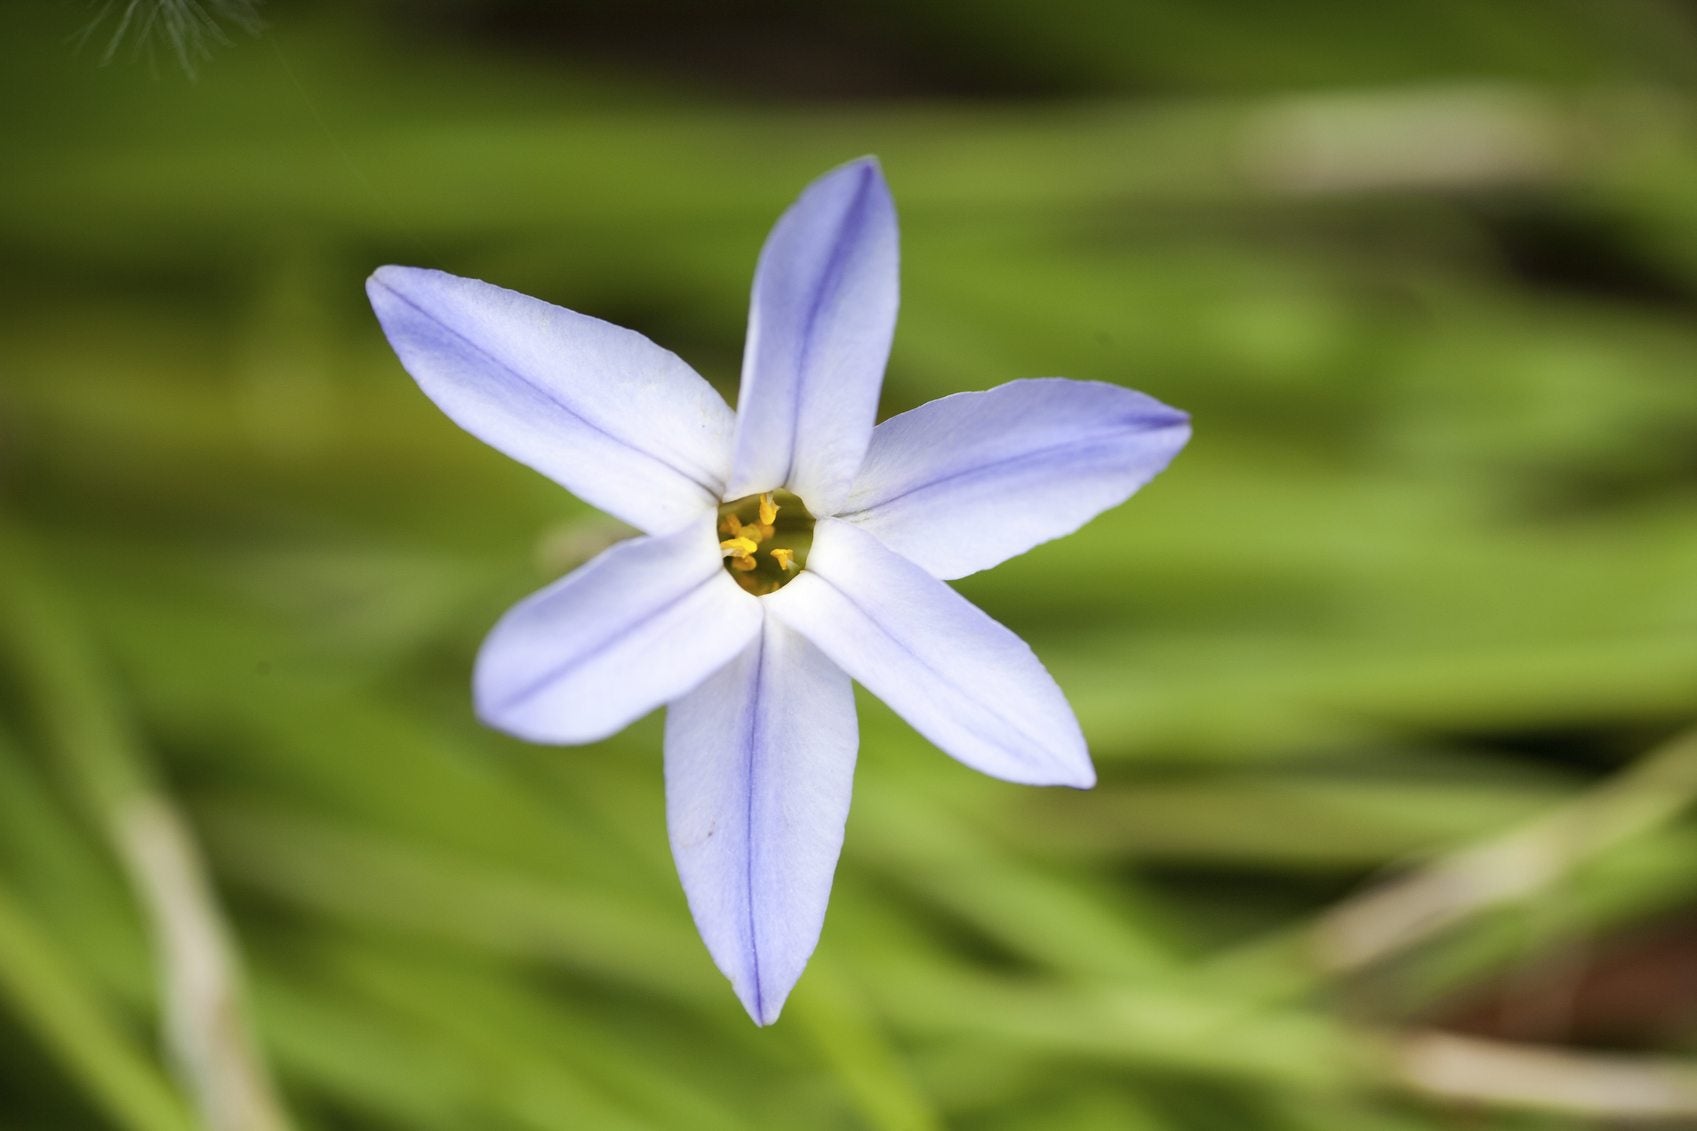
Spring bulbs are a saving grace after a long winter. Ipheion spring starflowers are small flowering bulbs from South America. They spice up the garden with onion scented leaves and white star-shaped blooms. That said, growing spring starflowers in containers is just as easy and creates just as much impact. The key is having the appropriate container, good soil, and knowledge on how to plant Ipheion bulbs in pots.
Ipheion Spring Starflower Information
Spring starflower bulbs need to be installed in fall so they can experience dormancy and chilling periods that force the embryonic plant to emerge when temperatures warm. As the bulbs mature, they will produce bulblets and new growth in successive years. As a South American native, Ipheion thrives in warm temperatures and full sun. While the bulbs are hardy to United States Department of Agriculture zone 5, many people enjoy growing starflowers in containers, especially those in colder climates. Spring starflower bulbs can achieve 6 to 8 inches (15 to 20.5 cm.) in height and are topped with 1-inch (2.5 cm.) wide white flowers with 6 petals. Ipheion is a relative of the onion, which explains the scent of its leaves when crushed. Bloom time is February to April but, occasionally, a late bloomer will appear.
How to Plant Ipheion Bulbs in Pots
Good drainage is the most crucial need for Ipheion bulbs in containers, as well as the ground. You’ll need a container large enough to accommodate the number of bulbs planted and one that provides adequate drainage. Choose a mixture of peat and loam for the planting medium. Install bulbs 2 to 3 inches (5 to 7.5 cm.) deep with the pointed side upward. Incorporate bone meal or a good bulb food at planting for best growth.
Care of Spring Starflowers in Containers
When you plant Ipheion in containers, keep pots moderately moist until you see the first sprouts and thereafter water when the top inch (2.5 cm.) of soil is dry. Allow the foliage to persist even after the flowers have stopped appearing so the plant can gather solar energy to store for the next season's growth. If you live in a cool zone, it is recommended that you bring in the containers to overwinter. Let the foliage die back and place pots in a cool, dark, dry area. Alternatively, you can remove the bulbs in fall, allow them to dry for a few days and place them in a mesh bag with peat moss. Store the bag where it is cool and dry and plant the bulbs as soon as soil is workable in spring.
Gardening tips, videos, info and more delivered right to your inbox!
Sign up for the Gardening Know How newsletter today and receive a free copy of our e-book "How to Grow Delicious Tomatoes".

Bonnie Grant is a professional landscaper with a Certification in Urban Gardening. She has been gardening and writing for 15 years. A former professional chef, she has a passion for edible landscaping.
-
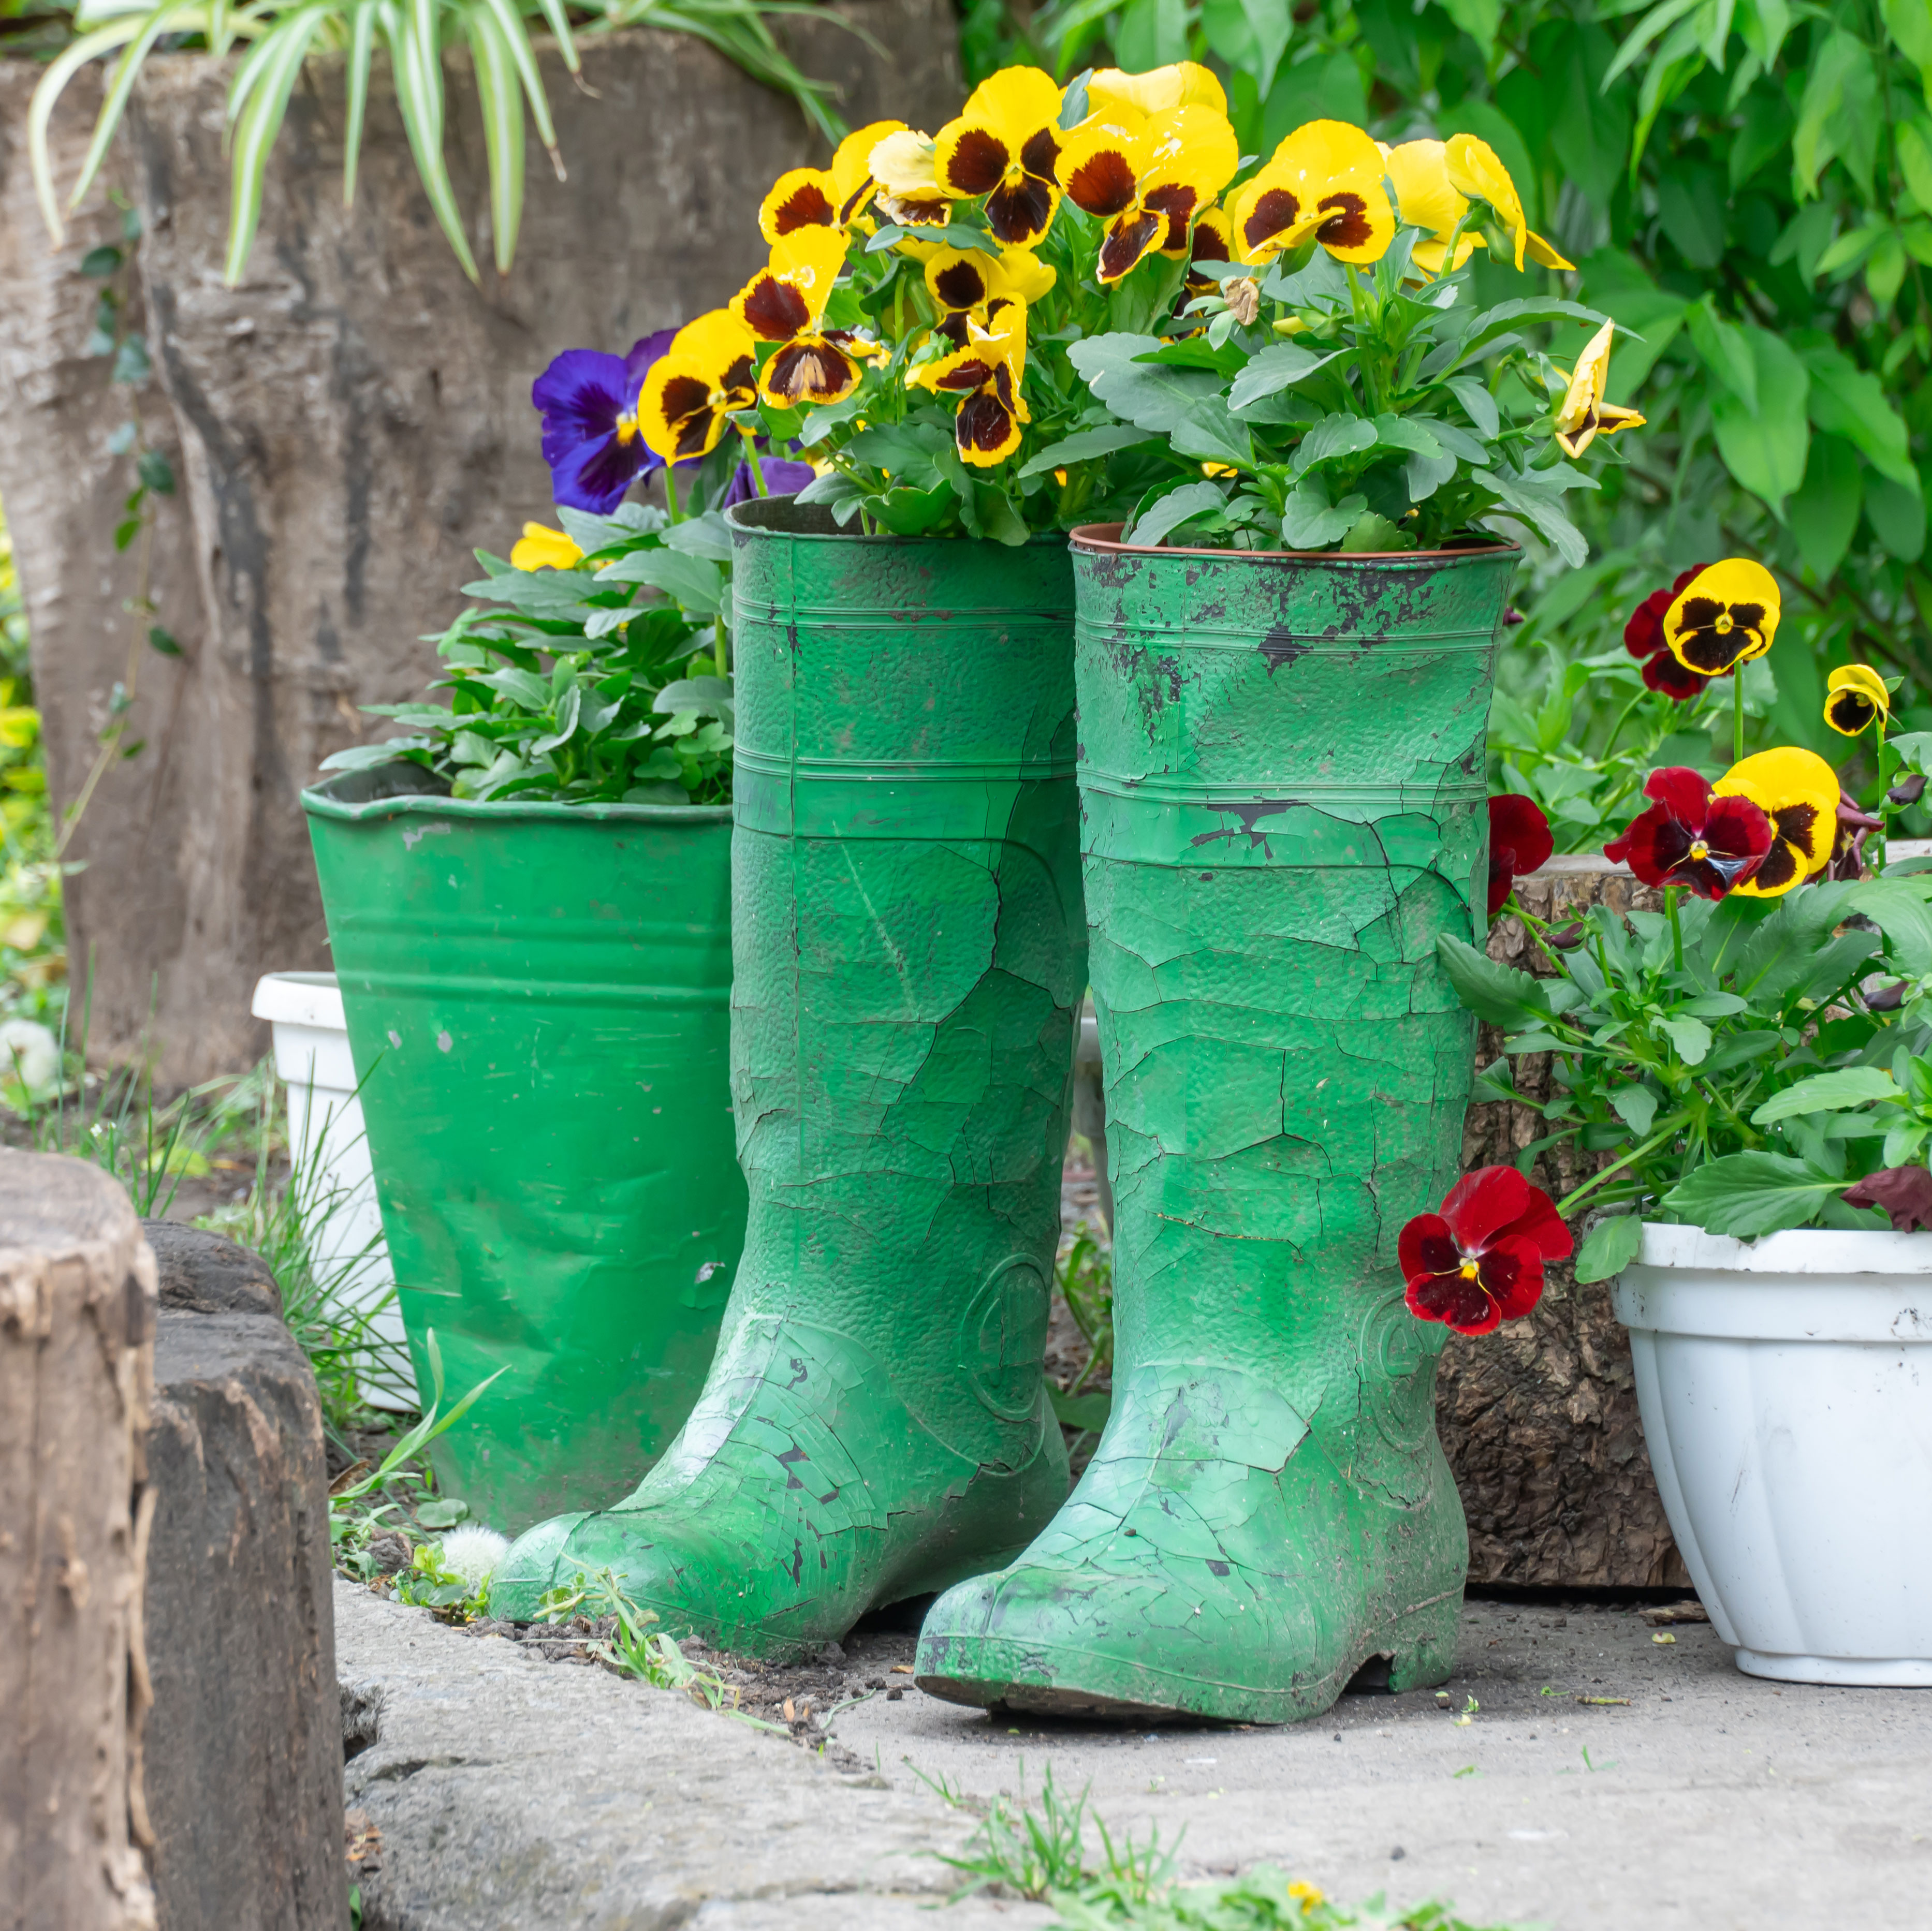 Creative Ideas For Plant Containers: 7 Ways To Save Money And Add Charm To A Garden
If you are looking for great ways to add personality to your container gardening – and even save yourself some money – then try these creative ideas for plant containers
By Mary Ellen Ellis
-
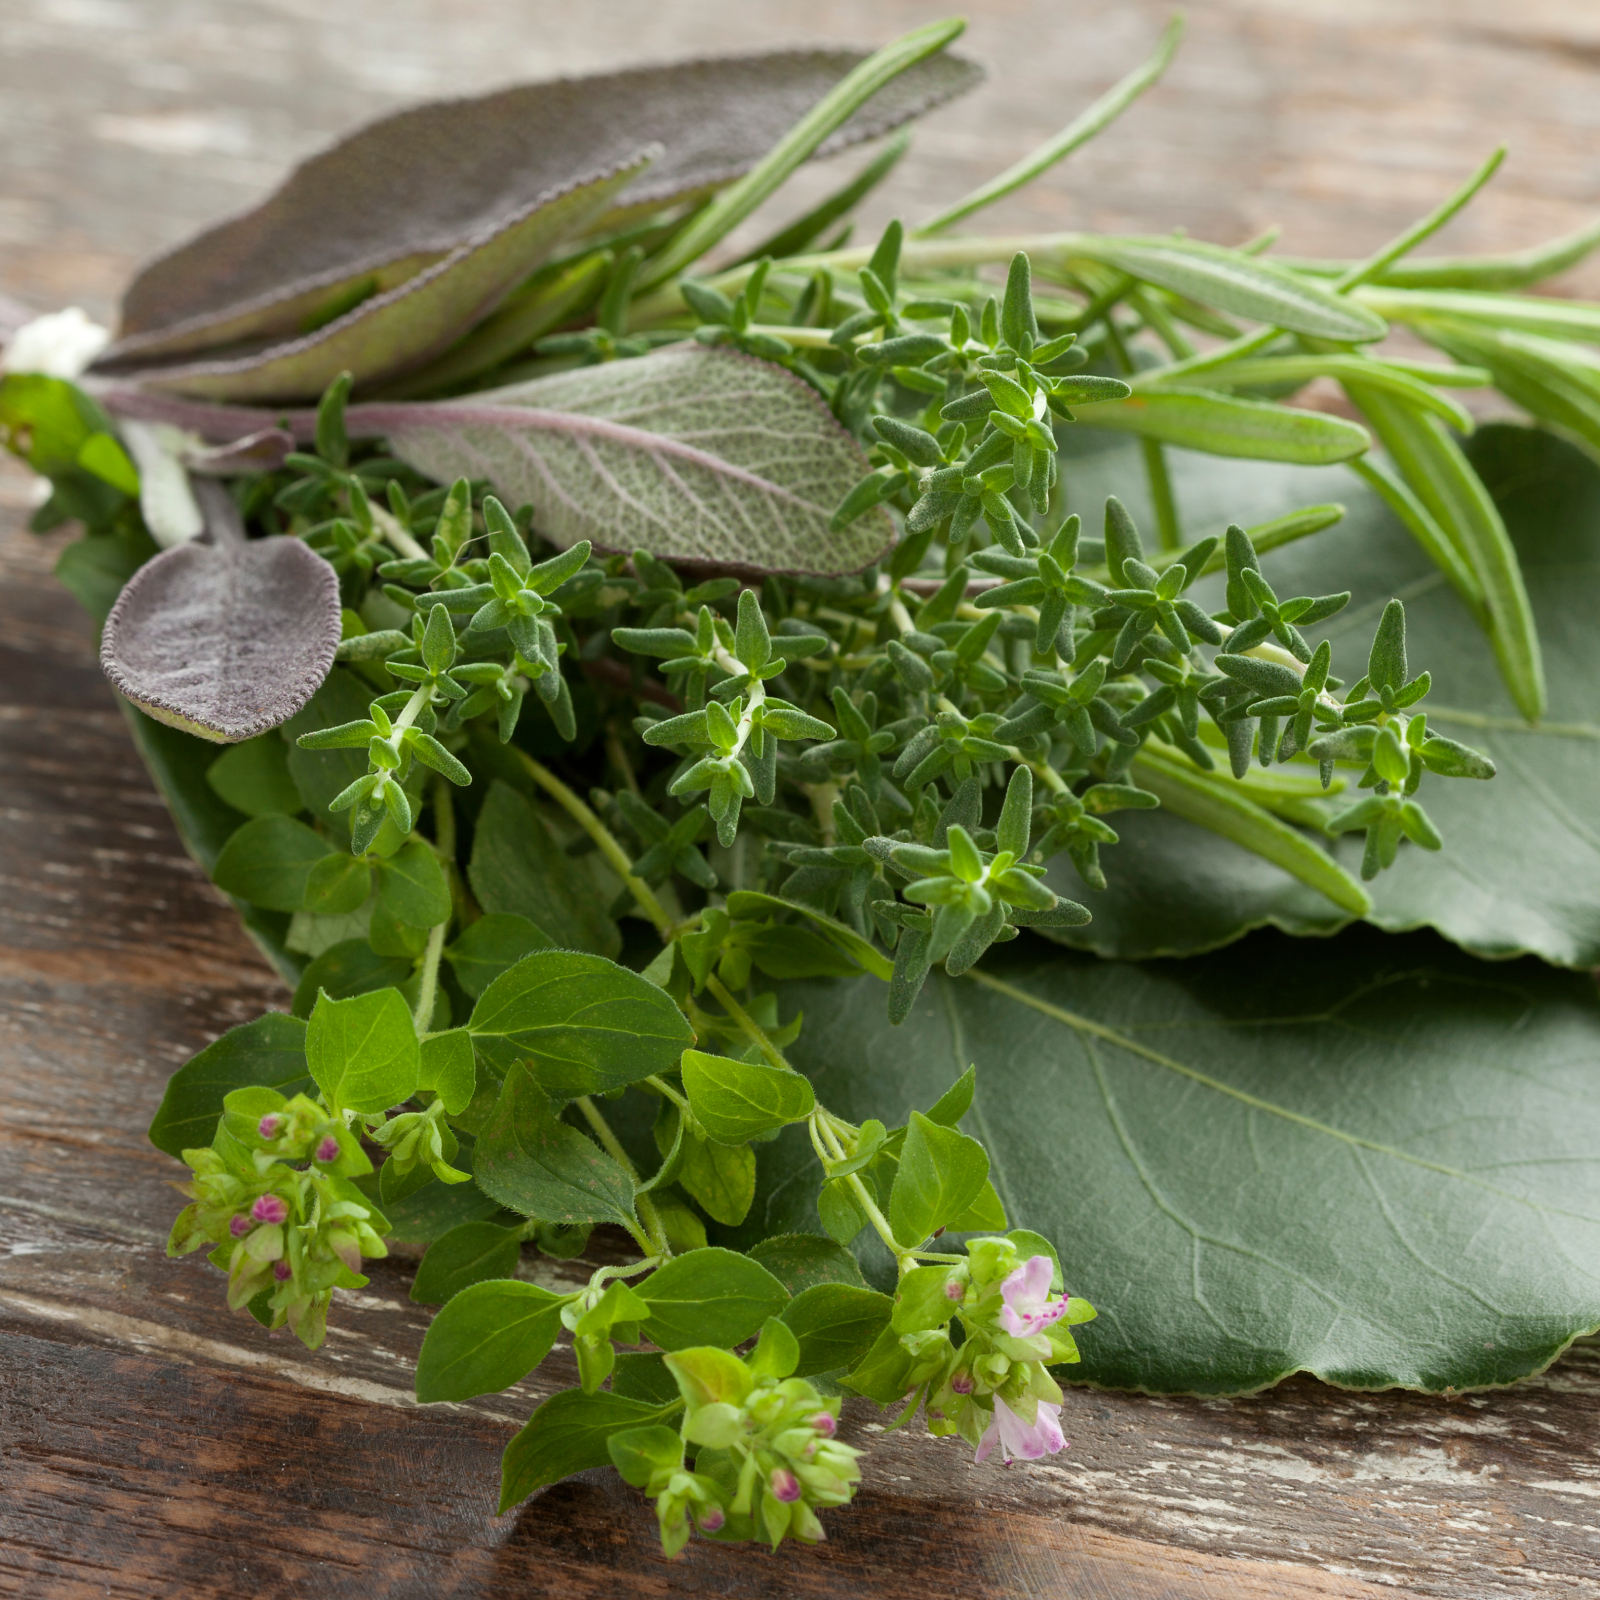 How To Make A Bouquet Garni Or Herb Bundle For Cooking
If you’re a great cook, you may have made an herb bundle before. If this is a new idea, learn how to add sparkle and interest to your dish with a bouquet garni.
By Amy Grant
