Haworthia Propagation Guide – How To Propagate Haworthia Plants
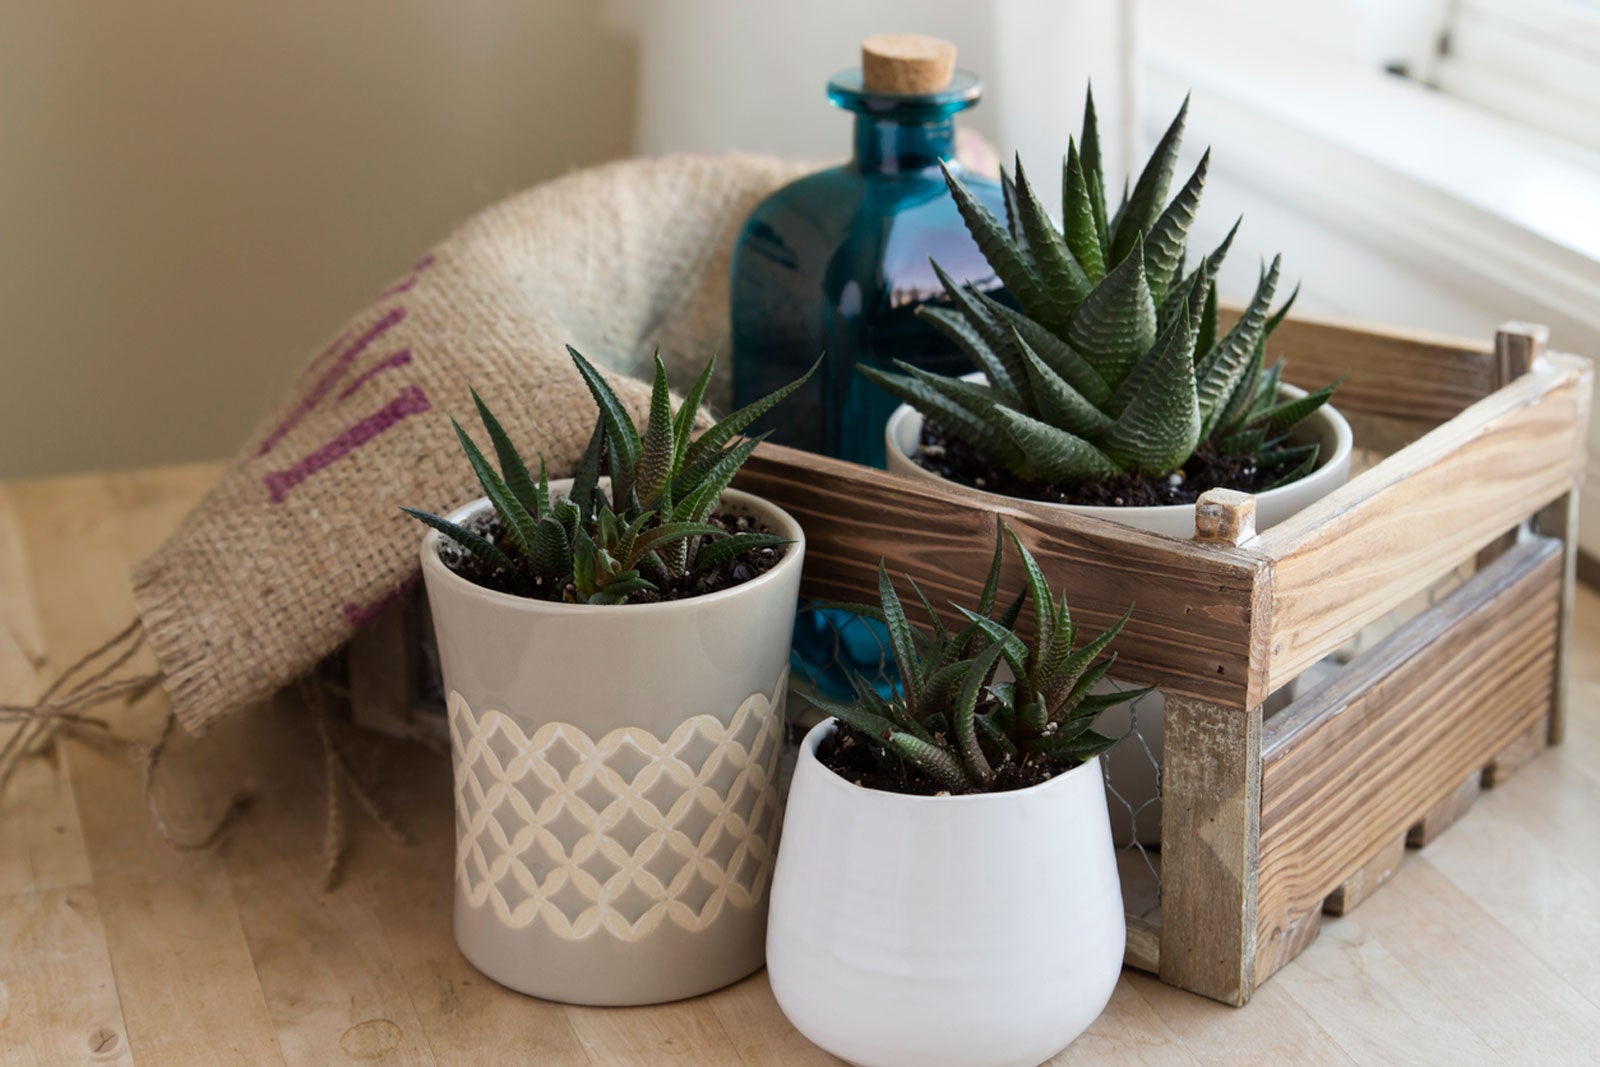
Haworthia are attractive succulents with pointed leaves that grow in a rosette pattern. With over 70 species, the fleshy leaves can vary from soft to firm and fuzzy to leathery. Many have white stripes banding the leaves while other species have variegated coloration. In general, haworthia remain small, making them the perfect size for container gardening.
Due to their size, purchasing haworthia to fill a flowerbed or a large succulent planter can get expensive. Propagating haworthia is not difficult and can give gardeners the quantity of plants they need. There are several methods of propagating succulents, so let's consider which methods work best for haworthia propagation.
How to Propagate Haworthia
There are three proven methods for propagating haworthia: seeds, offset division, or leaf cutting. Which method you choose will depend upon what is available to you. Starting new haworthia plants using these methods can give gardeners all the plants they desire at a minimal cost.
Seeds can be purchased online or collected from your own plants if you're lucky enough to have a blooming haworthia. Offset division requires a plant that is sending up side shoots. The leaf-cutting method only requires a healthy plant for starting new haworthia.
The ideal soil mixture for starting new haworthia is the same regardless of the method. Use a premix bagged cactus soil or make your own by combining a ratio of 2/3 sand, crushed lava rock, or perlite to 1/3 potting soil. When watering, avoid using municipal water containing chlorine. Instead, use distilled water or a freshwater source.
Propagating Haworthia from Seed
Soak the seeds before planting to soften the seed coat. Use warm, not hot, water and let the seeds soak for roughly 30 minutes. Fill one or more small pots with the cactus soil mixture and place a few seeds in each pot. Sprinkle a light layer of sand or small gravel over the seeds to barely cover them. Moisten the soil.
Seal the pots in a plastic bag or clear container. Place the container where it will receive bright, indirect light and keep it at room temperature. Monitor the moisture level in the sealed container. If it is too dry, lightly water. If algae begins growing, open up the bag or container and allow it to dry.
Gardening tips, videos, info and more delivered right to your inbox!
Sign up for the Gardening Know How newsletter today and receive a free copy of our e-book "How to Grow Delicious Tomatoes".
Once the haworthia has sprouted, resist the urge to transplant. The root system grows slowly. It's best to keep them in the sealed container until the pot is overgrown.
Offset Haworthia Propagation
The best time to remove offset shoots is during repotting in the spring or fall. Use a sharp knife or shears to remove the offset as close to the mother plant as possible. Include as many roots as possible when making the cut.
Allow the plantlets to dry before watering or withhold water for the first few days after potting. Plant the offsets using the cactus potting mix. Water sparingly.
Cutting and Rooting Haworthia Leaves
The ideal time to utilize this method of haworthia propagation is at the end of the dormancy period or the beginning of the growing season. Choose a healthy, young leaf. (Older leaves near the base of the plant don't root as well.) Using a sharp knife, cut off the leaf. Avoid using scissors, which can damage the fleshy leaves.
Dip the cut edge of the leaf in rooting hormone. Allow the leaf to dry for several days until the cut edge heals or forms a scab. Using the cactus potting mix, gently plant the leaf in a pot and water. Place the potted leaf where it receives bright, indirect light.
Keep the soil moist, but not soggy. It will take several weeks for the leaf to establish a sufficient root system. Then it can be transplanted.

Laura Miller has been gardening all her life. Holding a degree in Biology, Nutrition, and Agriculture, Laura's area of expertise is vegetables, herbs, and all things edible. She lives in Ohio.
-
 4 Superfast Composting Methods: Turn Waste Into Garden Gold In 30 Days Or Less
Try the fastest composting methods to turbocharge your pile and transform kitchen scraps and garden waste into finished compost in just a few weeks.
By Mary Ellen Ellis
-
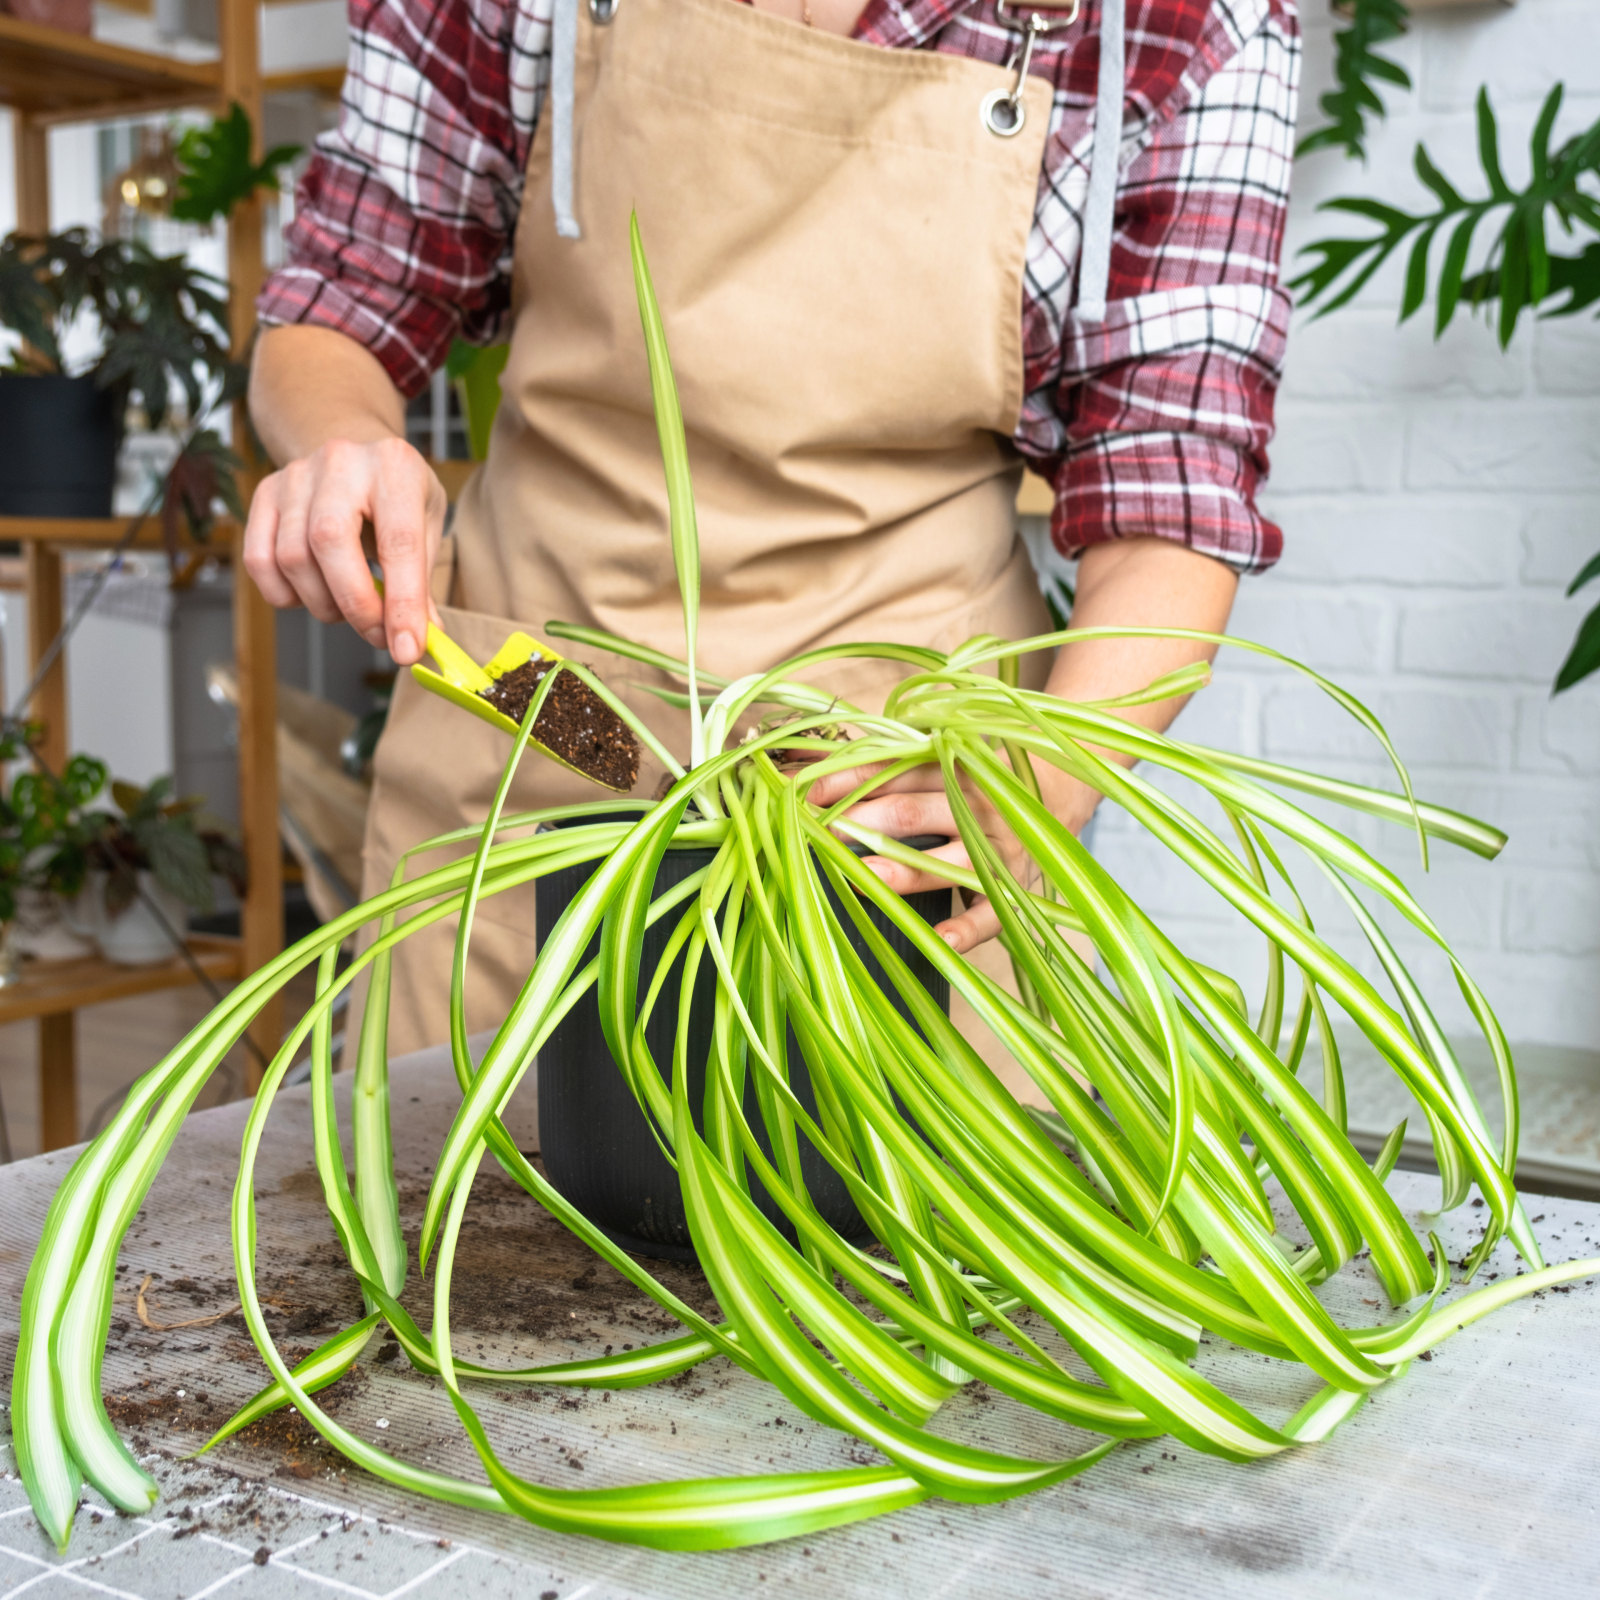 Best Spider Plant Soil – Complete Soil Guide And Expert Tips For Keeping Plants Happy
Spider plants are fun and easy plants to grow, but what is the best soil for a spider plant? Selecting the right soil is important so they can thrive.
By Bonnie L. Grant
-
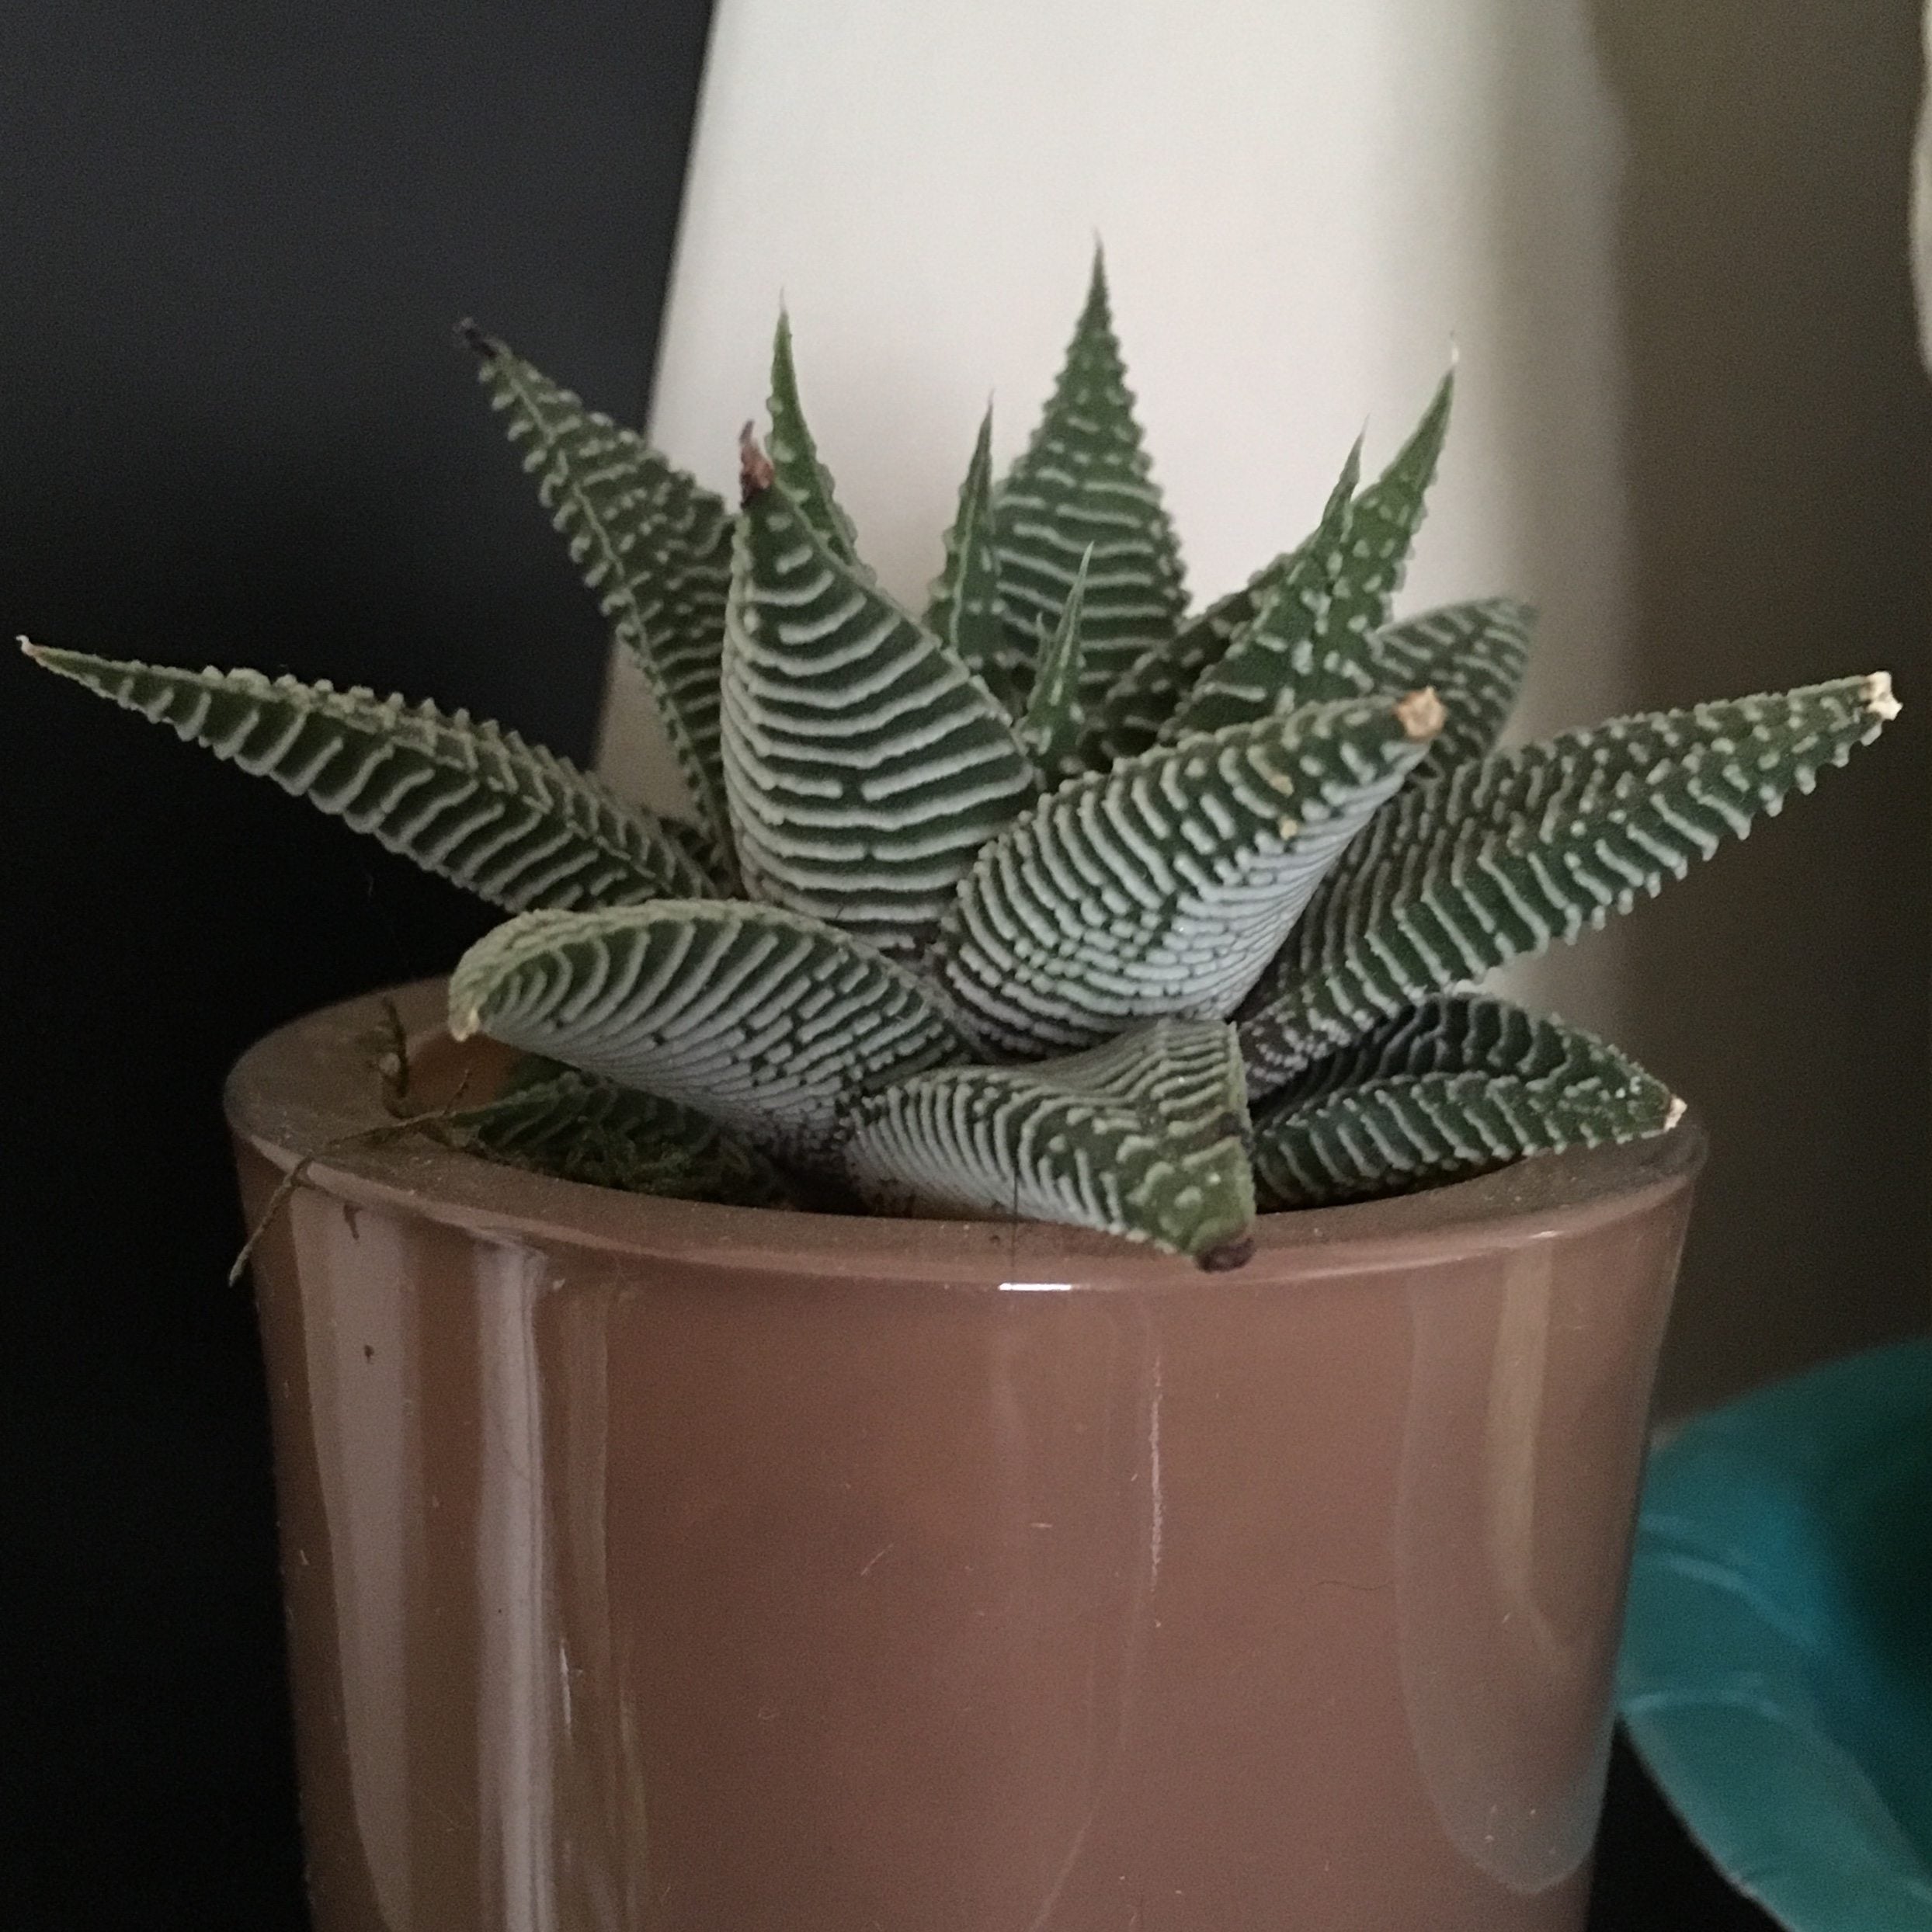 Haworthia Zebra Cactus – How To Care For Zebra Haworthia Plants
Many people grow Haworthia succulents. They are available as part of unique collections and are fast becoming favorite houseplants for their ease of care. You can learn more about growing Haworthia plants in this article.
By Becca Badgett
-
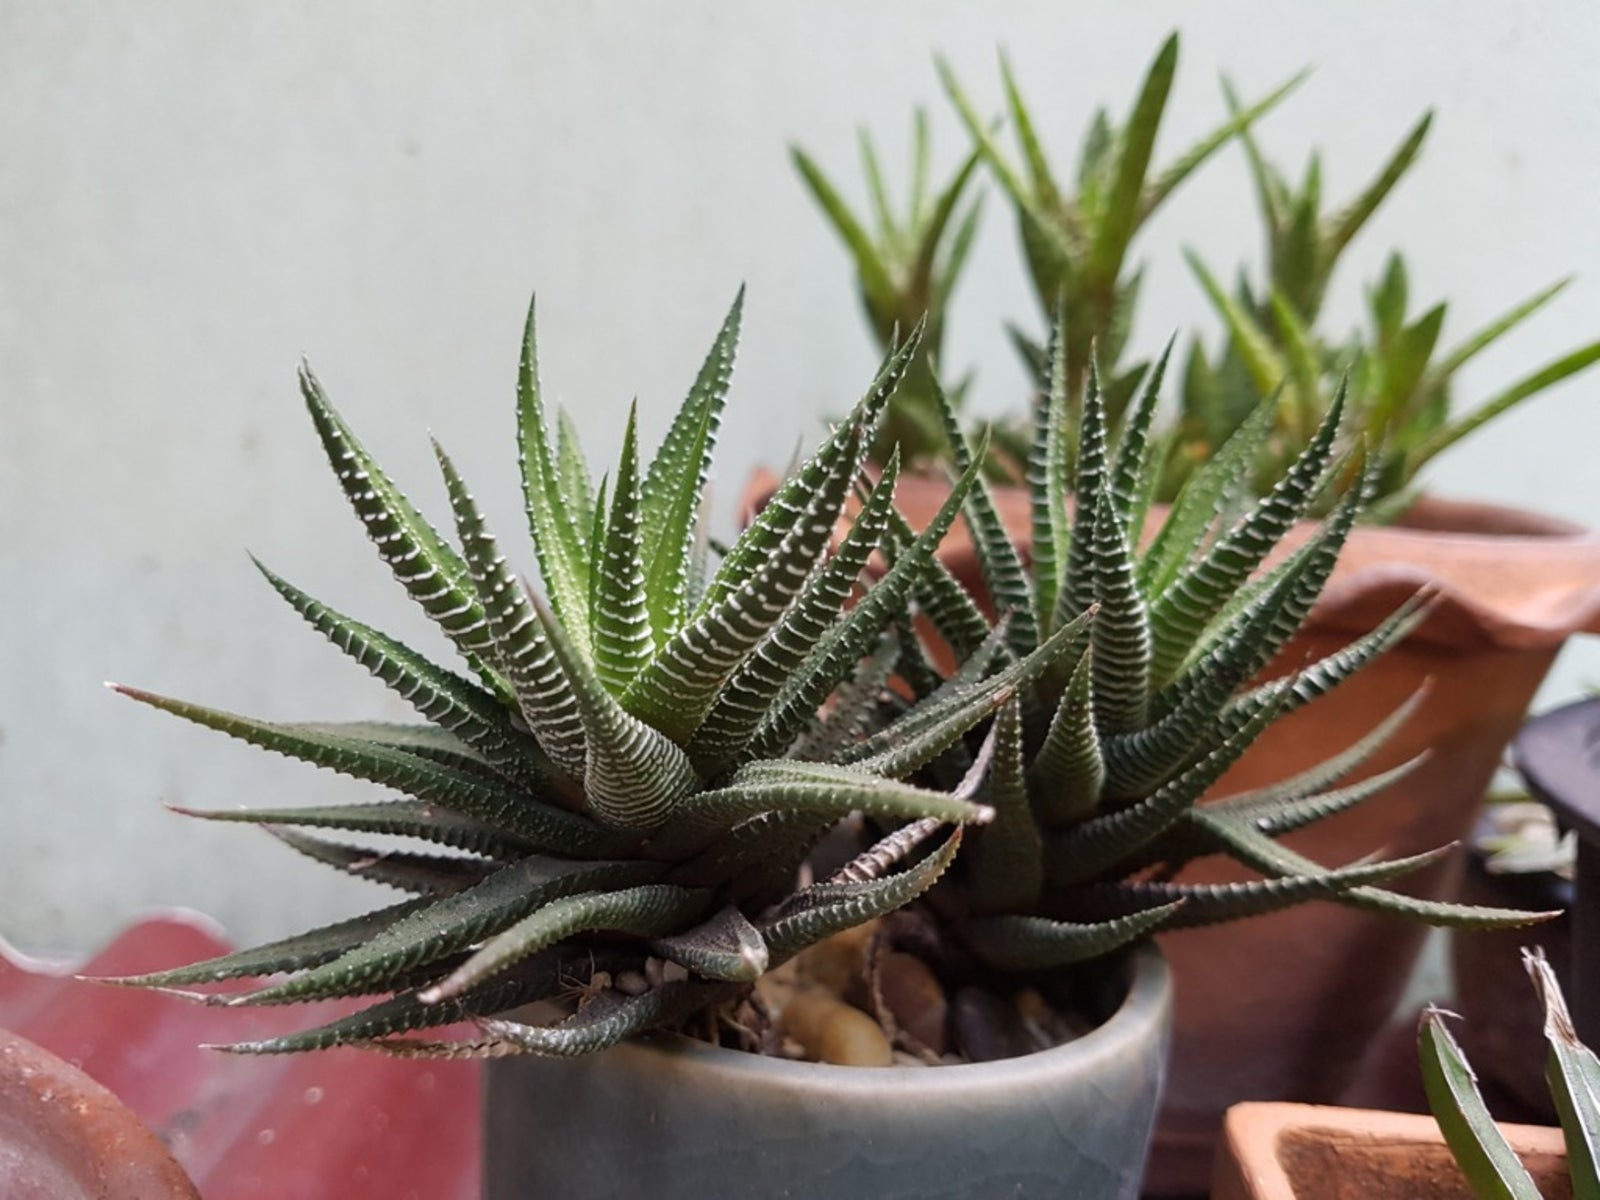 How To Grow Haworthia: Information On Caring For Window Plants
Fat juicy leaves and translucent flesh are the hallmarks of Haworthia window plant. Not all Haworthia have the see-through leaves, but those that do are spectacular specimens. Learning how to grow Haworthia is easy, and this article can help.
By Bonnie L. Grant