Propagating A Thanksgiving Cactus: How To Grow More Plants For Free
Effortlessly propagate your Thanksgiving cactus with simple stem cuttings or root division, to create healthy new plants that burst with vibrant blooms year after year.

Amy Draiss
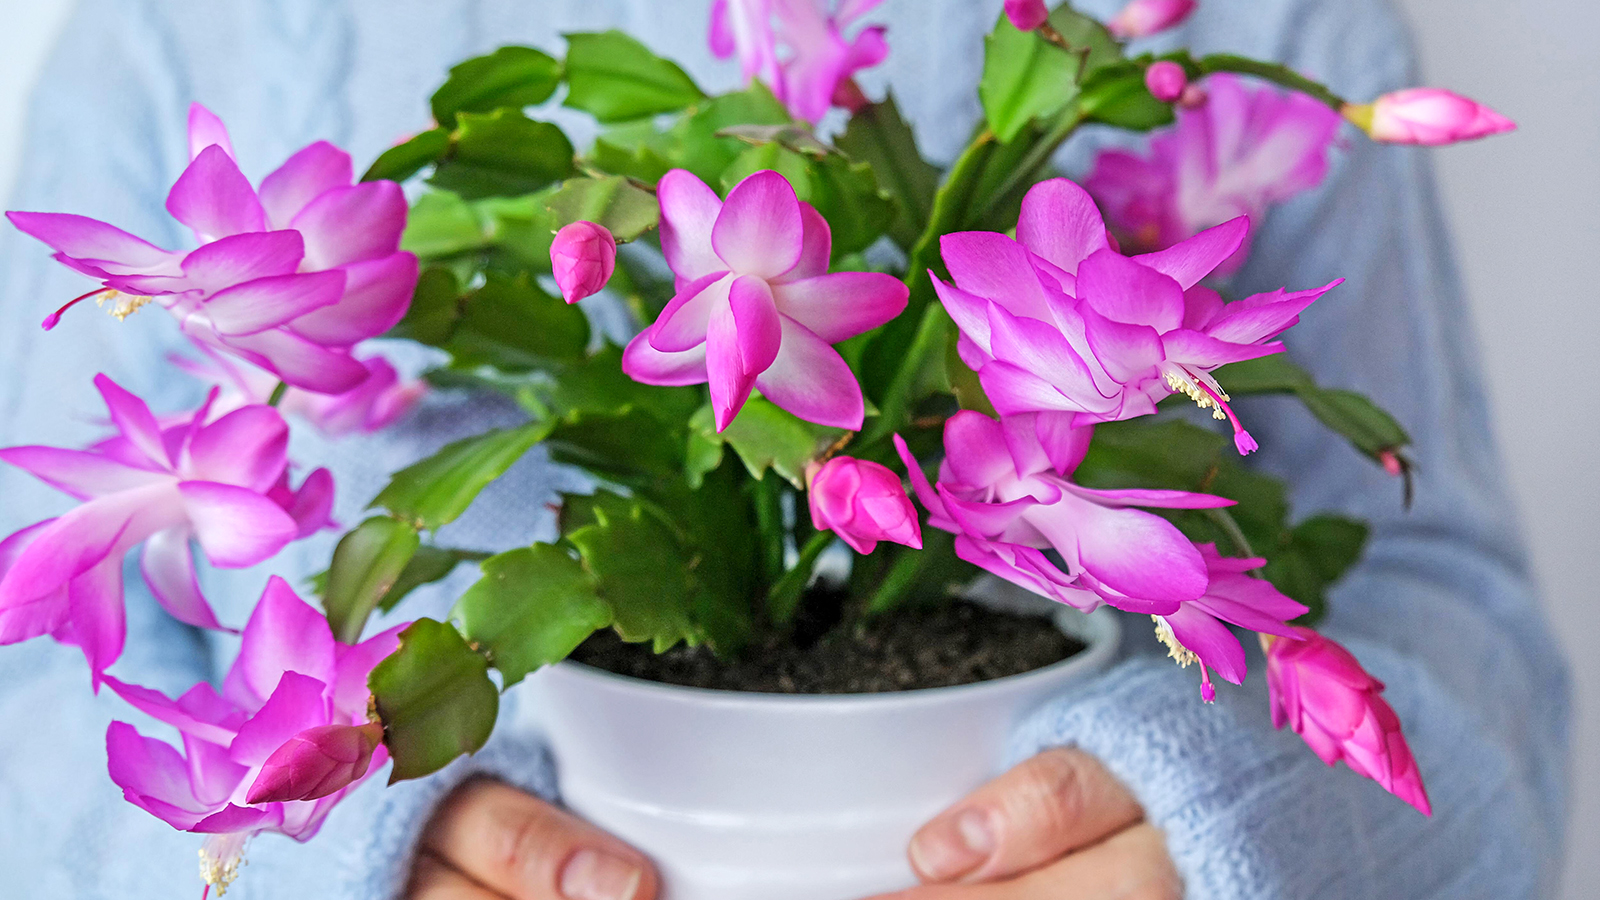
The Thanksgiving cactus (Schlumbergera truncata) is a sought-after holiday plant prized for its beautiful flowers which look their best during November. Propagating a Thanksgiving cactus is fairly straightforward, but you do need to choose the best method and follow a few key steps to ensure success.
Creating more plants costs nothing besides a few pots and some potting mix, so it’s a great way to make gifts to give to loved ones around the holidays. Pass on a few simple Thanksgiving cactus care tips and your recipients will be able to enjoy their new plants for years to come.
A close relative of the equally popular Christmas cactus, Schlumbergera truncata is one of the main types of holiday cactus – the other key variety being the spring-flowering Easter cactus. All three can be propagated using similar methods, but make sure you know what you have before proceeding.
When to Propagate a Thanksgiving Cactus
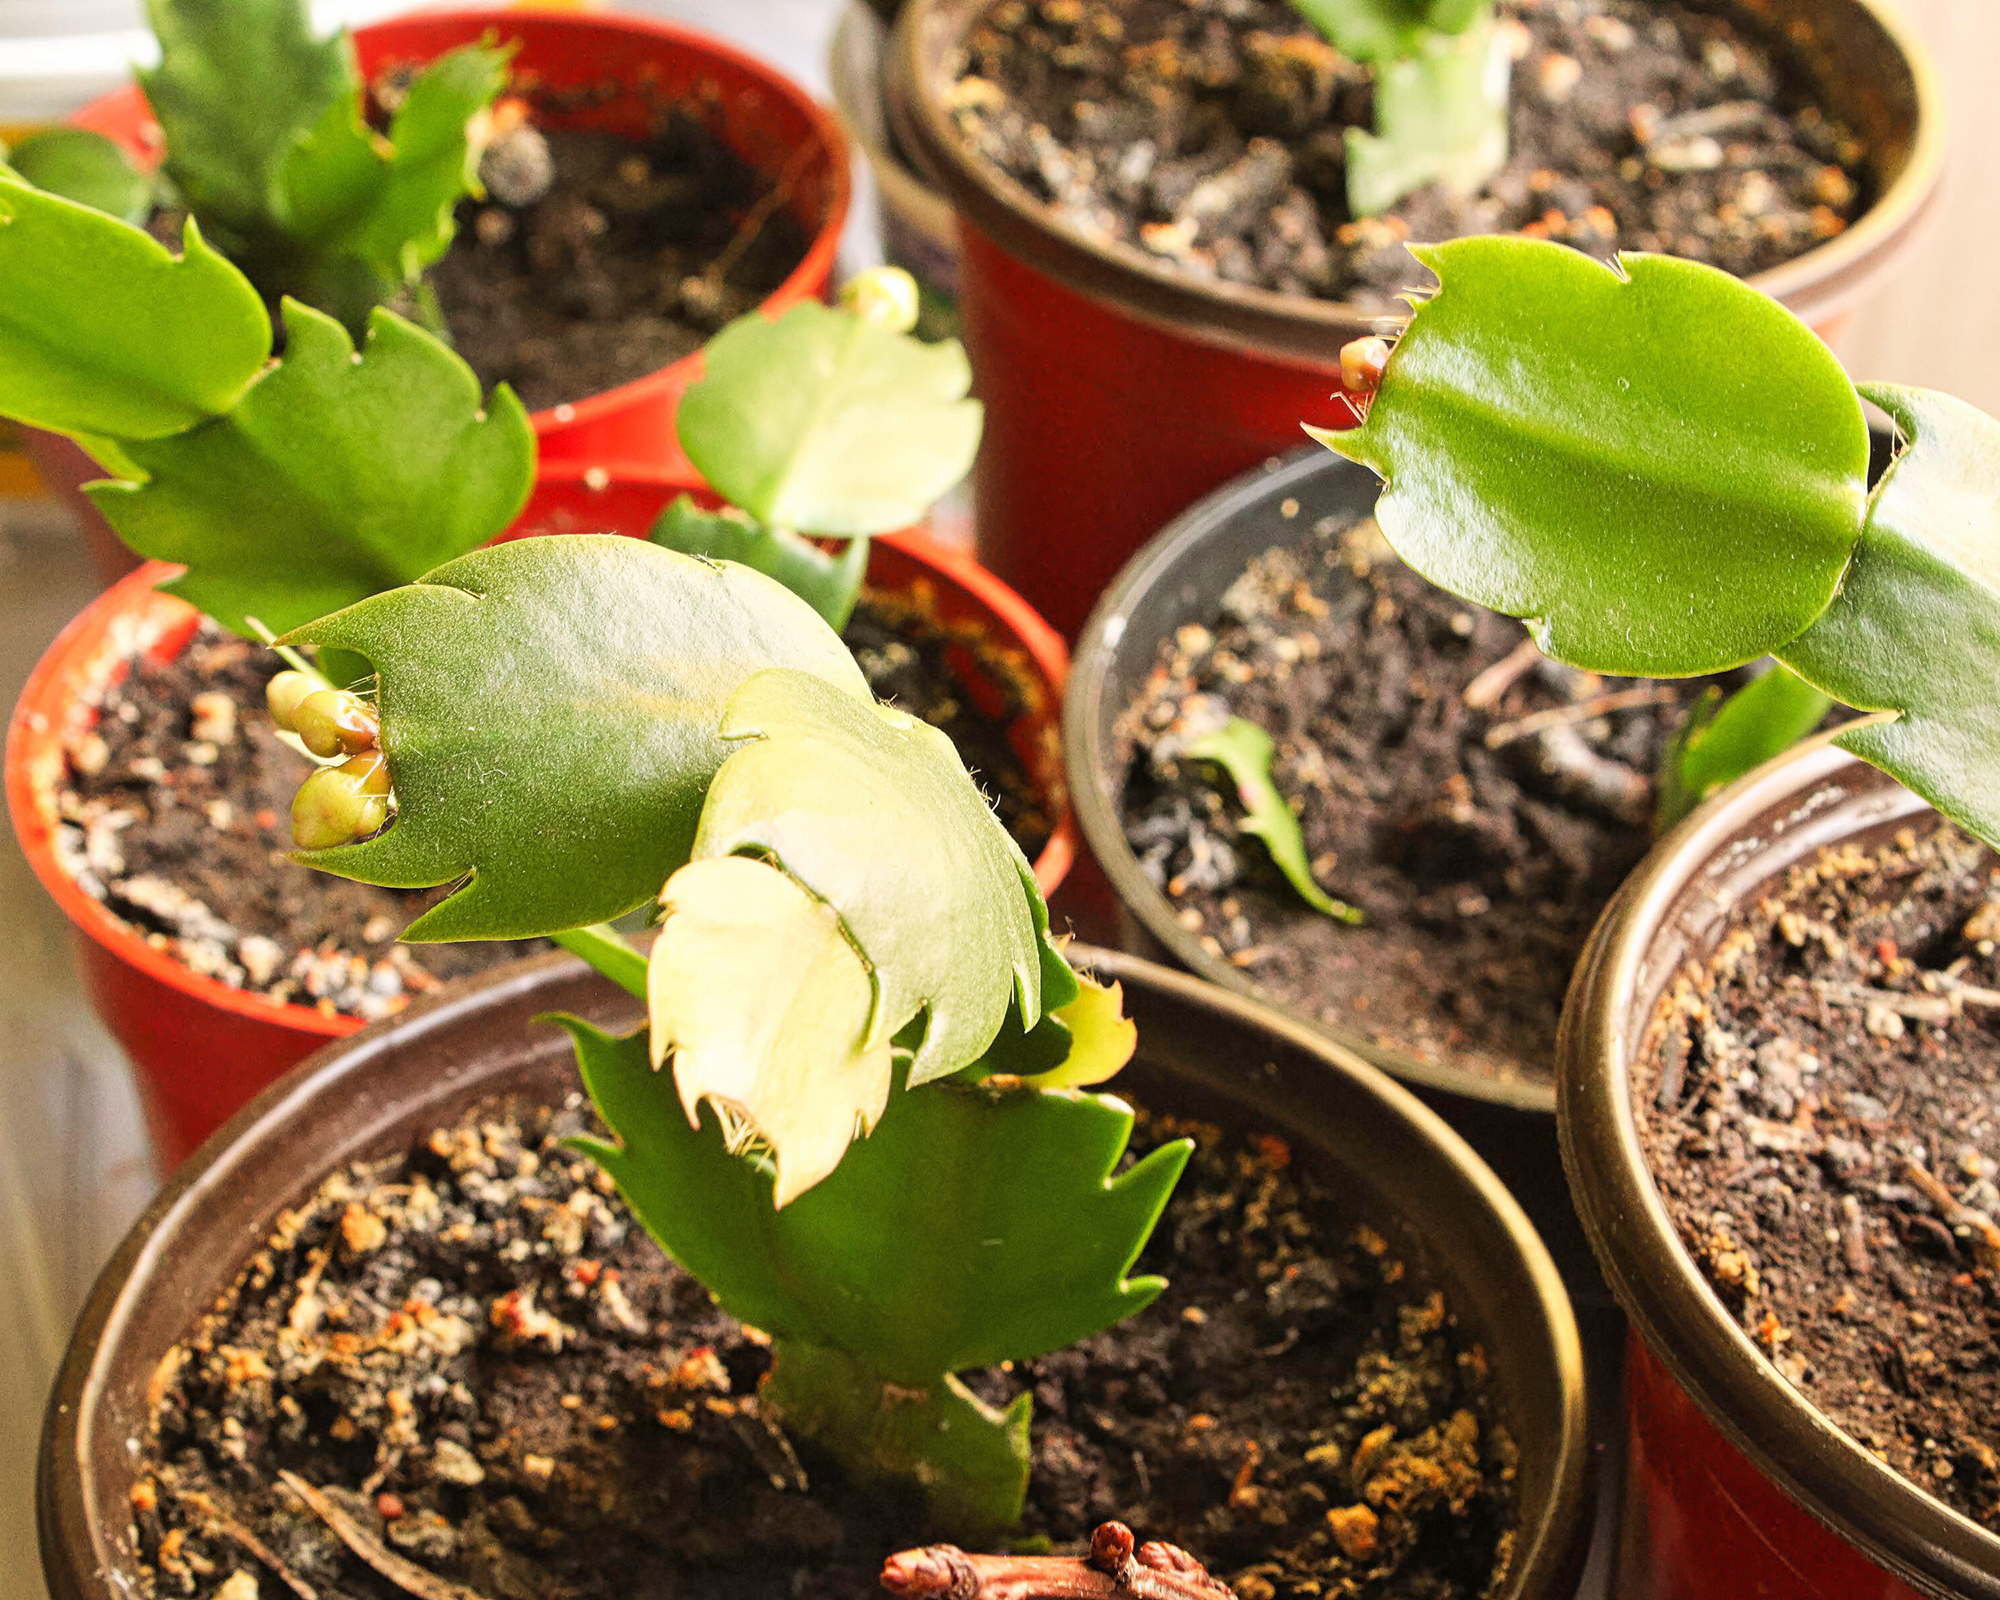
Spring or early summer is the best time to propagate, as the plant’s natural growth cycle supports root development at this time. Waiting until spring, which is also the best time for repotting Thanksgiving cactus, will produce small plants in time for the holidays.
However, if you just can’t wait, then don't – a Thanksgiving cactus can be successfully propagated at any time of year. But you will have better results if you wait until the plant has finished blooming.
Which Propagation Method is Best?
There are two main methods to propagate a Thanksgiving cactus: rooting stem cuttings or through root division.
Propagating stem cuttings in potting mix is the most common method as it is easy and reliable, with a high success rate. However, root division is often used for larger, more mature plants.
Sign up for the Gardening Know How newsletter today and receive a free copy of our e-book "How to Grow Delicious Tomatoes".
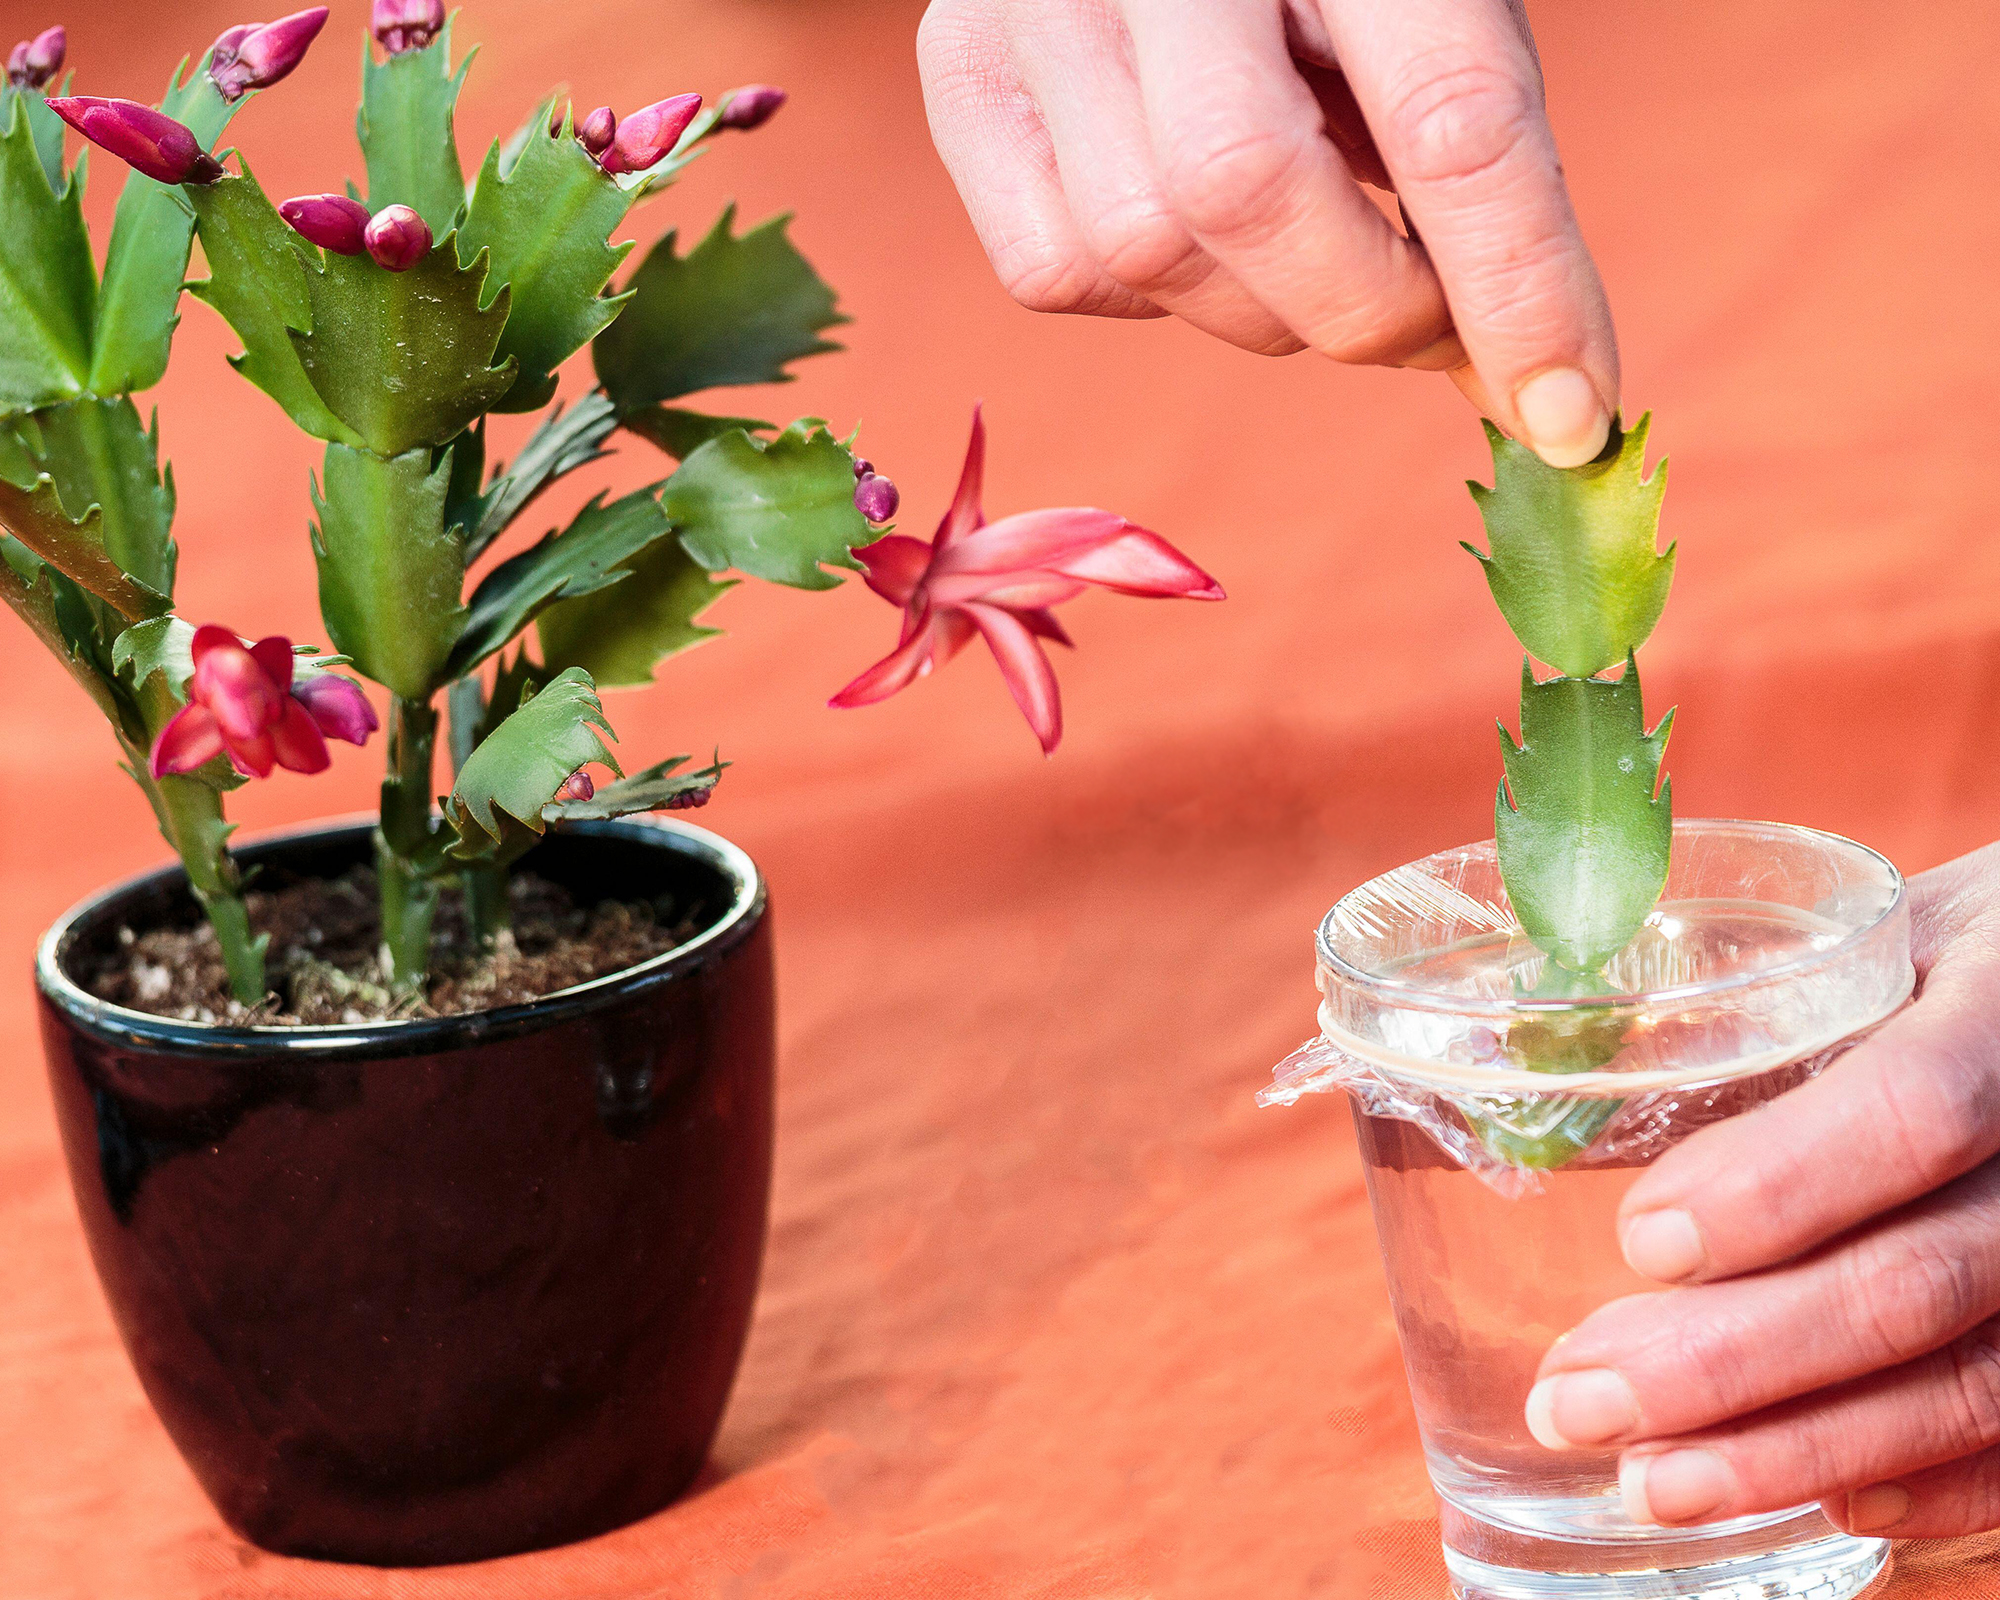
Some growers enjoy propagating Thanksgiving cactus cuttings in water. This simple method involves placing the cuttings in a glass of water, supported by string or plastic wrap, and waiting to see if roots form. While it’s fun and easy to do, it the method has a lower success rate than using soil.
How to Propagate a Thanksgiving Cactus with Cuttings
Propagating Thanksgiving cactus through stem cuttings is straightforward, and this method is usually the most successful. Make sure you use clean, sharp scissors or pruning shears to minimize the risk of disease.
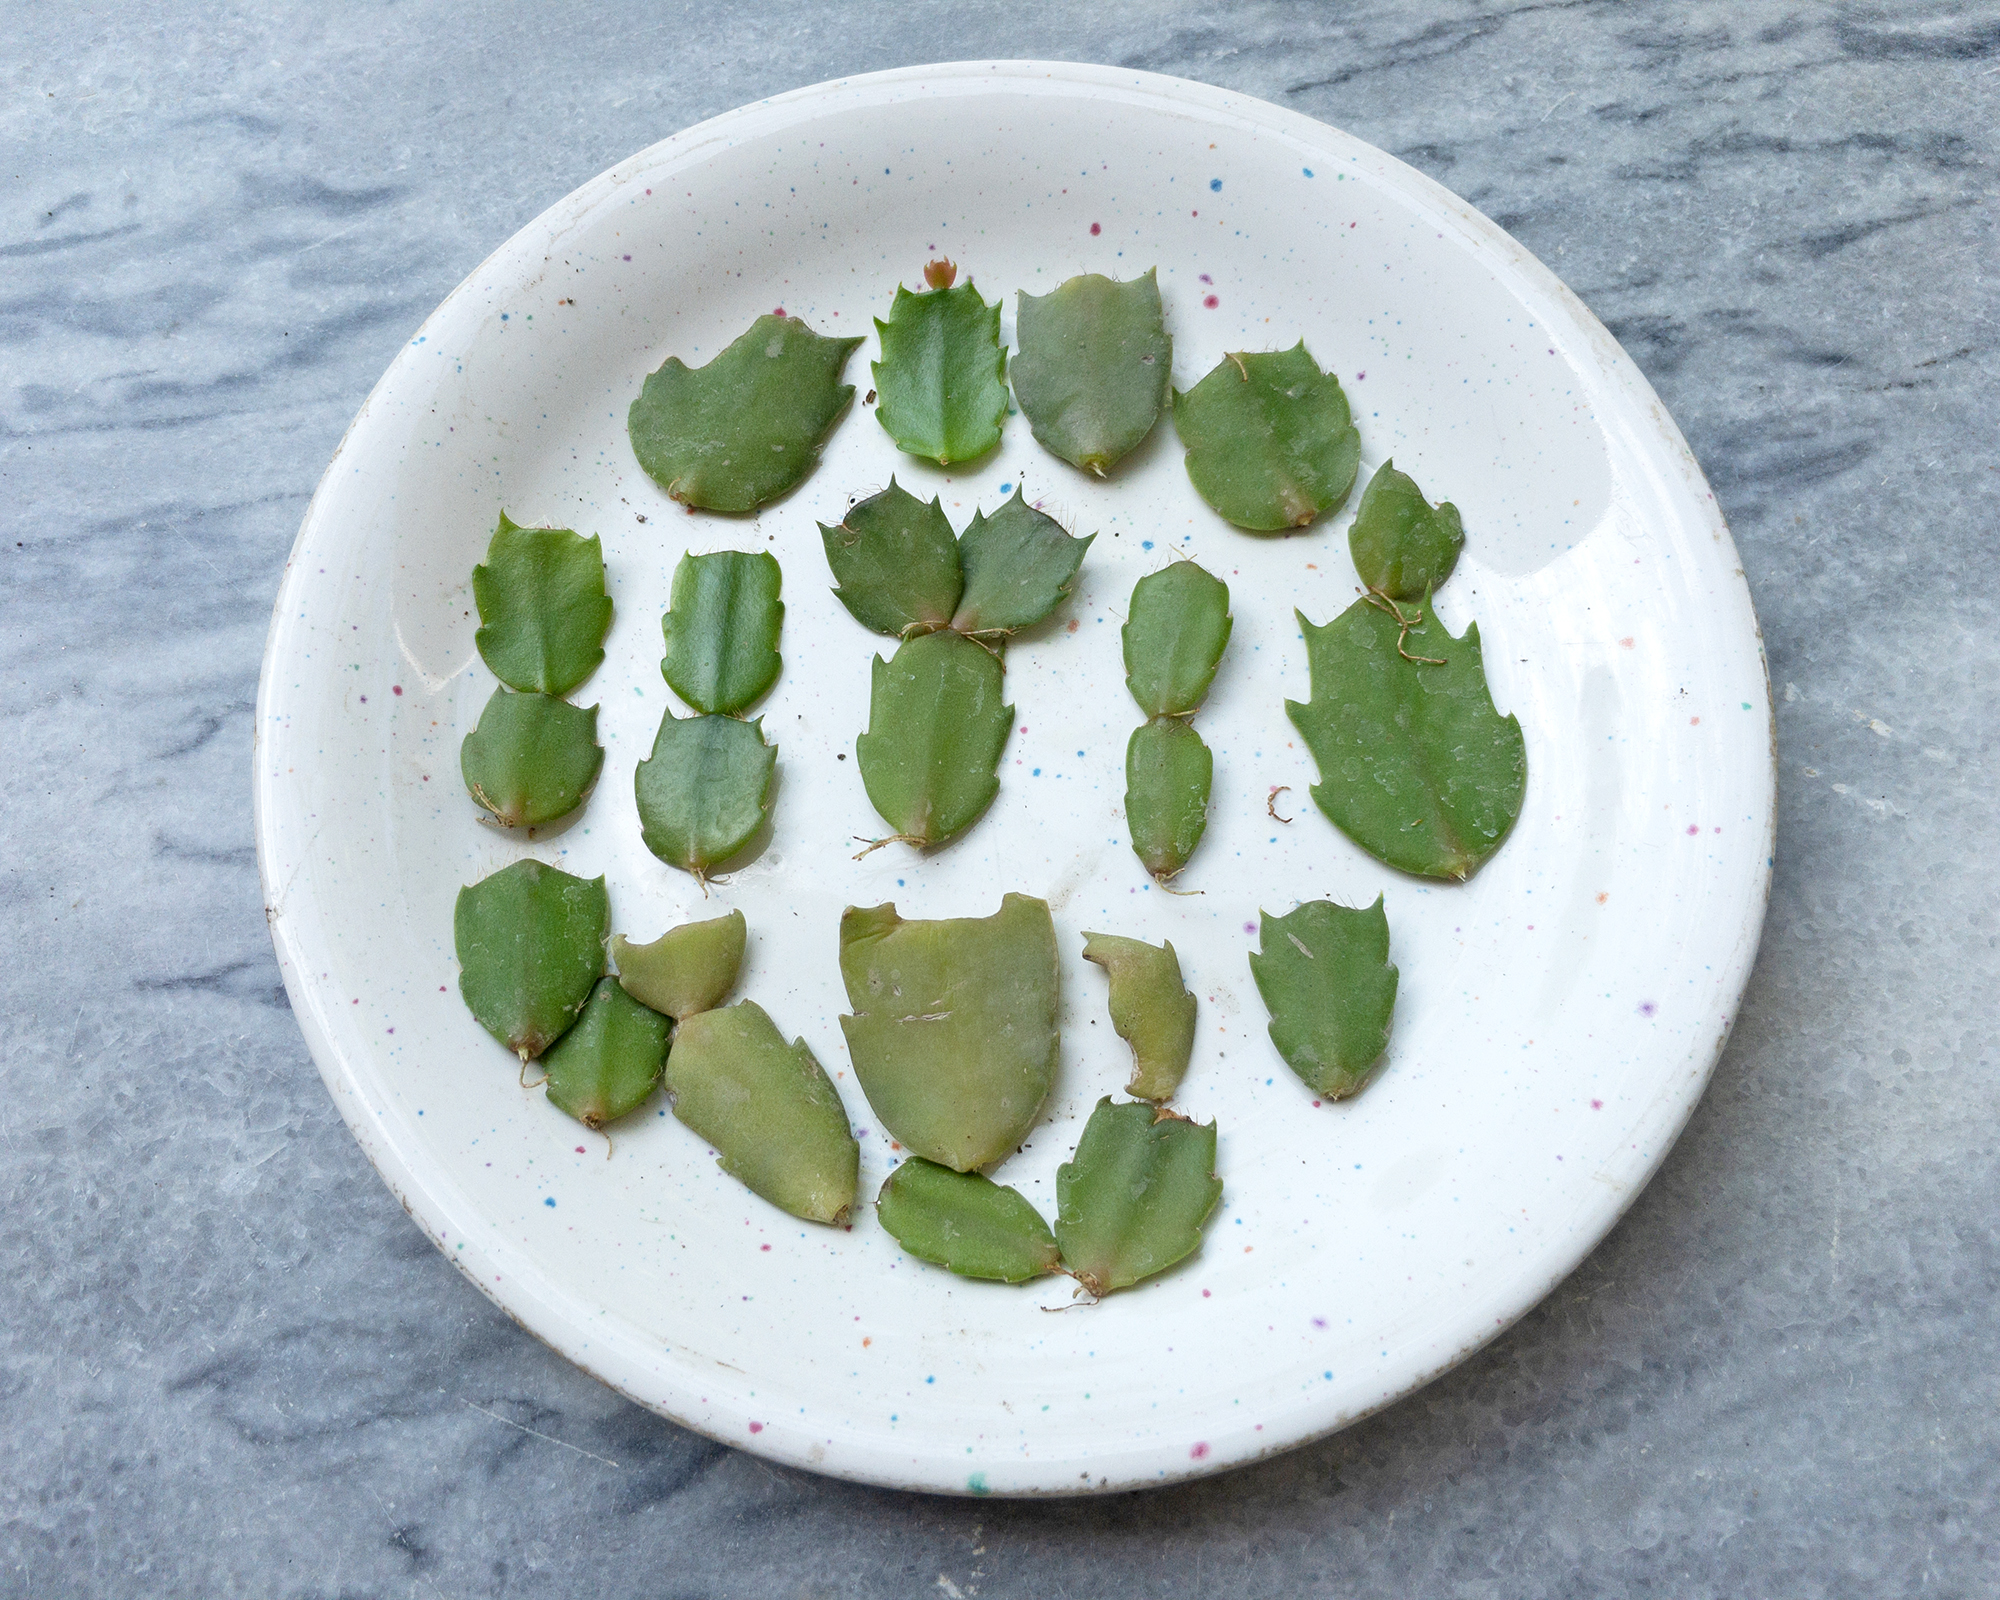
- Select a healthy stem with two or three segments (each segment looks like a small, flat, leaf-like pad) and gently twist or cut it from the plant just below the joint. Take several cuttings to maximize your chances of success.
- Place the cuttings on a paper towel or dry surface in indirect light for a day or two, to allow the cut end to callous. This reduces the chance of rot once planted.
- Prepare the potting mix – use a well-draining product, such as a cactus or succulent mix, or make a blend of regular potting soil with perlite or sand (50:50 ratio). Moisten the soil slightly, but avoid making it too wet.
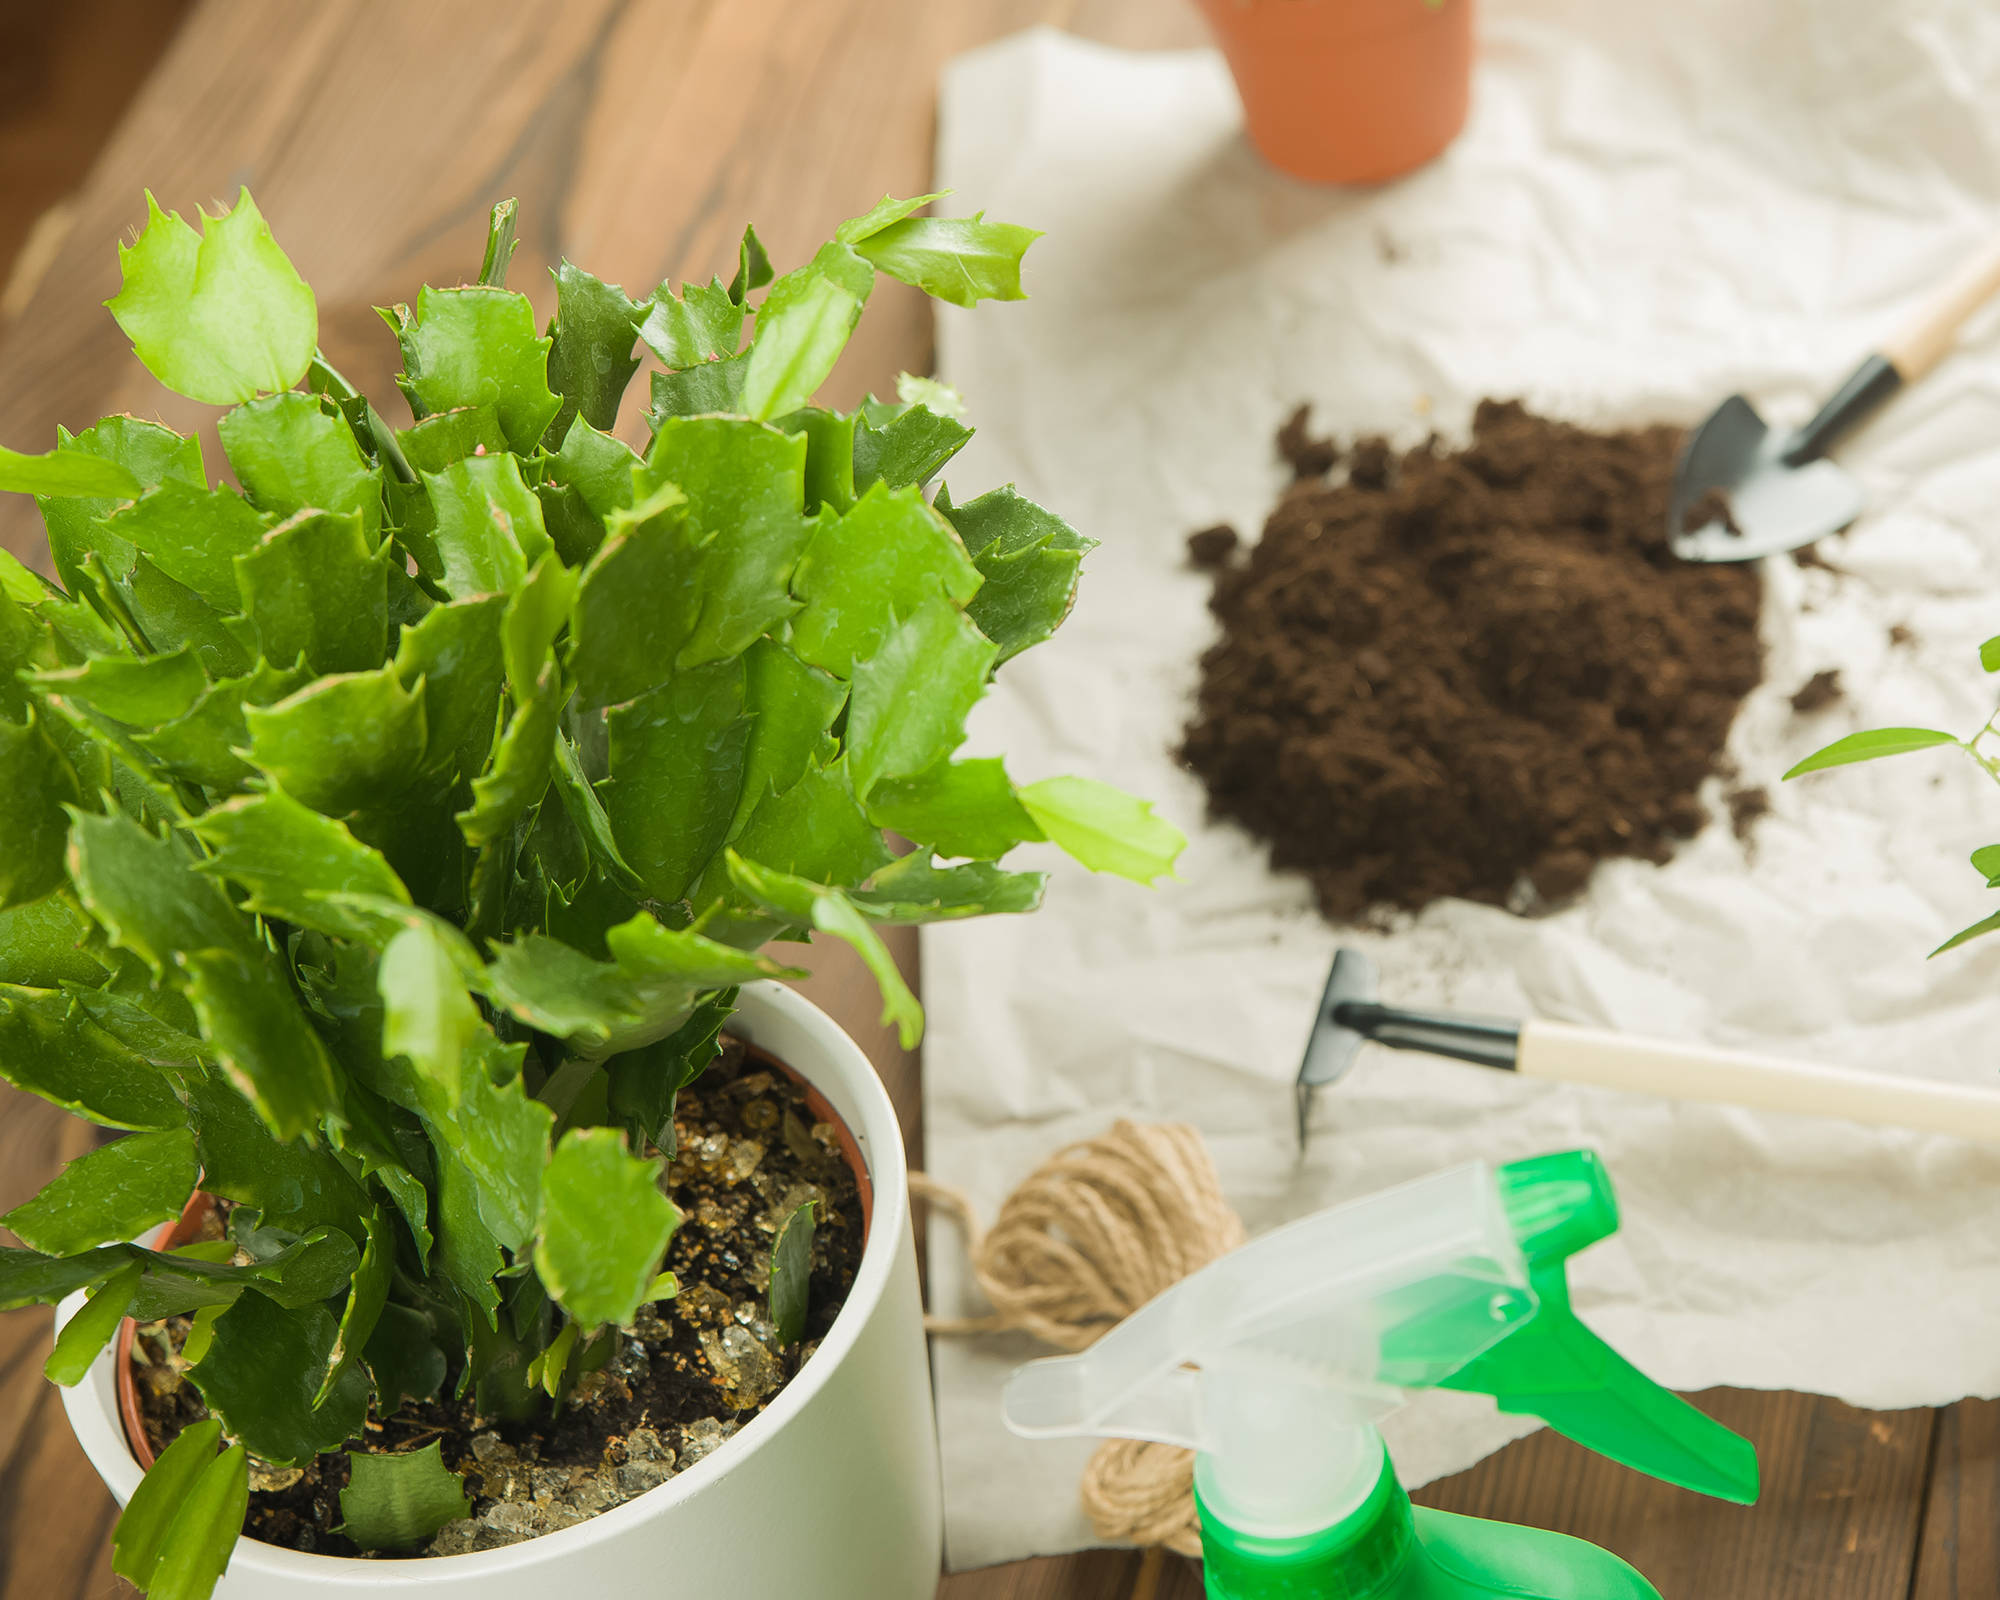
- Insert the cut end of each segment about a quarter to a half inch into the soil. Gently press the soil around it to support the cutting. Plant multiple cuttings together in the same pot to increase propagation success.
- Place the pot in a warm, bright area with indirect sunlight, and water lightly every few days to keep the soil slightly moist. Avoid overwatering to prevent rot.
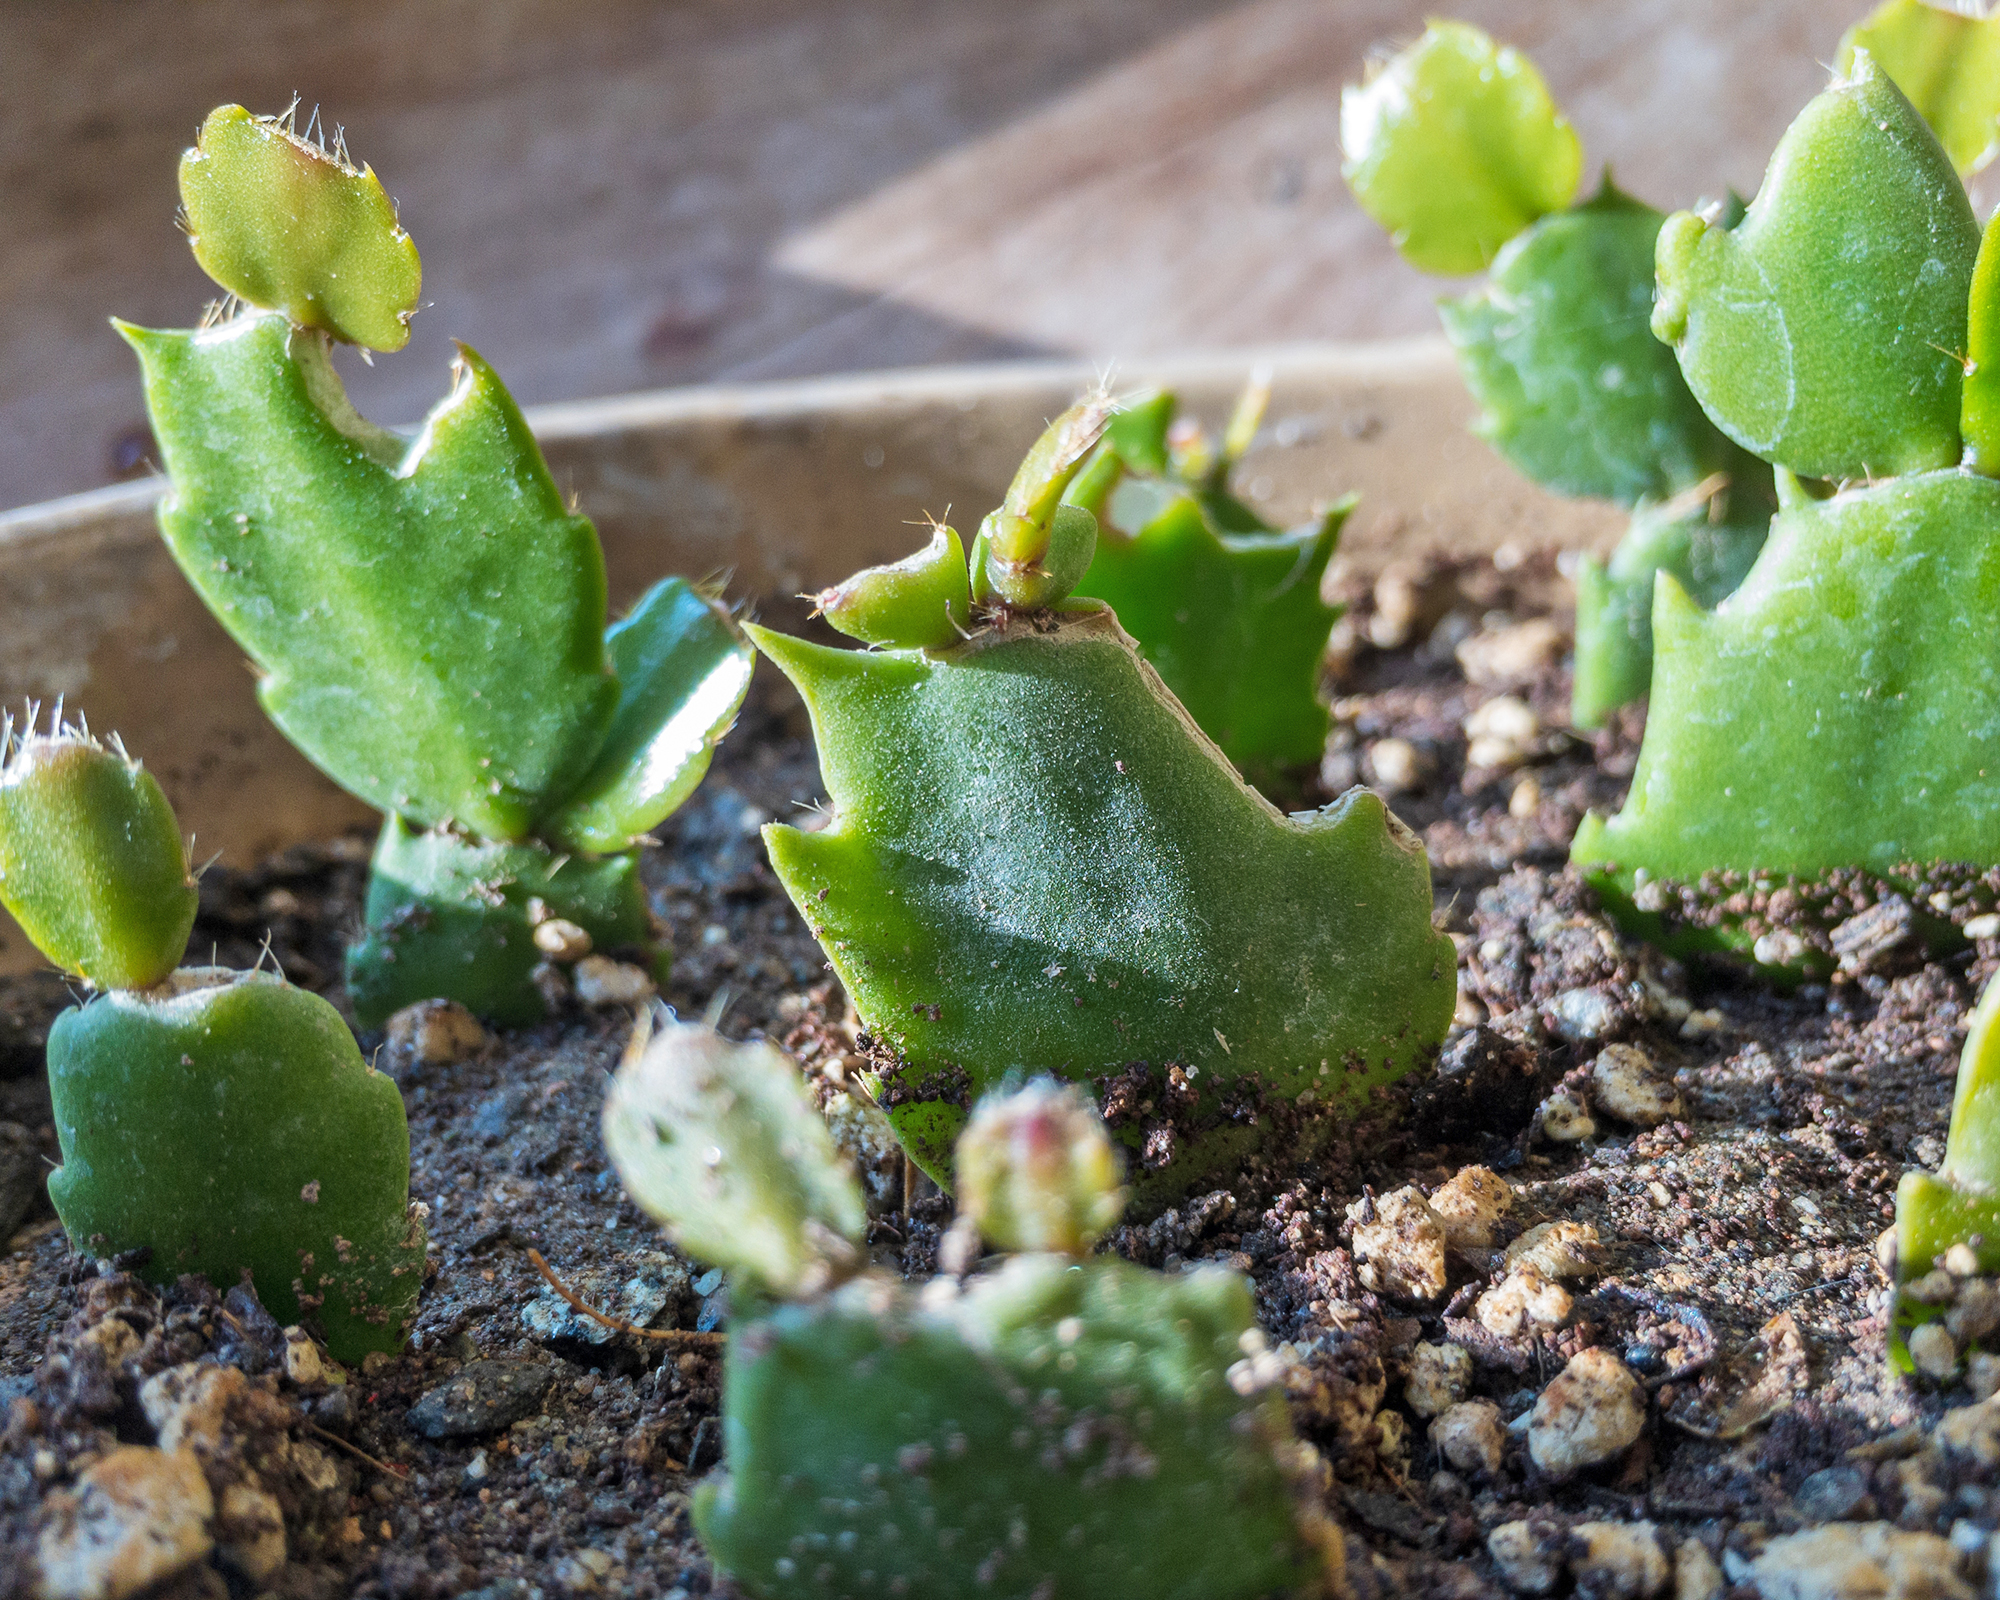
- Roots usually begin to form within 2-4 weeks. To check progress, gently tug on the cuttings to check for resistance, which indicates roots are forming. Once the cuttings are well-rooted and show signs of new growth, you can repot them into slightly larger individual containers.
Propagating by Root Division
Root division is an option for mature, larger Thanksgiving cacti with multiple growth points and established roots. This method is less common but can be successful if you have a well-rooted, large plant that you want to split. Bear in mind root division can place more stress on the plant than taking cuttings.
- Water the Thanksgiving cactus a day before dividing to make the soil soft and reduce root stress.
- The next day, carefully take the plant out of its container, holding it near the base to avoid breaking the stems. Gently pull the plant into sections with your hands, or use a sharp, clean knife to divide it if the root ball is dense. Each divided section should have roots attached and a few healthy segments.
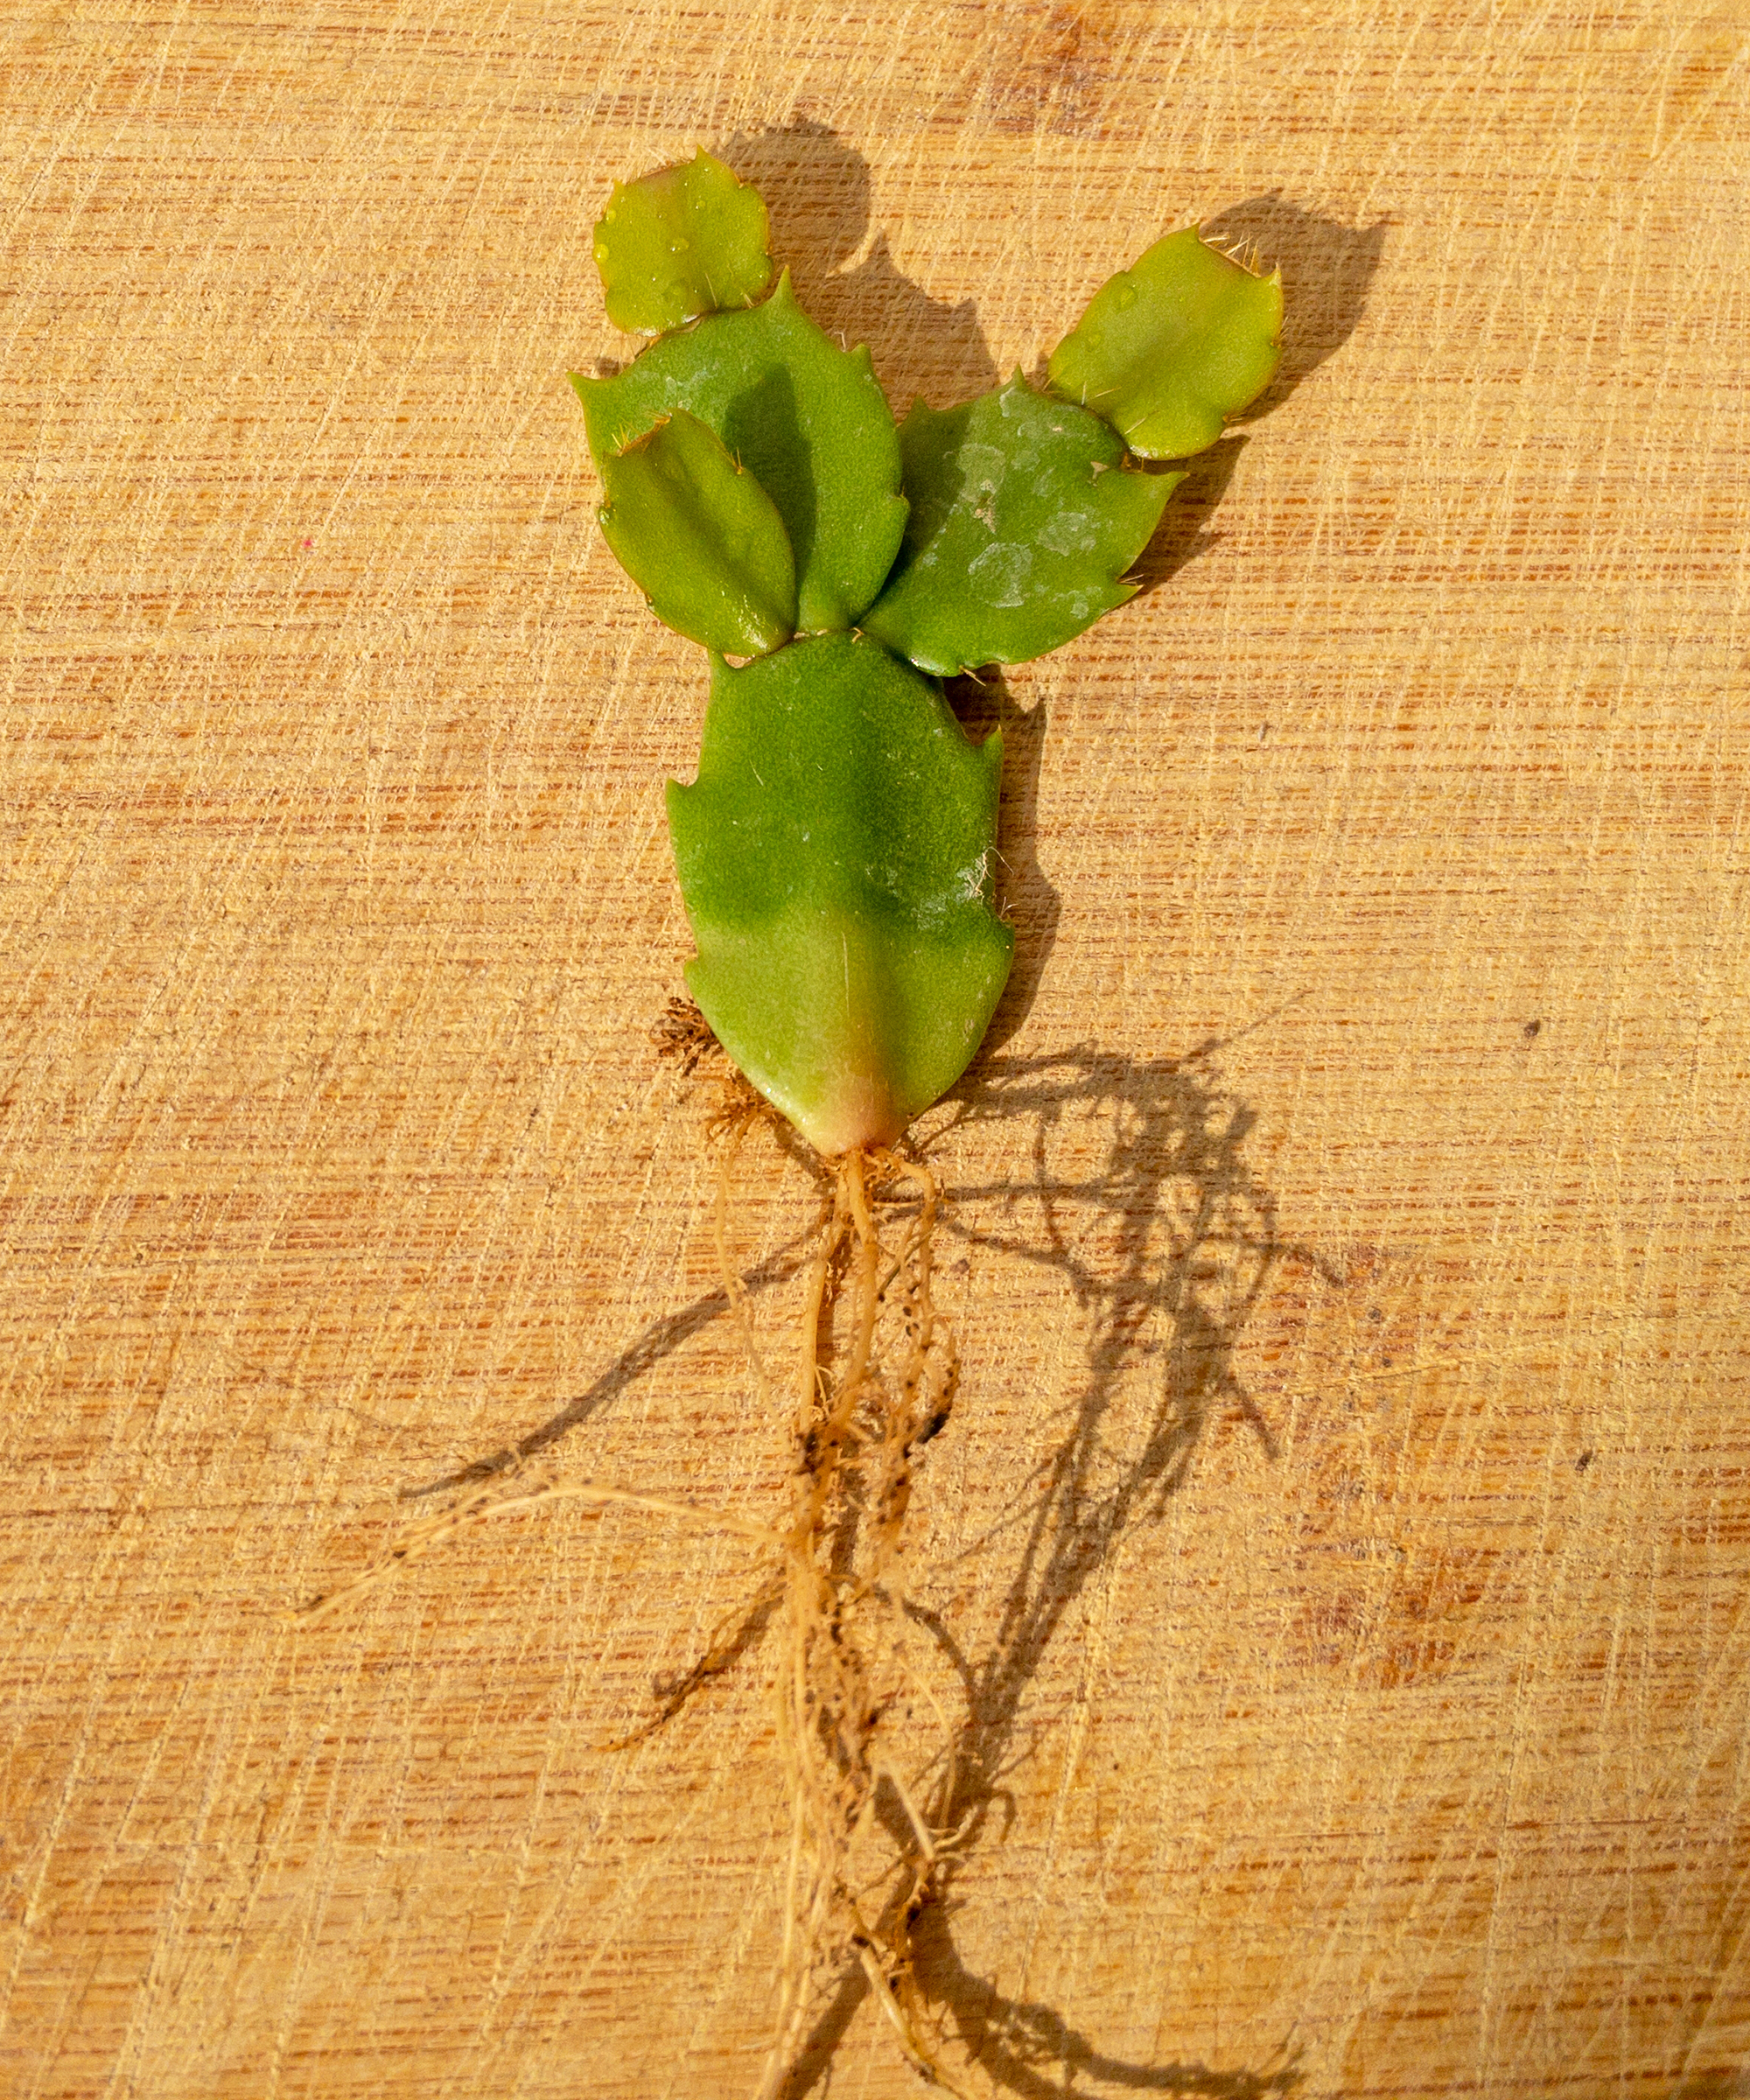
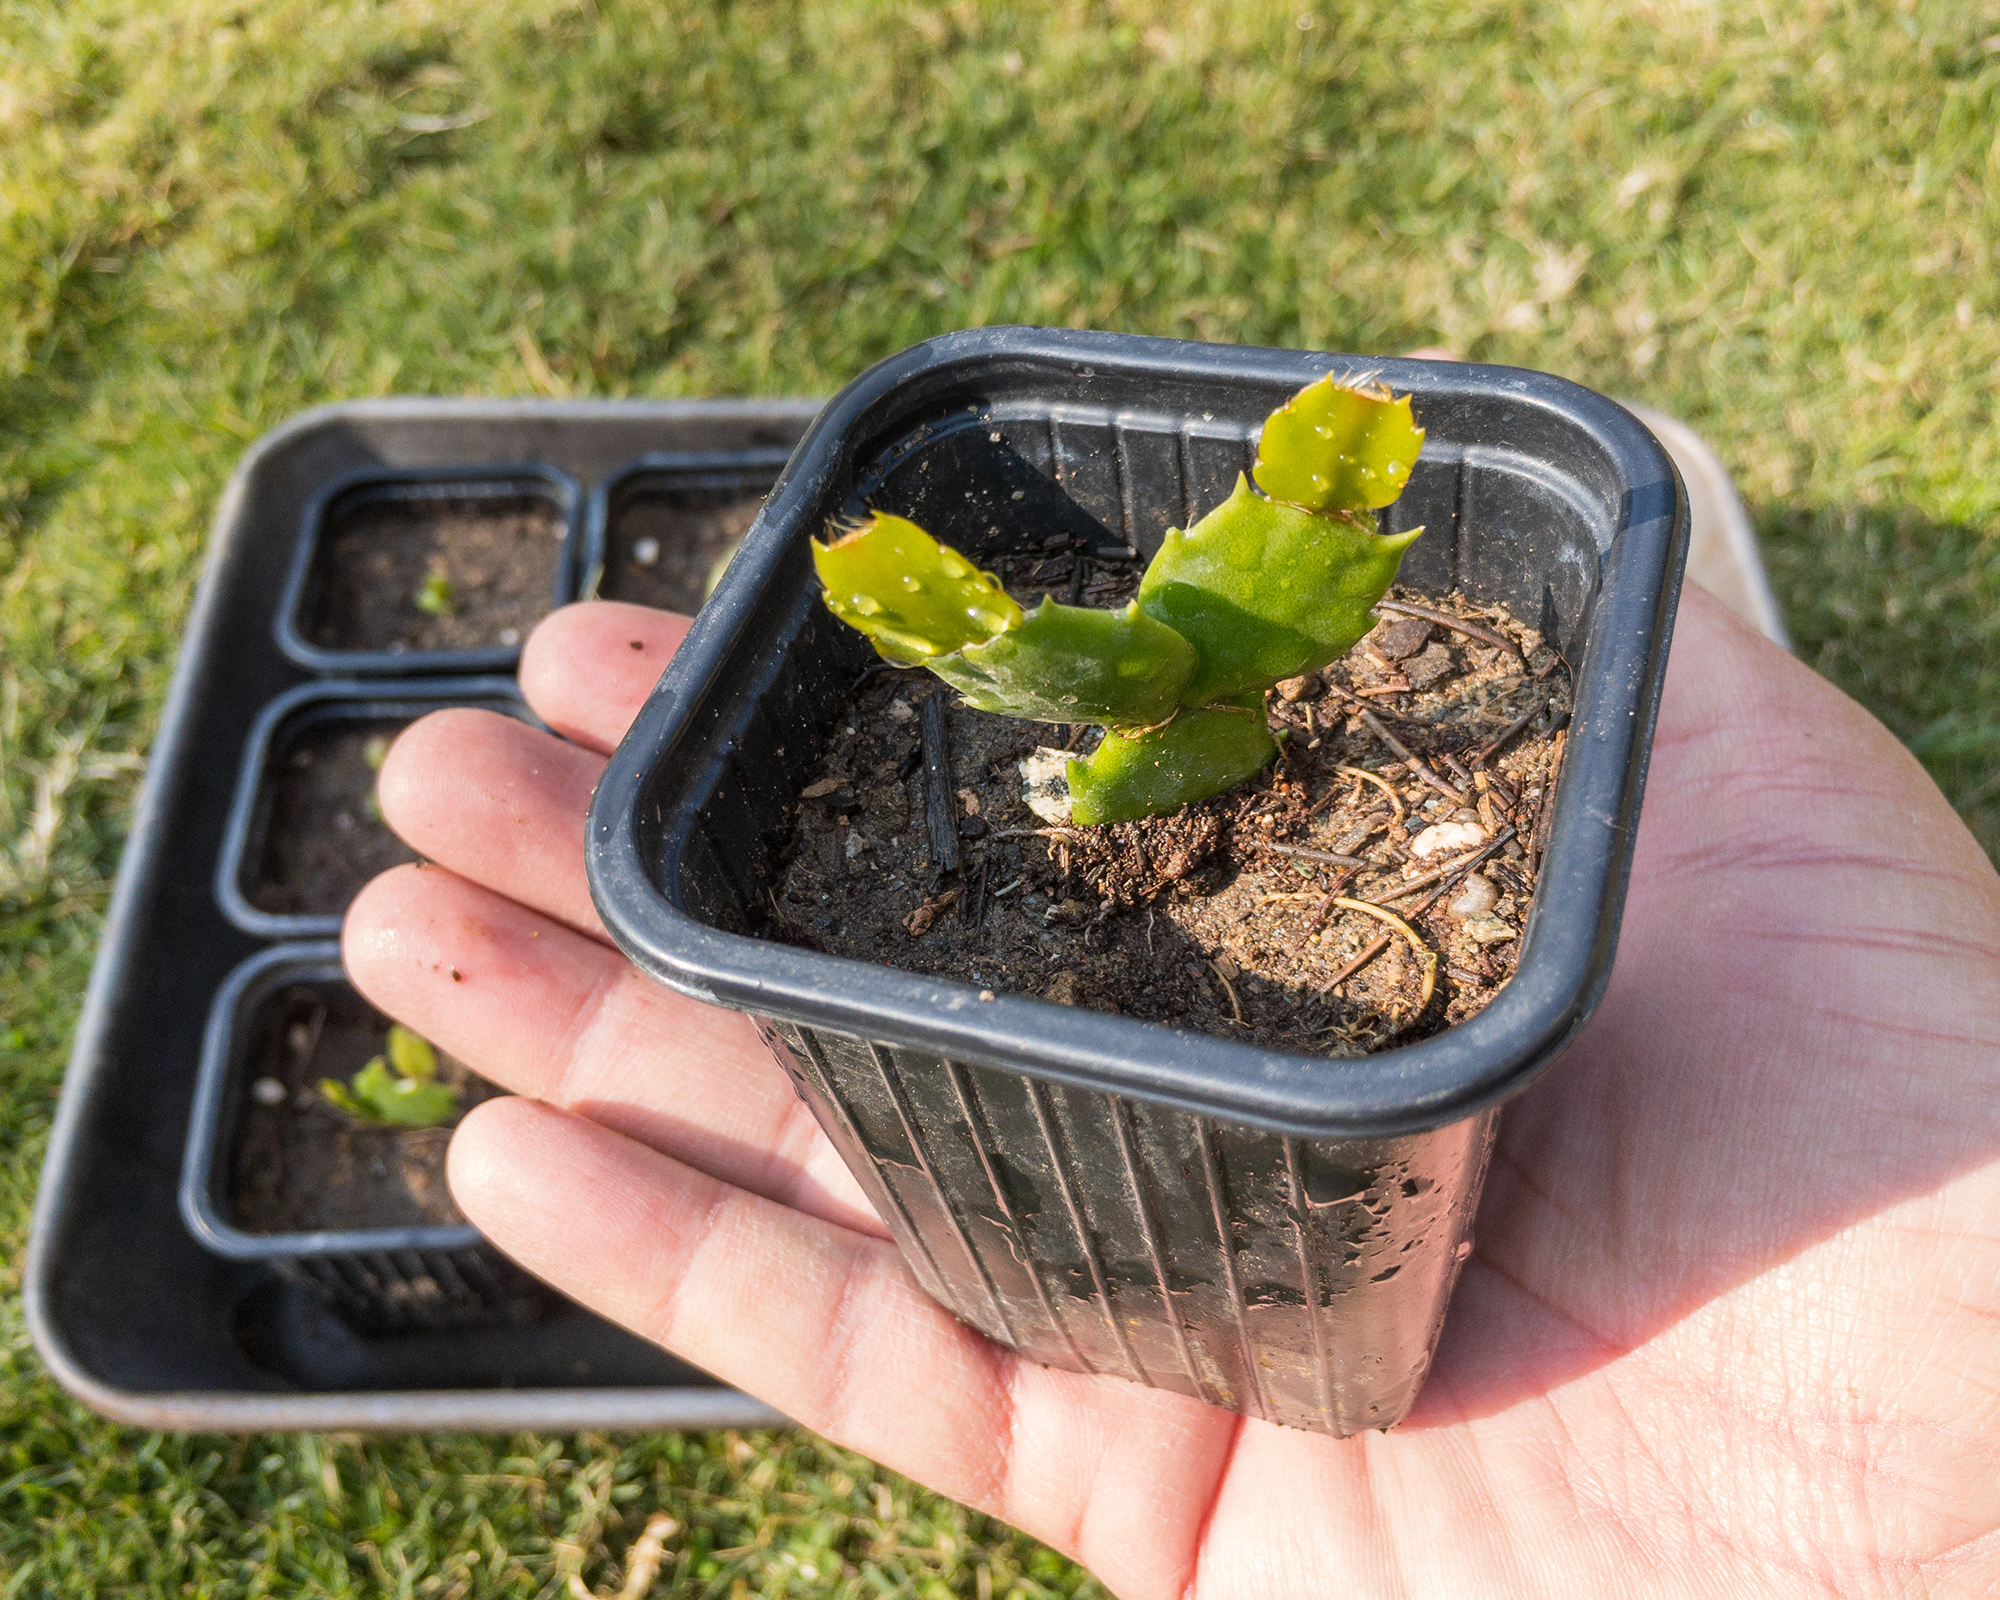
- Plant each section in a separate pot with fresh, slightly moistened cactus or succulent soil. Firm the soil gently around the root base.
- Place the newly potted divisions in indirect light, and water sparingly until they establish themselves in their new pots. Avoid fertilizing for a few weeks to allow roots to adjust.
Caring for Your New Plants
To help your new Thanksgiving cactus plants thrive, keep them at temperatures between 60-70°F (15-21°C), and check humidity levels. Schlumbergera truncata is an epiphyte plant that takes moisture from the air and thrives in 50-60% humidity.
You can increase humidity for houseplants using a houseplant humidifier or by placing the pots on top of a tray of pebbles filled with water. Although, the soil and roots should not be in contact with the water.
Water Thanksgiving cactus plants once or twice a week, when the potting mix has dried out. Only water once the top couple of inches feels dry.
Fertilize plants once a month between early spring and late summer using houseplant feed diluted to half strength.
It will take a year or two for your plants to mature before they will start flowering.

Melanie is an experienced gardener and has worked in homes and gardens media for over 20 years. She previously served as Editor on Period Living magazine, and worked for Homes & Gardens, Gardening Etc, Real Homes, and Homebuilding & Renovating. Melanie has spent the last few years transforming her own garden, which is constantly evolving as a work in progress. She is also a passionate organic home grower, having experimented with almost every type of vegetable at some point. In her home, Melanie tends to an extensive houseplant collection and is particularly fond of orchids.
- Amy DraissDigital Community Manager