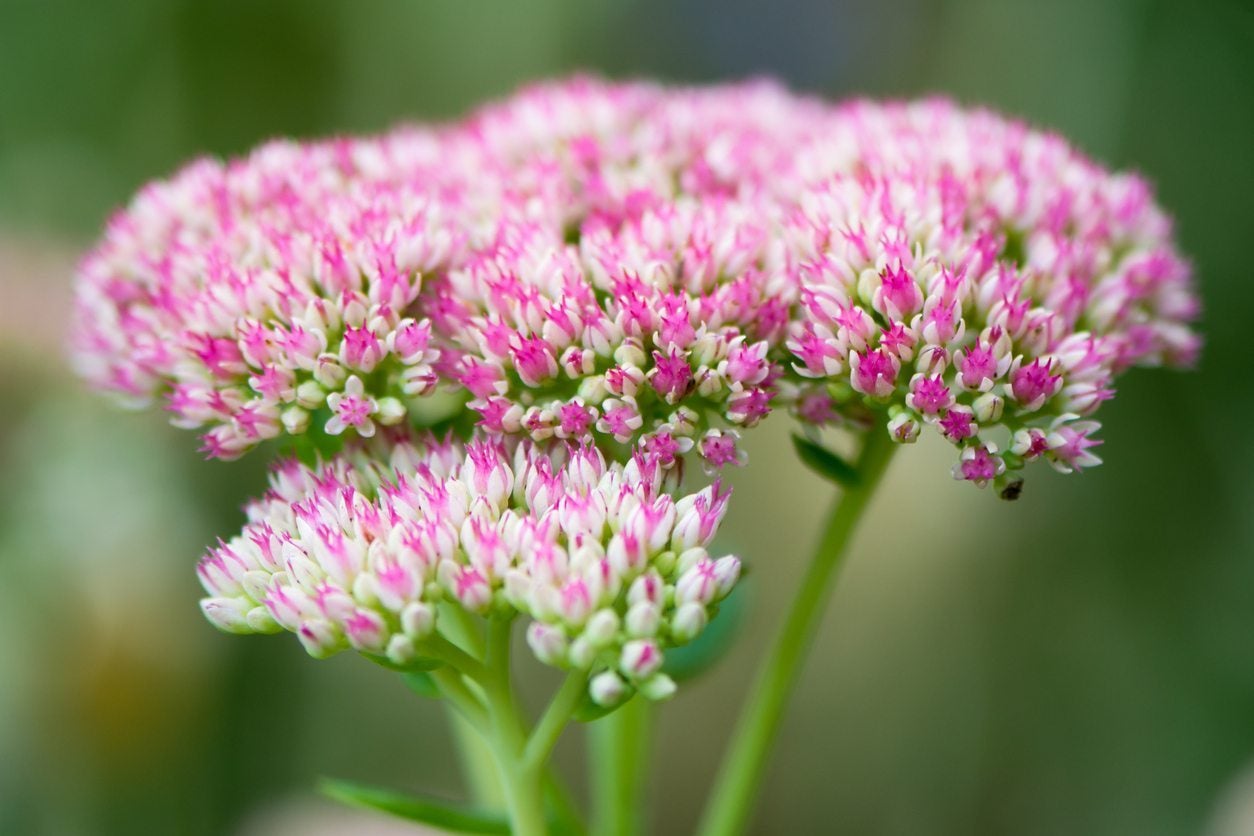
Dividing Sedum Plants: How To Divide A Sedum Plant


Sedum plants are one of the easier types of succulent to grow. These amazing little plants will spread easily from tiny bits of vegetation, rooting with ease and establishing quickly. Dividing sedum plants is a simple and quick method of doubling your investment. Sedum division is an easy process and requires little expertise, but a few tips and tricks can help increase the chances of success.
When to Divide Sedum
Whether you have tiny spreading rosettes or towering Autumn Joy stonecrop, you should know how to divide sedum so you can spread more of these popular plants. Sedums grow in hot, dry areas of the landscape and add cheery color and whimsical form to hard-to-plant zones. Separating sedum is an easy project that will increase the number of the easy to grow plants quickly. New divisions establish rapidly and need little extra care. Perennial plants are usually divided in late fall to early spring. Knowing when to divide sedum will ensure their quick recovery and rooting. Since many sedum die back in cooler climates, it can be hard to establish where the plant is until new growth arrives in early spring. That is the best time to separate the plants. Dividing the plants can increase blooms and enhance plant health. Sedum should be divided every three to four years. Some growers also recommend dividing the plant after it has bloomed while the plant is actively growing. Recovery will be slower but these hardy little succulents should rebound fairly well.
How to Divide a Sedum
Separating sedum is a quick process. If you choose to divide after bloom, cut taller species down to 6 inches (15 cm.) to reduce transpiration and make division easier. Use a shovel and dig several inches (8 cm.) around the plant and carefully excavate the root mass. Shake off excess soil and check the roots for any damaged portions. Clip any diseased or damaged roots off. Use a sharp knife and divide the plant into 4 to 6 inch (10 to15 cm.) sections, each with plenty of roots. Prepare a sunny site for the new plants by digging soil deeply to loosen it prior to planting. Plant each section individually at the same depth at which it had been growing. Firm the soil around the roots.
Care After Dividing Sedum Plants
Immediately after planting, water well and keep the area lightly moist while the plant establishes. Once you see new growth, you can reduce watering by half. If you use mulch in the area in which you placed the sedum, ensure the material is not covering the base of the plant. Keep competitive weeds away from the new plants. Usually within a month, the plant will be as recovered as if you had never disturbed it. By the same time next year, your plants will be well established and producing starry blooms.
Sign up for the Gardening Know How newsletter today and receive a free copy of our e-book "How to Grow Delicious Tomatoes".

Bonnie Grant is a professional landscaper with a Certification in Urban Gardening. She has been gardening and writing for 15 years. A former professional chef, she has a passion for edible landscaping.