Aster Propagation: How To Propagate Aster Plants

Asters are fall-blooming plants with daisy-like flowers in shades ranging from blue to pink to white. You may have seen an aster variety you admire in a friend’s garden, or you may wish to multiply asters you already have to a new location in your garden. Fortunately, aster propagation is not difficult. If you’re looking for information on how and when to propagate asters, this article is for you.
How to Propagate Asters by Collecting Seeds
Many aster varieties will self-seed in the garden, and it’s also possible to collect the mature seeds and plant them in the desired location. The mature seed head looks like a light-brown or white puffball, something like a dandelion seedhead, and each seed has its own tiny “parachute” to catch the wind. Keep in mind that the seeds your asters produce may grow into plants with a different appearance from the parent. This happens when the parent plant is a hybrid or when the parent has been cross-pollinated by a nearby aster plant with different characteristics. Propagating asters by division or cuttings is a more reliable way to reproduce a plant with the same flower color, flower size, and height as the parent plant.
Propagating an Aster Plant by Division
Asters can be reliably propagated by division. Once a group of asters has grown into a clump large enough to divide, usually every three years or so, use a shovel to cut into the clump, dividing it into two or more parts. Dig up the cut parts and promptly plant them in their new location. After propagating an aster plant by division, feed your new plantings with a source of phosphorus, such as bone meal or rock phosphate, or with a low-nitrogen fertilizer.
How to Propagate Aster Plants by Cuttings
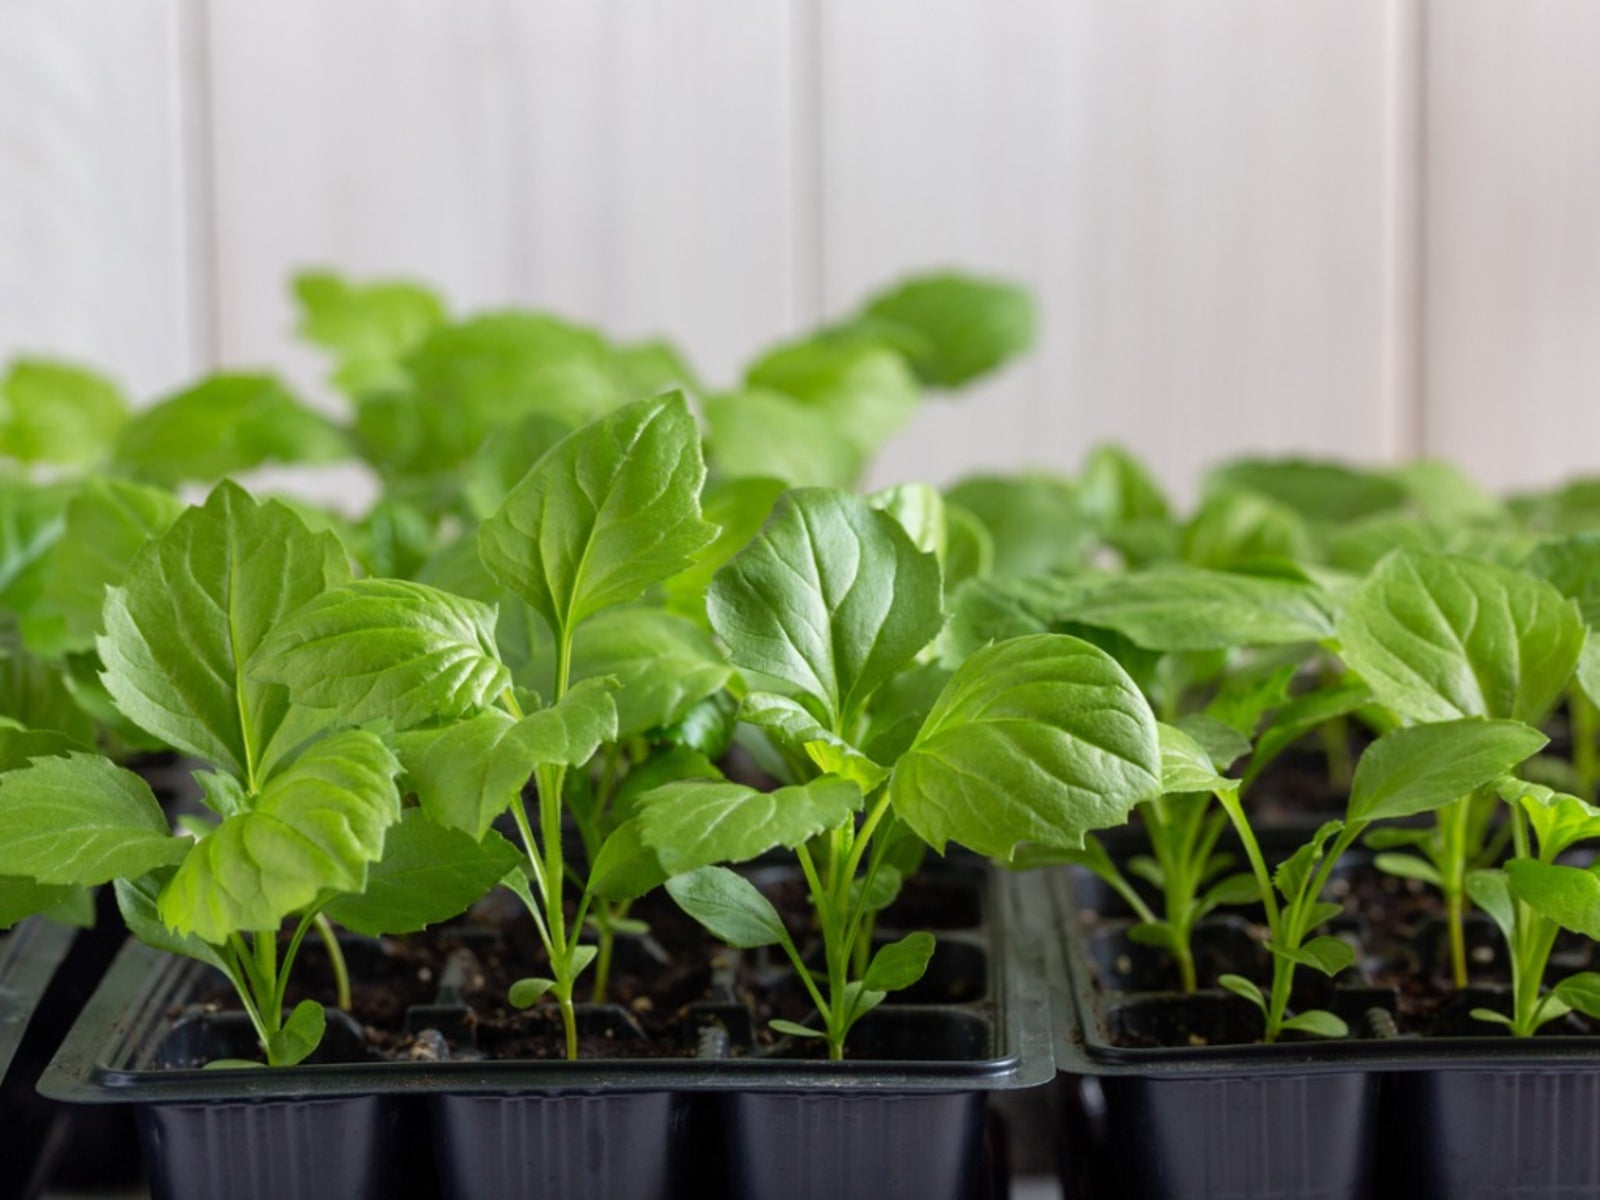
Some aster varieties, such as Frikart’s aster, can be propagated by taking softwood cuttings. Aster propagation by cuttings should be performed in the spring. Cut a 3 to 5 inch (8-13 cm.) section of stem and remove the lower leaves, keeping three or four of the upper leaves. Root the cutting in a medium such as sand or perlite and place a clear plastic bag over the cutting to help it retain moisture. Provide it with water and light until it forms roots. Then transplant it to a small pot.
Gardening tips, videos, info and more delivered right to your inbox!
Sign up for the Gardening Know How newsletter today and receive a free copy of our e-book "How to Grow Delicious Tomatoes".
Ilana Goldowitz Jimenez is a scientific and agricultural writer with a B.S. in Plant Sciences from Cornell University and a PhD in Chemical Biology and Infectious Disease from Harvard University.
-
 Looking For Plants To Give You The Soft And Fuzzies? Try These 5 Fuzzy Leaf Plant Options
Lovers of texture, drama, silver foliage and tactile plants will adore these special sensory garden additions. These fuzzy leaf plant options will leave you all aglow
By Susan Albert
-
 Get Ready For A Summer Of Hummers! Grow These Full Sun Hummingbird Plants and Flowers
If you’re lucky enough to enjoy a sunny backyard, make sure you are maxing out on your pollinator opportunities and grow these full sun hummingbird plants and flowers
By Tonya Barnett