How To Care For Mums In Spring


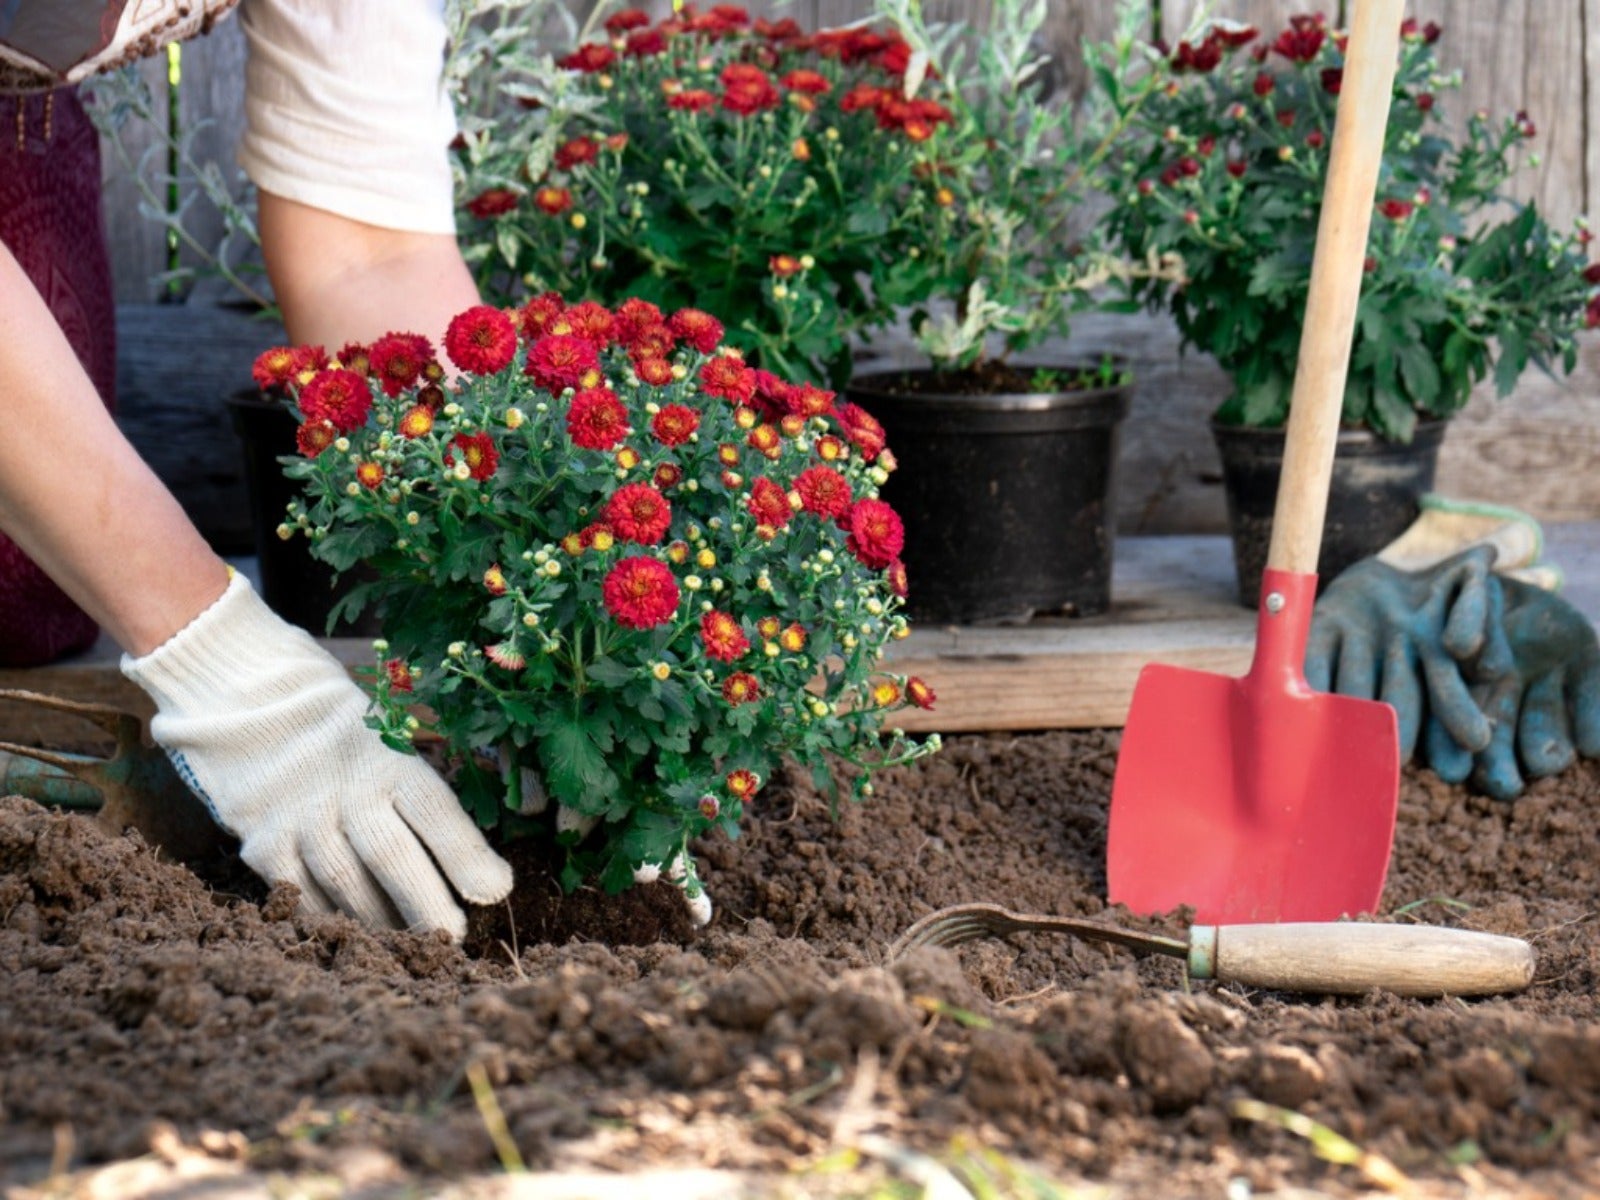
Chrysanthemums are often considered to be a key part of autumn floral displays and ornamental gardens. Readily available at big box stores and plant nurseries, potted mums offer a wide array of colors that are ideal for use in fall decor. Once blooming has ceased, some growers may simply choose to dispose of the plants, but you may be surprised to find that many cultivars of chrysanthemum are actually perennial. So, do mums come back in the spring?
When Do You Cut Back Mums in the Spring?
Chrysanthemum hardiness varies depending upon the cultivar. This information can usually be found by conducting an online search of the specific variety being grown. Though most chrysanthemums are able to overwinter outdoors, gardeners with especially cold winter temperatures have found success overwintering the plant indoors in a cool place.
To prepare the plants for winter, potted mums should be allowed to naturally slip into dormancy. This occurs with the arrival of cooler fall weather. At this time, the leaves will begin to dry and may even fall from the plant. The plant will appear to have died. When spring arrives, its growth will resume from the base of the plant. Each mum will then produce several new stems from the crown of the plant. For the best results, spring mums require any old growth or dead stems to be removed. Fortunately, this process is both quick and easy.
How to Prune Mums in Spring
Mum care in spring is simple. When new growth resumes, all dried plant parts should be removed and discarded. Though you can use pruners or garden secateurs, old stems can usually be removed by hand. Once each new stem has at least 2-3 sets of new leaves, gardeners have a couple of options.
Early in the growing season is an ideal time to take chrysanthemum cuttings. Stem cuttings should be snipped just below a set of leaves. After removing the bottom leaves, each stem cutting can be placed into moist potting soil. Rooting hormone may also be used, though it is not usually necessary. Spring mum cuttings should begin to root within 1-2 weeks, providing that proper moisture and humidity levels have been met. Once the chrysanthemums have become well-rooted, they can then be moved into pots or into their permanent location in the garden.
Gardeners who don’t wish to take cuttings can allow the plant to continue to grow in place. After several weeks, the chrysanthemums will need to be “pinched” for the first time. Pinching refers to the process of removing the growth tip of each plant stem. Removing the growth tip encourages the plant to begin branching. Branching will result in plants that are bushier and will produce more flowers. Each chrysanthemum stem will need to be pinched several more times before they are finally allowed to set blooms in mid to late summer.
With proper care, you can expect chrysanthemum plants to return season after season. Over time, established plants may become crowded and will require division. Chrysanthemums should be divided in early spring, when growth has just resumed. To divide, simply dig the root ball of the plant and remove any excess soil. New plants can then be carefully separated.
Gardening tips, videos, info and more delivered right to your inbox!
Sign up for the Gardening Know How newsletter today and receive a free copy of our e-book "How to Grow Delicious Tomatoes".

Tonya Barnett has been gardening for 13 years. Flowers are her passion. She has transformed her backyard into a cut flower garden, which she regularly chronicles on her YouTube channel http://www.youtube.com/@tonyawiththeflowers.
-
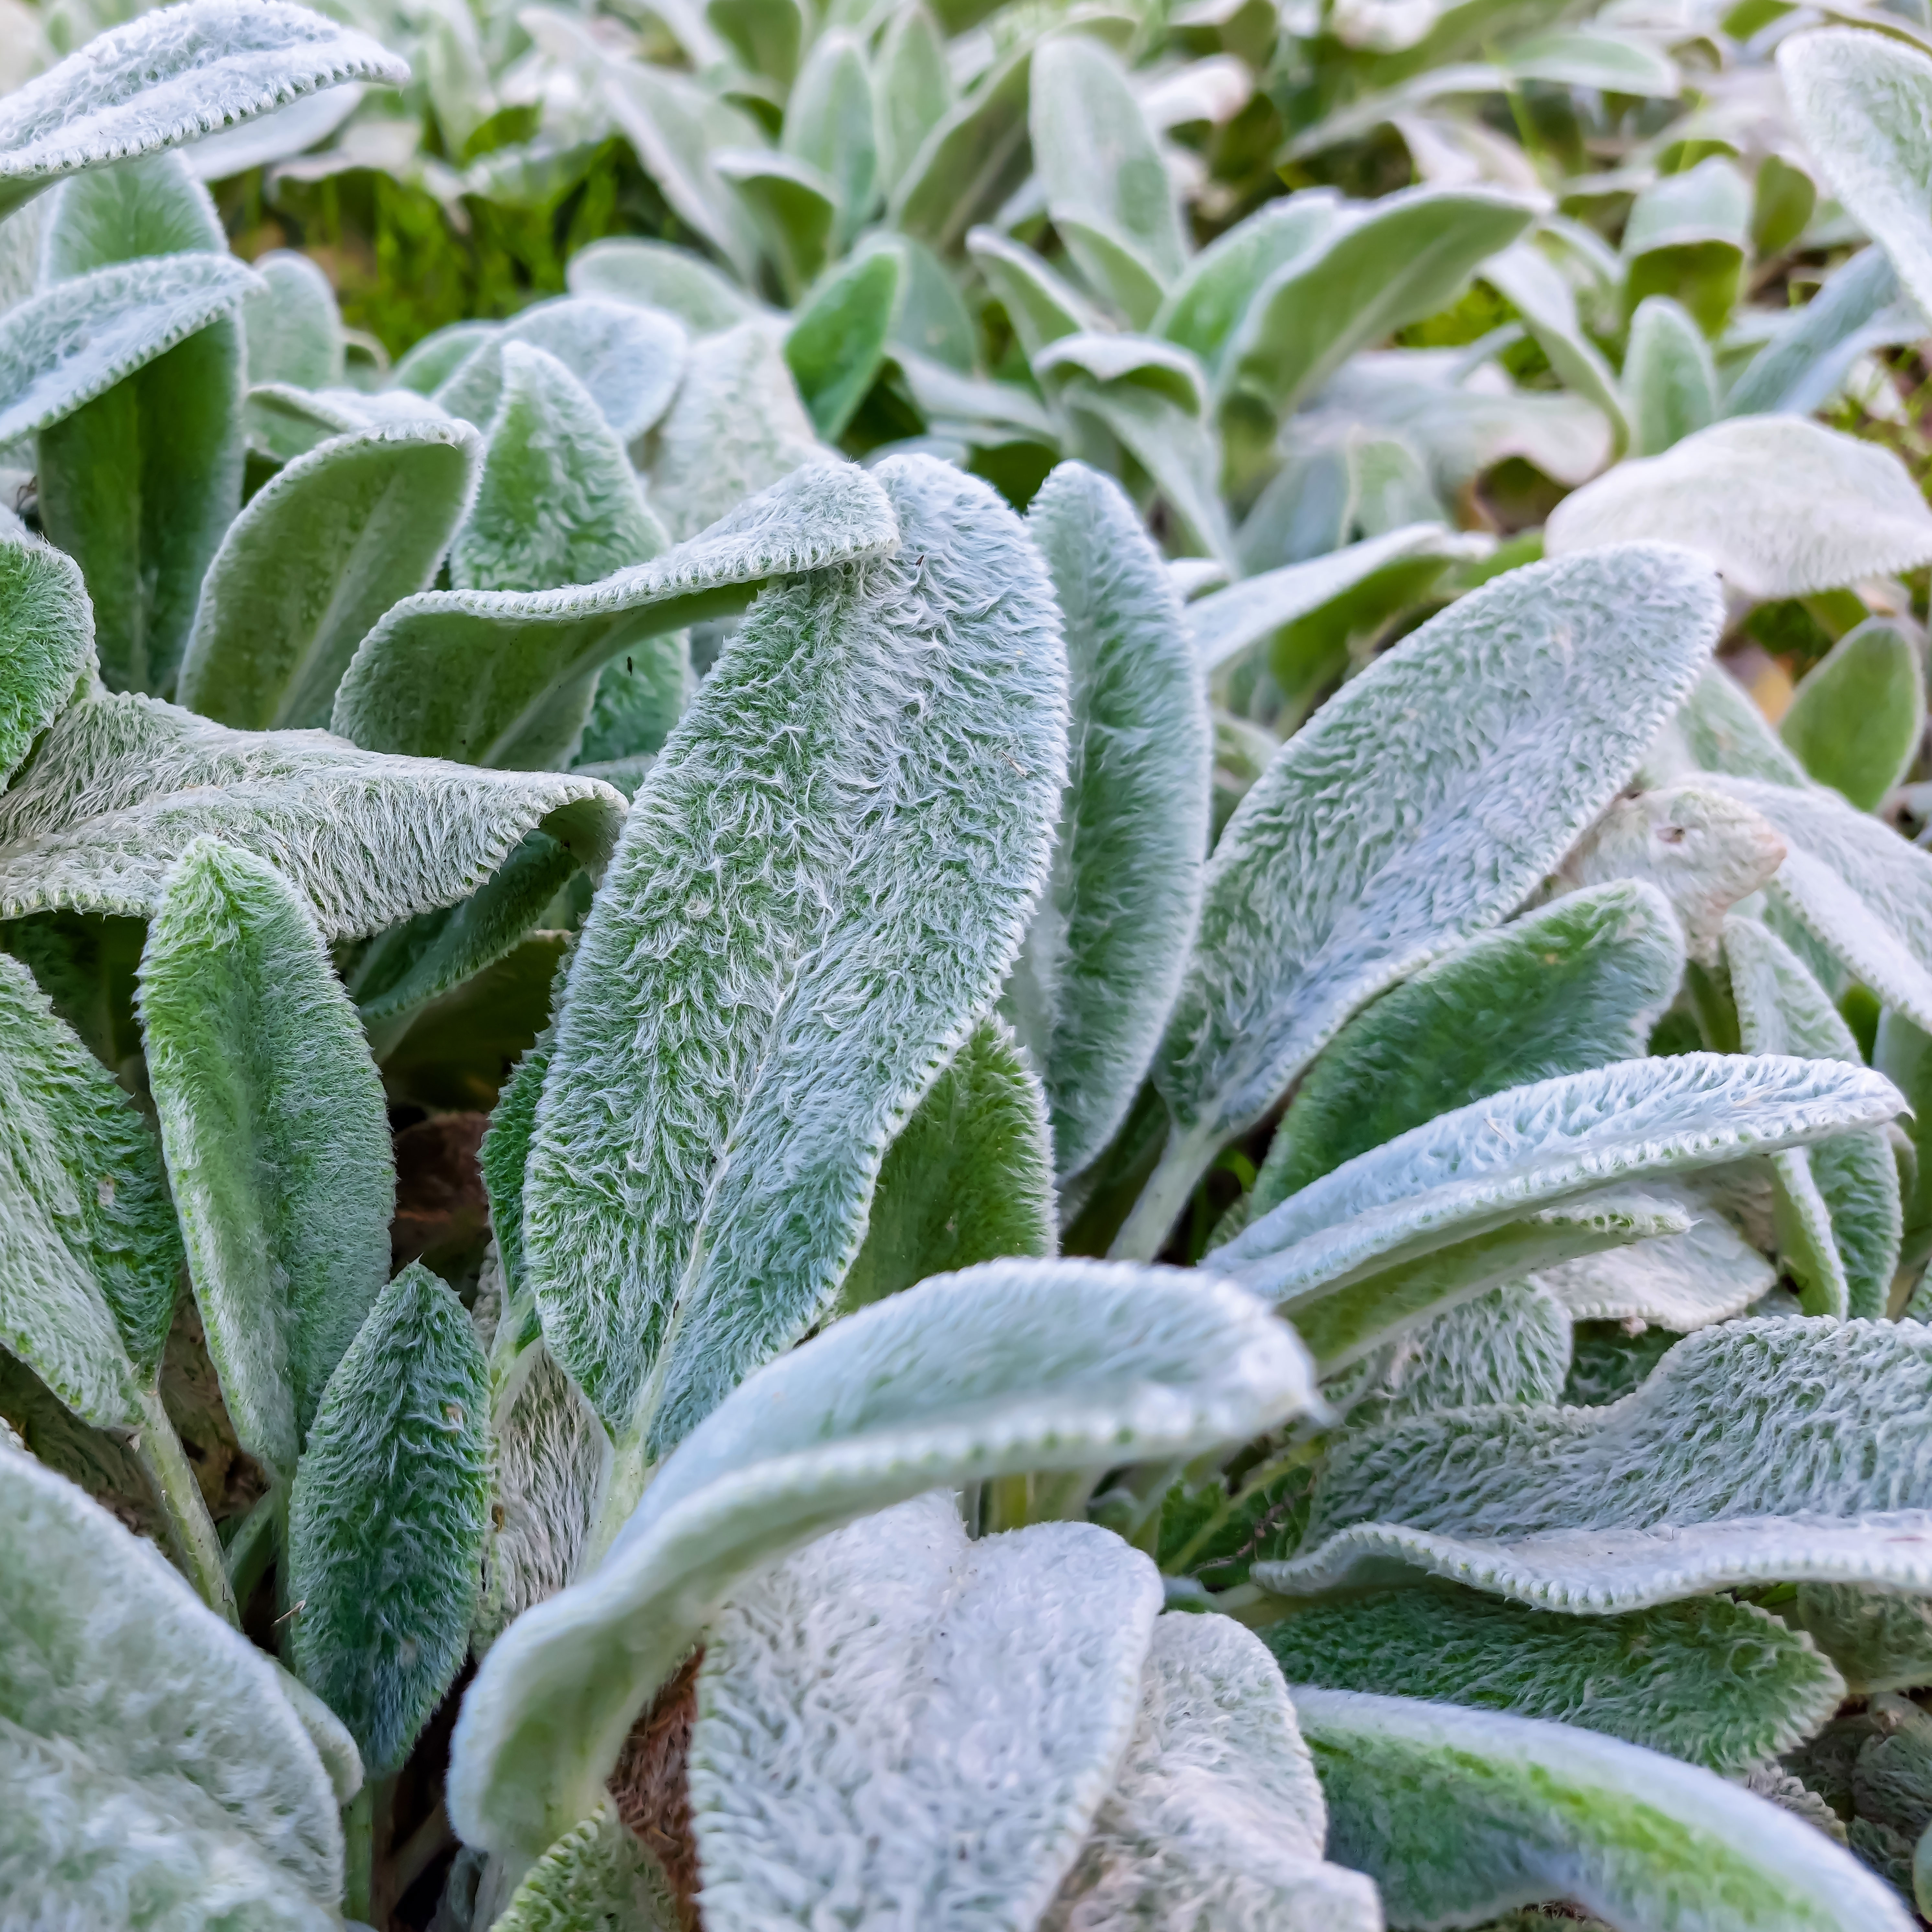
 Looking For Plants To Give You The Soft And Fuzzies? Try These 5 Fuzzy Leaf Plant Options
Lovers of texture, drama, silver foliage and tactile plants will adore these special sensory garden additions. These fuzzy leaf plant options will leave you all aglow
By Susan Albert
-
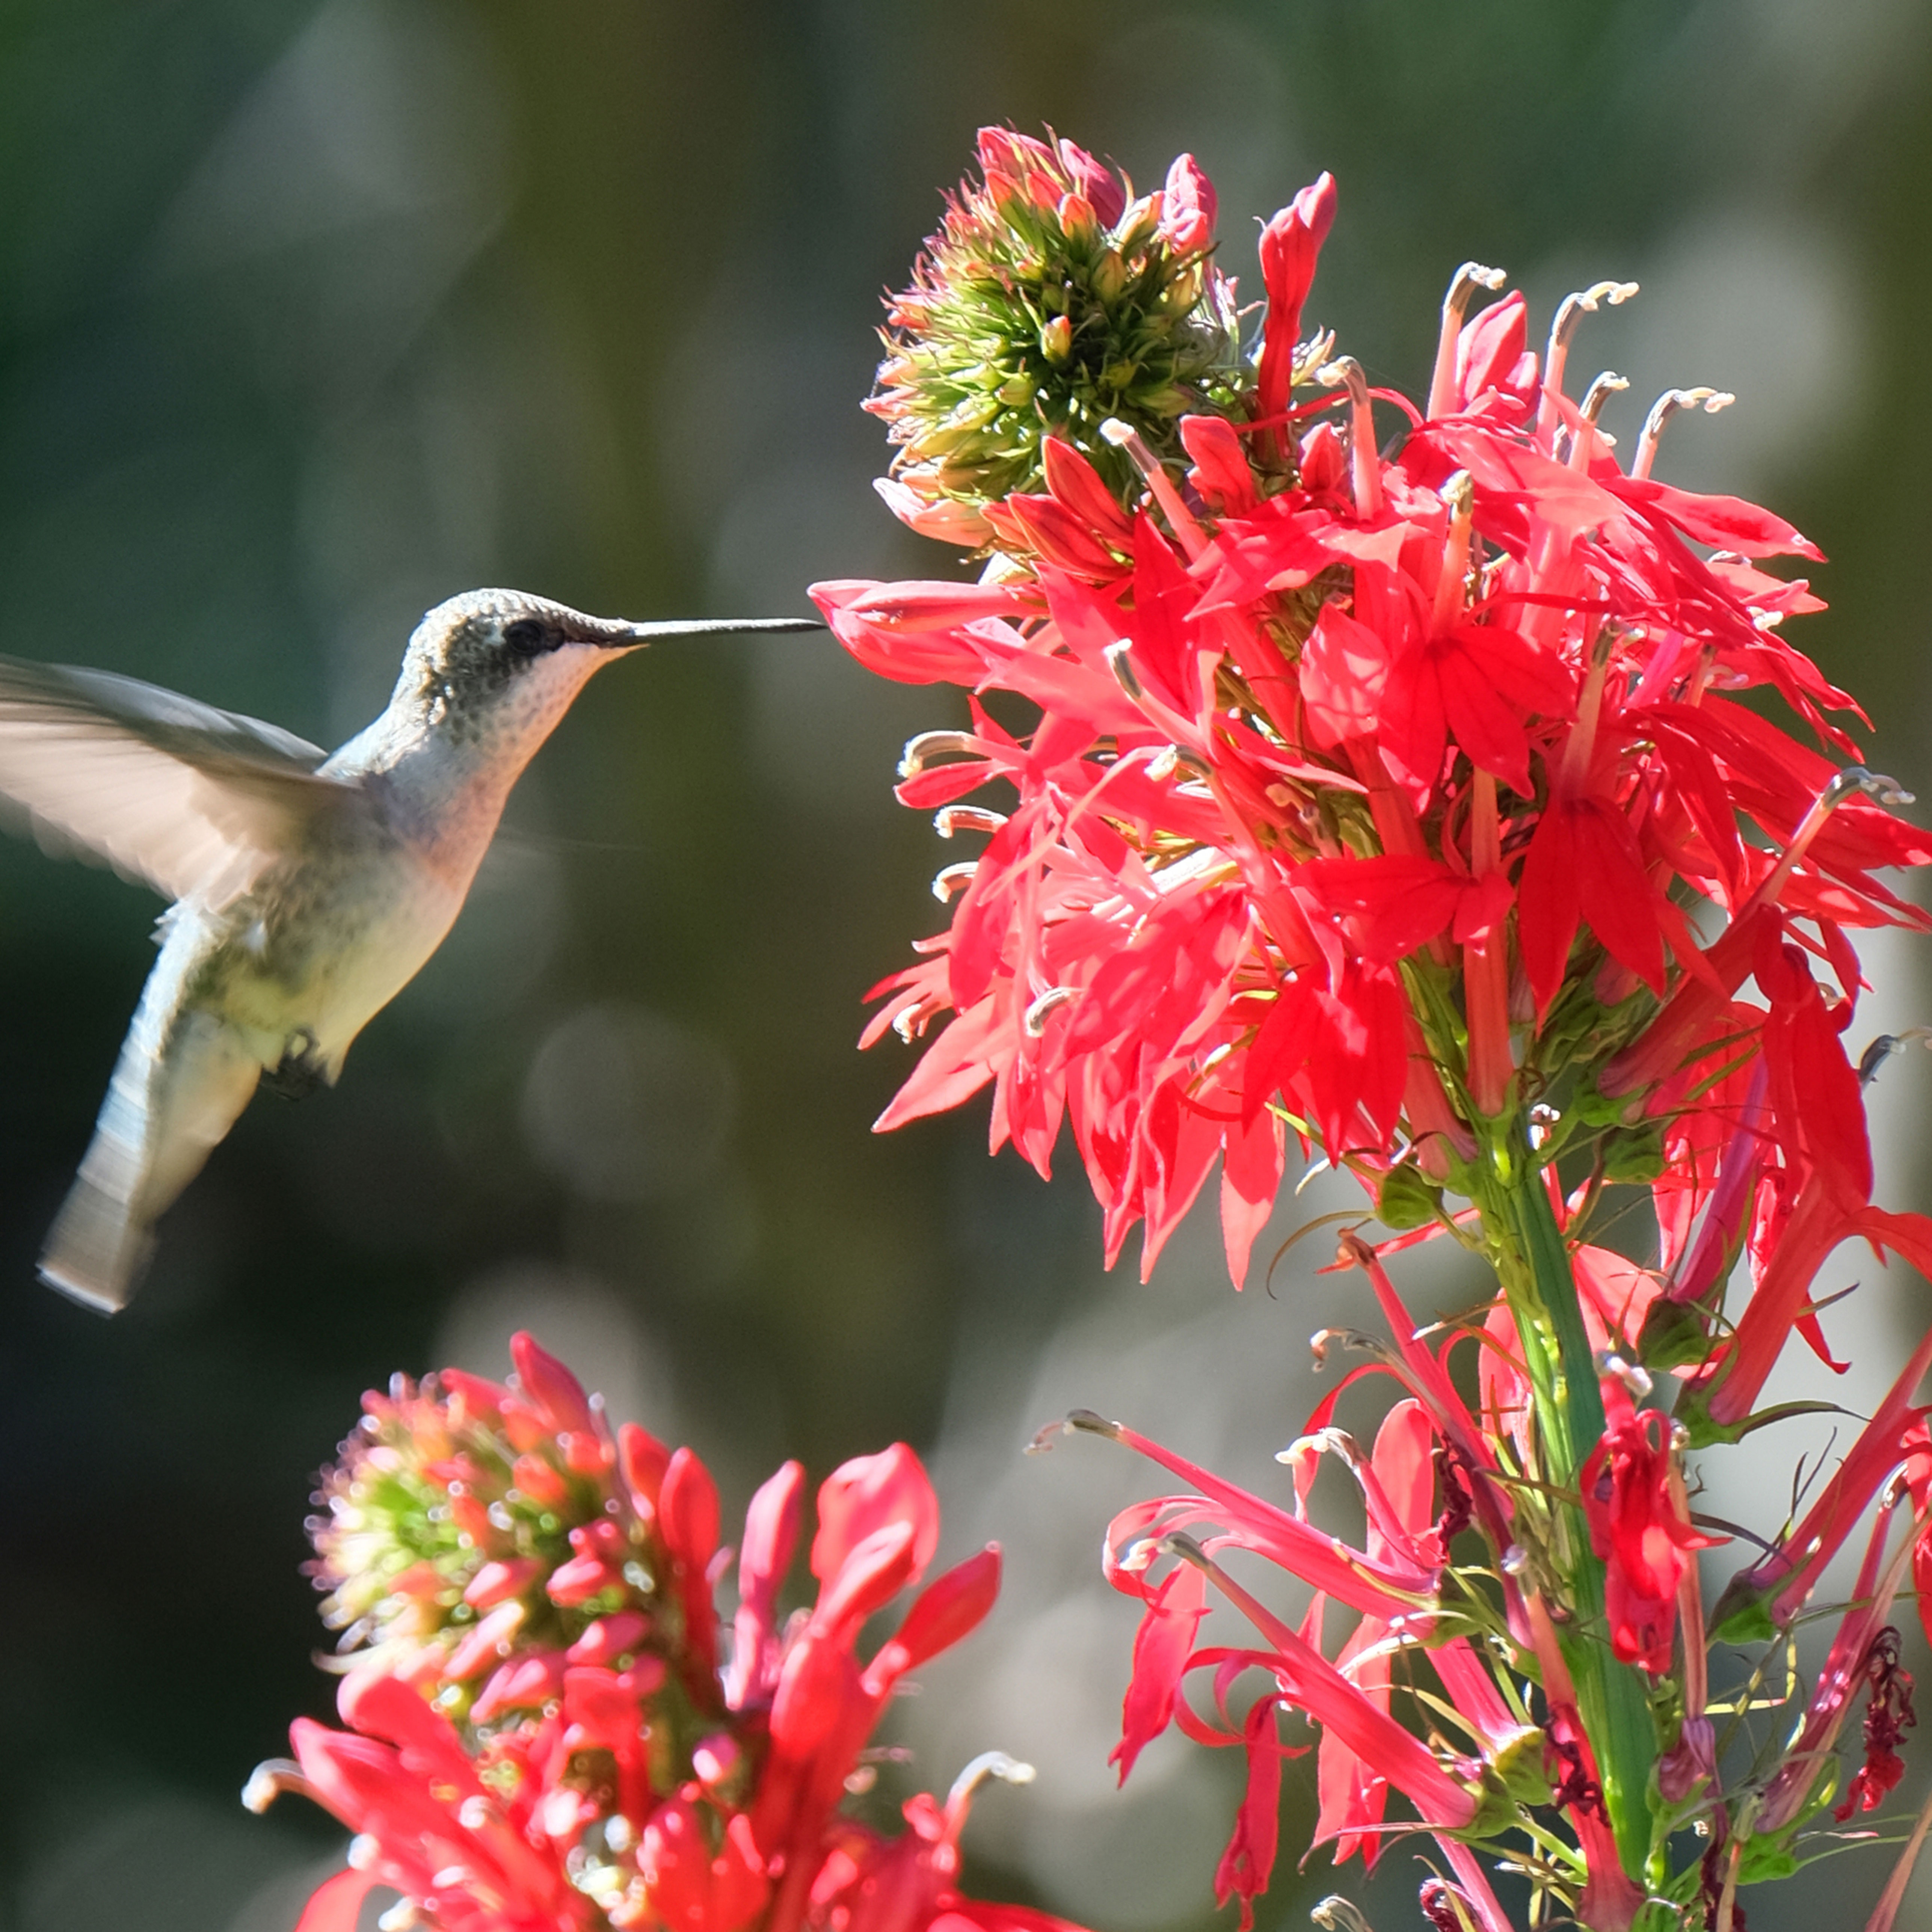
 Get Ready For A Summer Of Hummers! Grow These Full Sun Hummingbird Plants and Flowers
If you’re lucky enough to enjoy a sunny backyard, make sure you are maxing out on your pollinator opportunities and grow these full sun hummingbird plants and flowers
By Tonya Barnett